

V8R X-Lite control arms: some assembly required
 09-07-2018, 01:27 PM
#1
Senior Member
Thread Starter
iTrader: (3)

Join Date: Nov 2015
Location: Berkeley, CA
Posts: 983
Total Cats: 508
I figured I would put this info out there to make the arms easier to use for those who choose to buy them, and provide some honest feedback for those considering buying.
TIP #1 (RUCA): the OEM pivot bolt does not fit at the outboard location, as the machined clevis is thicker than the OEM arm. Solution: M10 x 90mm bolt and matching M10 x 1.5 nut.


TIP #1 (RUCA): the OEM pivot bolt does not fit at the outboard location, as the machined clevis is thicker than the OEM arm. Solution: M10 x 90mm bolt and matching M10 x 1.5 nut.


Reply
 5
5

5
 09-07-2018, 01:32 PM
#3
Senior Member
Thread Starter
iTrader: (3)
Join Date: Nov 2015
Location: Berkeley, CA
Posts: 983
Total Cats: 508
TIP #3 (RUCA): The arm hits the body much earlier than the stock arm, before the tire even makes contact. Use the not-roll-center "unibody clearance adjuster" to improve this radically. This will get you to full tire contact for most setups, and a little massaging of the contact zone on the body can make some breathing room.


Reply
6
6
09-07-2018, 01:42 PM
#4
Senior Member
Thread Starter
iTrader: (3)
Join Date: Nov 2015
Location: Berkeley, CA
Posts: 983
Total Cats: 508
TIP #4 (FUCA): The arm contacts the unibody before tire rub with 225/45R15. Contributing to this is the fact that the rod end is offset from the midplane of the arm, presumably to shift the bump/droop limits of the range of motion of the spherical bearing serving as the UBJ pivot.


Reply
5
5
 09-07-2018, 01:48 PM
#6
Senior Member
Thread Starter
iTrader: (3)
Join Date: Nov 2015
Location: Berkeley, CA
Posts: 983
Total Cats: 508
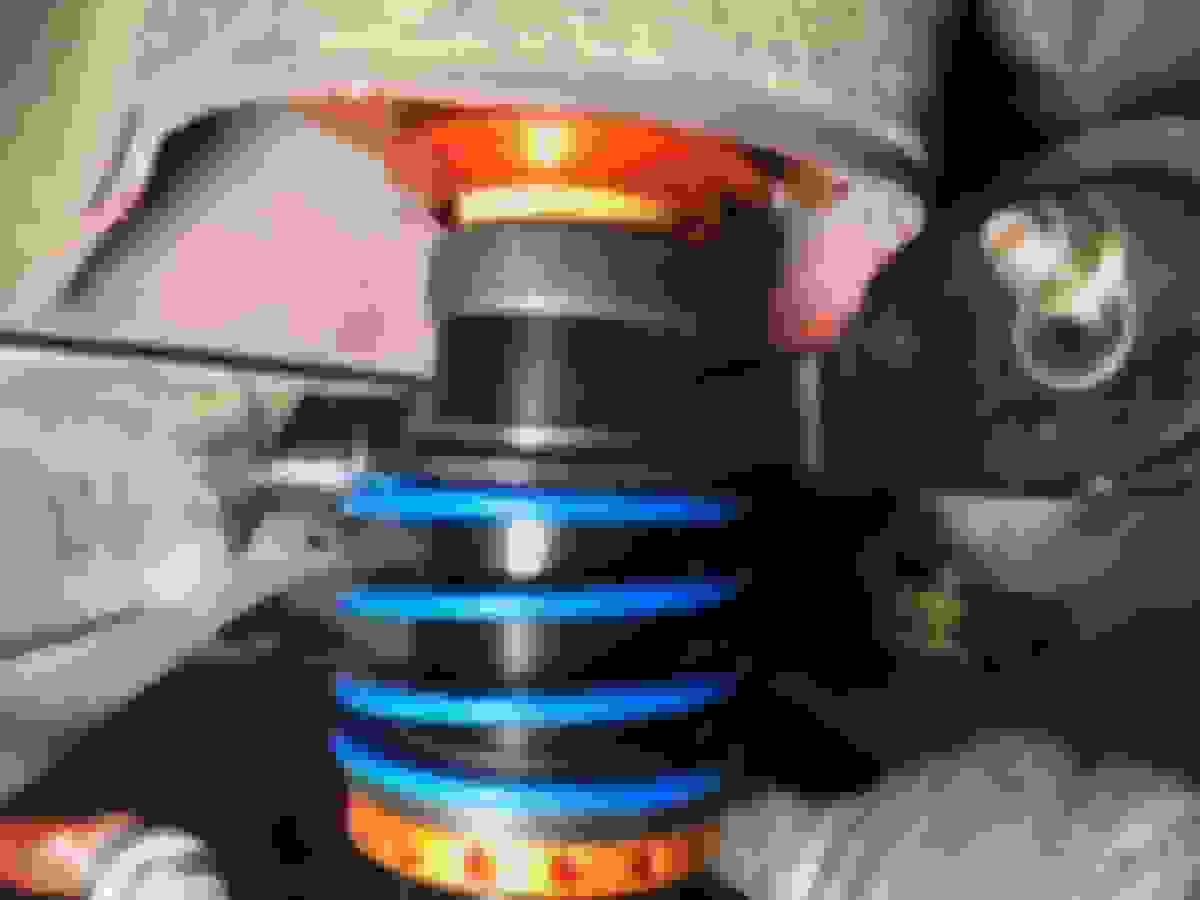
TIP #5 (FUCA): Flipping the arm (logo down) radically increases body clearance. However, it moves the UBJ spherical bearing closer to bind at full bump relative to the stock orientation. A number of solutions can be used to correct for this, including shimming the height of the spherical bearing. However, I chose to substitute a true high-misalignment spacer (a modified version of a QA1 SN12-68) and an AN-7 bolt for the stock SHCS + counterbored, lower misalignment spacer.
Note in the first photo that the head of the SHCS had to be turned to fit the top spacer.


Note in the first photo that the head of the SHCS had to be turned to fit the top spacer.


Reply
6
6
09-07-2018, 01:55 PM
#7
Senior Member
Thread Starter
iTrader: (3)
Join Date: Nov 2015
Location: Berkeley, CA
Posts: 983
Total Cats: 508
TIP #6 (FUCA): Maybe throw some loctite retaining compound on the UBJ spherical.
Stock fit (turn headphones to max for full effect):

TIP #7 (FUCA): Also maybe get steel jam nuts to replace the aluminum jam nuts for the rod ends.
Stock fit (turn headphones to max for full effect):

TIP #7 (FUCA): Also maybe get steel jam nuts to replace the aluminum jam nuts for the rod ends.
Reply
6
6


 09-07-2018, 02:10 PM
#11
Senior Member
Thread Starter
iTrader: (3)
Join Date: Nov 2015
Location: Berkeley, CA
Posts: 983
Total Cats: 508
TIP #7 (FUCA): If you use the stock hardware, make sure the SHCS head sits fully in the counterbore of the spacers. Turning the bolt heads is a fun drinking activity but maybe not a good solution.


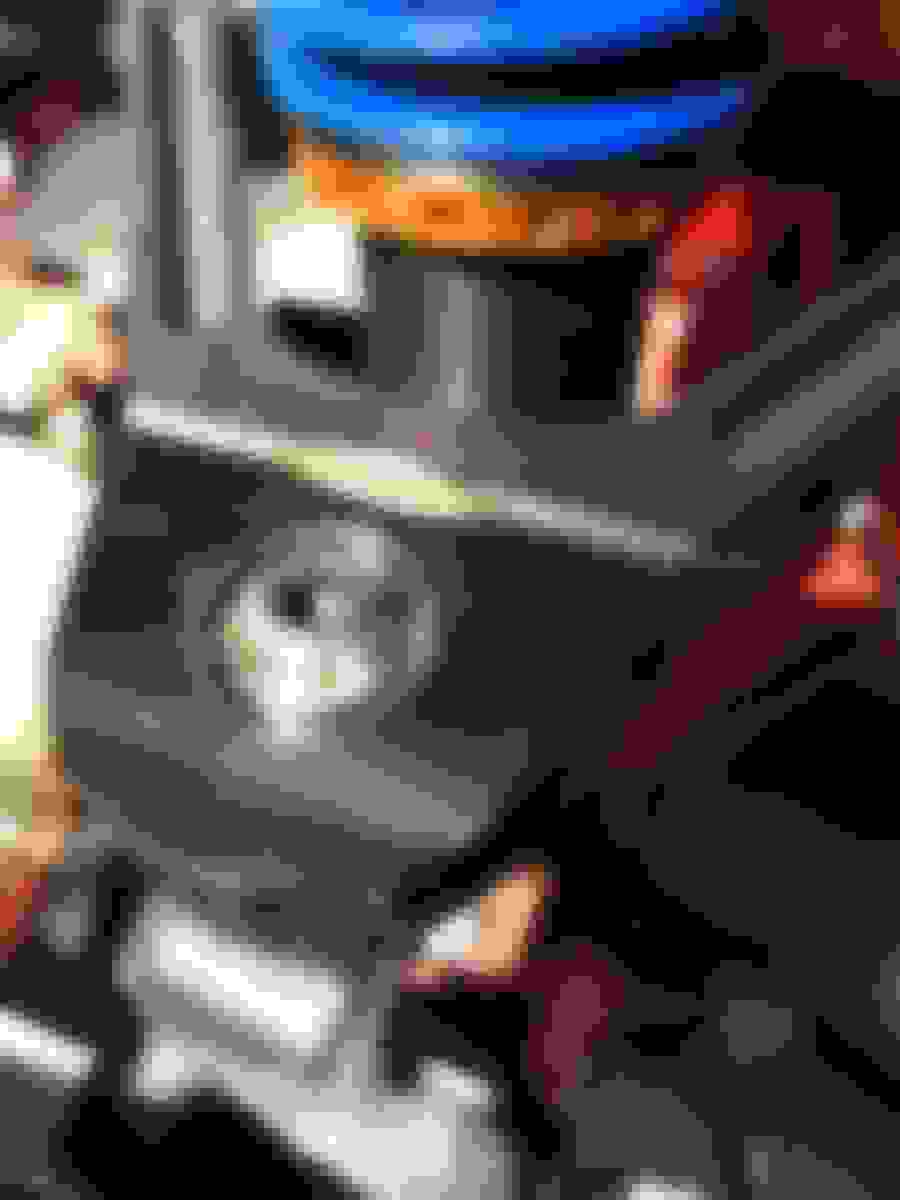

Pictured: essential suspension installation tools.


Pictured: essential suspension installation tools.
Reply
7
7


 09-07-2018, 02:58 PM
#18
does it fit with extended bj's doe?
also
TIP # 69:
this is the ONLY way of communication with v8r. please do not attempt futile outdated ways like telephone and email, you have been educated

TIP # 69.5: the pigeons should all be routed to Concealer404's house, NOT Florida.
also
TIP # 69:
this is the ONLY way of communication with v8r. please do not attempt futile outdated ways like telephone and email, you have been educated
TIP # 69.5: the pigeons should all be routed to Concealer404's house, NOT Florida.
Reply
1
1


