When you click on links to various merchants on this site and make a purchase, this can result in this site earning a commission. Affiliate programs and affiliations include, but are not limited to, the eBay Partner Network.
Nice work, I appreciate the attention to detail. I did recently have one of these small, 5/16" coolant hoses fail on a "low mileage, never raced" '94, you may consider replacing all of them. And possibly deleting EGR.
It's the one under the exhaust pipe, with the clamp on it:
That one from the back of the head goes to the oil cooler, then there's one that goes from the oil cooler to the throttle body, then from the throttle body to the stock thermostat housing, and from there to the mixing manifold.
That�s a good idea for sure. I will be deleting the EGR when I put the turbo stuff on. I could do it now but I don�t think the manifold plug I have will fit the stock manifold though, but I didn�t pull off the heat sheild to verify. I�ll be draining the coolant anyway for the turbo water lines so it would be a good time to do it.
For the NAs, I think you can take the EGR pipe off, cut ~1" from the end of the tube, smash it in a vice, then weld it shut. Although I may be thinking of the NB design, so take the header heat shield off and verify that's possible.
Got those new new wheels, Beryllium. The funny thing is I paid like ~$85 for one of those BBS center caps last year after I lost one. I'm hoping to get them mounted this weekend at my friends place who has a mounting and balancing machine. Also, next update will include Brains MS3X setup and current configuration . I'm trying to hit boost this weekend or next!
So I installed my Brain built MS3X and have been driving around for about a week now. I downloaded the software and followed his instructions as well as buying the full version of Tunerstudio/MLV. I was pretty nervous but I just followed the steps, carefully reading each section several times. Loaded the base map and she fired right up! I used a harbor freight timing light (don't recommend) to make sure my timing was correct after the car warmed up. The only thing I had a drive ability problem with was when I would slow down to a stop or rev the engine, it would either stall or hit really low rpms. I searched and saw that messing with the CAN-bus/idle valve test mode and mechanically turning the idle screw, while the idle valve was closed, solved most peoples issues. I did this very thing and that solved my issue. I do get bad heat soak since my IAT is just underneath the air filter in the stock airbox, but that's just temporary.
Pretty cool logo, fuel injector firing
The one wire coming off the middle plug is for my wideband signal (white on AEMX)
Vacuum T going to MS through the fire wall
Old coat hanger really helps for this and running the wiring for the gauges
Add a circuit for all off the gauges power. For lighting I taped into the little light by the ashtray. I believe it's the red and black one.
I ran a separate vacuum line for my boost gauge and taped in here.
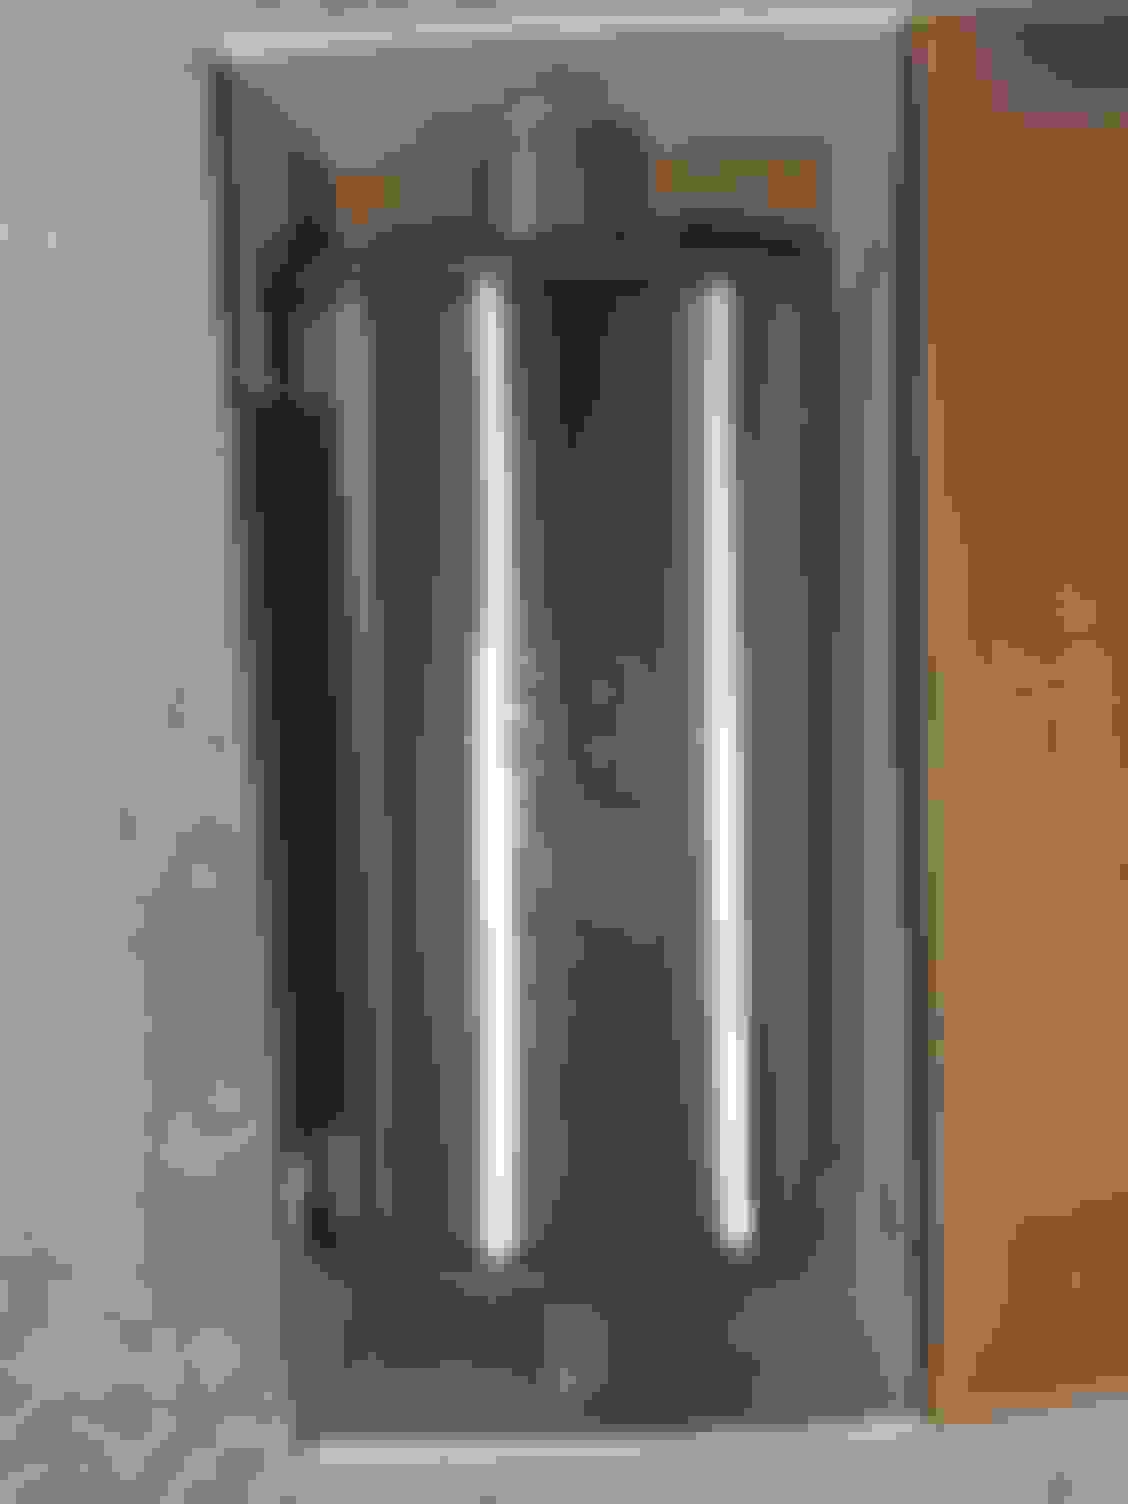
Next up was installing the new injectors, Flow Force (flow flows), that I got used from the classifieds. I also swapped in a new fuel filter as well.
Old tech vs new tech
New grease on em
Fuel rail was nasty and oxidized looking. Do people repaint them?
Everything working as it should
So these are my current setting and some are still directly from Brains basemap. If anything looks out of place I'm all ears. My idle is decent, could use some more work. My rpms don't really fluctuate but afrs bounce between like 13.8 and 14.7.
Beautiful! Welcome to the forum. I haunted and lurked for 3 years before putting in an MS and boosting (and still did it all wrong with a supercharger on a 1.6, but hey, the process went perfect and smooth thanks to everything I learned here!).
I am super envious of your 95m though. If I had a bigger budget I would pick one up and do whst you are for a perfect daily, but Xida GS instead of bilstines. Otherwise, probably the same. This car is gonna rip.
Also, if you end up needing any help, I am just over in NJ.
Thanks, I'm excited to say the least! Xida might be something for the future, but I'm pretty happy at the moment with the Billies. Thanks for the offer too.
I never did like it when there wasn't a 100% cell for anything with a correction. I like to set WUE, dead time, idle voltage correction, all with a 100% in there somewhere, usually thermostat temp + a few degrees or ~14.4 volts Cause I dunno about you, but if my car is hanging out around 13 volts, I have a charging problem.
Currently workIng on my intercooler piping on the hot side. It�s so tight in there and everything is touching! This install would be a breeze without ac and ps. Oh well I�ll make it work. Hopefully I�ll have it running next week.
With the turbo set up I ended up going with a pieced together FM2 kit that I either got used, on sale, or new from FM. I sourced the S15 spec R turbo from the zilvia forums, aka the GT2560r for a pretty good deal. I read all of the posts about boost creep, so I did hog out some of the turbo with my dremel and a cheap but effective set of carbide
. I also used every fastener and thread locker to keep this together (stage 8, inconel studs, nord-lock washers, and resbond 907ts).
On to the assembly
I took my time with the install as everything needed to be massaged into place. No plug and play here with p/s and a/c. The hardest part was fighting the a/c lines to make room for the hot side intercooler piping and the coolant return hose. Lots of careful bending and zip ties to make some room. I don't have a picture of the oil drain but I was glad I got away with drilling the pan using just my cordless DeWalt drill. For some reason I though the chuck would be too small.
Cold side still touches the trimmed fan, a little extra silicon used here and a few other places.
I lined the outside of the airbox with some Dei heat tape. I does indeed work, I verified with my infrared thermometer.
tight fit..
With everything tore apart I figured it would be a good time to replace the stock motor mounts with some mazdaspeed comp. ones I picked up from the classifieds.
A few new coolant hoses that Curly suggest I should replace. The one in the back by the reroute might have to wait till winter haha.
Gapped to .028
The car is filthy and is currently running on wastegate pressure ~6psi (the car can get out of its way now). Dropping my car off this week to have and exhaust made, then ebc time!
Looks great! You'll thank me later for replacing all those baby hoses. Or maybe you won't, cause they'll just survive, rather than splitting open.
I will warn you however, I just finished (yesterday) replacing an engine on a naturally aspirated car that over heated when that rear PITA baby hose split. It is the one that goes beneath the EGR pipe, which I'd highly suggest you get rid of, especially since you have an aftermarket ECU that doesn't care.
Haha I'll get there! I started replacing the one and said F this it can wait a few more months, there's boost to build. It's tight back there and under the intake manifold. I did splurge on a
Long time no post. Last year ended with having my exhaust made locally. It's made of 3" Vibrant SS, utilizes the MT approved big maggie muffler, and is v-band. I also recently added some of the Thermo Tec clamp on heat shields for the trans, gas tank, and rear diff. Probably overkill, but the were fairly inexpensive.
This spring I decided to replace the timing belt and water pump along with replacing the front main and cam seals. It was my first time doing a timing belt and it was a little frustrating at first to get the new belt on. Once I learned how to position everything it fell into place. I also added some Permatex 22071 to the water pump gaskets and a little black rtv to the outside of the seals. No leaks as of yet.
Also, last fall we had our engagement photos taken and naturally I had to incorporate the miata into some!
Wow awesome build thread. I love the part selection and work you've done... everything looks quality. One of the best na builds I have seen in a long time, simple but awesome + minimal exterior mods. Congrats on getting engaged, that last pic is great!
Awesome build on a beautiful car. My wife and I got engaged on a Miata club weekend trip, we left our wedding in my Miata and took our honeymoon in my Miata. 23 years, one son and 2 Miata later, we are still together. I wish you and your fianc� a long happy life together.
Wow awesome build thread. I love the part selection and work you've done... everything looks quality. One of the best na builds I have seen in a long time, simple but awesome + minimal exterior mods. Congrats on getting engaged, that last pic is great!
Thanks man I appreciate it! The knowledge I gained from this forum built this car so far. People have been at this for a long time and I trust their judgement through trials and tribulations. I�m still new to this but learning every step. Wedding is next month!
Originally Posted by Ken Hill
Awesome build on a beautiful car. My wife and I got engaged on a Miata club weekend trip, we left our wedding in my Miata and took our honeymoon in my Miata. 23 years, one son and 2 Miata later, we are still together. I wish you and your fianc� a long happy life together.
That is awesome sir! I hope to follow a similar path as well. Appreciate the kind words much obliged.

 07-07-2018, 08:54 AM


 0
0