
NOT A MIATA, FE3N+HOLSET+73 FORD COURIER BUILD


 06-06-2018, 02:58 AM
#105
Senior Member
Thread Starter

Join Date: Jan 2011
Location: sacramento ,ca
Posts: 568
Total Cats: 162
4th god damn try to get this update posted.... anyone else having problems when you hit "preview" and it shows your preview but wont let you post it and it deletes the whole thing?
any who....
drilled out my clutch master and installed studs in the pedal plate so i could remove it in the car without pulling the whole assembly. i also made my own 90* fitting out of an old crank bolt and some 1/4 black gas pipe
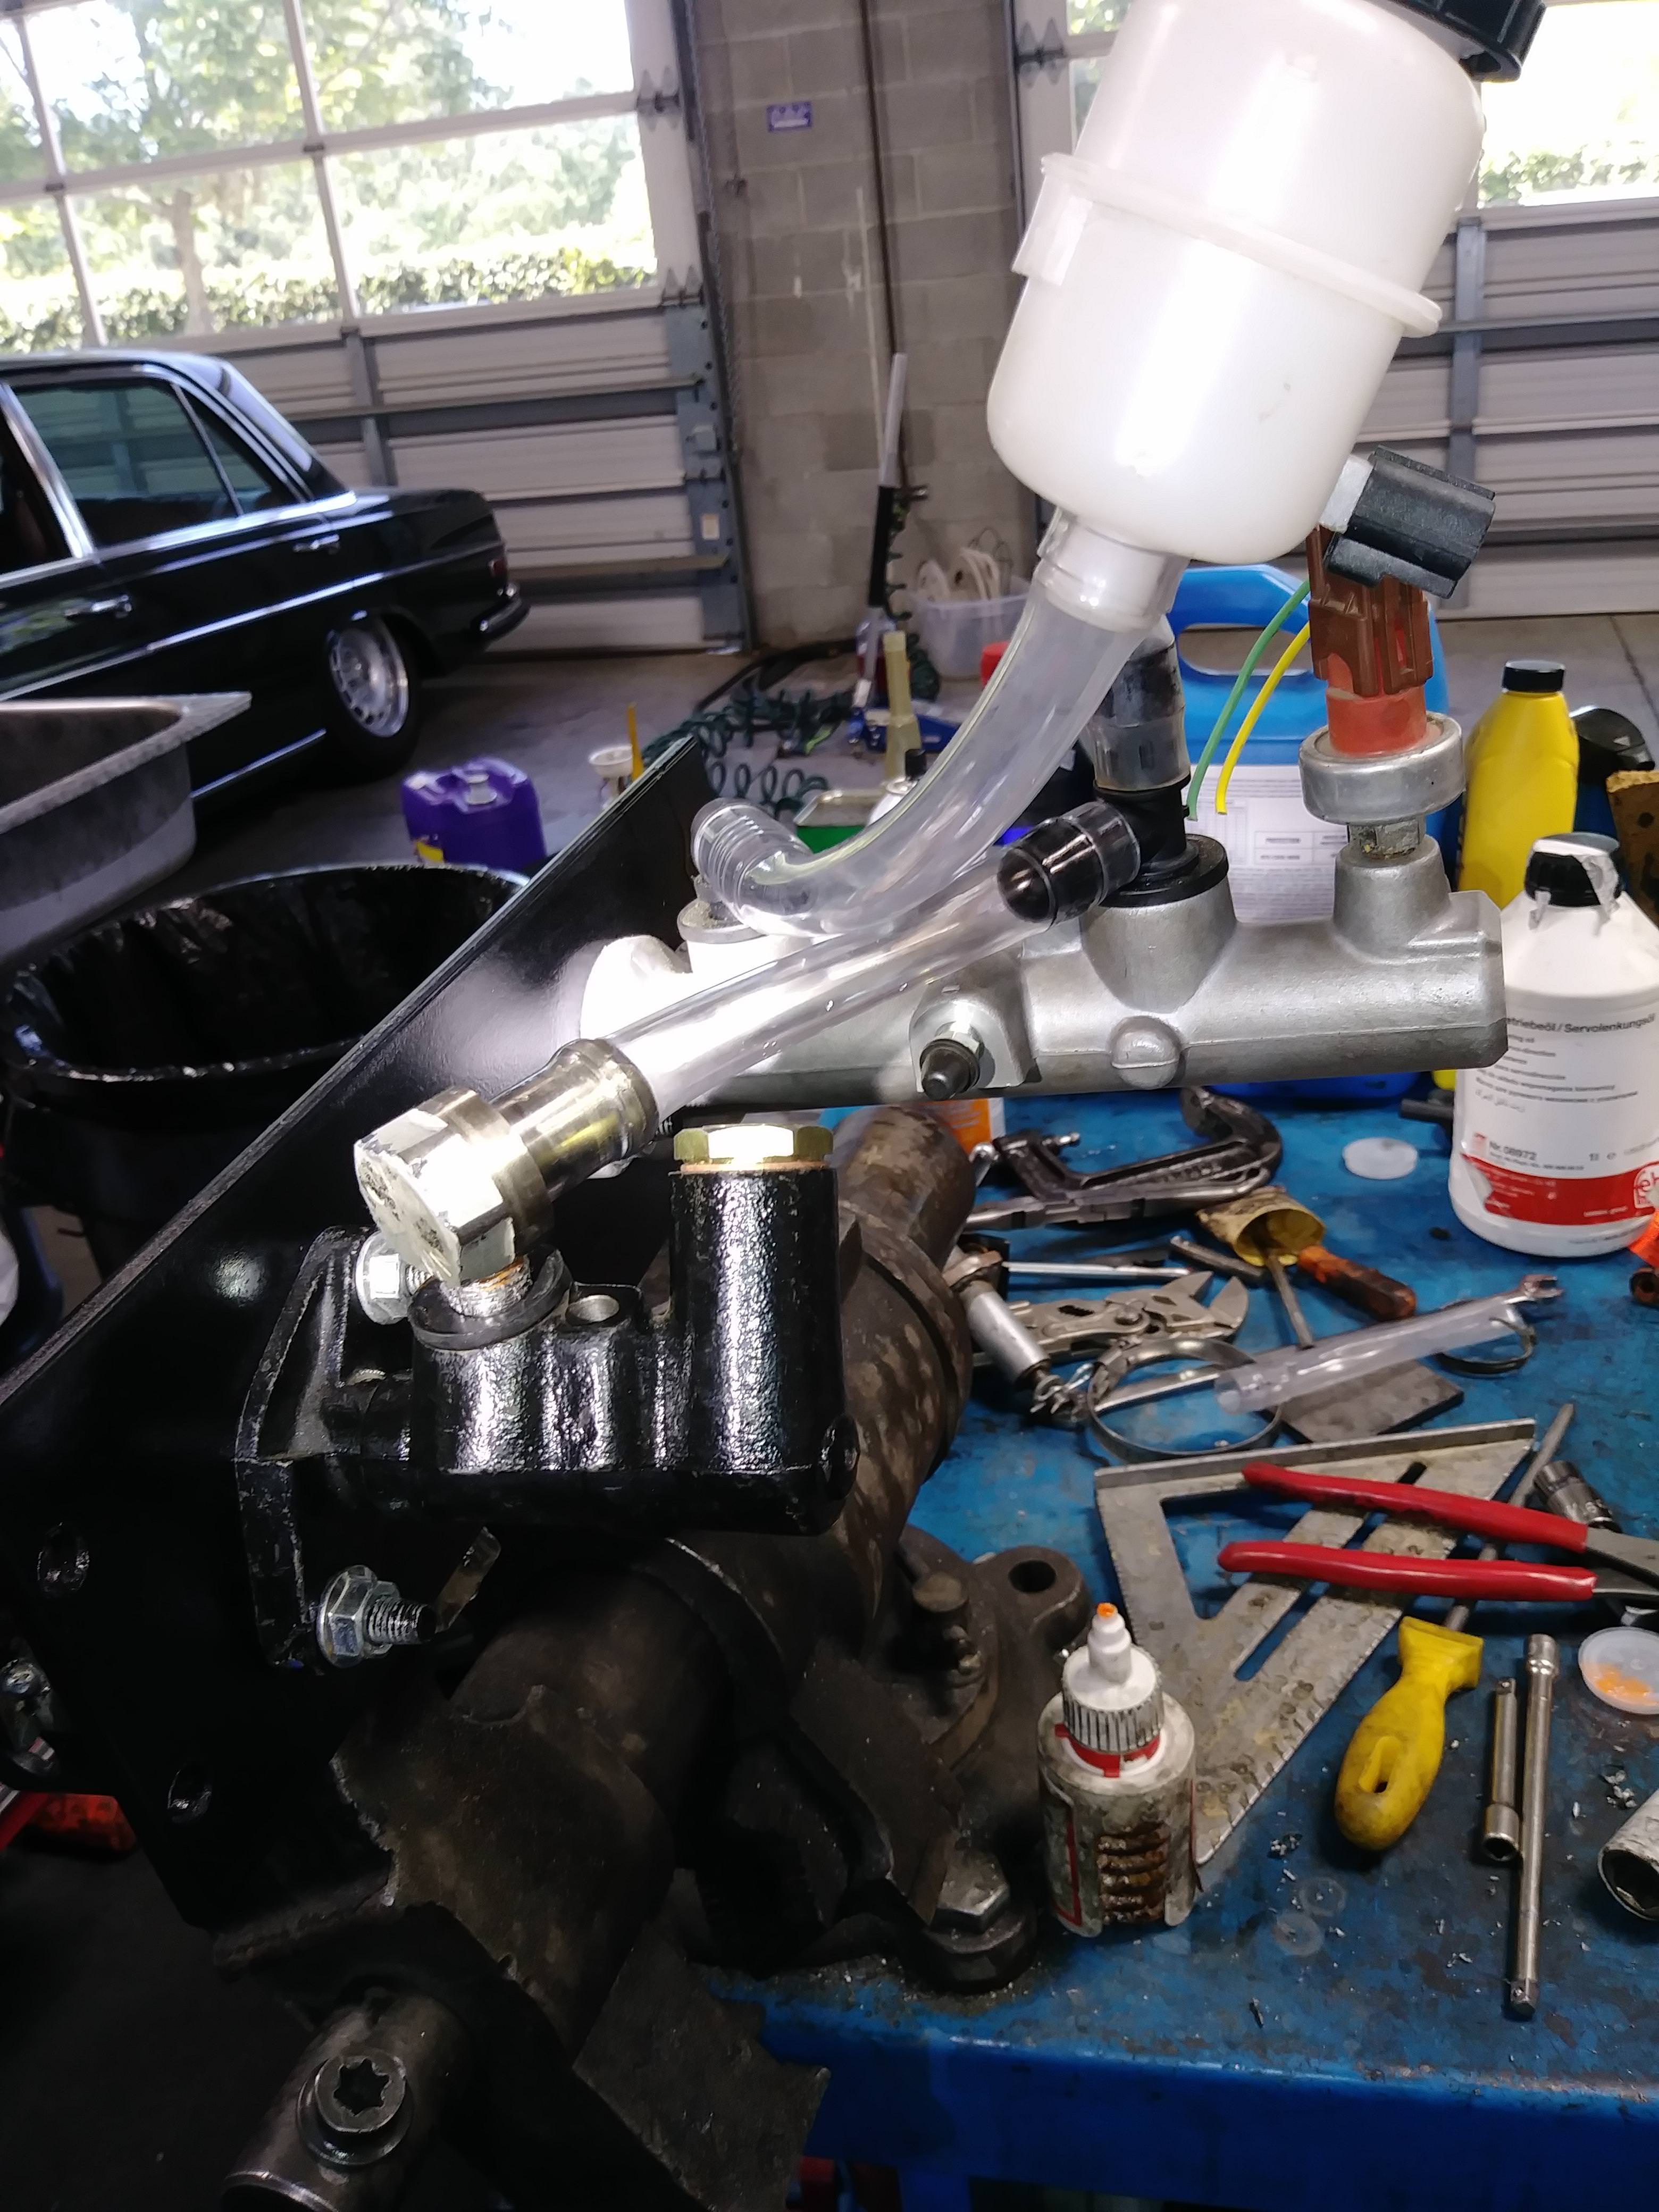
onto the fan shroud. made mostly of 18ga sheet left over from my floor. the center ring is a 1/2" wide 1/8" thick bar to keep it rigid once i cut the middle out. its 100% welded i just took the pic while i was waiting for the metal to cool.


any who....
drilled out my clutch master and installed studs in the pedal plate so i could remove it in the car without pulling the whole assembly. i also made my own 90* fitting out of an old crank bolt and some 1/4 black gas pipe
onto the fan shroud. made mostly of 18ga sheet left over from my floor. the center ring is a 1/2" wide 1/8" thick bar to keep it rigid once i cut the middle out. its 100% welded i just took the pic while i was waiting for the metal to cool.

Reply
 0
0

0

 06-17-2018, 03:11 PM
#107
Senior Member
Thread Starter
Join Date: Jan 2011
Location: sacramento ,ca
Posts: 568
Total Cats: 162
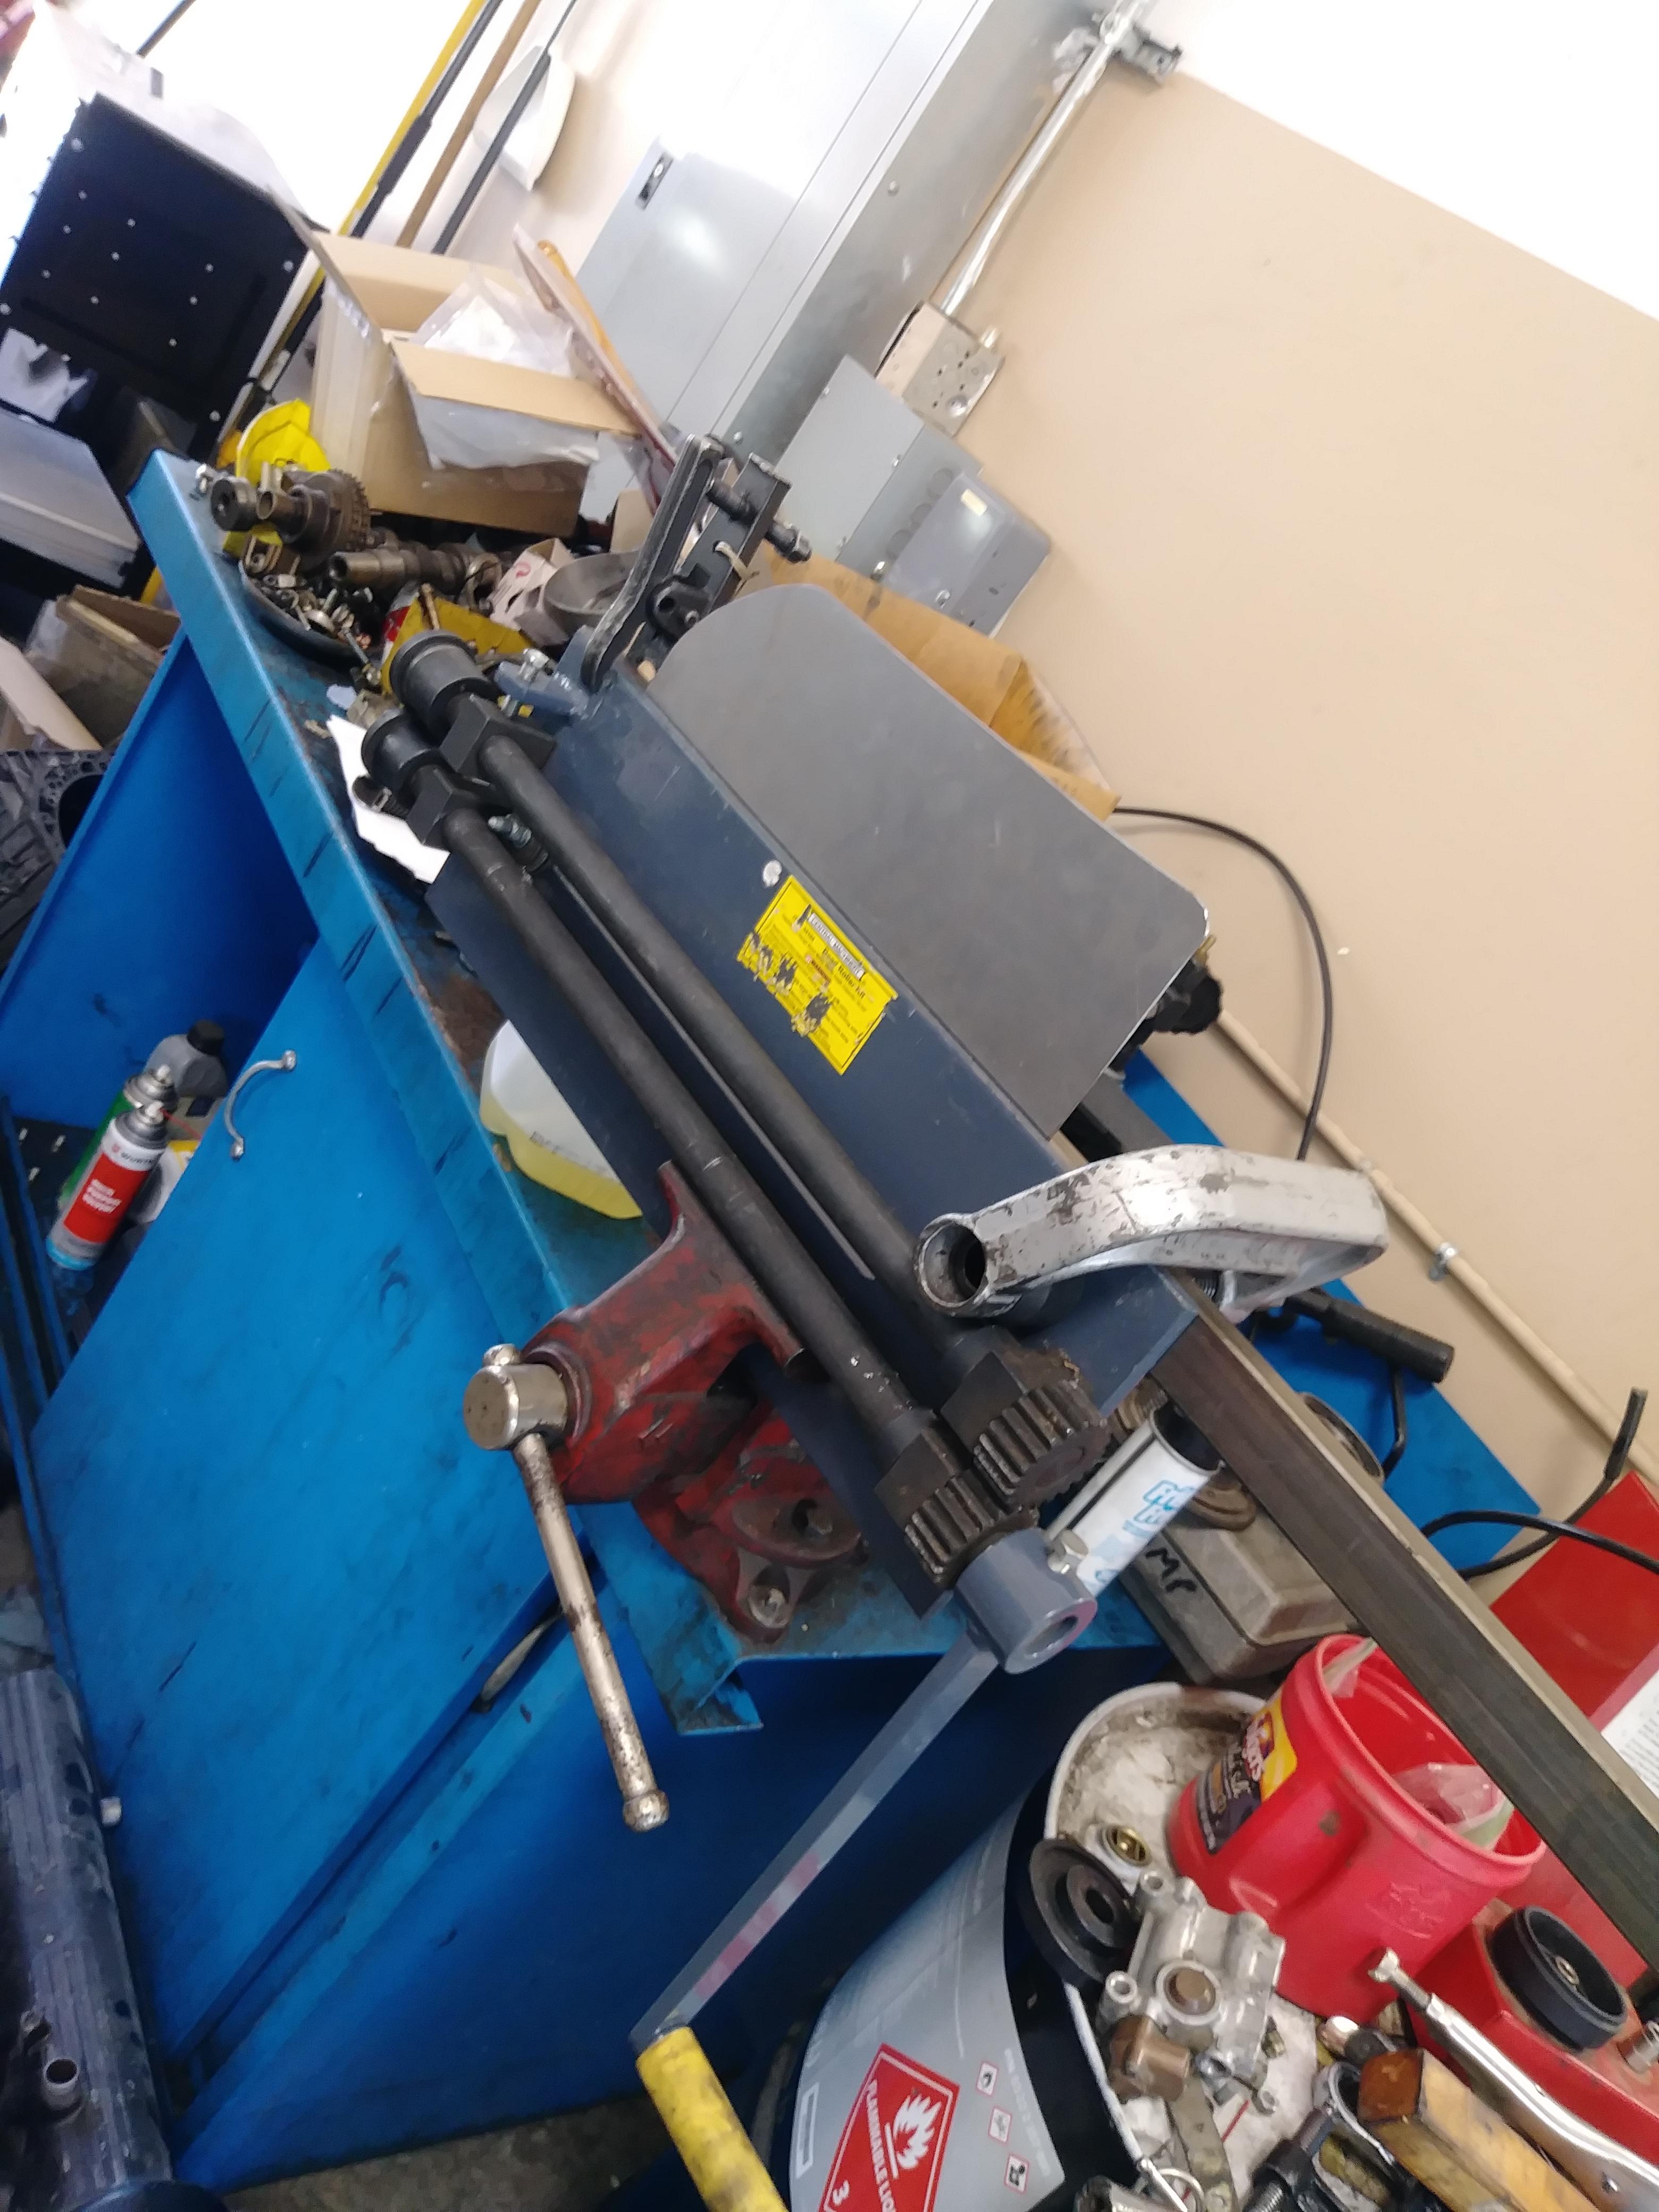
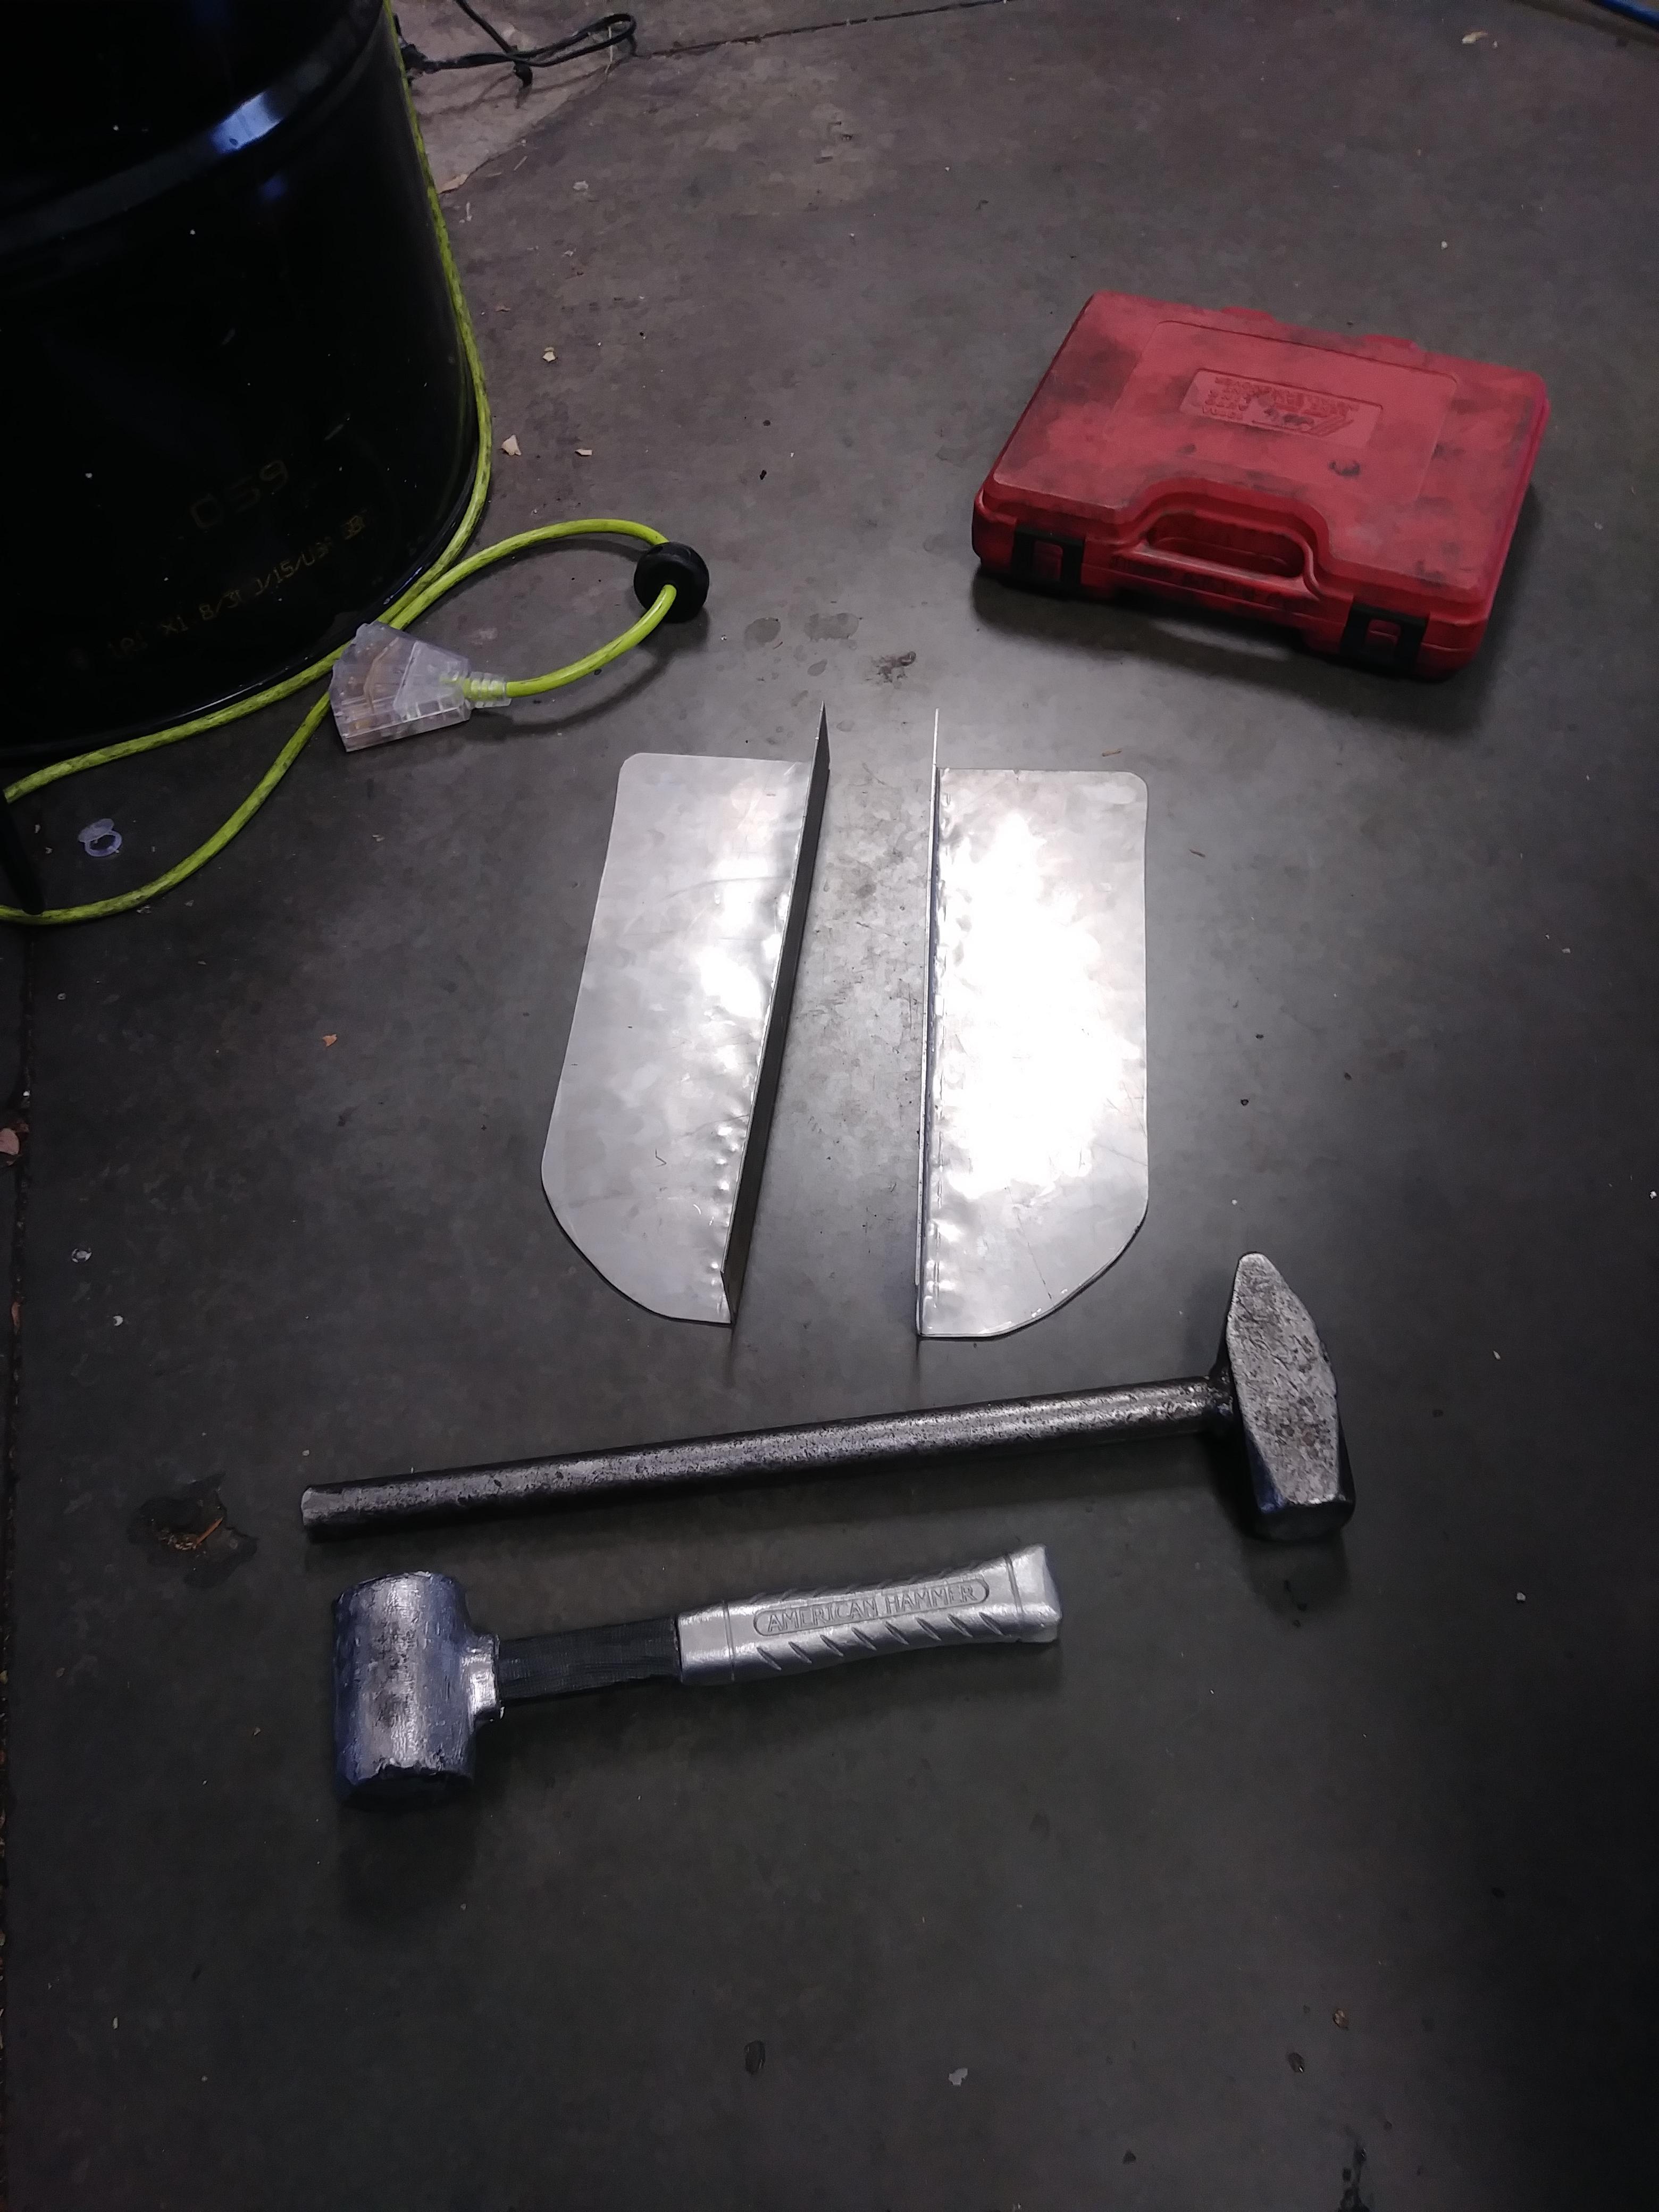
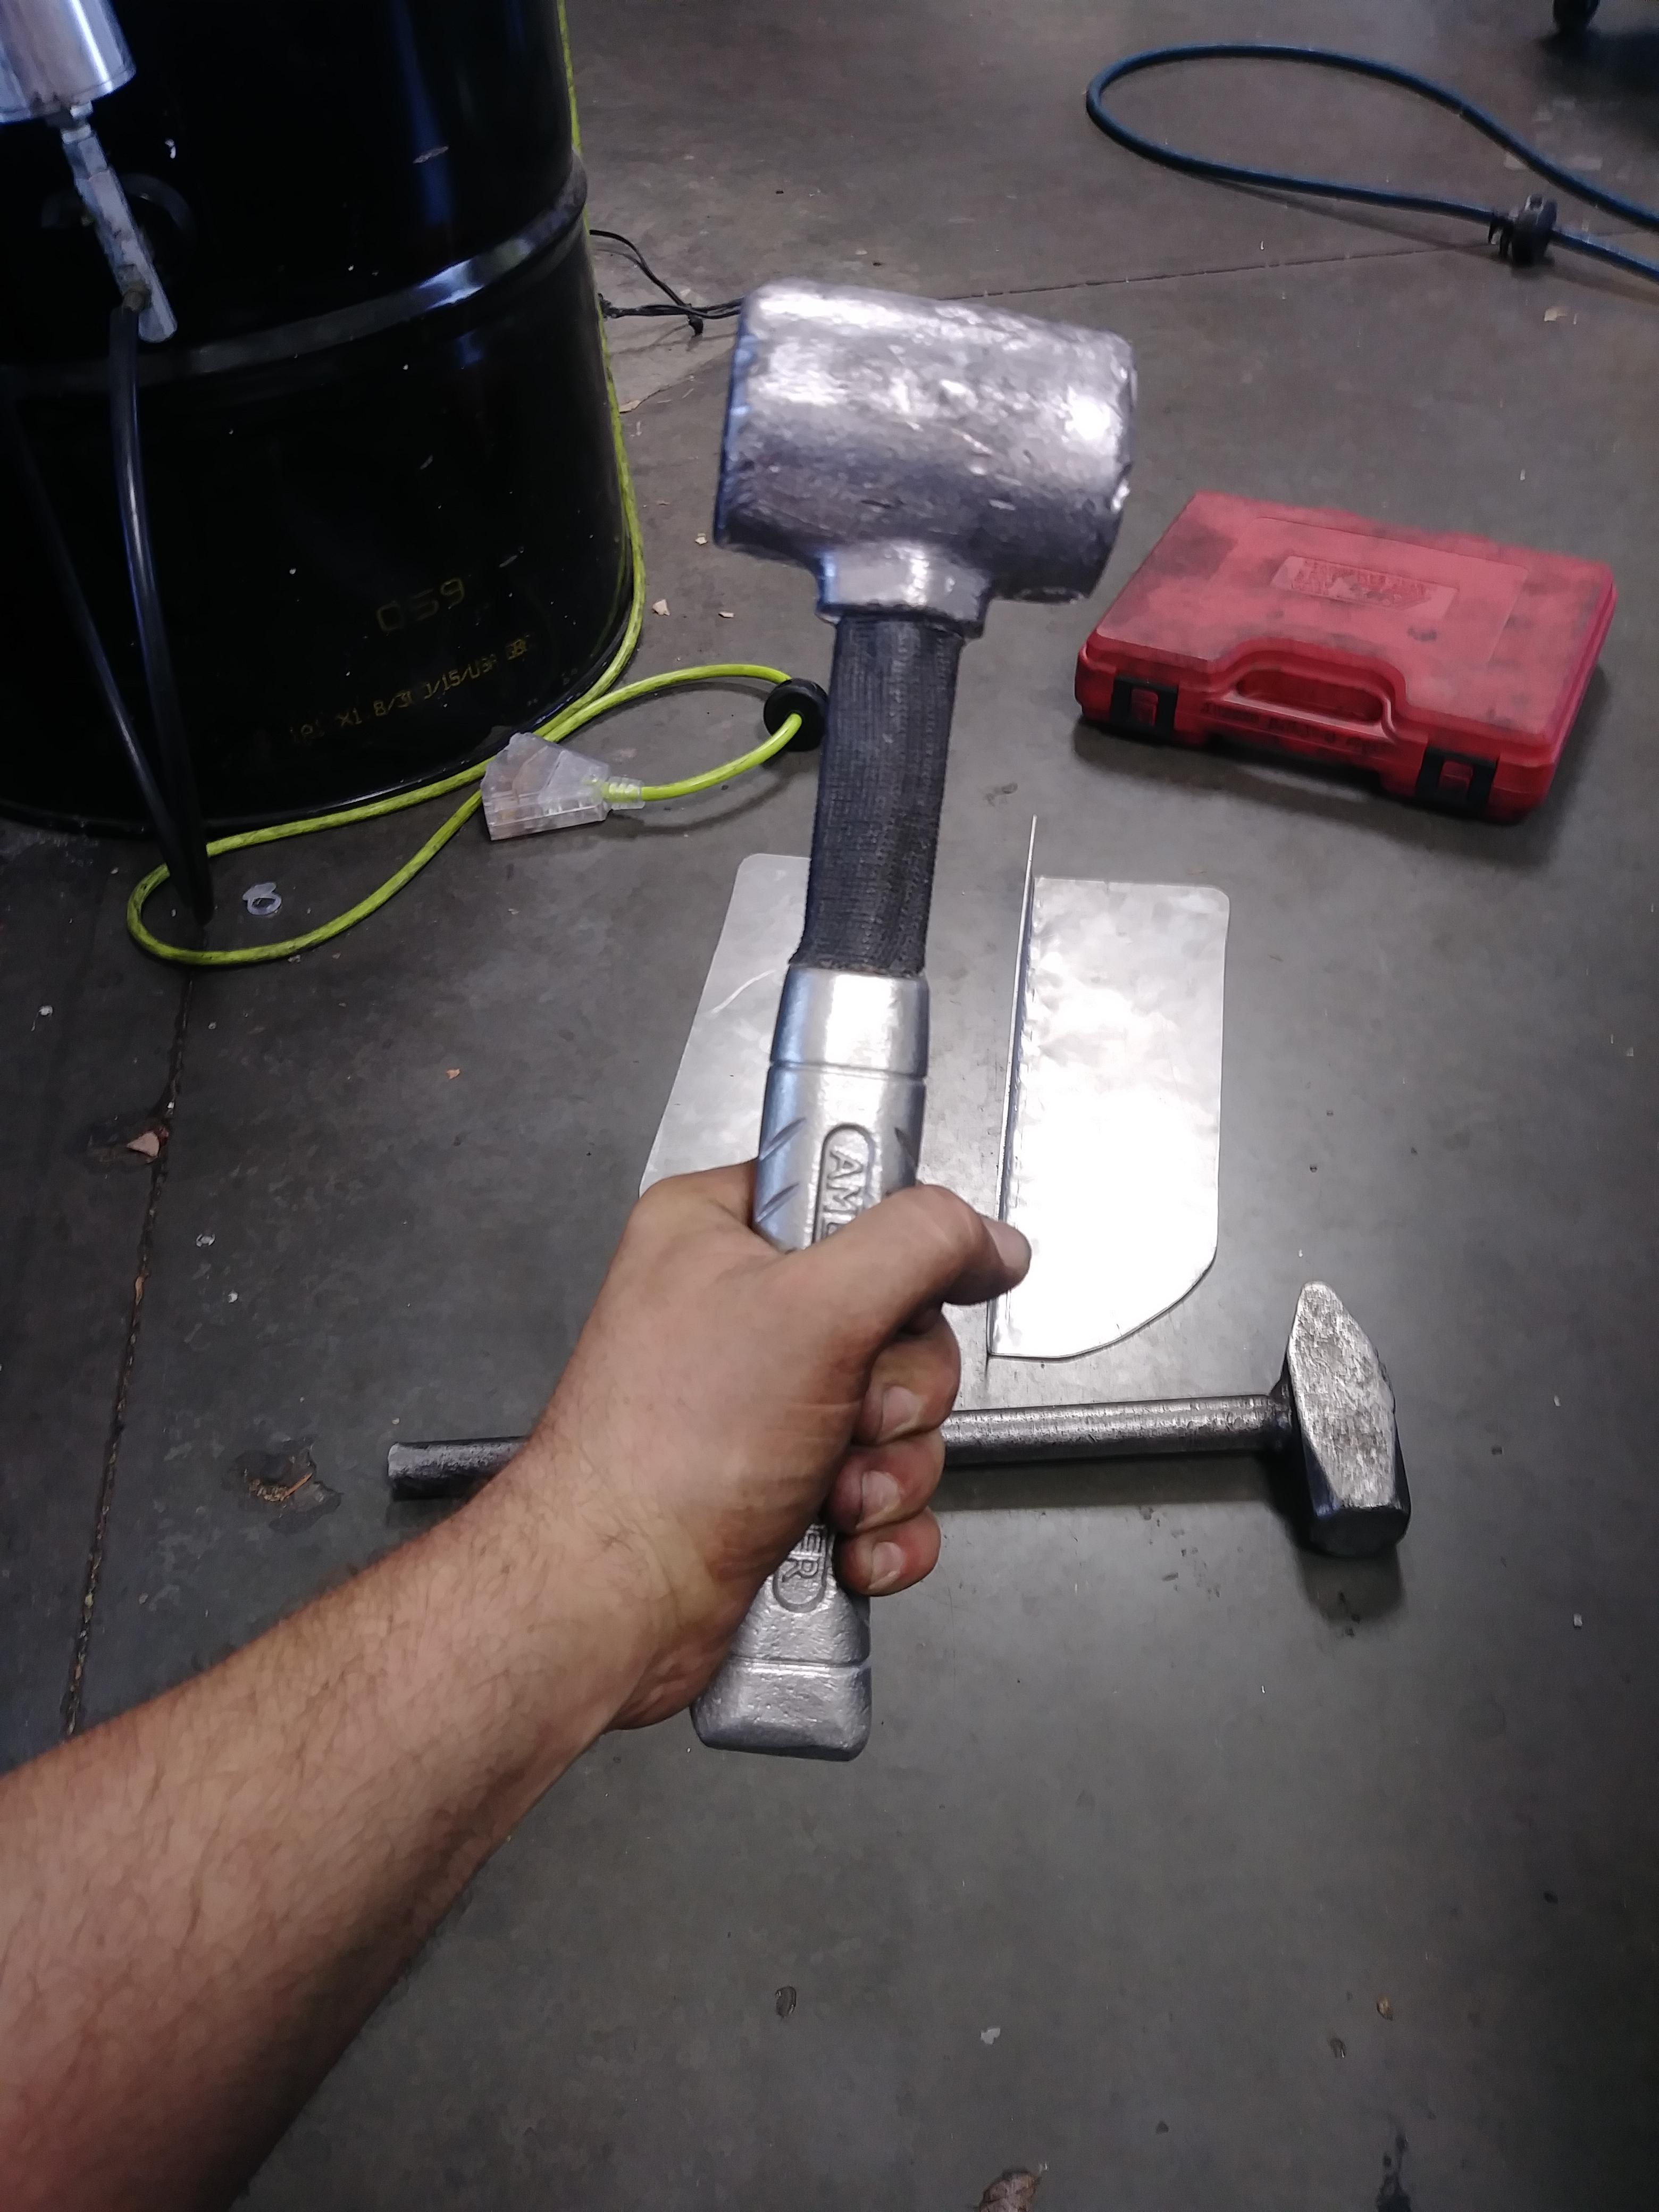
made brackets for my passenger seat. who needs a box and pan brake when you have a harbor freight bead roller, piece of square tube, some clamps and some big *** hammers? the cross peen is 100% steel(handle is almost solid and is welded to the head) the shiny hammer is lead and has a 5 lb head.
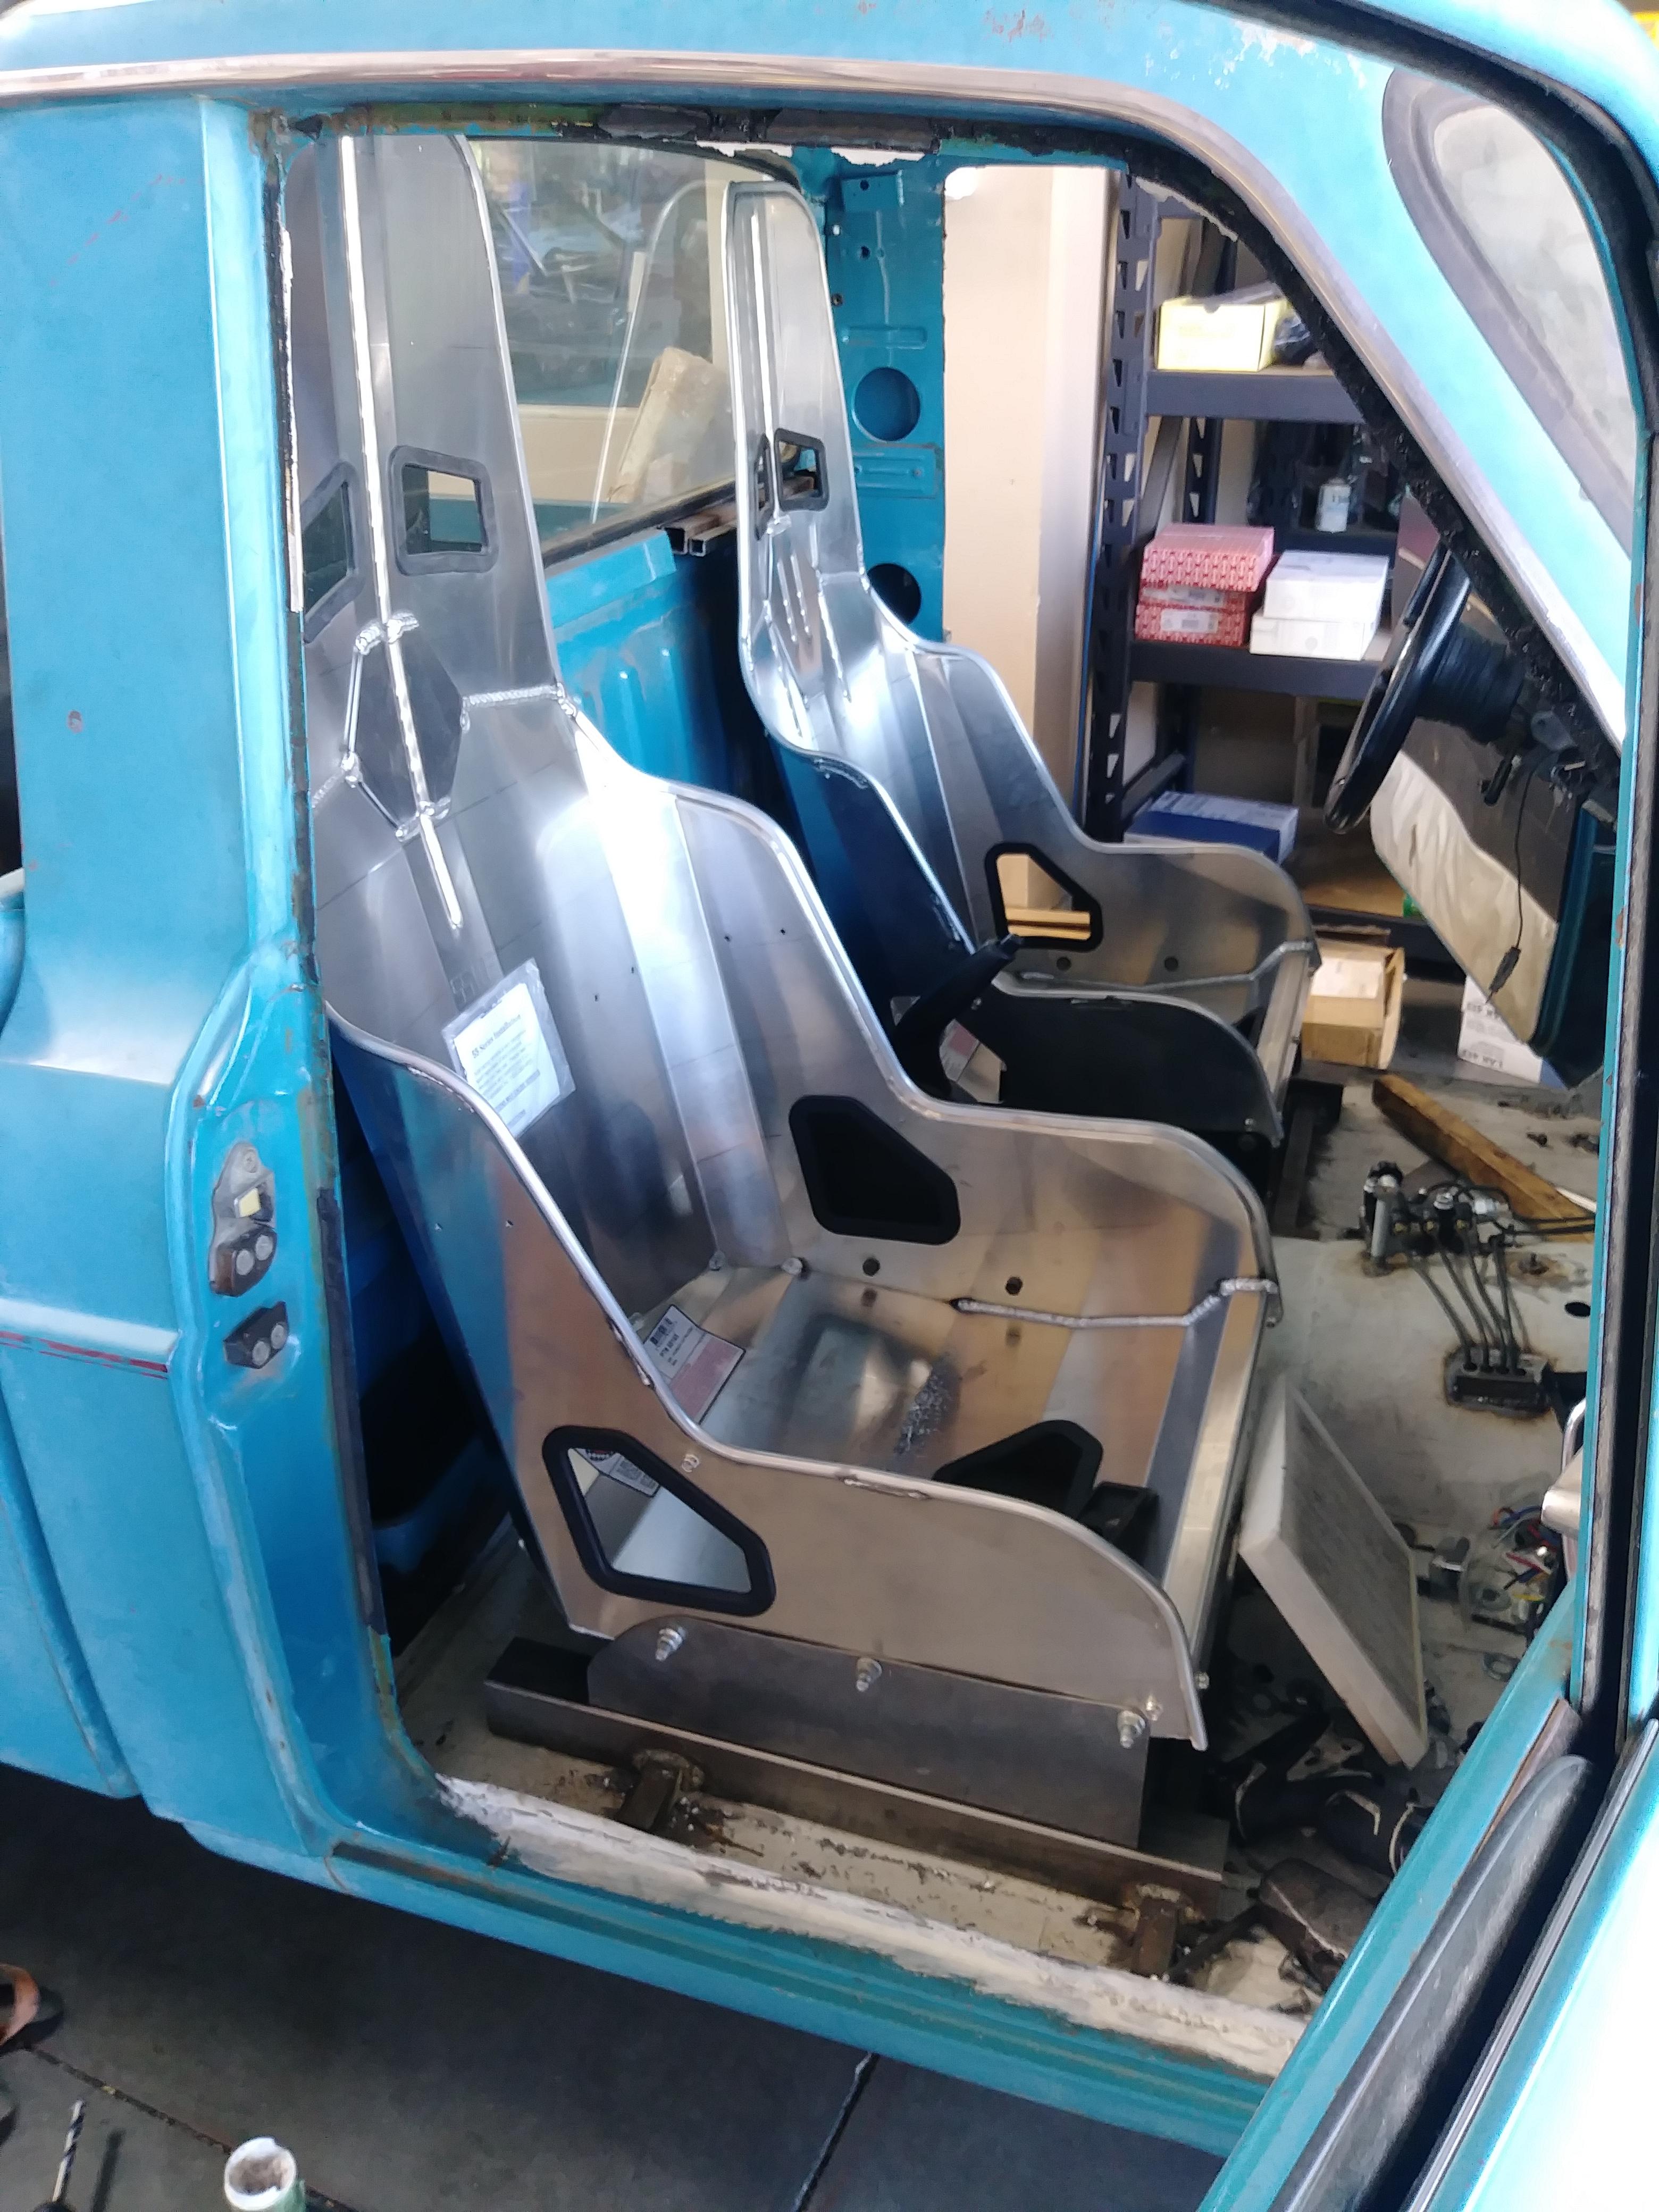
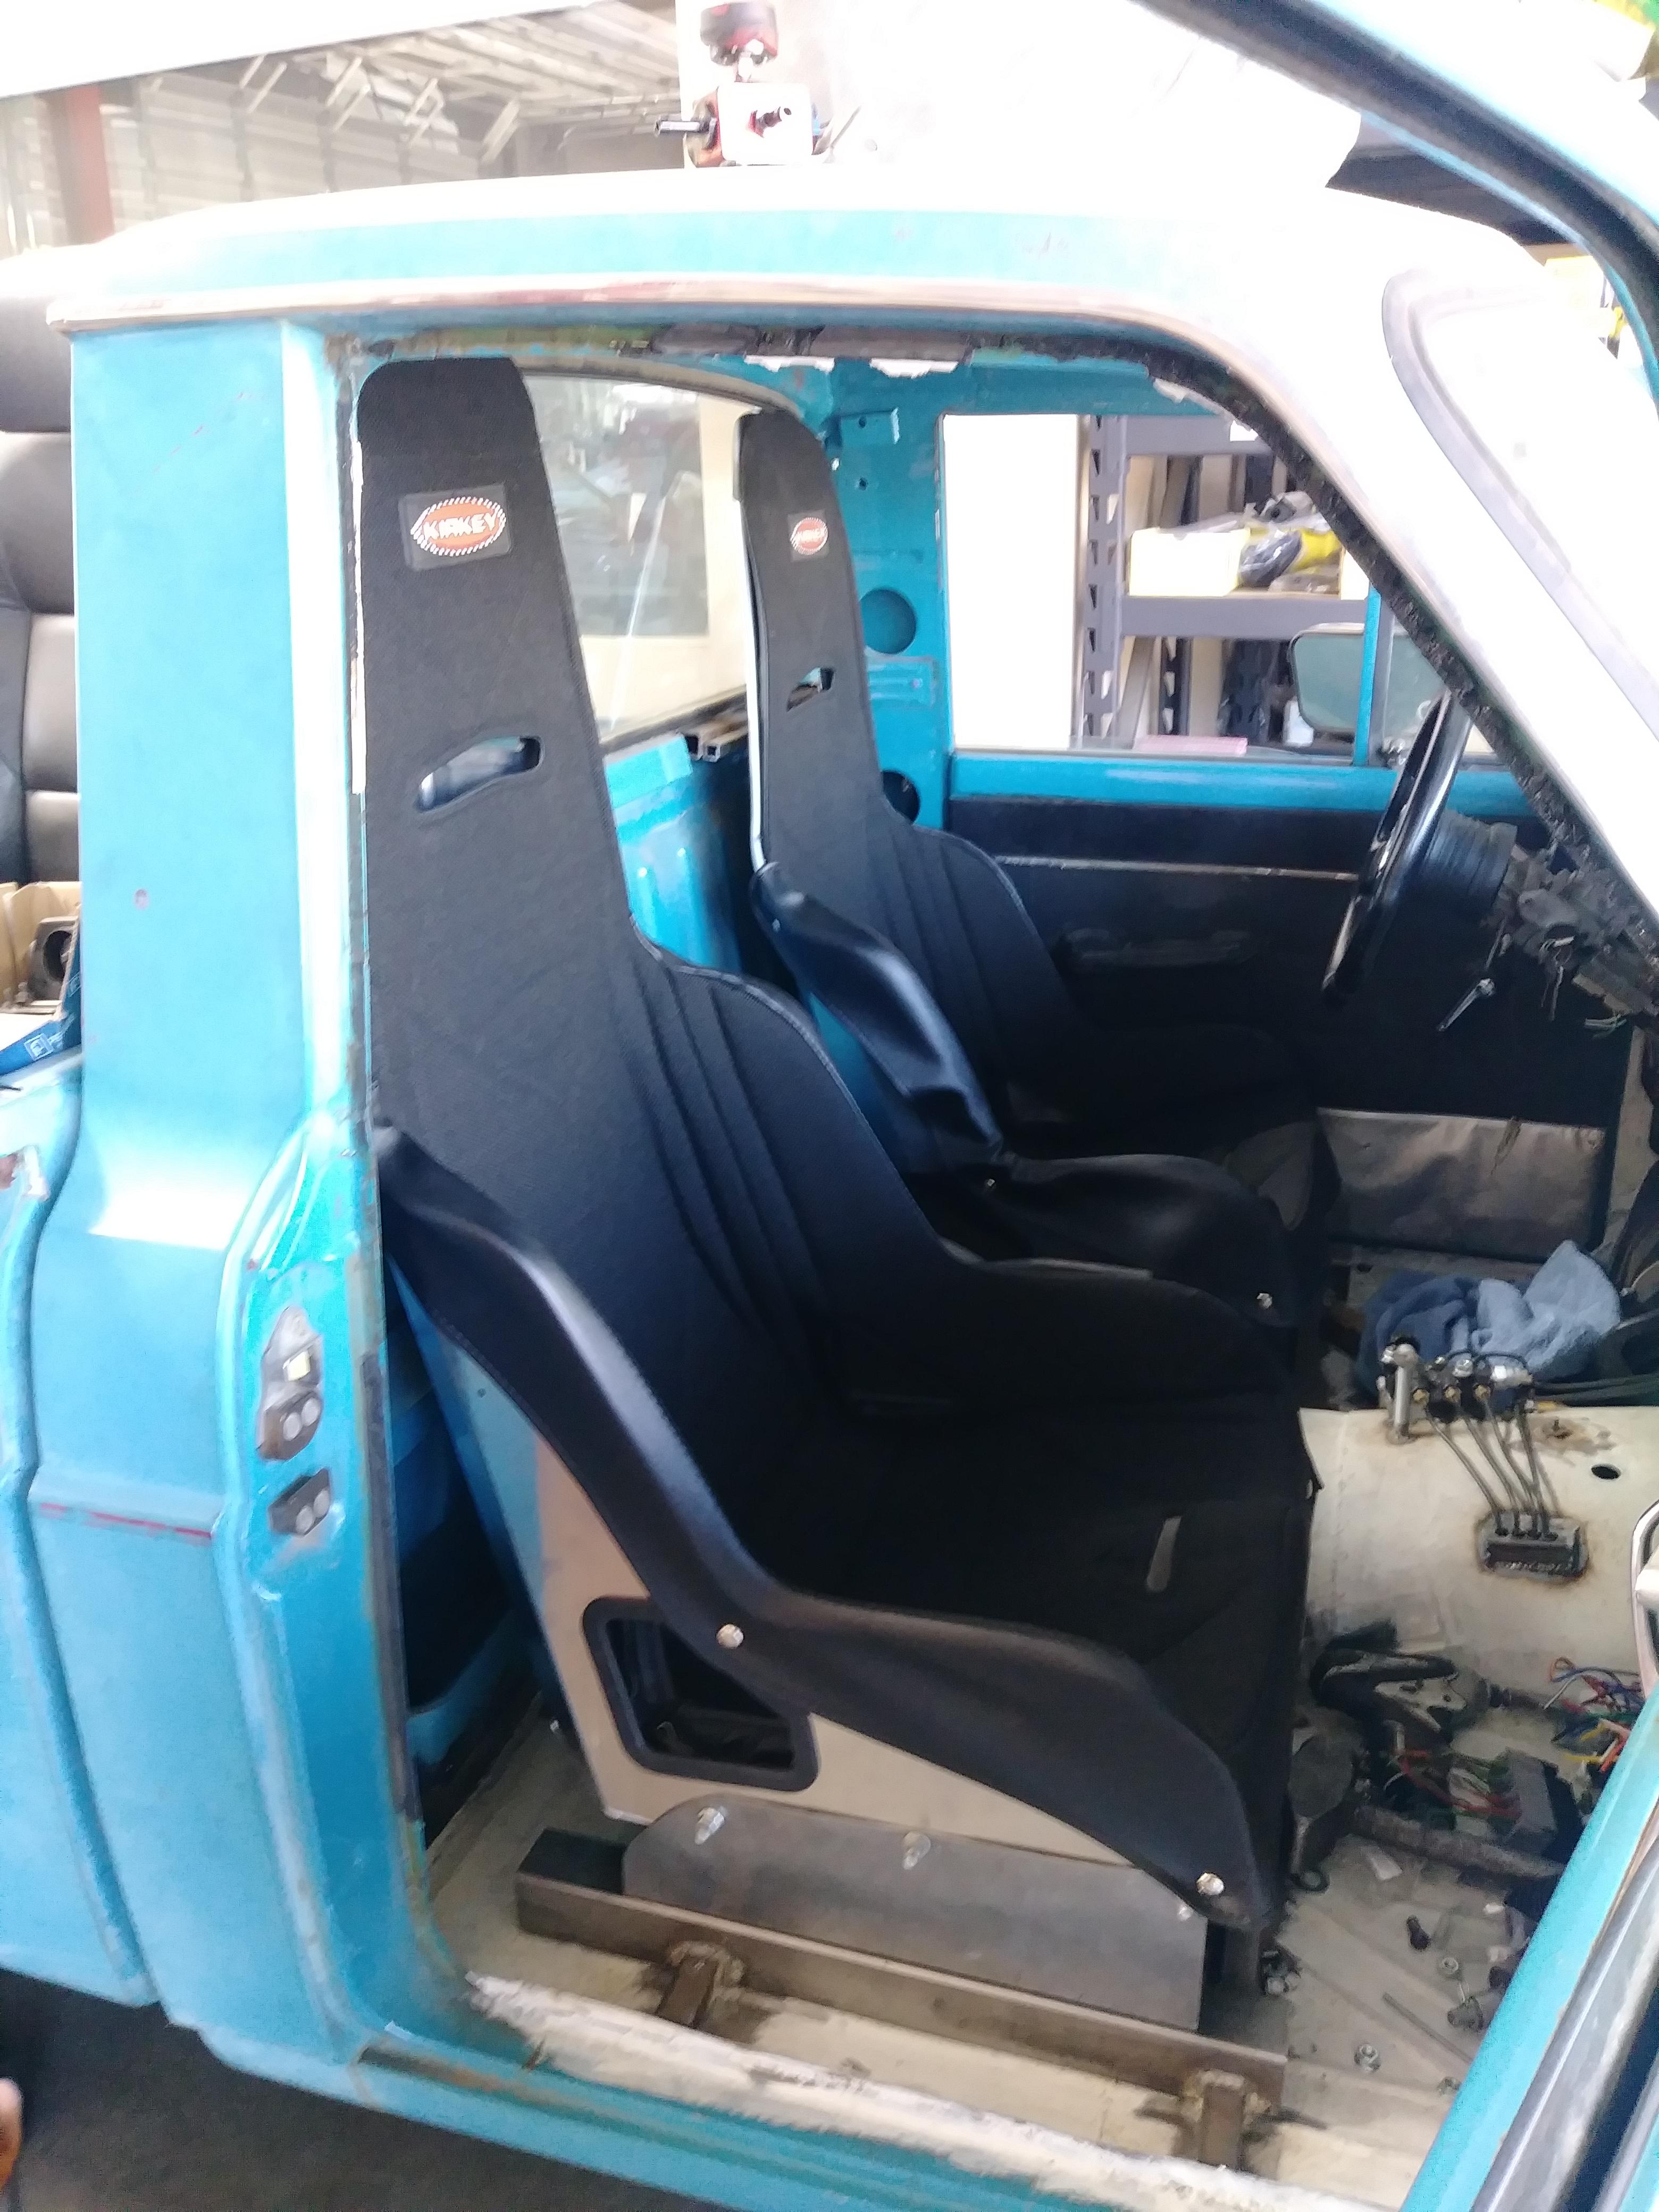
it wasnt until i mounted the new one that i saw how different the seats were... i waited too long between getting my drivers seat to ordering the passenger seat. the original seat has been discontinued and was replaced with the updated version. dude at summit said it was the direct replacement and even took the same seat cover(which is true)even though it was a half inch wider. but visually they are noticeably different even with the covers on.
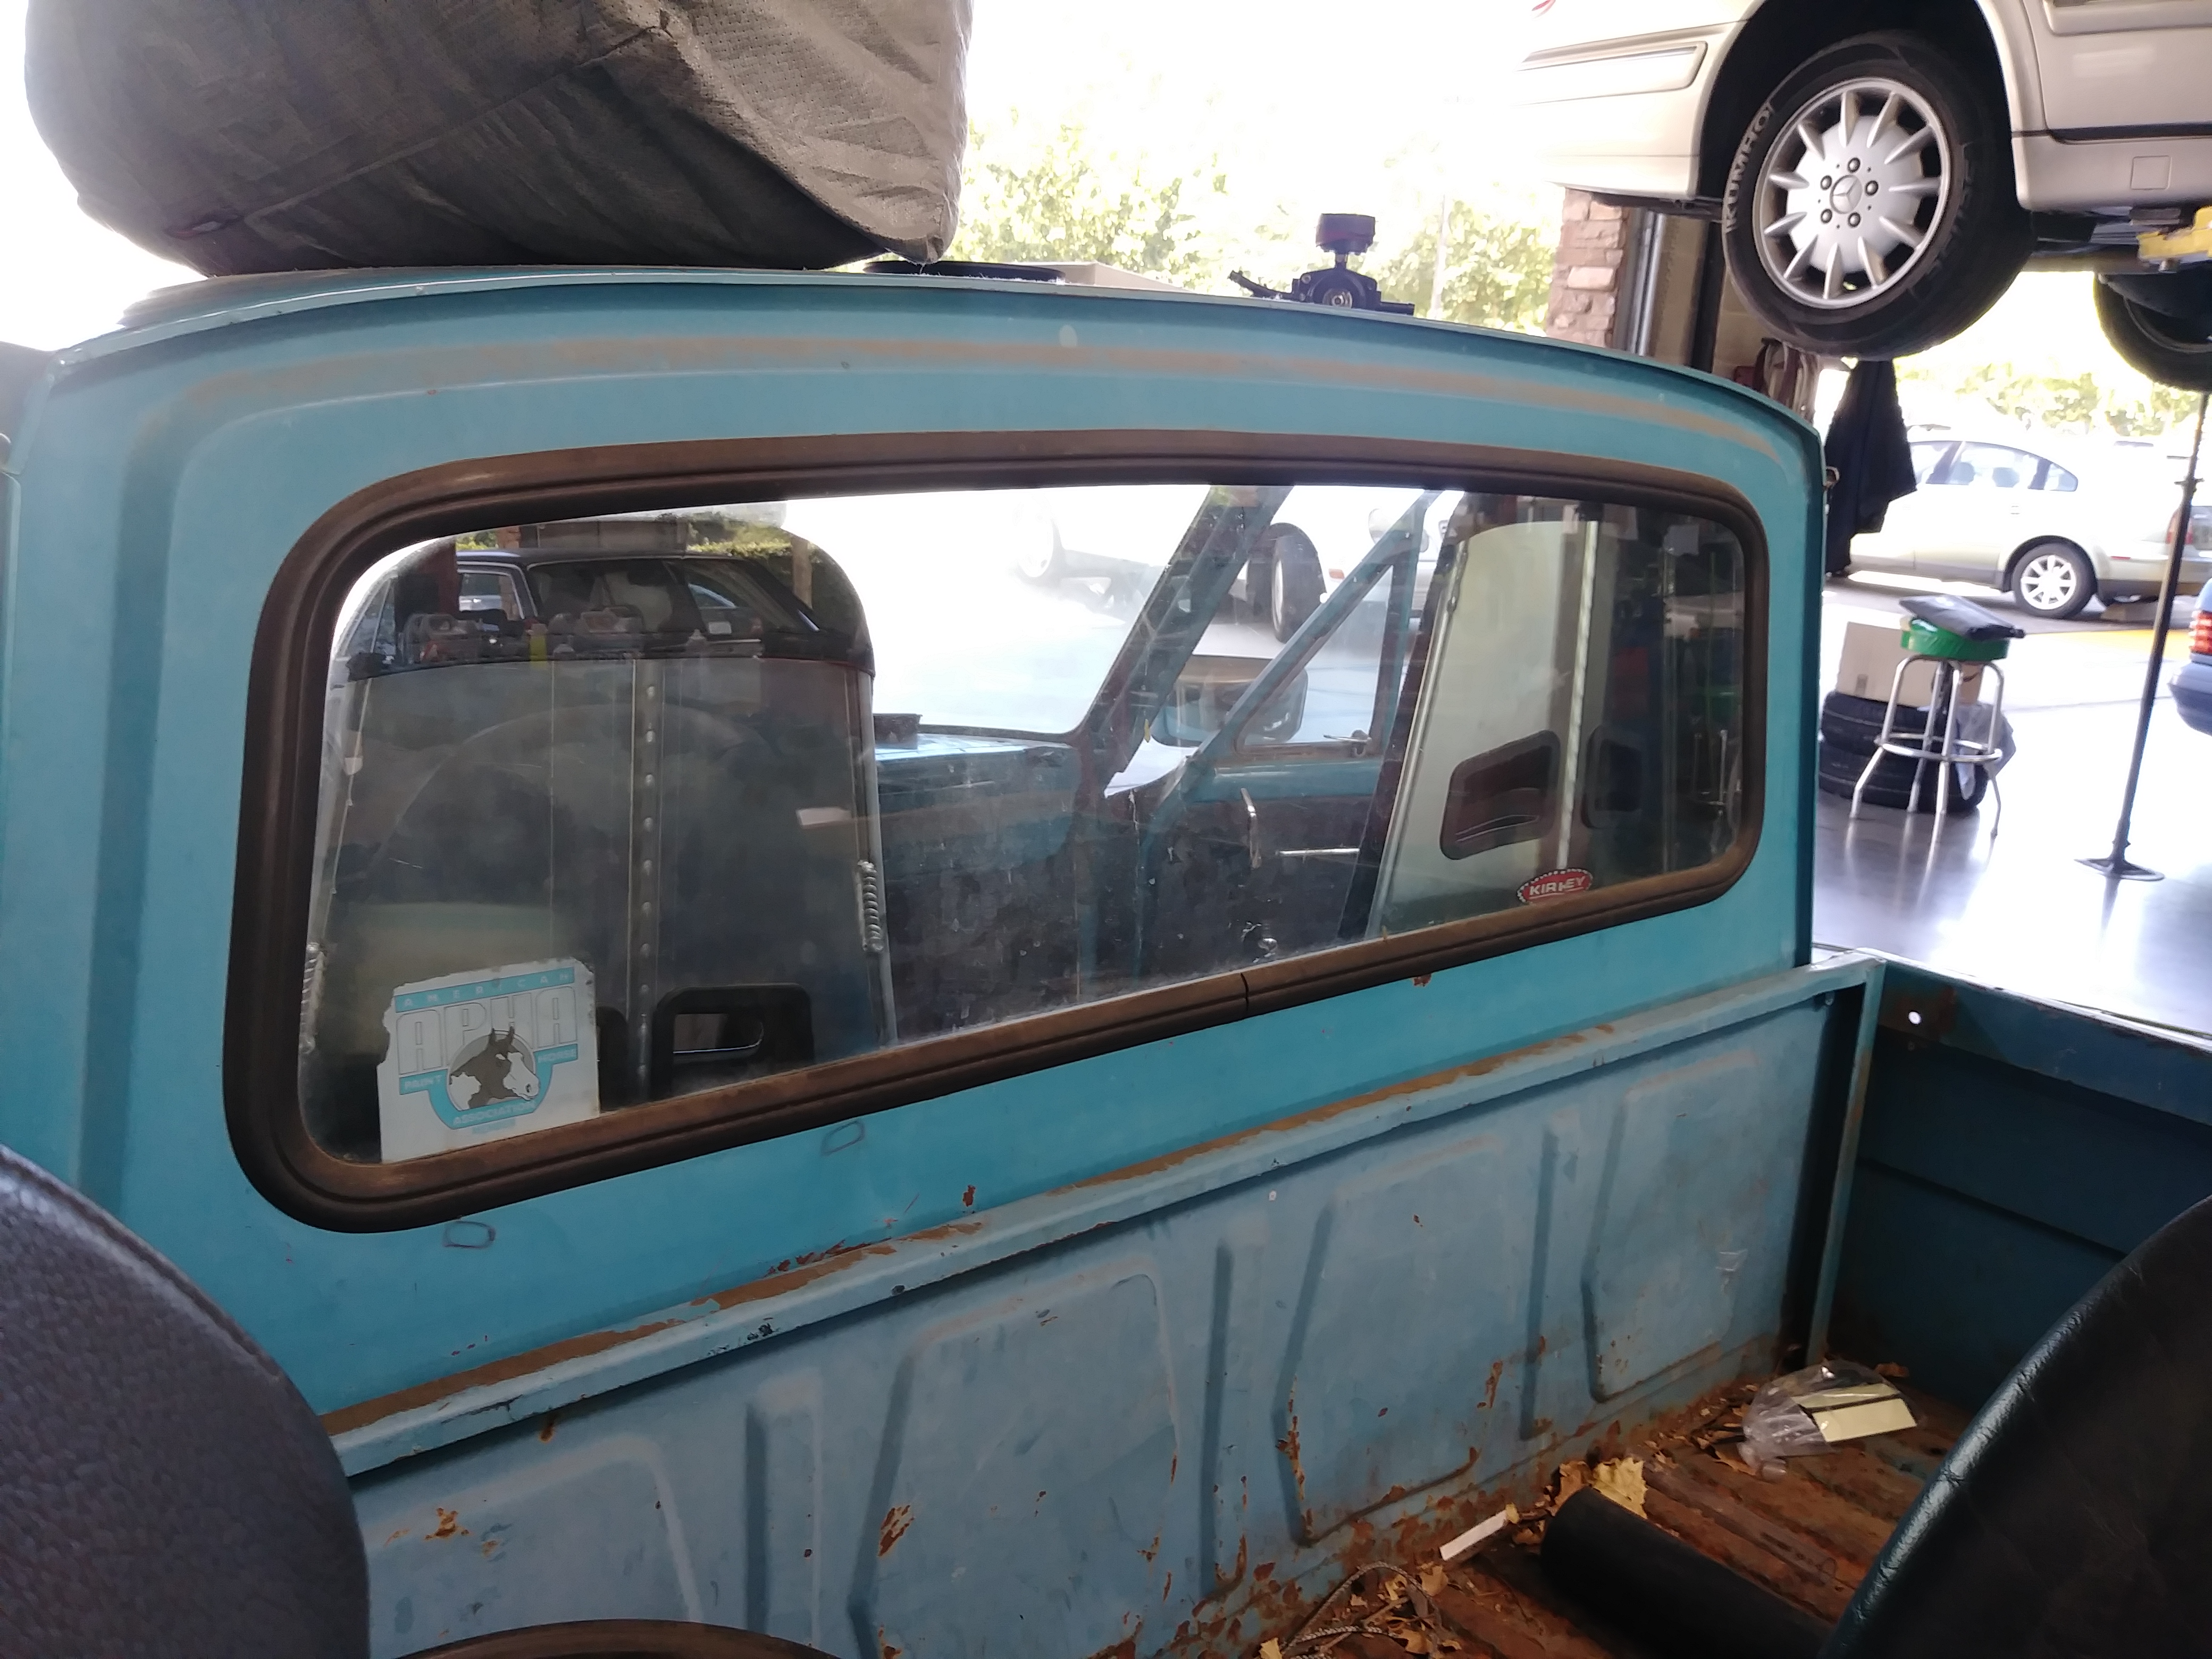
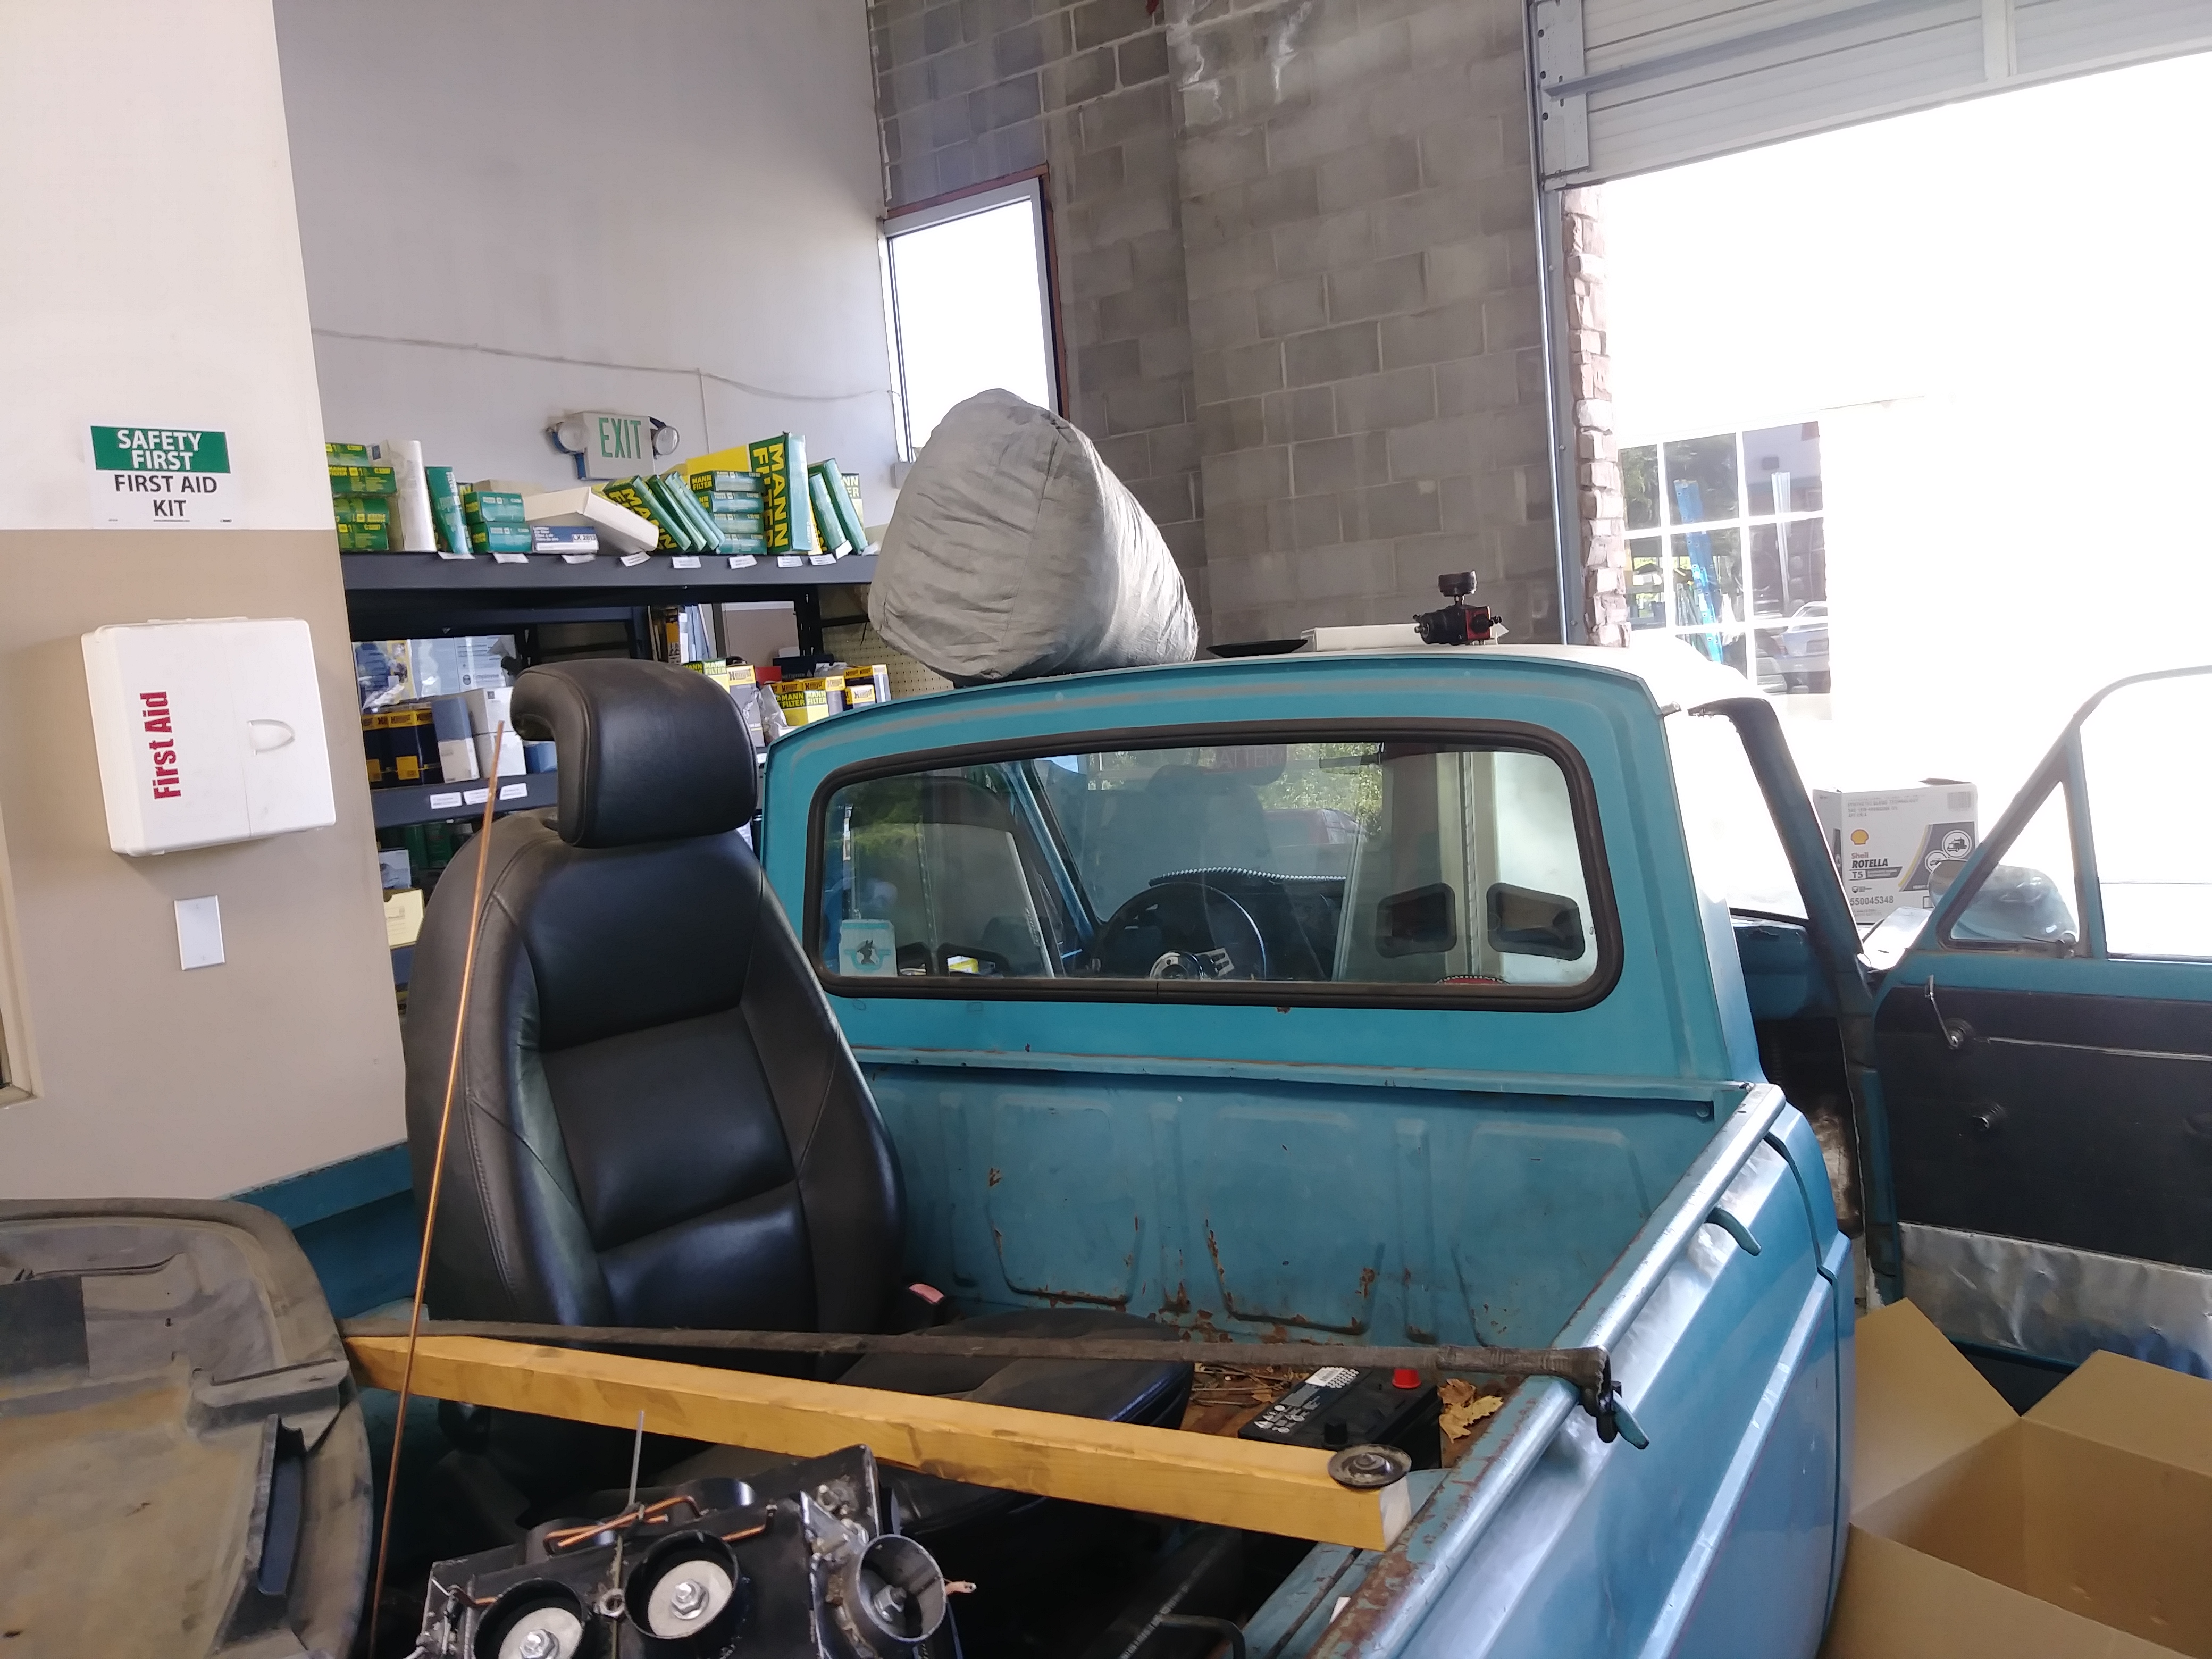
it wasnt until i mounted the new one that i saw how different the seats were... i waited too long between getting my drivers seat to ordering the passenger seat. the original seat has been discontinued and was replaced with the updated version. dude at summit said it was the direct replacement and even took the same seat cover(which is true)even though it was a half inch wider. but visually they are noticeably different even with the covers on.
Last edited by fastivab6tg25mr; 06-17-2018 at 03:24 PM.
Reply
1
1
07-08-2018, 06:00 PM
#108
Senior Member
Thread Starter
Join Date: Jan 2011
Location: sacramento ,ca
Posts: 568
Total Cats: 162
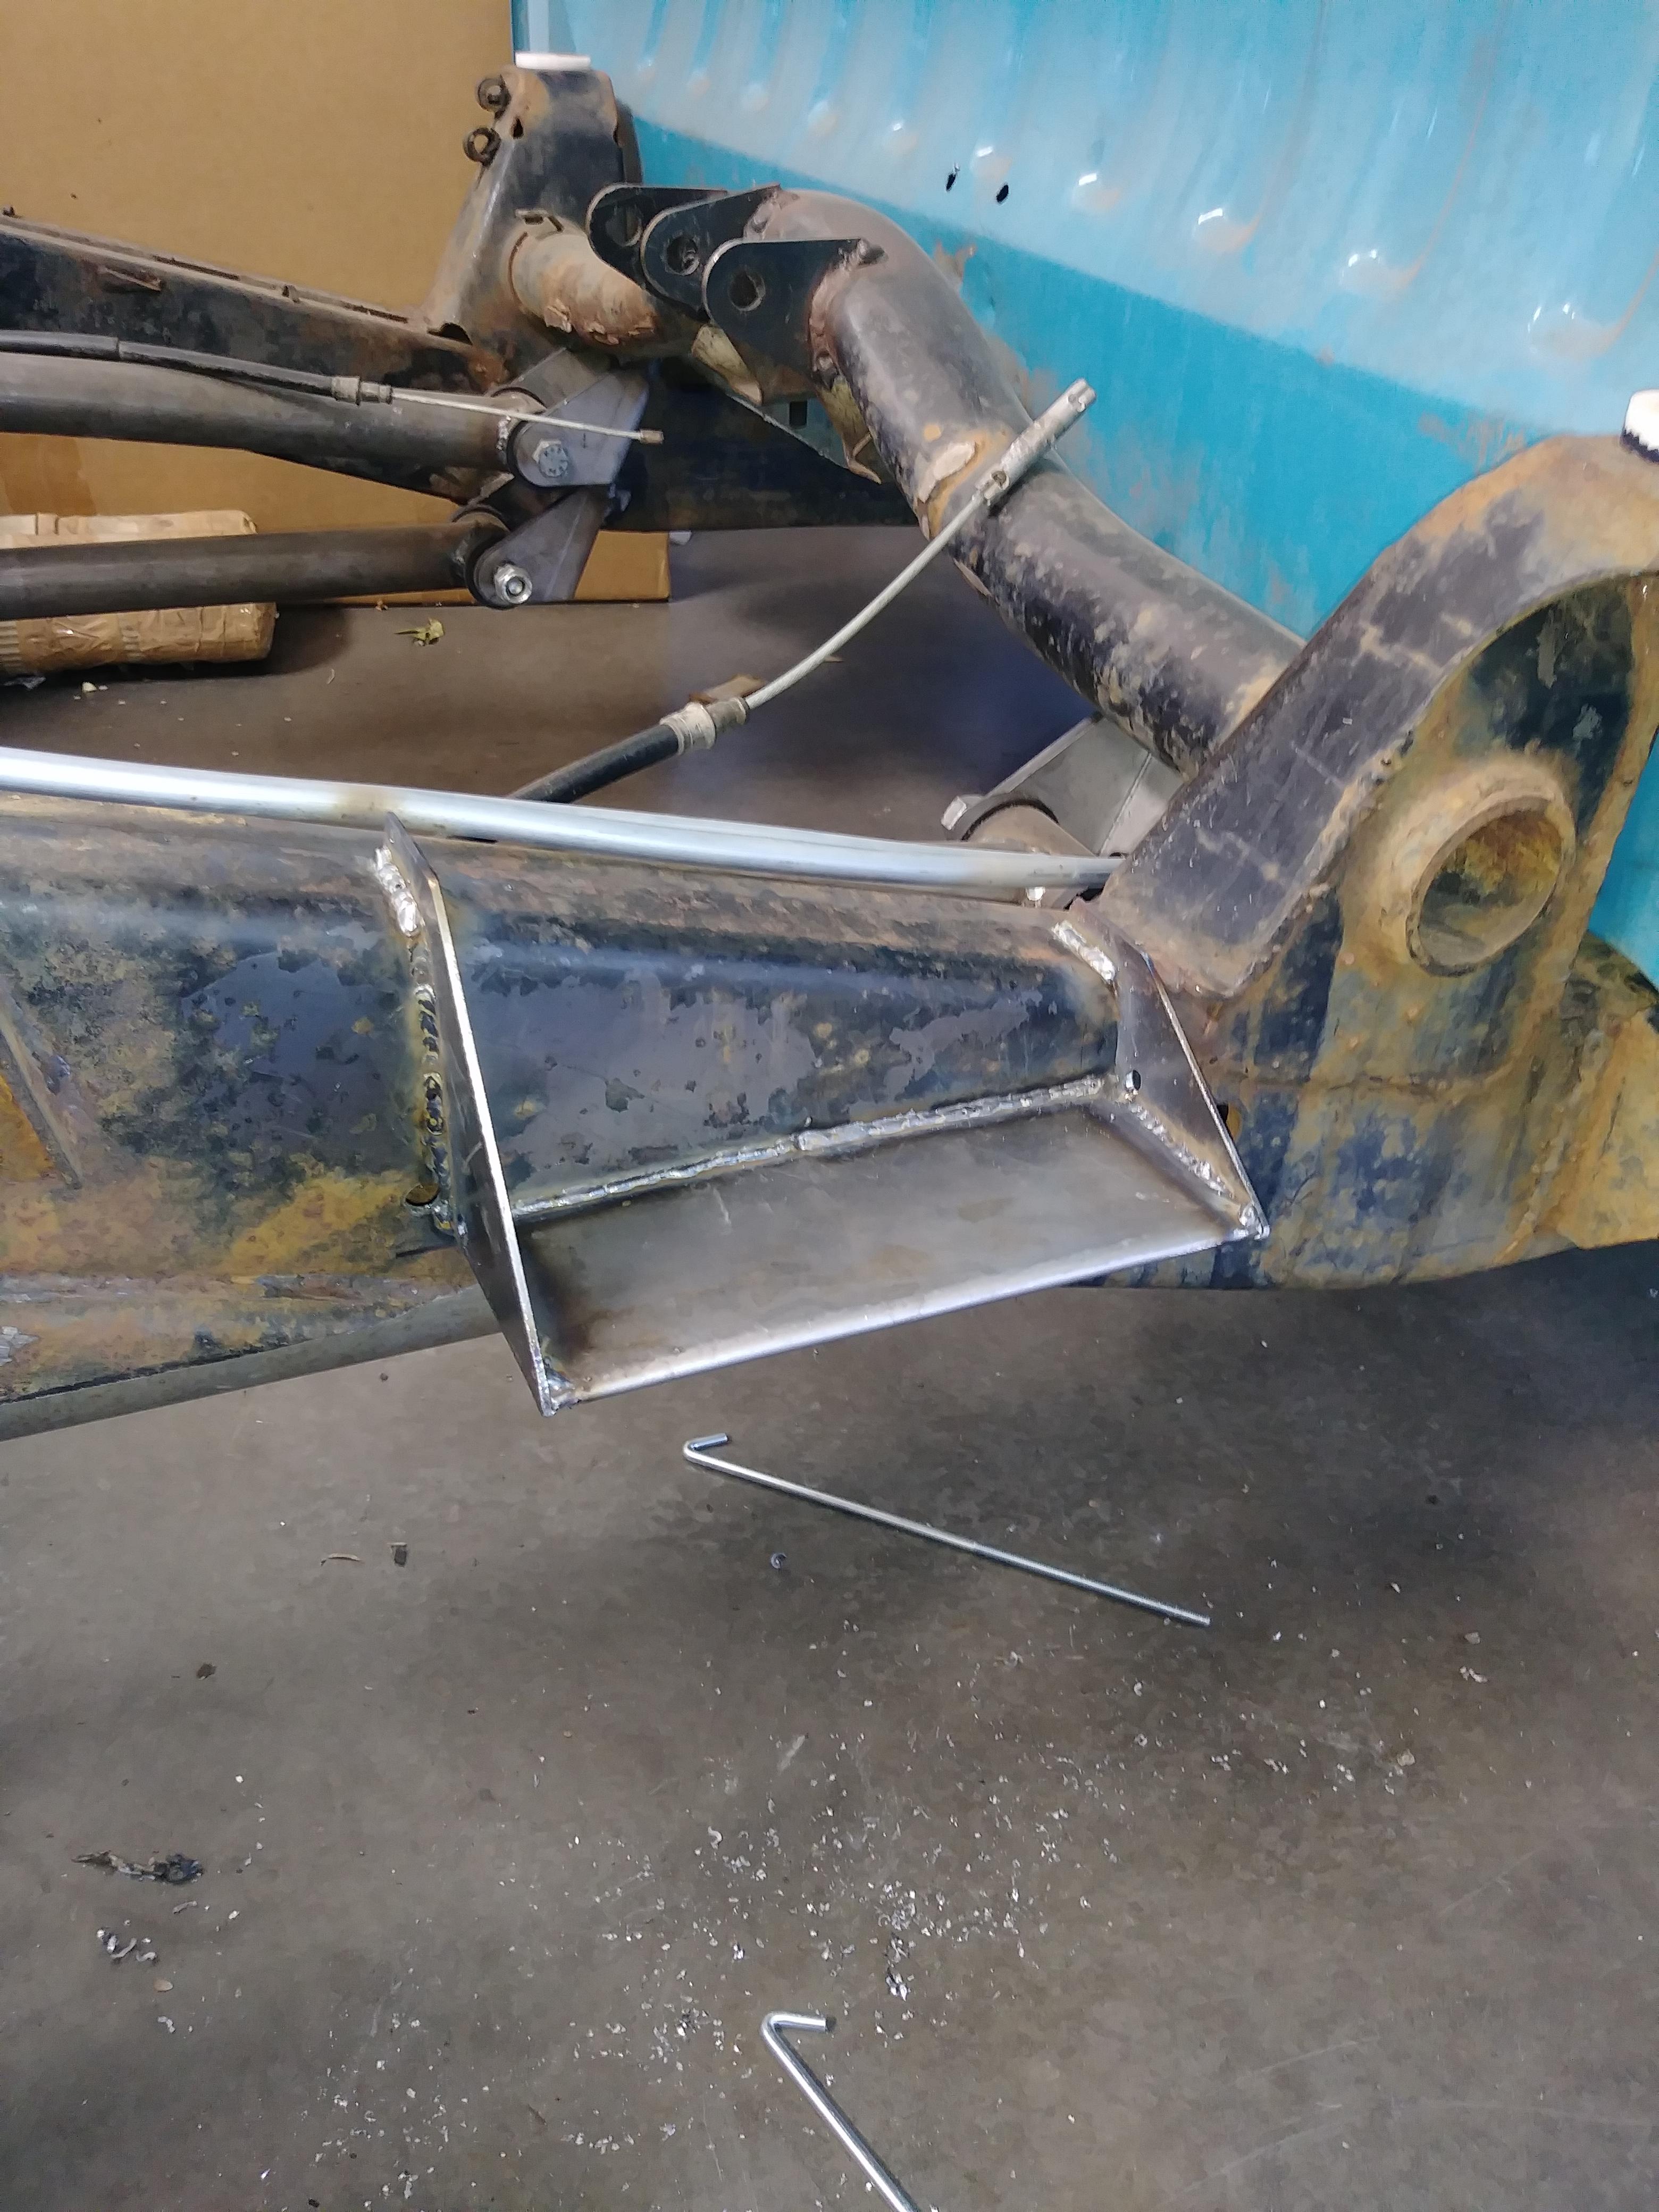
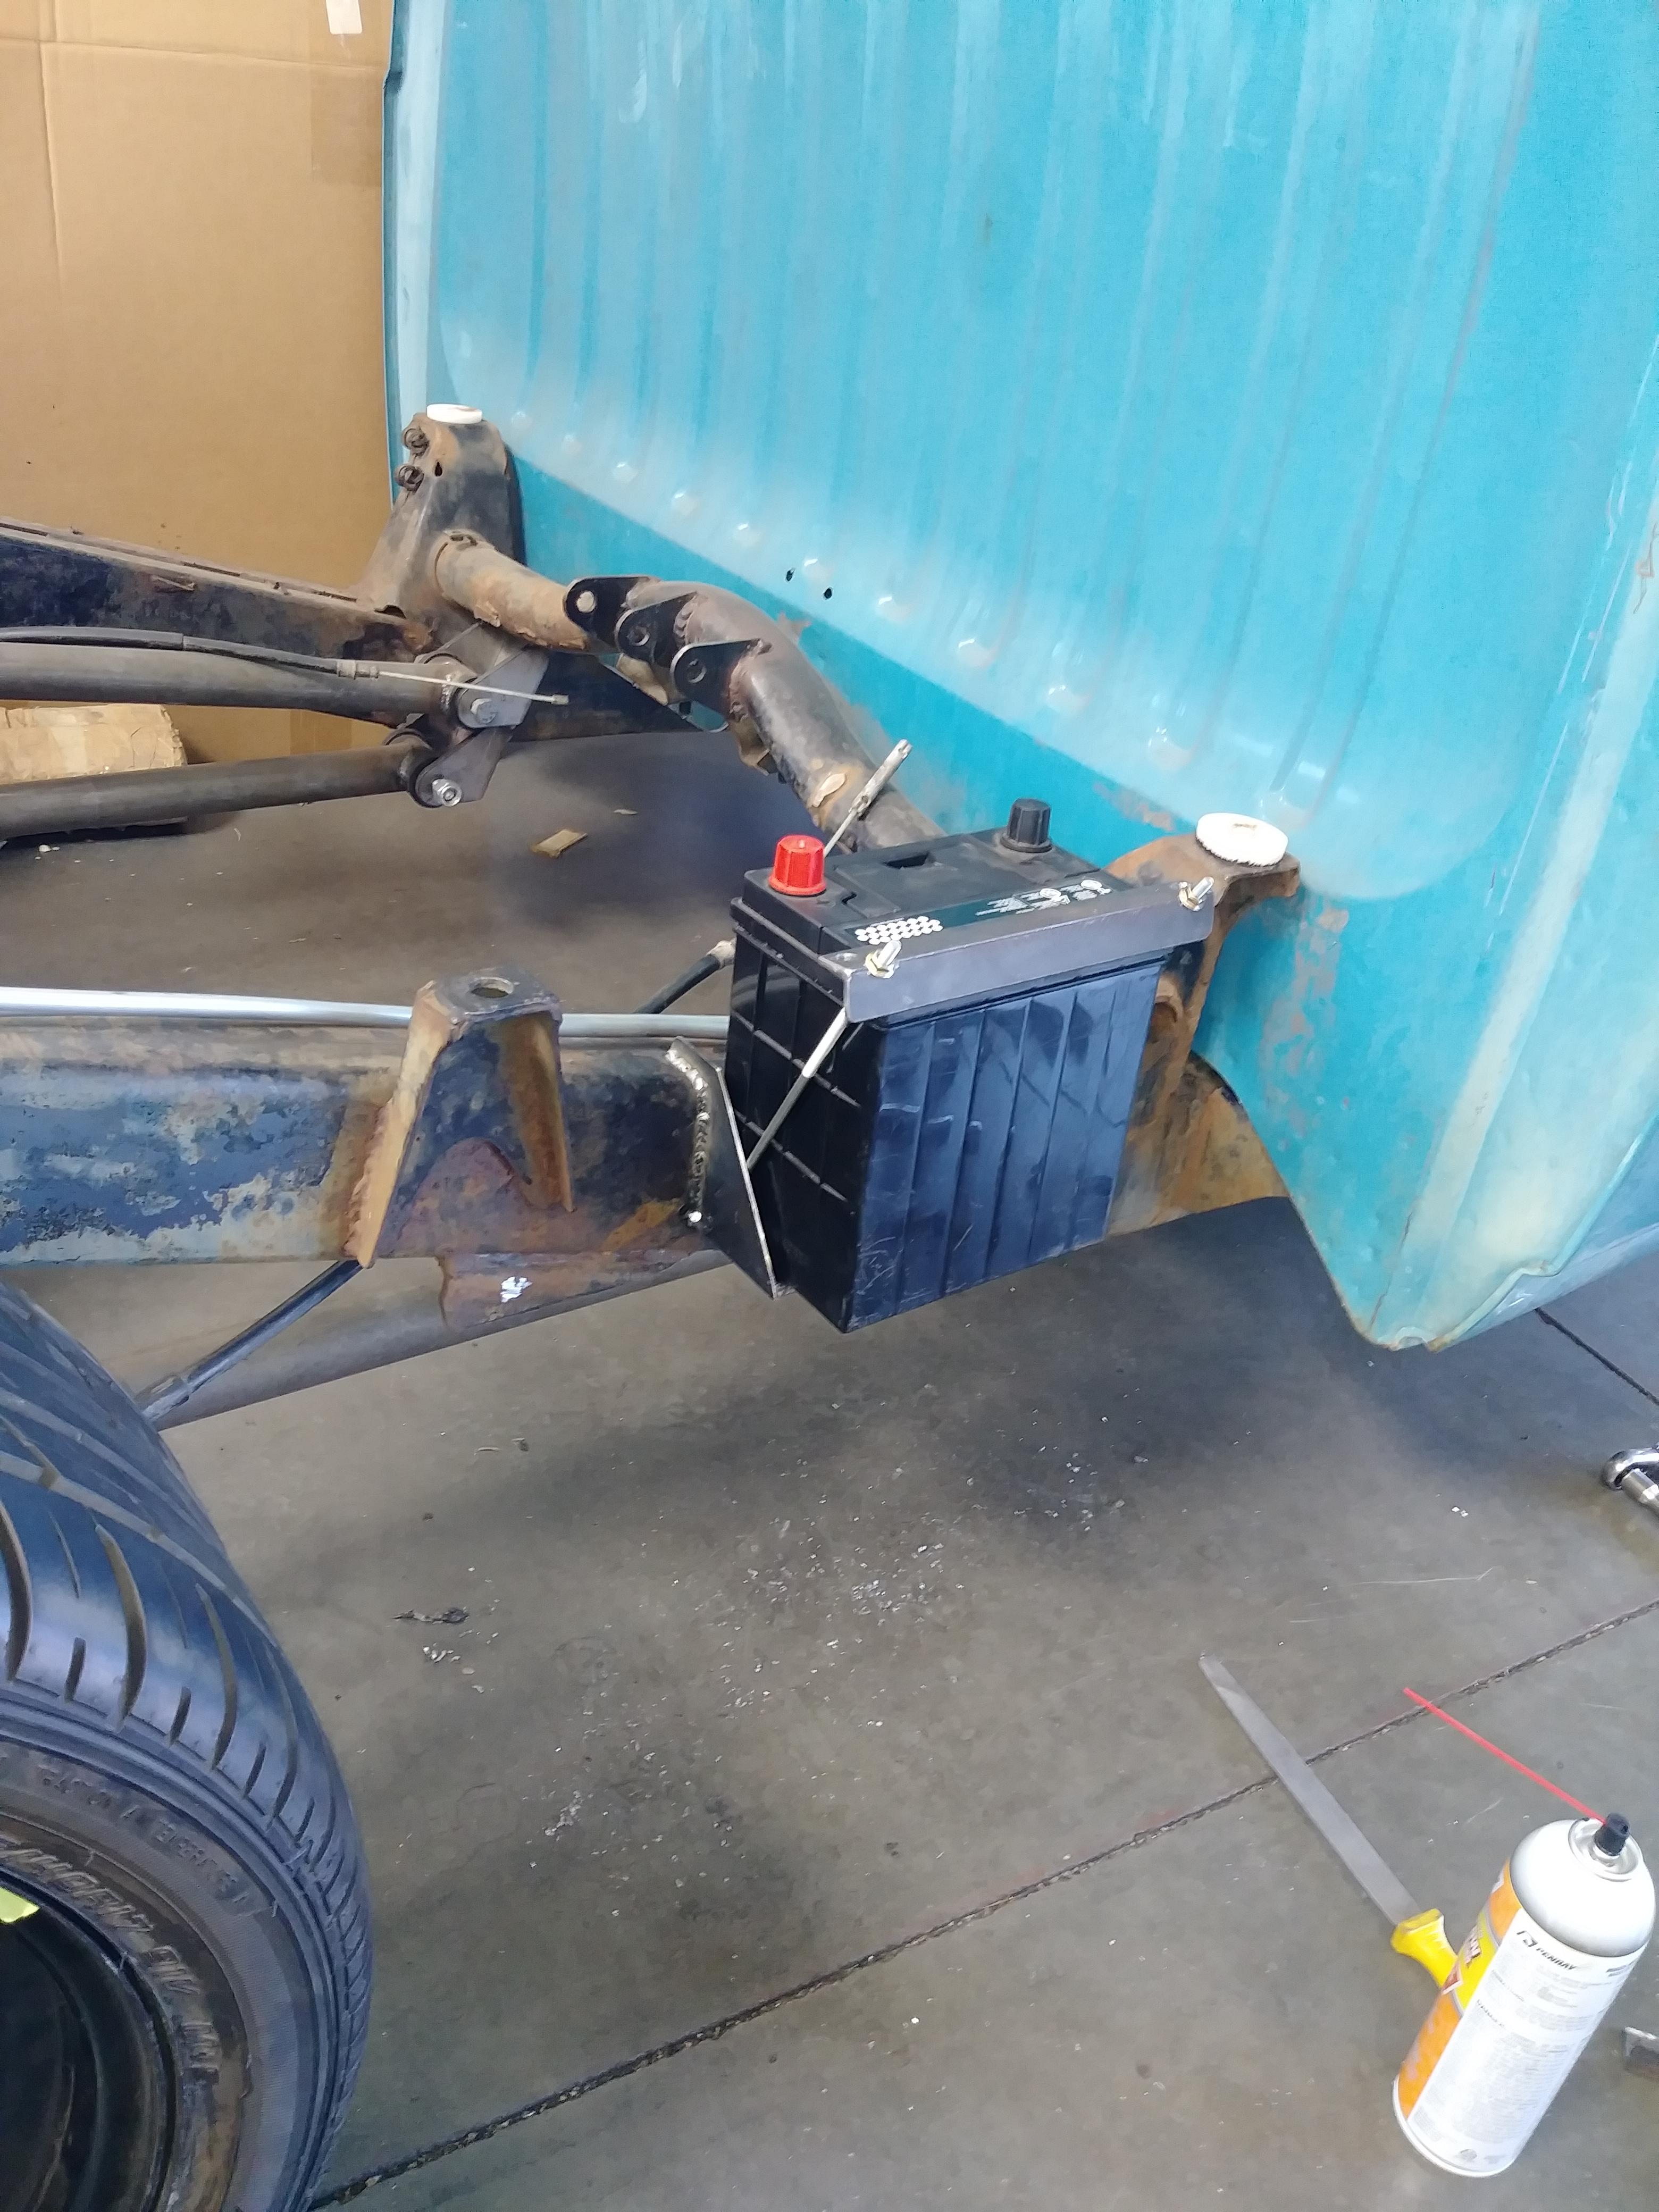
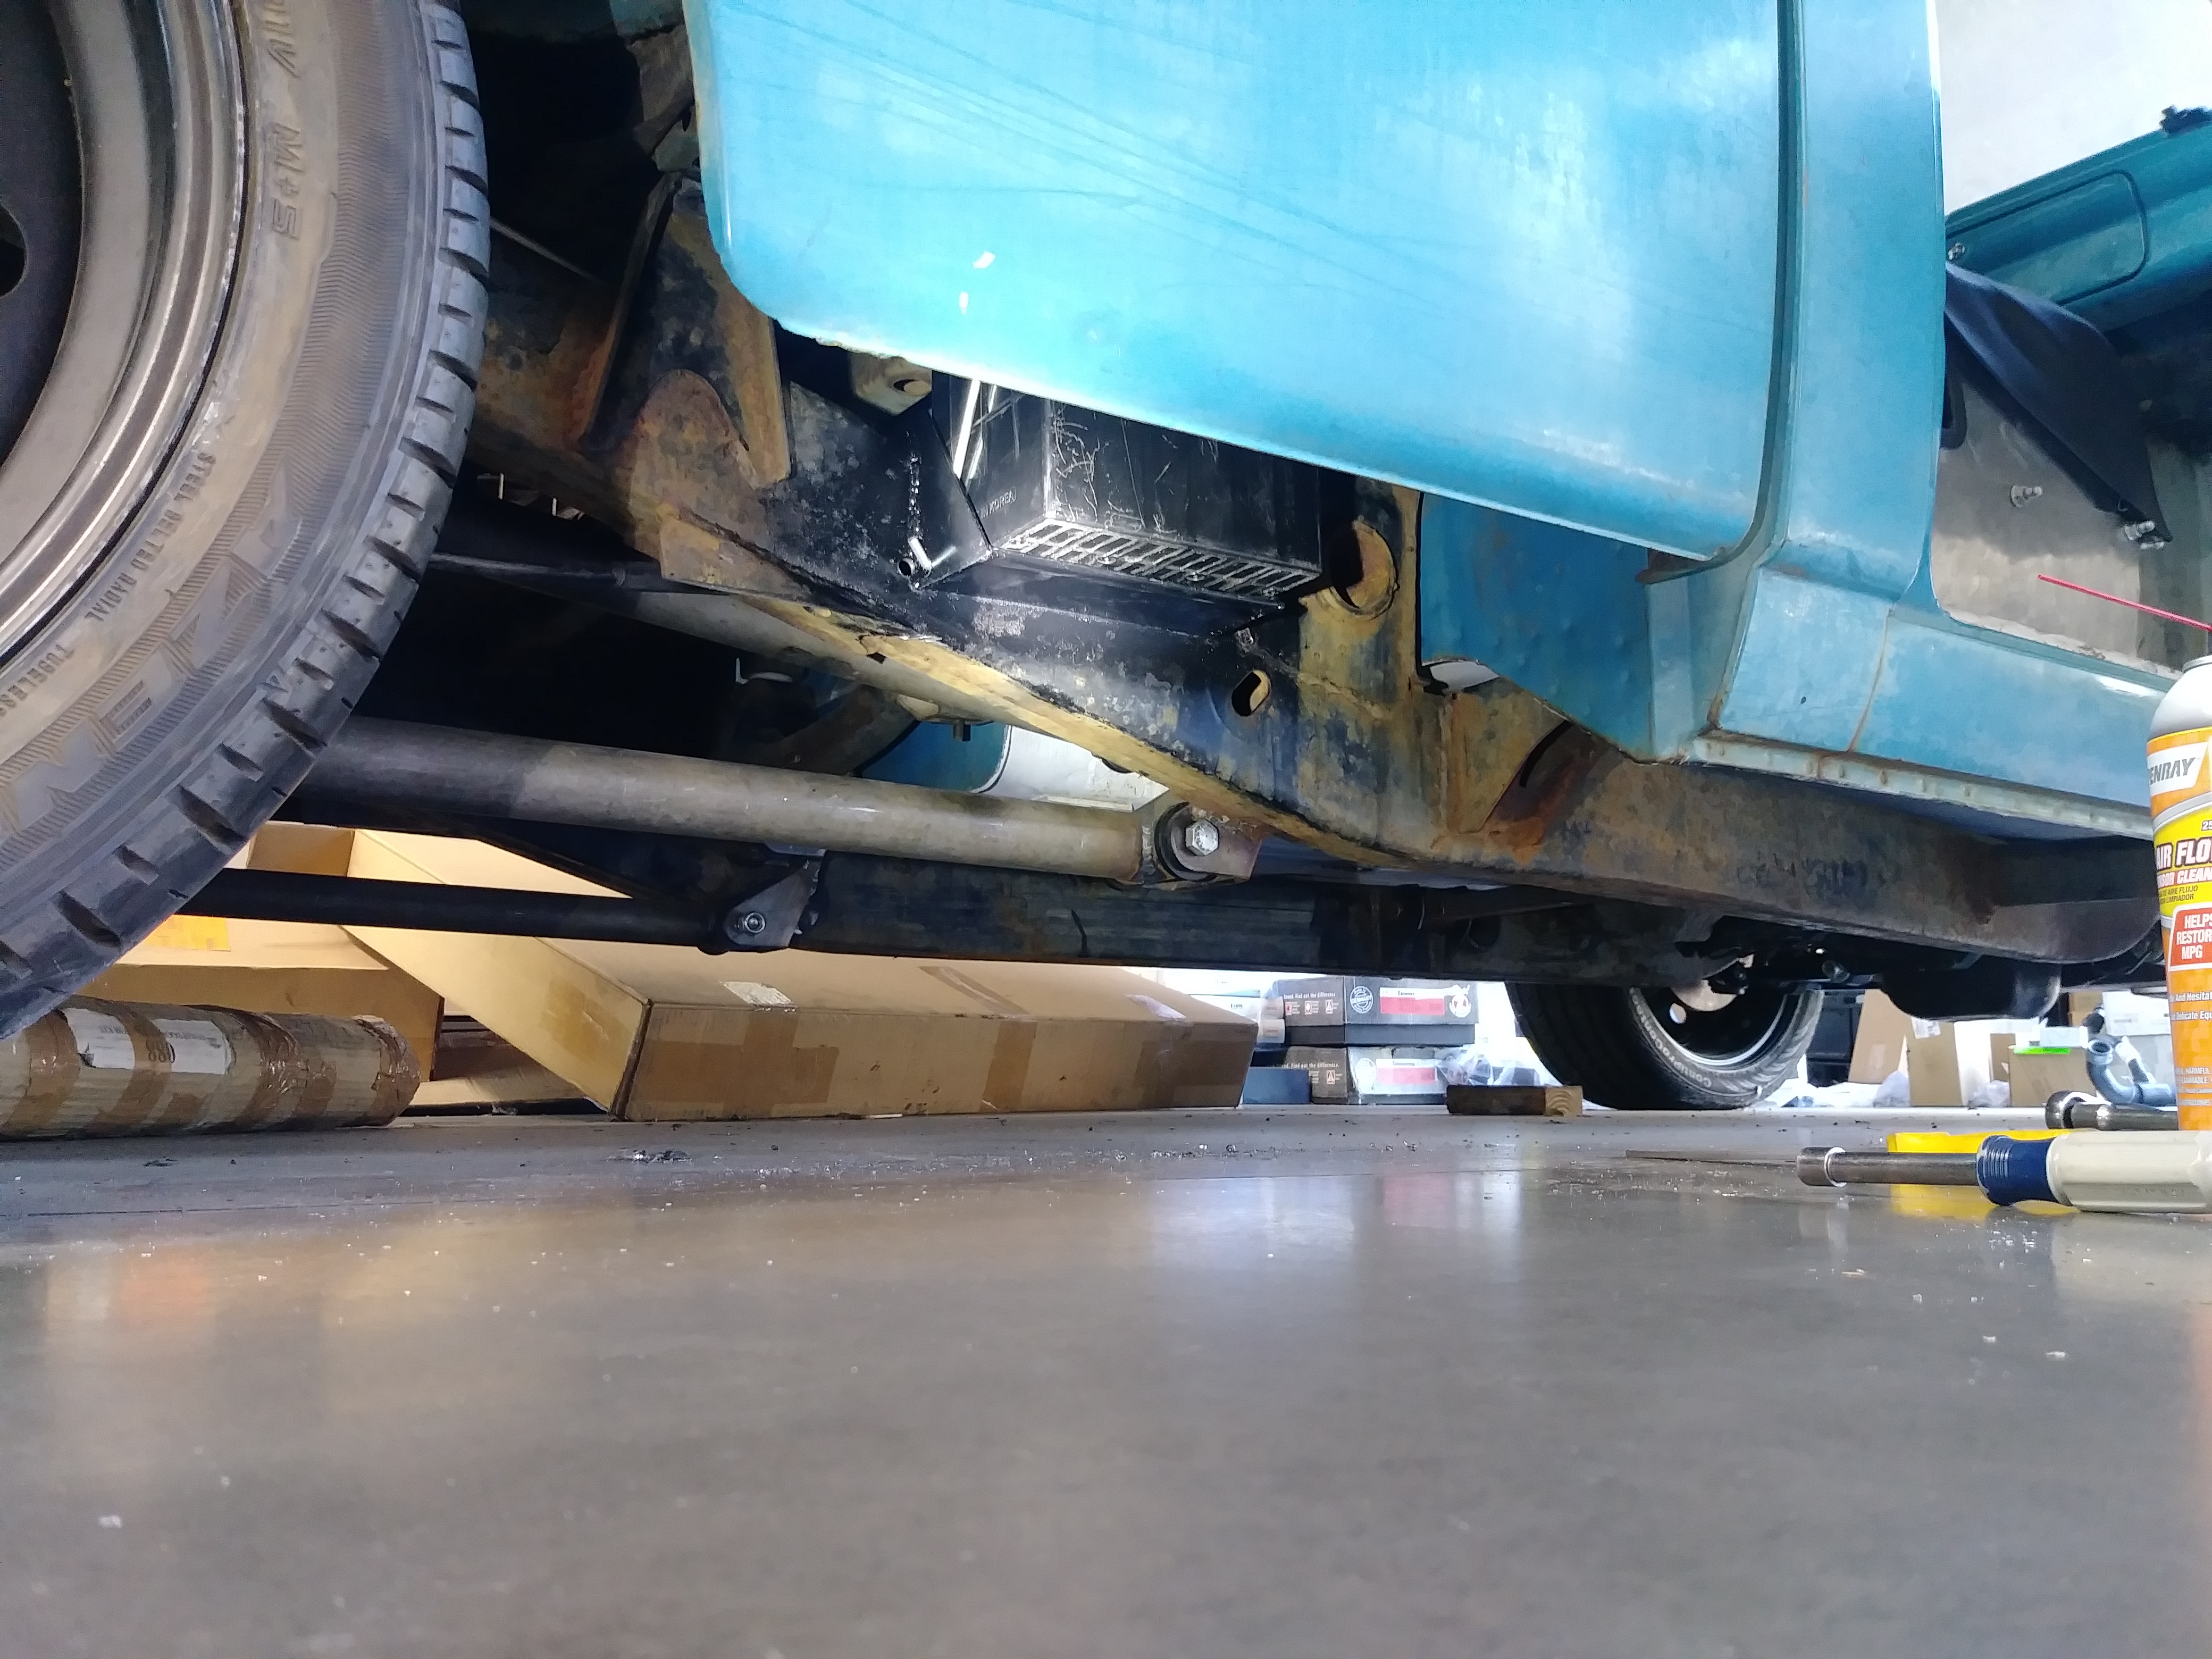
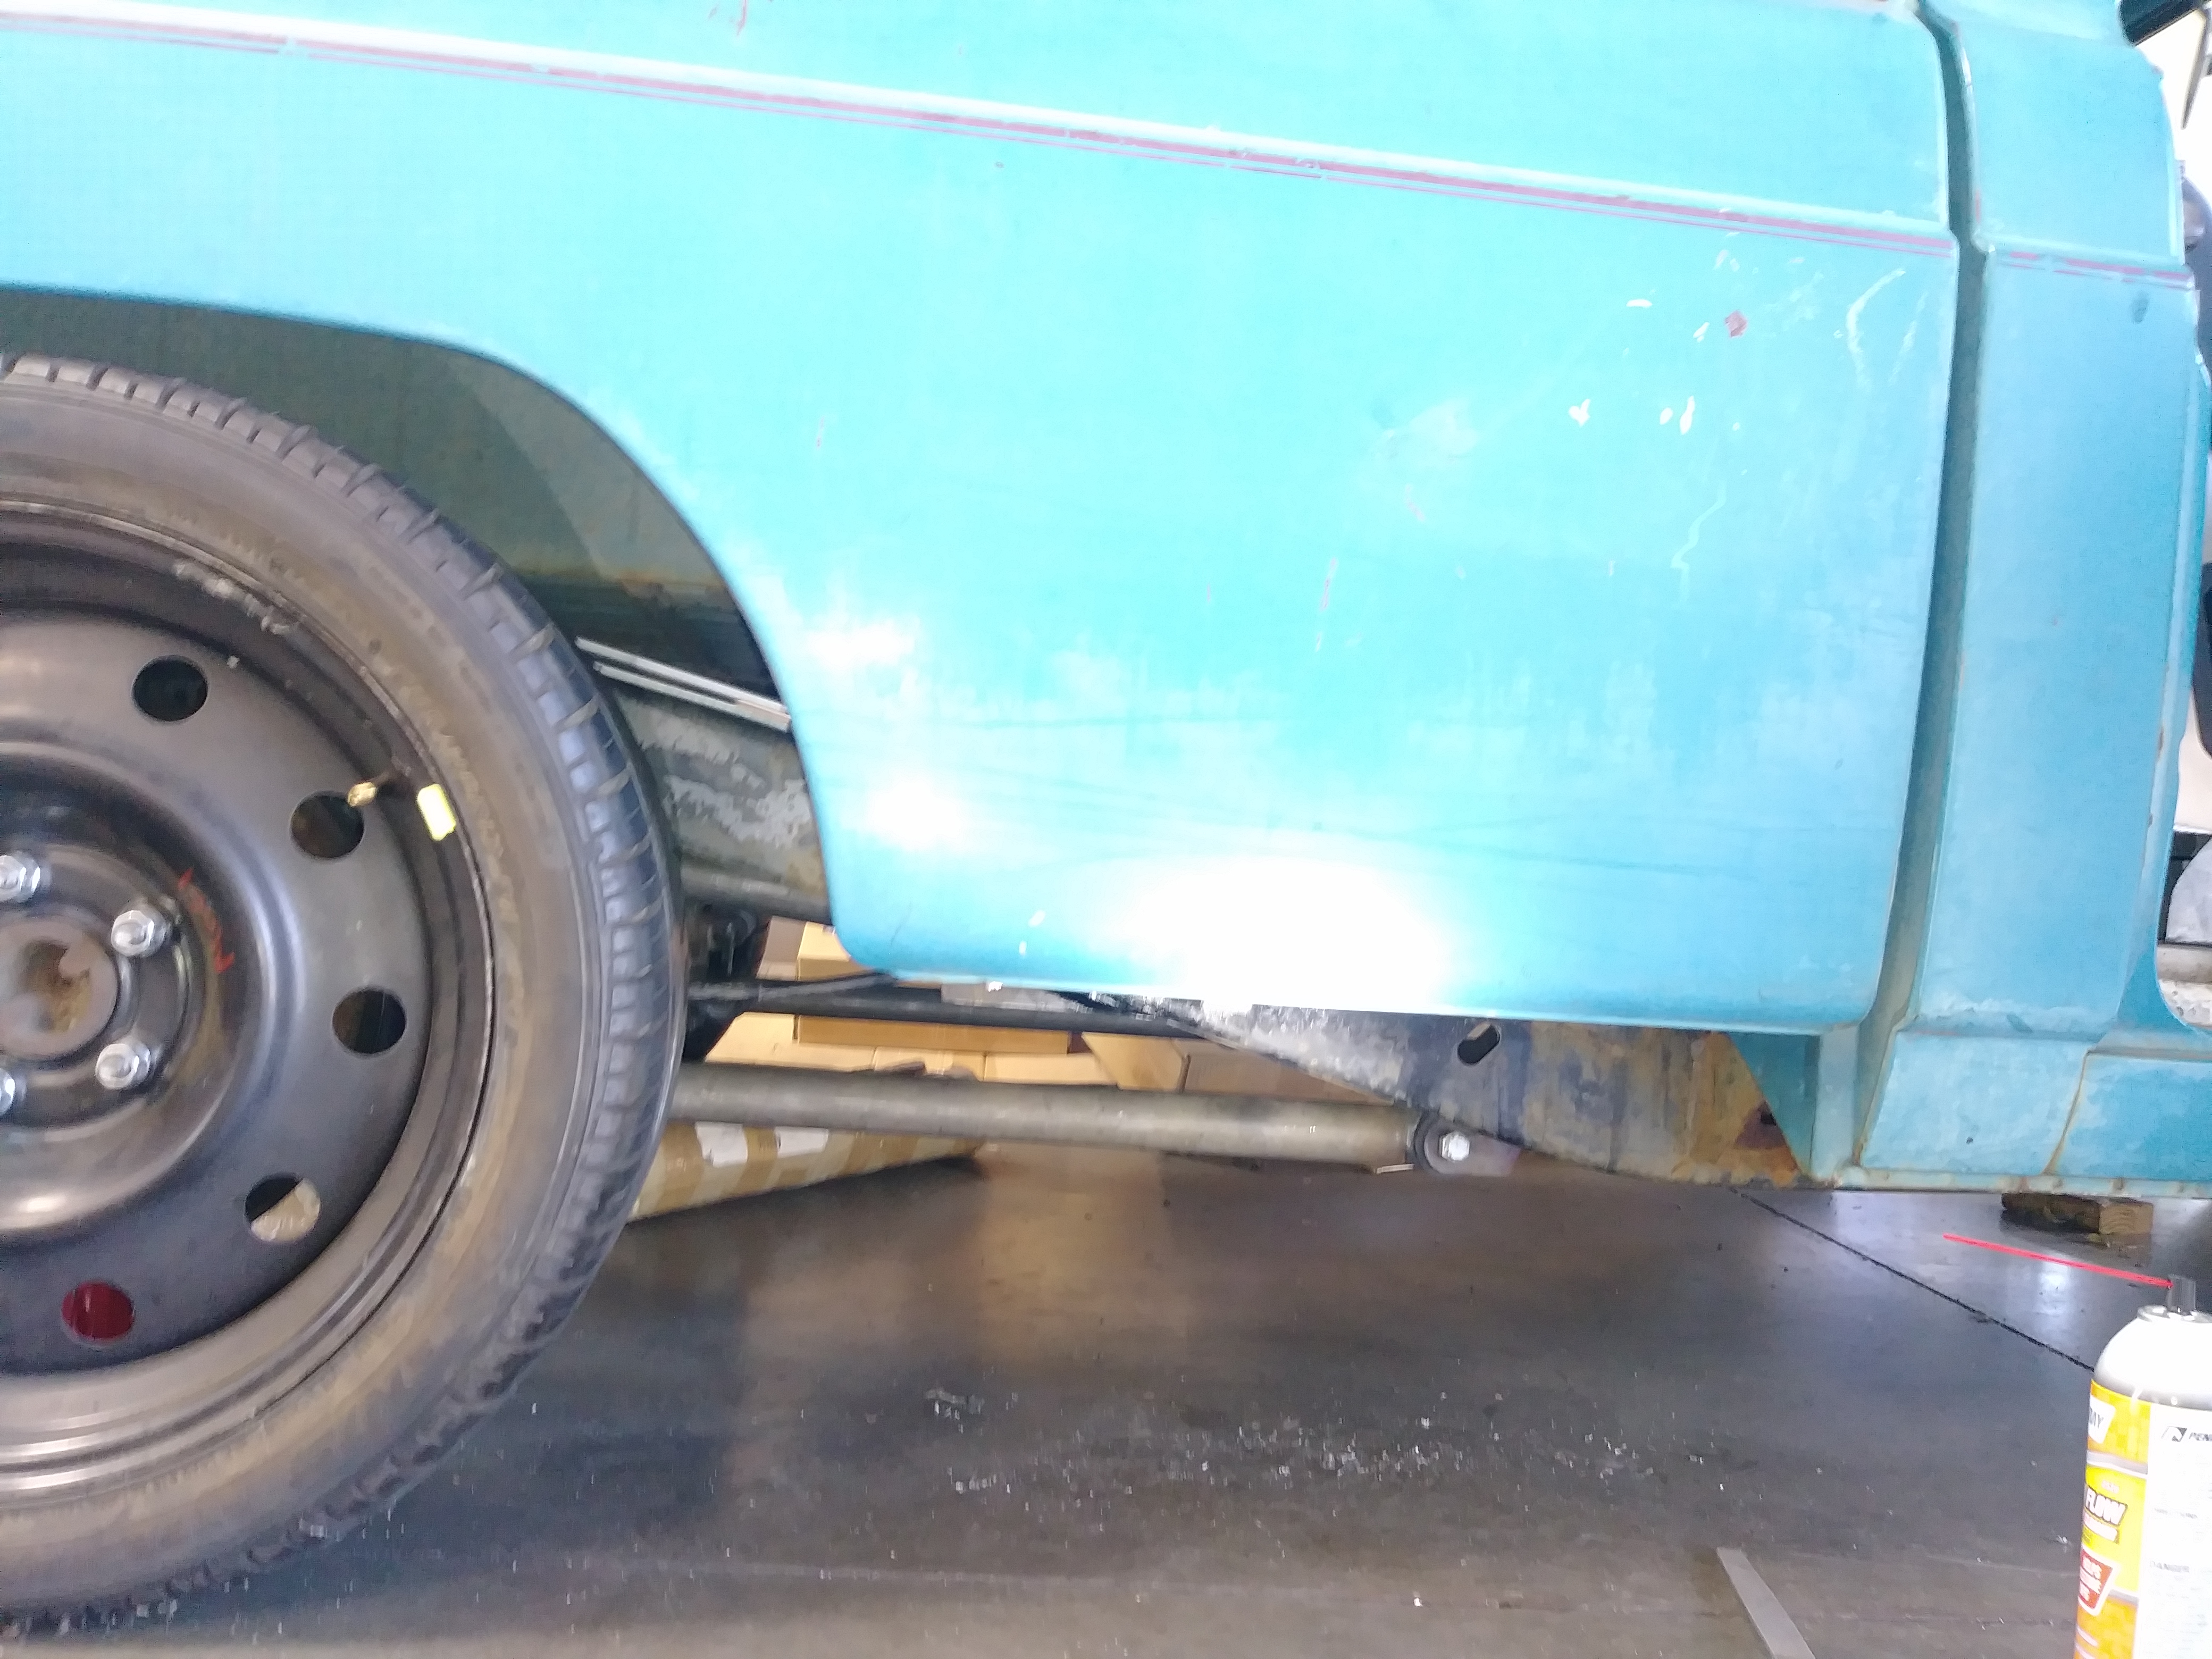
another drop in the bucket... one of these days it will be full. battery tray made of 10ga for the vertical and 16ga with a rolled front edge for the horizontal. my fat *** can use it as a step so its plenty good to hold my tiny little battery. i cut some of the cross supports out of the bed to tuck it up high enough that it can't be seen unless you're laying on the ground.
Reply
1
1
09-09-2018, 12:46 AM
#110
Senior Member
Thread Starter
Join Date: Jan 2011
Location: sacramento ,ca
Posts: 568
Total Cats: 162
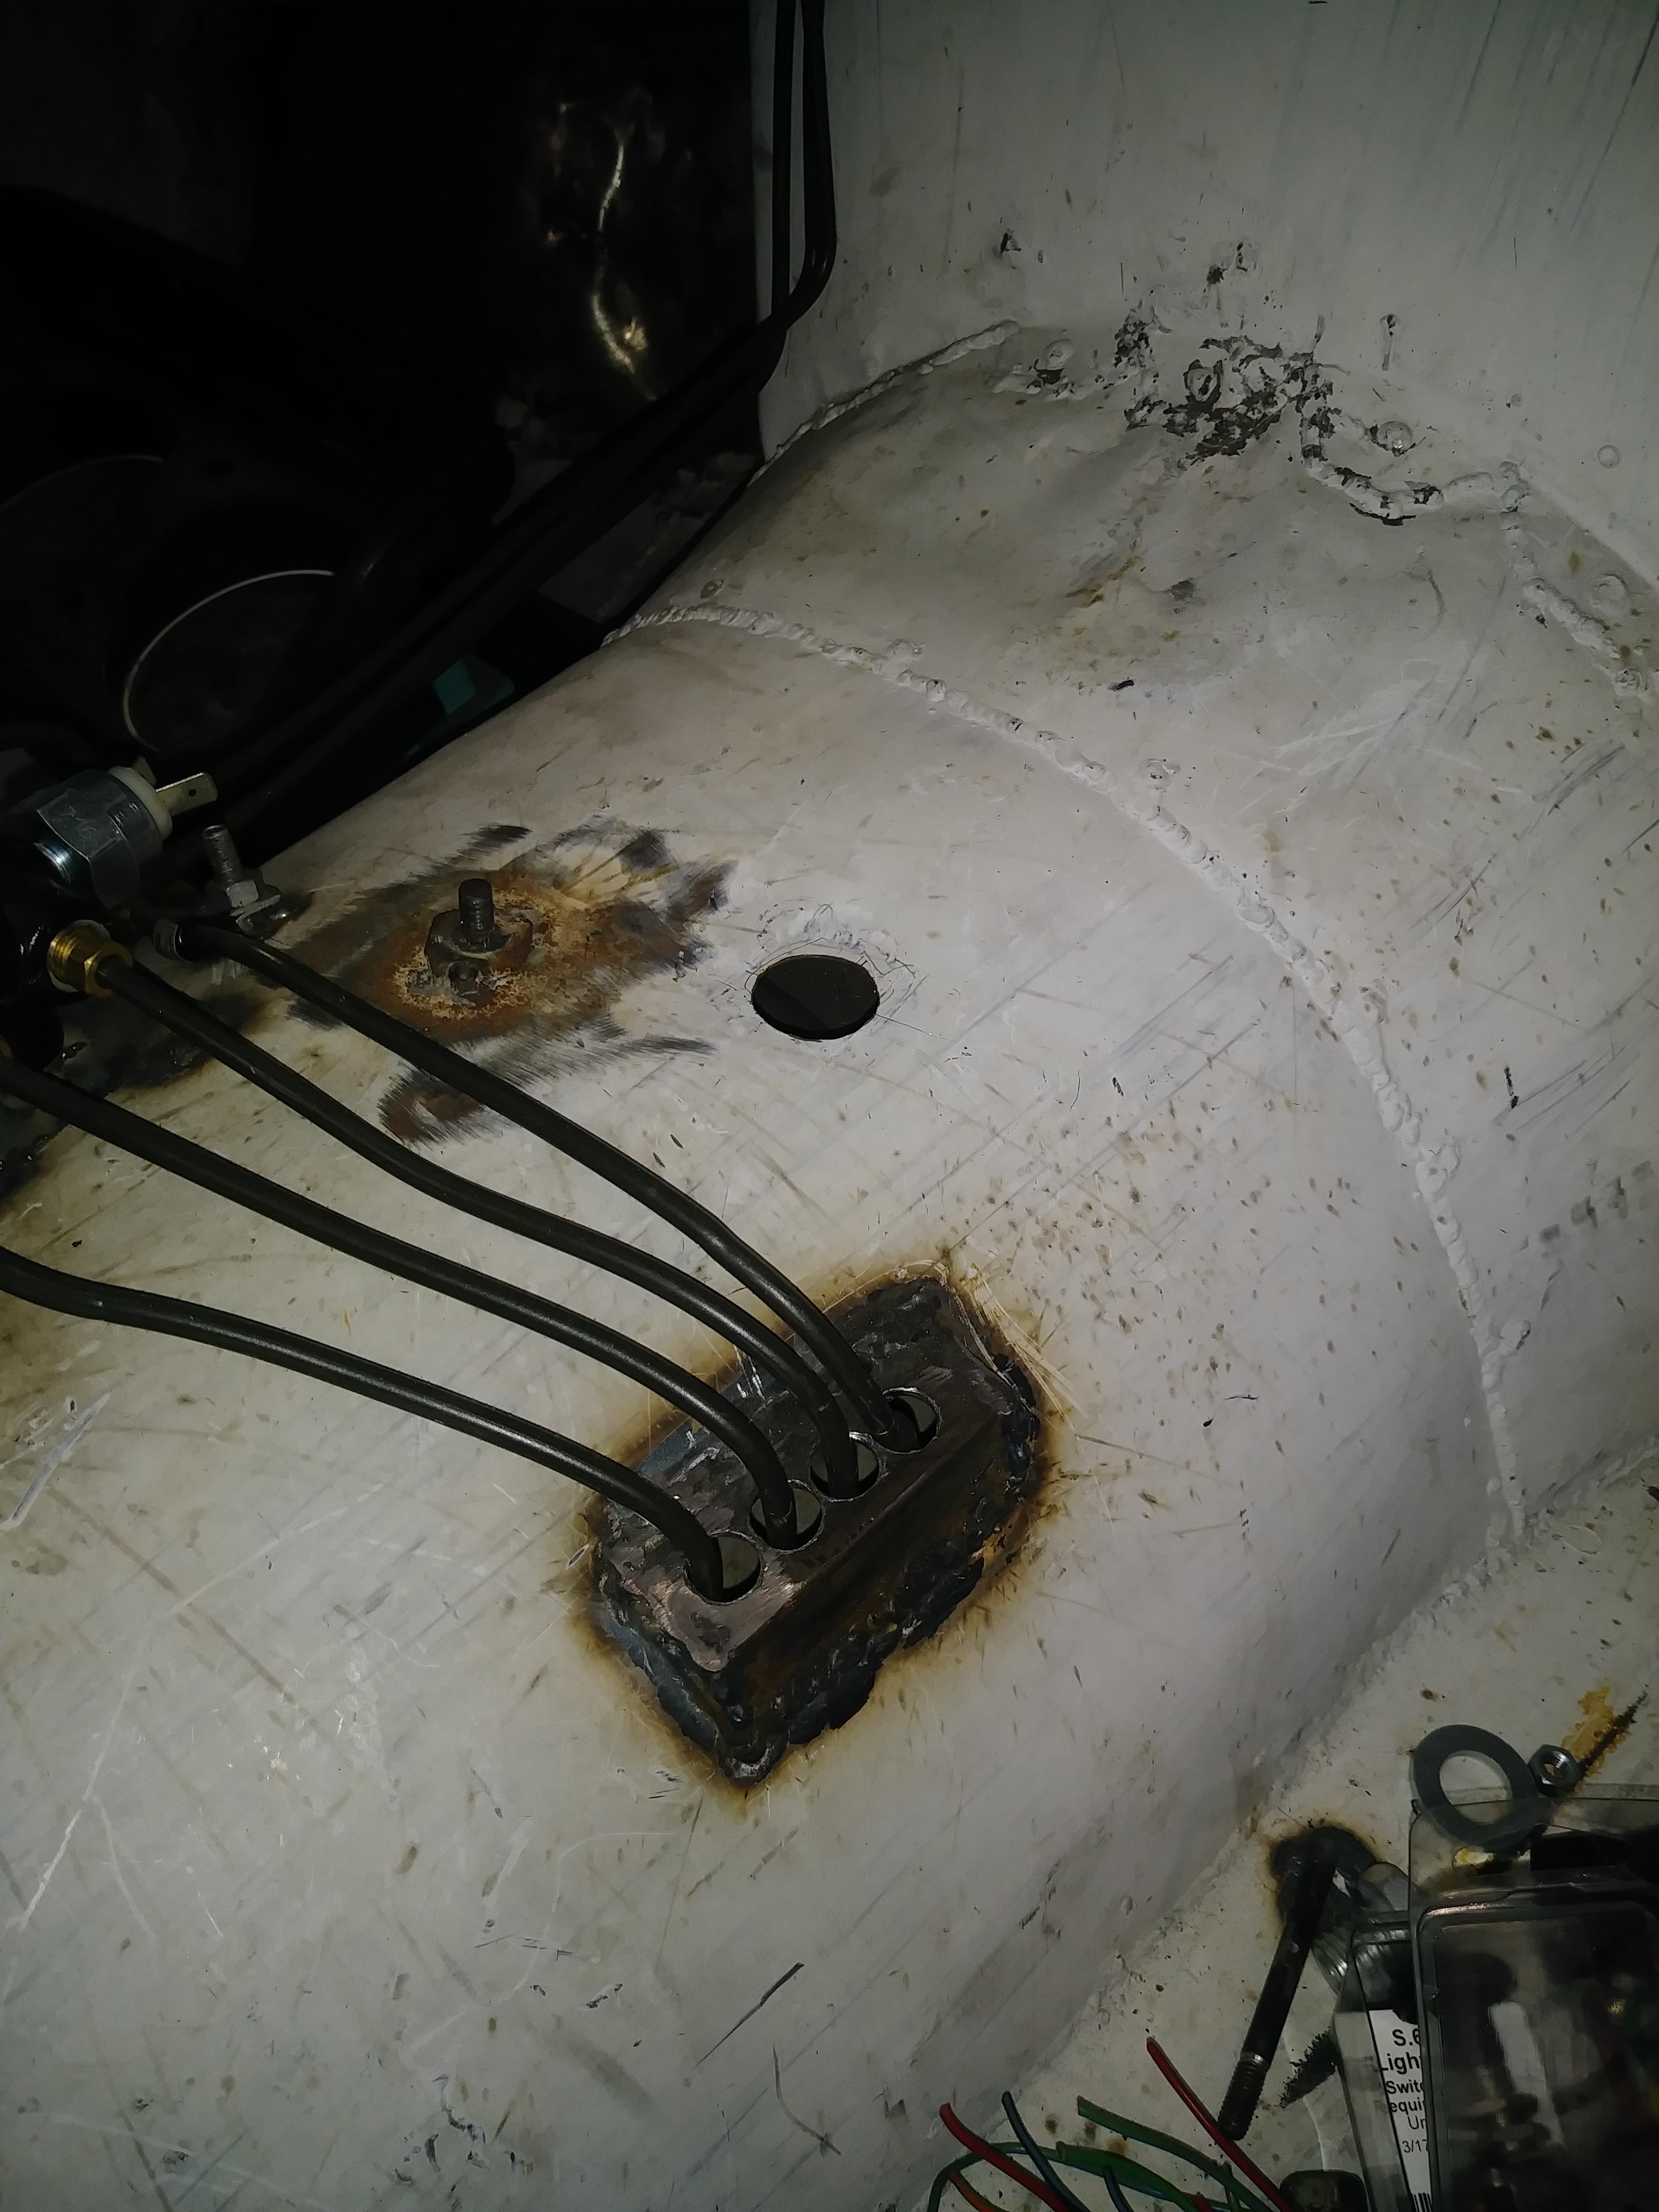
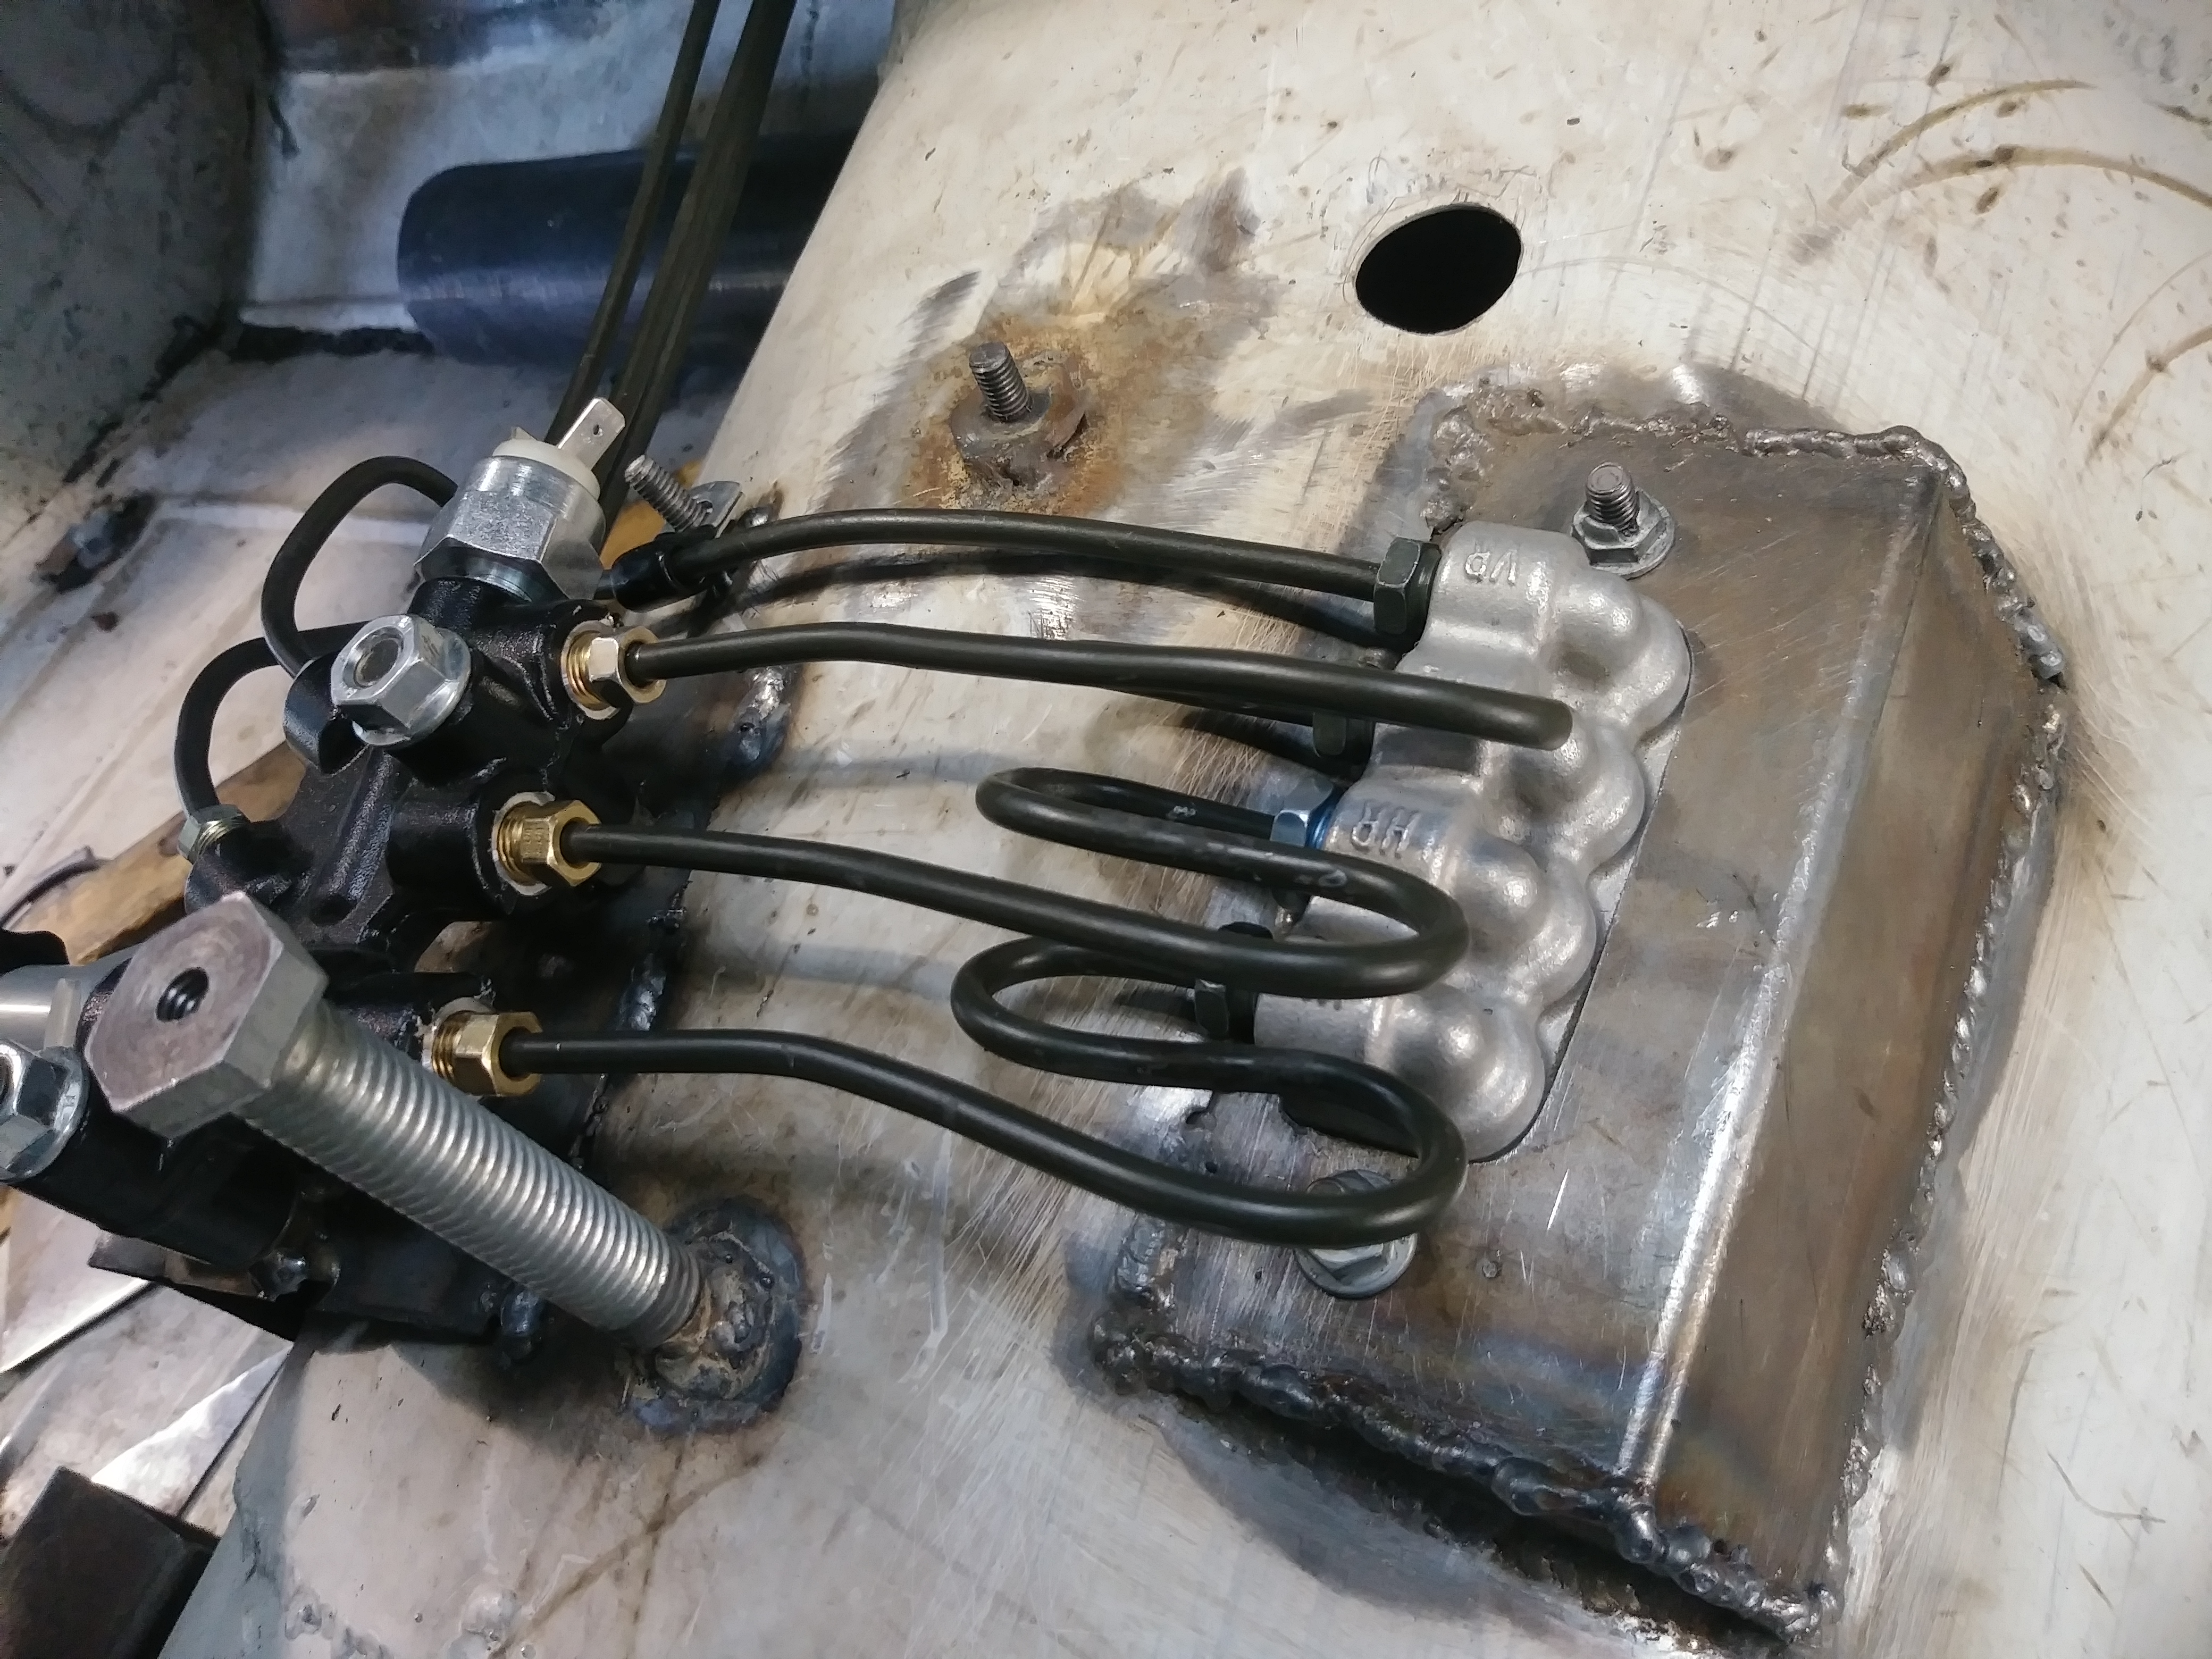
i picked up a Porsche 986 brake line bulk head connector after noticing one on a customers car. cleans un the lines that no one will ever see. but i know they're there and that's what matters most.
before
after...oooohhhh ahhhhhh so nice
before
after
before
after...oooohhhh ahhhhhh so nice
before
after
Reply
1
1
12-29-2018, 09:24 PM
#111
Senior Member
Thread Starter
Join Date: Jan 2011
Location: sacramento ,ca
Posts: 568
Total Cats: 162
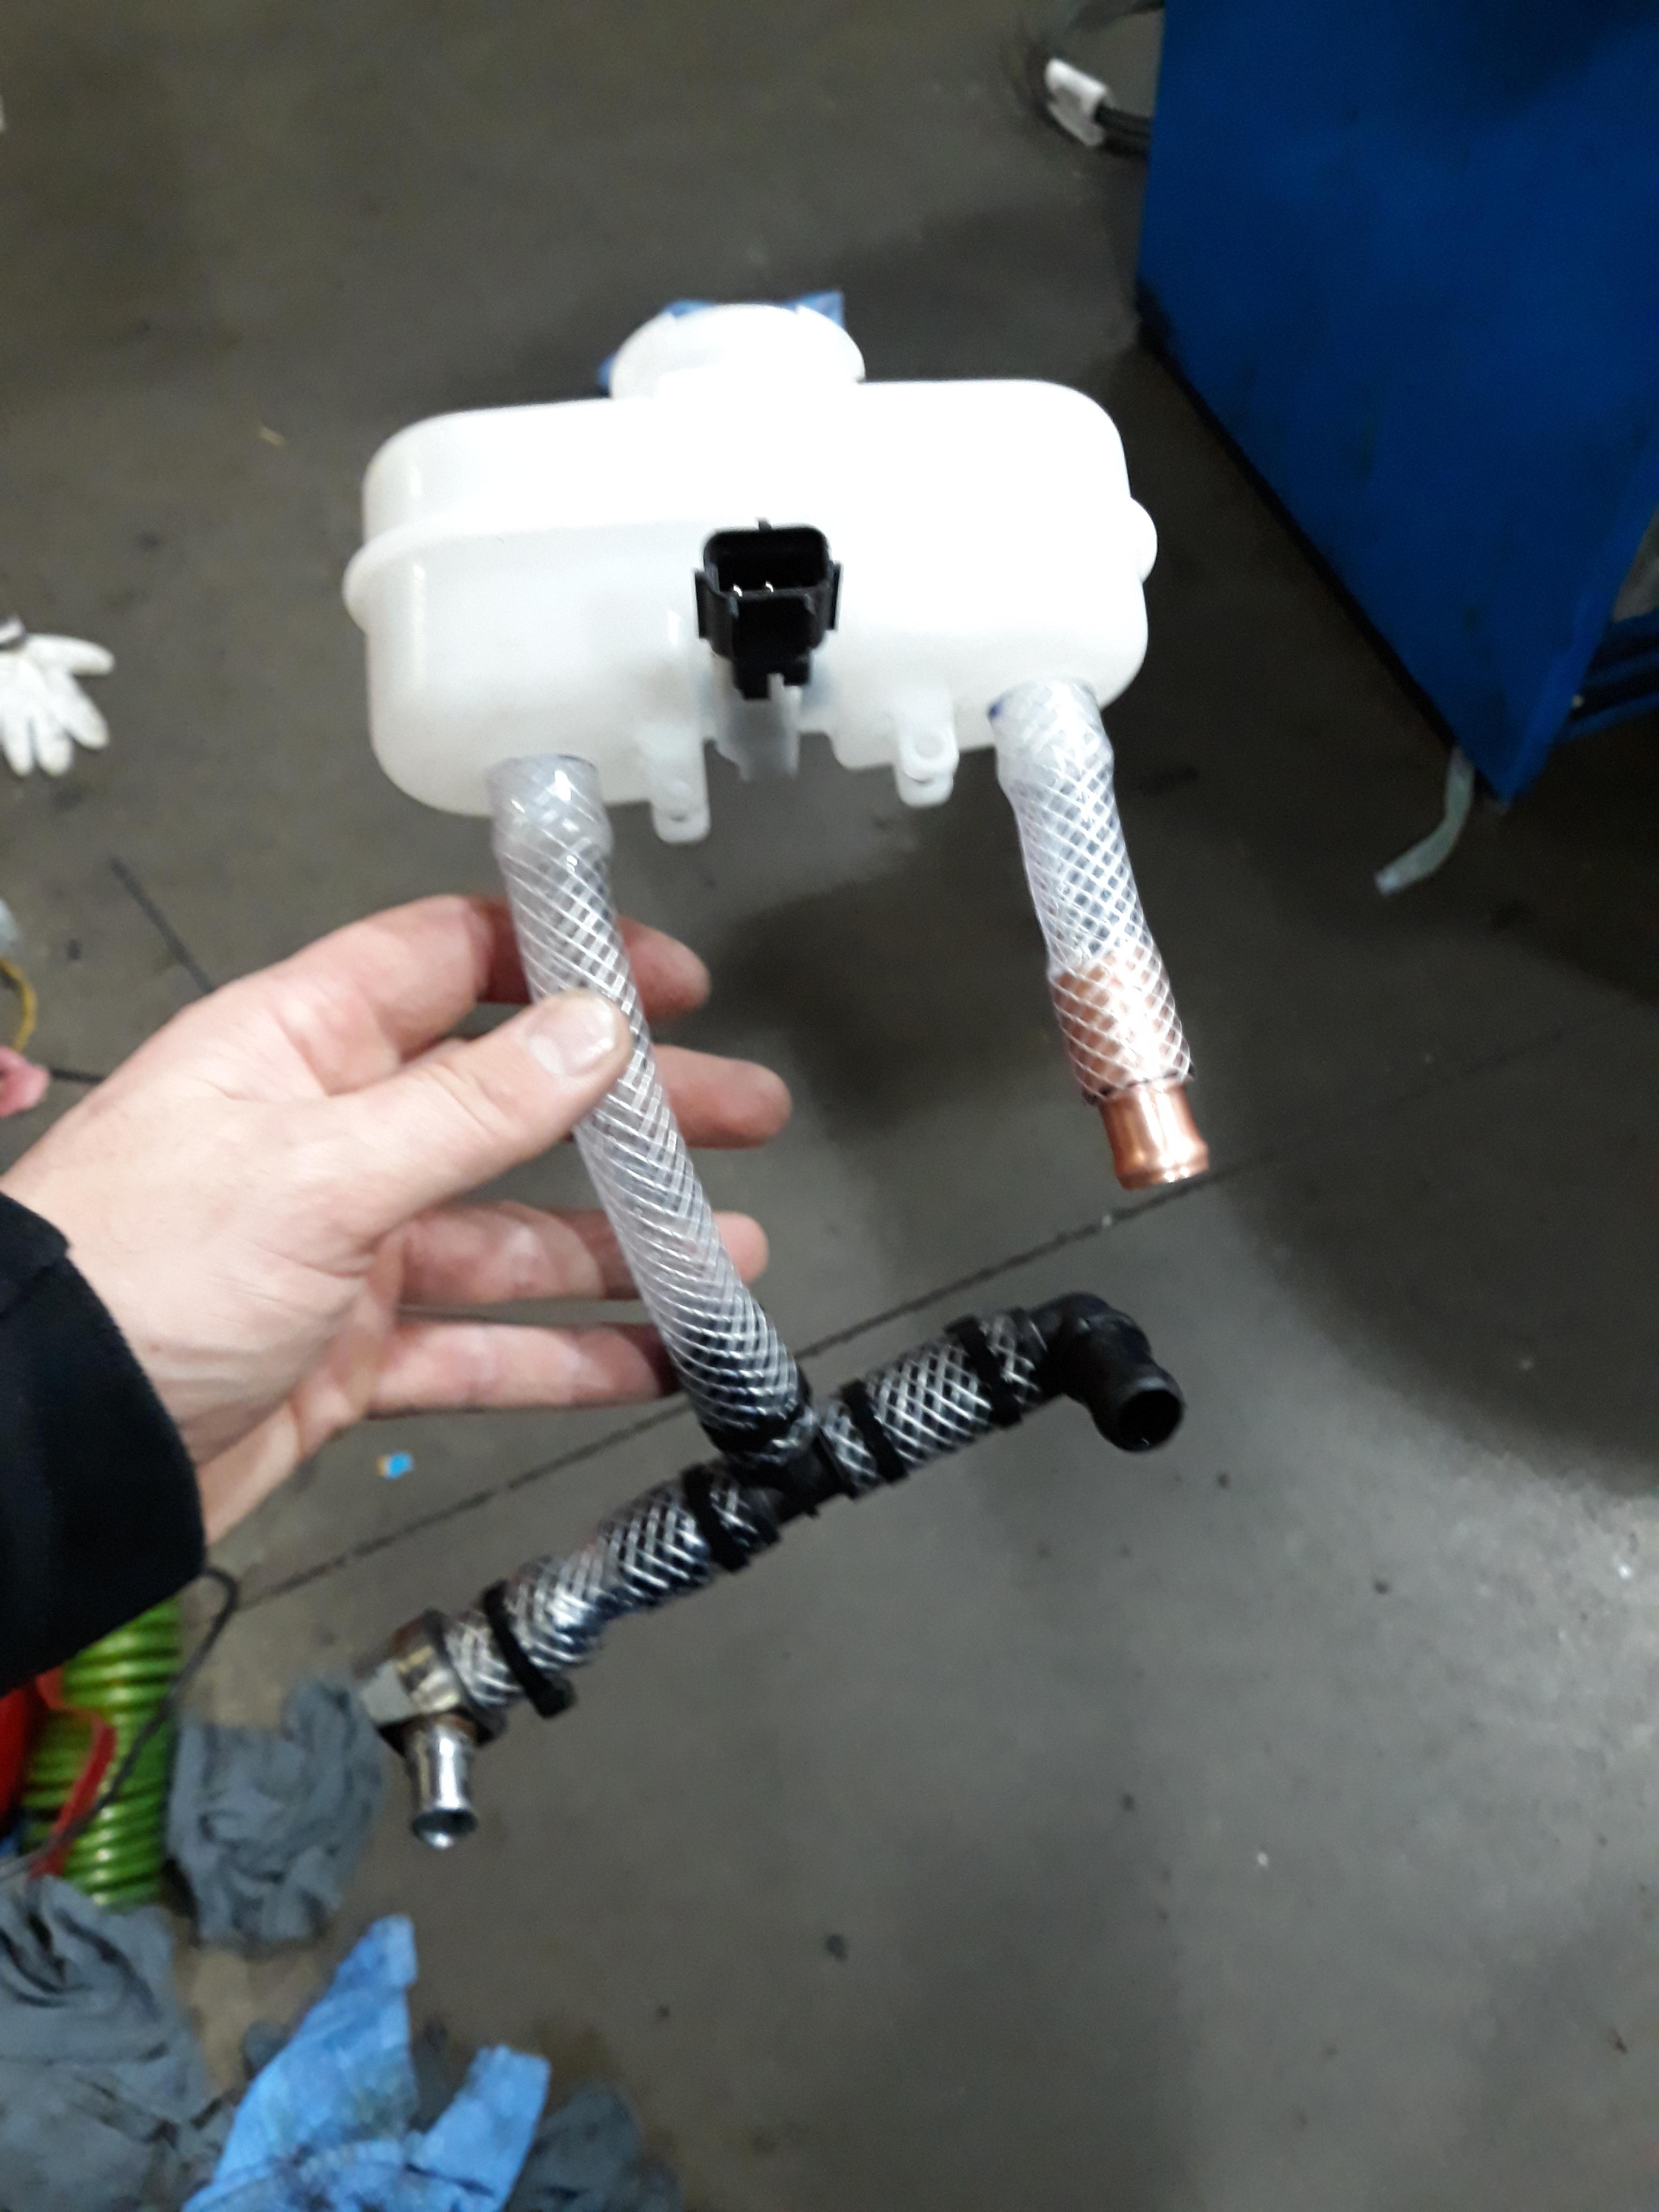
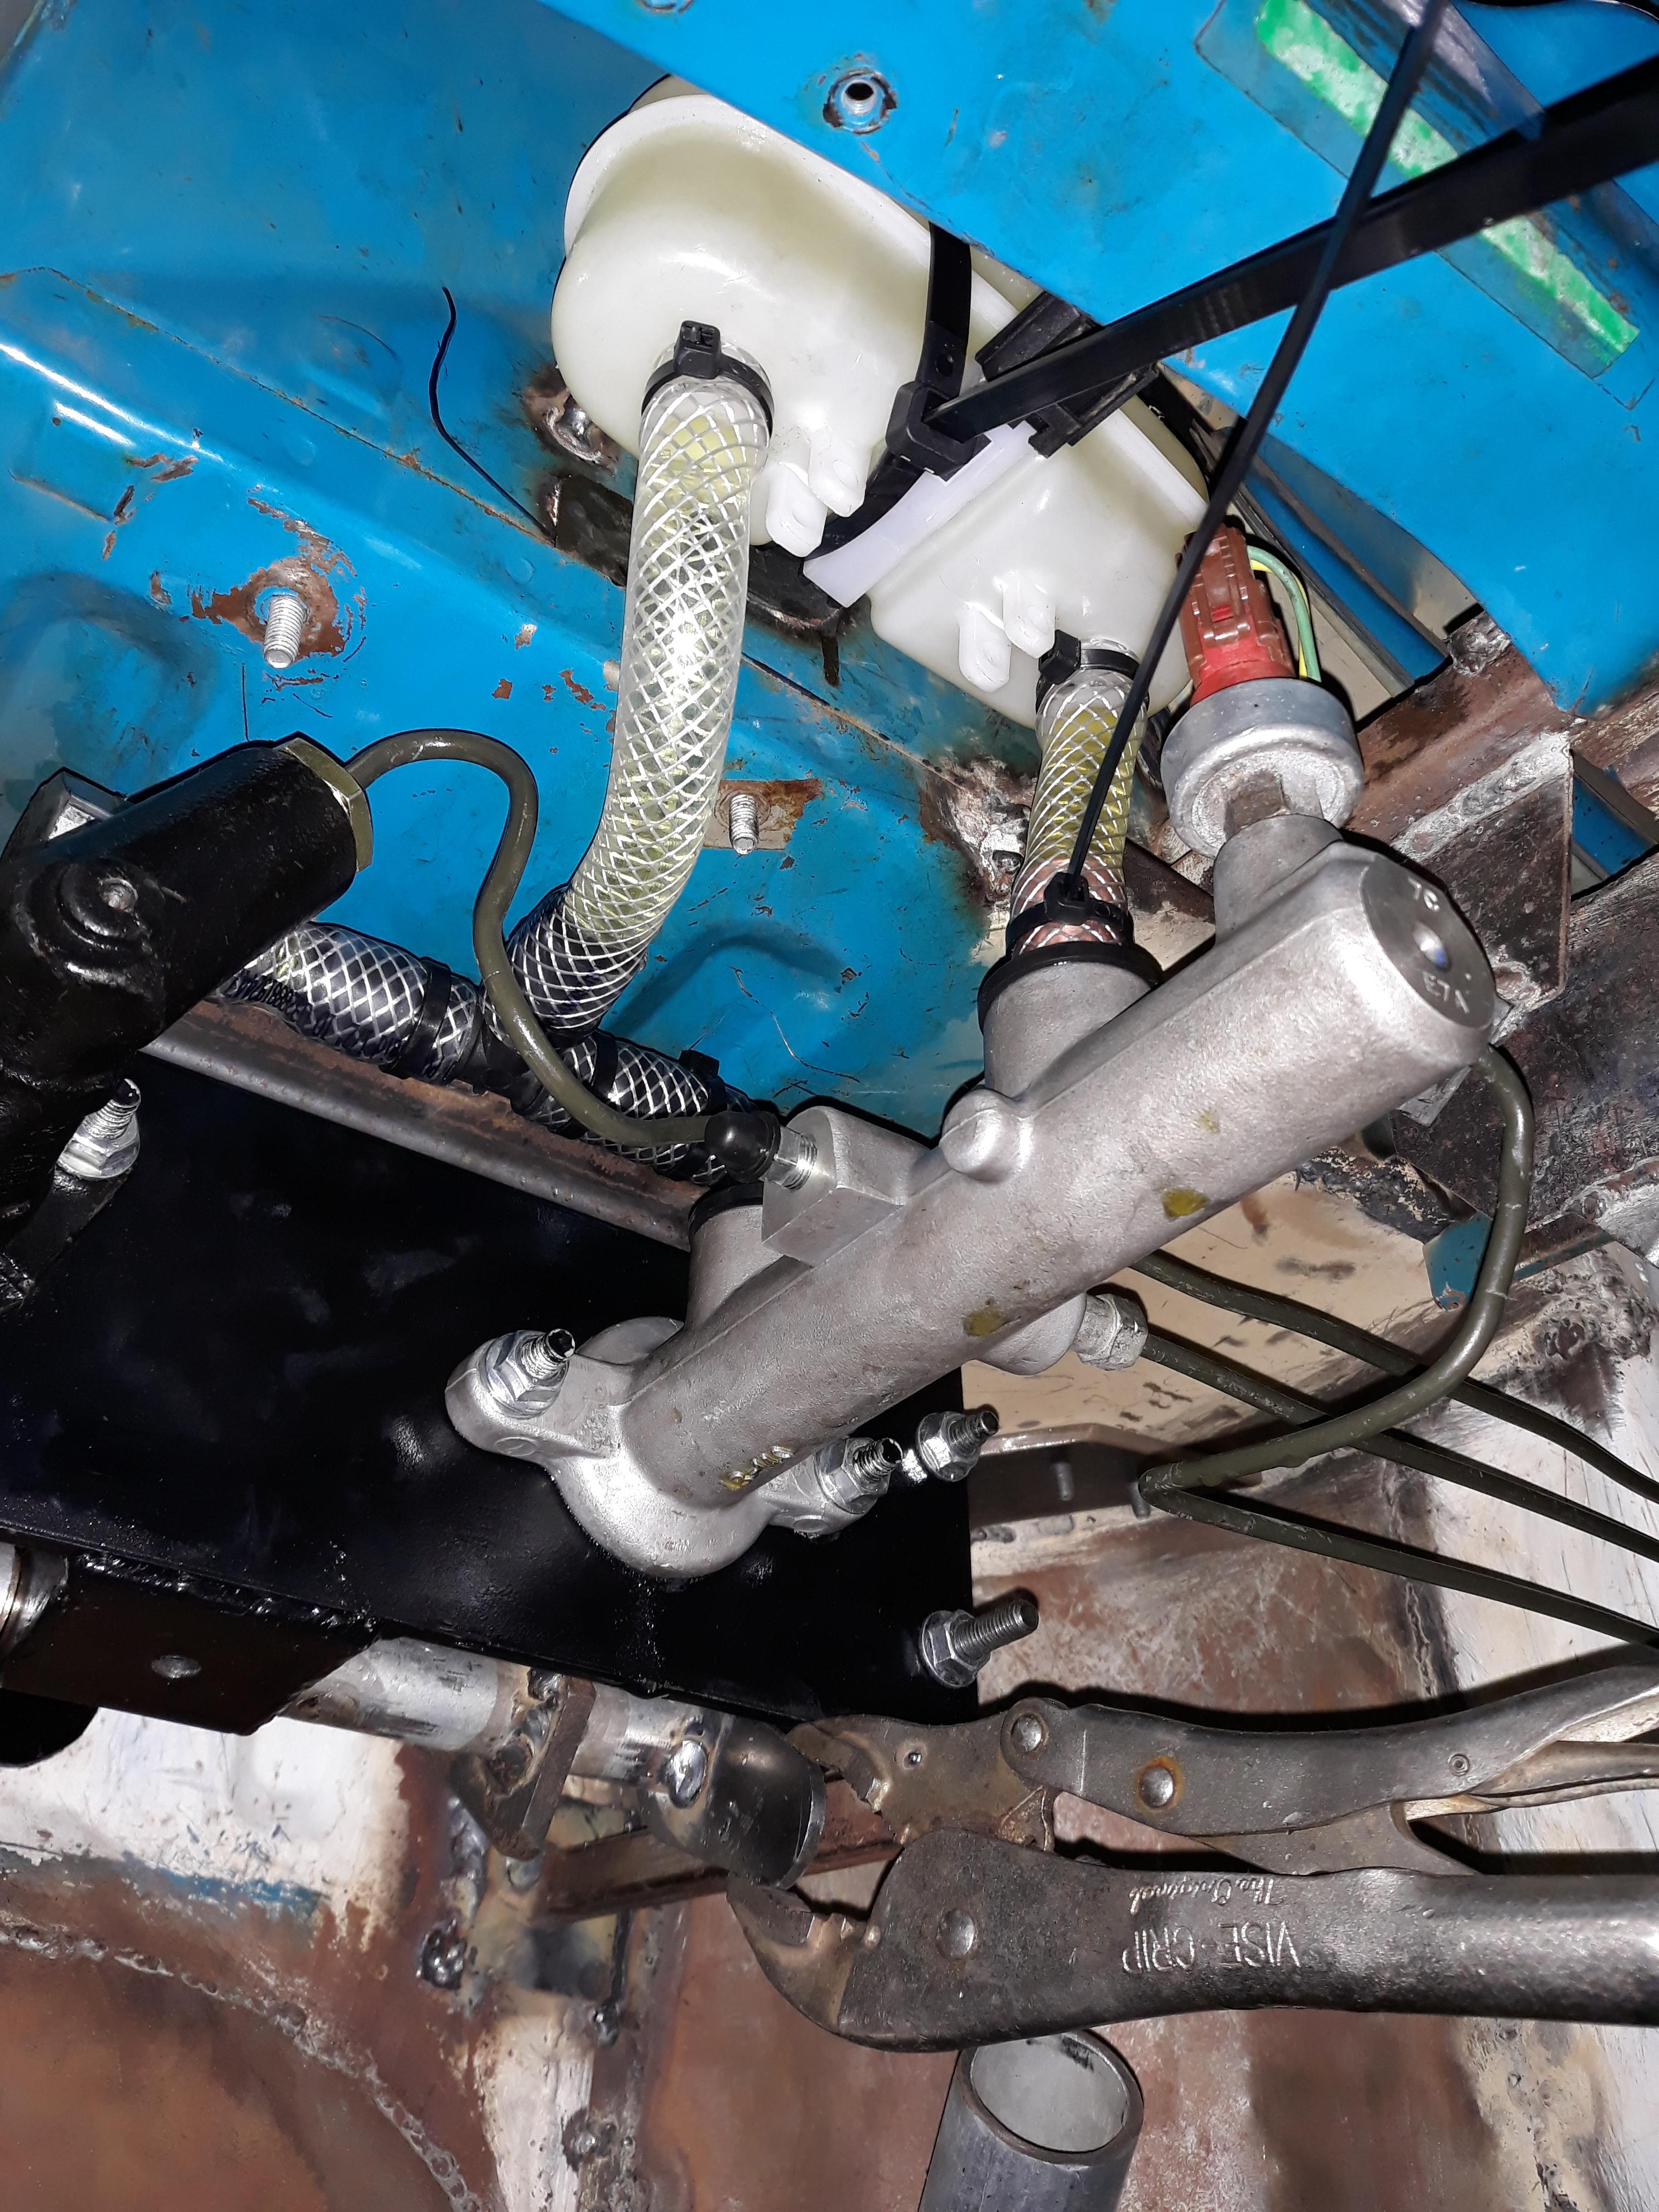
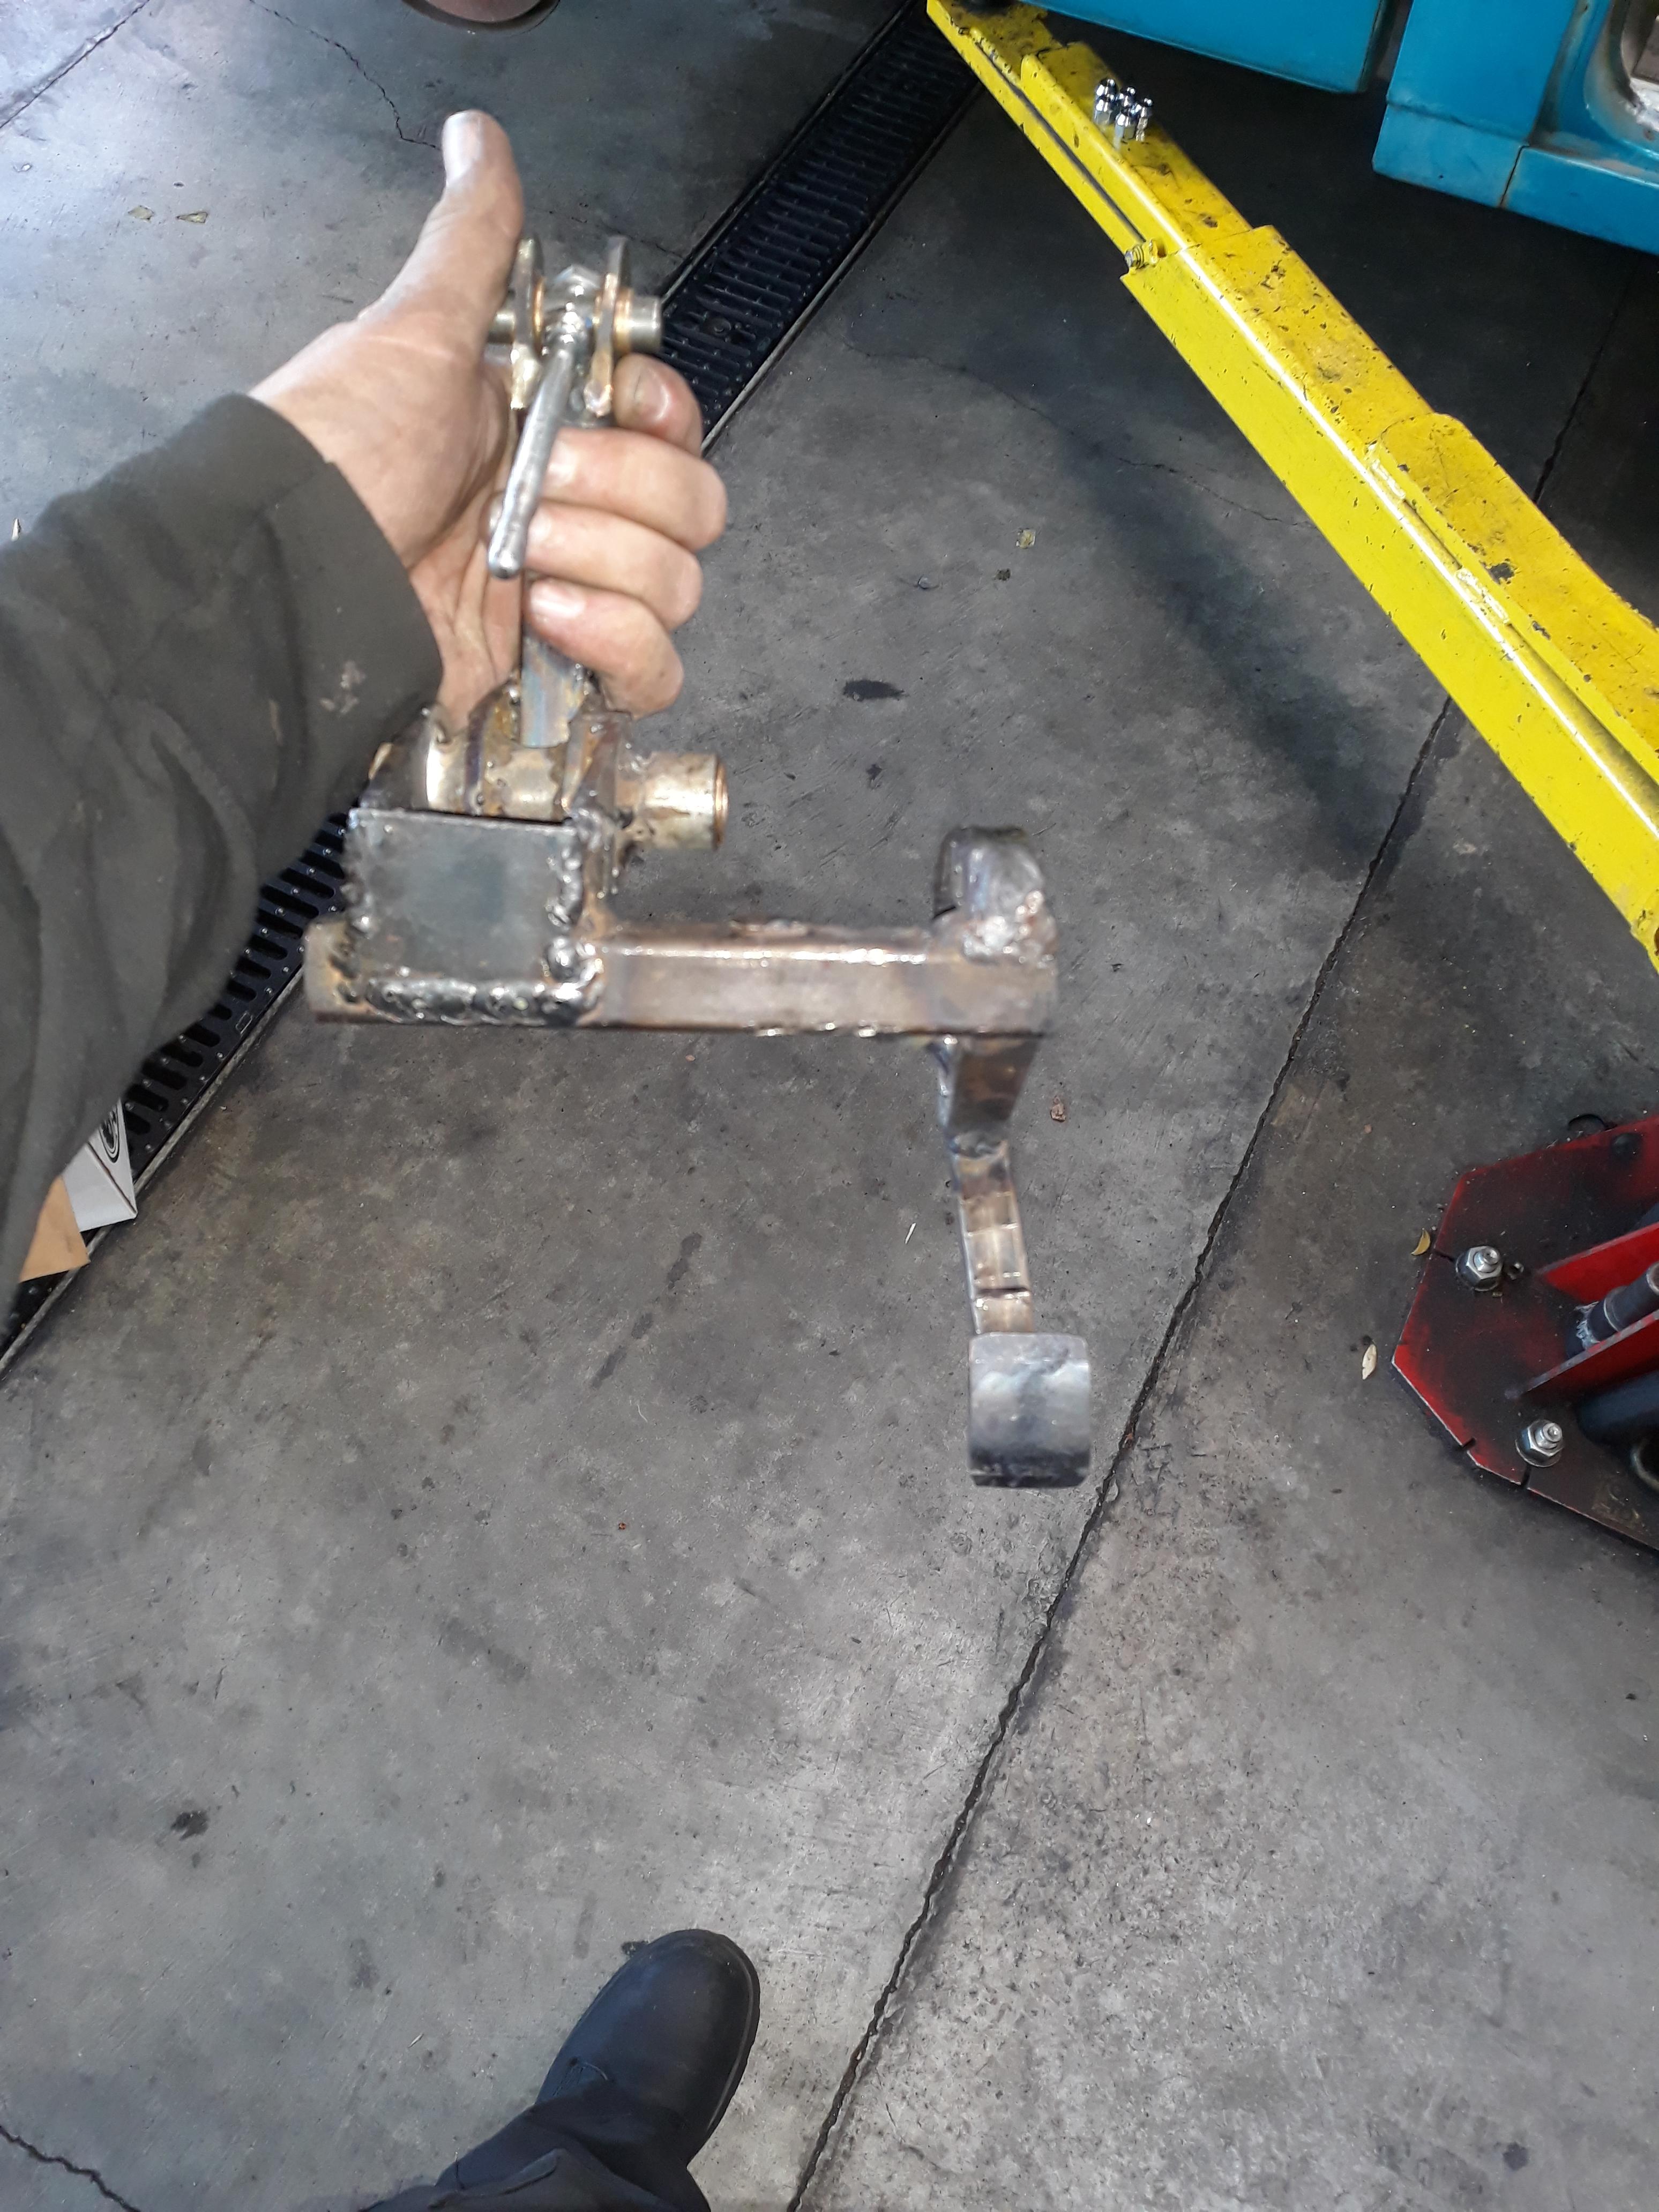
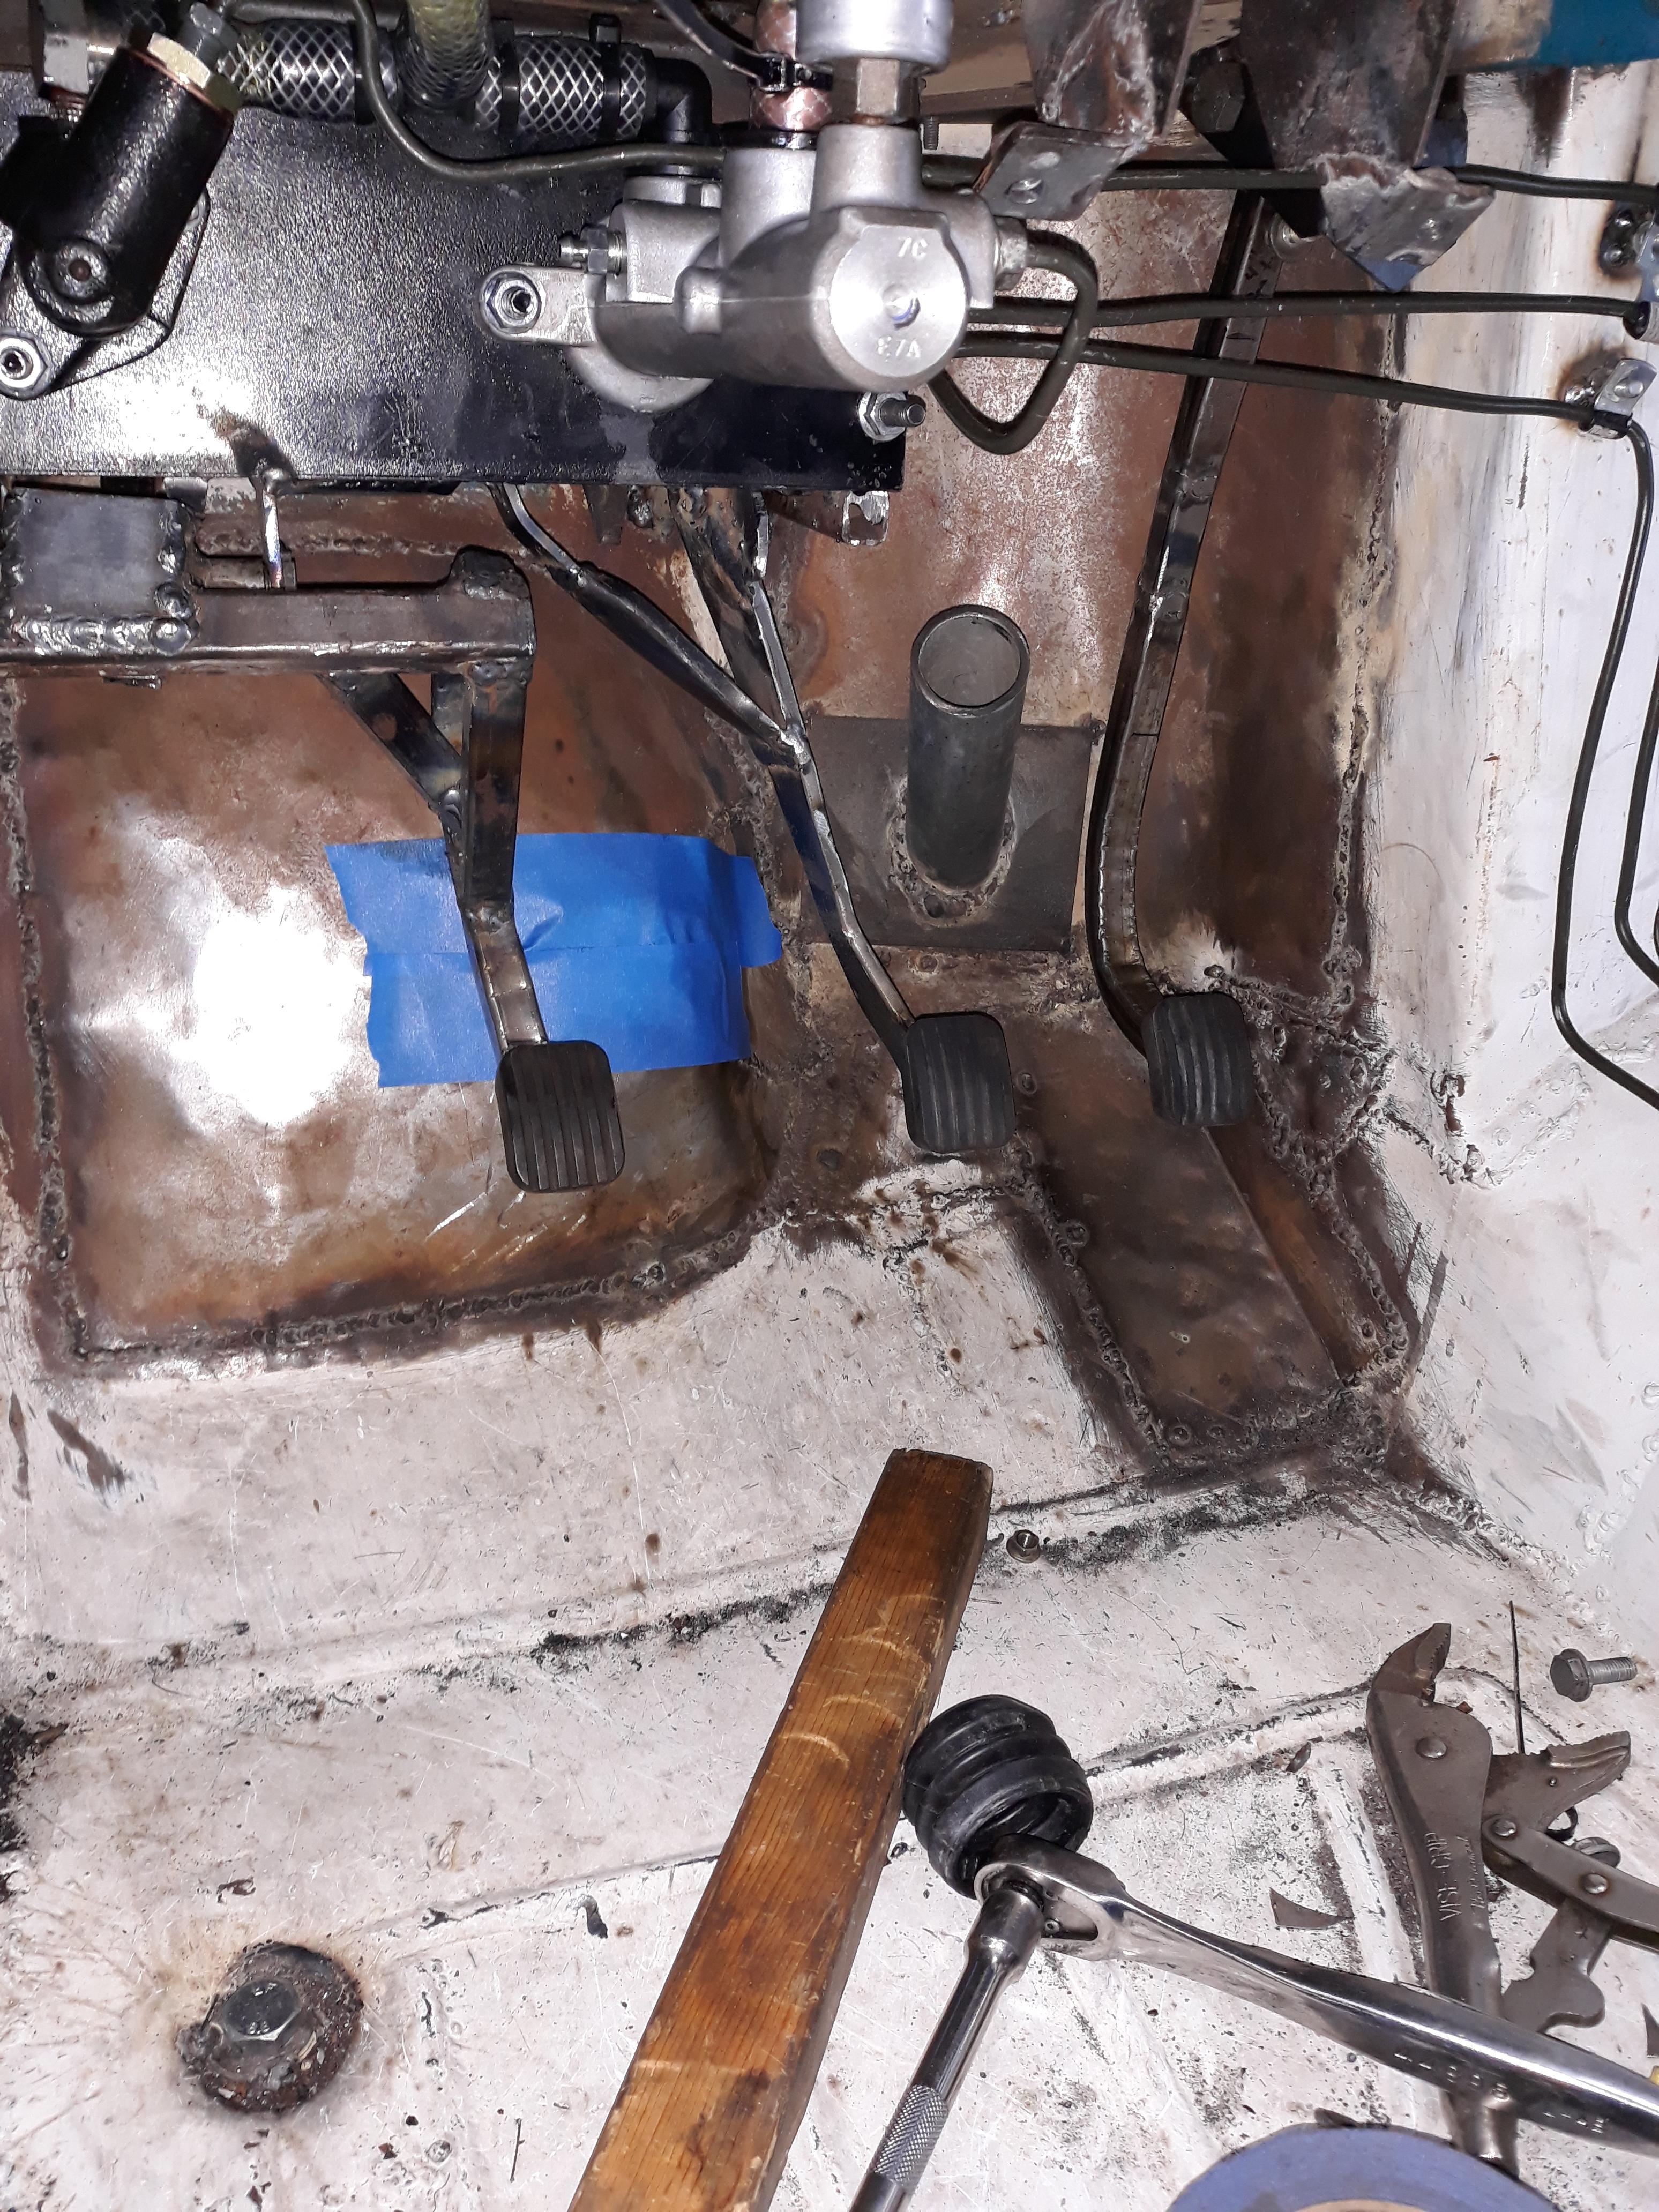
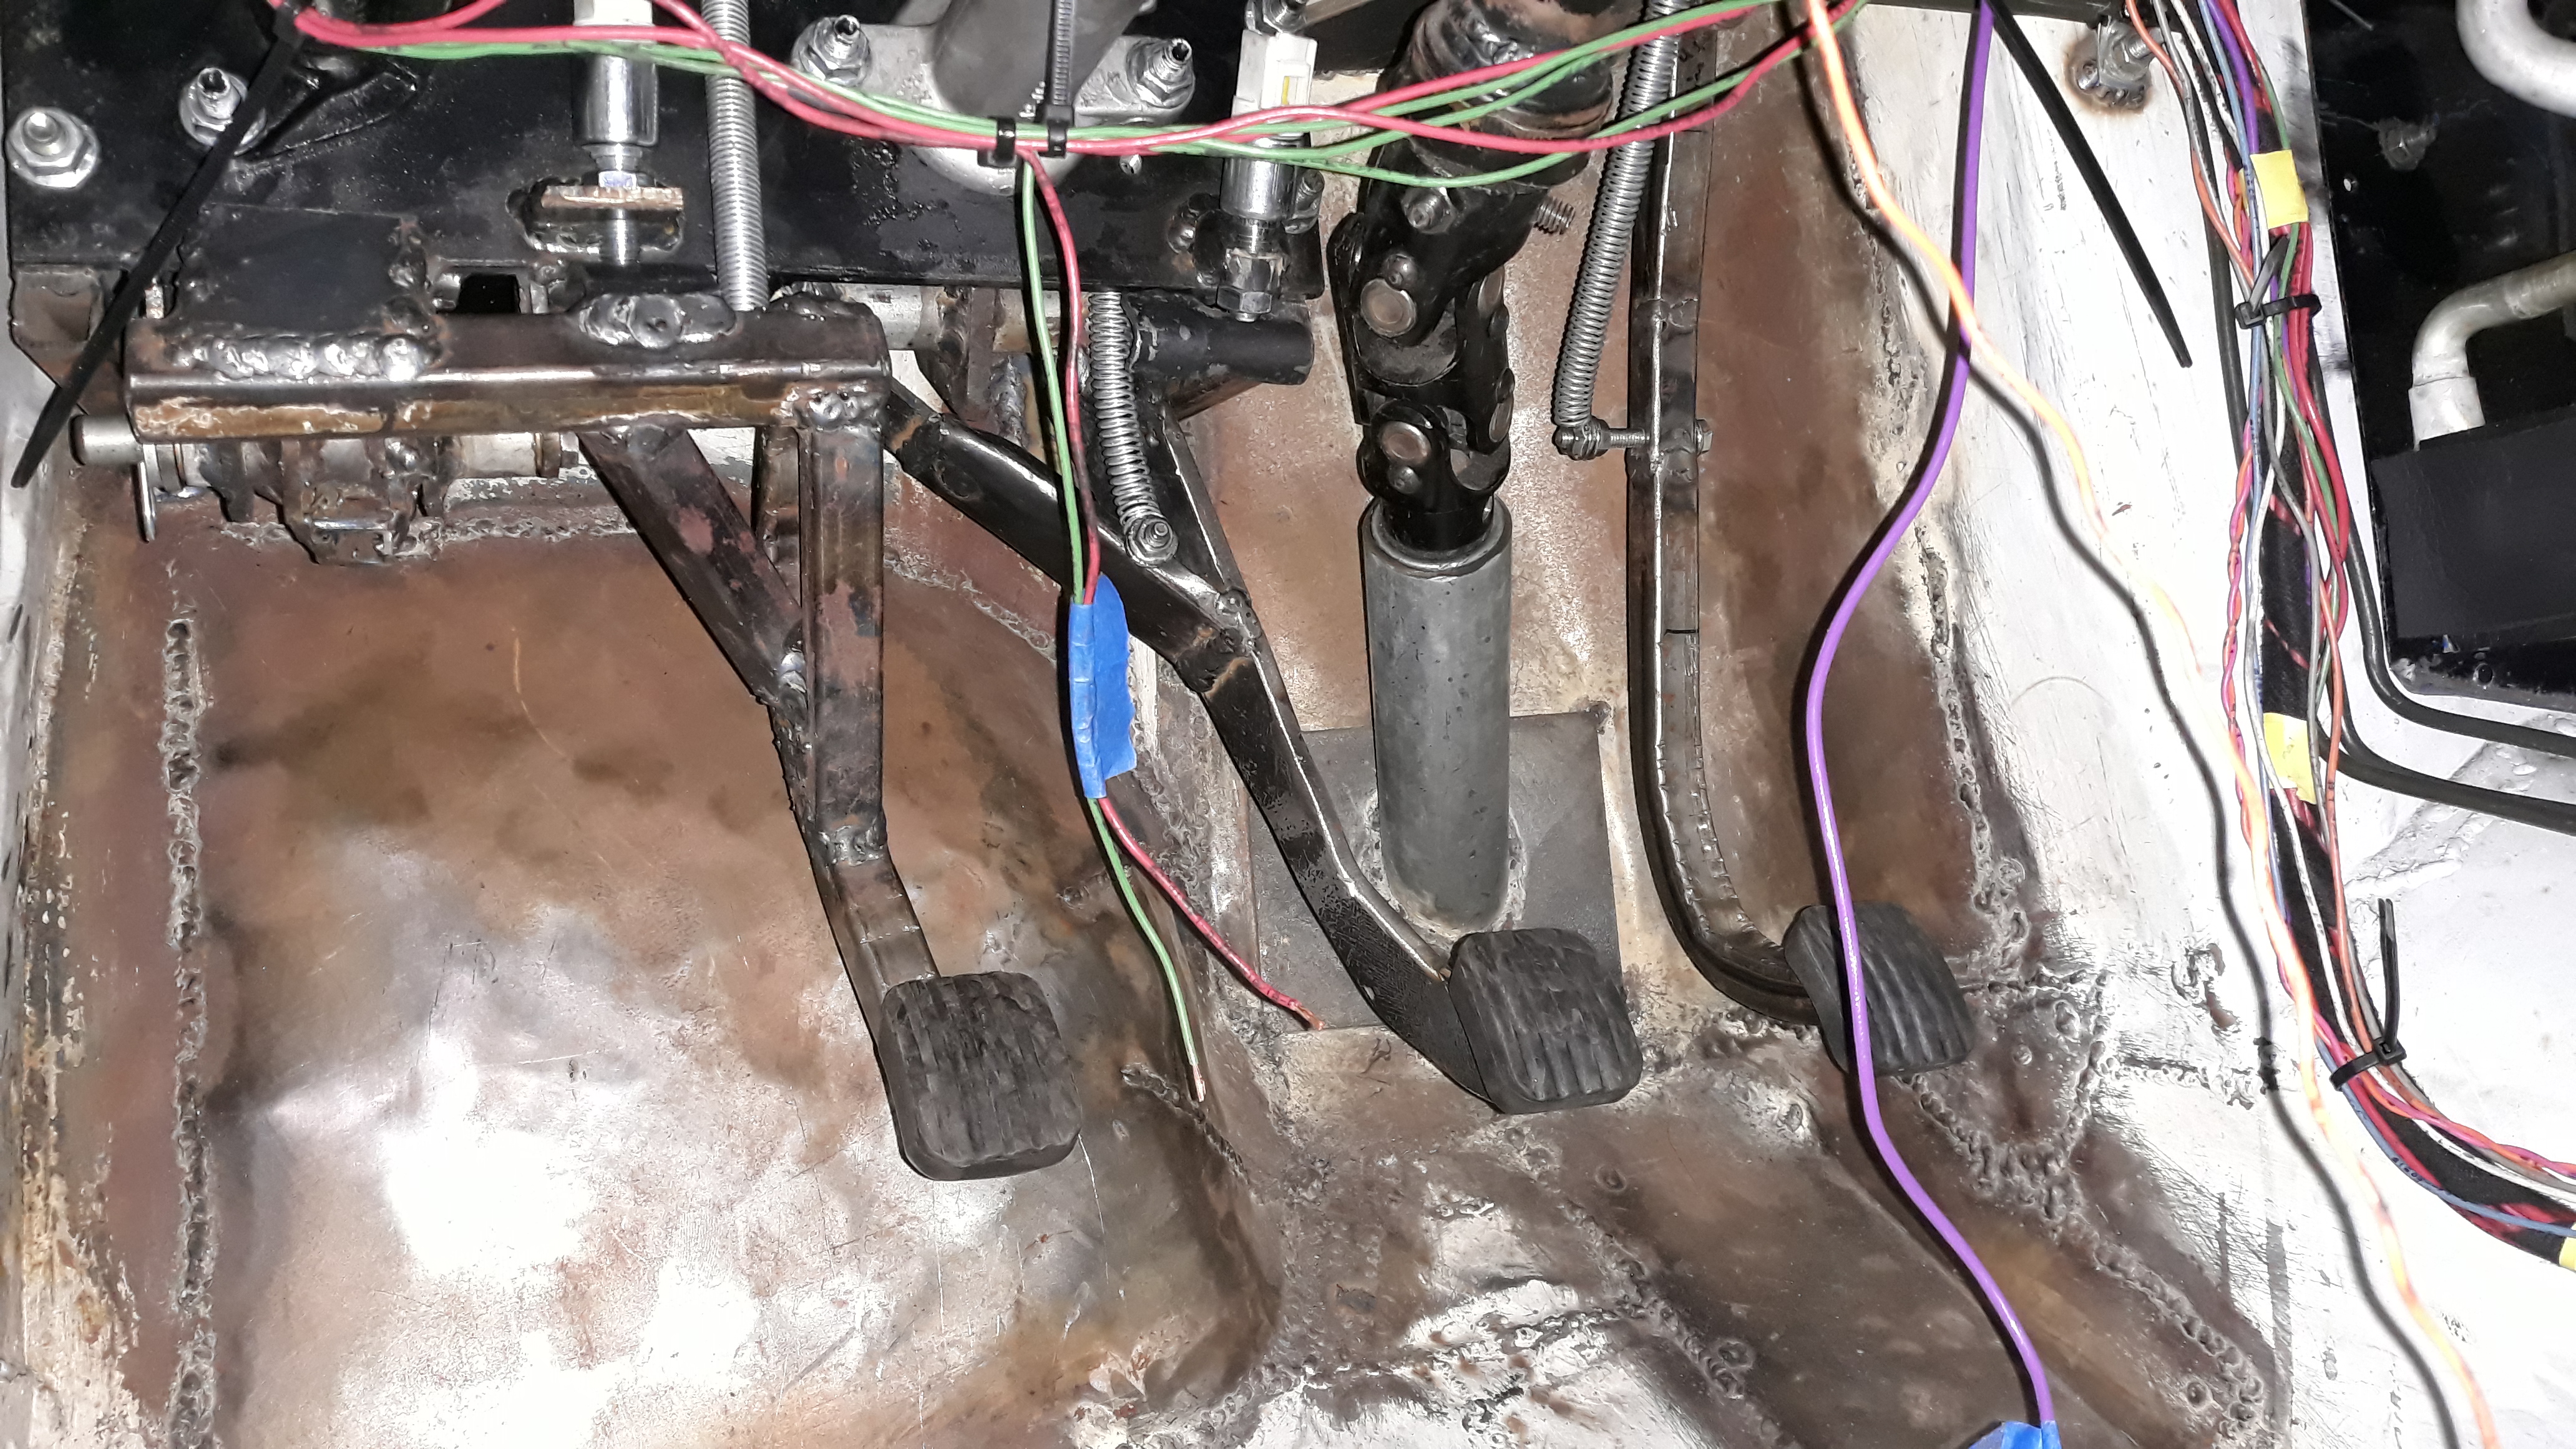
it has been a really long time since me last post but im not giving up on this truck. I finally got some time to work on it. brakes are 100% done. i had to remake some of the lines do to my garbage flaring ability. everything is bled. pedals are in. the clutch pedal had to be completely redesigned cause i thought i had more space. it looks like an aborted fetus but it works. the brake reservoir hoses had to be replaced because brake fluid breaks down vinyl. im now using clear pvc hoses which im told will work.
Reply
2
2
 01-12-2019, 11:21 PM
#113
Senior Member
Thread Starter
Join Date: Jan 2011
Location: sacramento ,ca
Posts: 568
Total Cats: 162
im not sure if they will let me pass tech but im sure gonna try lol im hoping i wont need to give up what little interior space i have for a cage...unless i can actually reach my power goals then ill want it so i dont die lol
more progress!!!!!
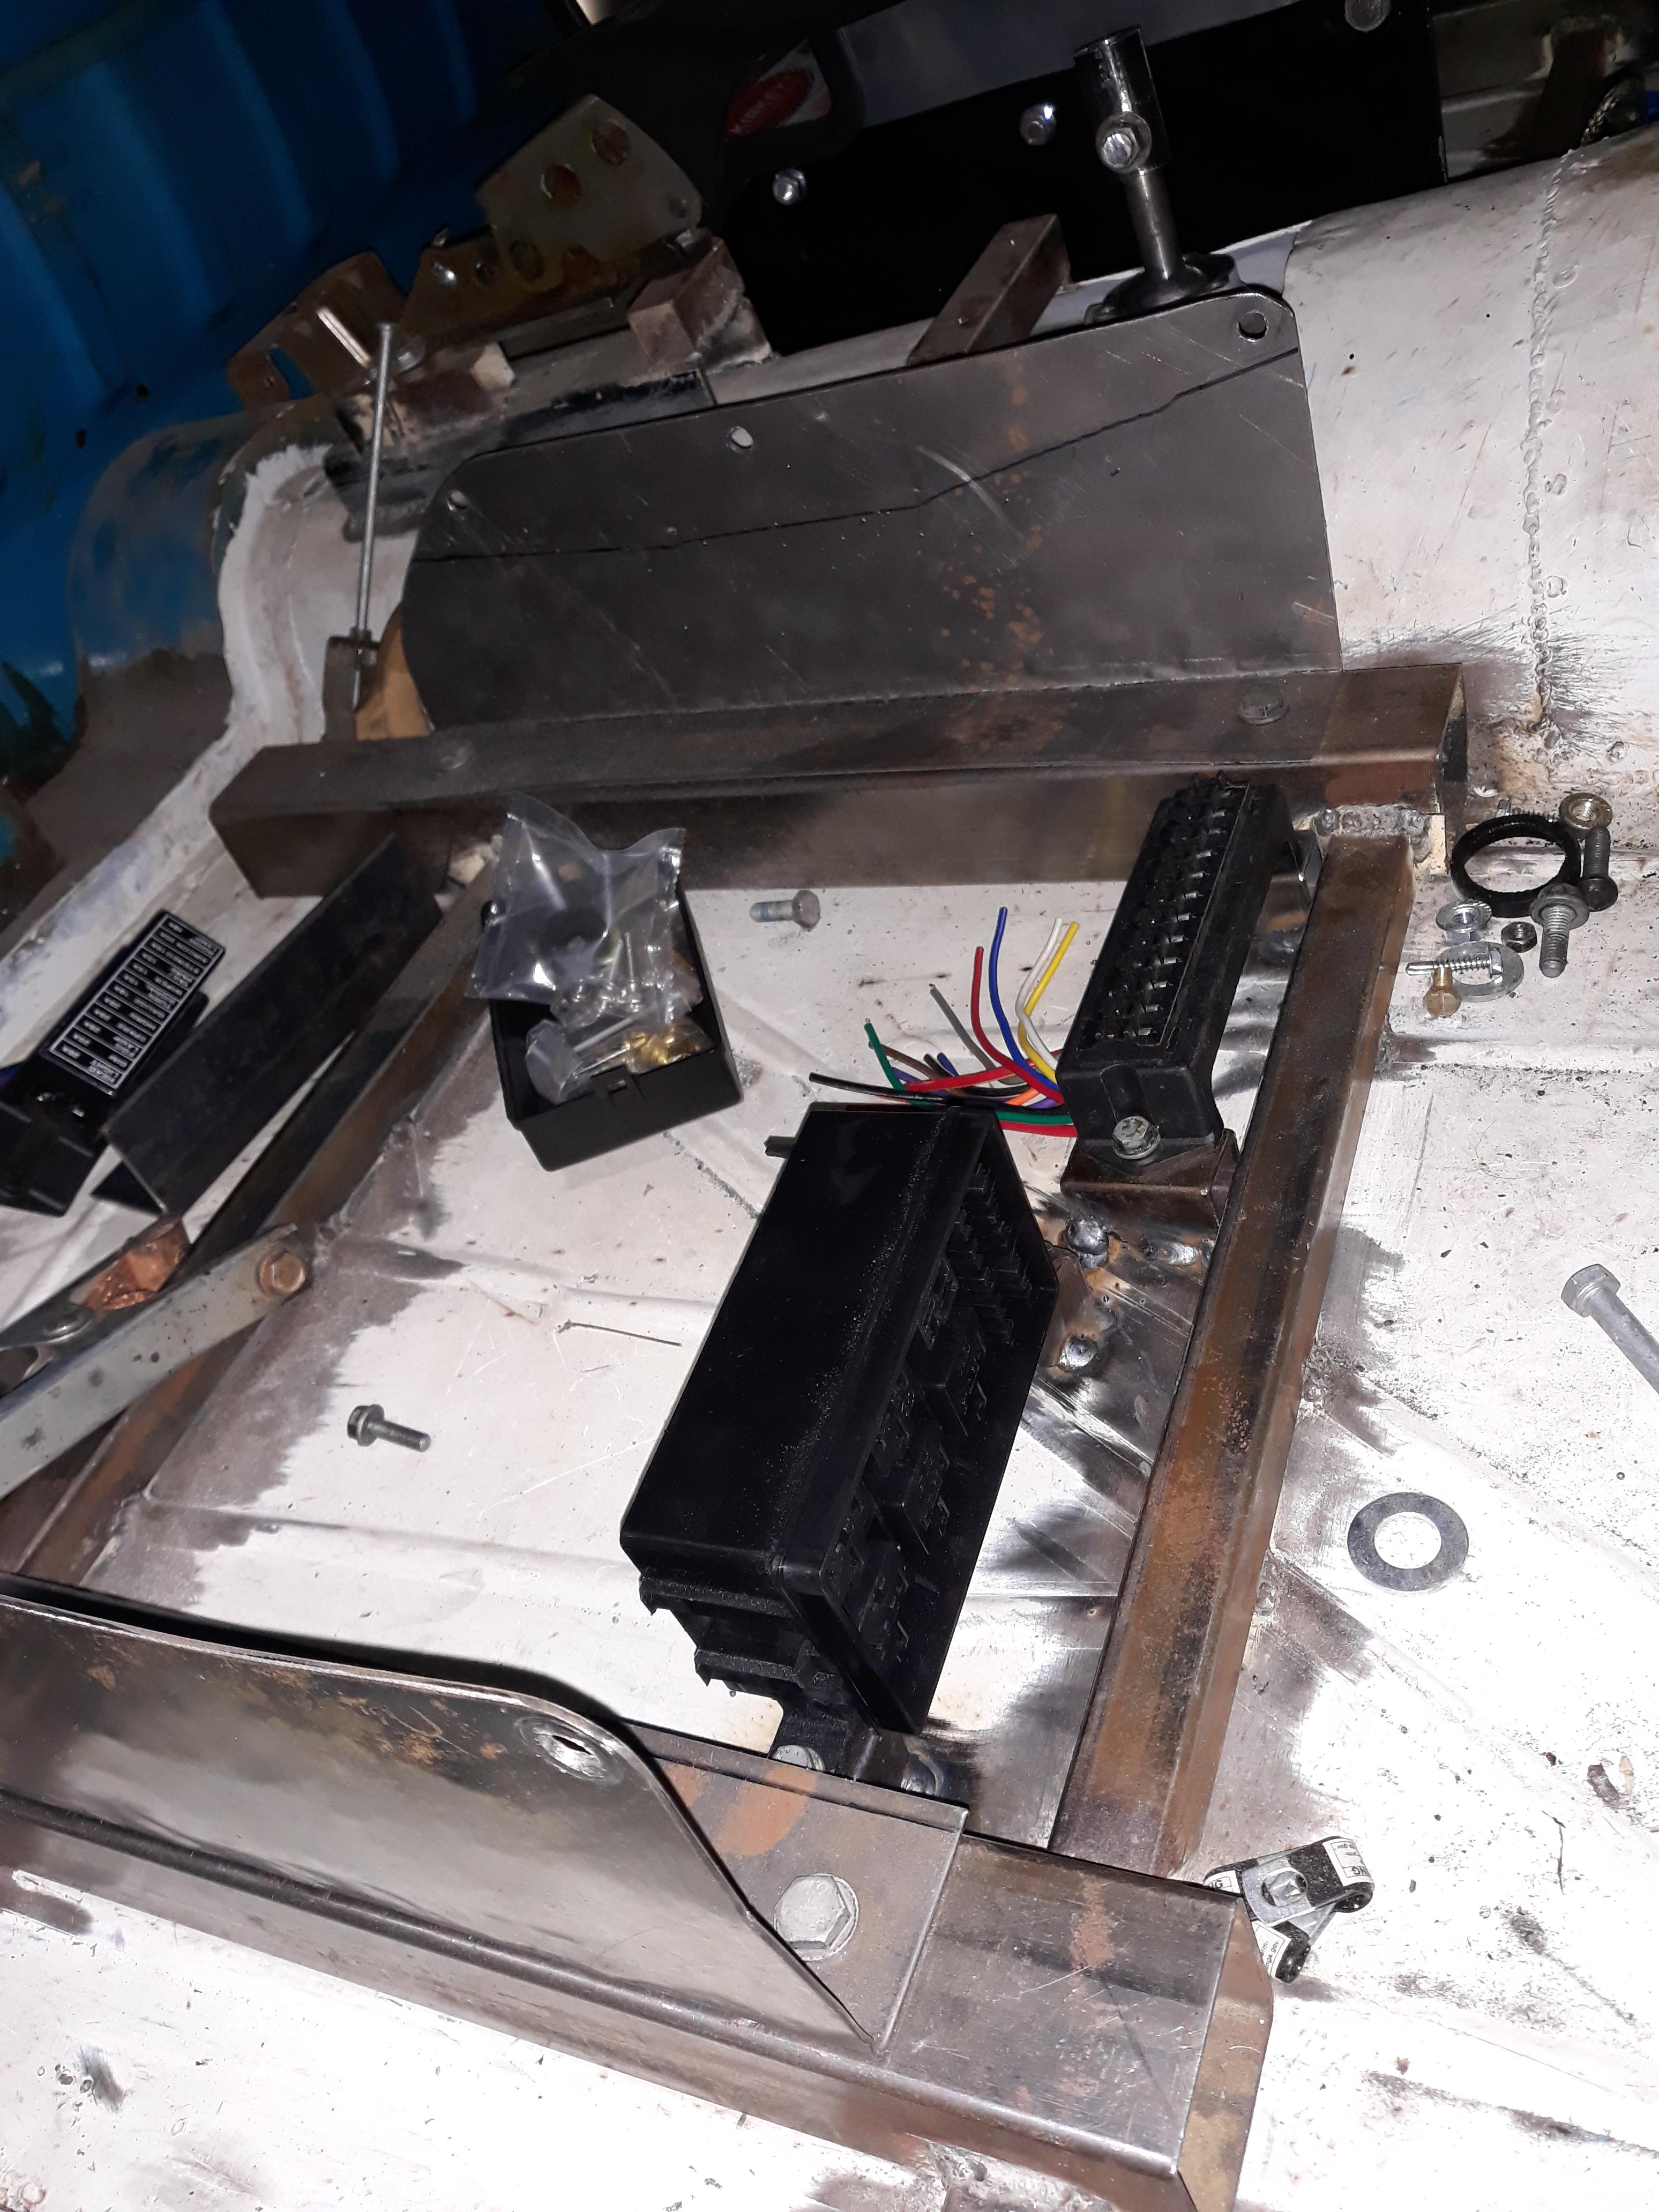
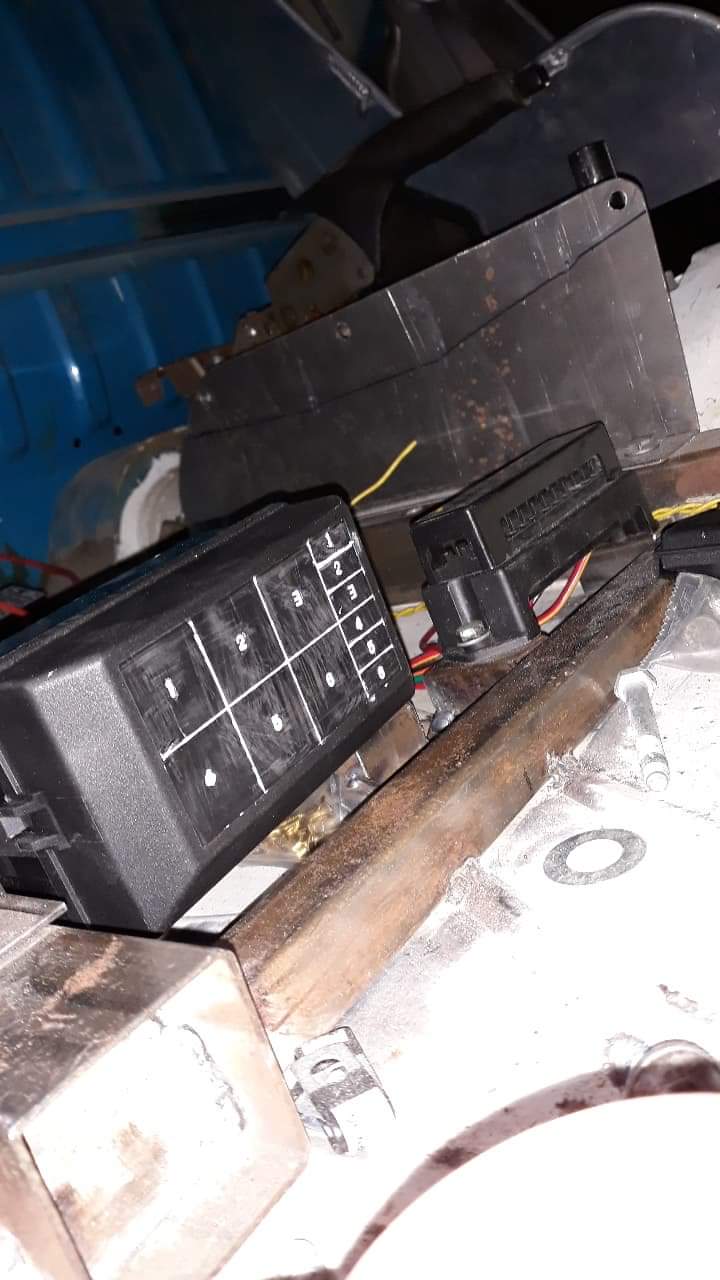
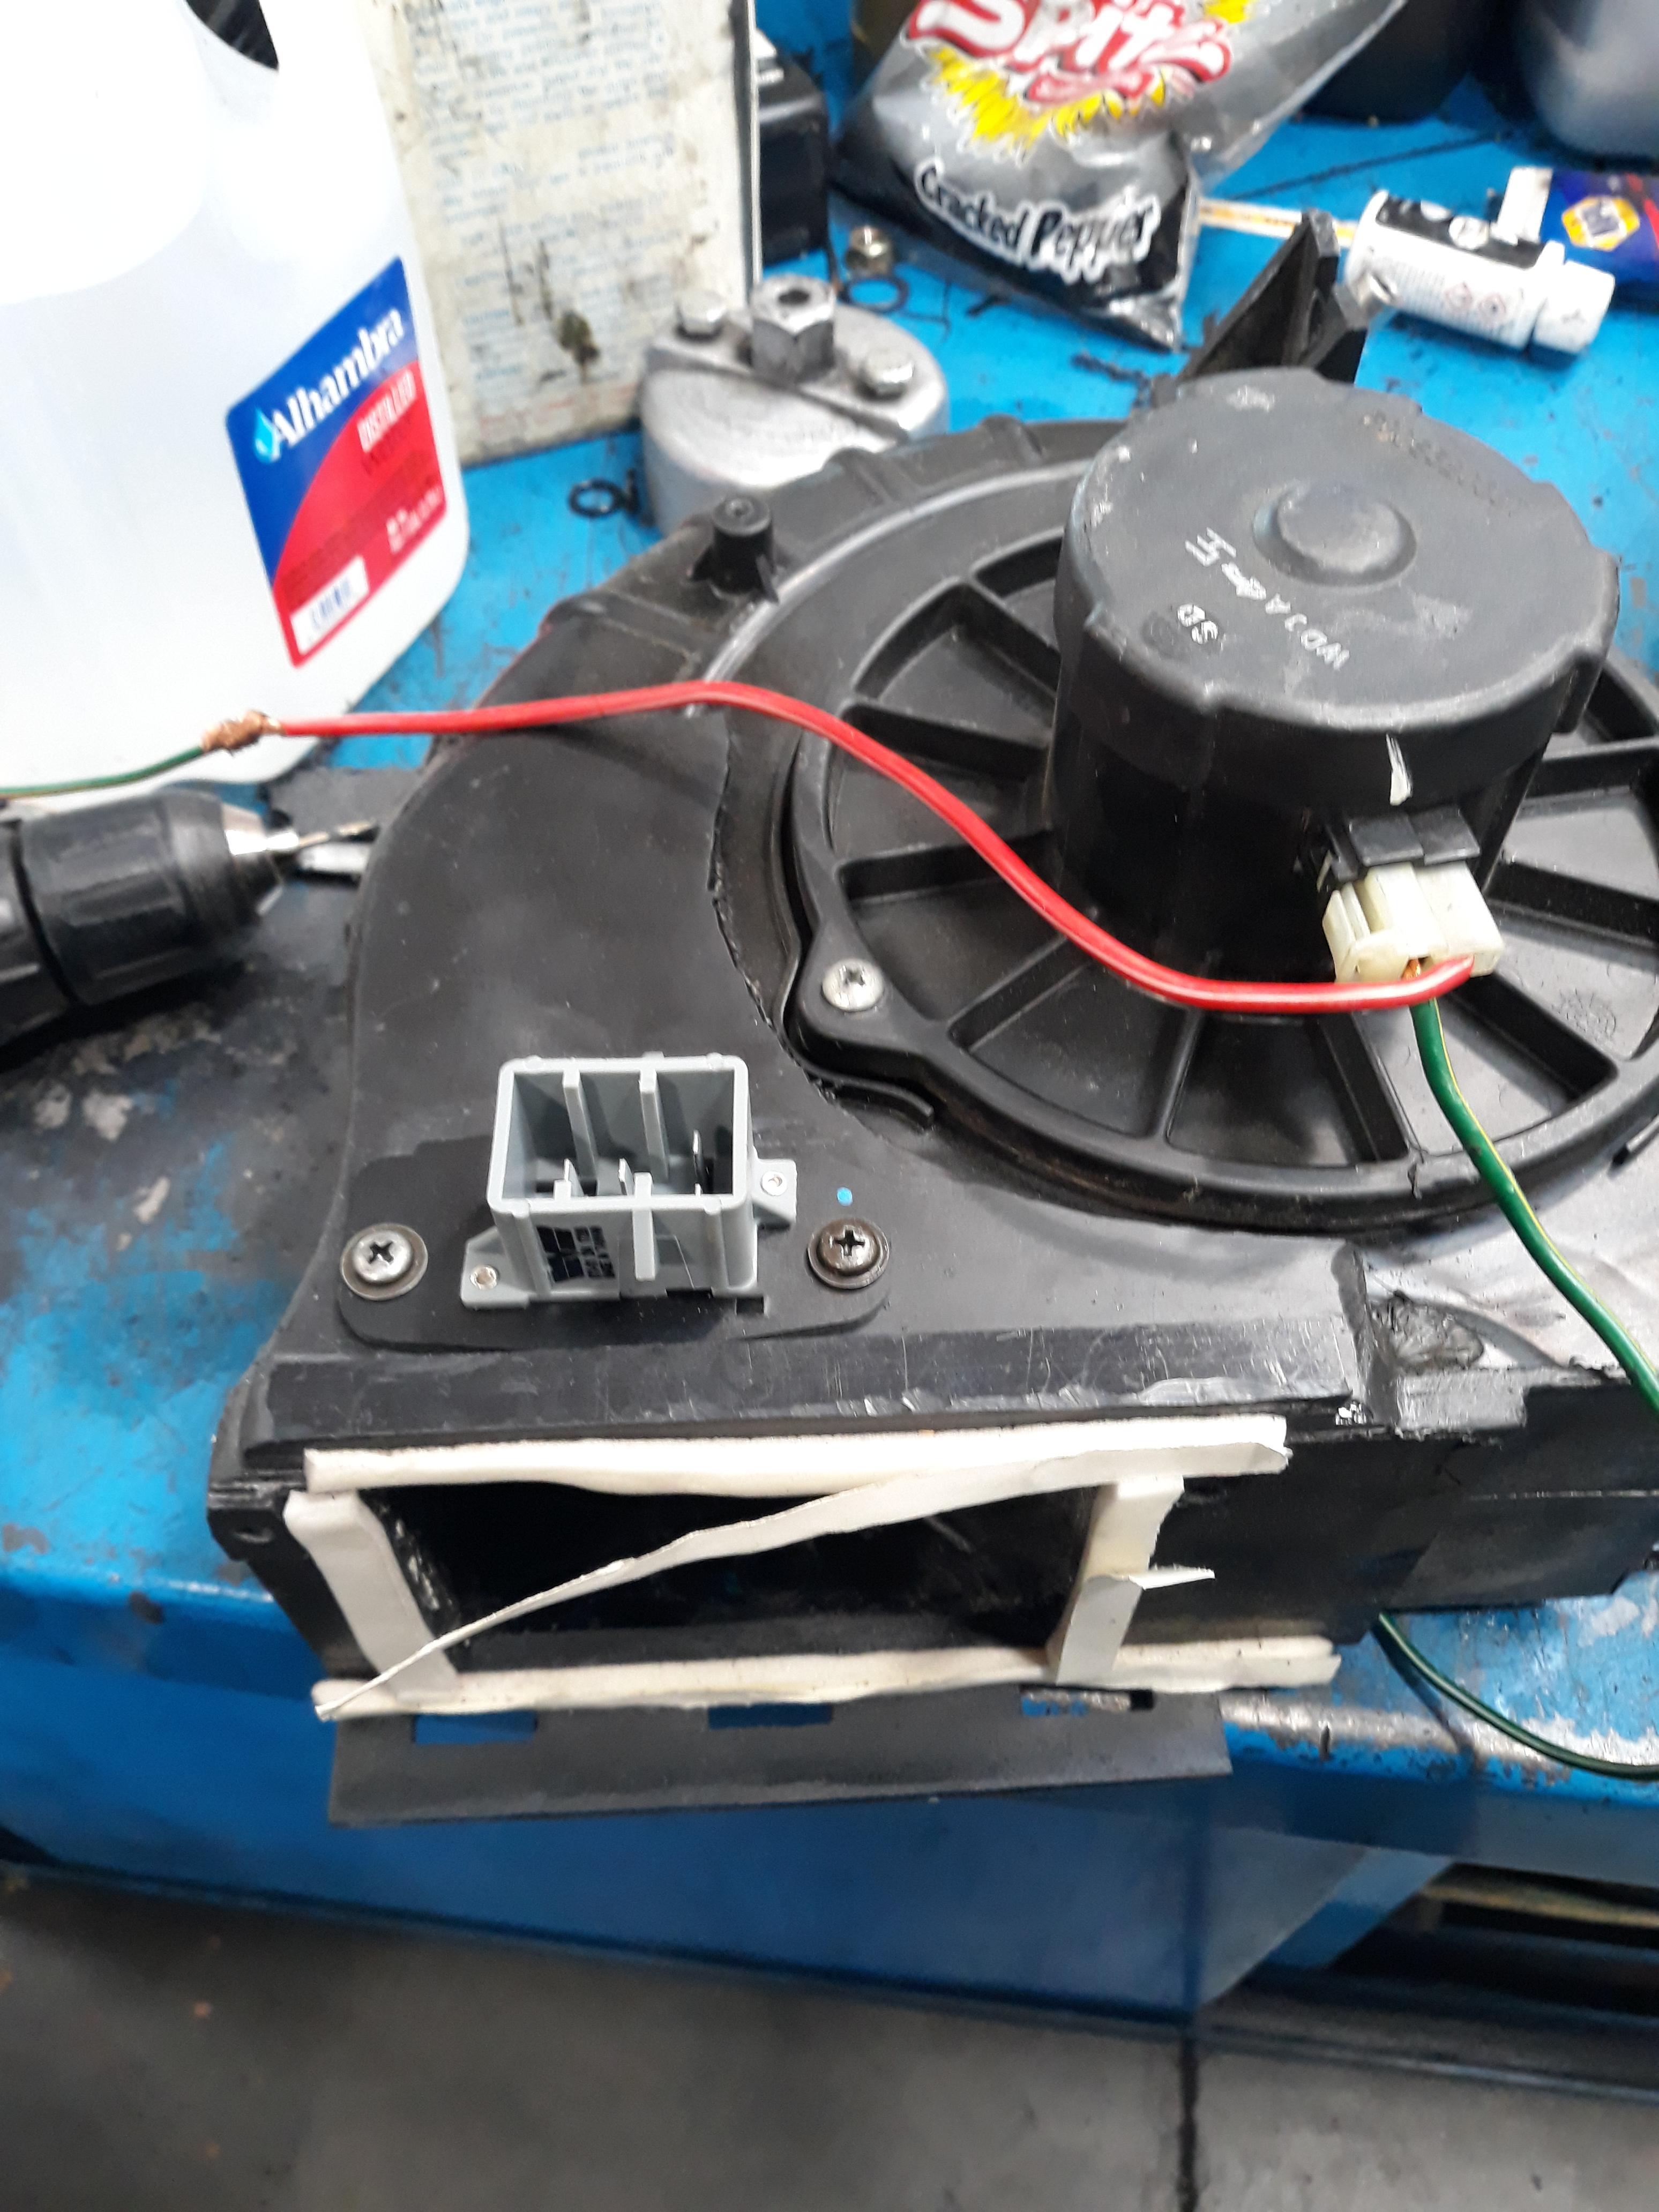
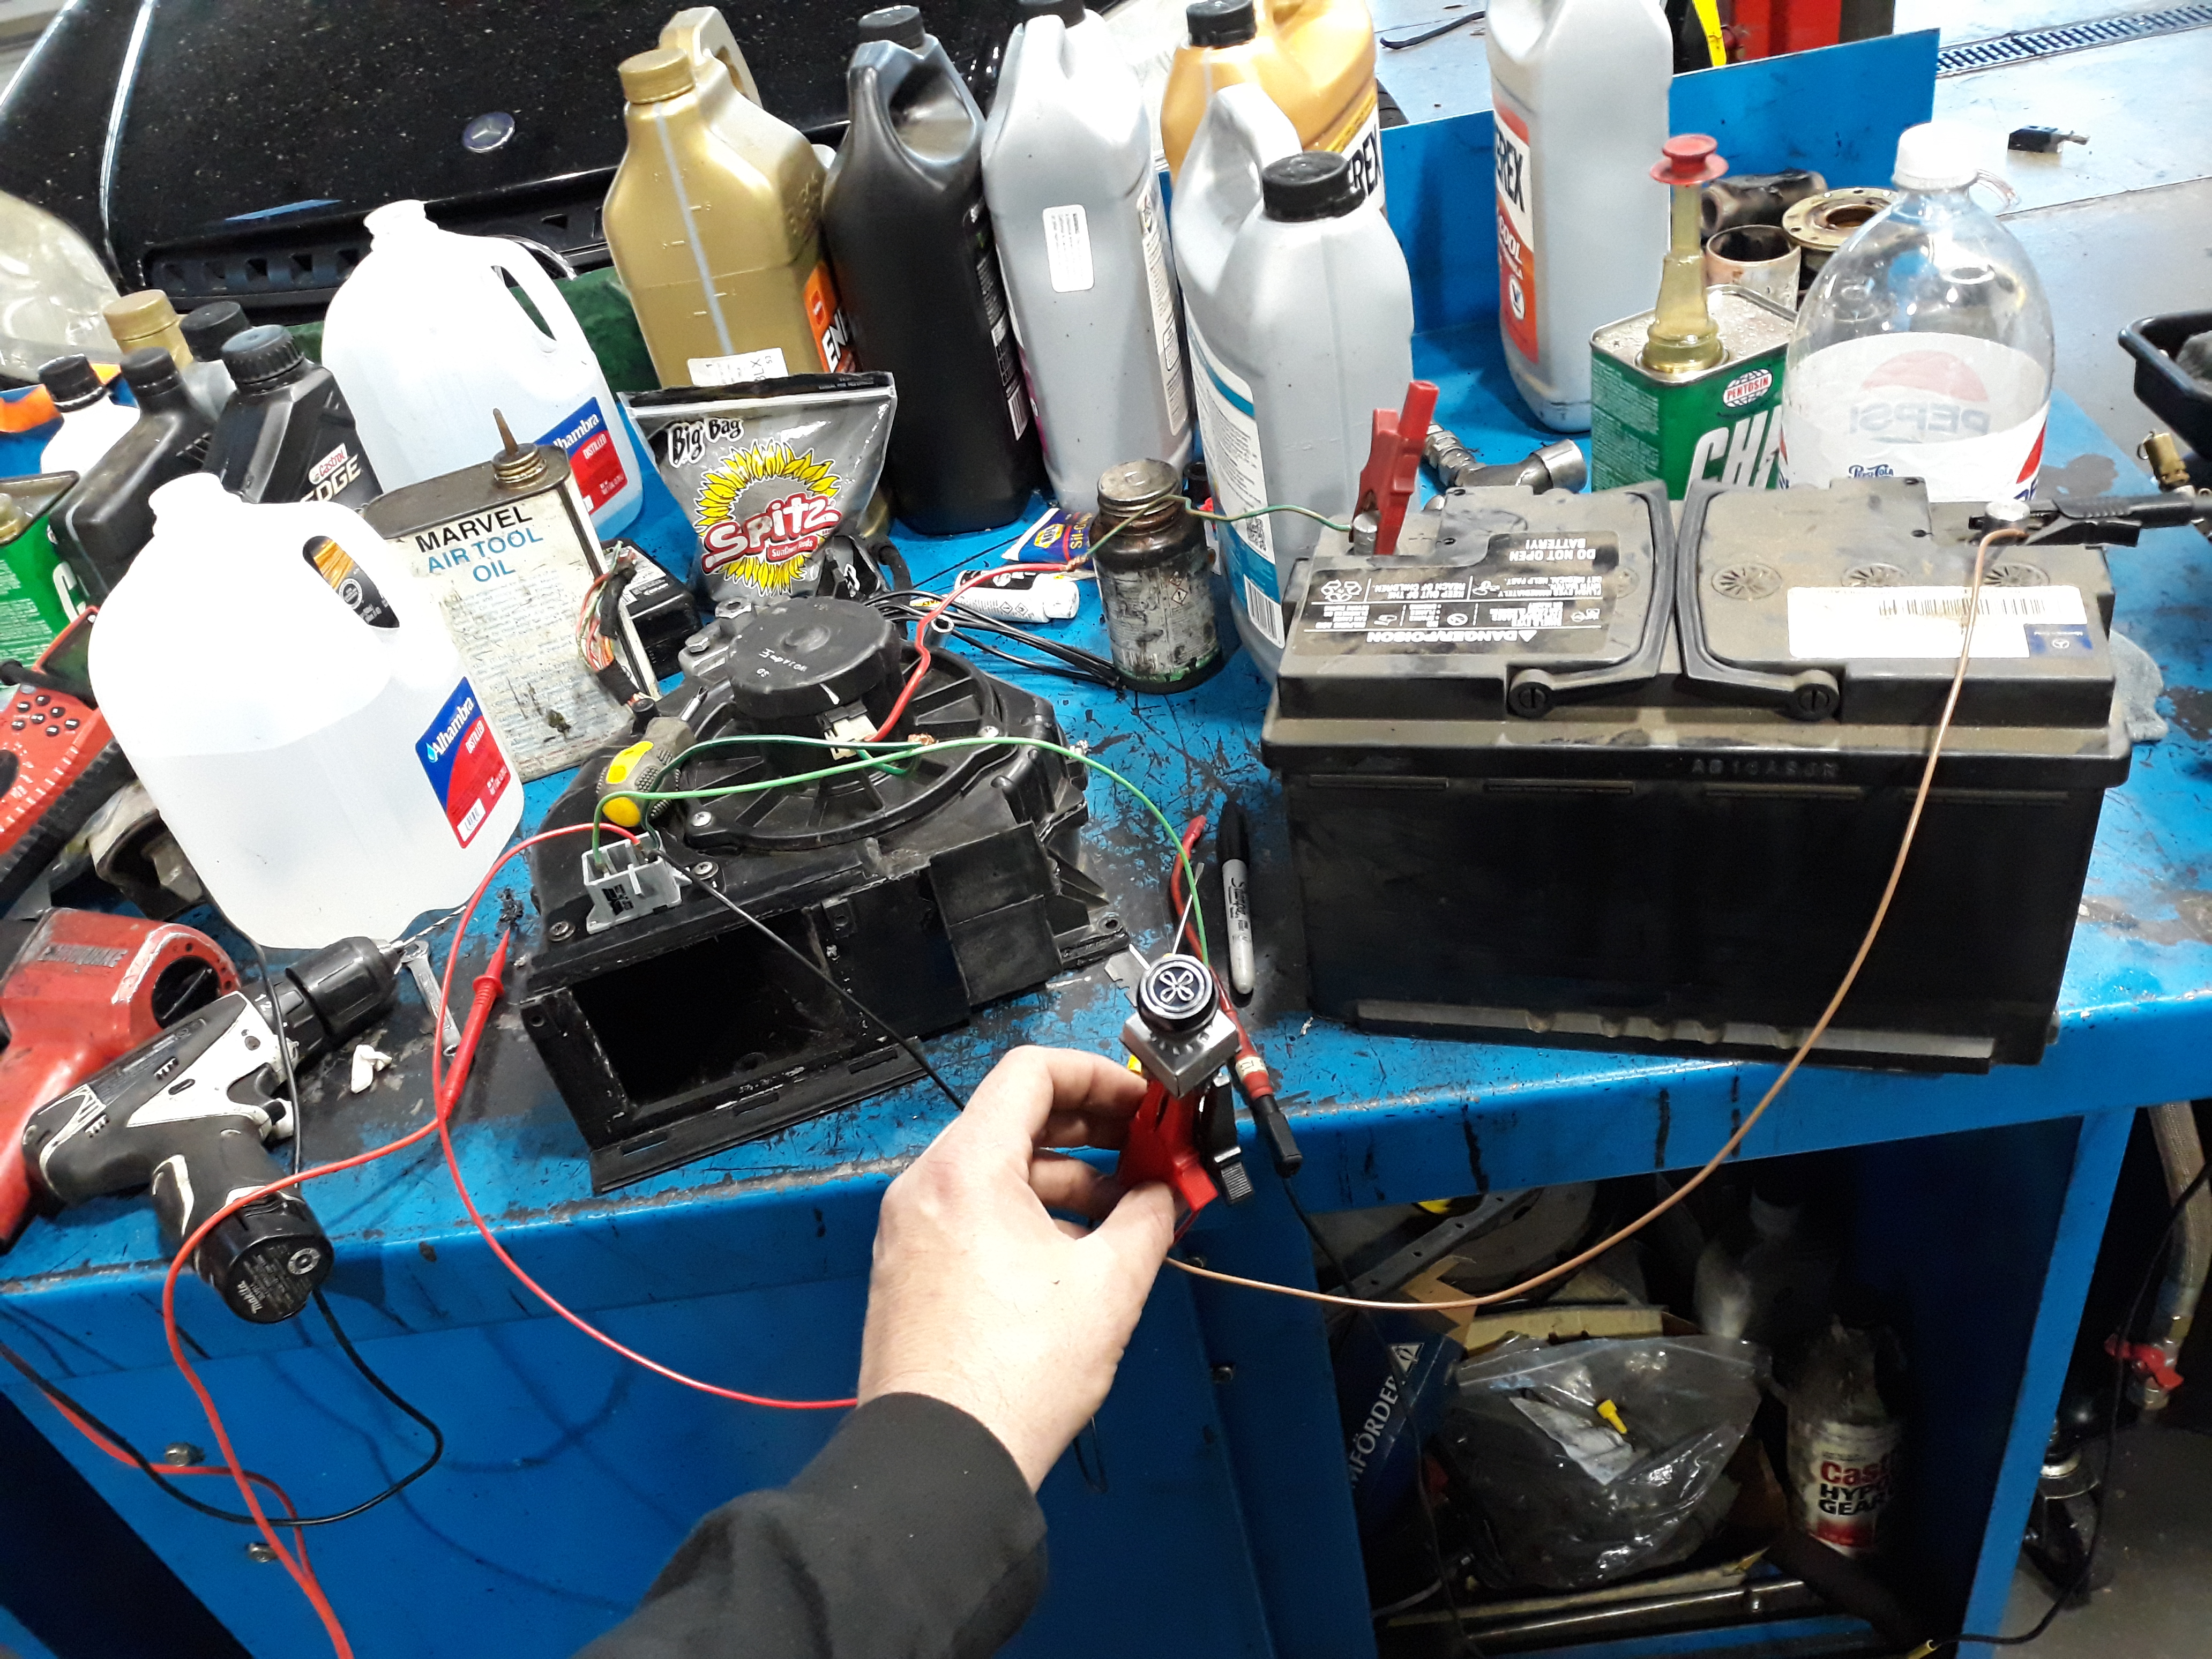
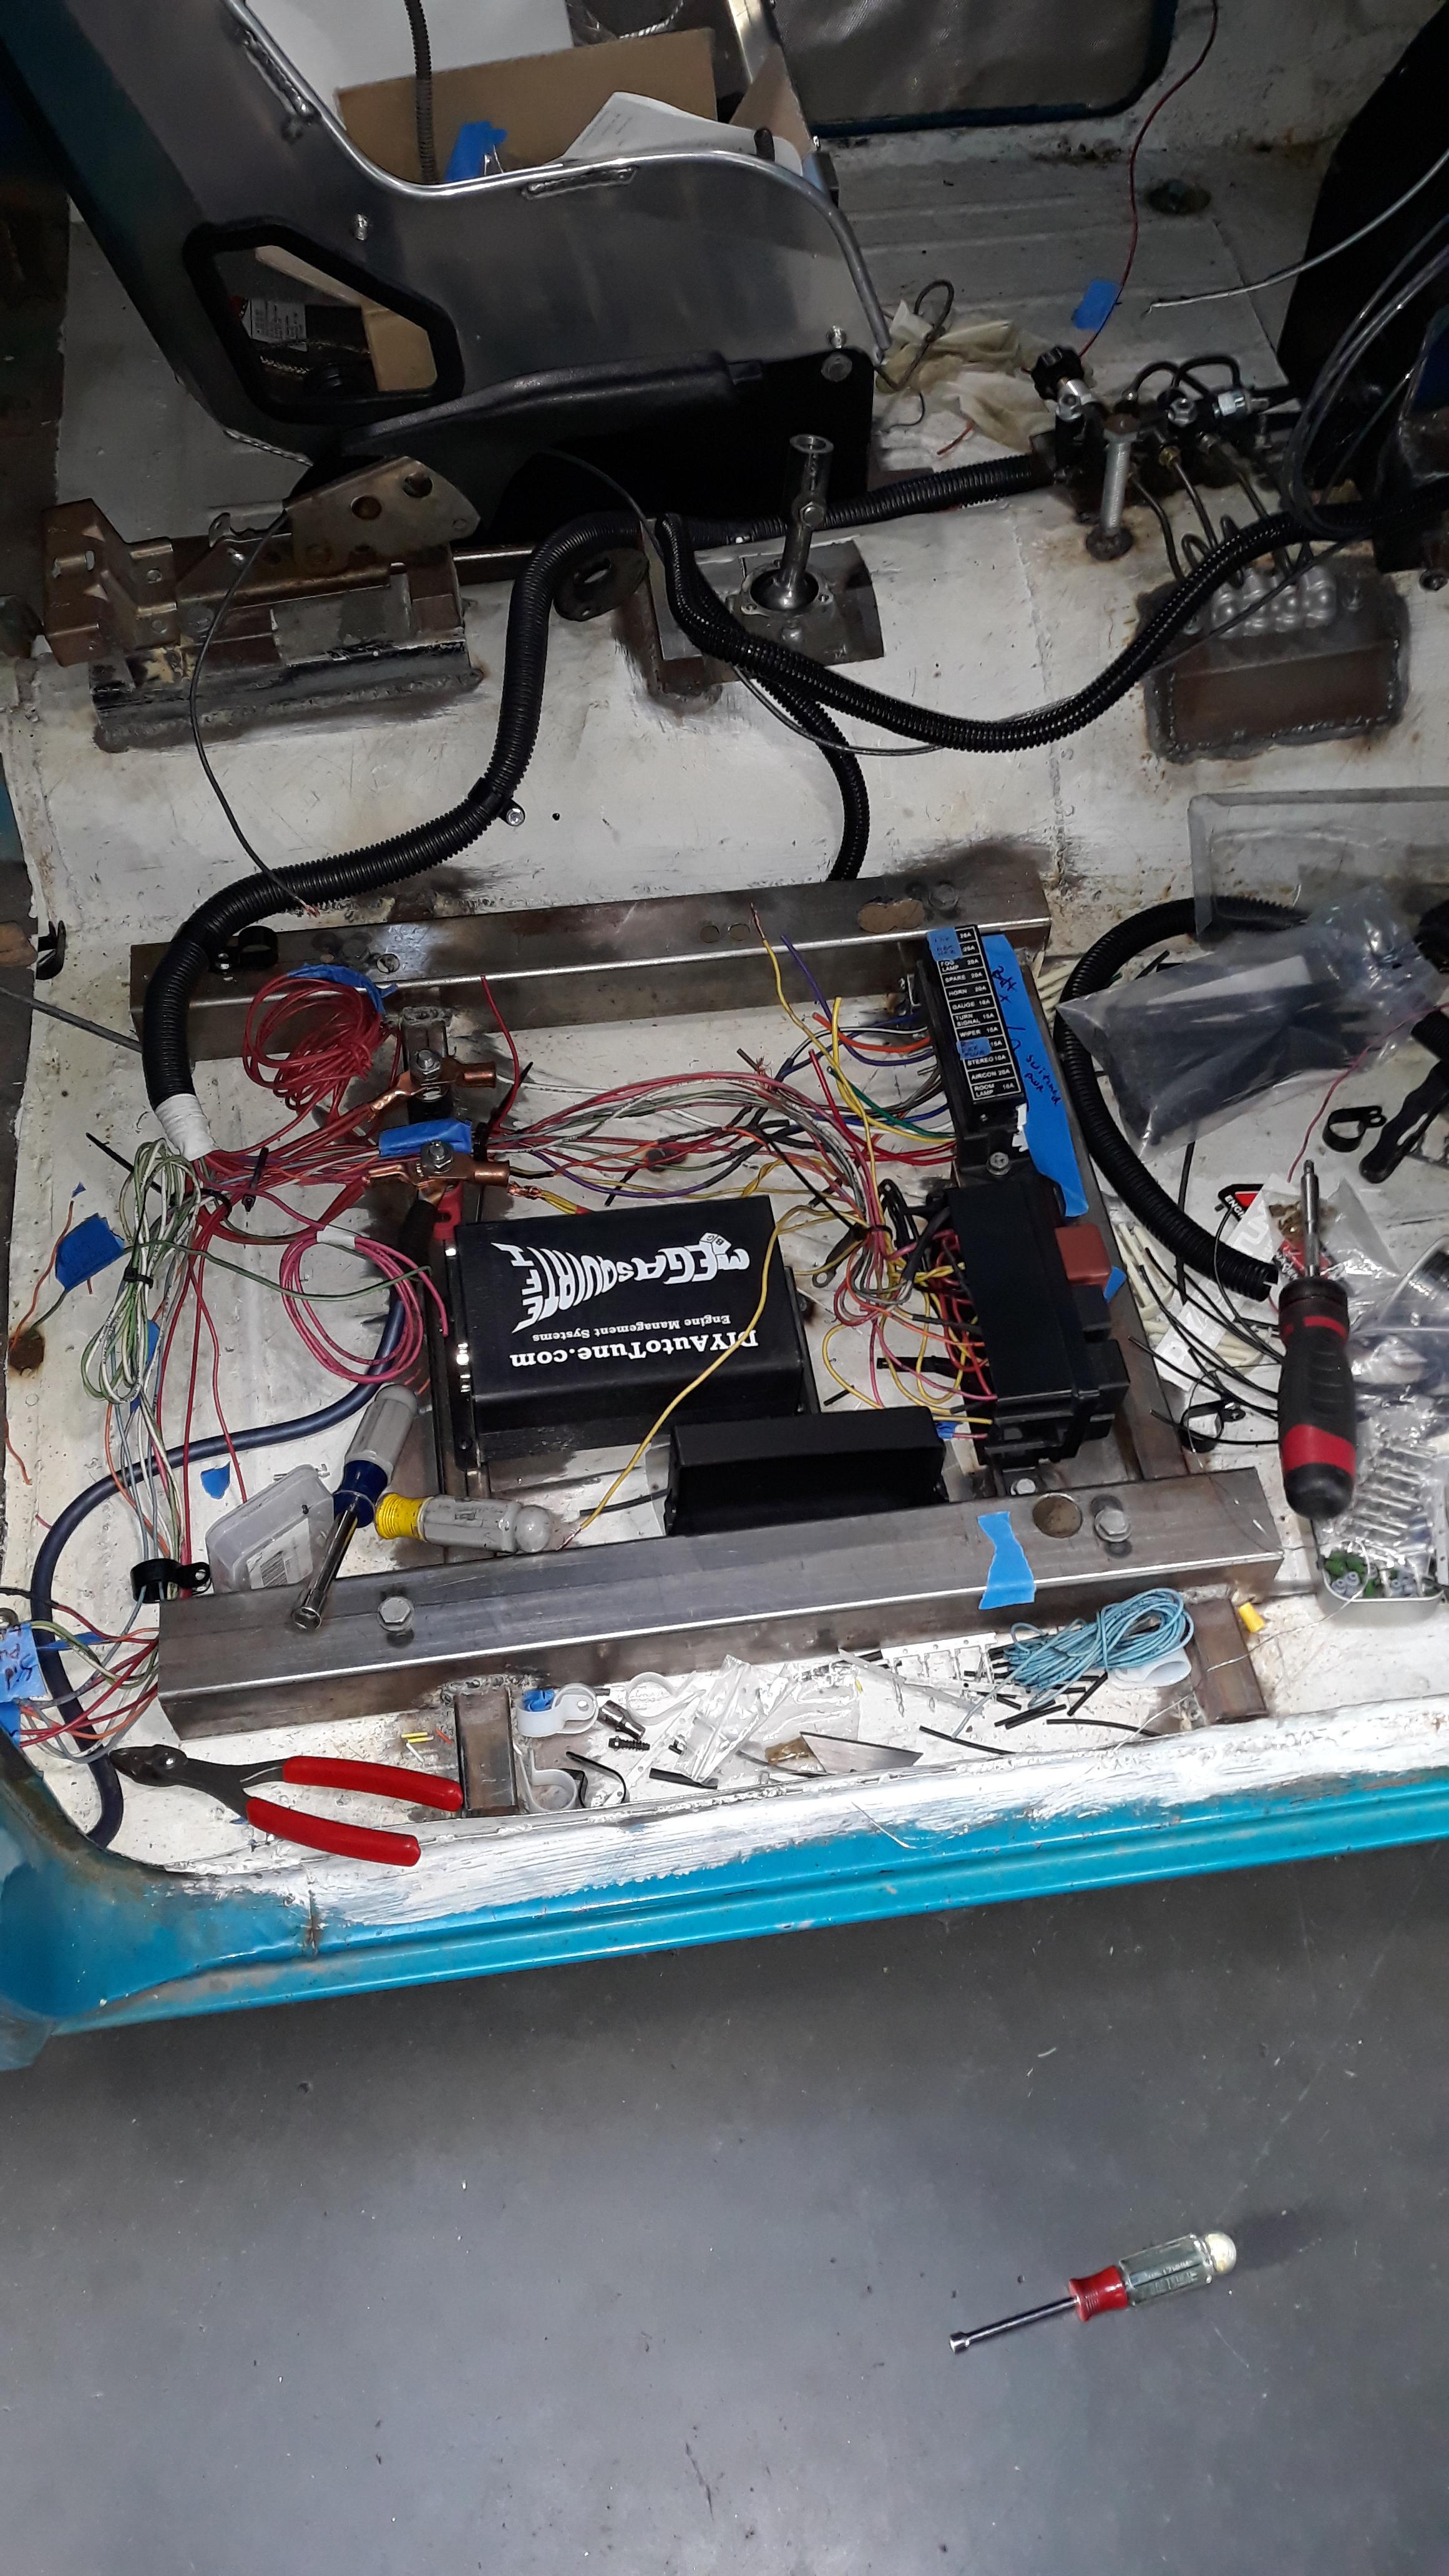
got the fuse and relay boxes mounted, installed the blower resistor pack into the blower housing. wired everything together really quick on the bench to make sure it all worked.
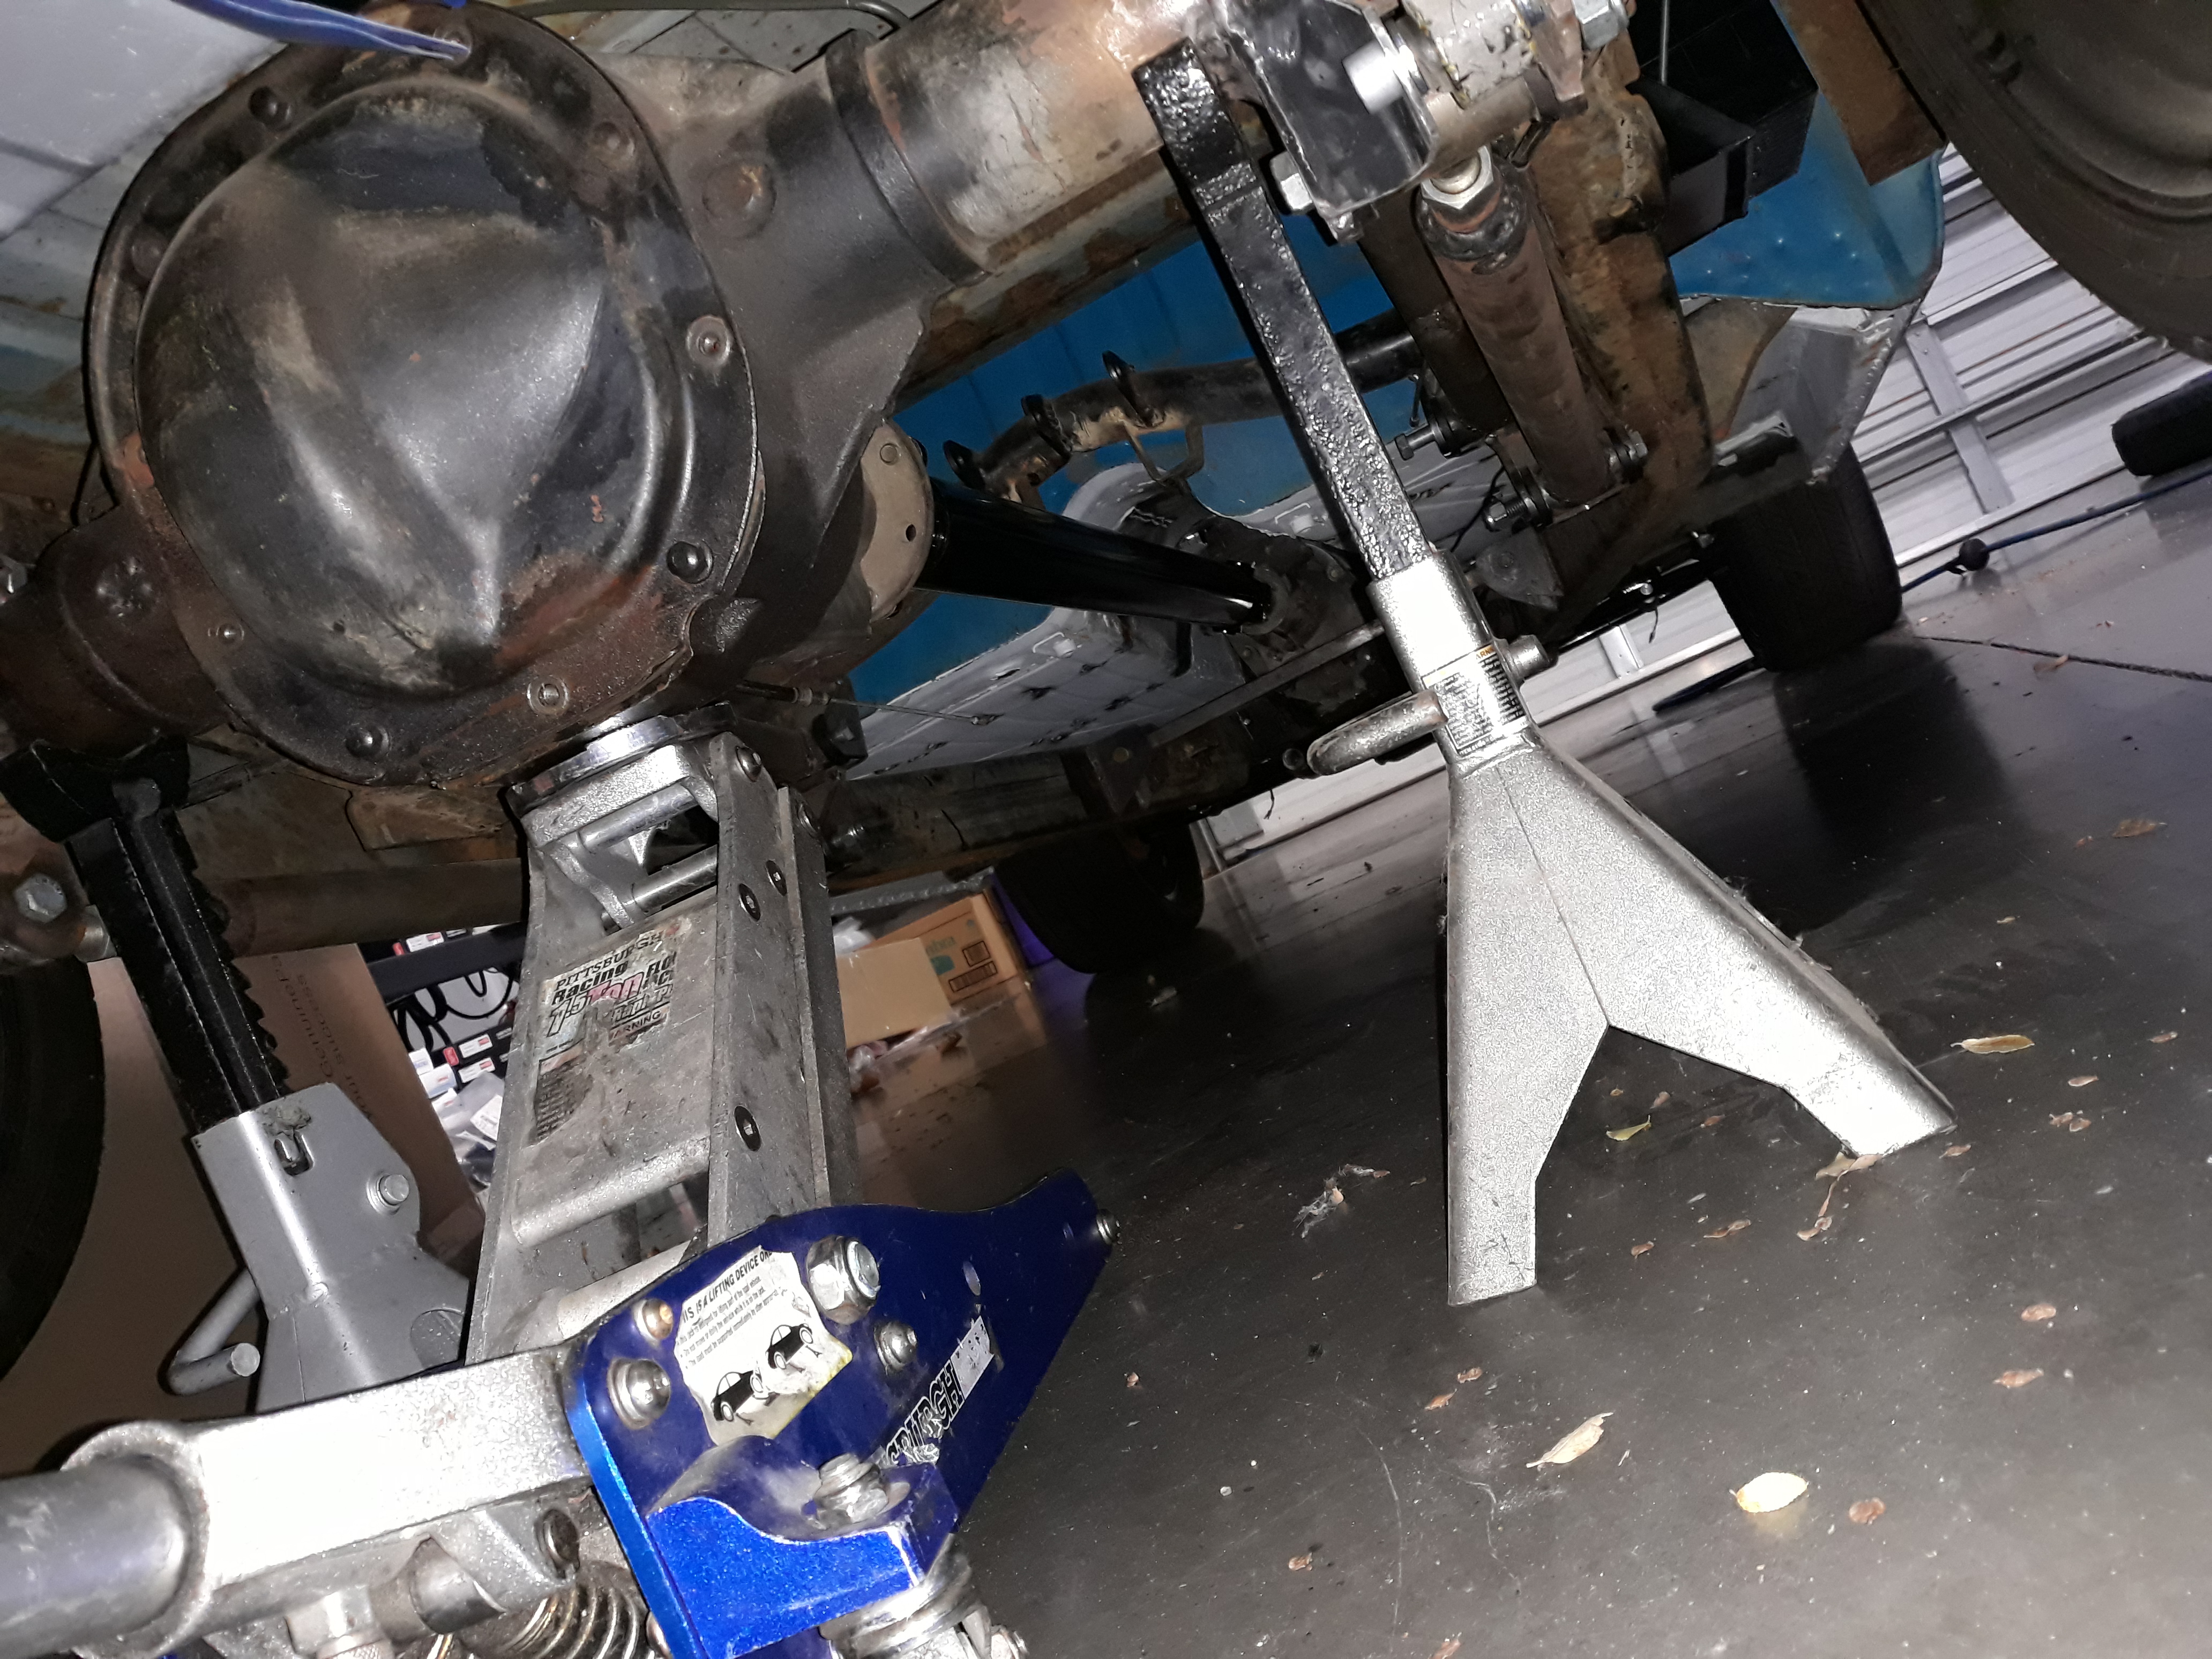
for the first time the trans is connected to the rear end via a custom driveshaft
more progress!!!!!
got the fuse and relay boxes mounted, installed the blower resistor pack into the blower housing. wired everything together really quick on the bench to make sure it all worked.
for the first time the trans is connected to the rear end via a custom driveshaft
Reply
1
1
01-13-2019, 10:41 PM
#114
Senior Member
Thread Starter
Join Date: Jan 2011
Location: sacramento ,ca
Posts: 568
Total Cats: 162
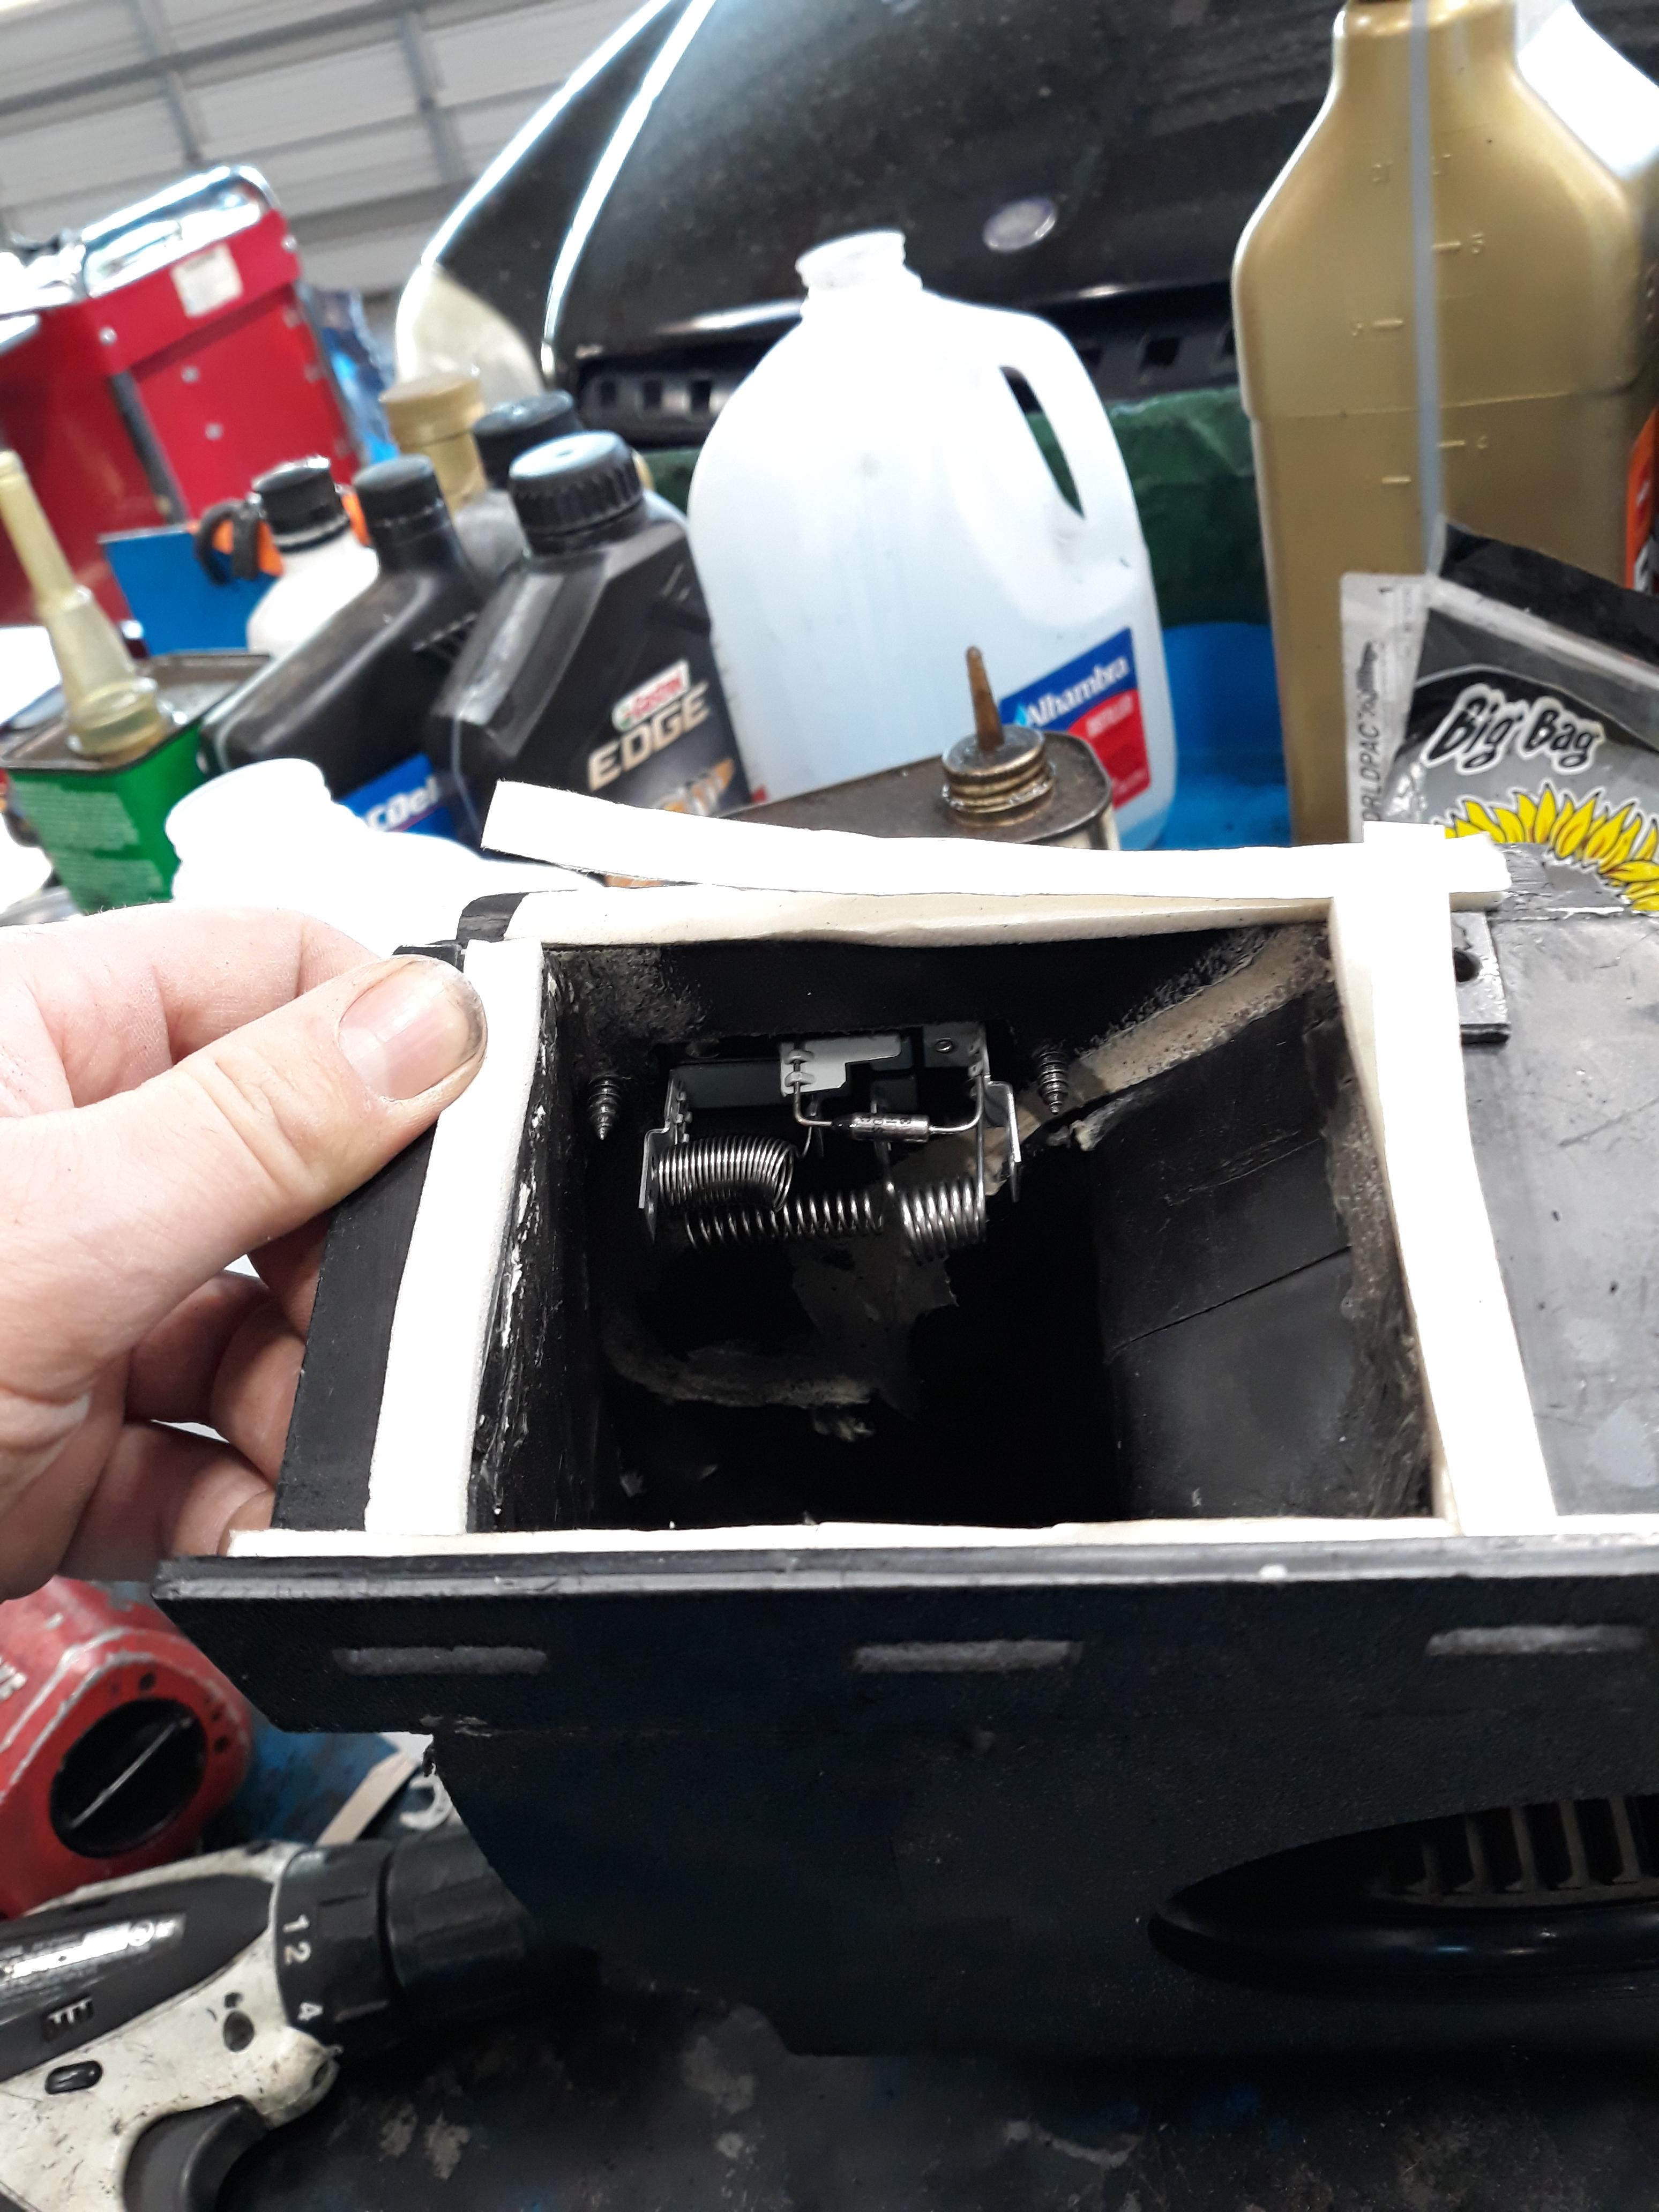
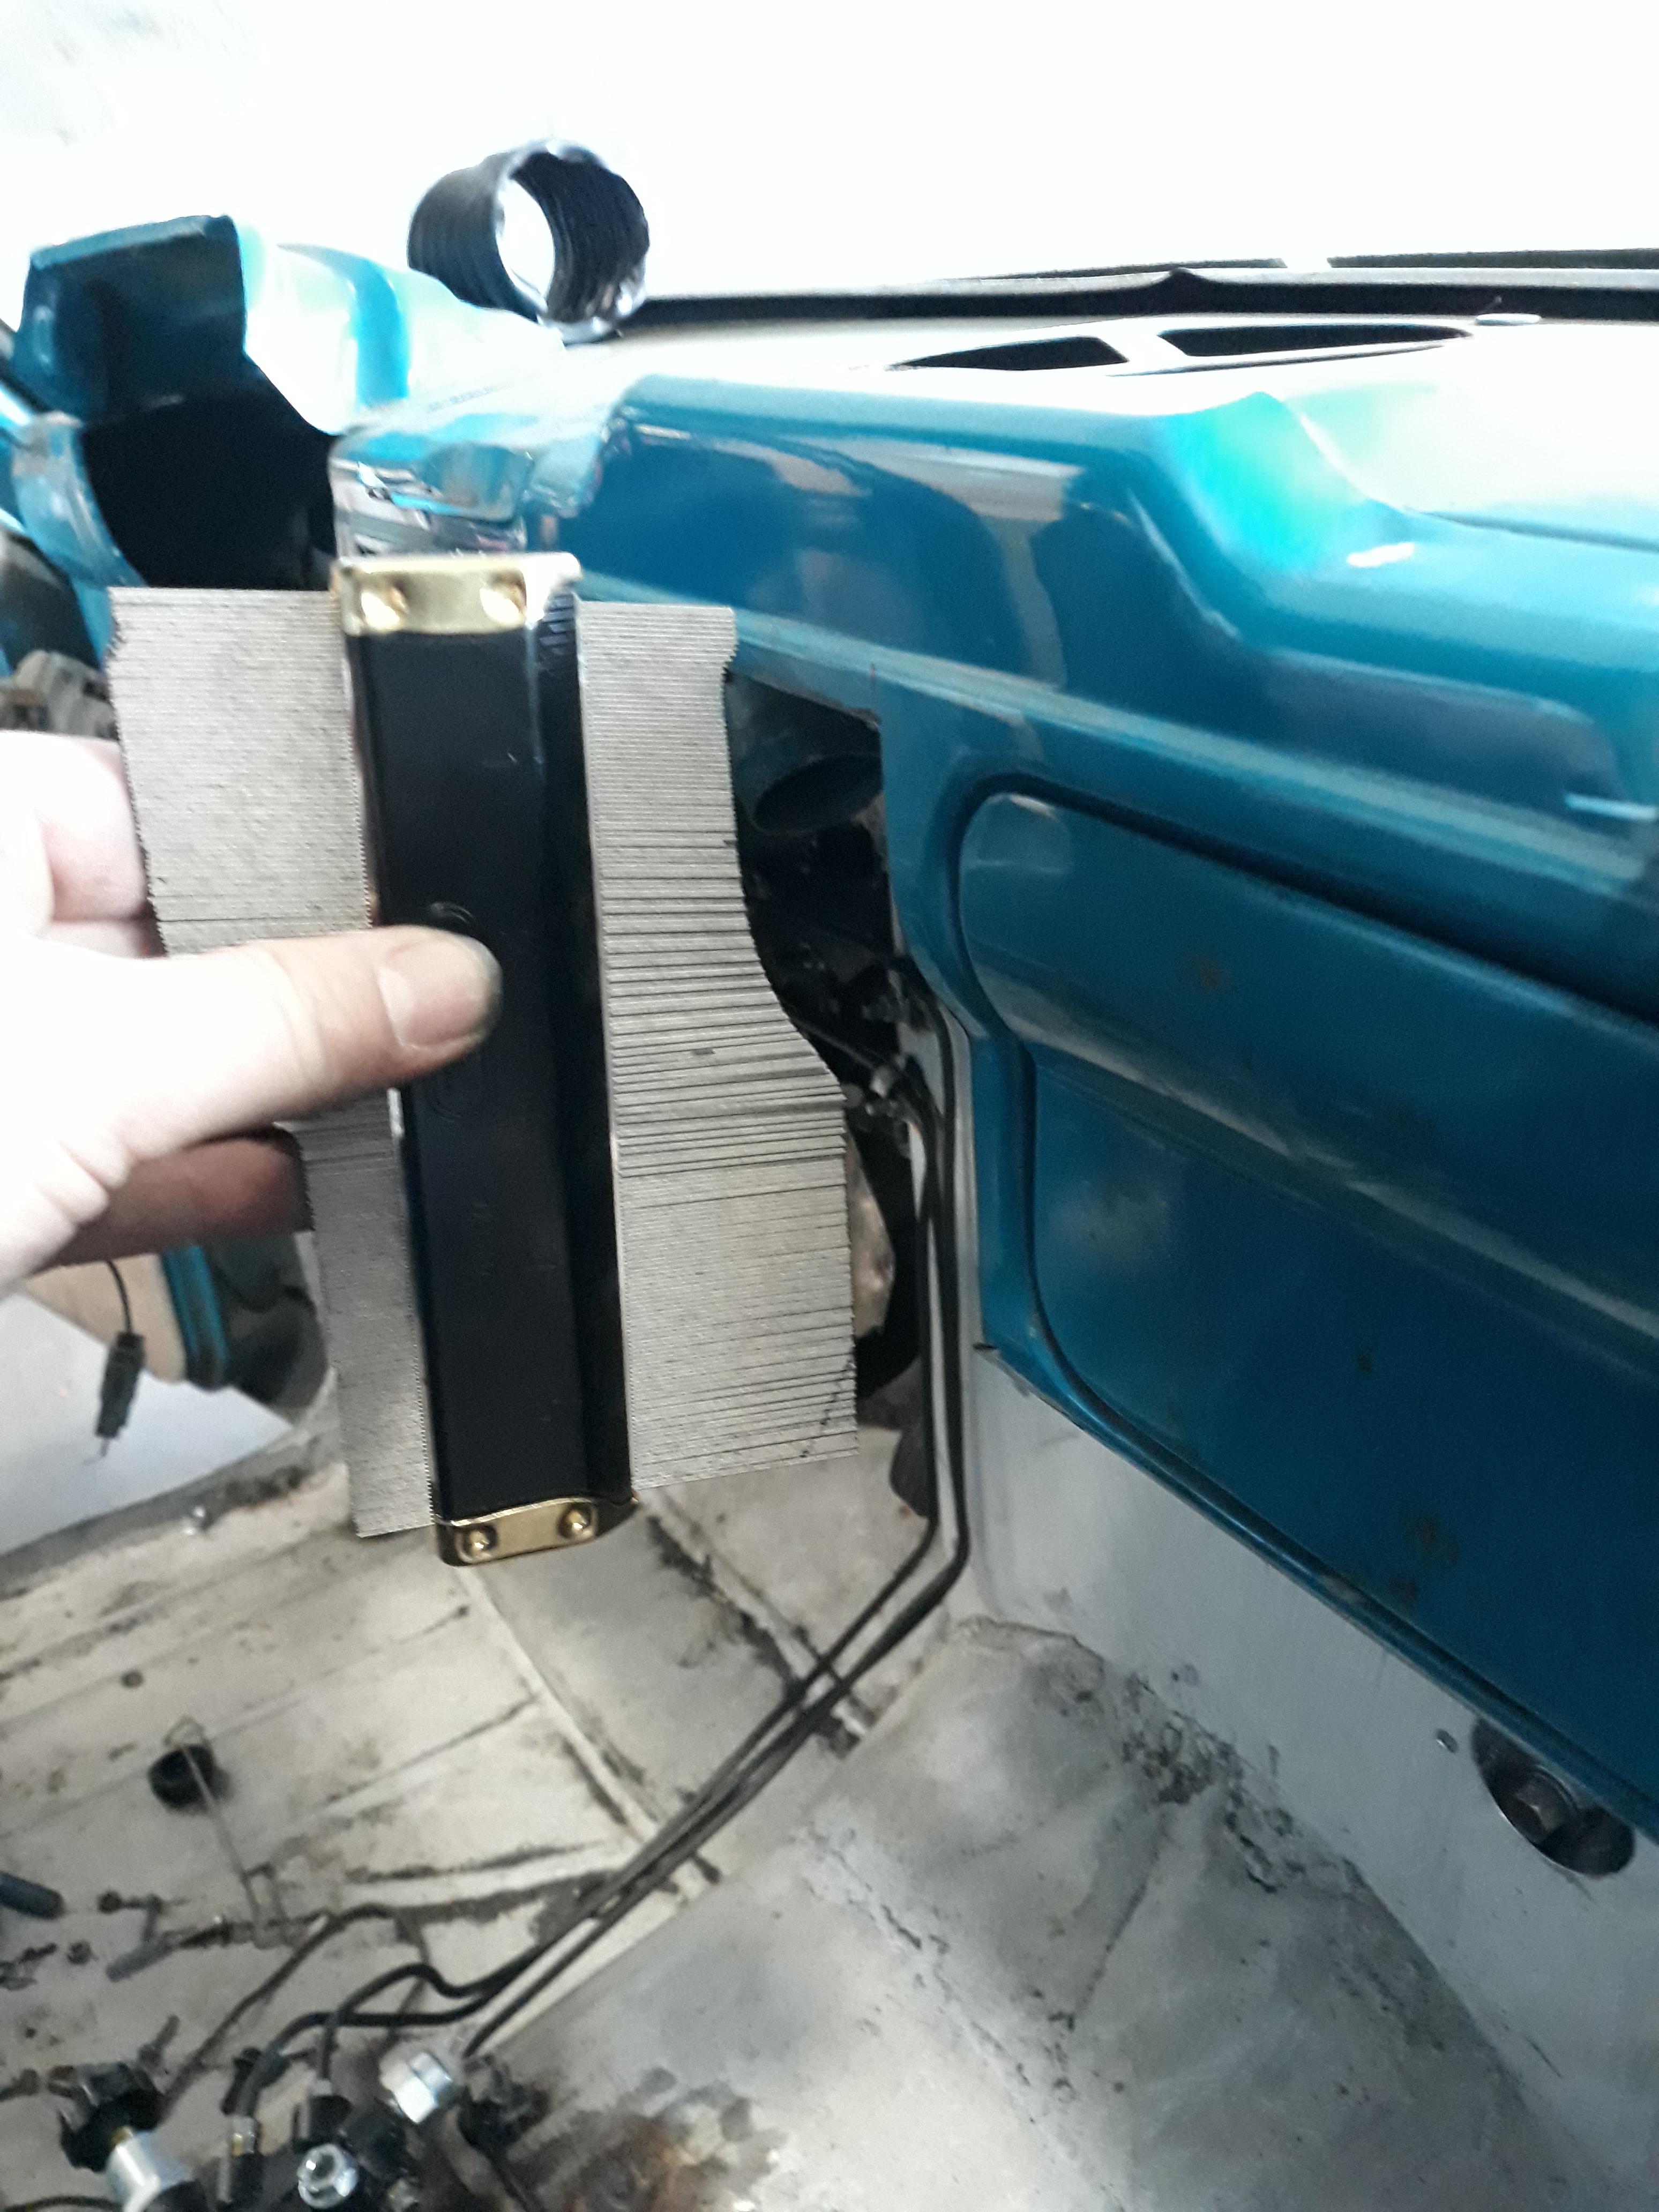
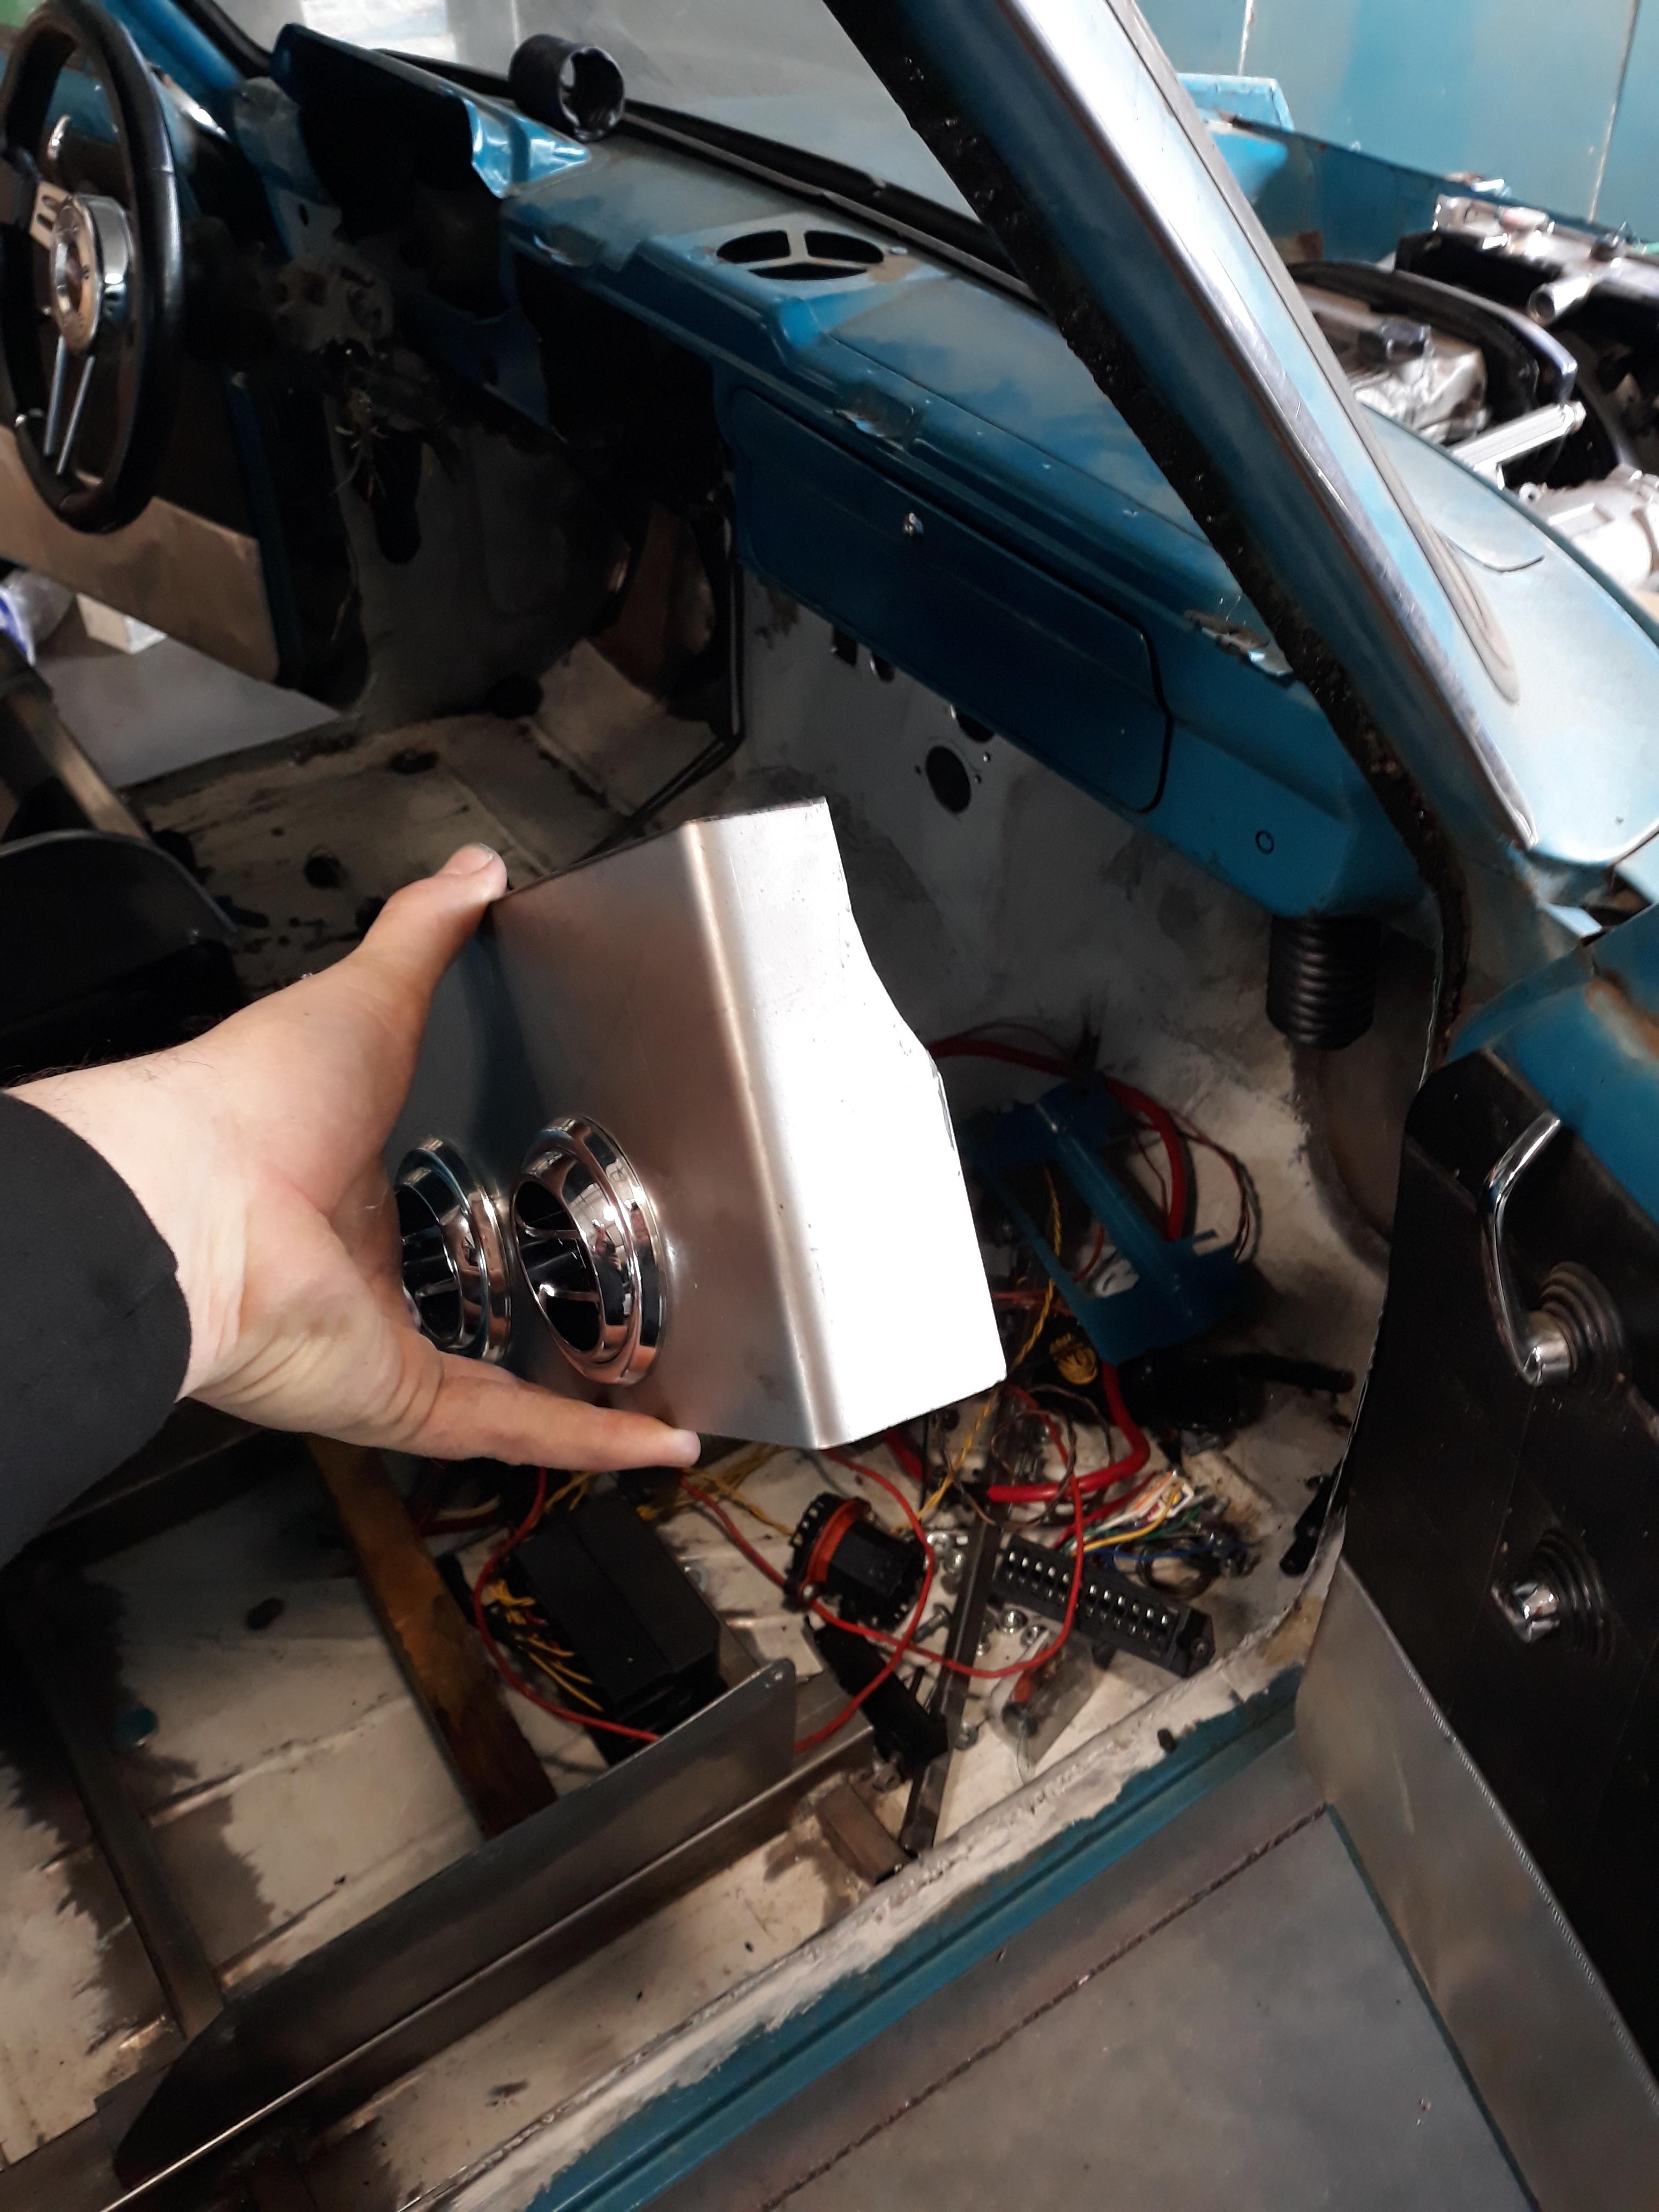
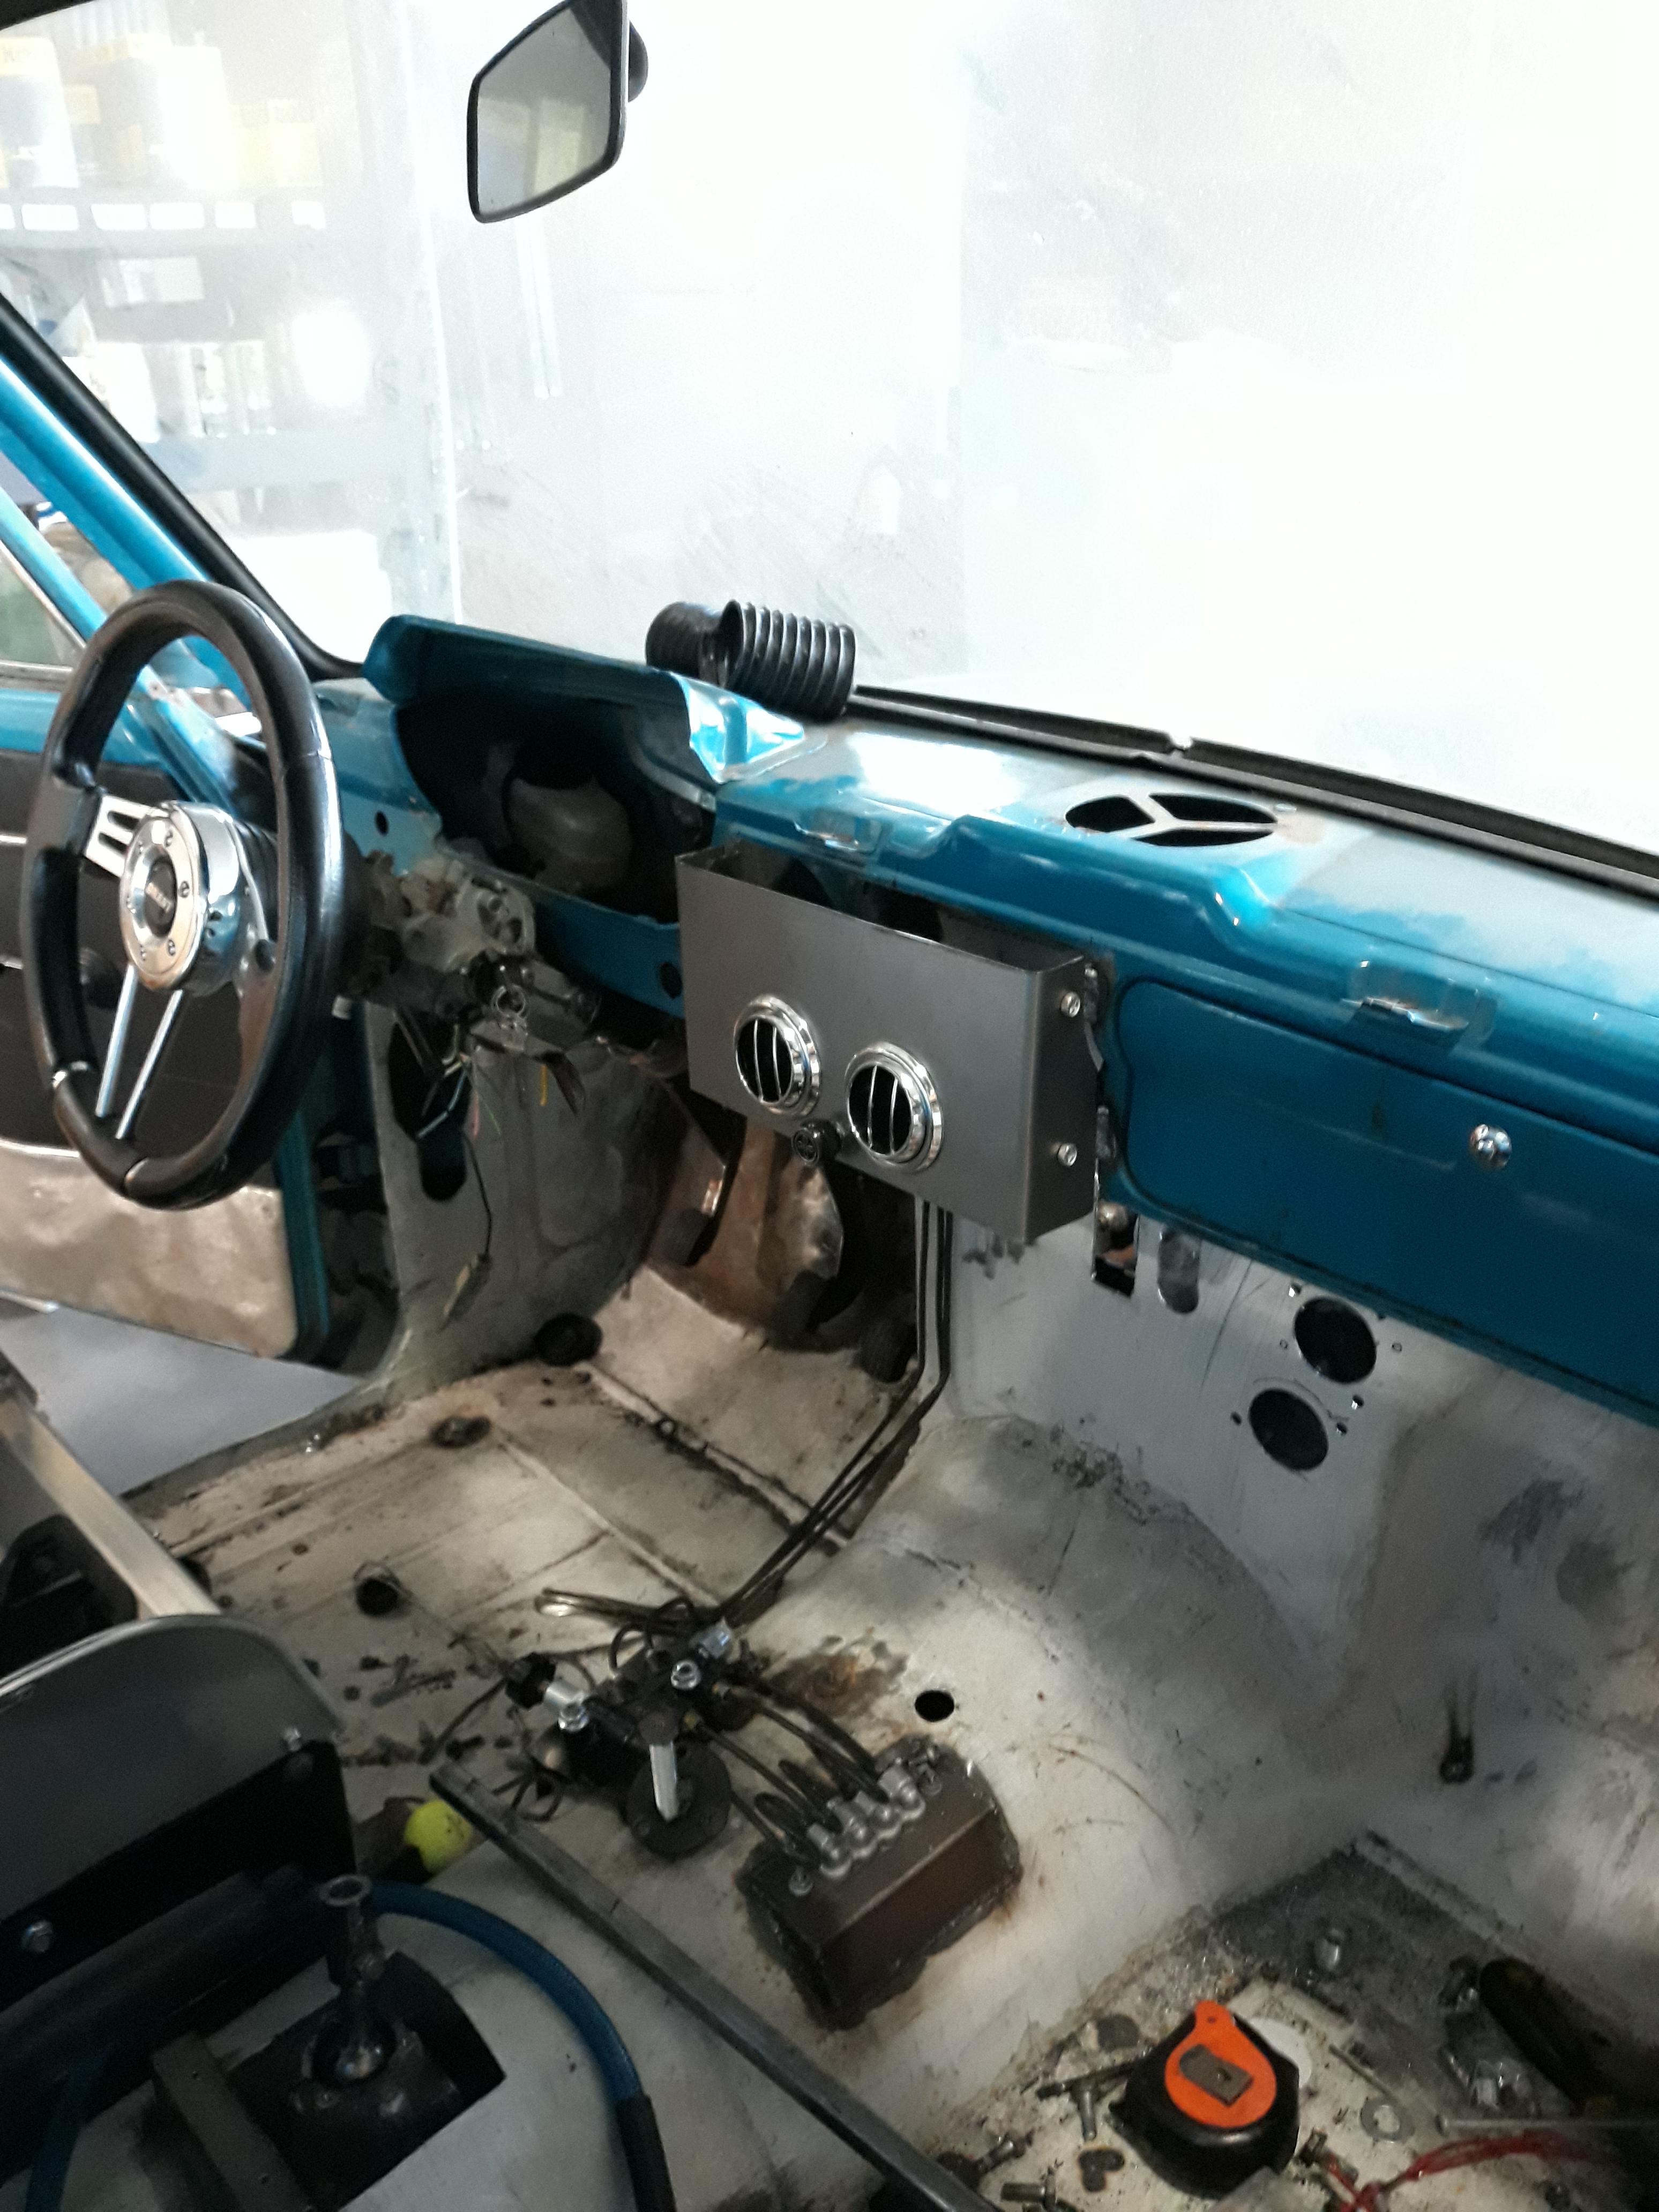
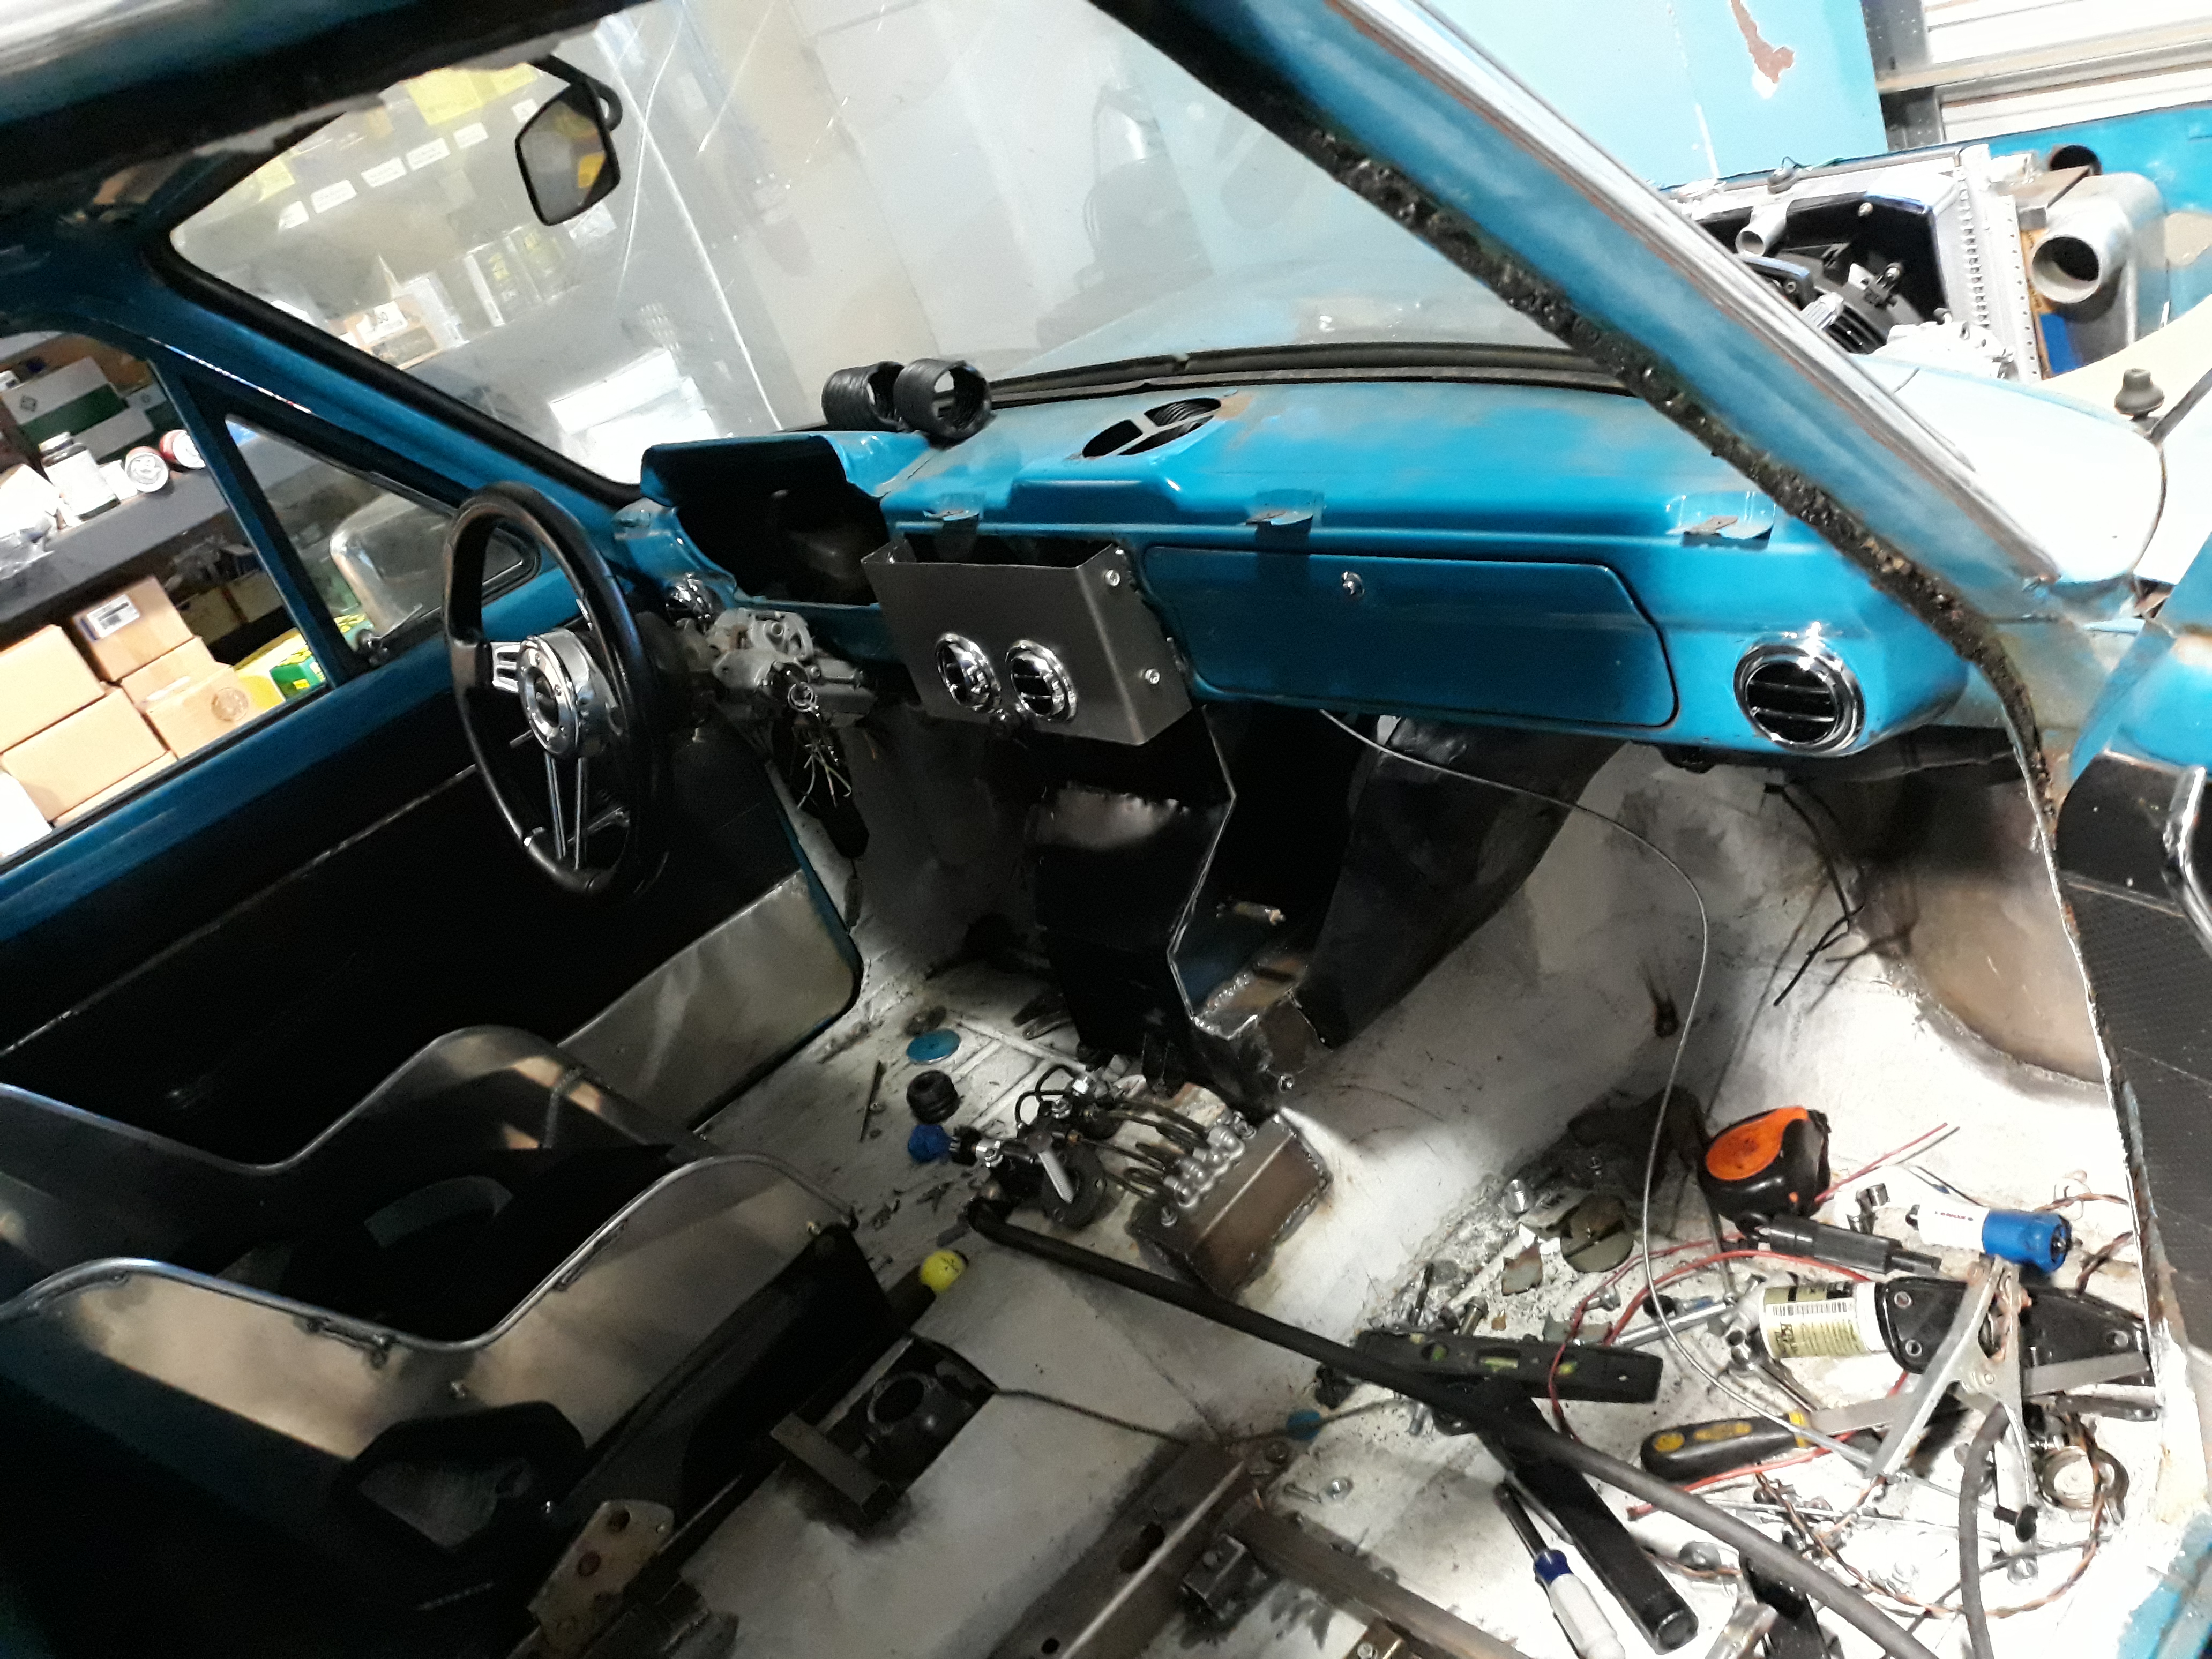
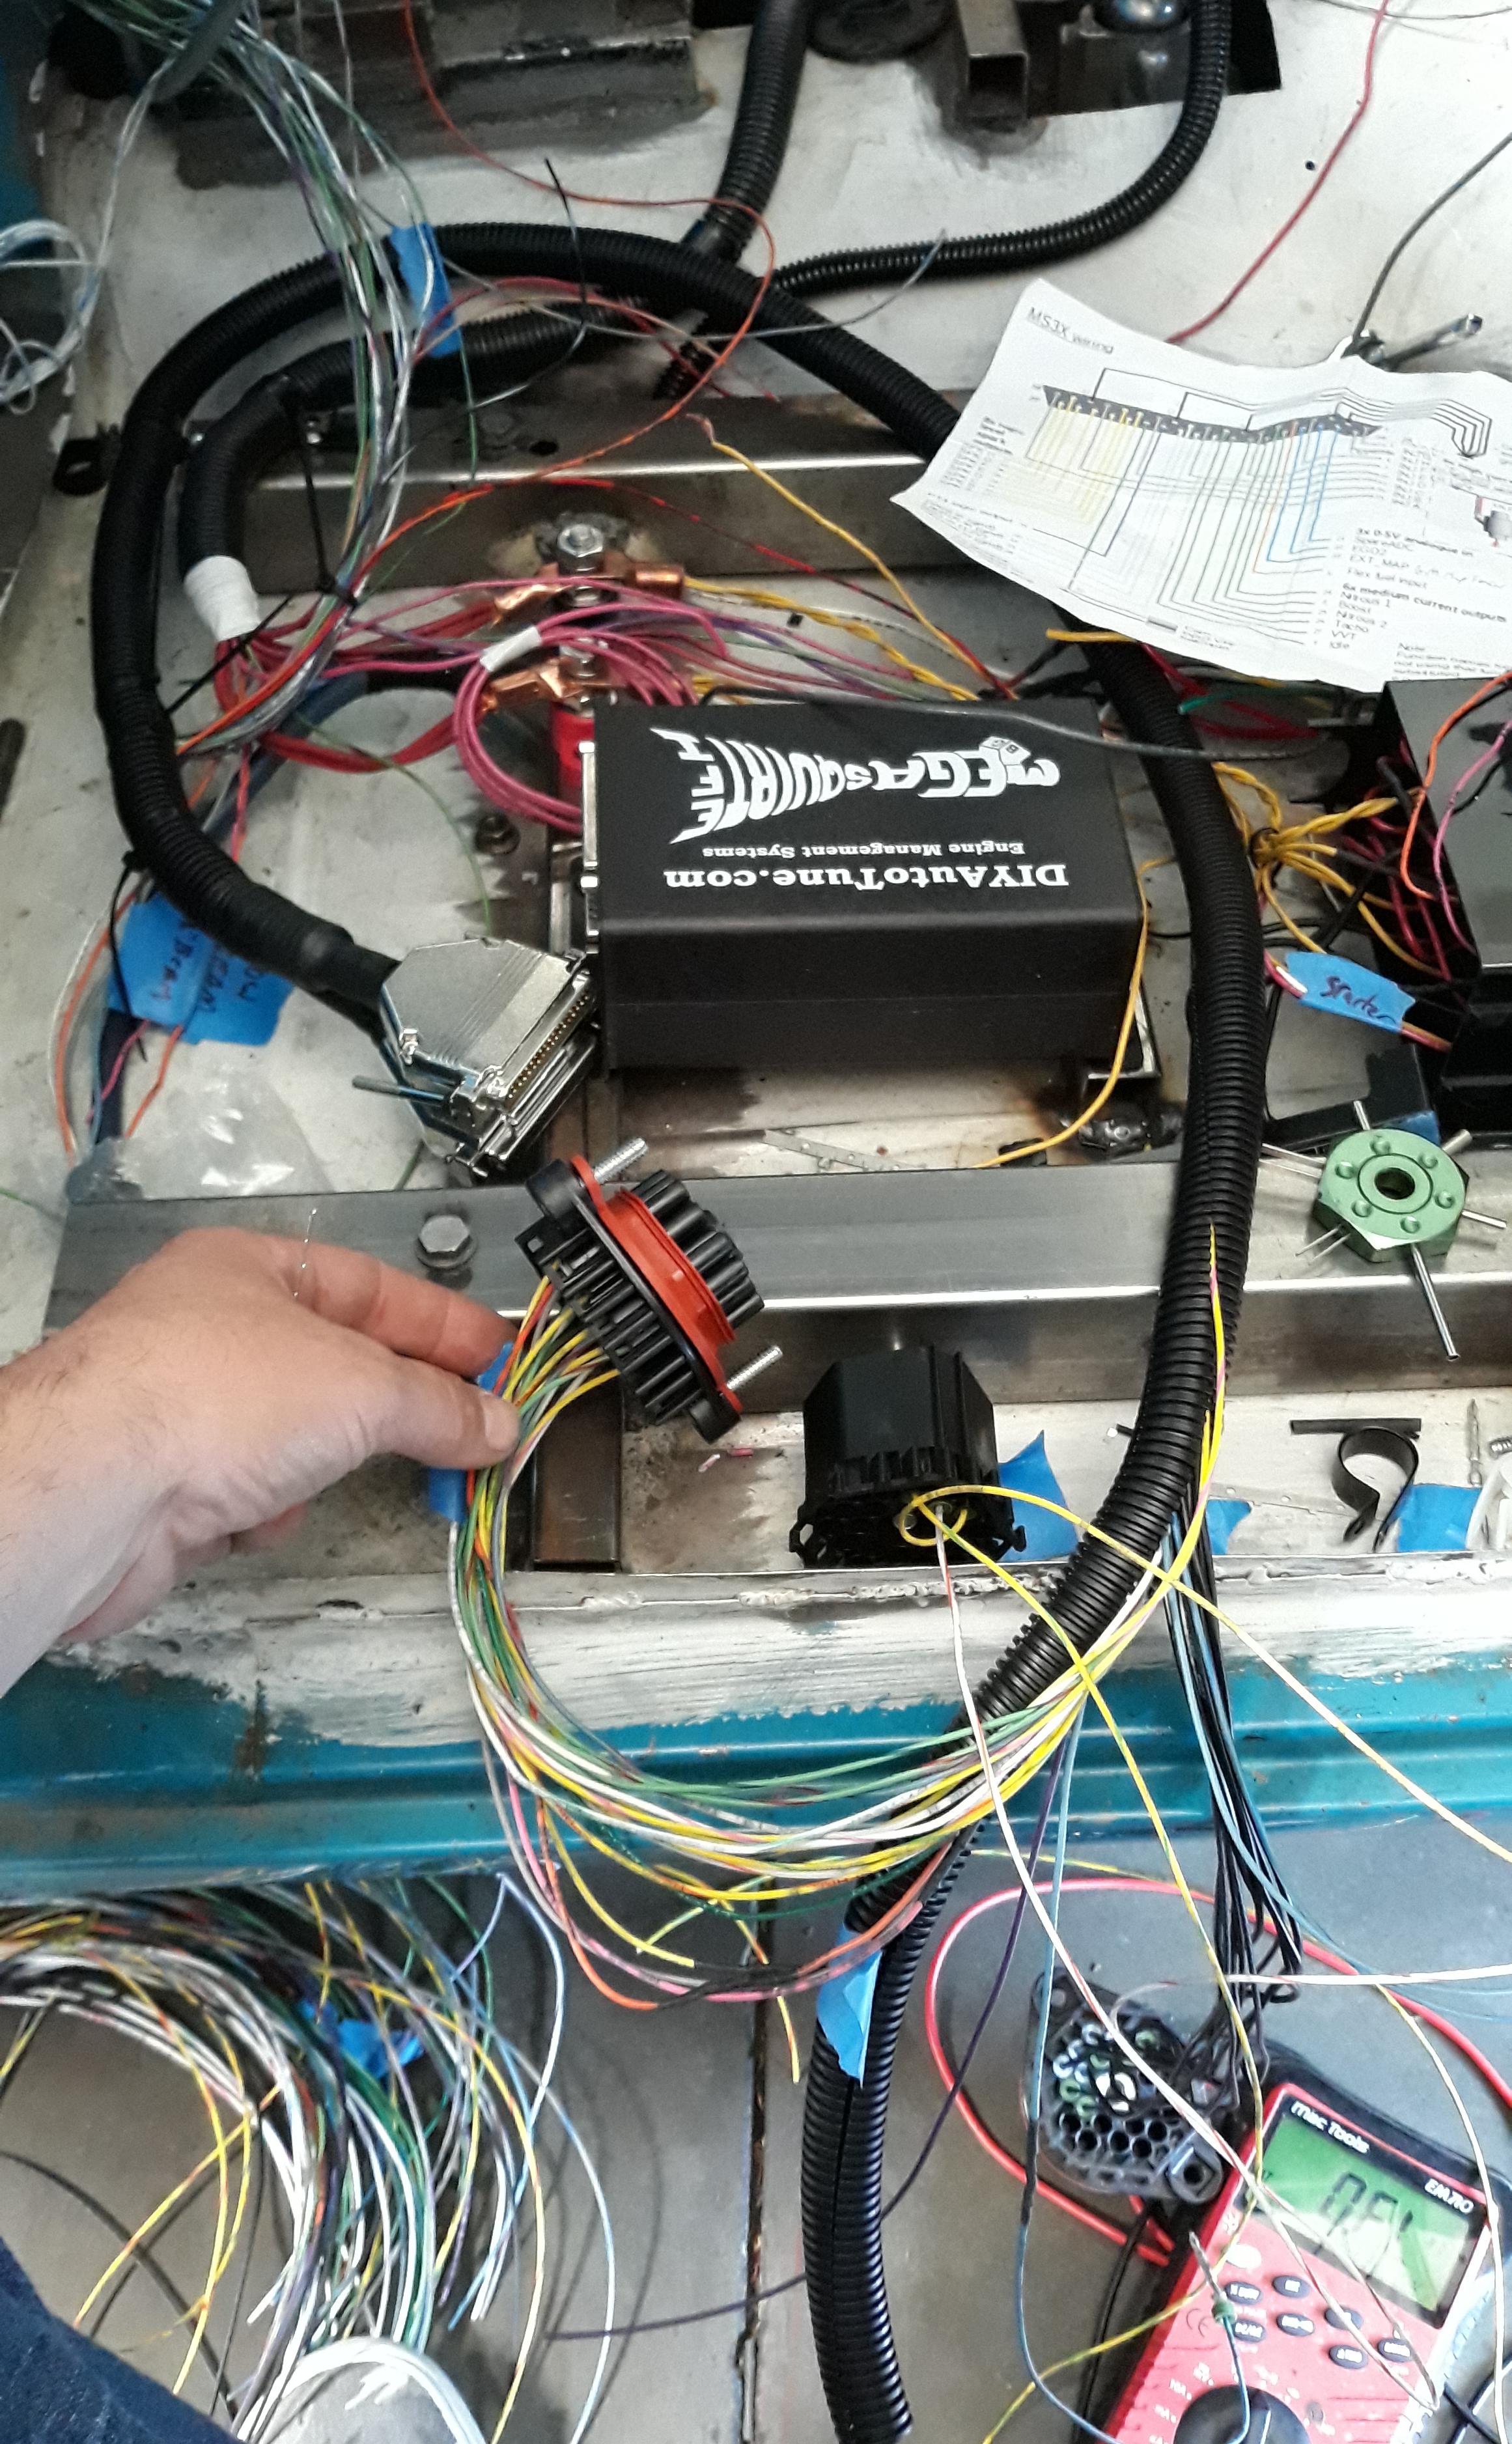
i got frustrated pulling apart a body harness so i decided to get some work done on the hvac. these little contour things work ok. i got a cheap one off of amazon so i didn't expect much from it. the pins are all floppy and springy so you need to push evenly and straight. next im hoping to mount the ecu behind the fuse boxes, mount the flex fuel sensor, and start making a harness.
Reply
1
1
01-22-2019, 12:39 AM
#115
Senior Member
Thread Starter
Join Date: Jan 2011
Location: sacramento ,ca
Posts: 568
Total Cats: 162
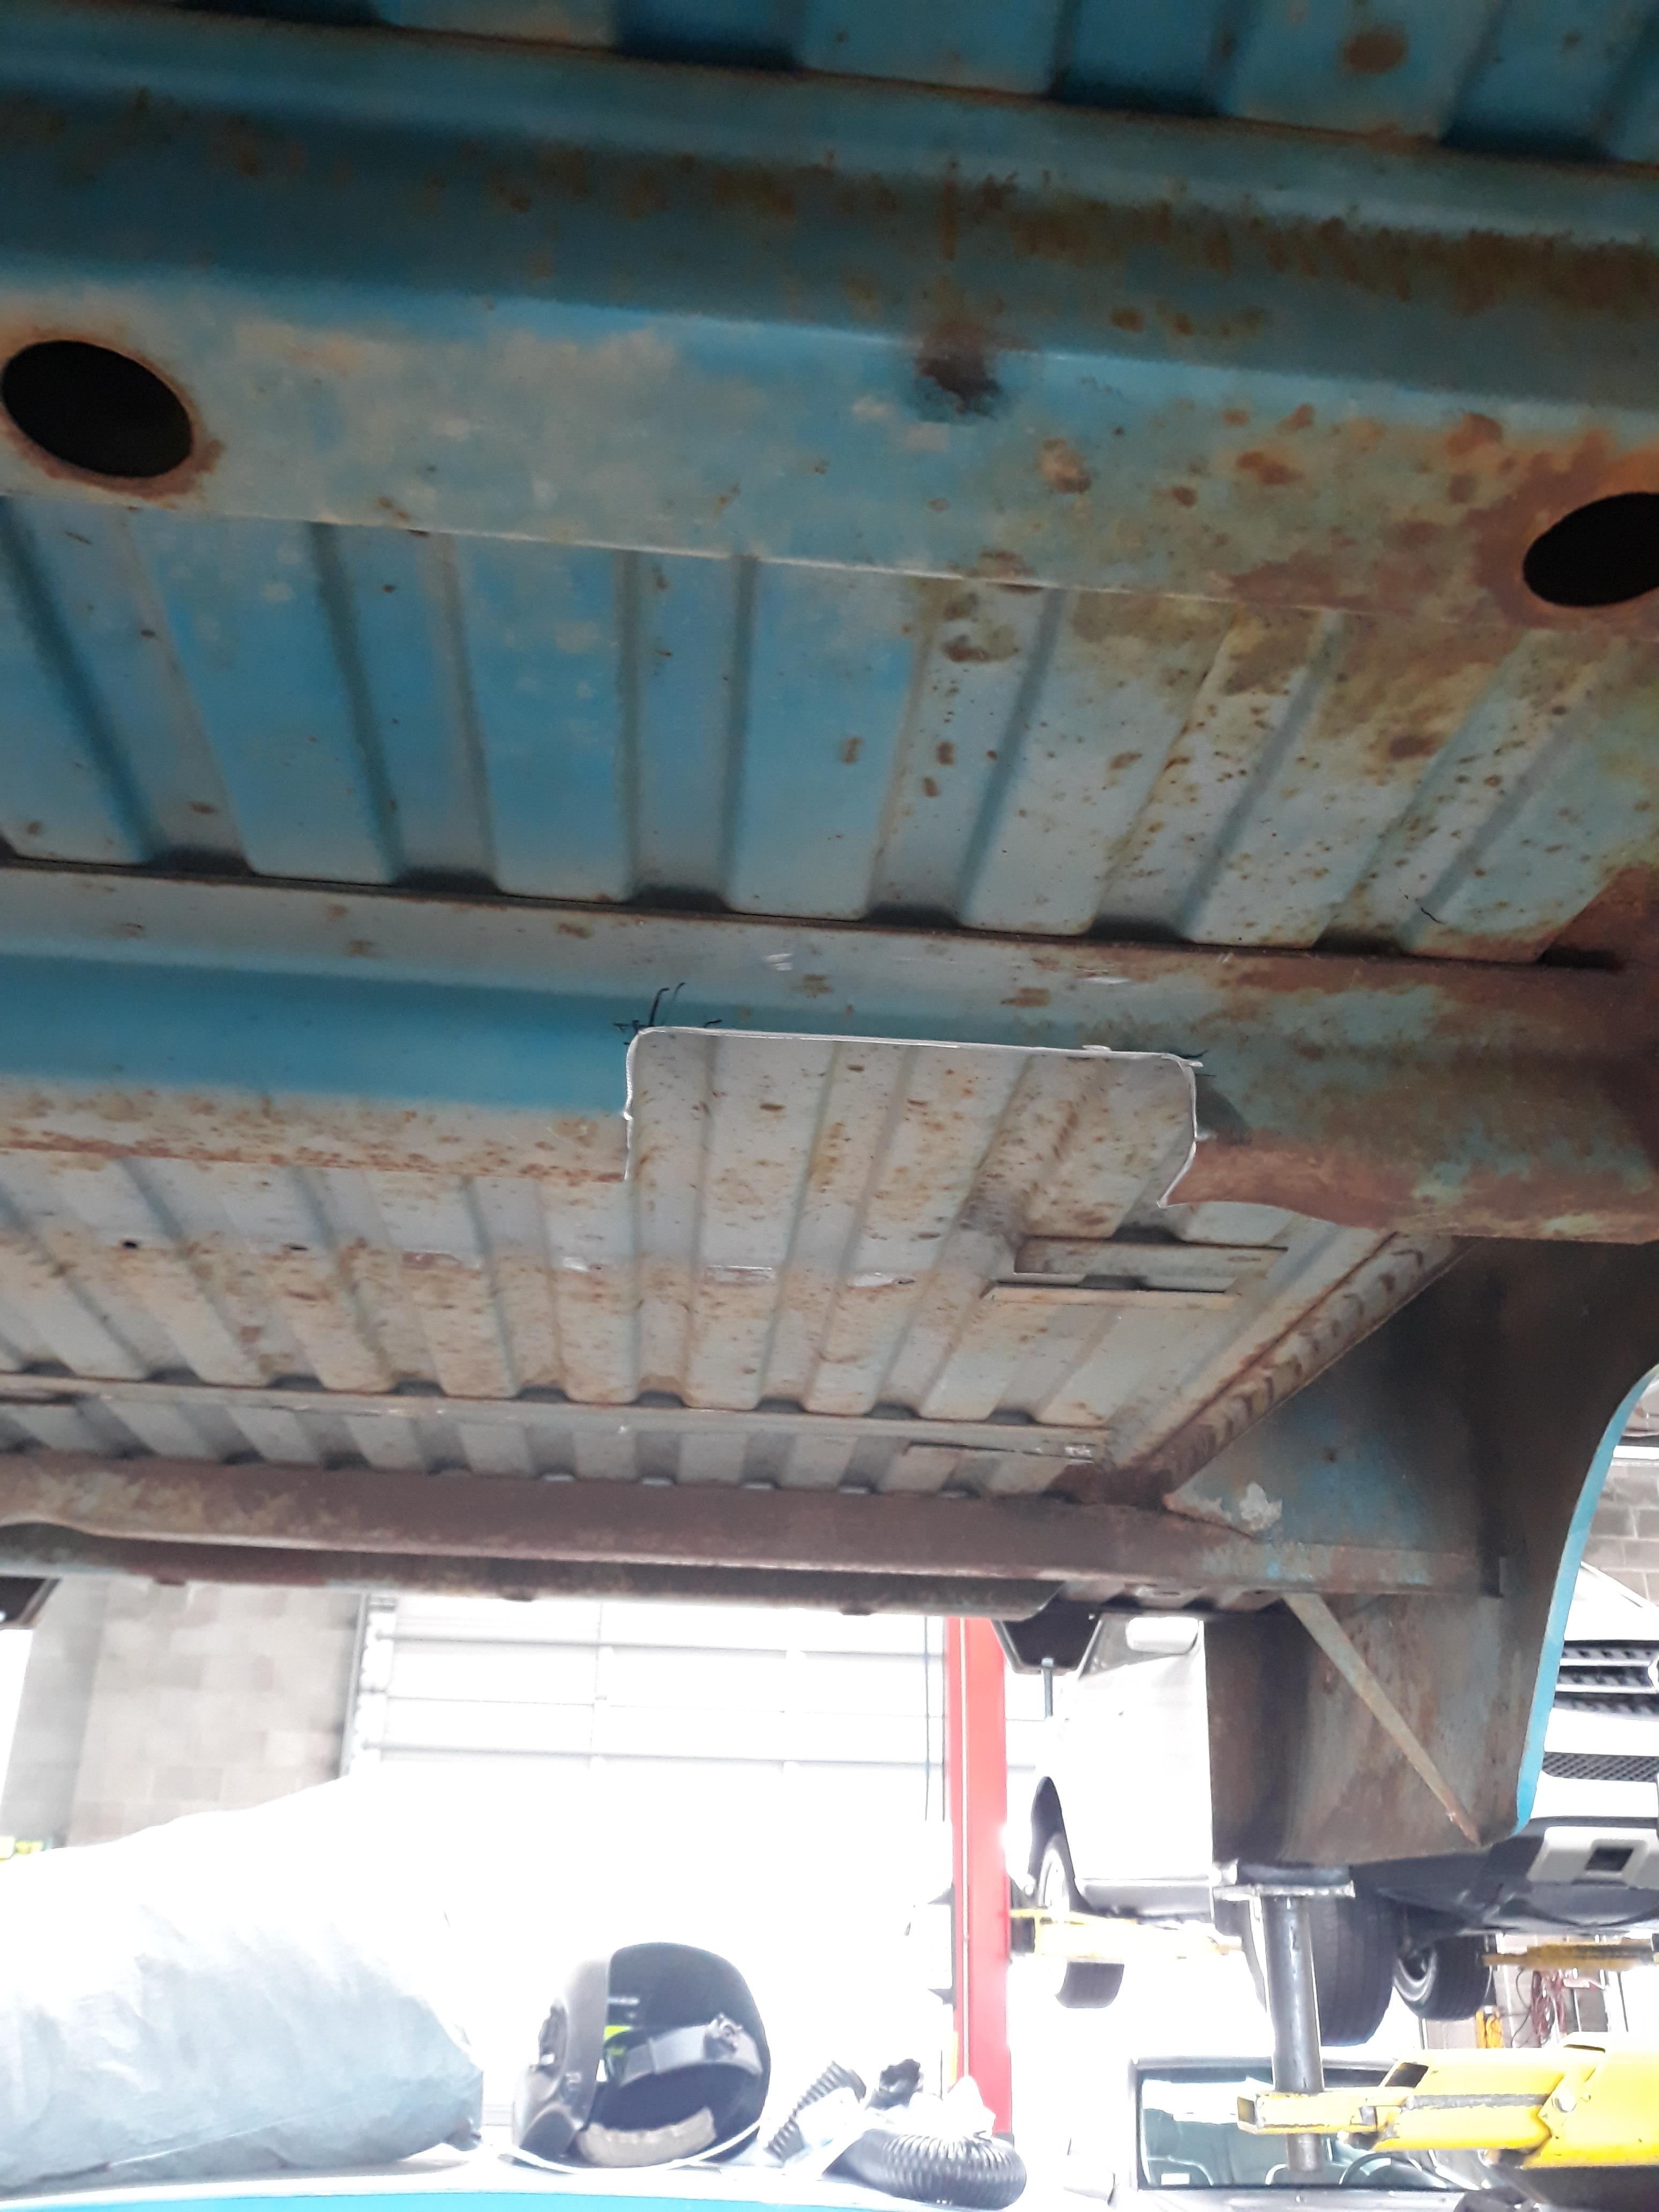
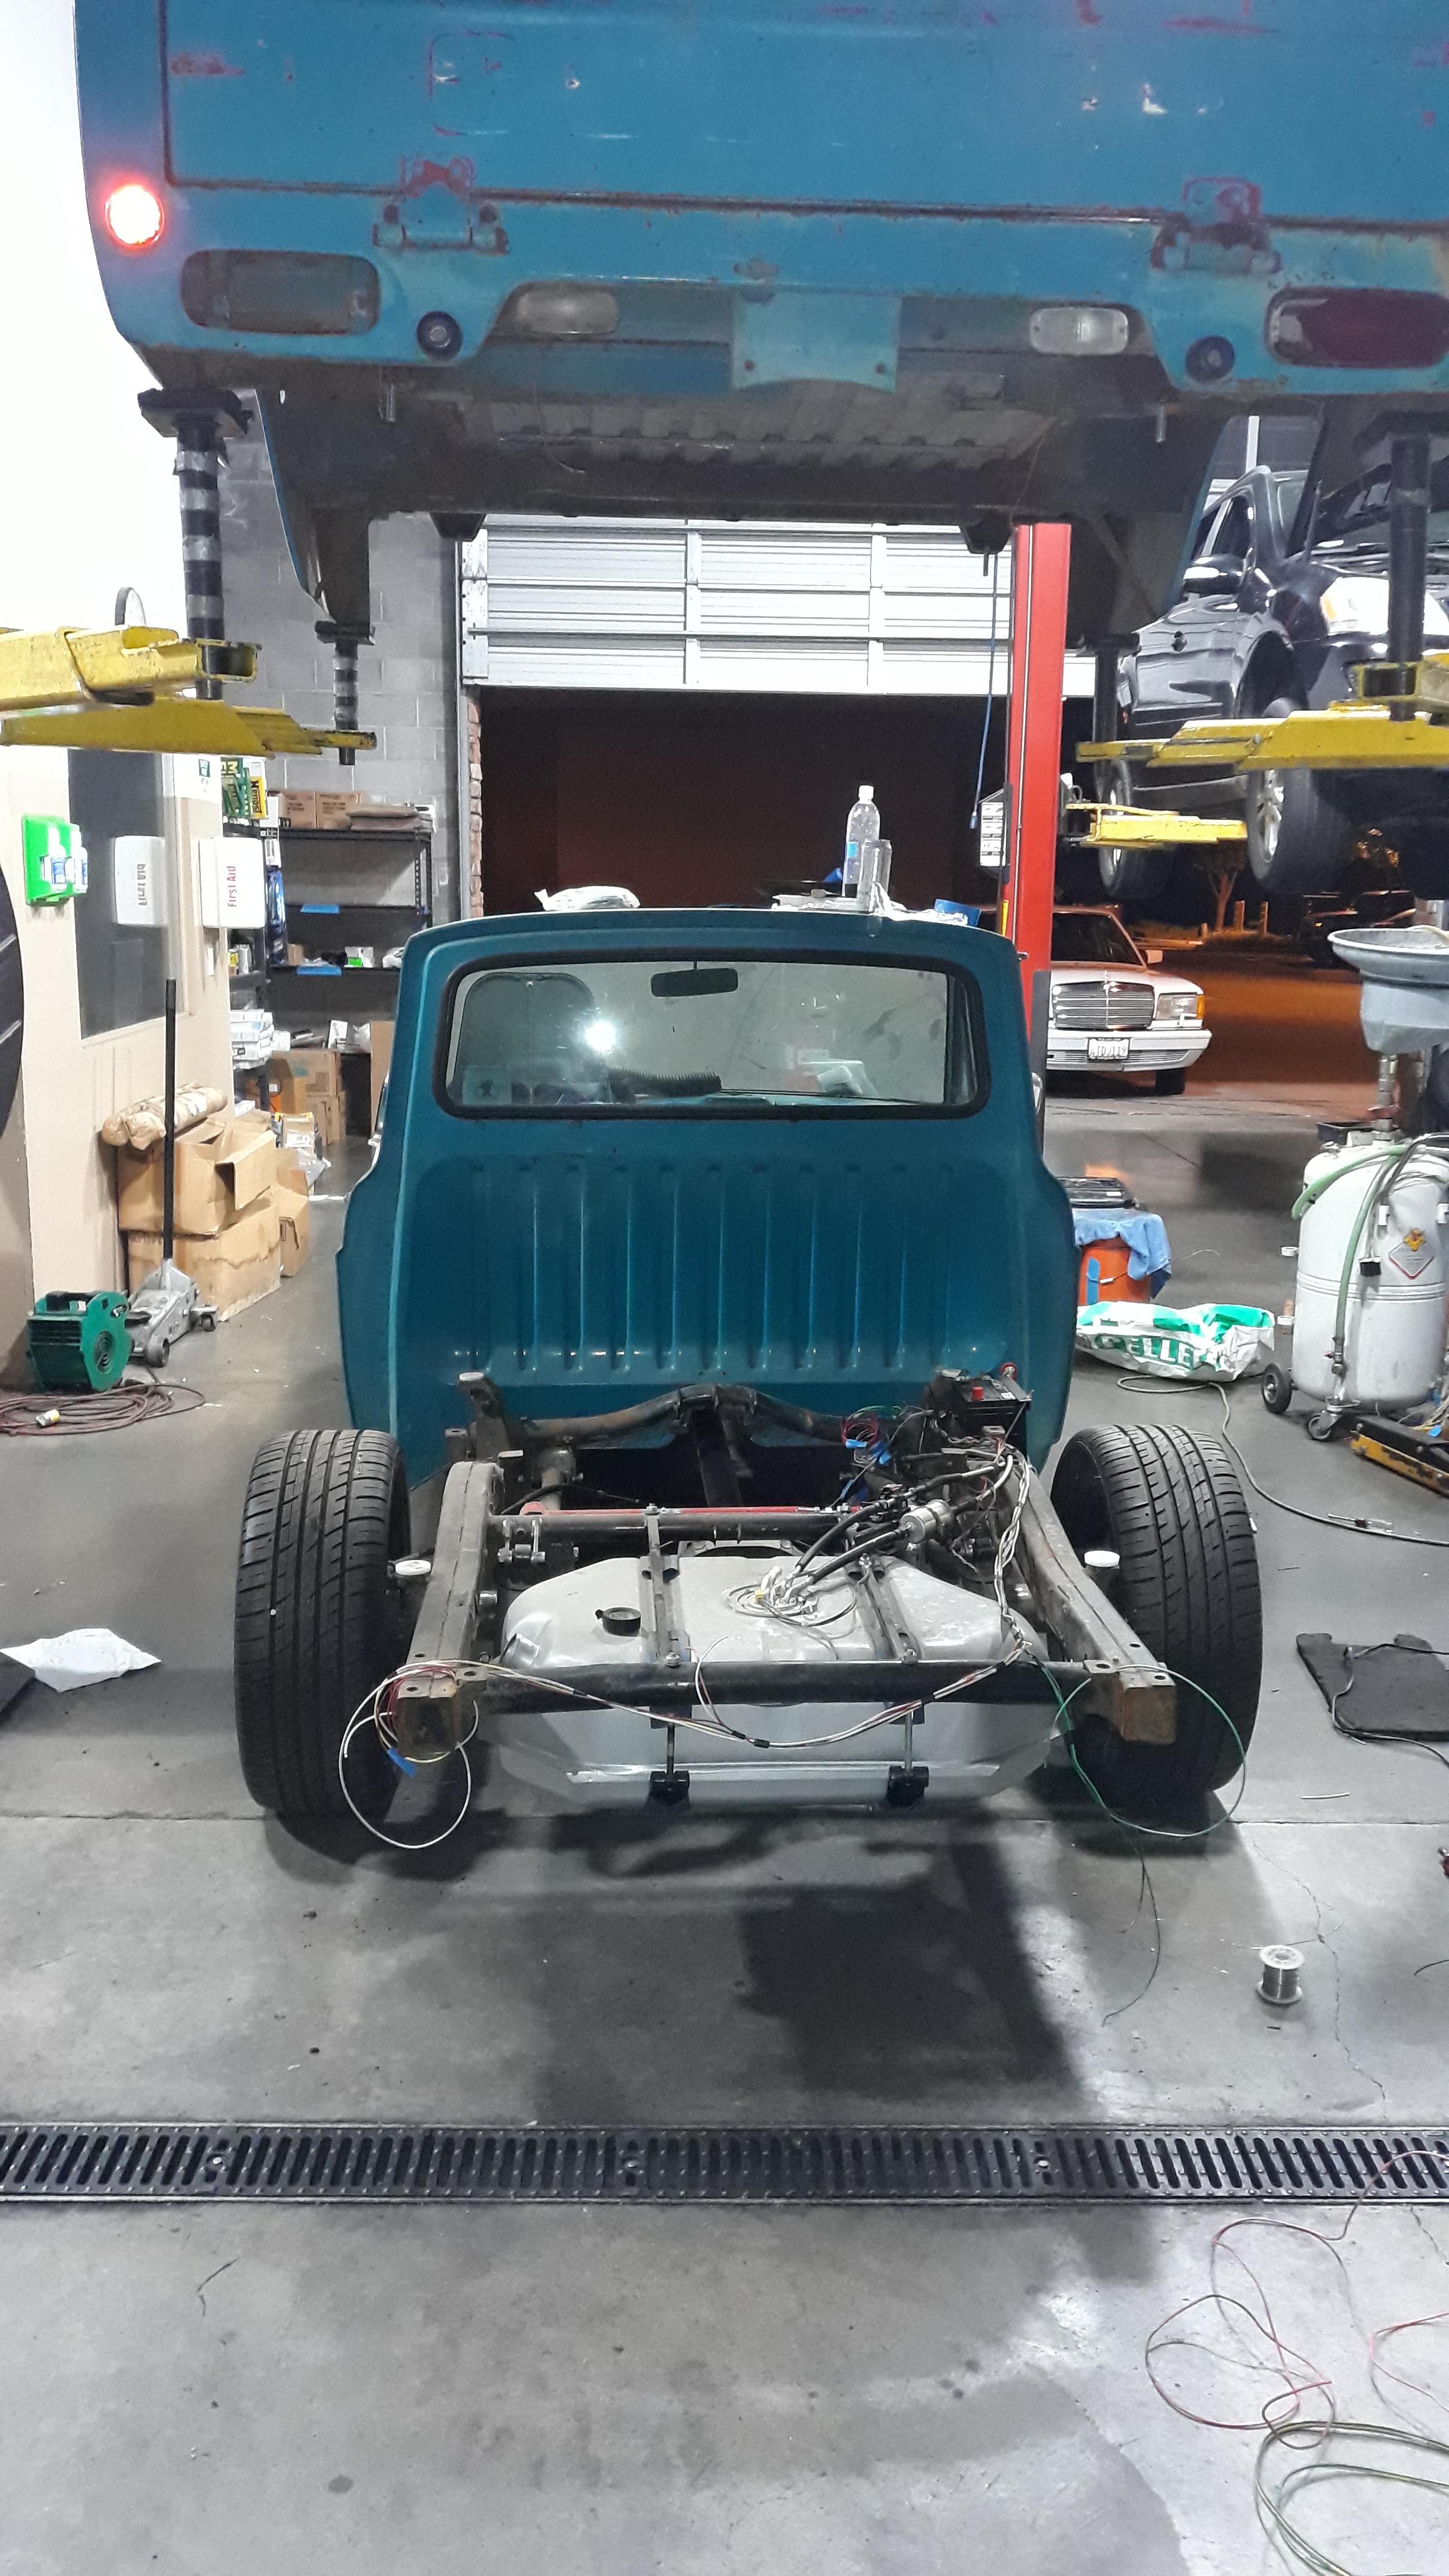
notched the bed support to clear my fuel system. filter on the outlet and flex fuel sensor on the return.

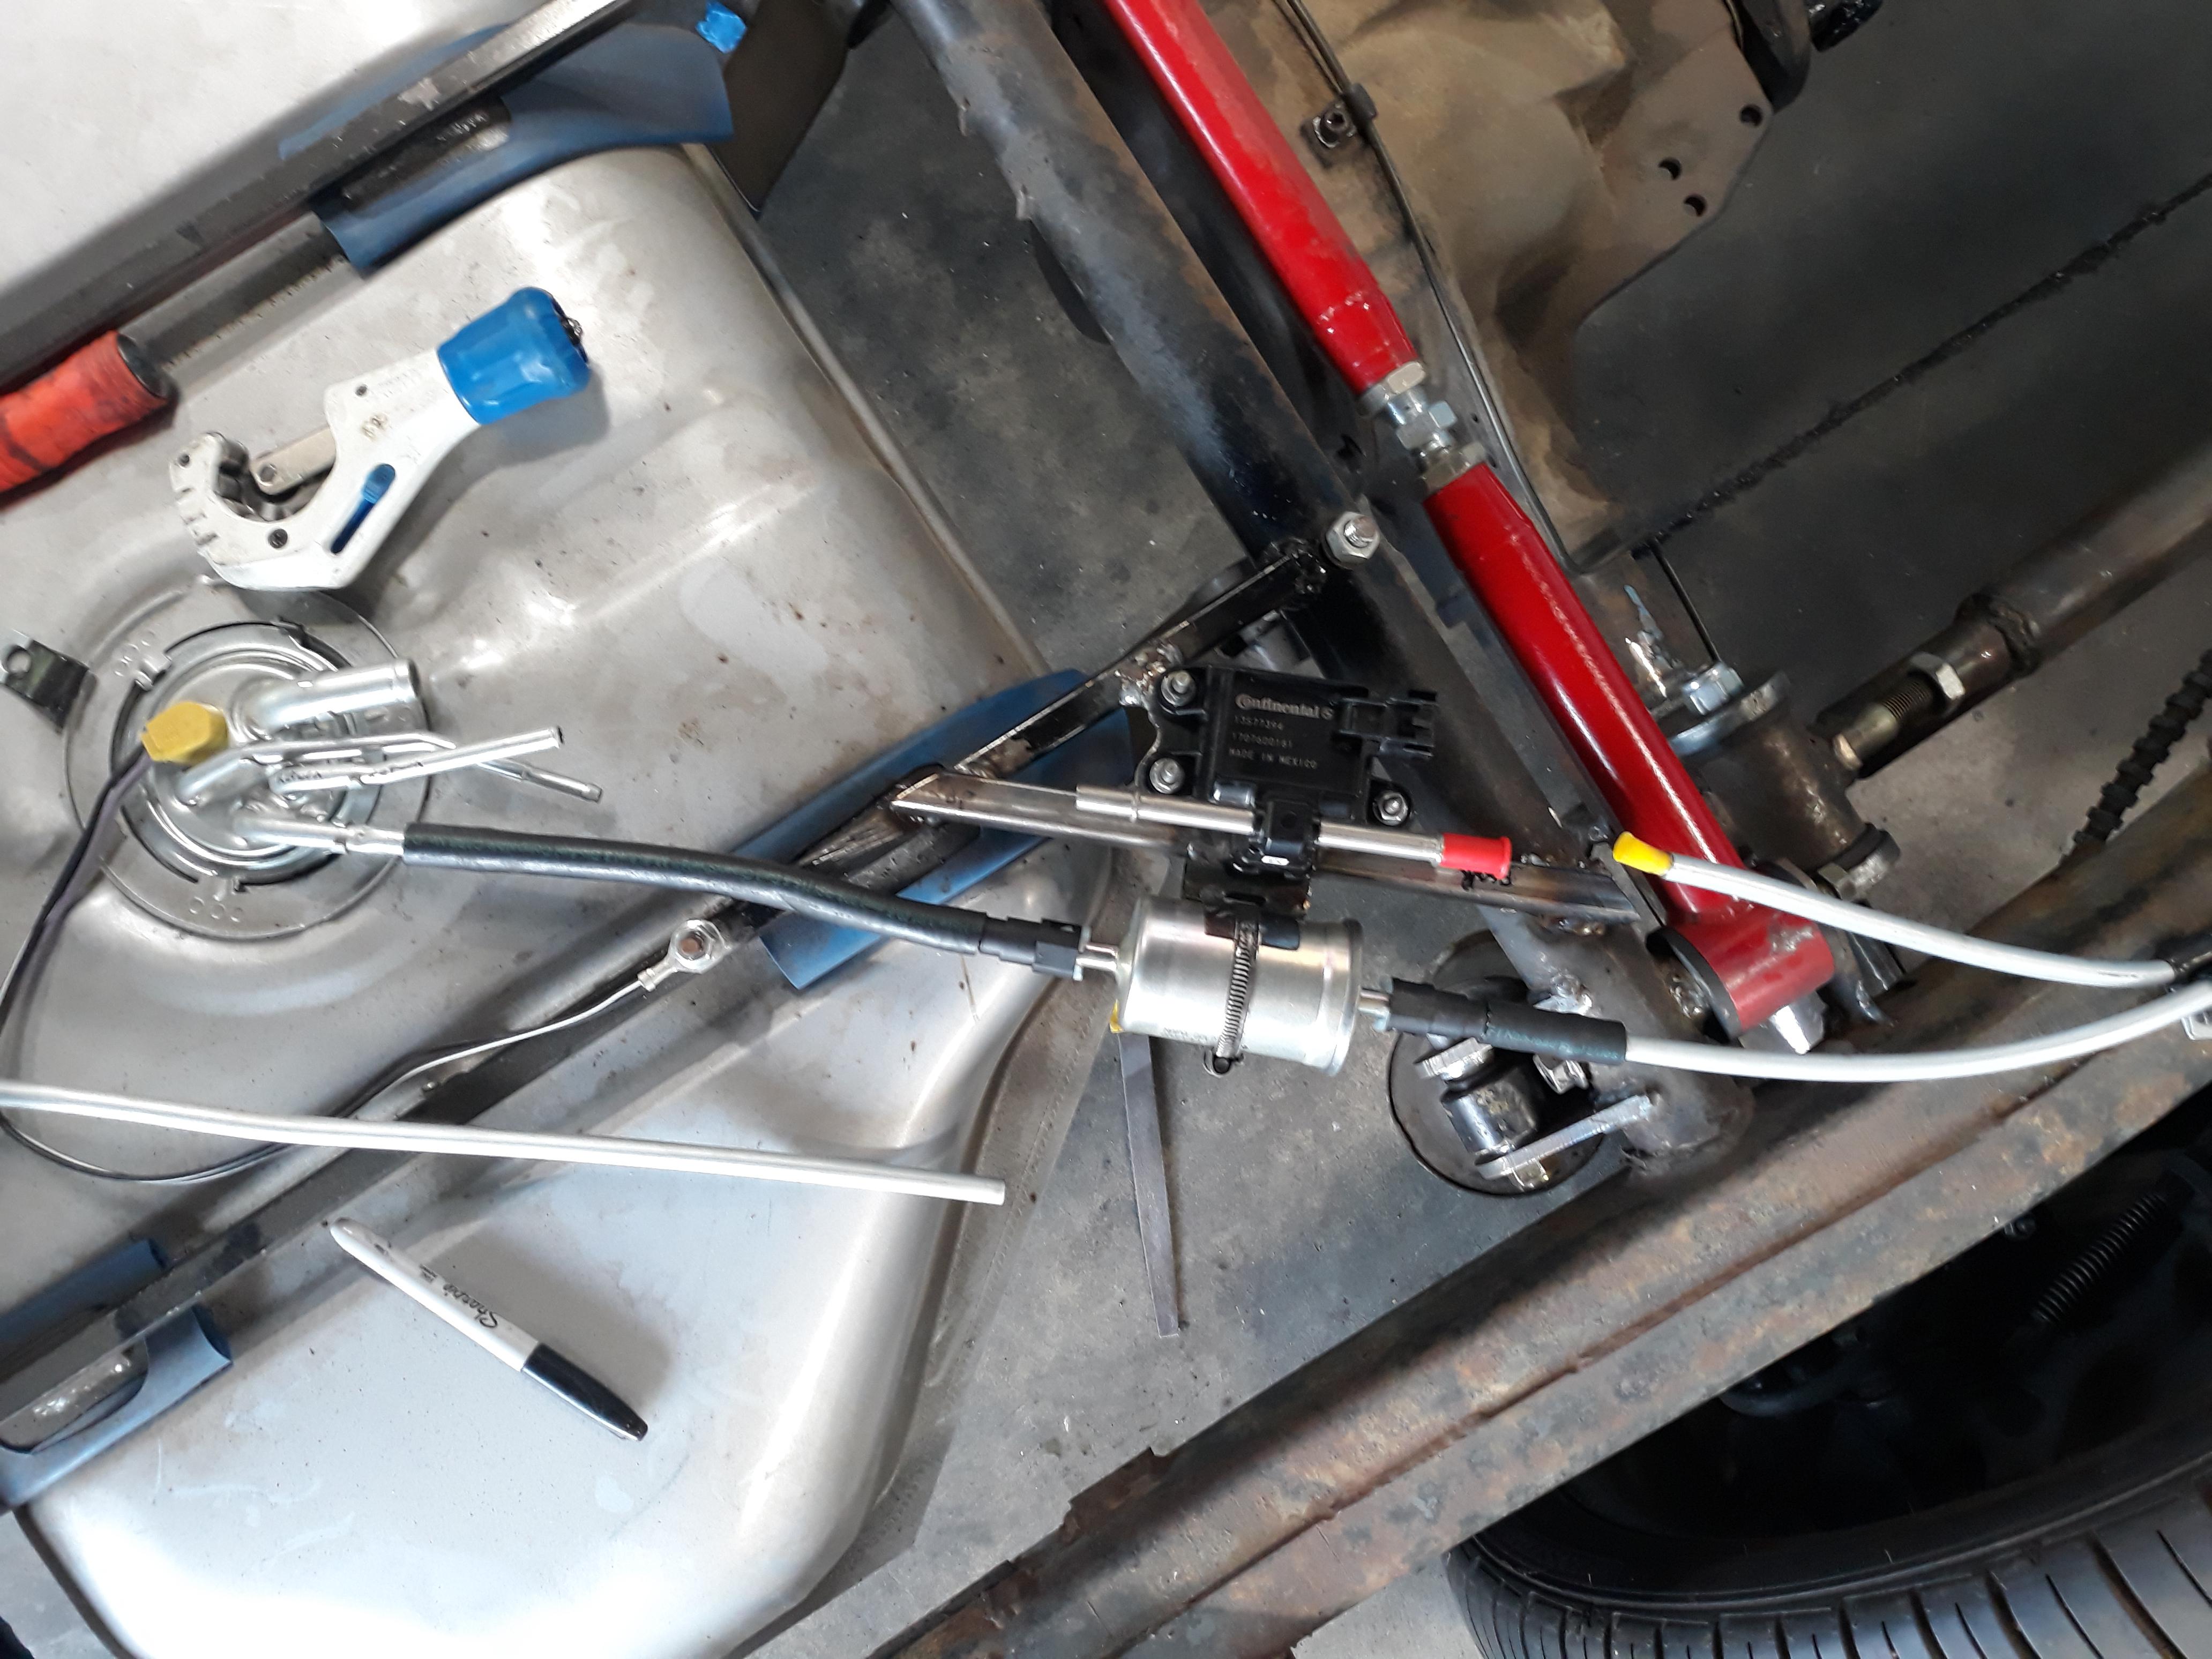
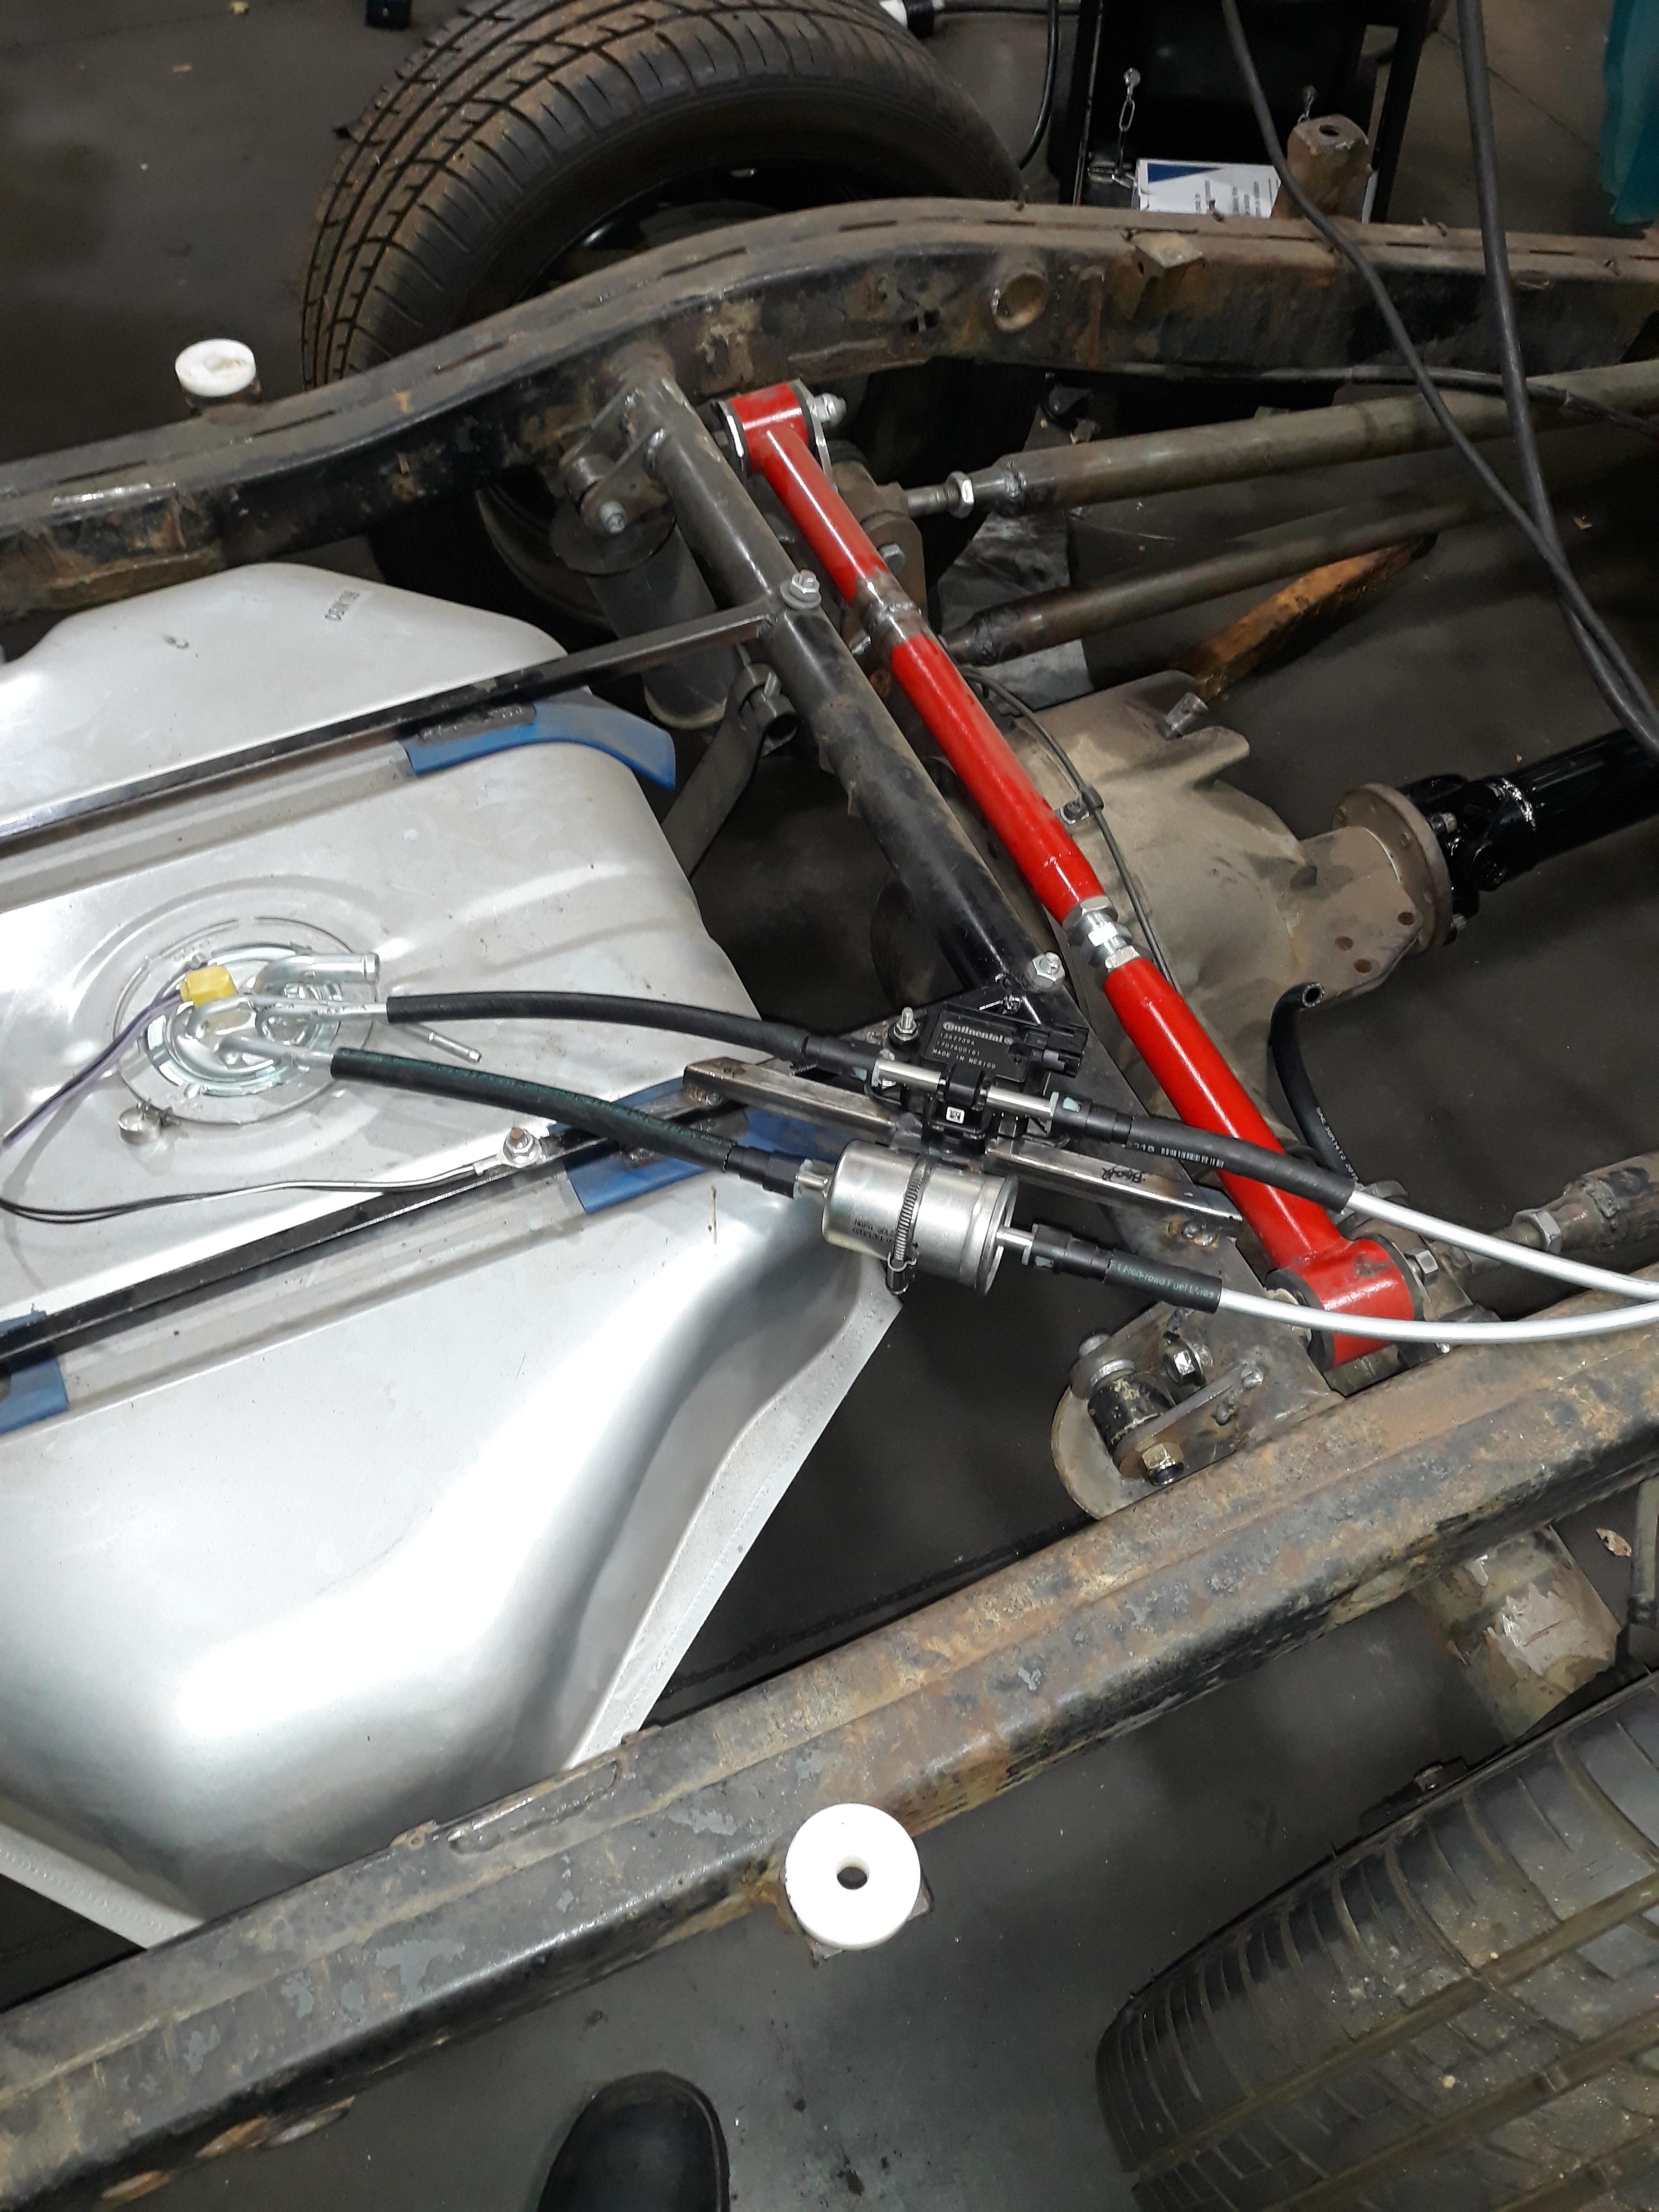
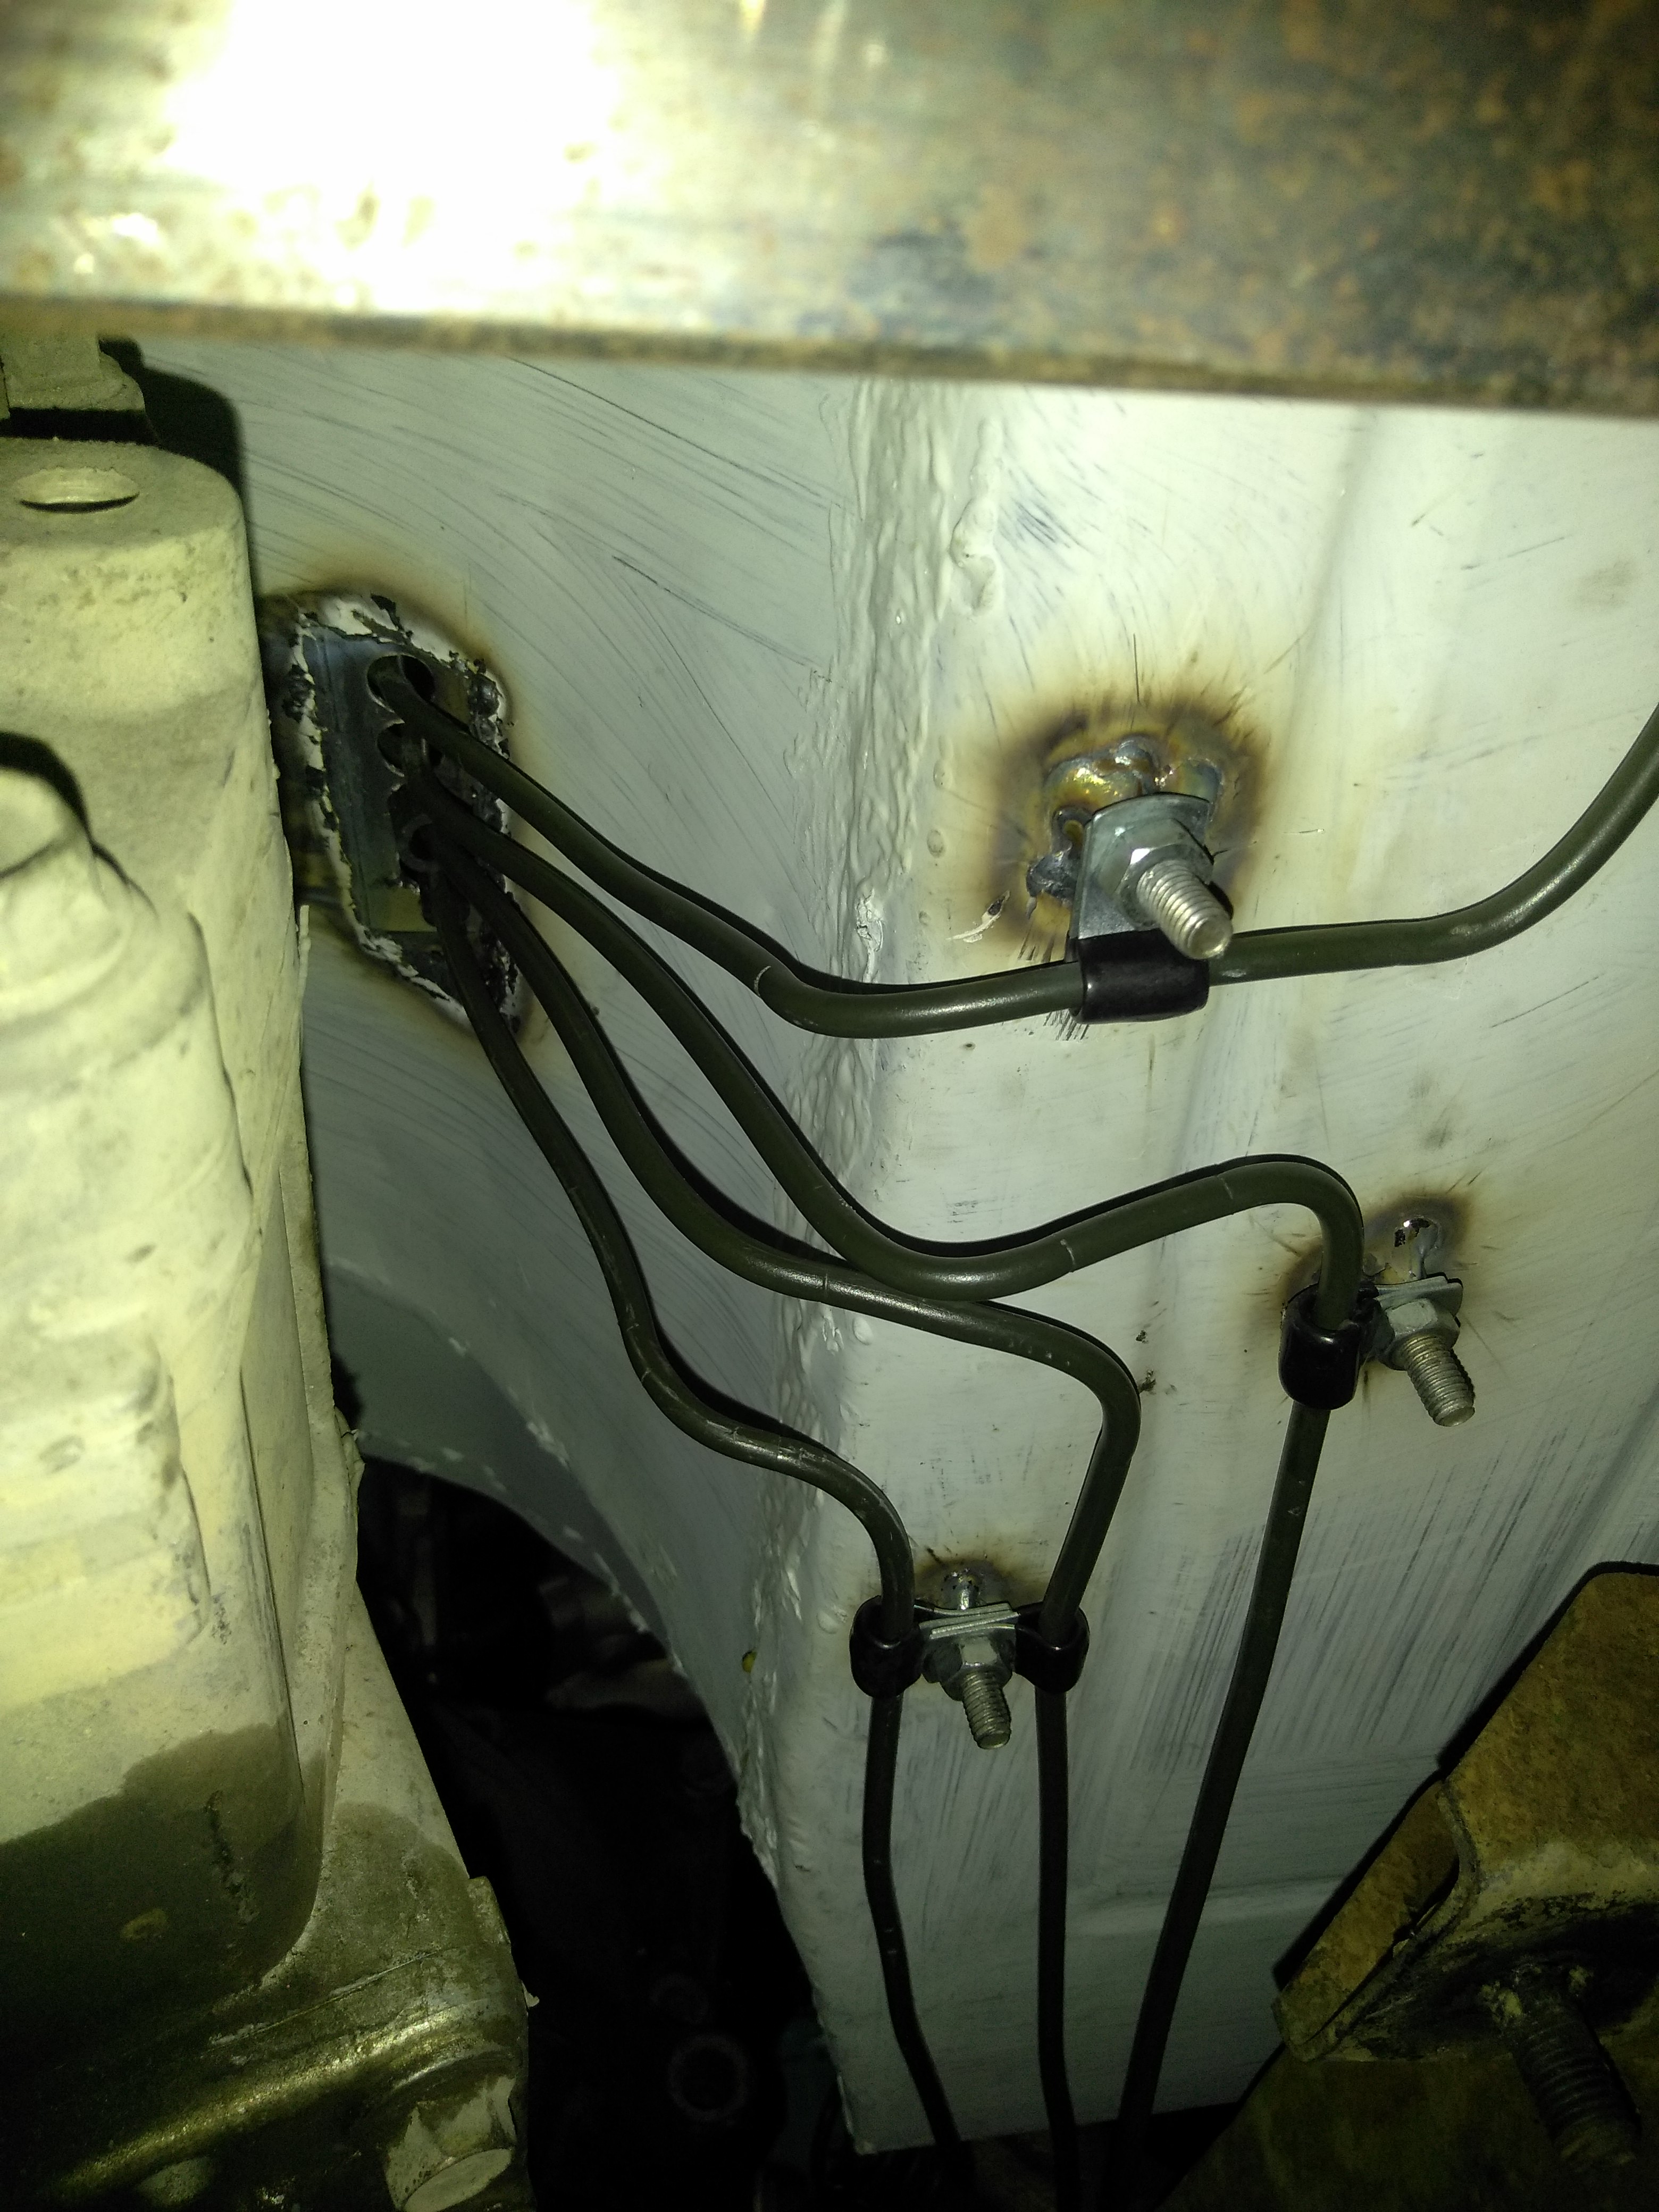
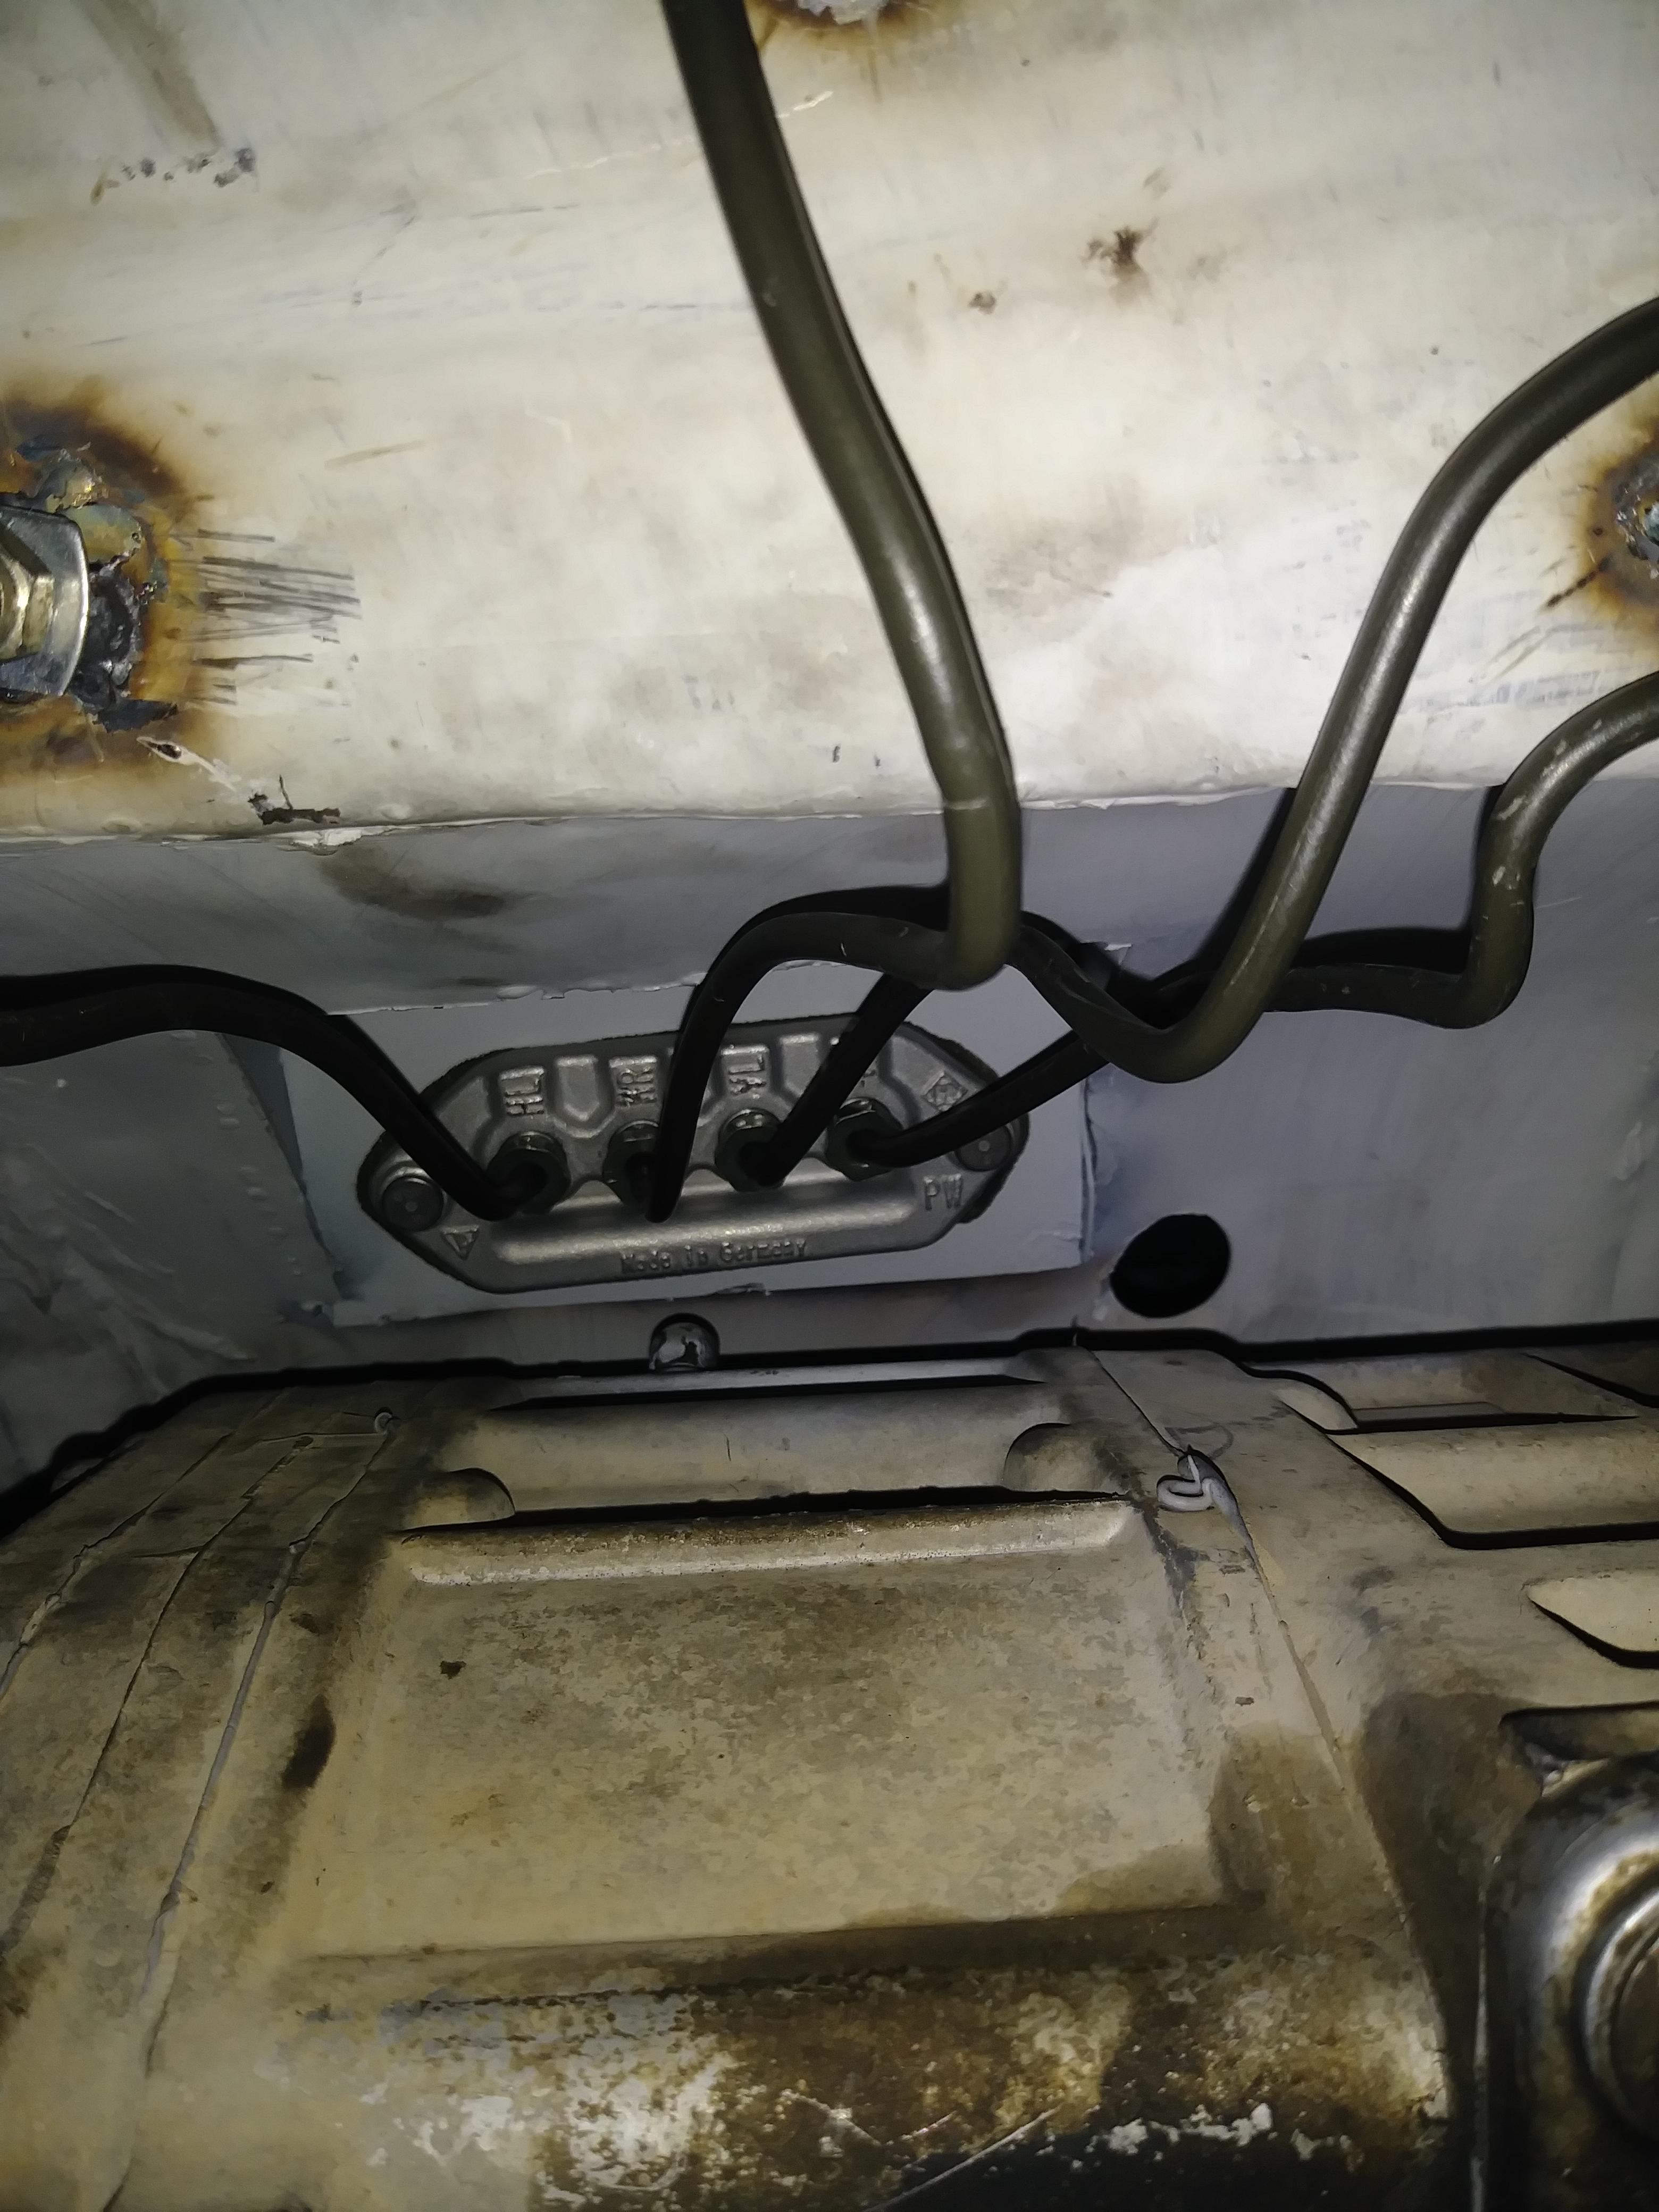
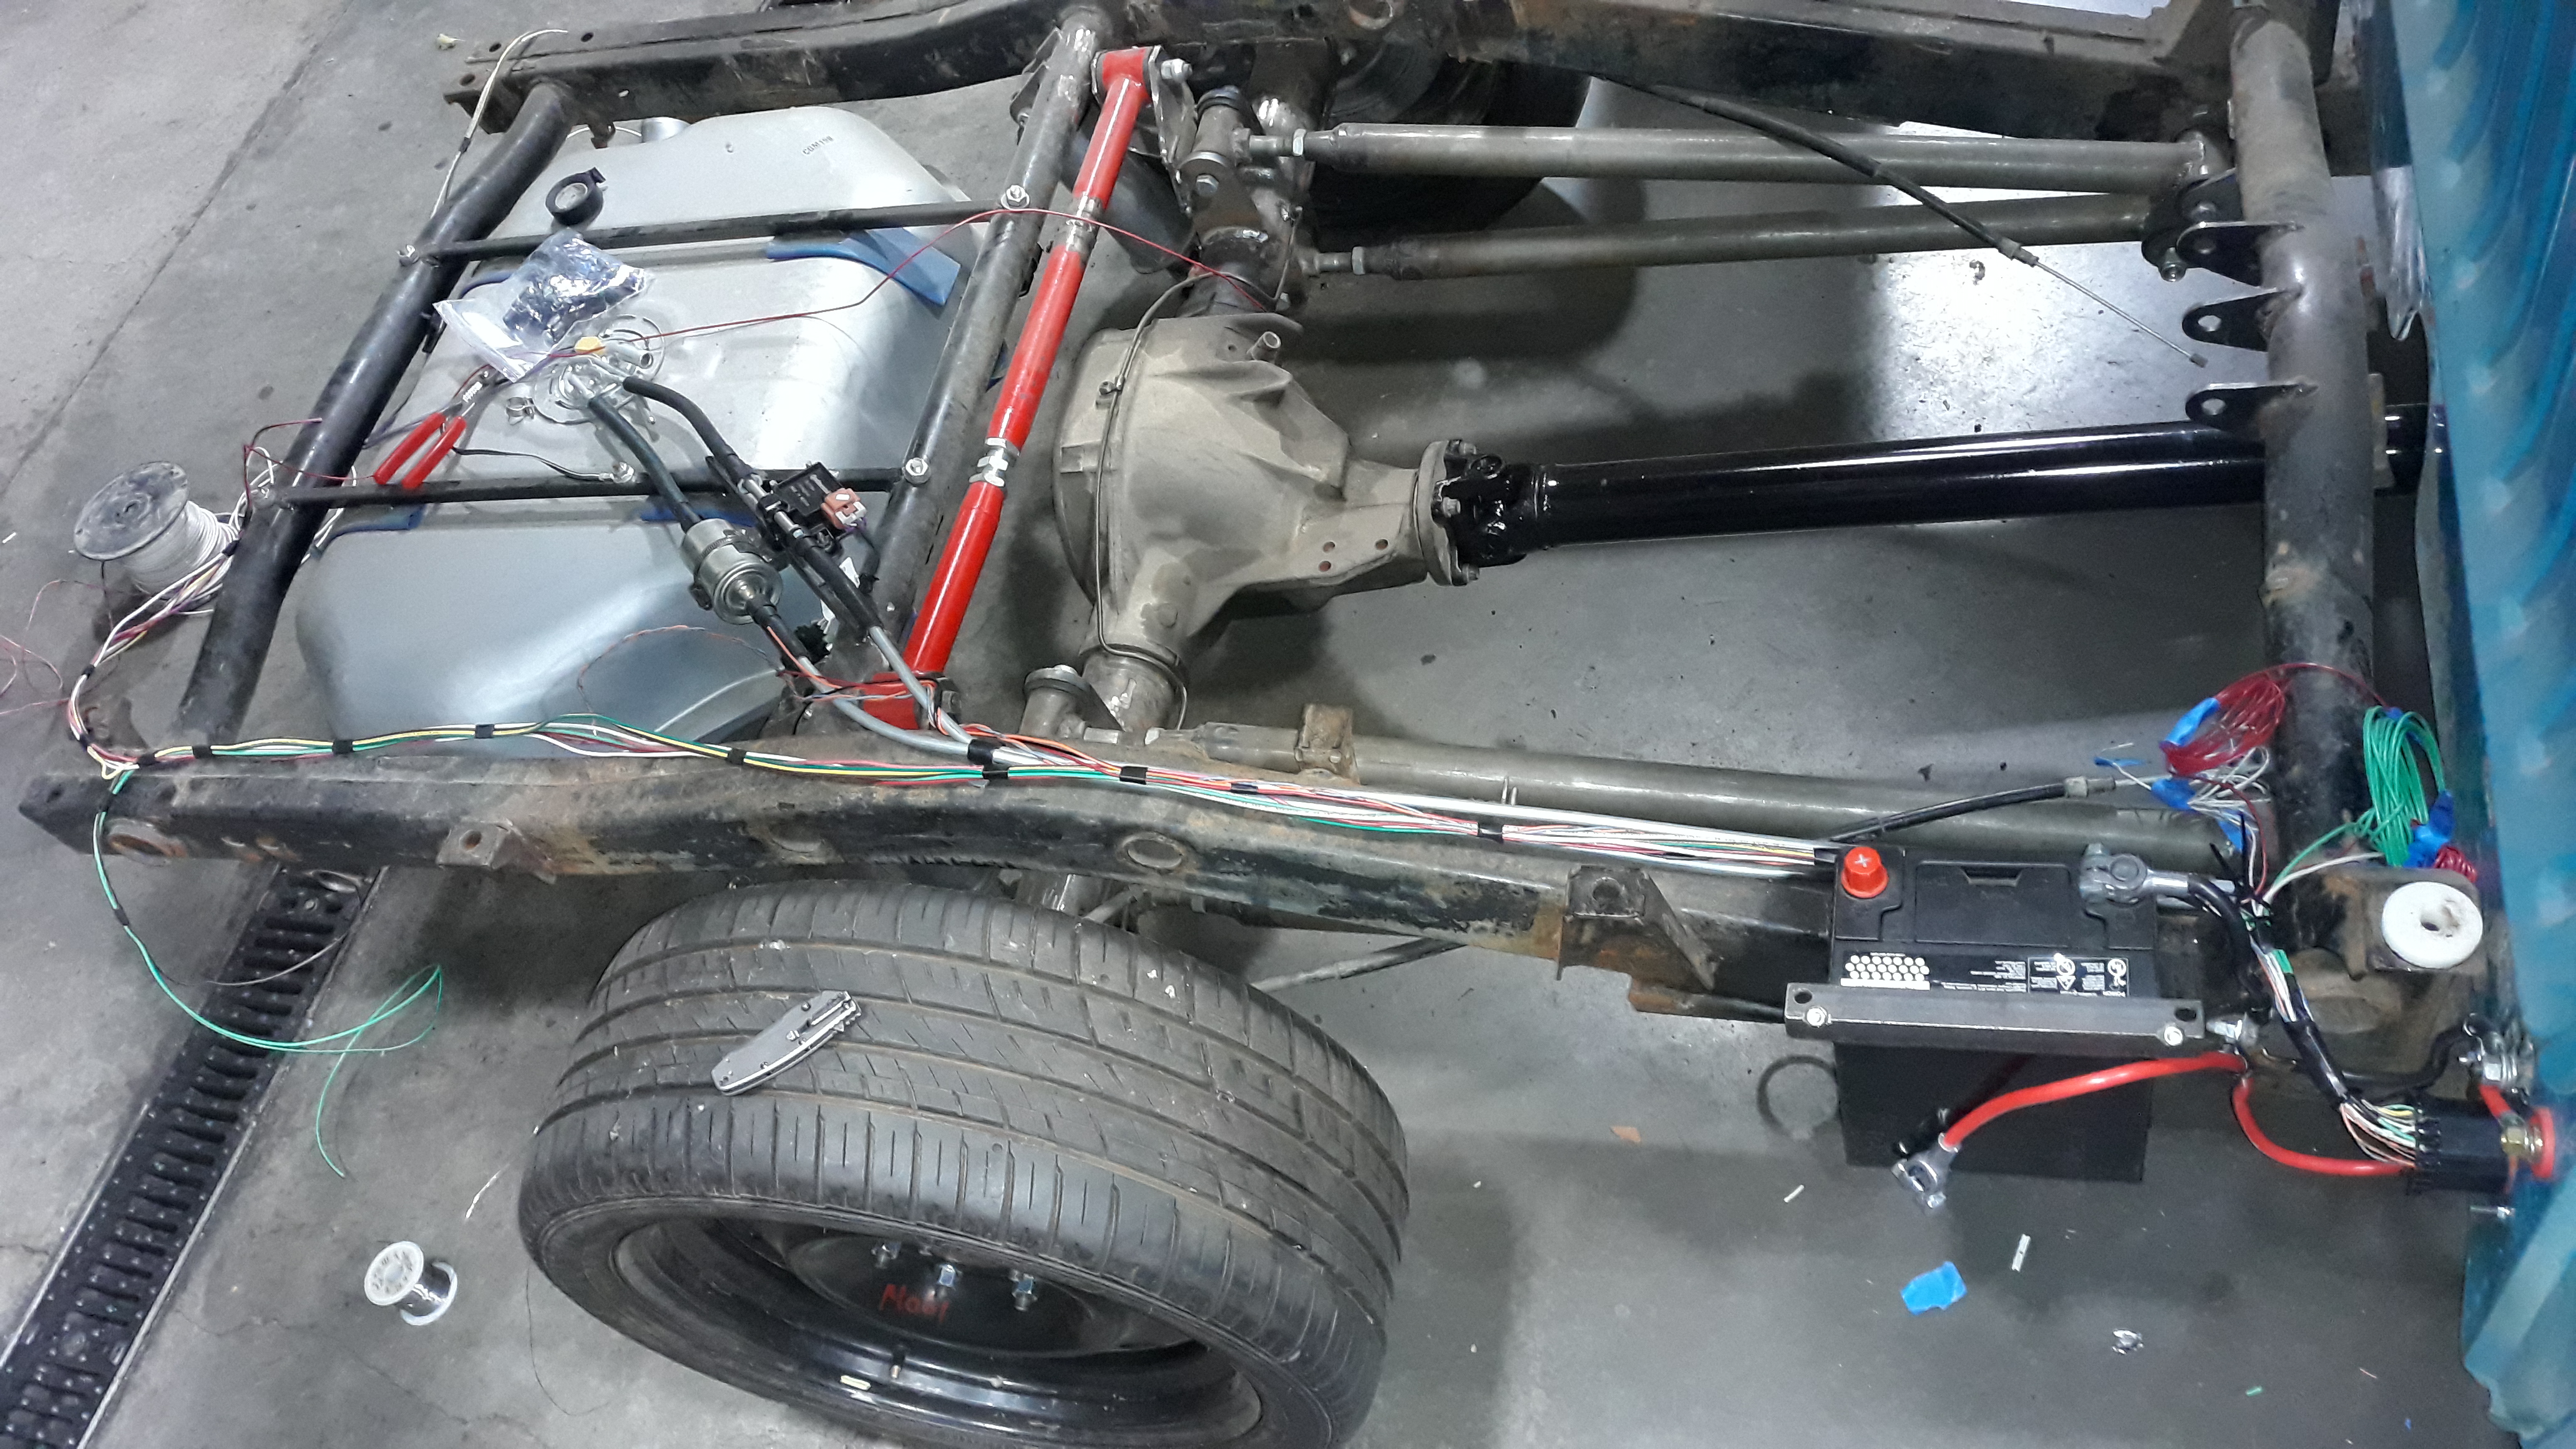
getting my power and ground sorted. there is enough positive cable to be able to take the battery out of the tray and set it on the ground with it still connected. im also putting a jump point under the hood just in case. the bulkhead connector will be for all my lights, fuel pump, and flex fuel sensor. there will be extra terminals for accessories later.
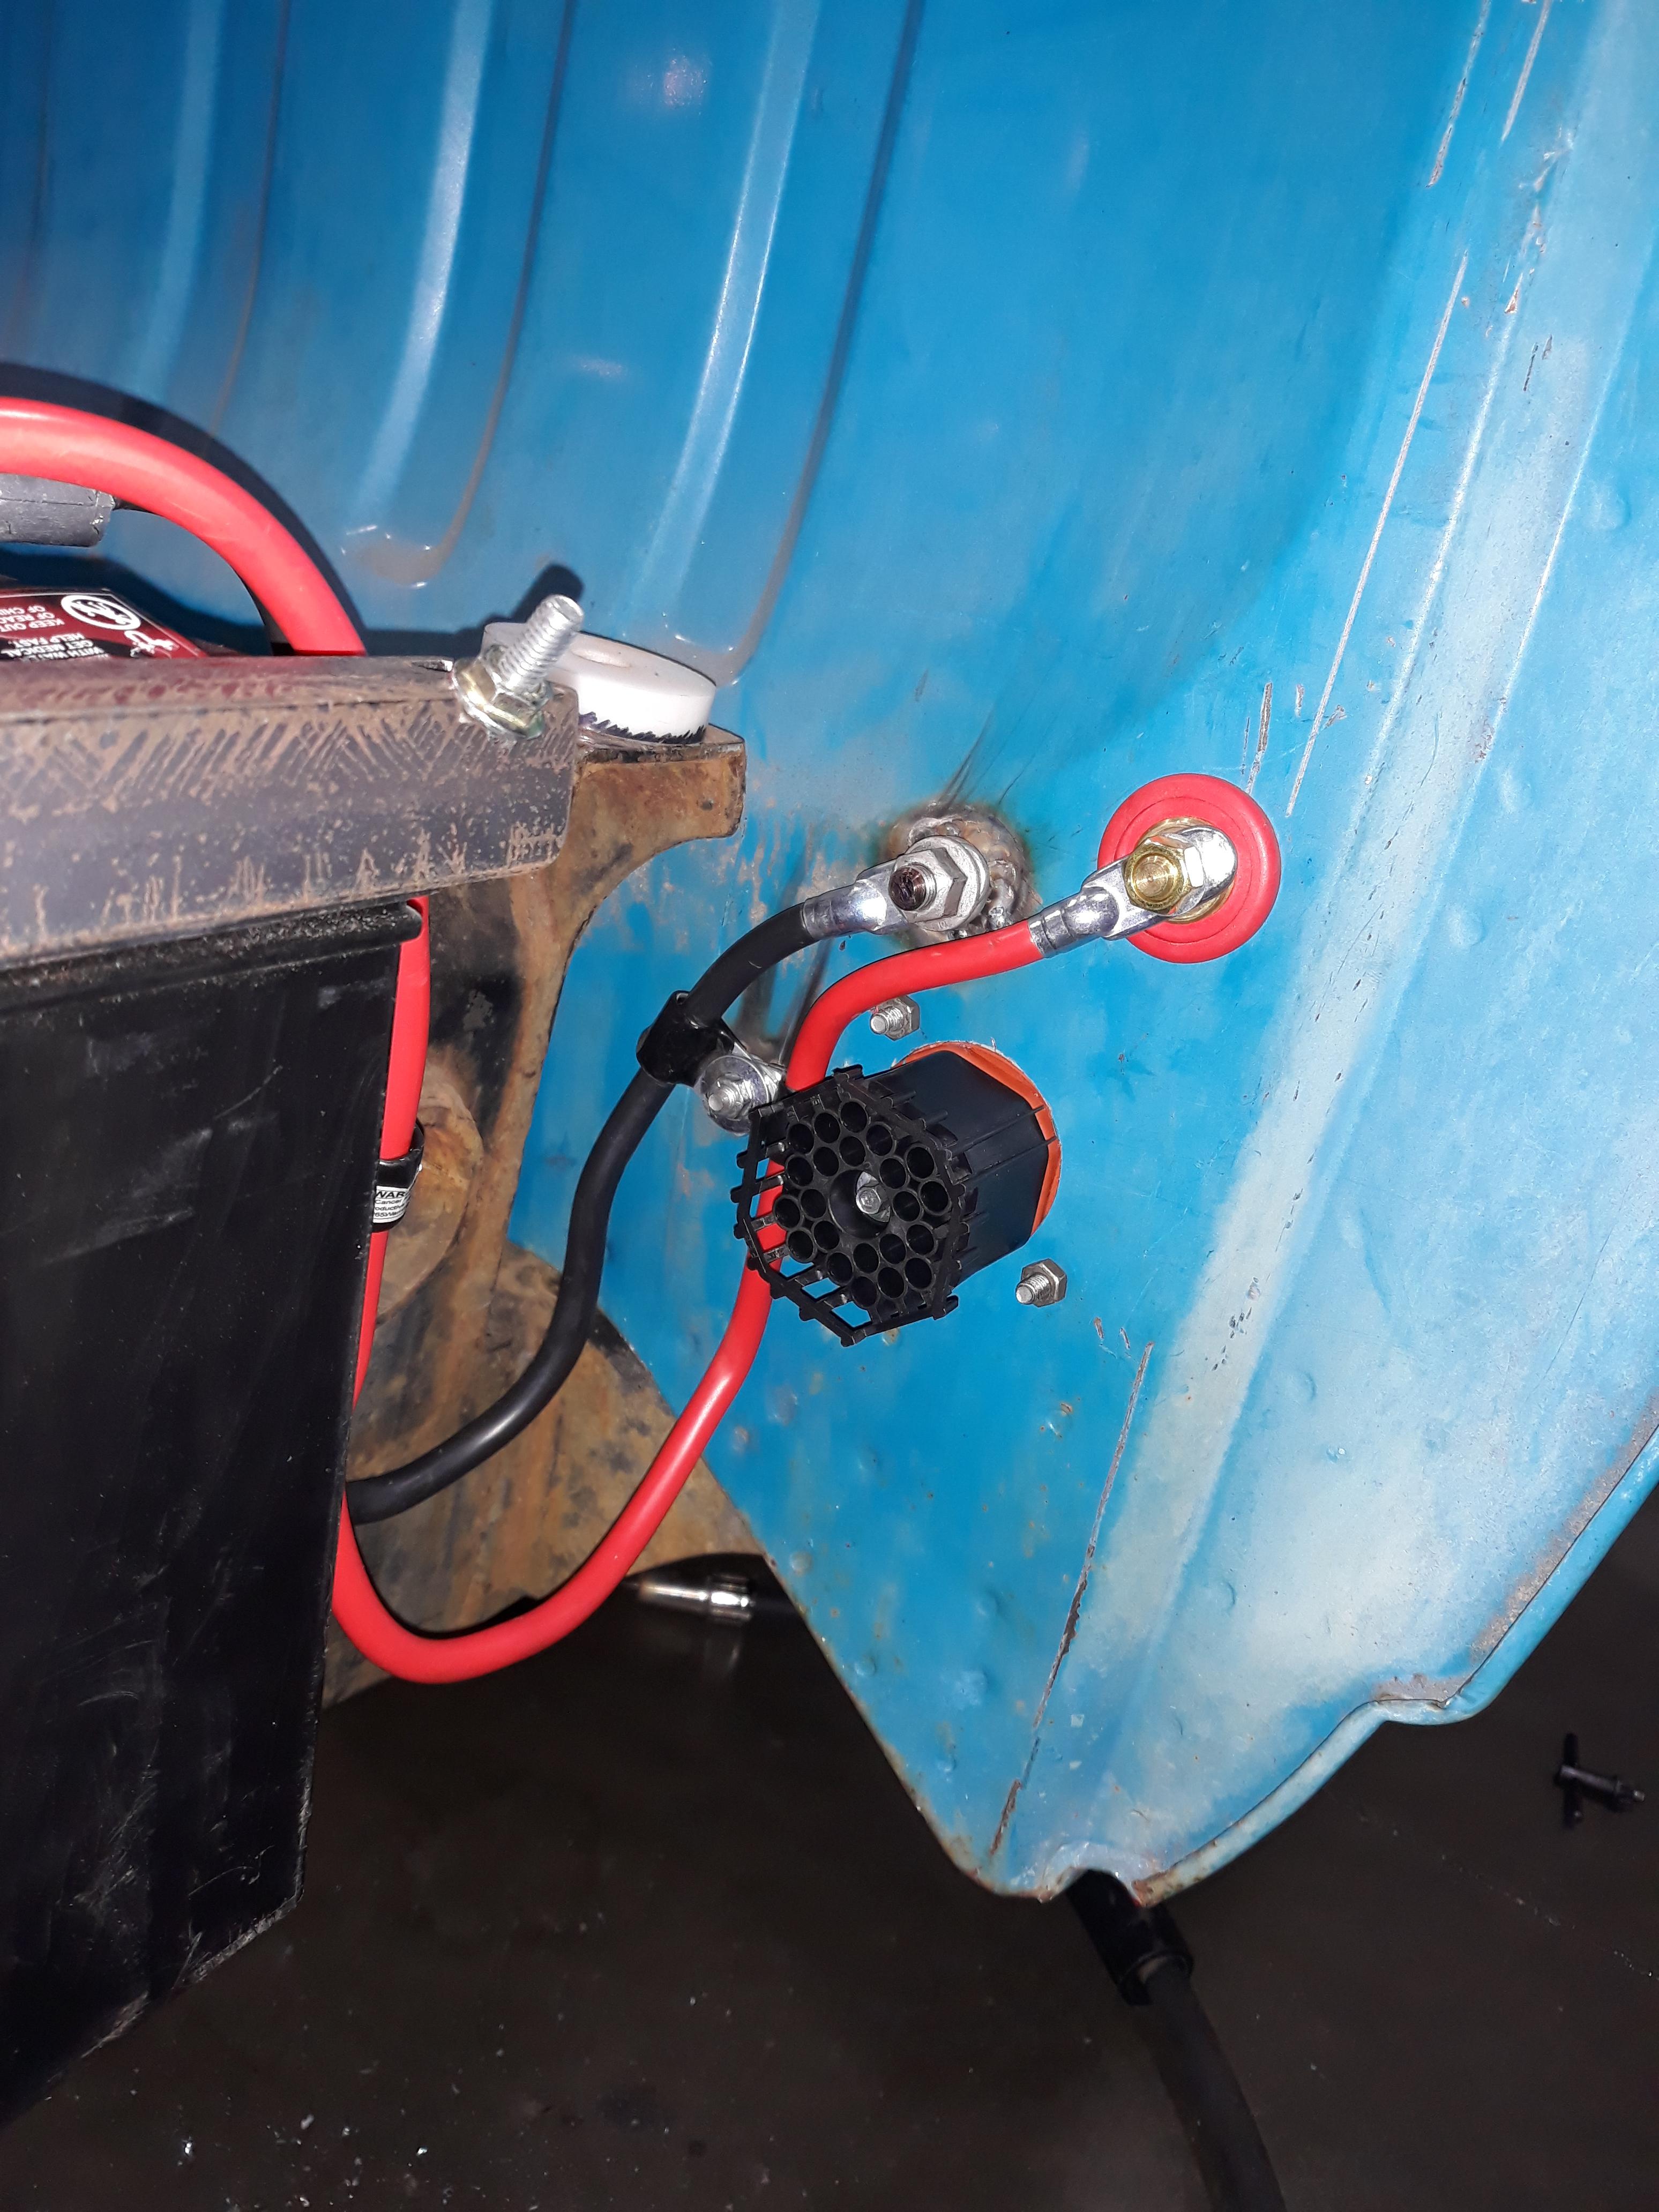
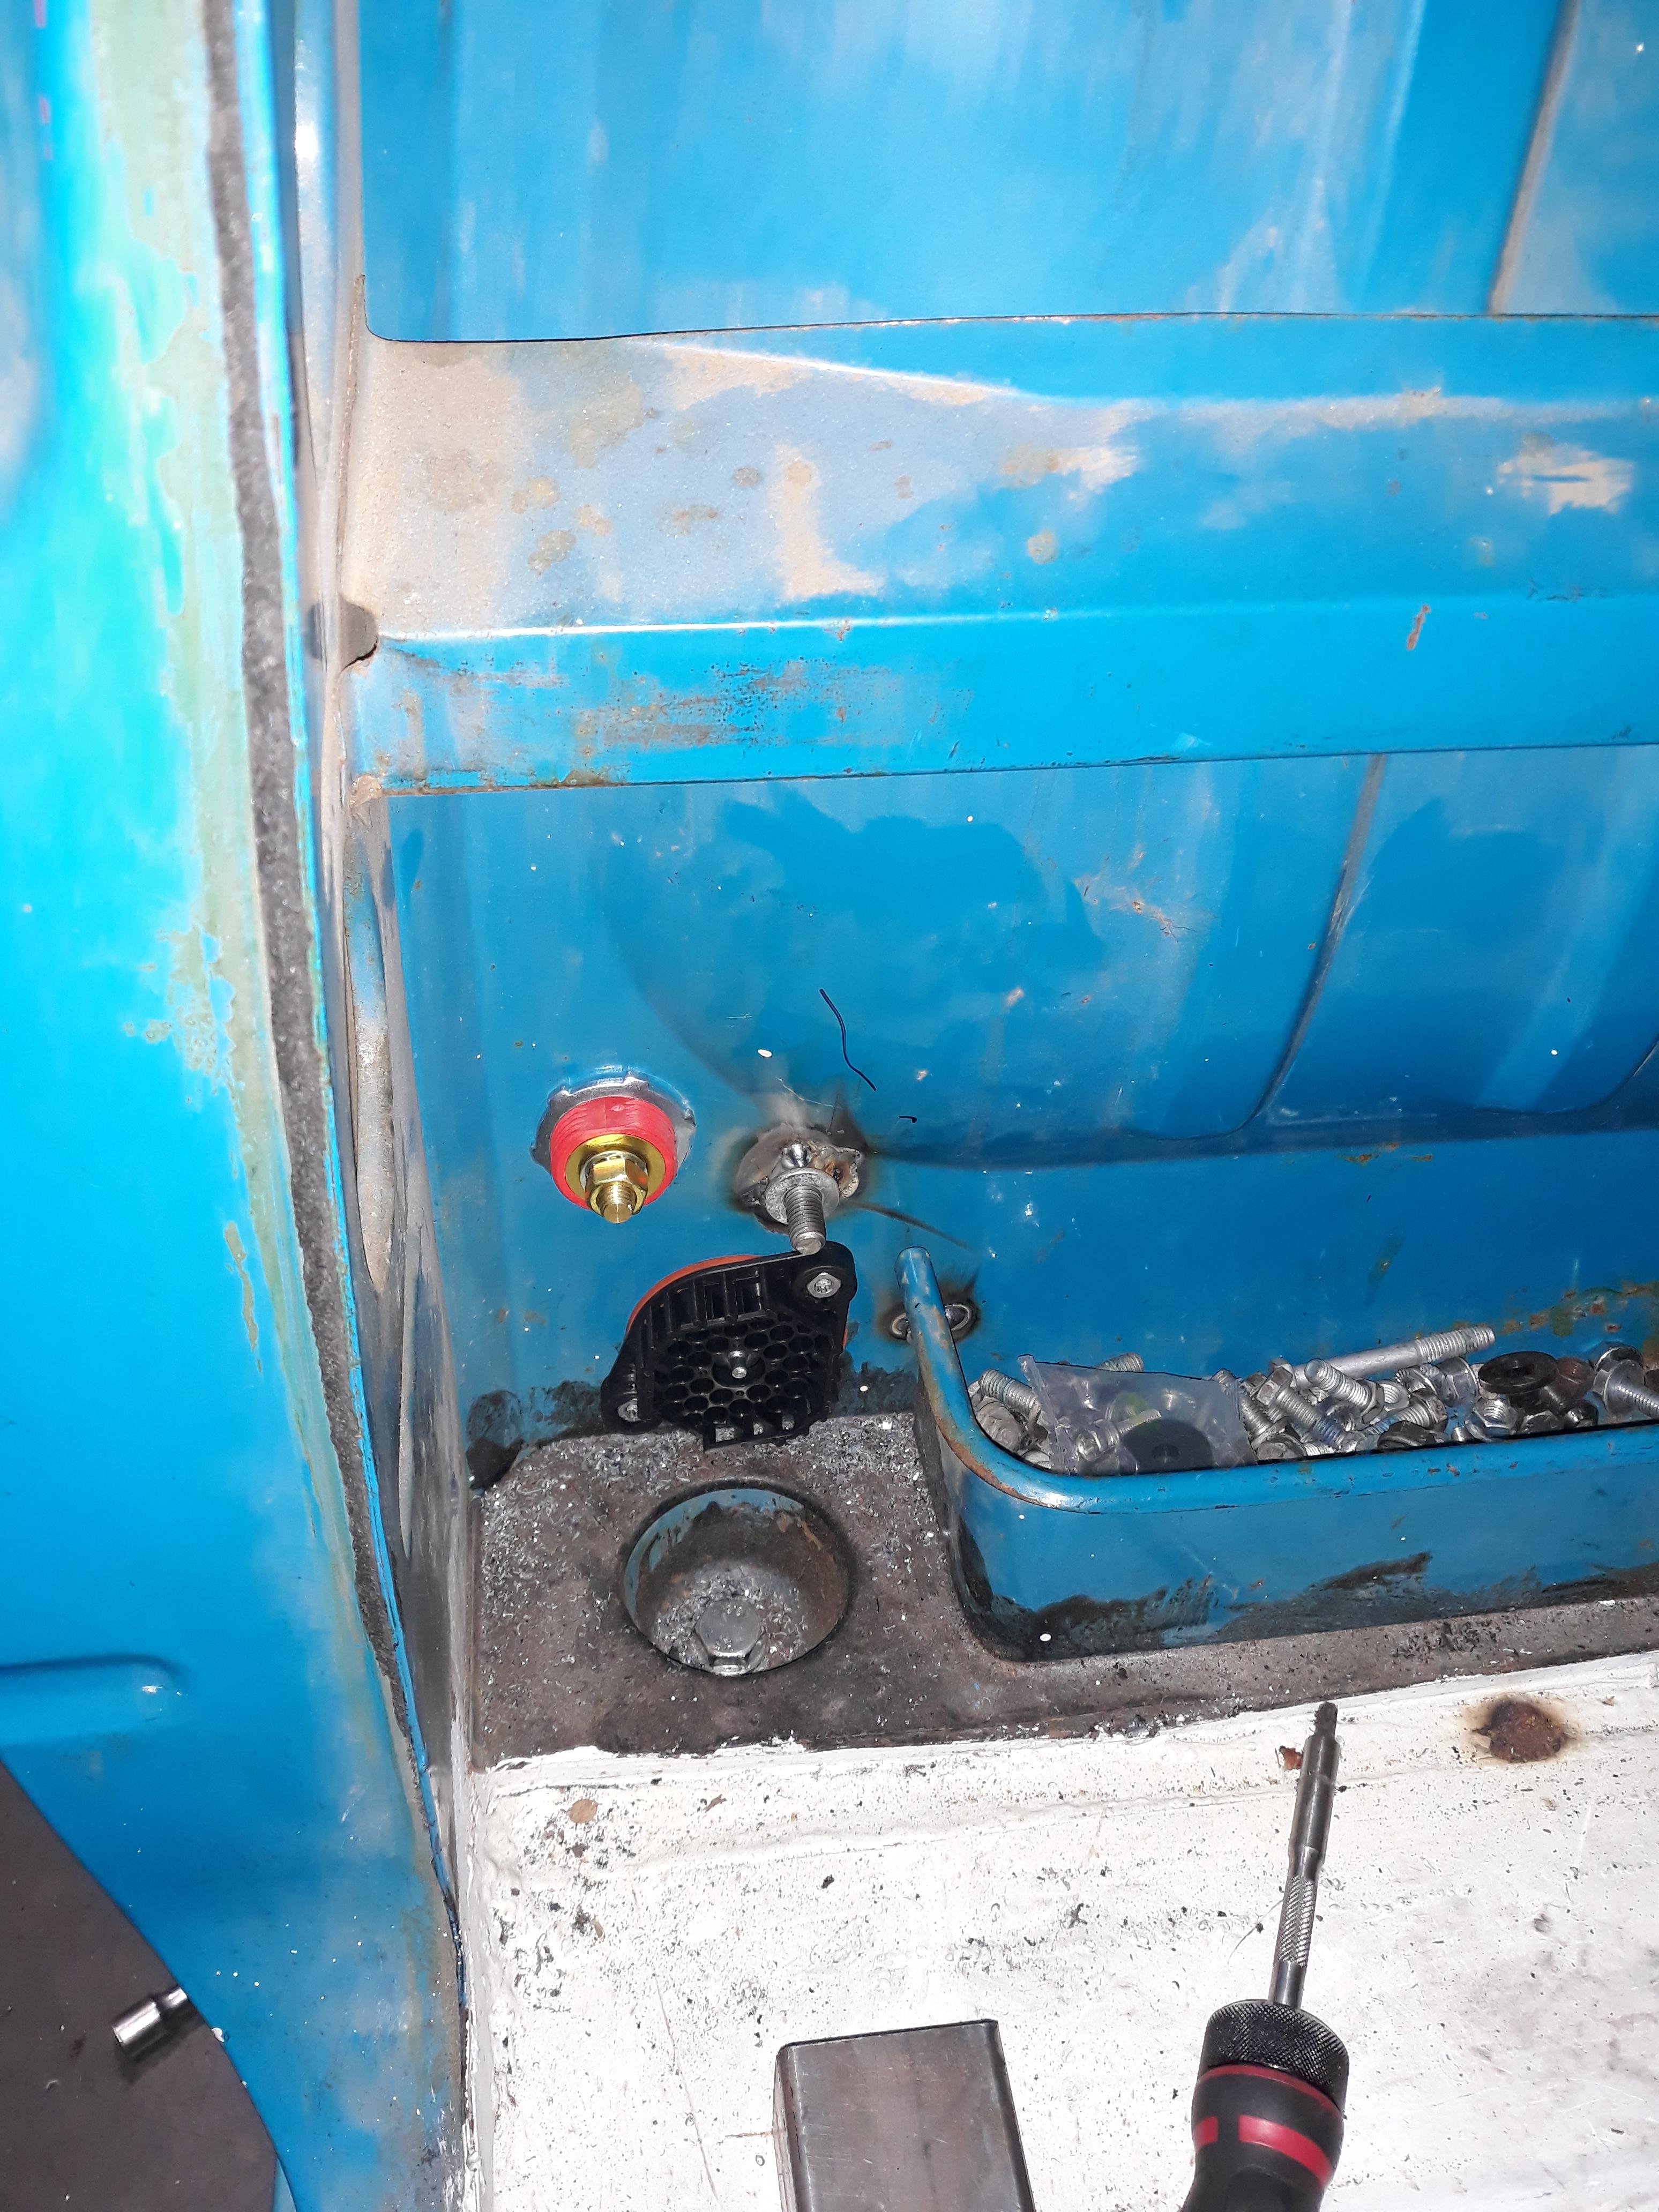
getting my power and ground sorted. there is enough positive cable to be able to take the battery out of the tray and set it on the ground with it still connected. im also putting a jump point under the hood just in case. the bulkhead connector will be for all my lights, fuel pump, and flex fuel sensor. there will be extra terminals for accessories later.
Reply
0
0
04-16-2019, 09:54 AM
#116
Senior Member
Thread Starter
Join Date: Jan 2011
Location: sacramento ,ca
Posts: 568
Total Cats: 162
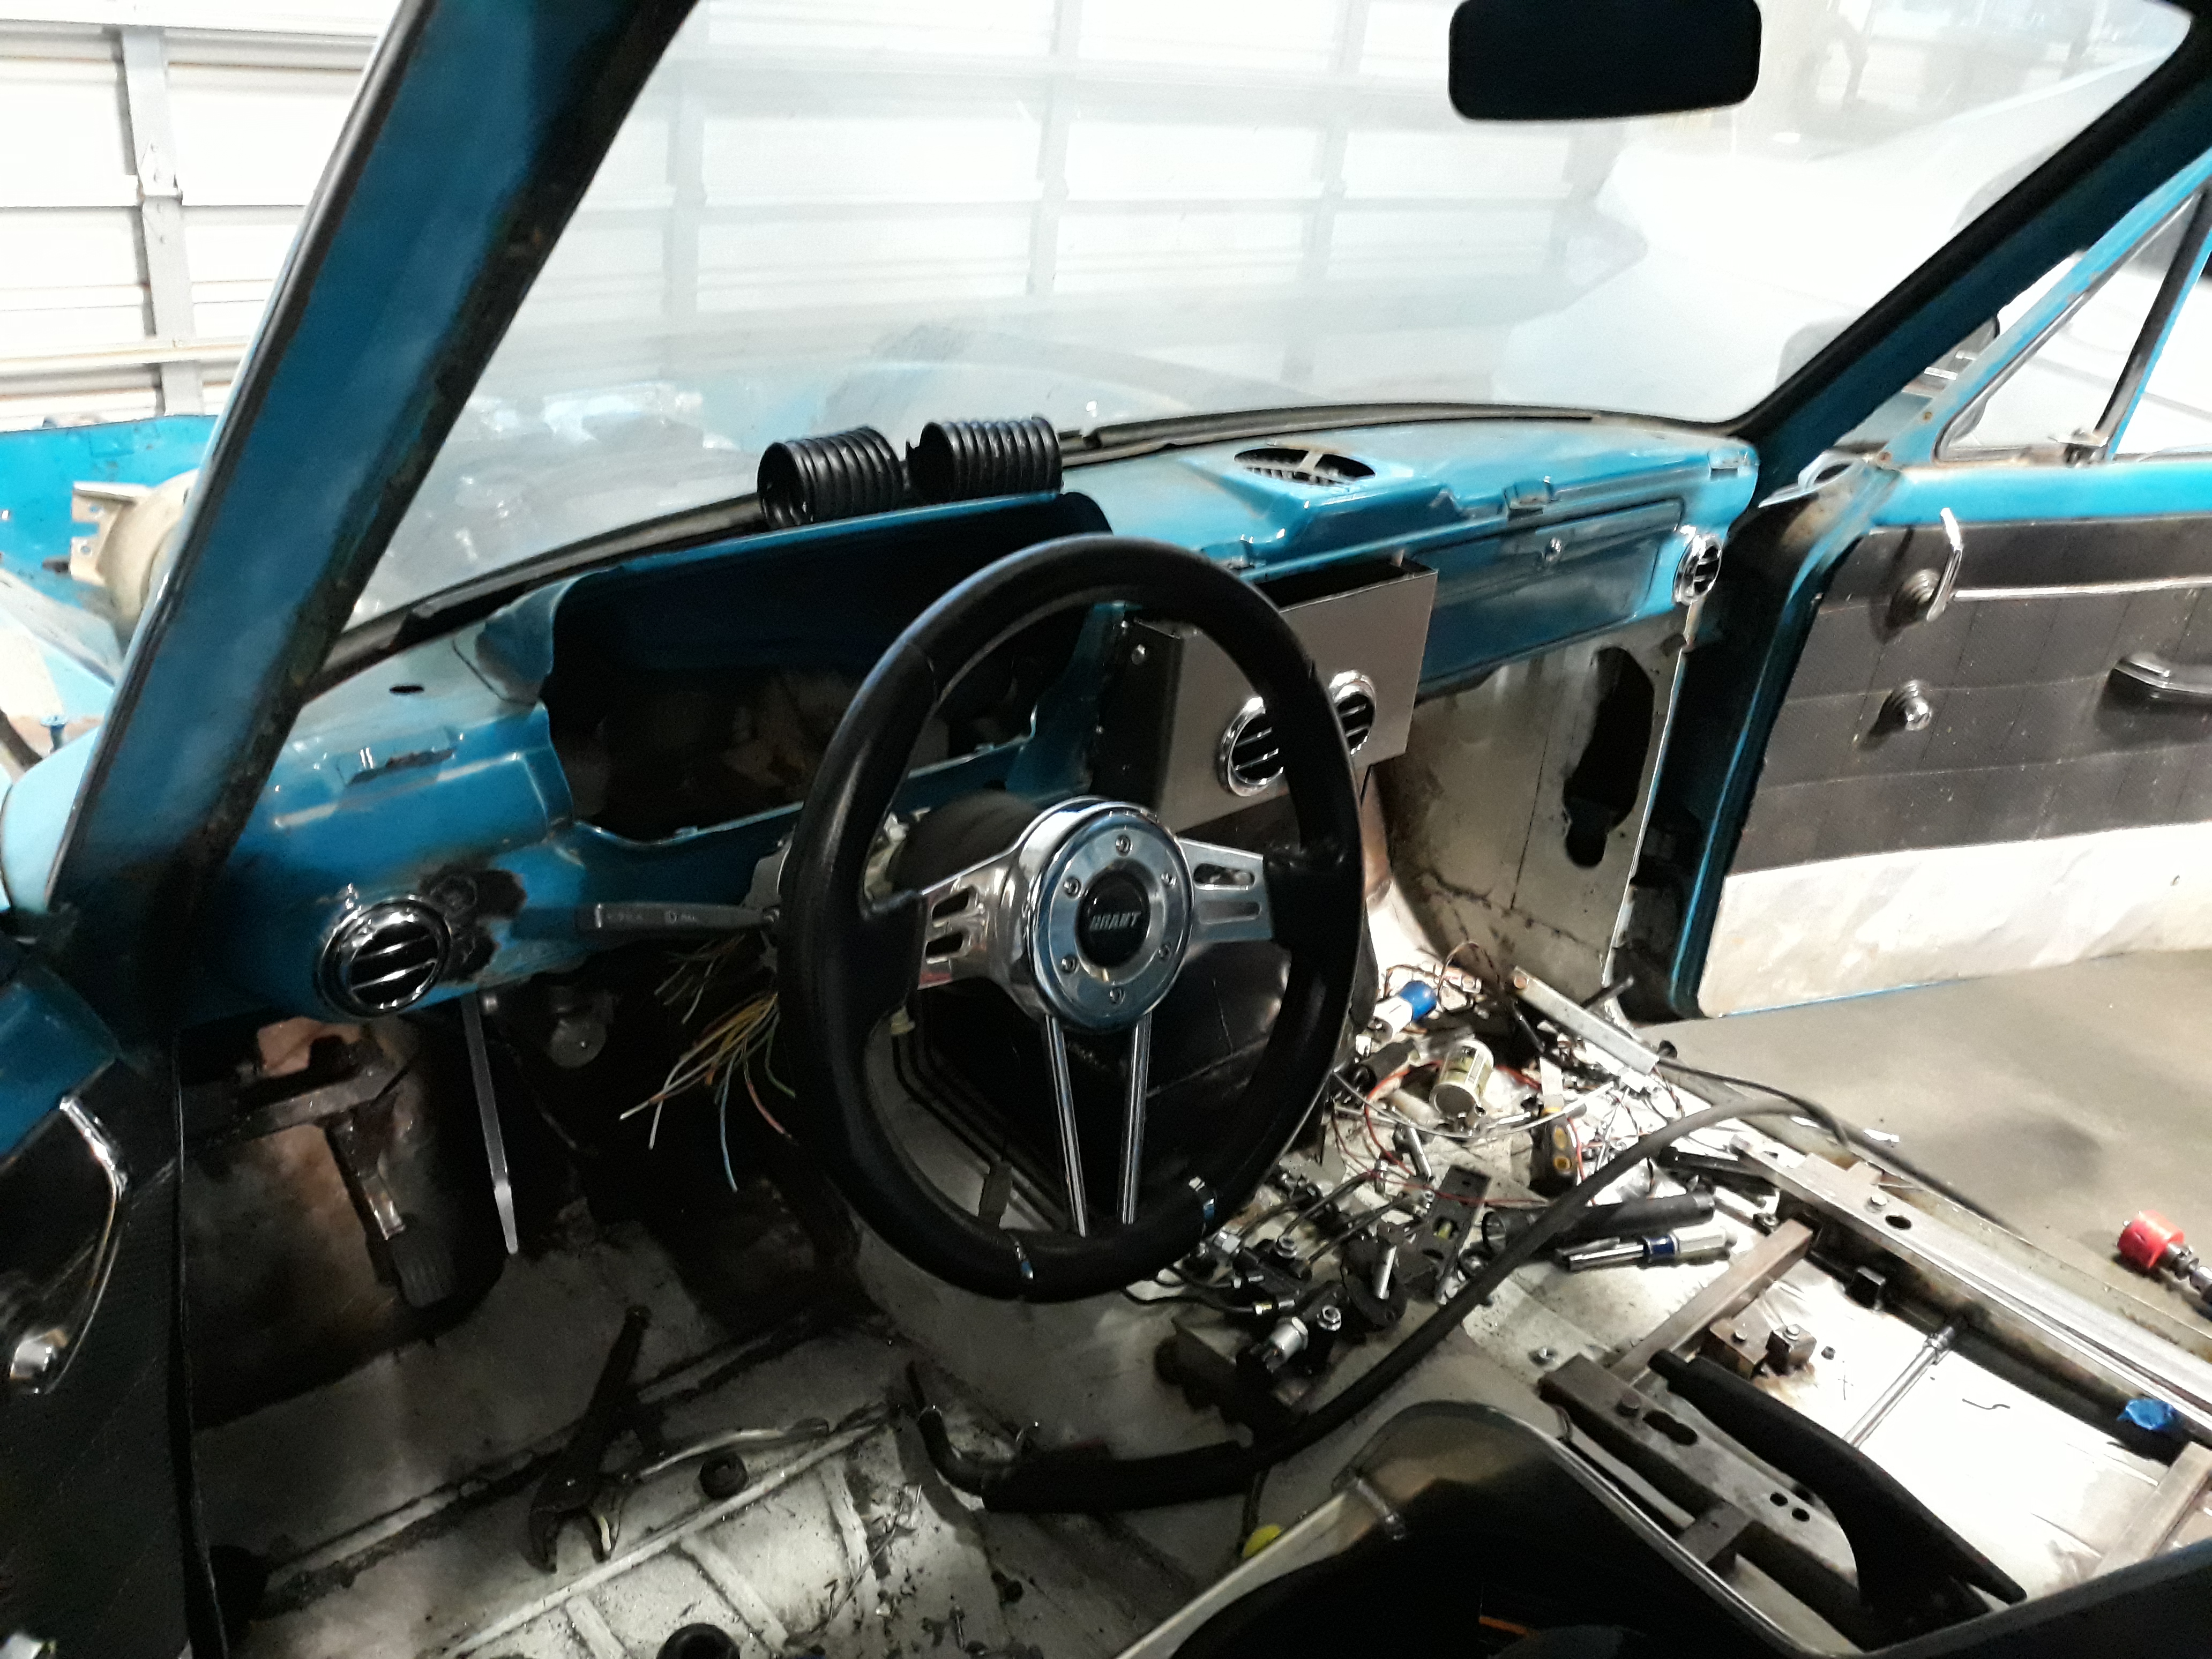
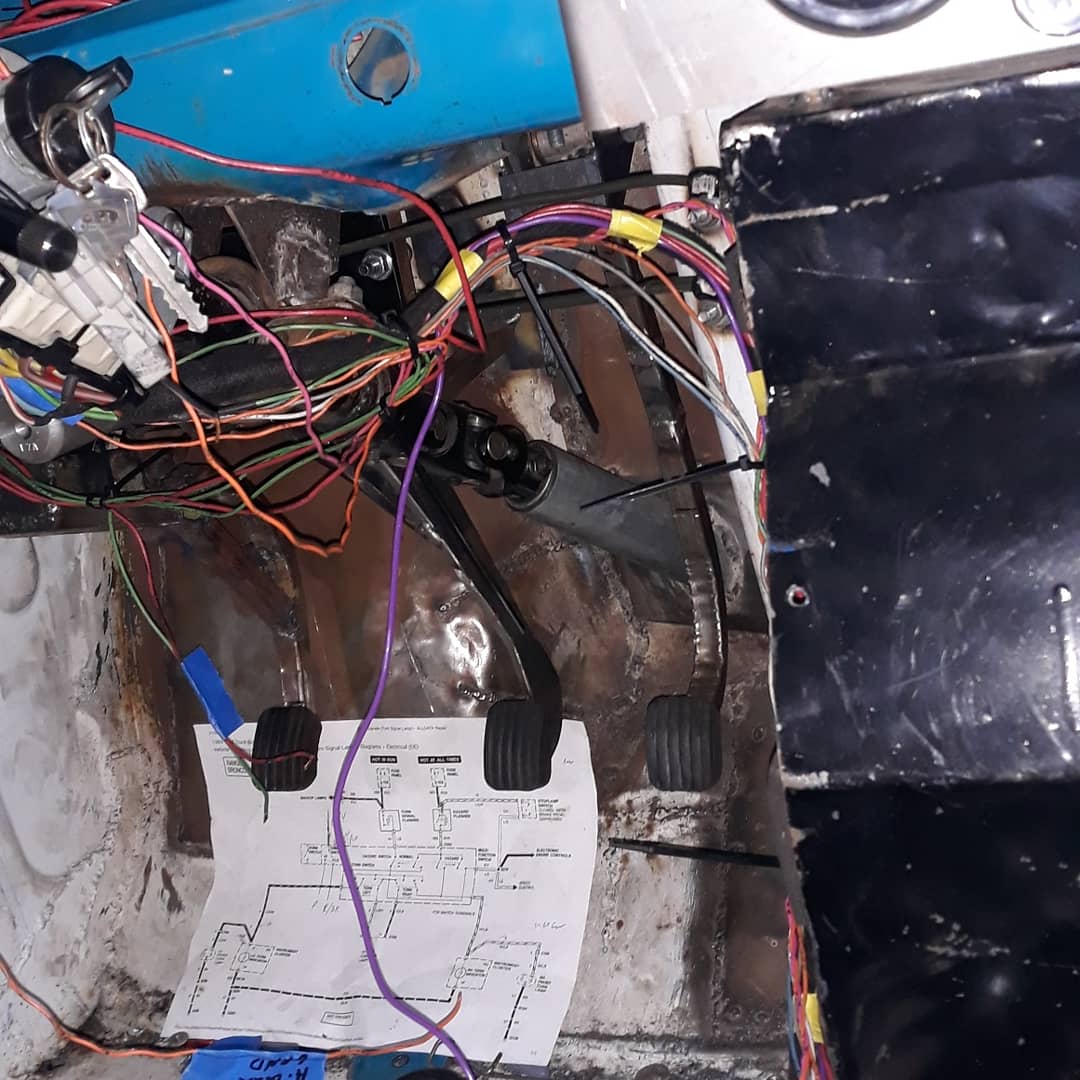
ive been slowly making progress lately. wiring for the cab is getting sorted out. i have functioning wiring to the ignition switch, turn signals, brake lights, and headlights. i mounted switches and return springs to finish up my pedals.

Reply
0
0
05-19-2019, 11:04 AM
#117
Senior Member
Thread Starter
Join Date: Jan 2011
Location: sacramento ,ca
Posts: 568
Total Cats: 162
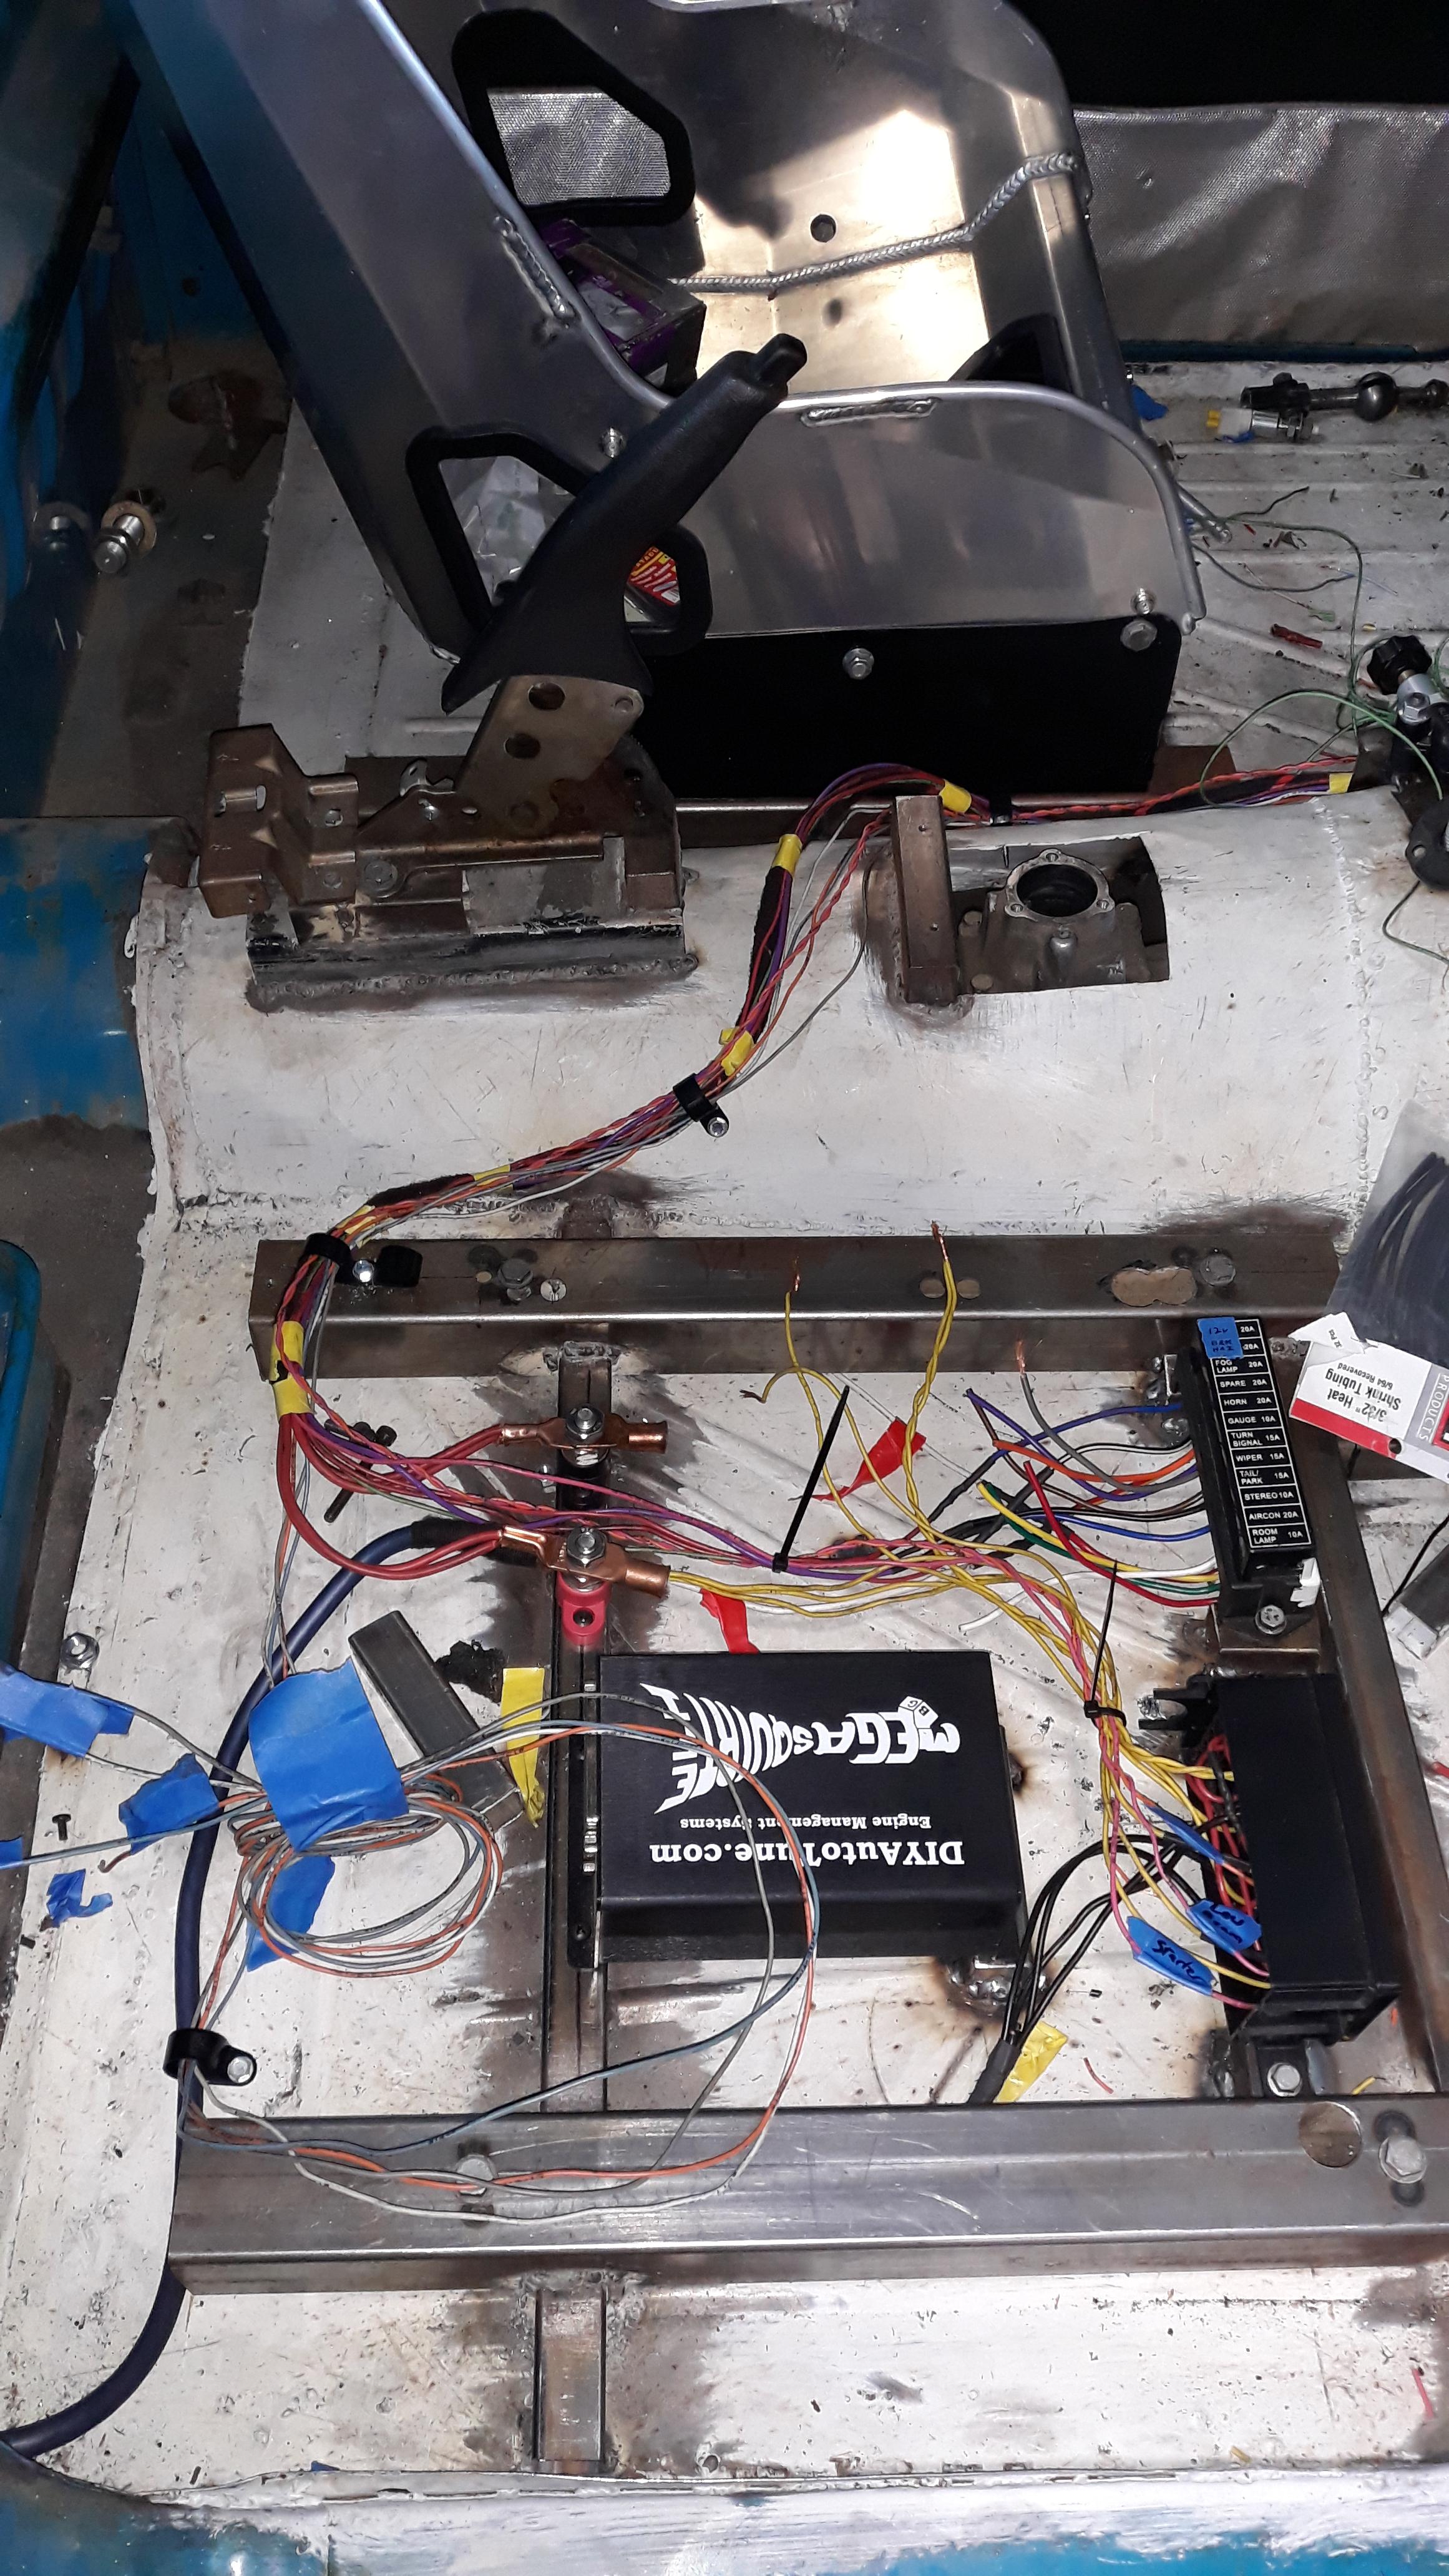
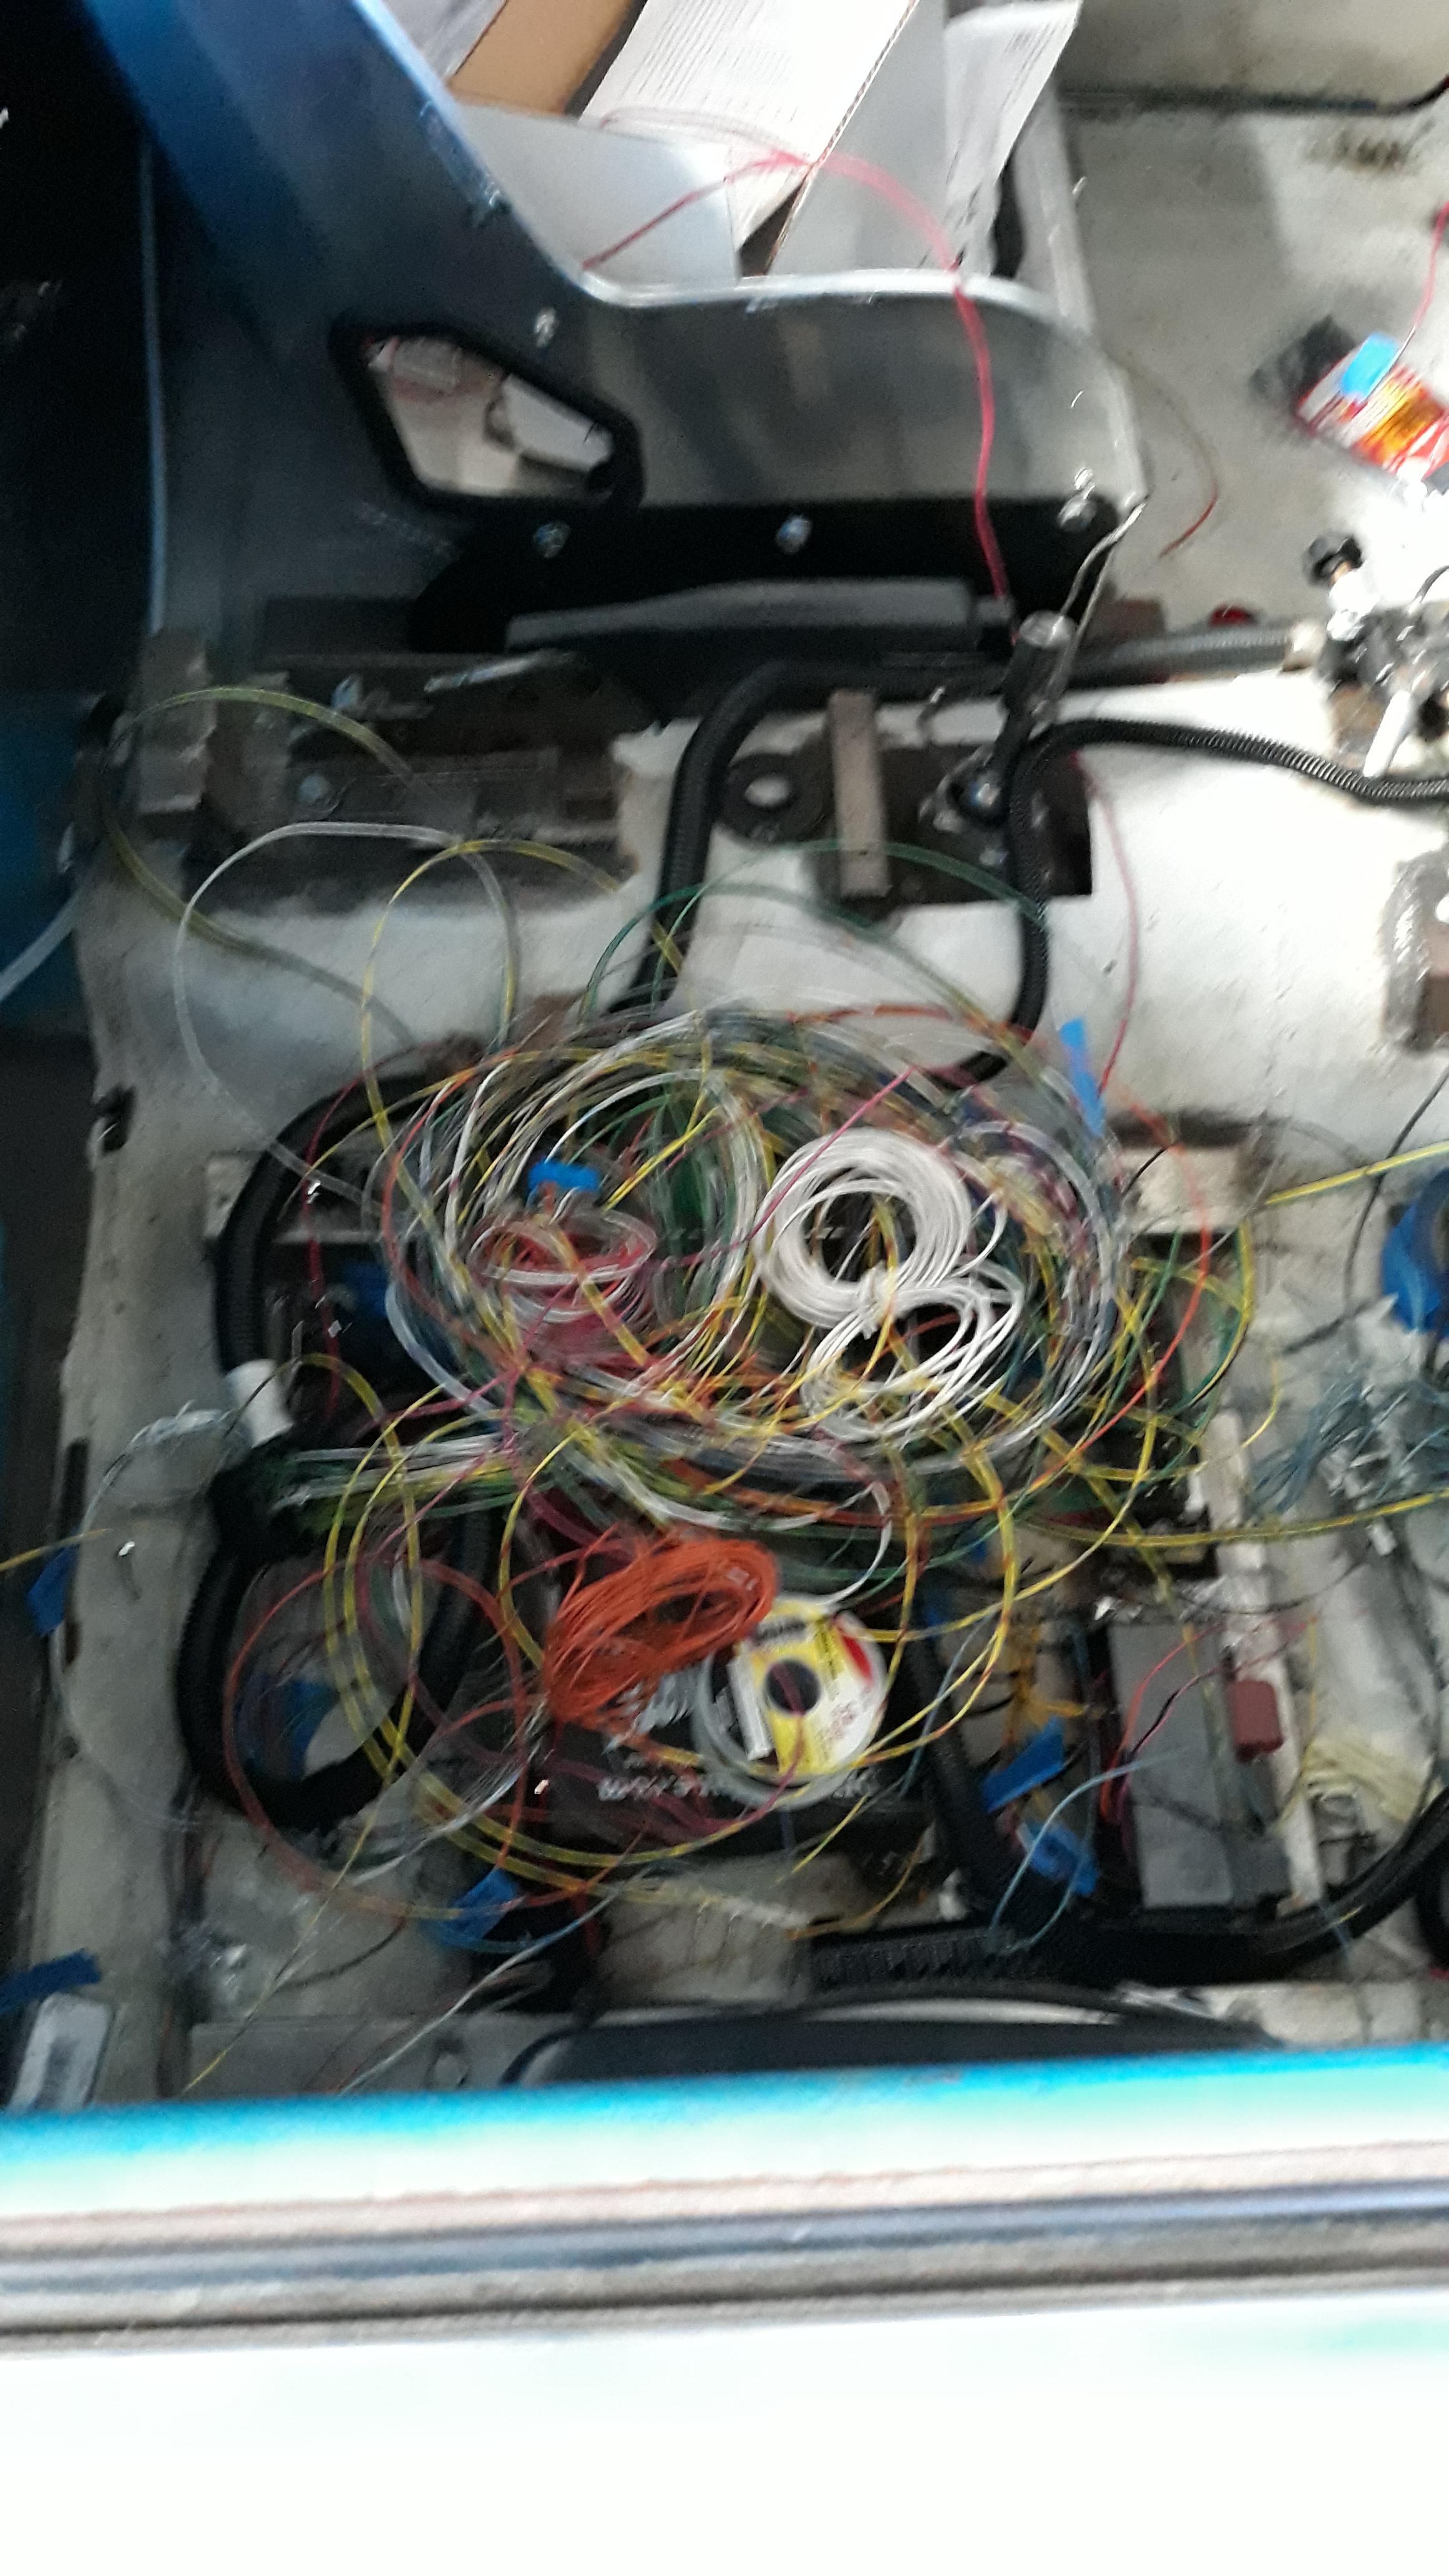
Getting more work in. Im not a fan of all this wiring. its not so much the actual crimping and soldering as much as it is the planning of the routing and positions of the components.
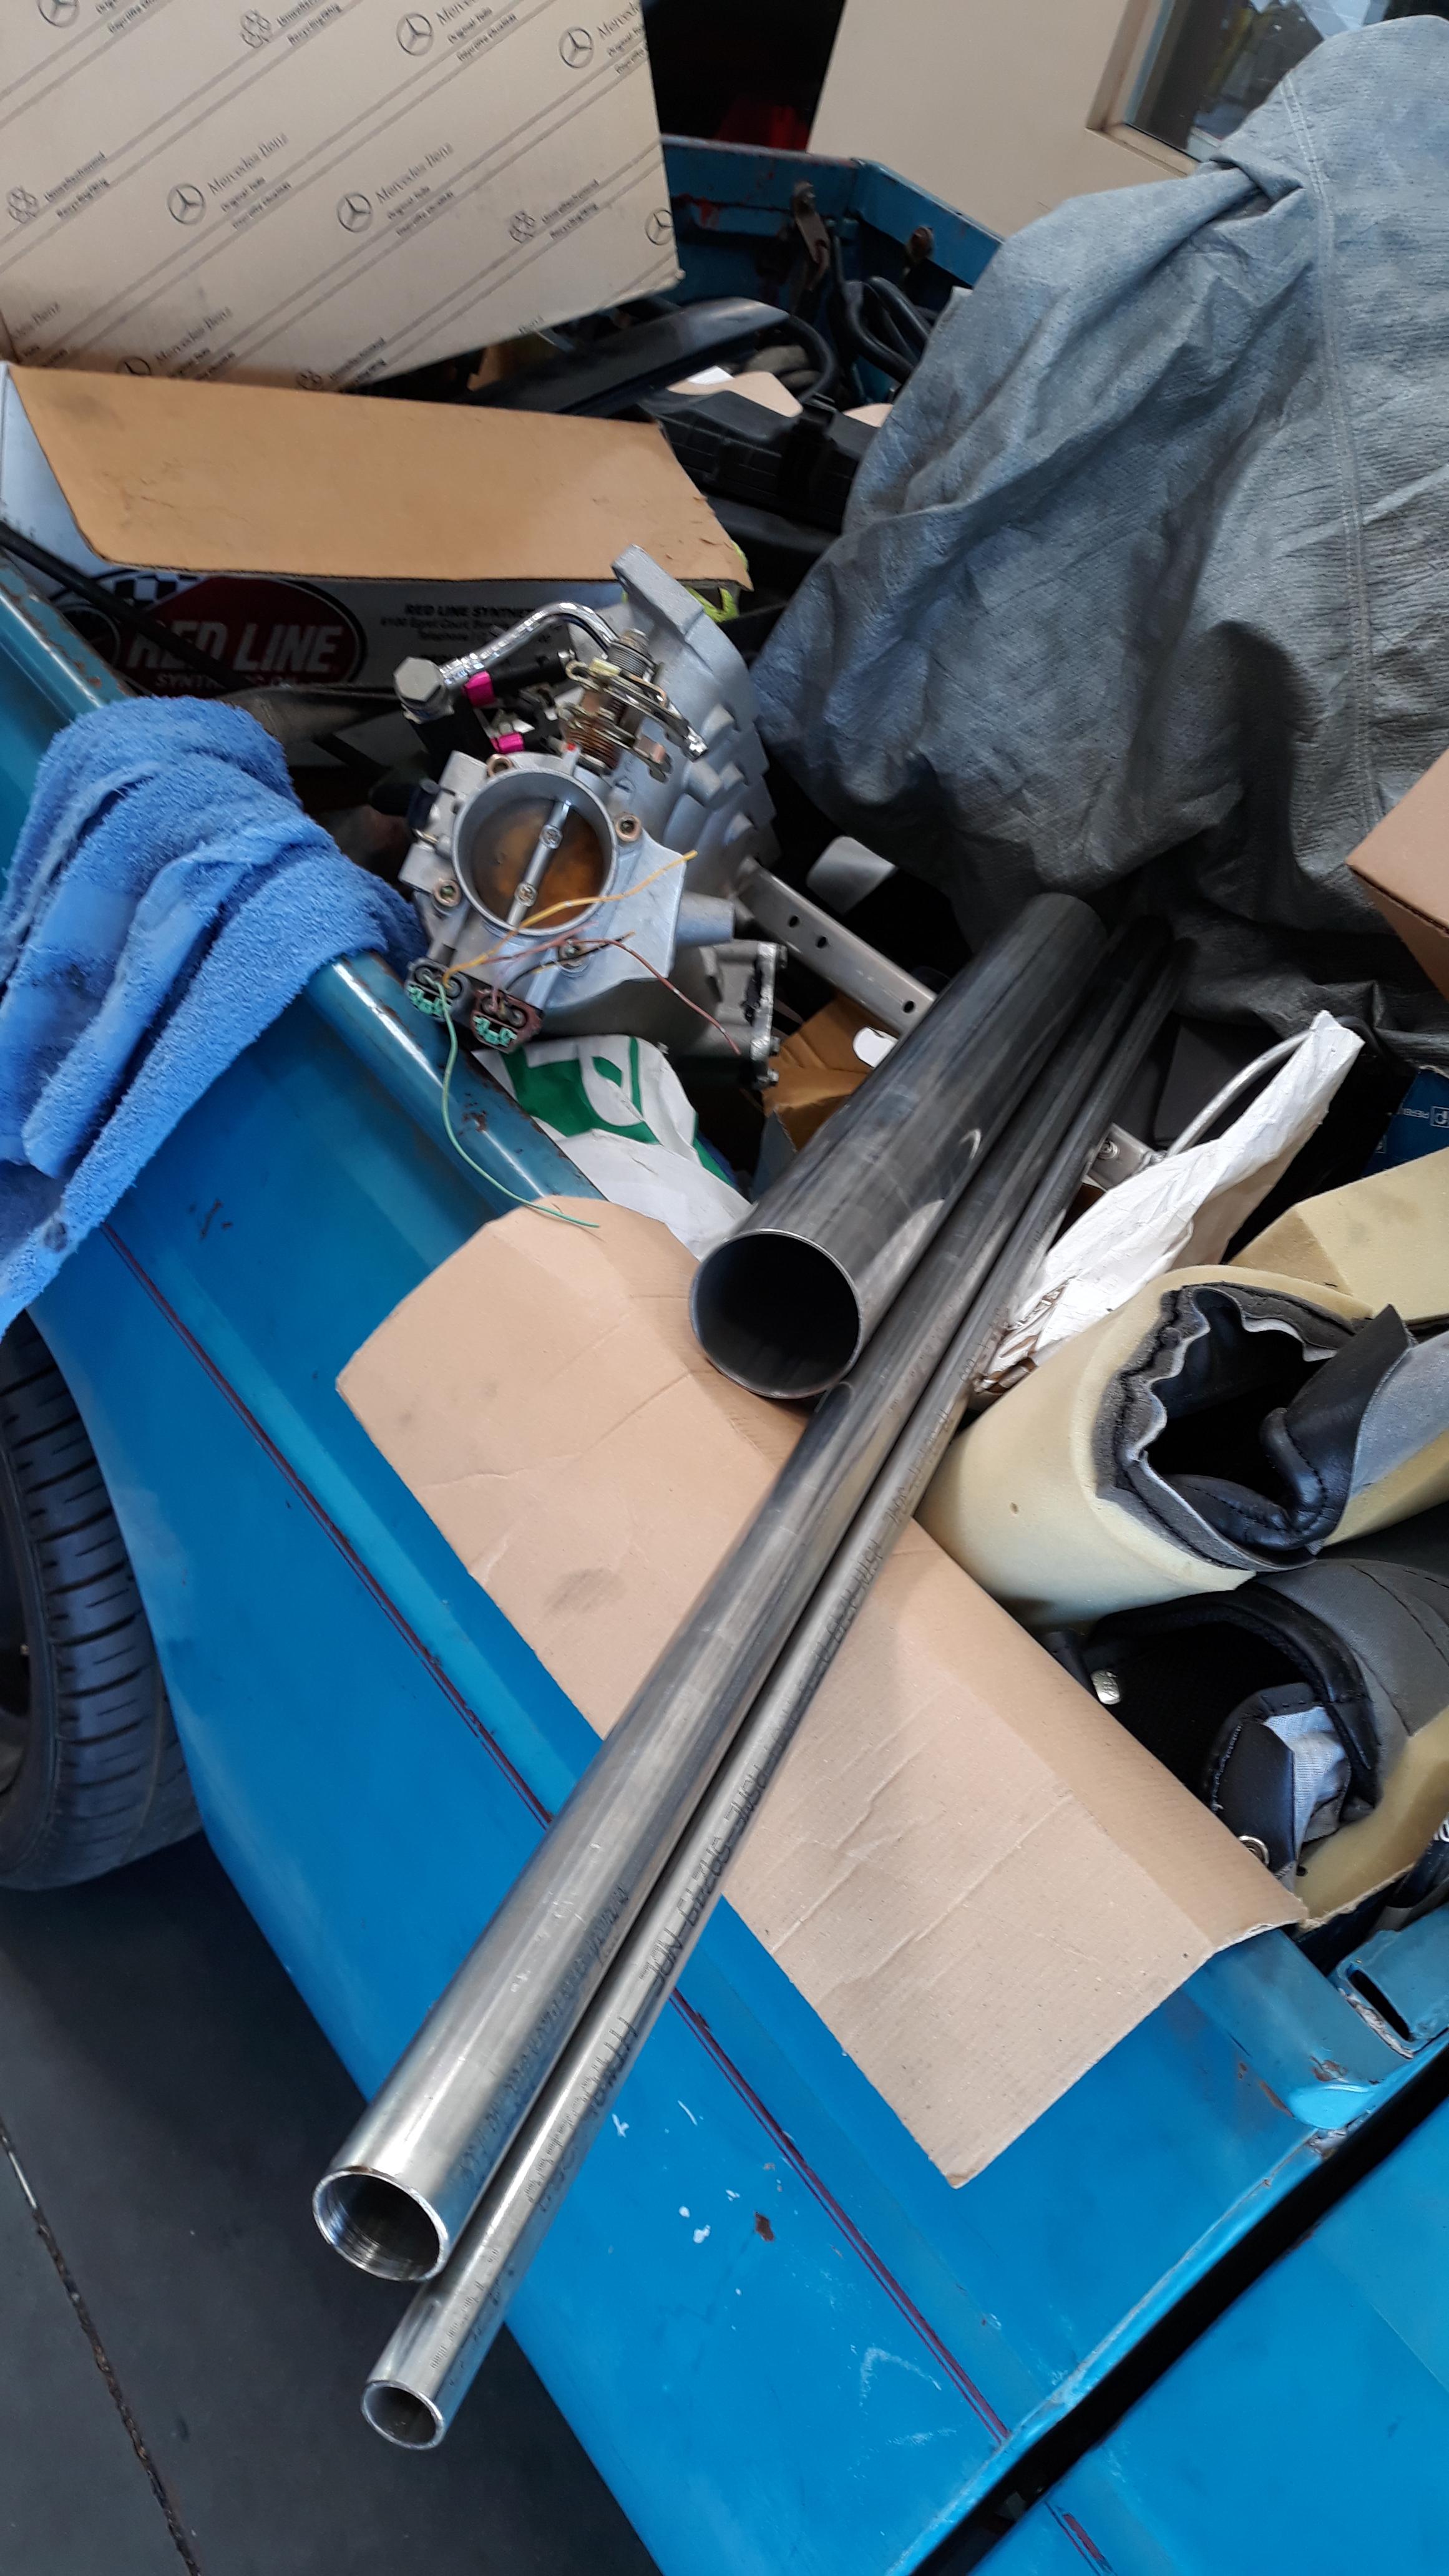
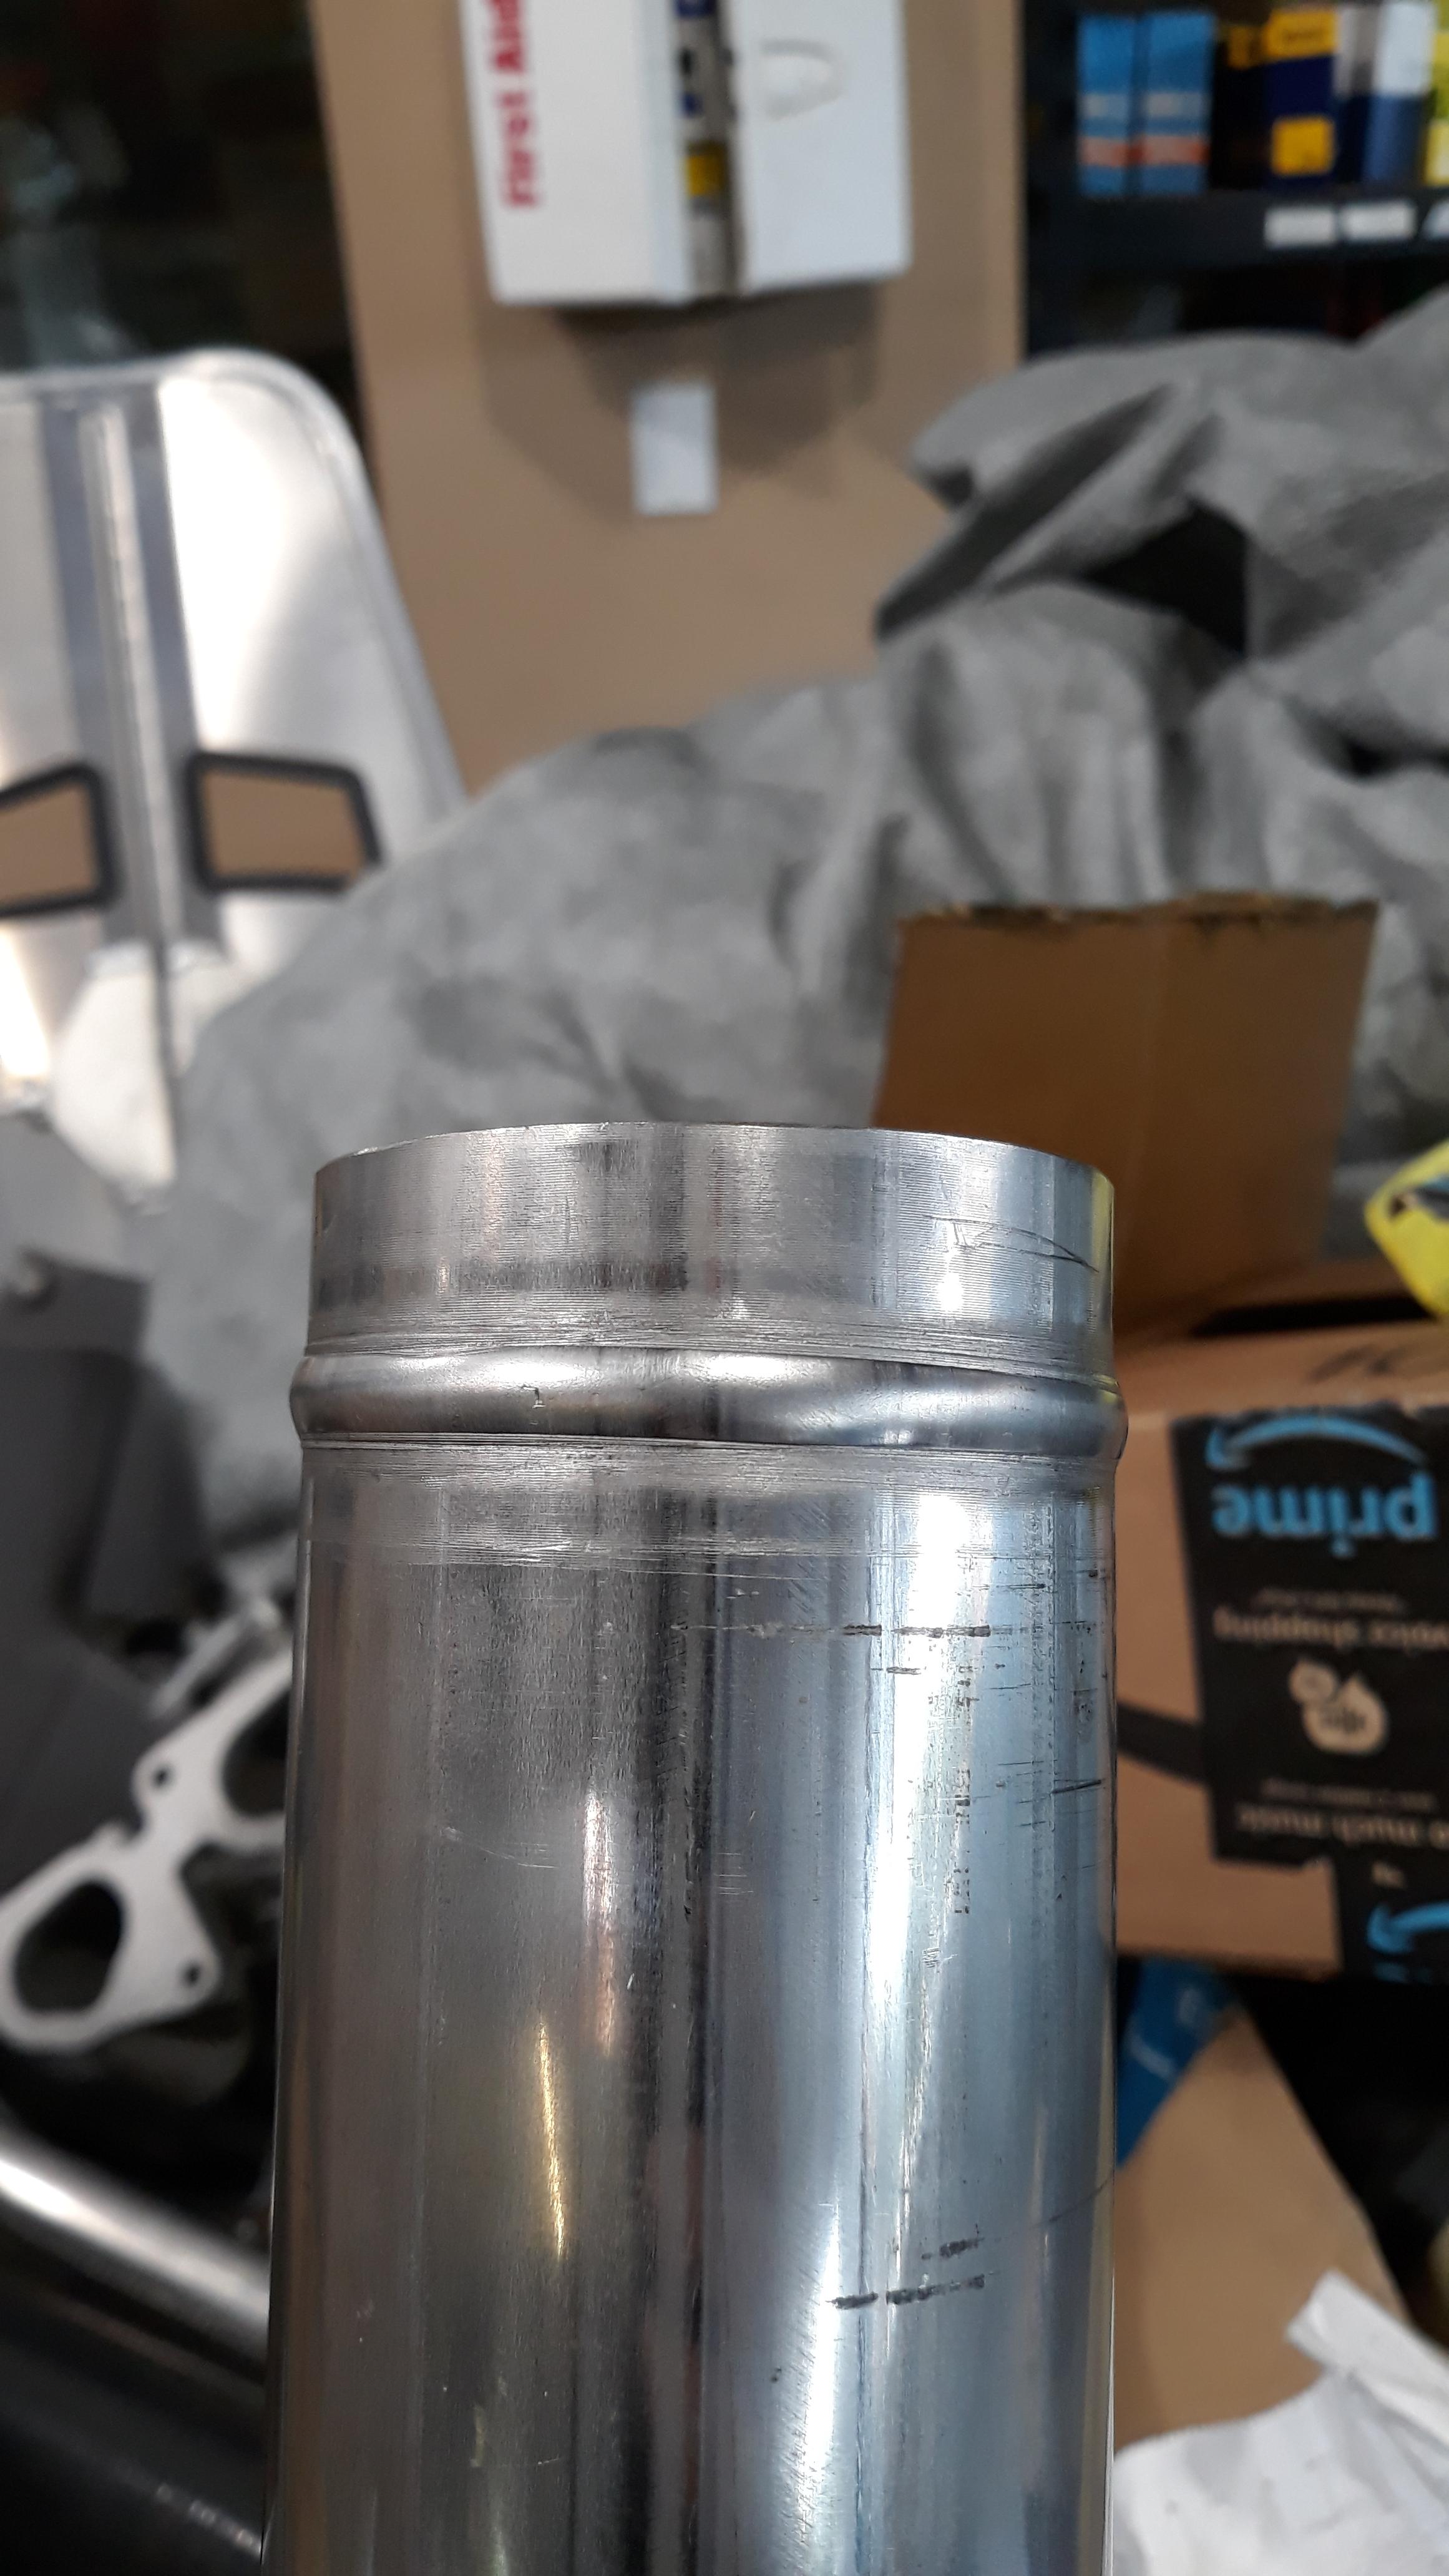
ordered up some stainless from burnsstainless.com . one for charge pipe, one for radiator hose, and one for heater line. my harbor freight bead roller does a decent job on this thick tube.
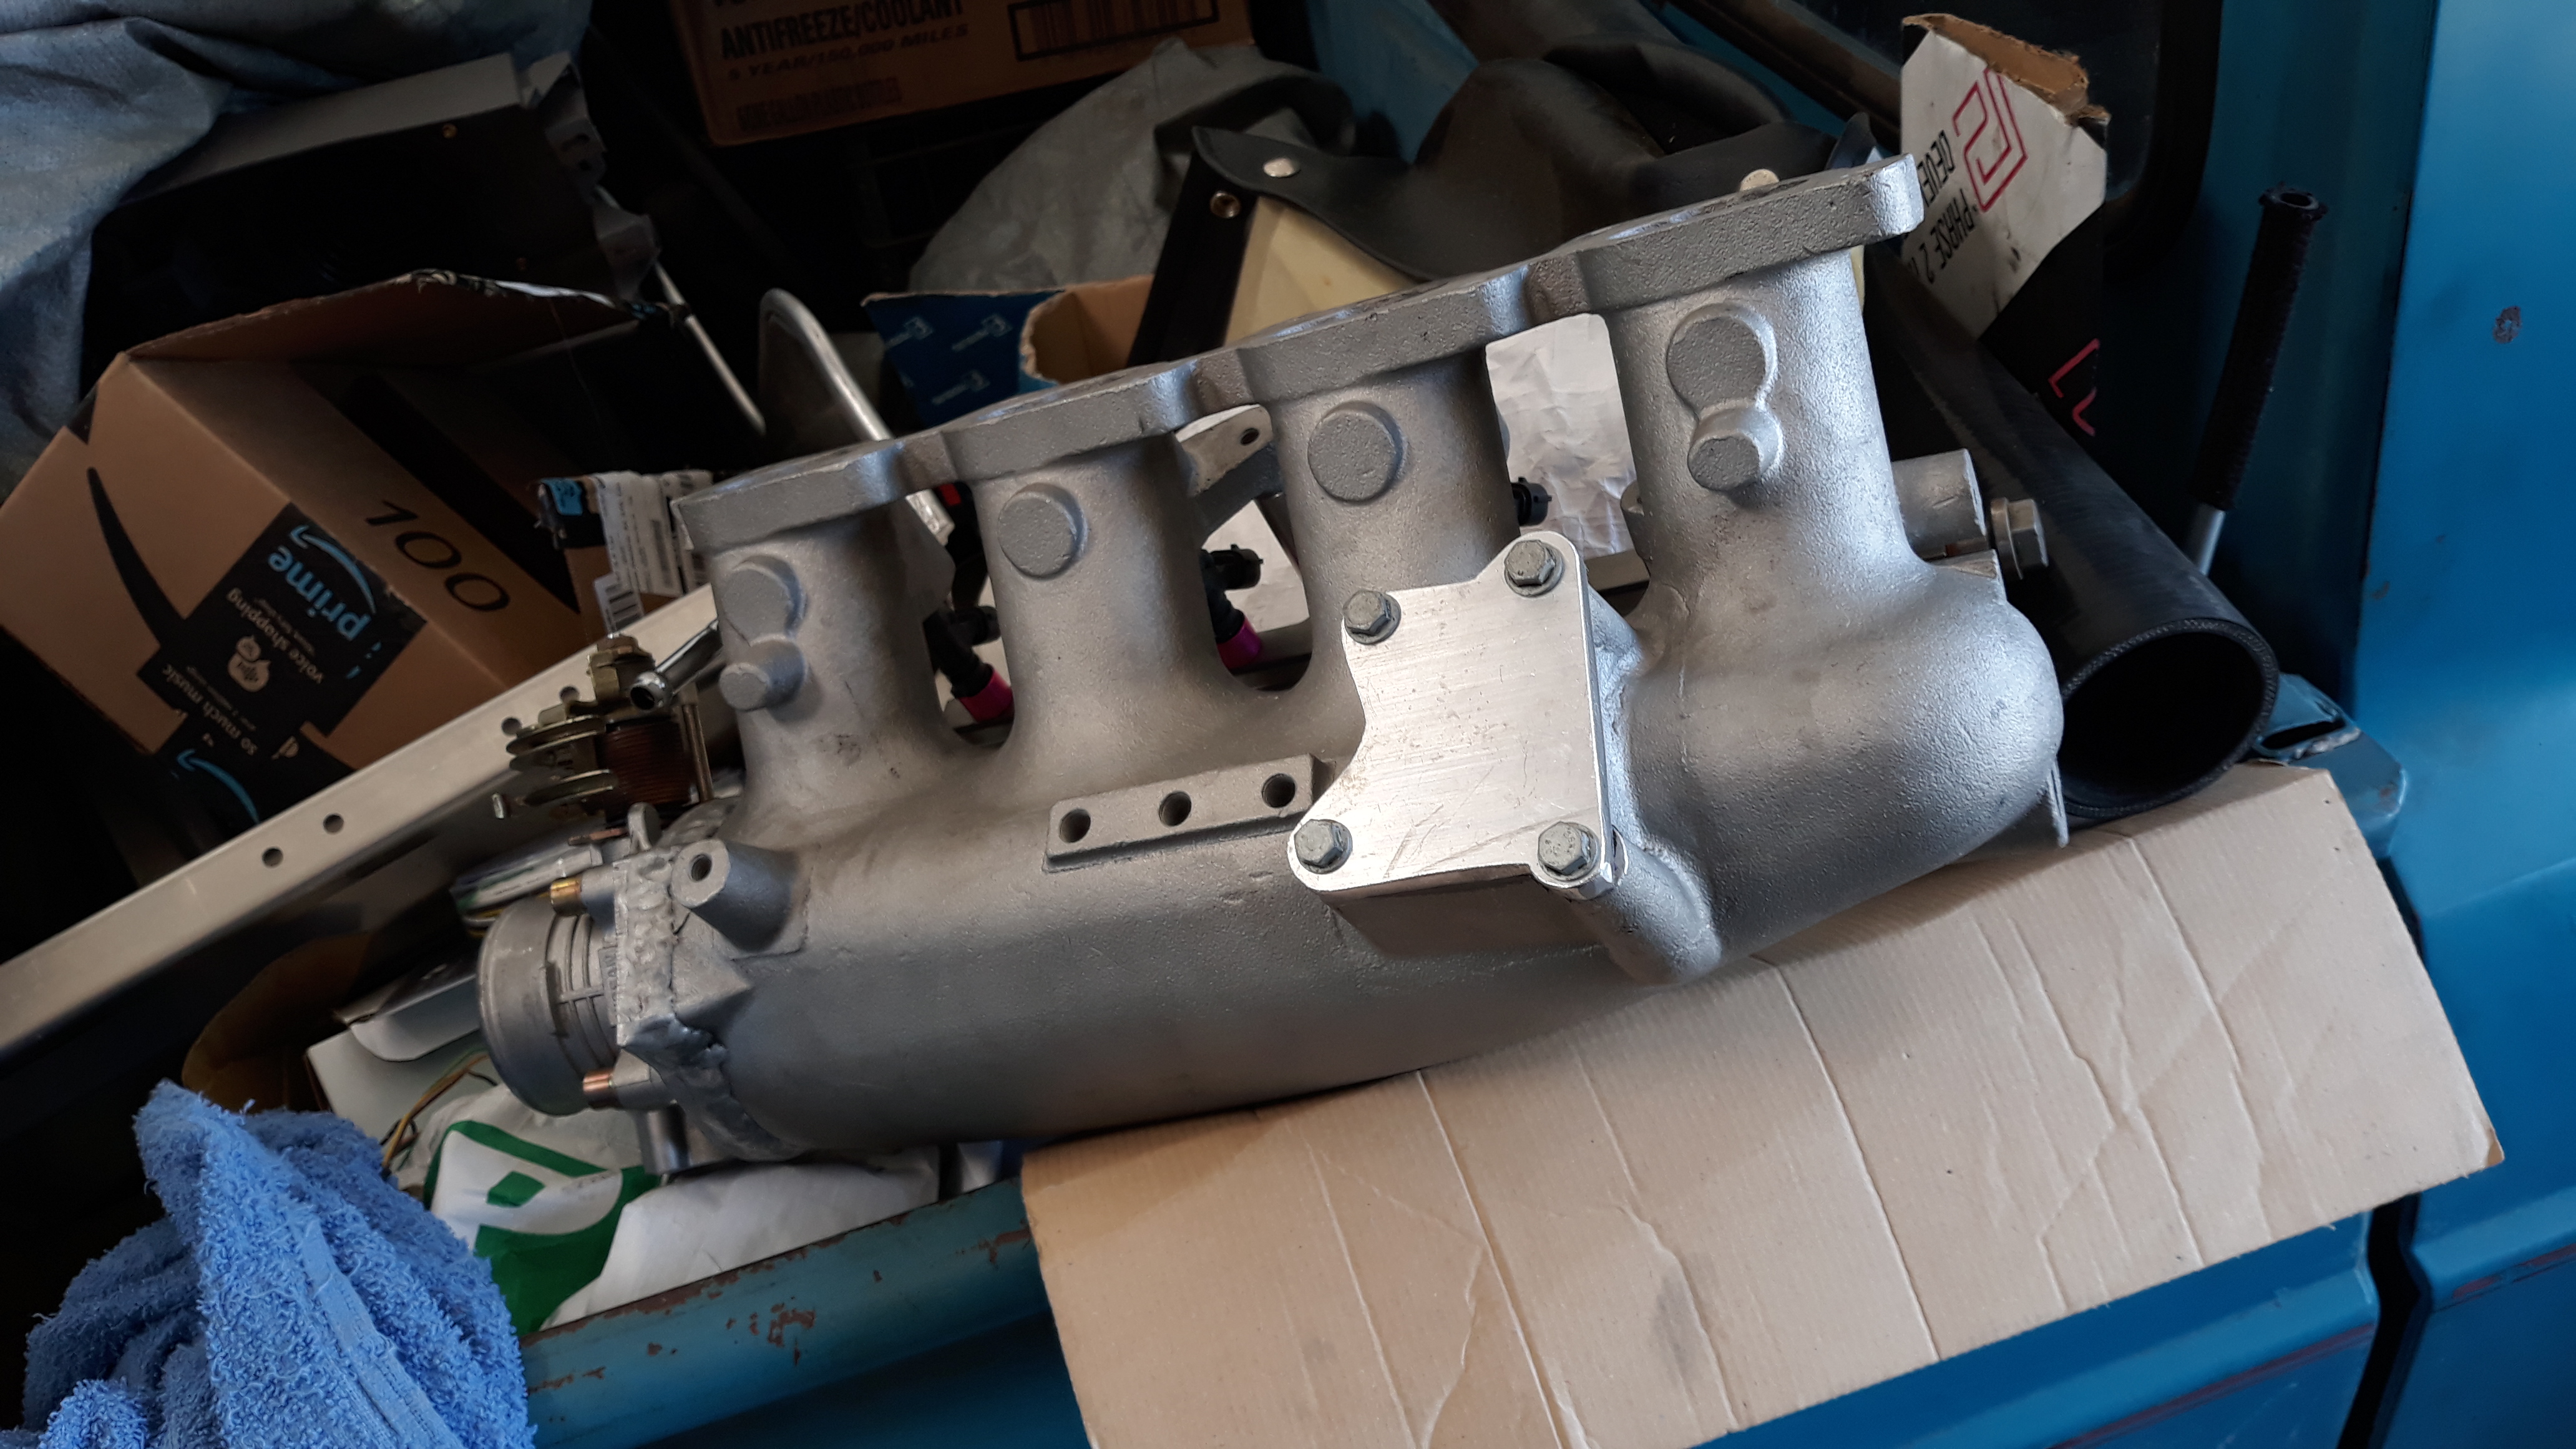
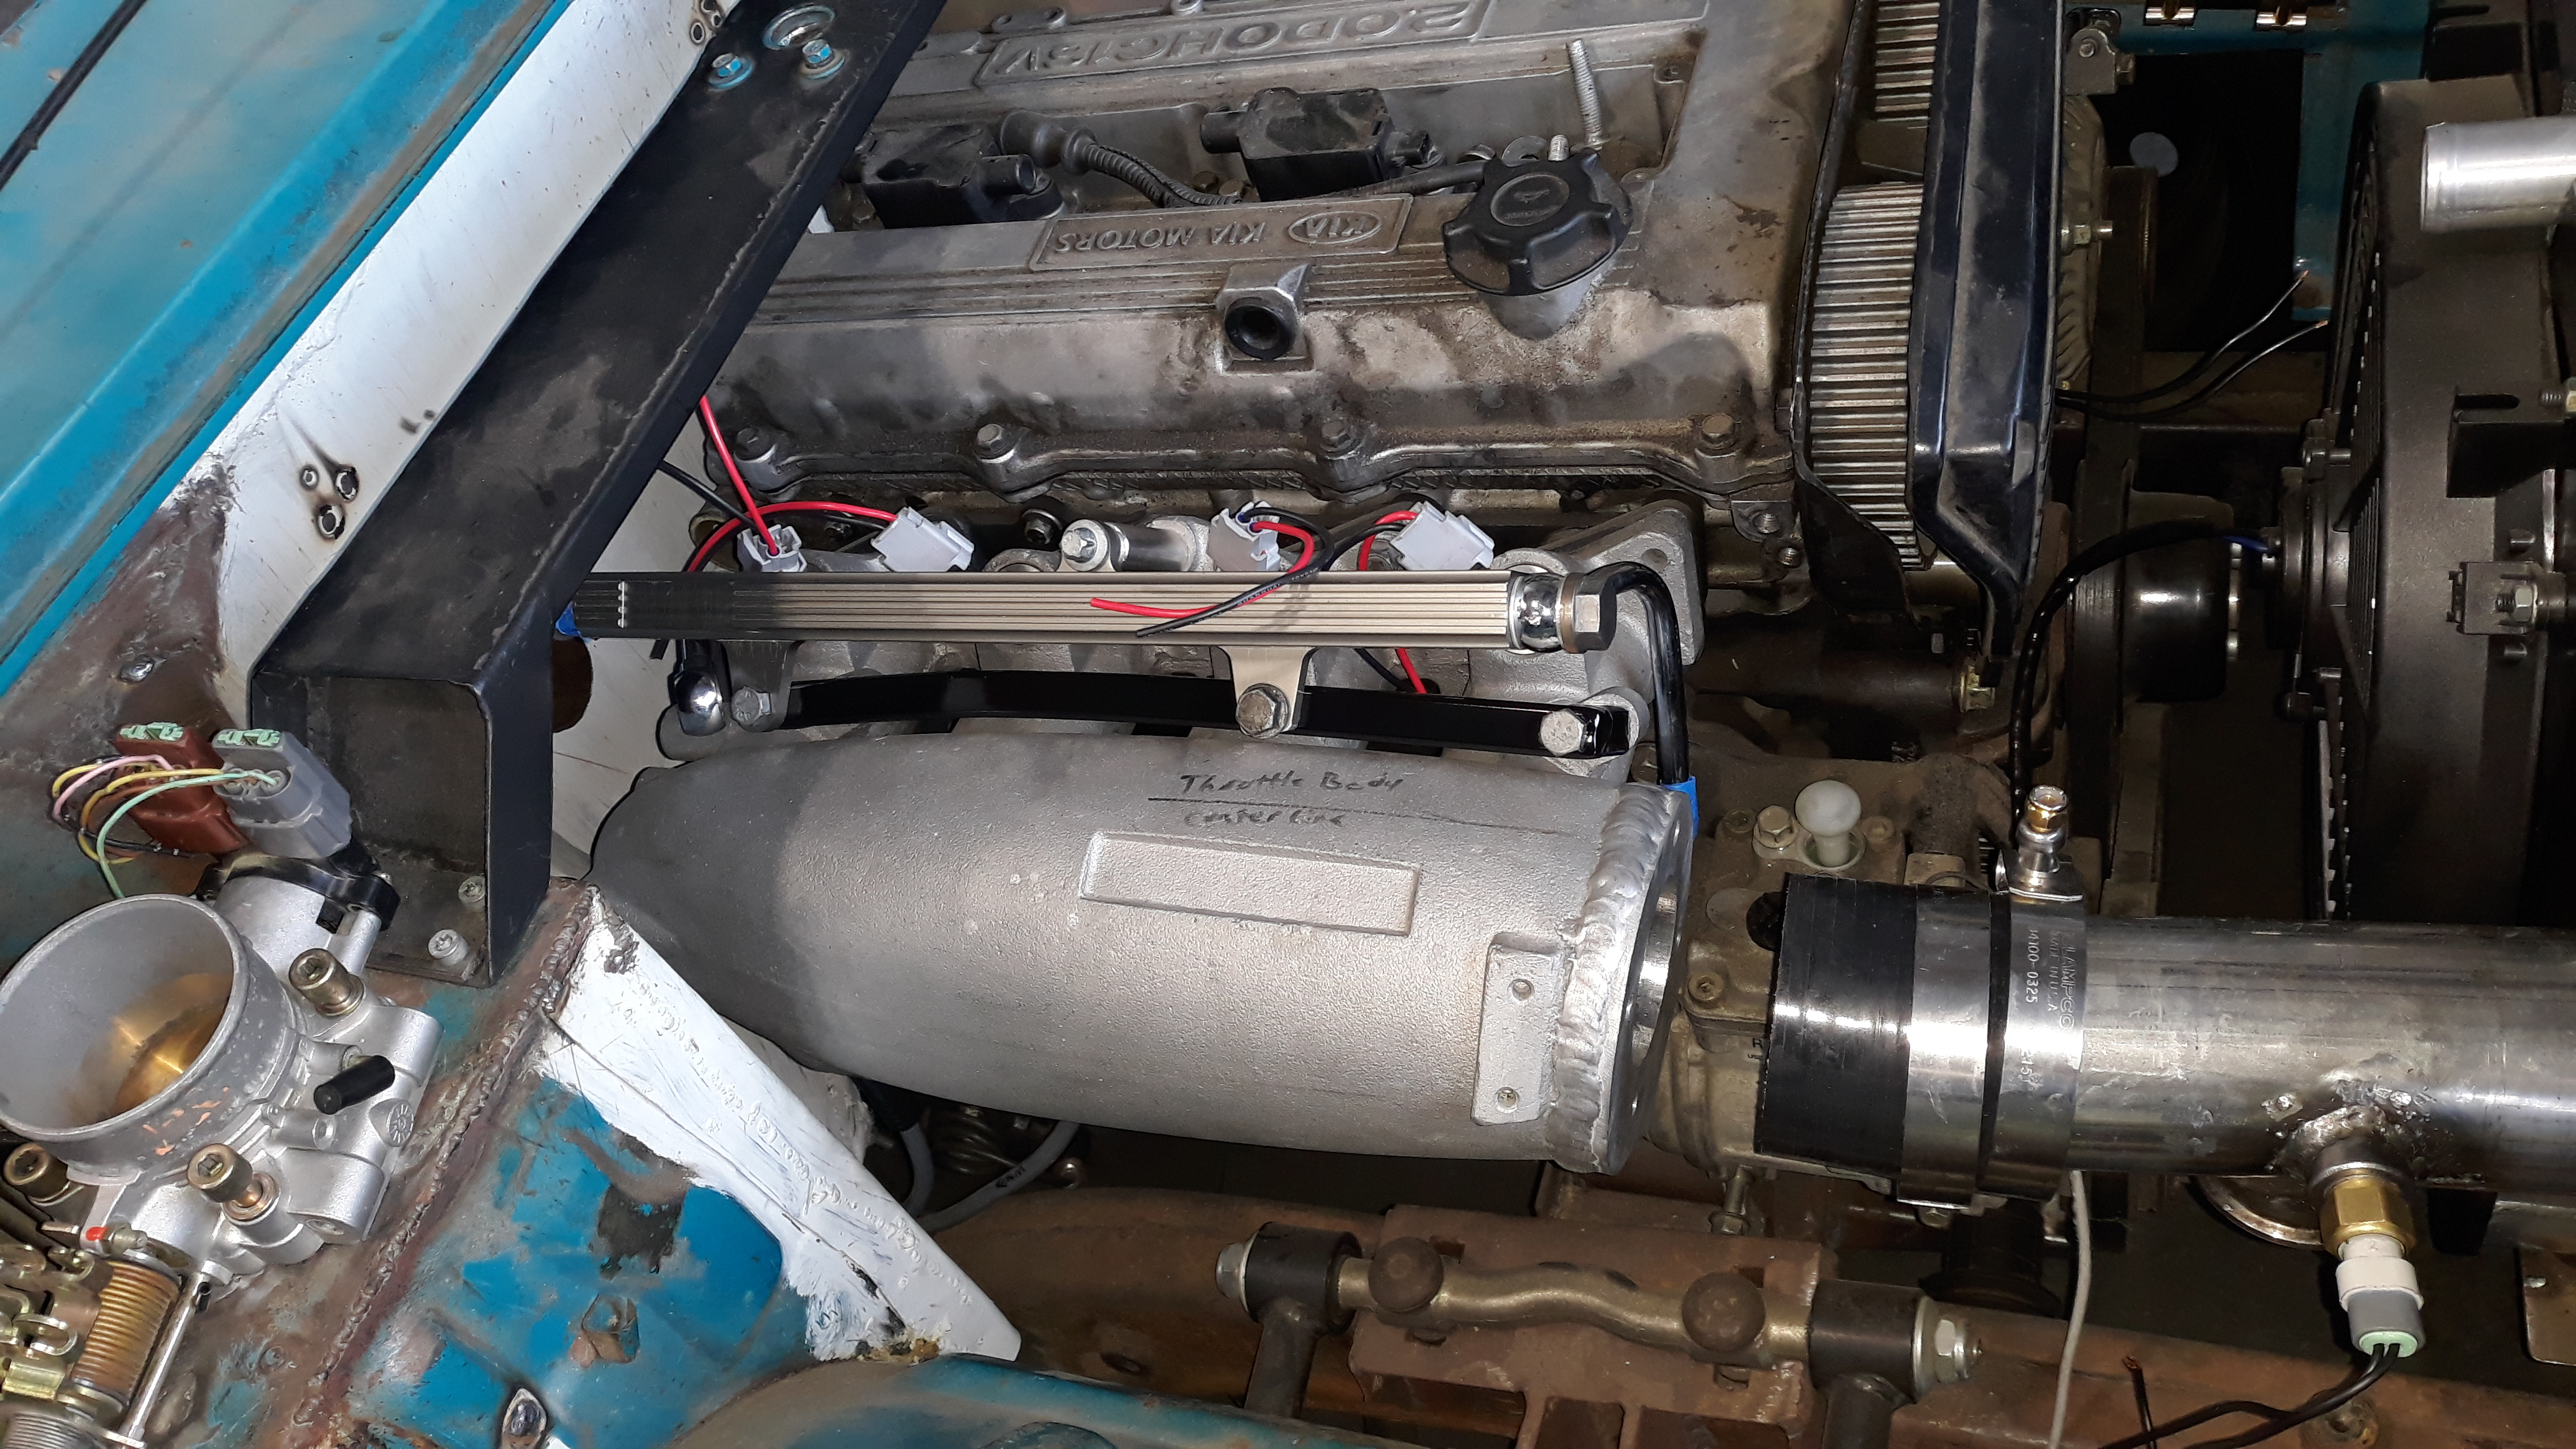
both charge pipes are done. BOV is installed along with the IAT sensor. block off plate installed to block off the SR20 idle air passage.
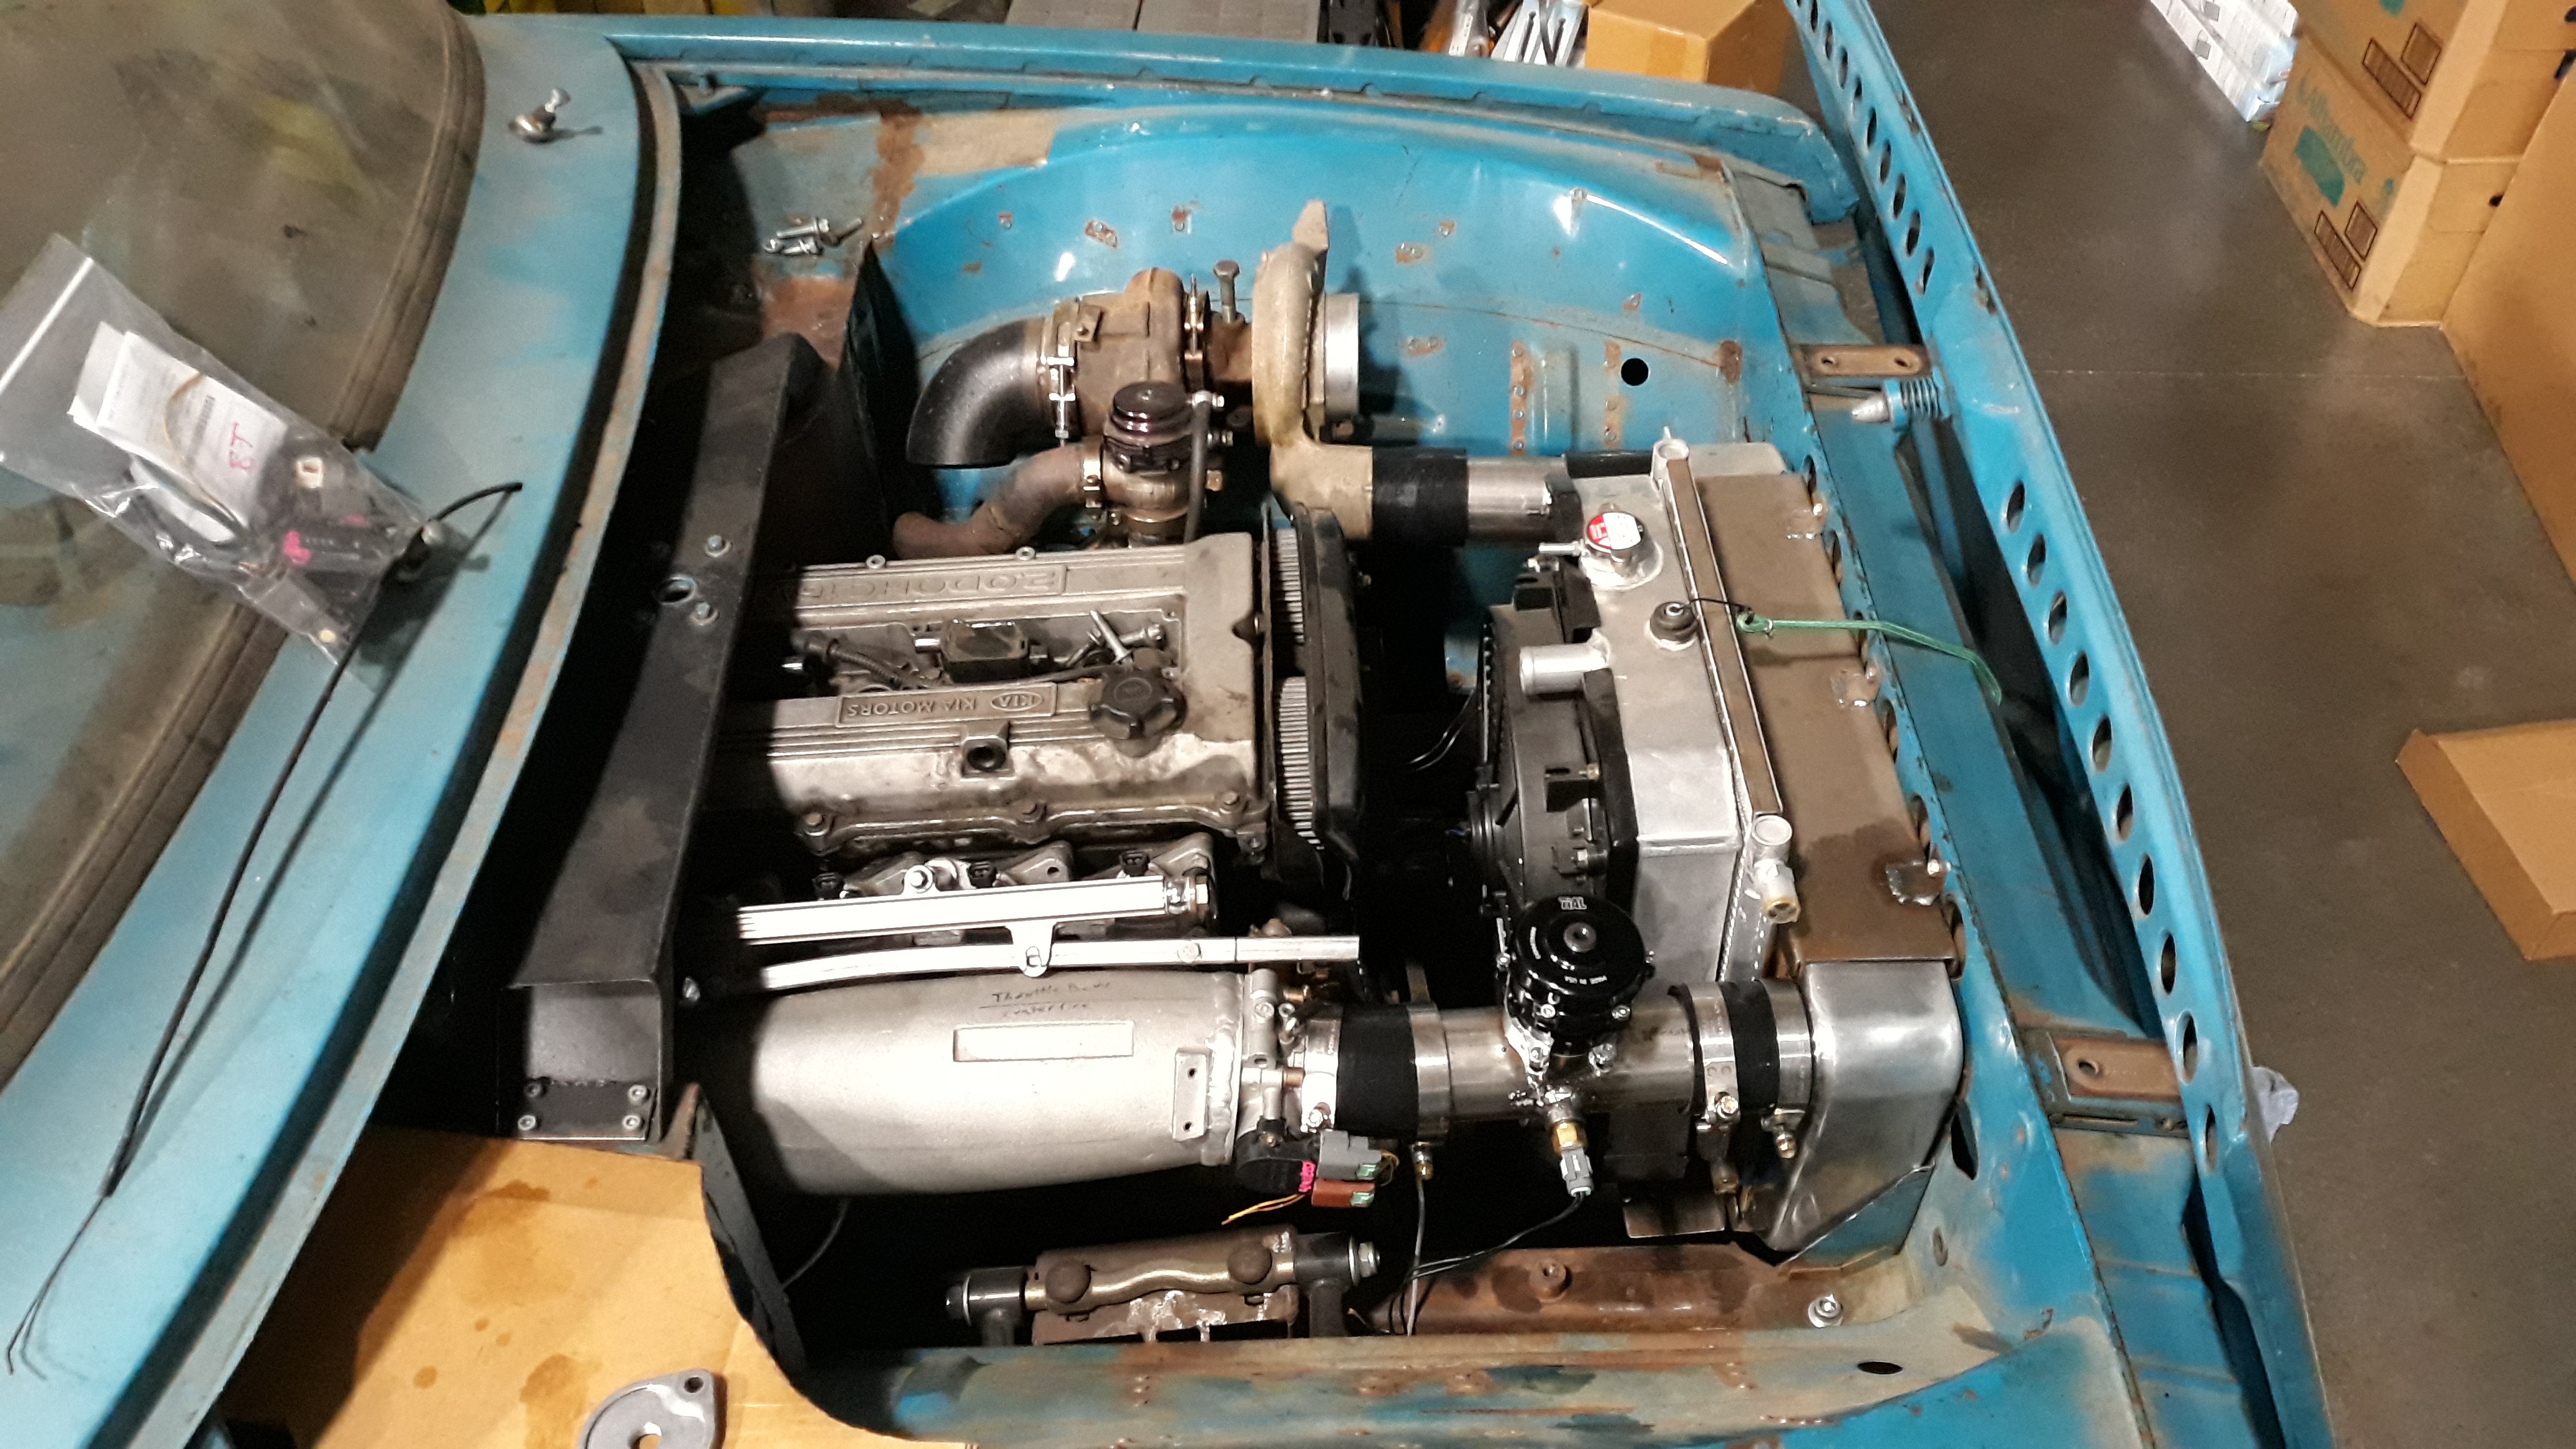
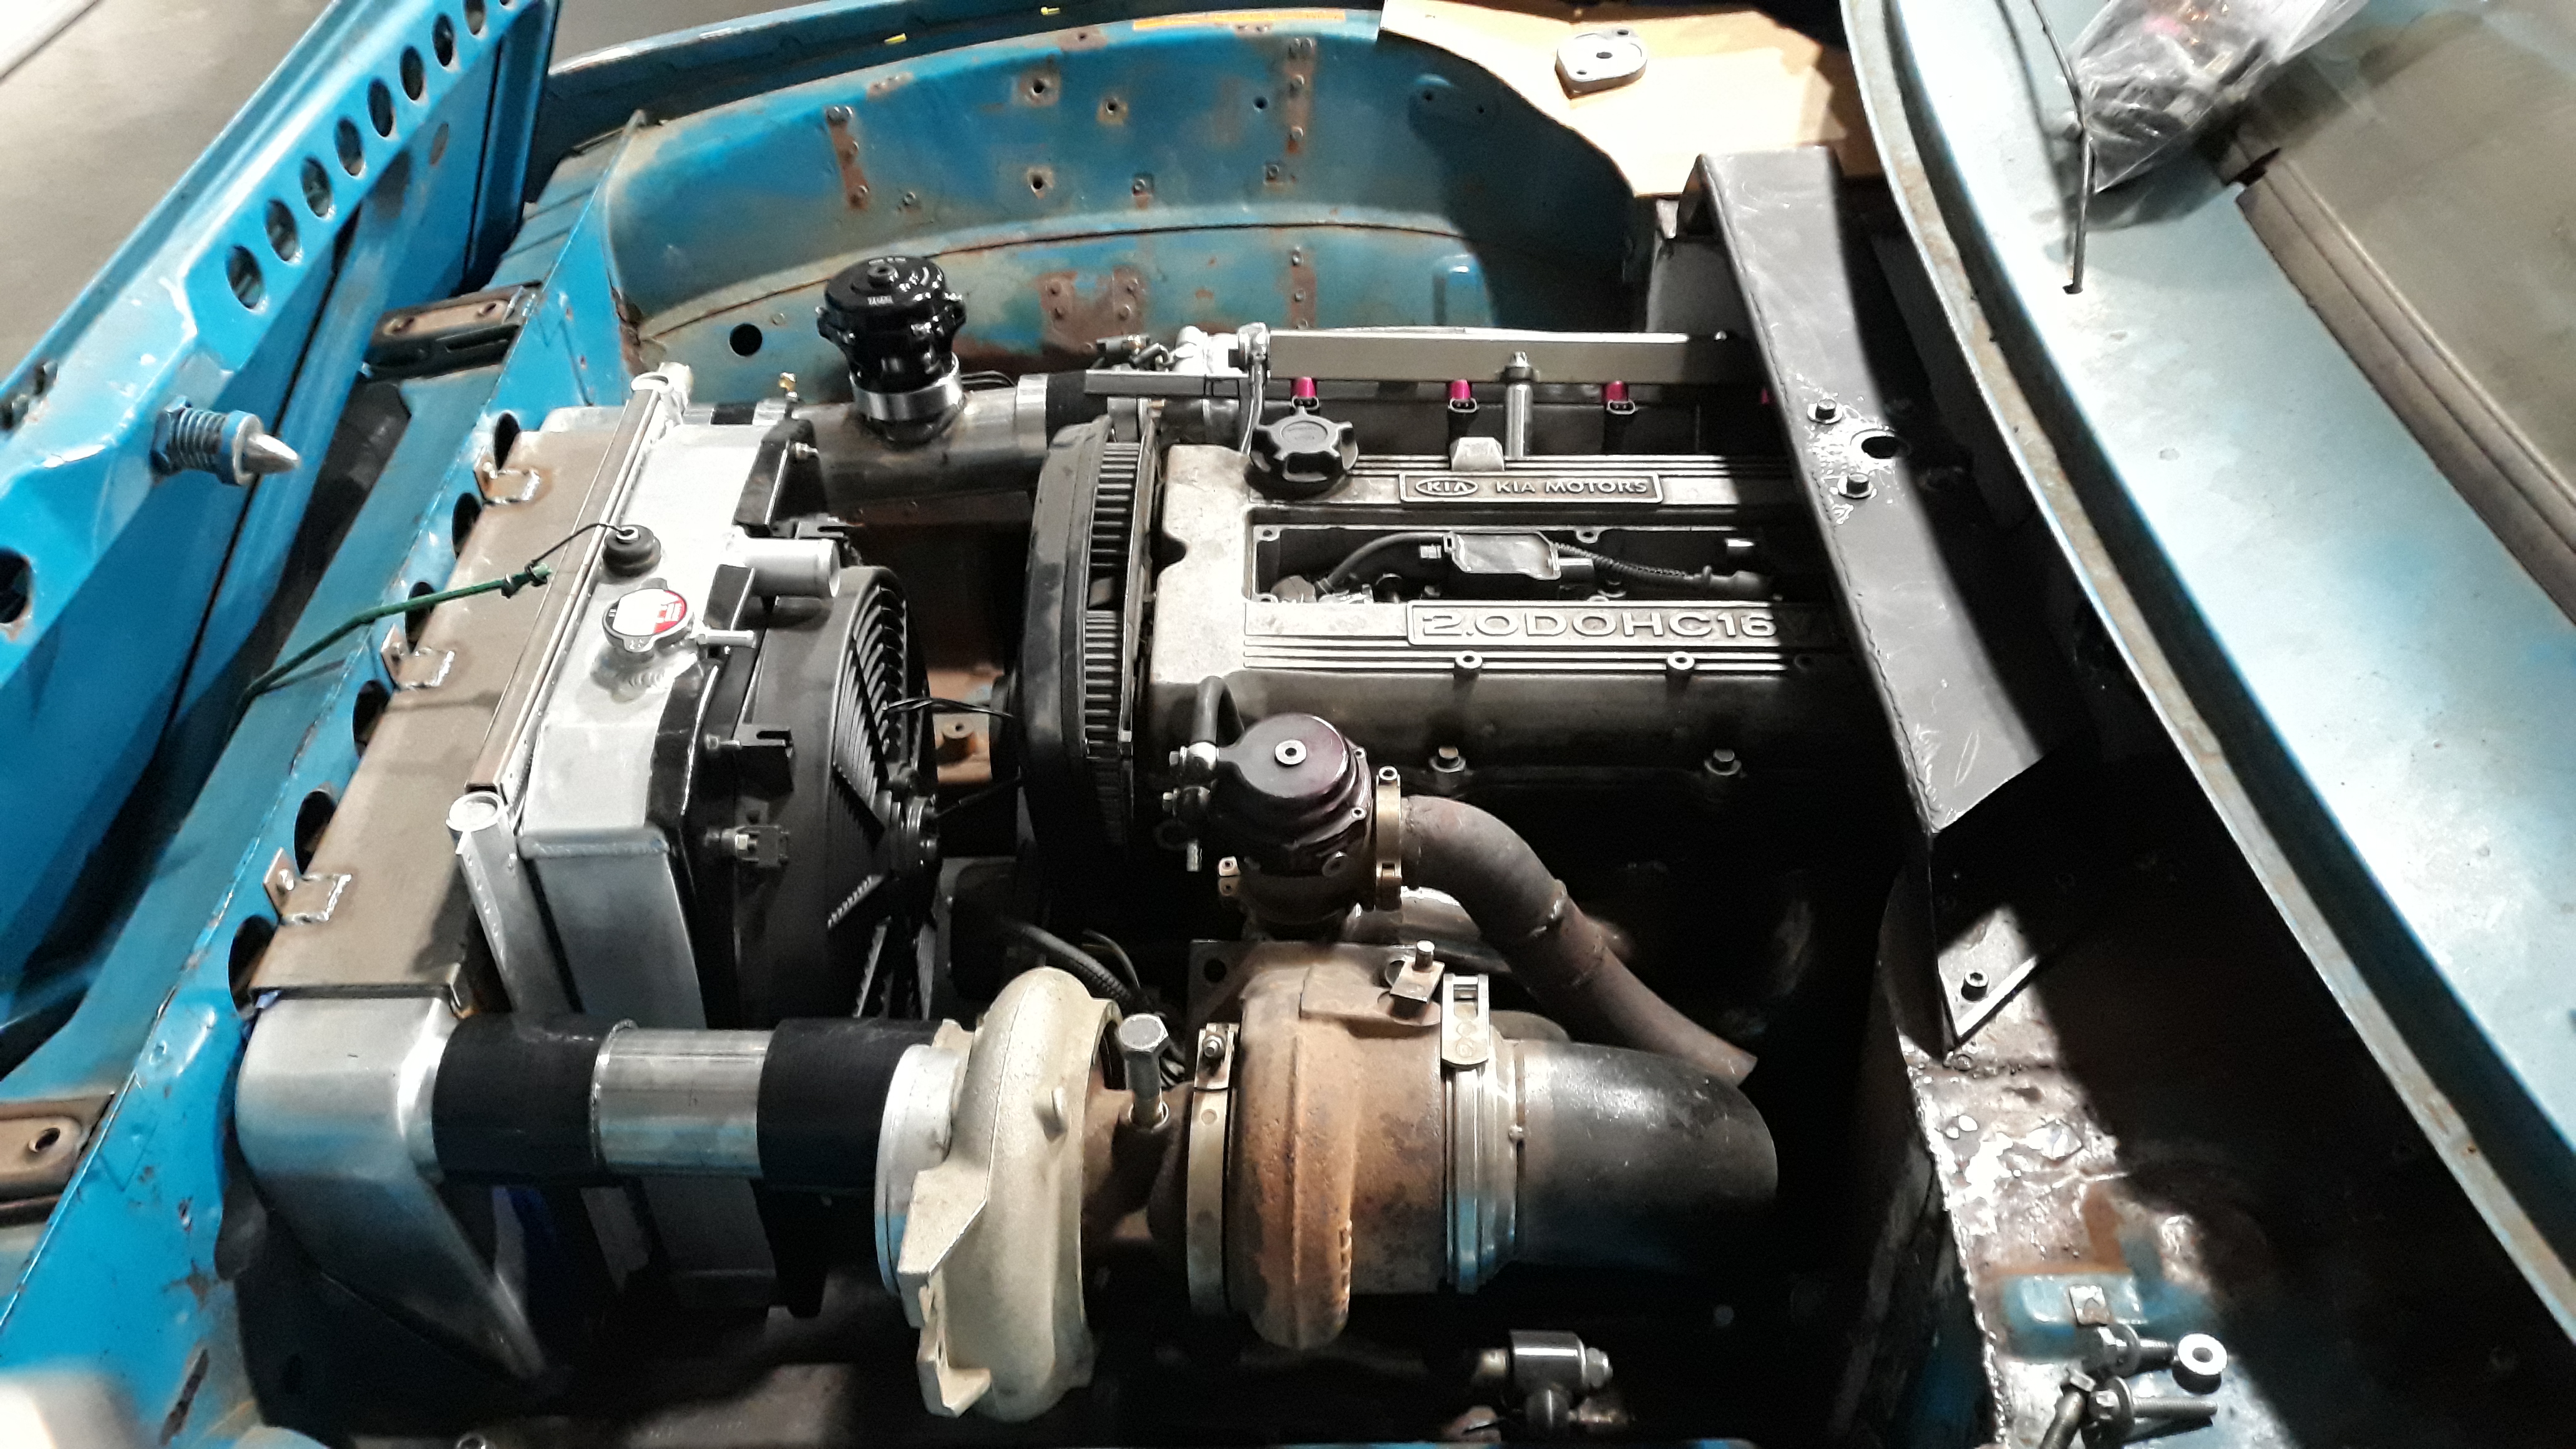
ordered up some stainless from burnsstainless.com . one for charge pipe, one for radiator hose, and one for heater line. my harbor freight bead roller does a decent job on this thick tube.
both charge pipes are done. BOV is installed along with the IAT sensor. block off plate installed to block off the SR20 idle air passage.
Reply
2
2
05-26-2019, 02:05 AM
#118
Senior Member
Thread Starter
Join Date: Jan 2011
Location: sacramento ,ca
Posts: 568
Total Cats: 162
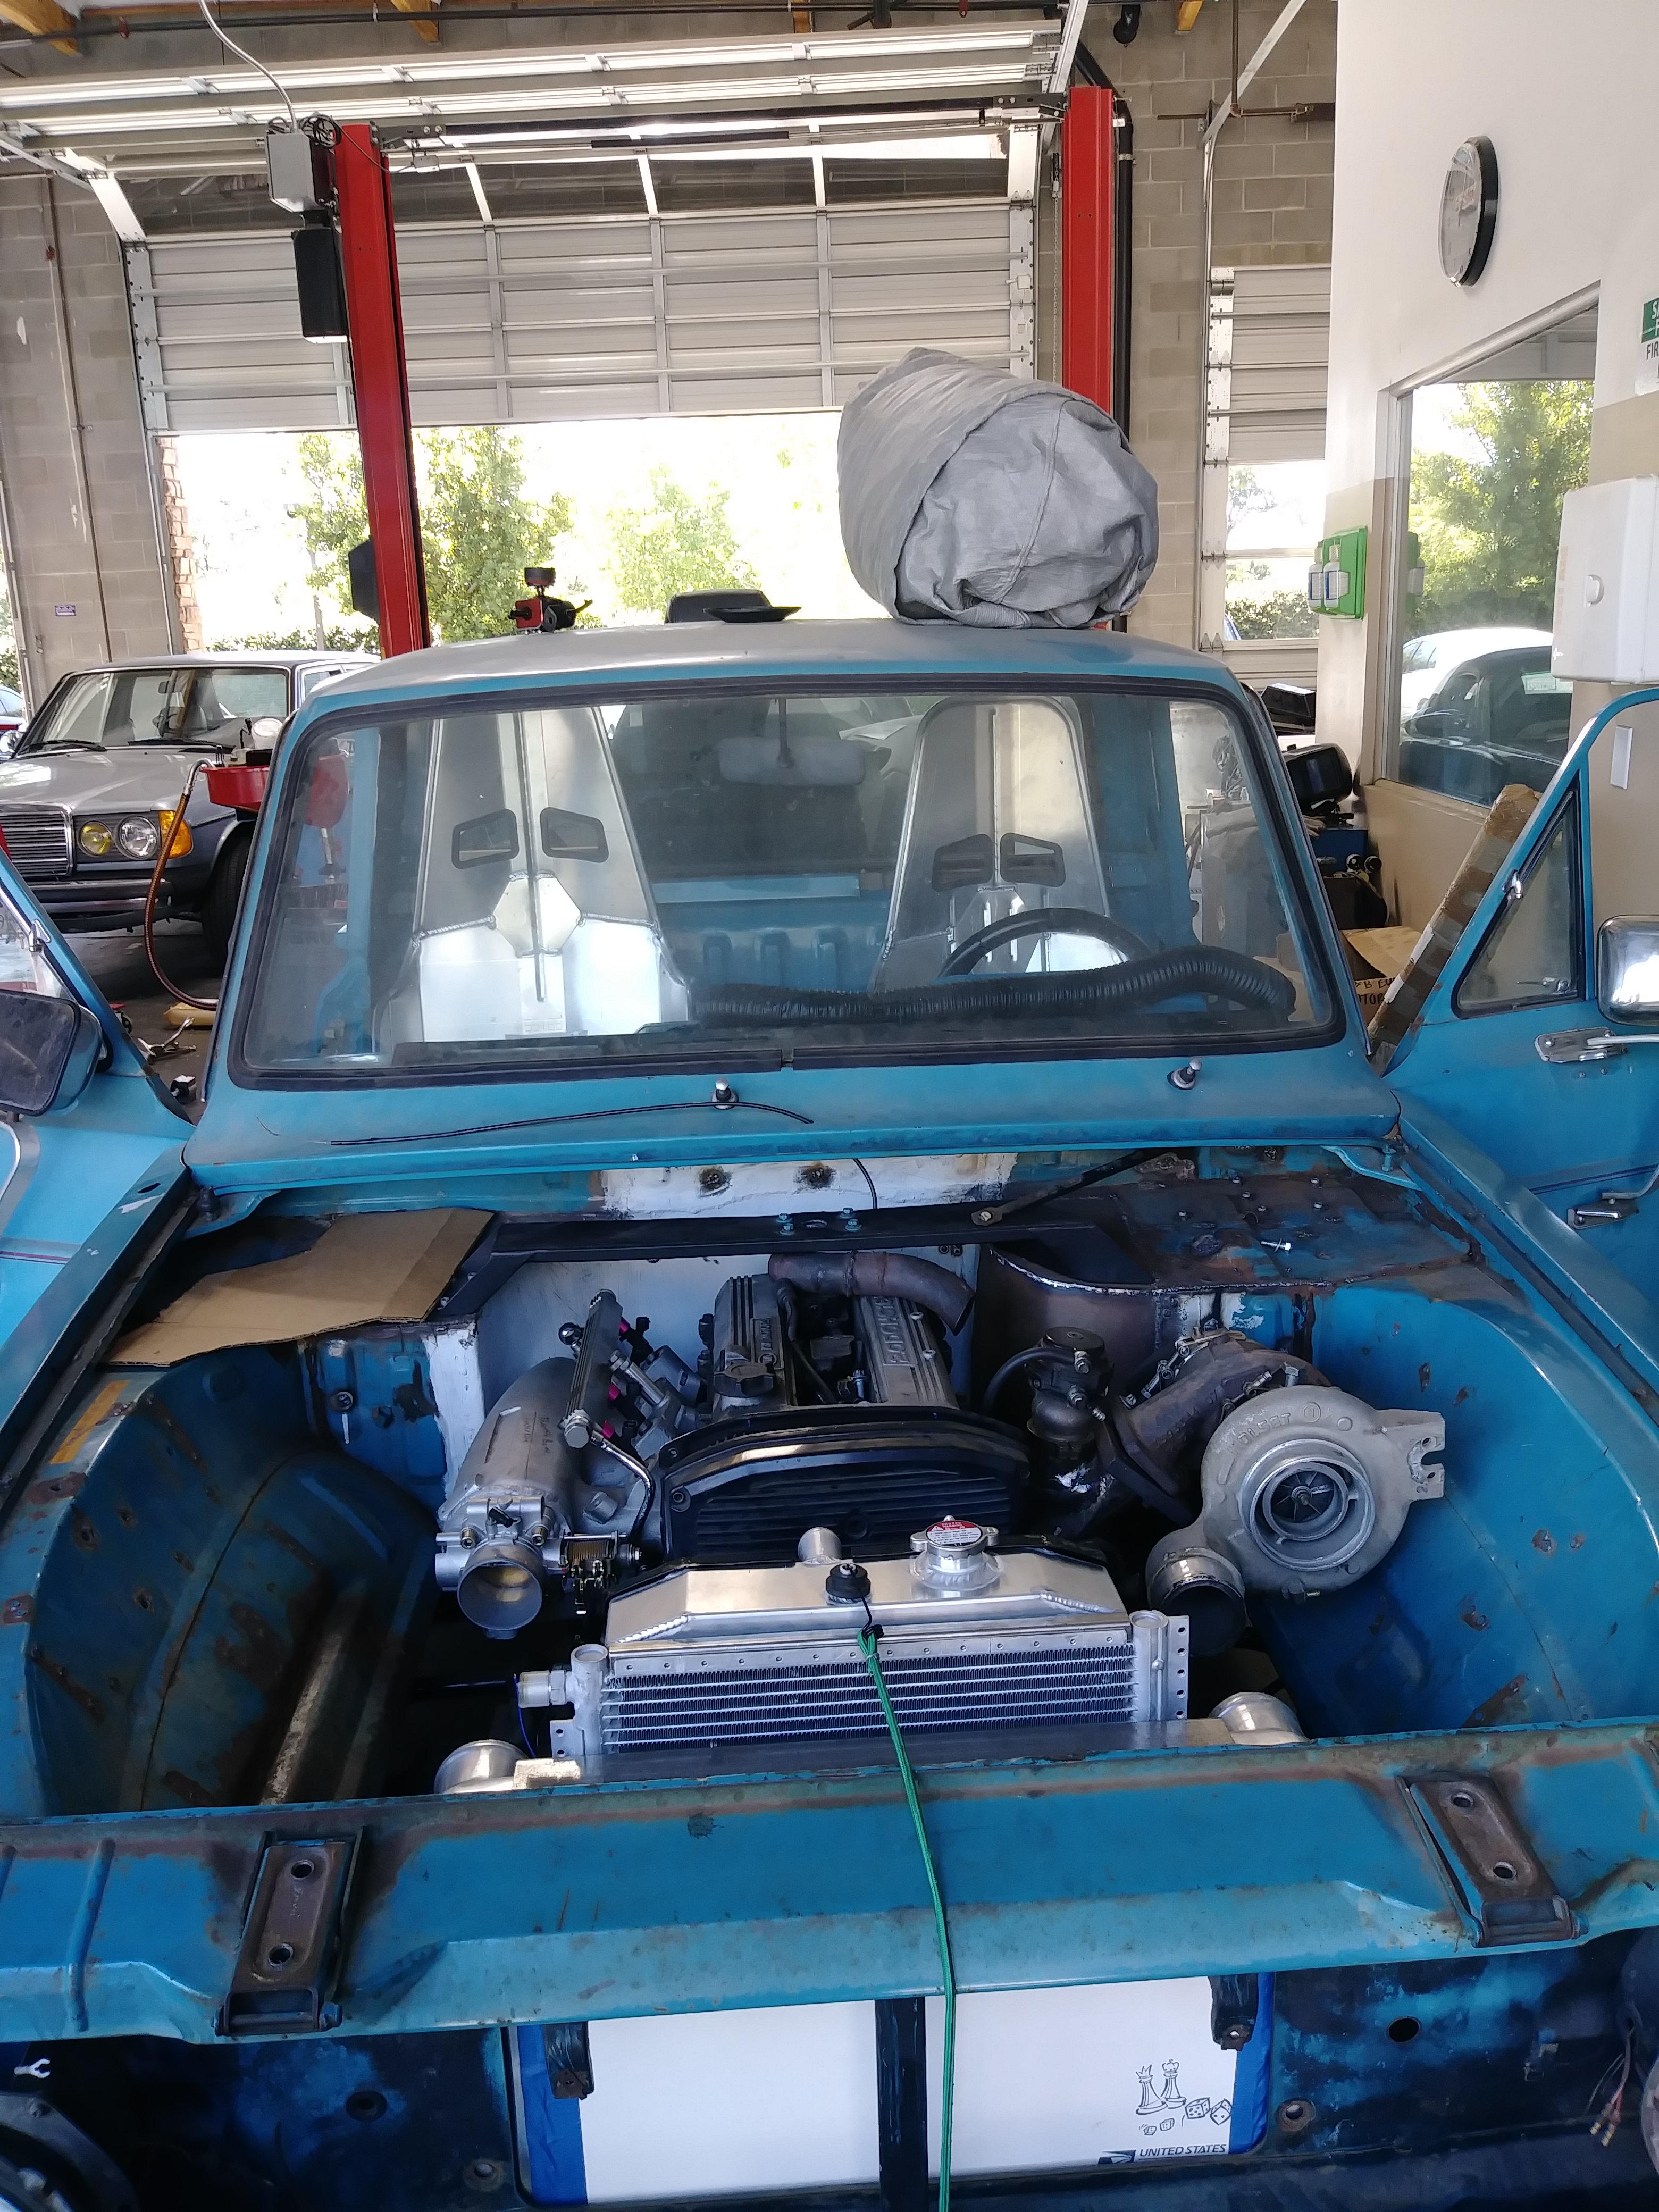
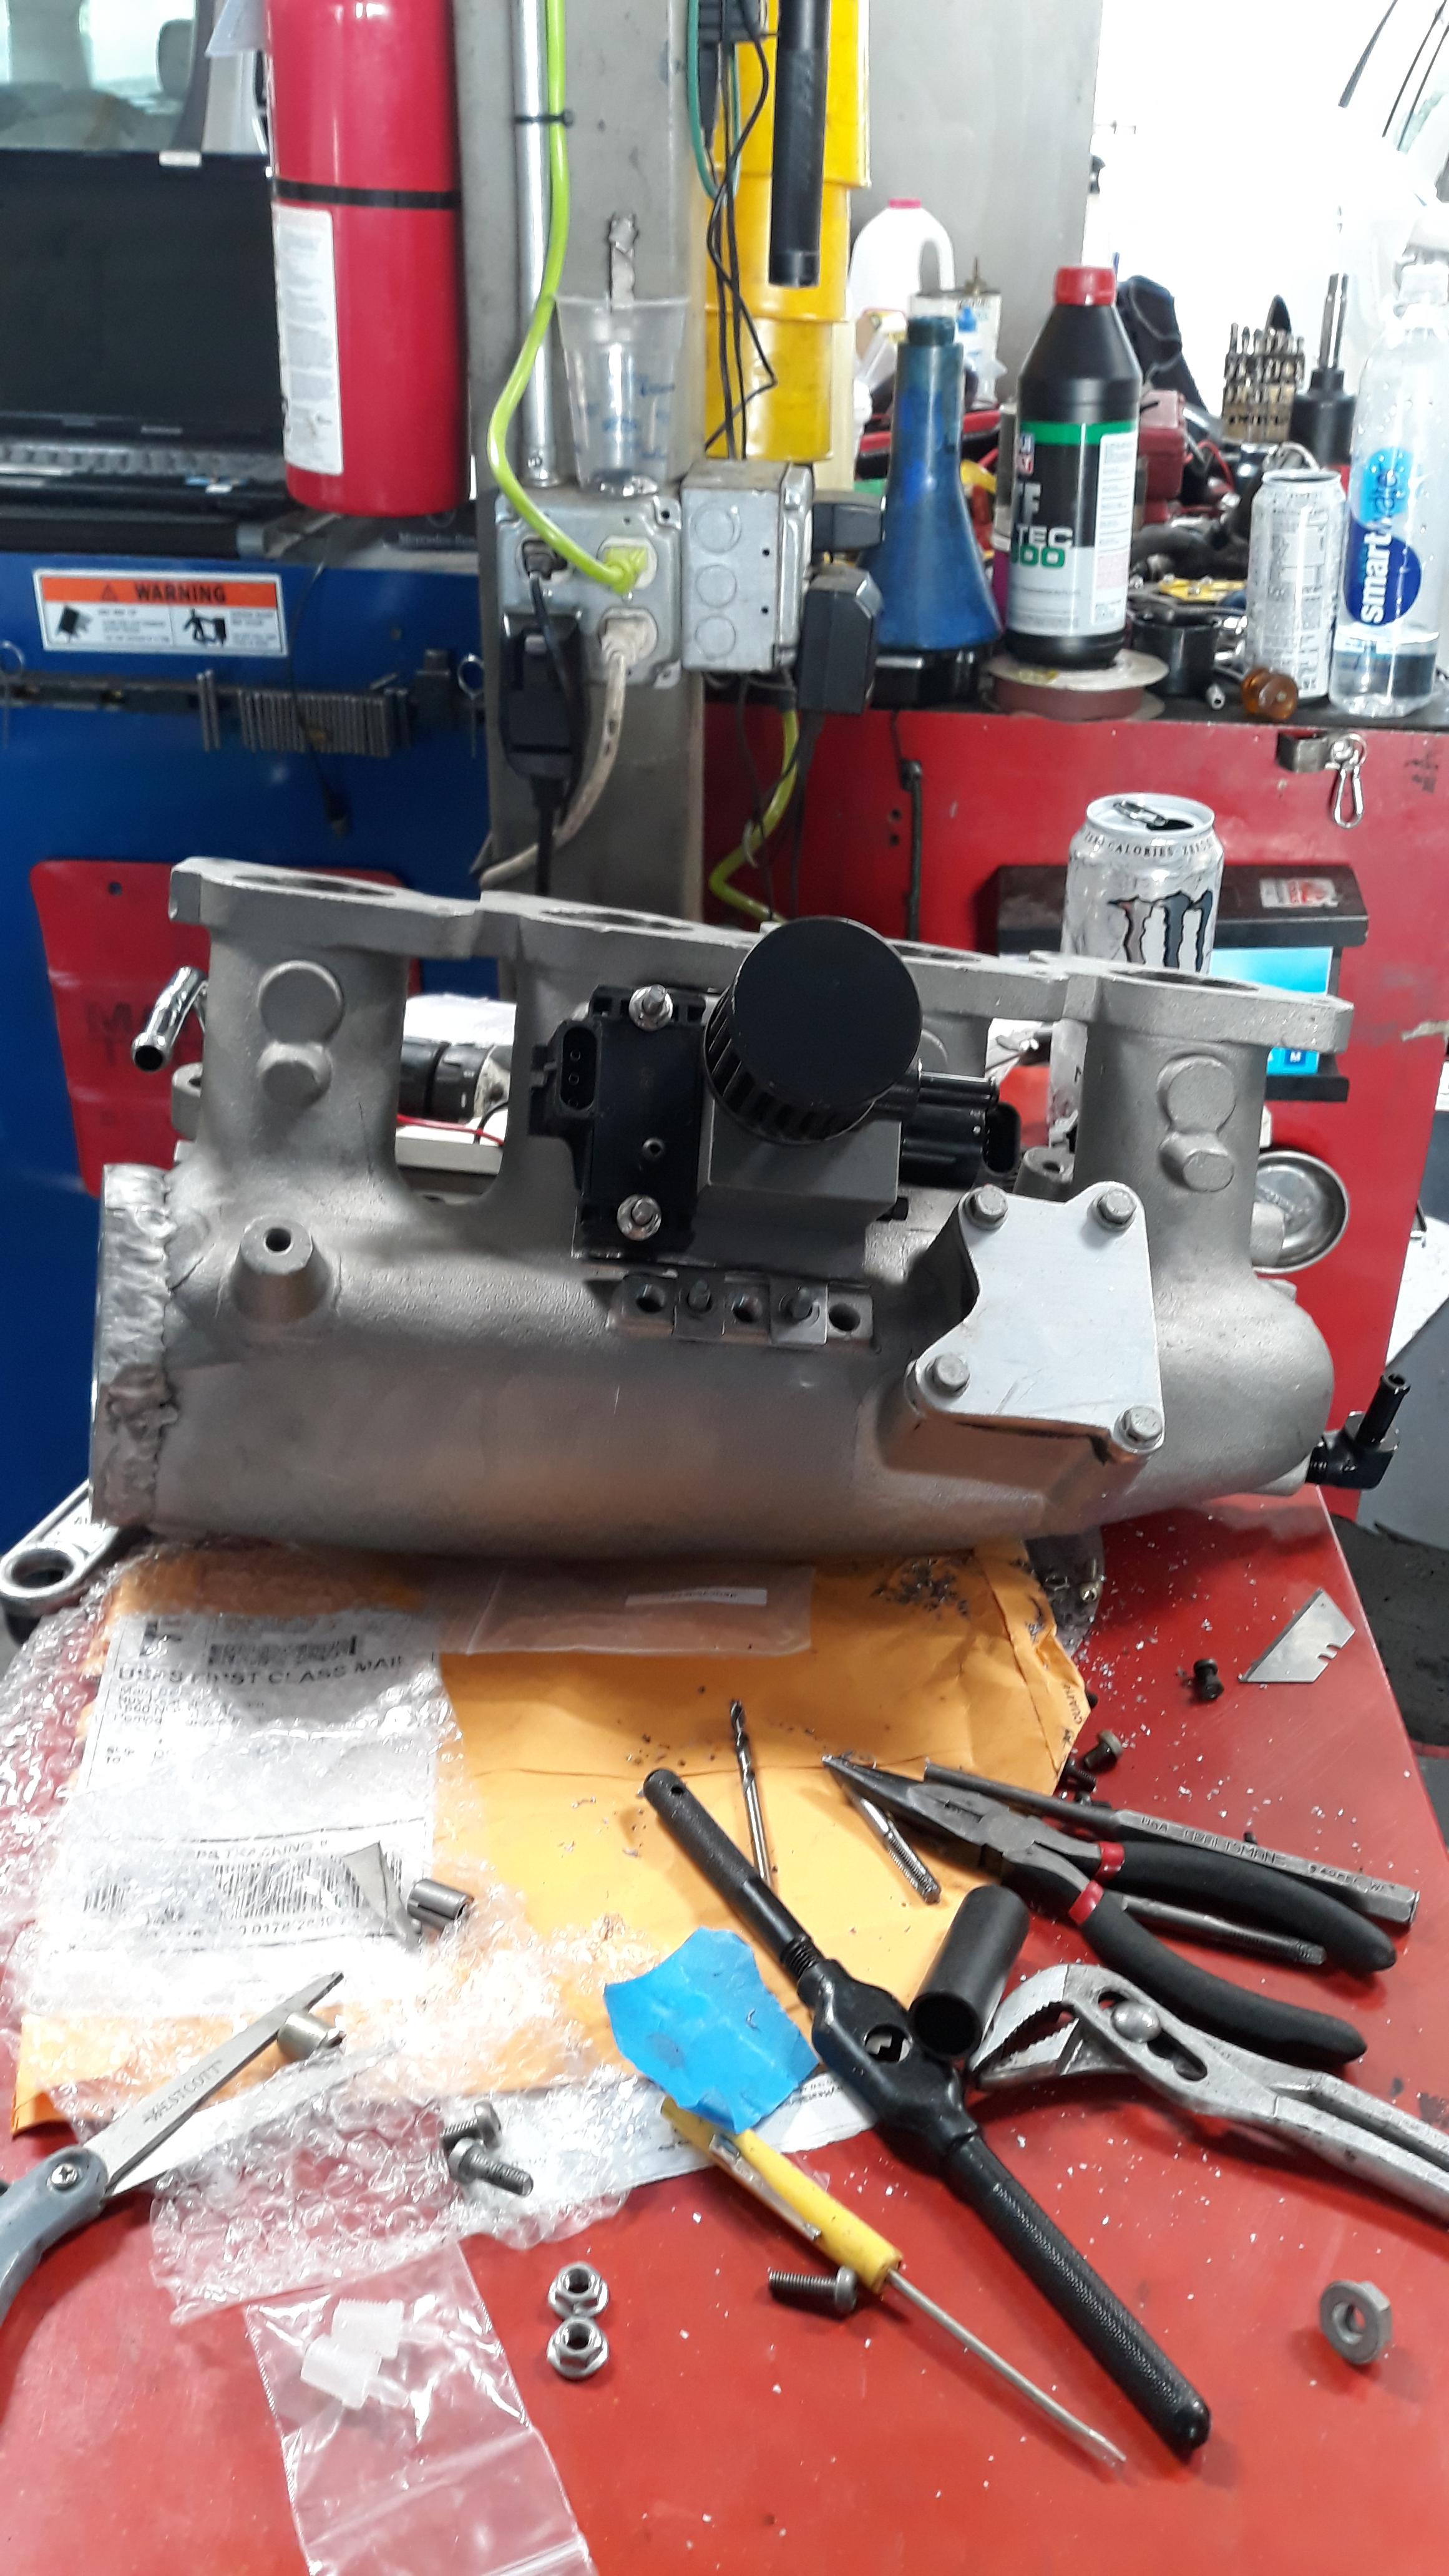
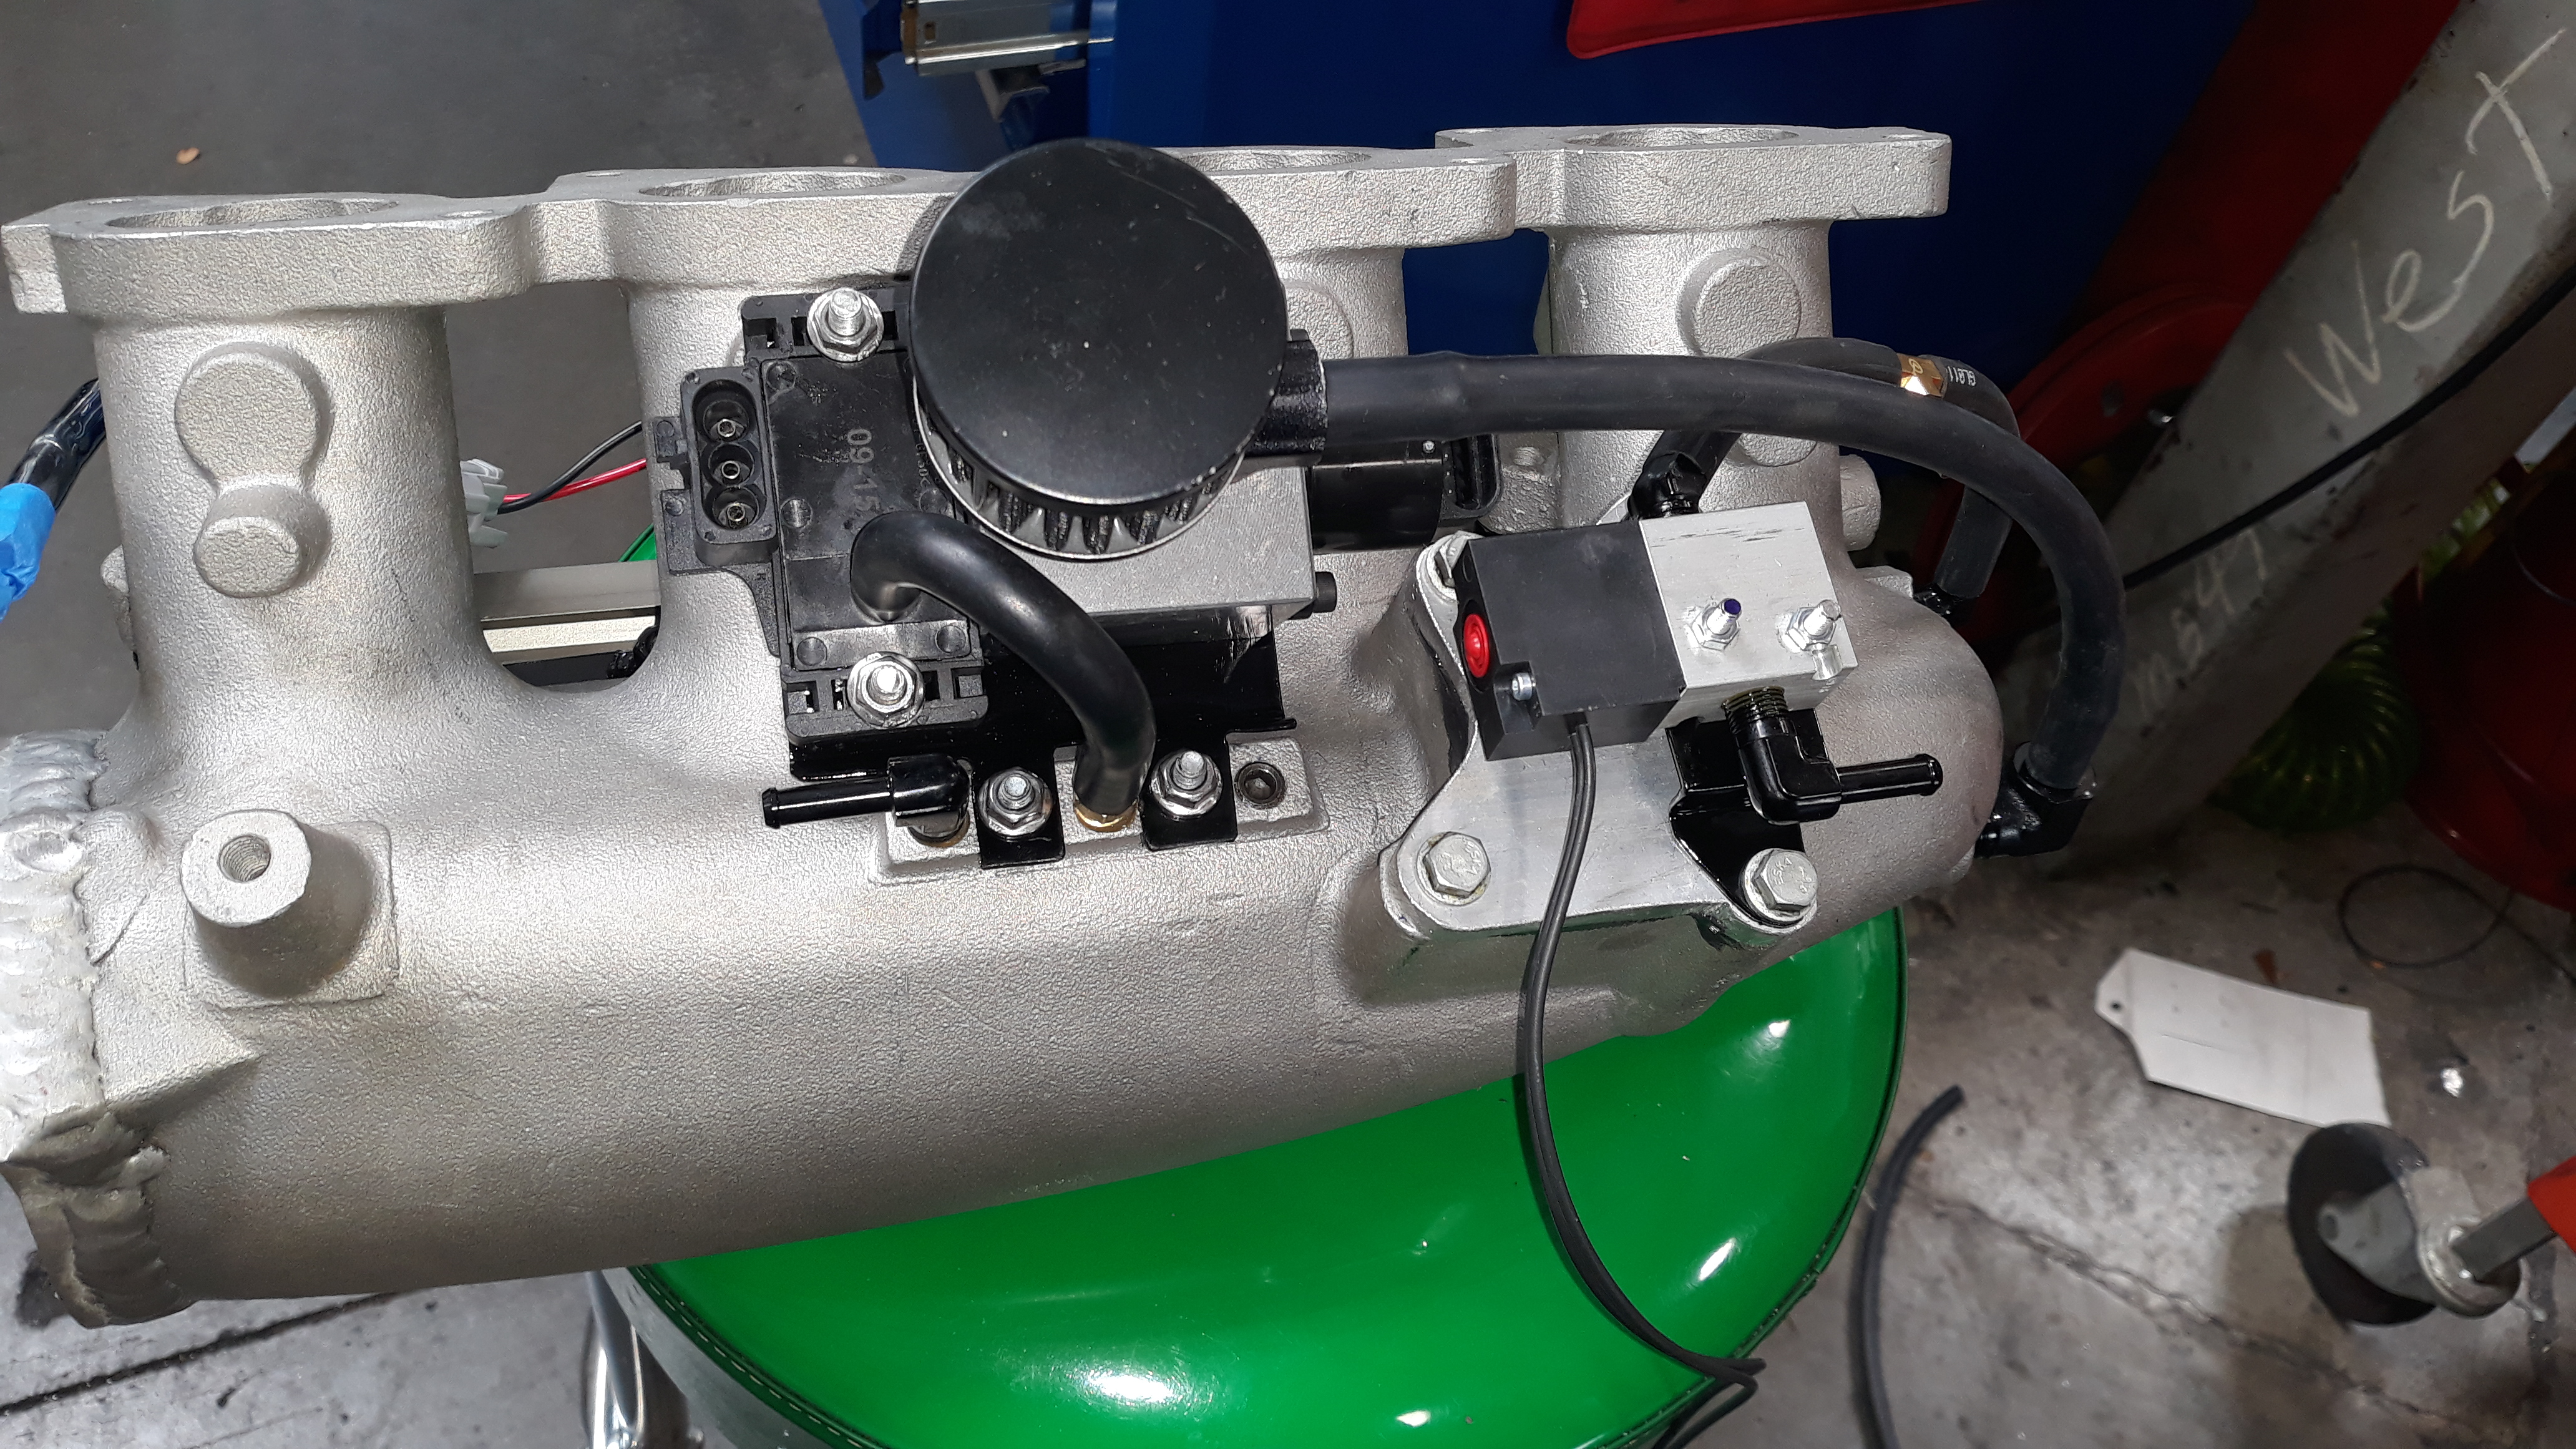
another drop in the bucket... i mounted my idle air controller and the map sensor to the bottom of my intake manifold. I also finished my fuel rail mount. All that's left is to find a place to mount my boost controller and i can start to put togeher my wiring harness.

[img]https://i.imgur.com/4DsBJ4i.jpg[img]
[img]https://i.imgur.com/4DsBJ4i.jpg[img]
Reply
0
0
 05-28-2019, 02:10 AM
#120
Senior Member
Thread Starter
Join Date: Jan 2011
Location: sacramento ,ca
Posts: 568
Total Cats: 162
More wiring and other things. found out that filter i have on my iac either needs to have a check valve in it or i need to get rid of it and plumb it into the intake before the throttle body. Stepper iac's dont close fully and it will cause a big boost leak if i dont. i do like the look of the filter poking out so im probably going to get or make a check valve.

Reply
0
0


