When you click on links to various merchants on this site and make a purchase, this can result in this site earning a commission. Affiliate programs and affiliations include, but are not limited to, the eBay Partner Network.
I did not know that, thanks. Is there an OTS 1/8" NPT sensor that shares the RTC curve of the big 3/8" closed-element sensor that I'm trying to avoid using?
There’s some kind of Saturn trans temp one (Standard TX73) that has a pigtail on Rock Auto that a lot of people on MSExtra use. You can also add another curve in the TS menu and correct for using the existing sensor with a pre-populated 2490 bias resistor (that I assume Rev puts in).
Can you walk me through adding a curve, or point me in the right direction? Is this a menu I've never seen in TS, or am I adding lines to a file somewhere?
Can you walk me through adding a curve, or point me in the right direction? Is this a menu I've never seen in TS, or am I adding lines to a file somewhere?
There is a simple way to do this that I believe *may* be a 1.5 feature: "Custom #1 Temperature Sensor." If you're on a firmware version that doesn't support this, there are other ways (like custom channels) to make it show up with the right value in logs.
Yeah, that must be in 1.5+. I adhere to Rev's suggestion on what firmware to use since stability is more important to me than having the bleeding-edge features, so everything I handle is still on 1.4.
There are some jumpers at each input pin inside the MS3 Basic, I believe those are to enable or disable the bias resistors on the board. Confirming with Dimitris. If they do what I think they do, I can leave them un-jumped and use my own 10k bias resistor wired into the DB37 harness instead. That's probably easier than trying to get a custom channel to talk to an AIM or Racepak.
There are probably calibration factors for the CAN inputs on the dash (my DASH2PRO has them), but 4x the bias resistance will make it look just like a regular GM sensor.
Lots of solutions -- need a more MT.net friendly expression than "skin the cat"
Rev verified that I can disable the onboard bias resistor by leaving the jumper out of place, so I'll just include my own 10k in the DB37. Thank you for pointing that out, I would have chased myself for a while on that
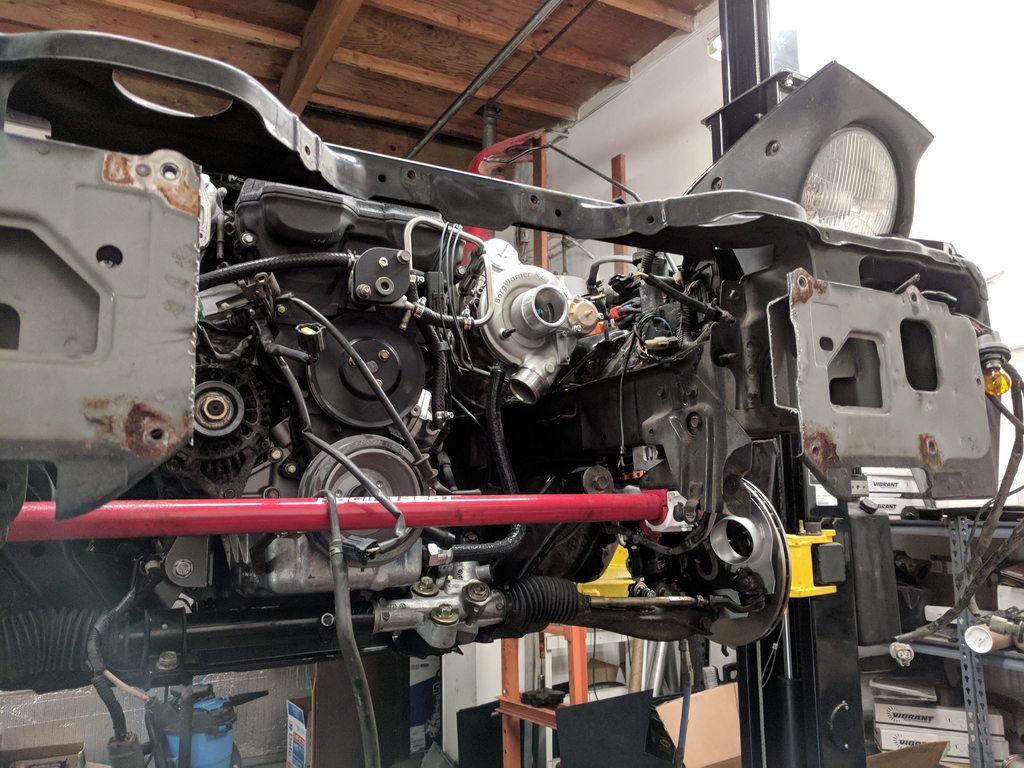
Rushed through a few things, forgot to snap photos. Added a couple of hard-to-reach coolant hoses, installed the Supermiata metallic twin-disc and 6sp, and dropped the whole deal in the car.
Getting the drivetrain back in is like putting up drywall in a house - it sure feels good but you're like 50% done with the project (probably more like 40% here).
Still to come:
VVT-swap wiring. It's been a while, I'm going to have to go print my own megathread for instructions. Will tear out the interior and dashboard at the same time here, rewire the fuel pump, and add wiring for the knock sensor, oil/water/fuel pressure sensors, oil temp sensor, VVT, VICS, and EBC. MS3 Basic, LC-2, CAN module, etc. will all go in as well.
Fuel system. ID1050x, mounting the Fuelab 545 and flex fuel sensor, and getting the engine bay side all plumbed in, then getting the Fuelab 818 mounted under the car and a DW300 in the tank.
Radiator and intercooler install, IC piping, cutting up the front end, and adding all the requisite ducting. Lots of pics of this to come. Decided to develop a replacement front bumper bar to make this a lot easier, and that will be on the website in a couple of weeks. IC mounts are also the final production protos for our turbo kit, so if they fit nicely, a Precision 350hp with Miata-specific mounts will at least be on the website in March, with piping to follow later in the spring once I've done some fitment testing on an AC/PS car.
Front and rear aero, Singular wing and ABS front airdam with plywood or Alumalite splitter. I have a 1/2" plywood splitter already cut up, but I may give Alumalite a shot.
Finishing out the brakes with an NB1 booster, 15/16" master, and rear Sport-rotor adapter for NA8 calipers
Small prep stuff. Air/oil separator, Heat shielding for the turbo and an airbox for the air filter, hood latches, rolling the fenders, data acquisition install, etc, etc.
There’s some kind of Saturn trans temp one (Standard TX73) that has a pigtail on Rock Auto that a lot of people on MSExtra use. You can also add another curve in the TS menu and correct for using the existing sensor with a pre-populated 2490 bias resistor (that I assume Rev puts in).
+1 on the GM Saturn "TX-73" sensor, that's what I use for Oil temperature and keeps everything simple (just use the predefined GM calibration).
You need to buy the sensor AND its unique pigtail connector, you can't use a regular GM fluid connector since the Saturn sensor diameter is much smaller. The sensors are easy enough to find but the pigtail connectors aren't - here's one source that includes pictures of the connector (which is comically "dinky" compared to the normal pigtail connector): Saturn TX-73 pigtail connector source
I can understand your hesitance in using brand new firmware releases, such as 1.5.0, but the latest version is 1.5.1 and that last ".1" means that many of the initial bugs in the 1.5.0 release have been fixed. There hasn't been a flood of subsequent minor releases since then so 1.5.1 is quite stable.
I won't start ducting for another couple of weeks, but this key part came in today so I wanted to mention it. It's a simple 1" square tube, bent to match the contour of the original bumper. The idea is to allow for bumpdrafting while allowing some of the front structure to be removed to allow for more airflow to the radiator. This is one of the critical mods to making sure you can run full sessions in 90�F heat.
This will be released as a product from us, although not shortly. V1 has to be fabricated in-place, V2 will have some wider tolerances to account for differences between cars and allow for a bolt-in application.
Rev verified that I can disable the onboard bias resistor by leaving the jumper out of place, so I'll just include my own 10k in the DB37. Thank you for pointing that out, I would have chased myself for a while on that
Did I ever mention how glad I am you dropped AEM and starting selling/supporting Reverants MS3?
While I may have been neglecting updates, I haven't been neglecting this project.
Originally Posted by Savington
VVT-swap wiring
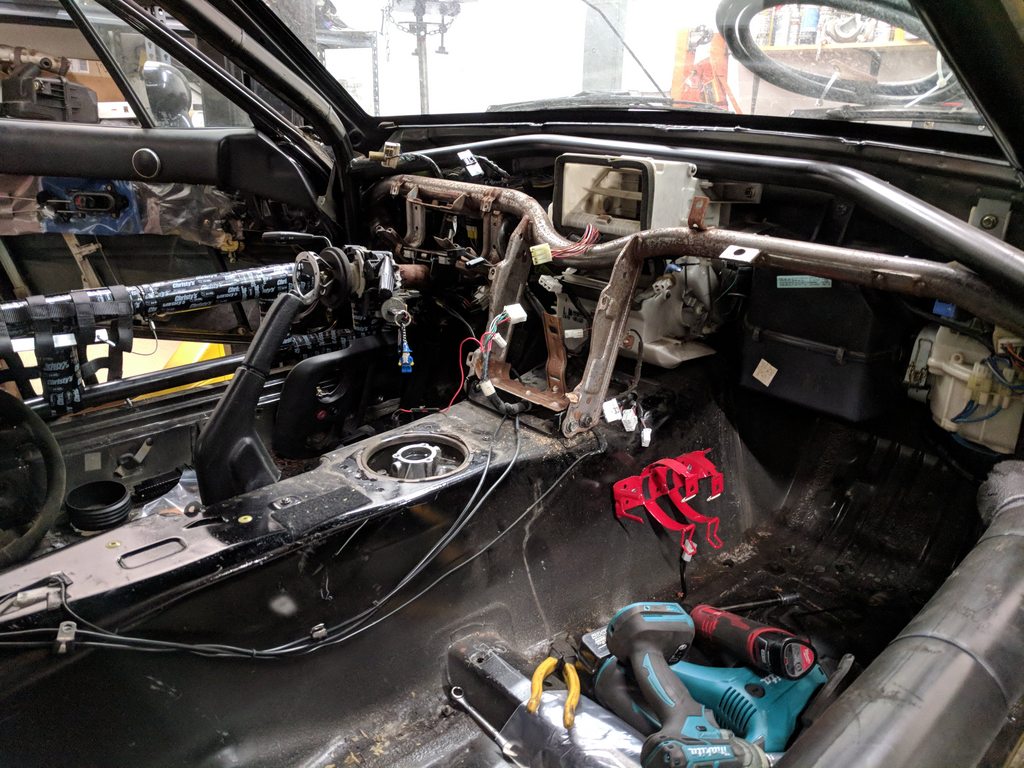
First things first, interior out.
TC's cage means that the heater core comes out in multiple pieces. All the other HVAC bits are gone as well.
Oh boy.
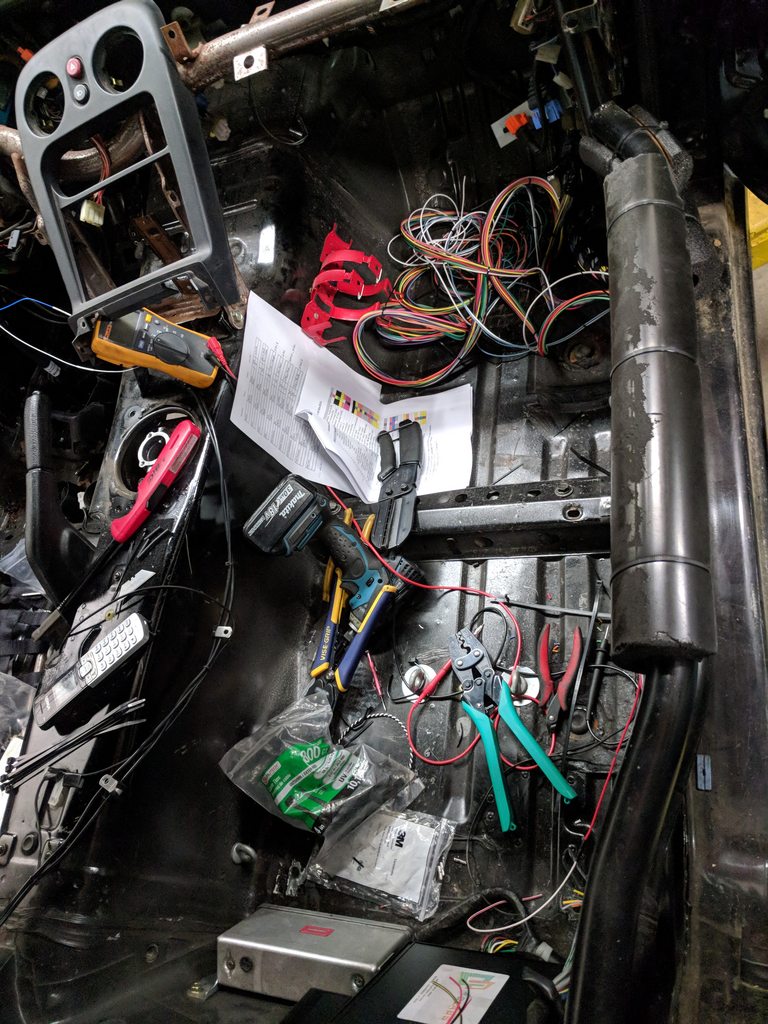
Ohhhhh boy.
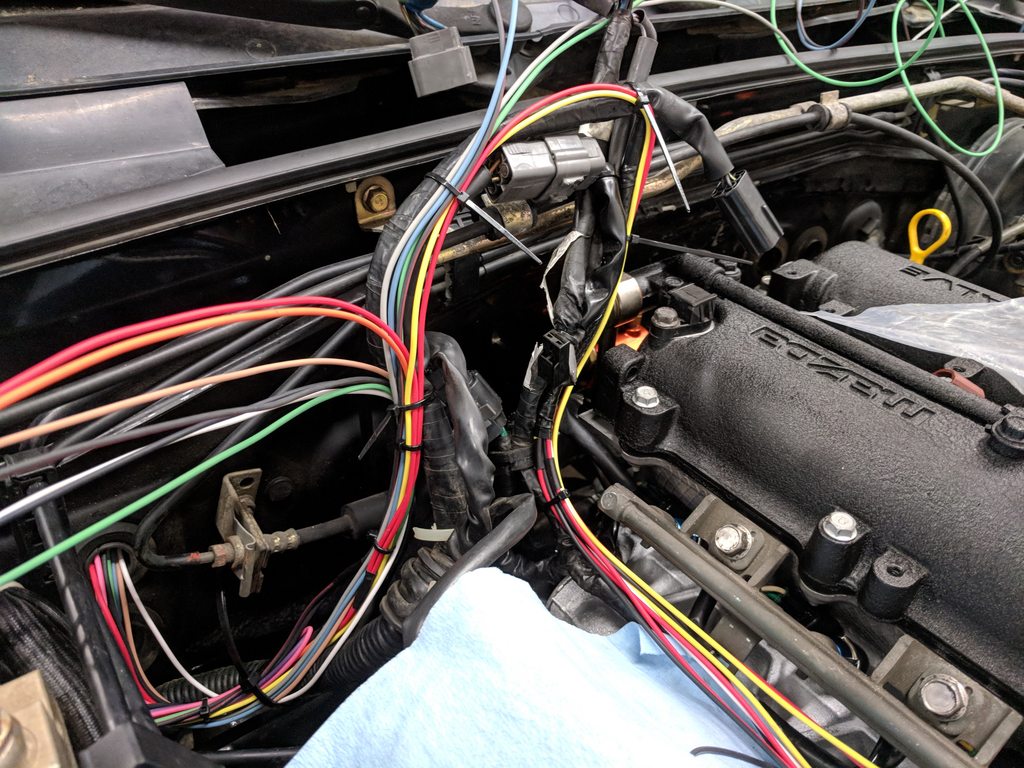
Much better. I de-loomed the original harness and the ABS harness as well, and everything will get re-loomed inside shortly.
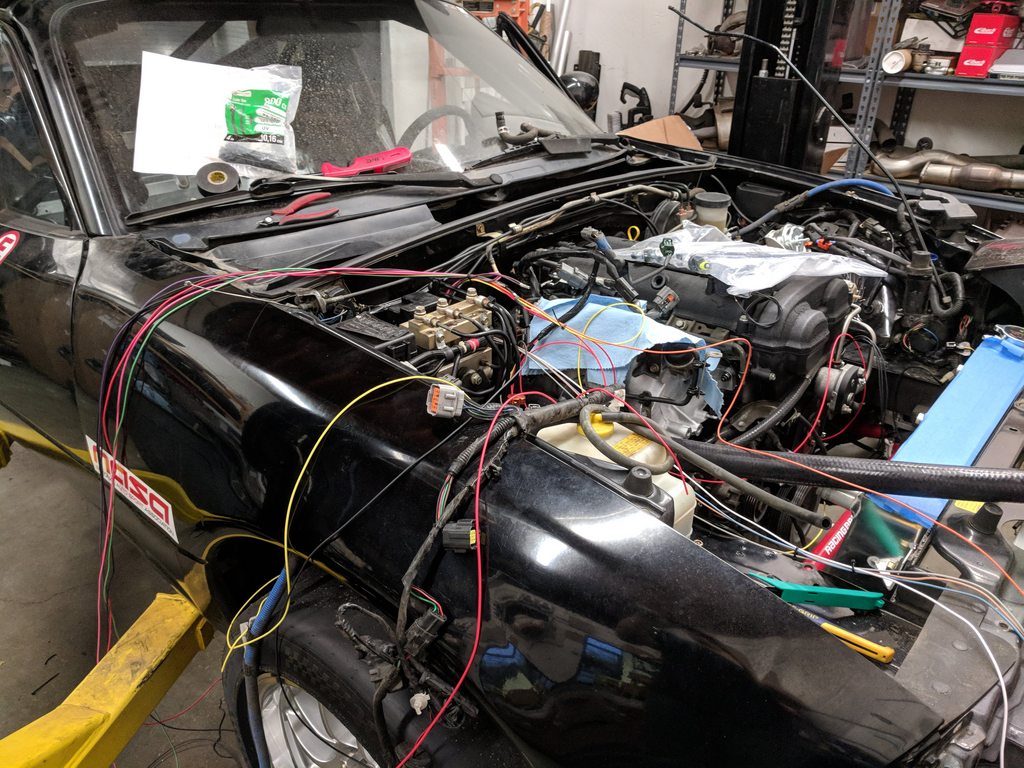
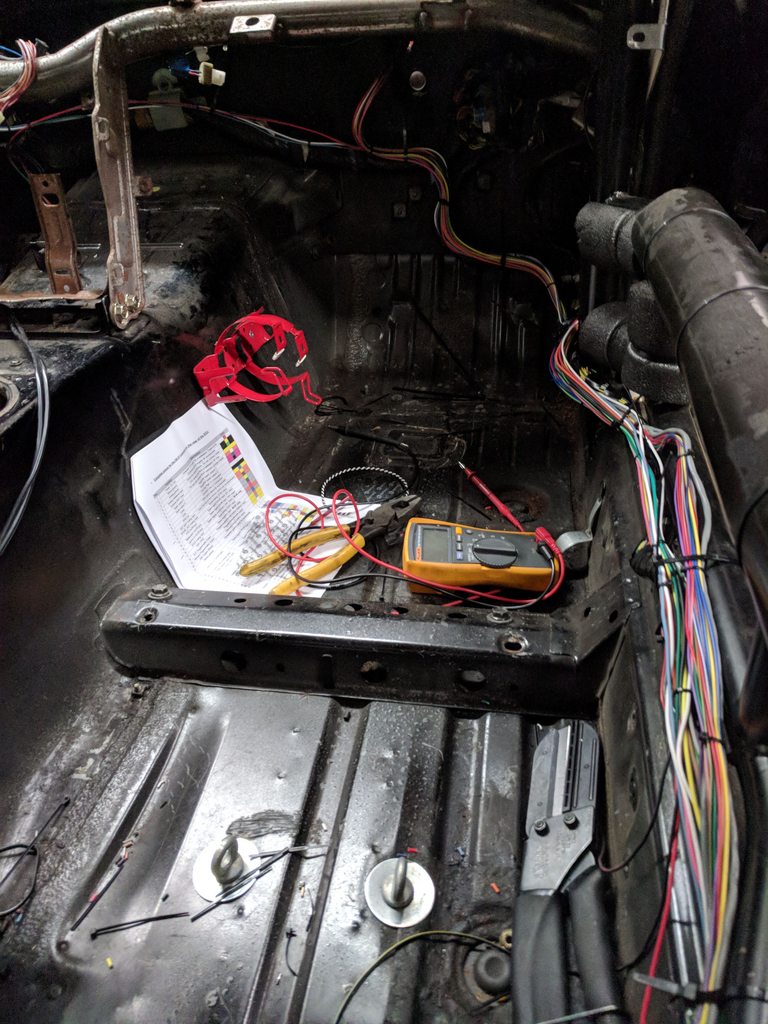
Starting to work through the routing paths. I try to follow the existing OEM harnesses as much as possible for cleanliness.
Fuel system. ID1050x, mounting the Fuelab 545 and flex fuel sensor, and getting the engine bay side all plumbed in, then getting the Fuelab 818 mounted under the car and a DW300 in the tank.
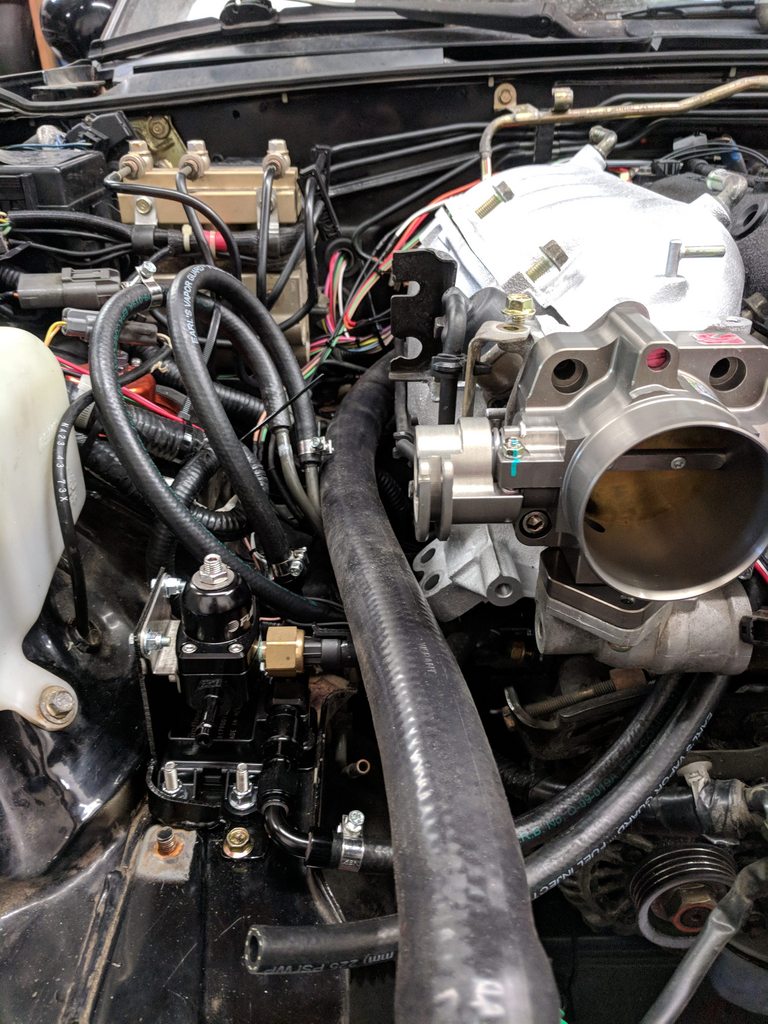
Front half of the system is all done. ID1050x, Fuelab 545 and flex fuel mounted up in a trick little bracket, and everything under the hood all plumbed in and ready to roll. I am waiting on a batch of new brackets for the Fuelab 818 to arrive (new product, will make a thread when they arrive), then the rear half of the system will get plumbed up.
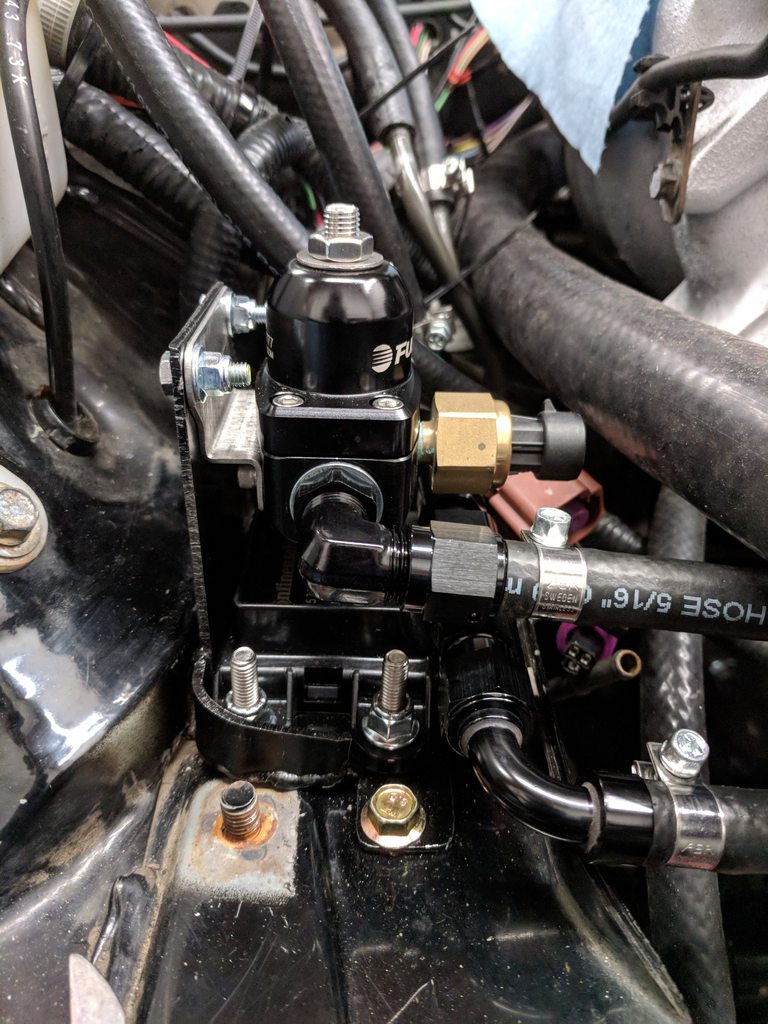
Close-up of the FPR/flex fuel bracket. I usually tuck everything back against the fusebox, but with ABS in an NA, there's no room back there. This is as clean a solution as I've seen for keeping everything accessible. I also vastly prefer the little electronic fuel pressure sensor which kicks the data back to the ECU, instead of trying to stare at a mechanical gauge. Less guesswork.
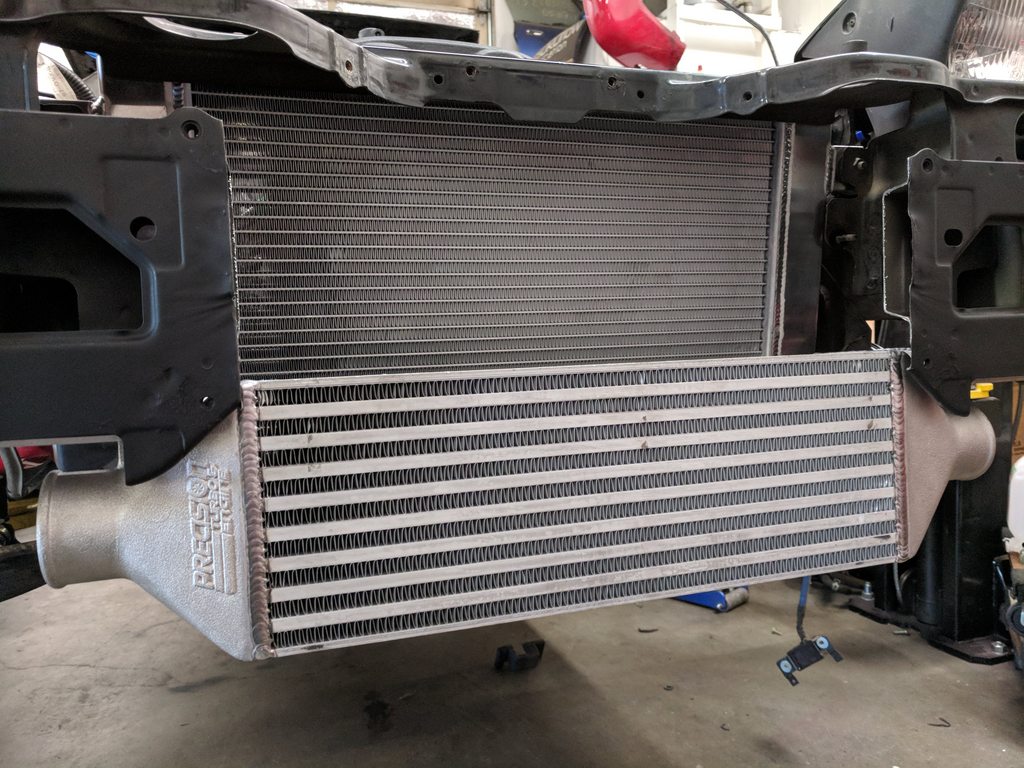
Radiator and intercooler install, IC piping, cutting up the front end, and adding all the requisite ducting. Lots of pics of this to come.
Have not started the ducting proper yet, but I have done all the requisite cutting. This is probably the single biggest secret to keeping a race car cool in 100*F weather. Chop out the front bumper beam and there instantly becomes oodles of room to move airflow around the IC to the radiator.
Another pic with the IC in place. Massive airflow potential.
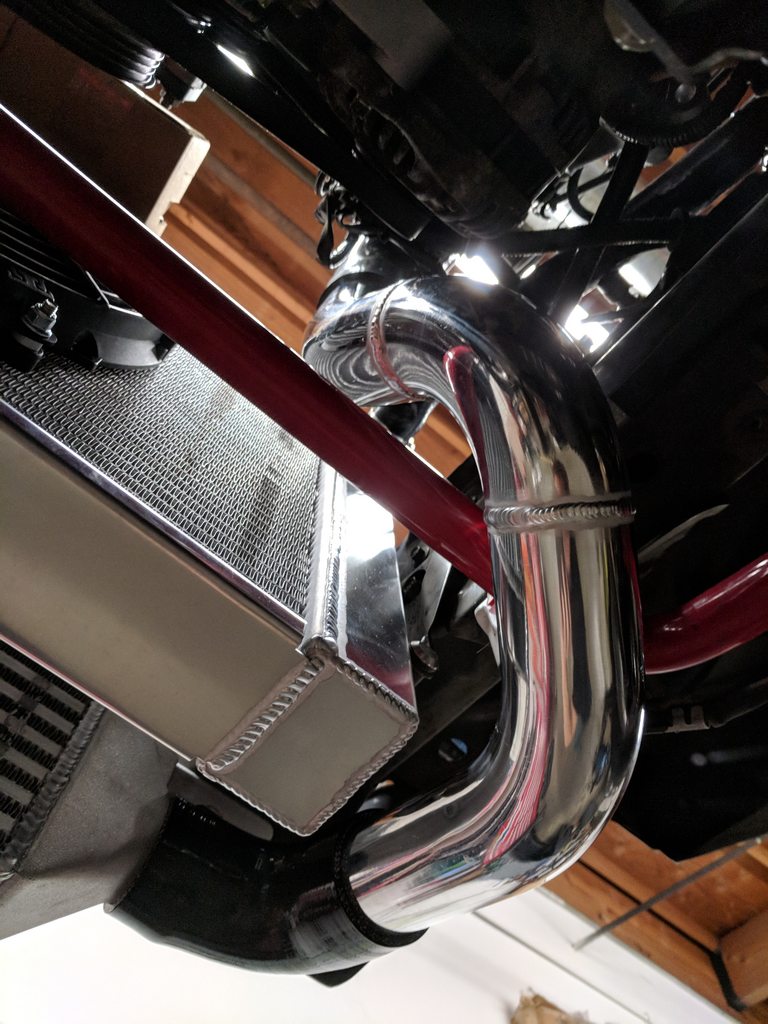
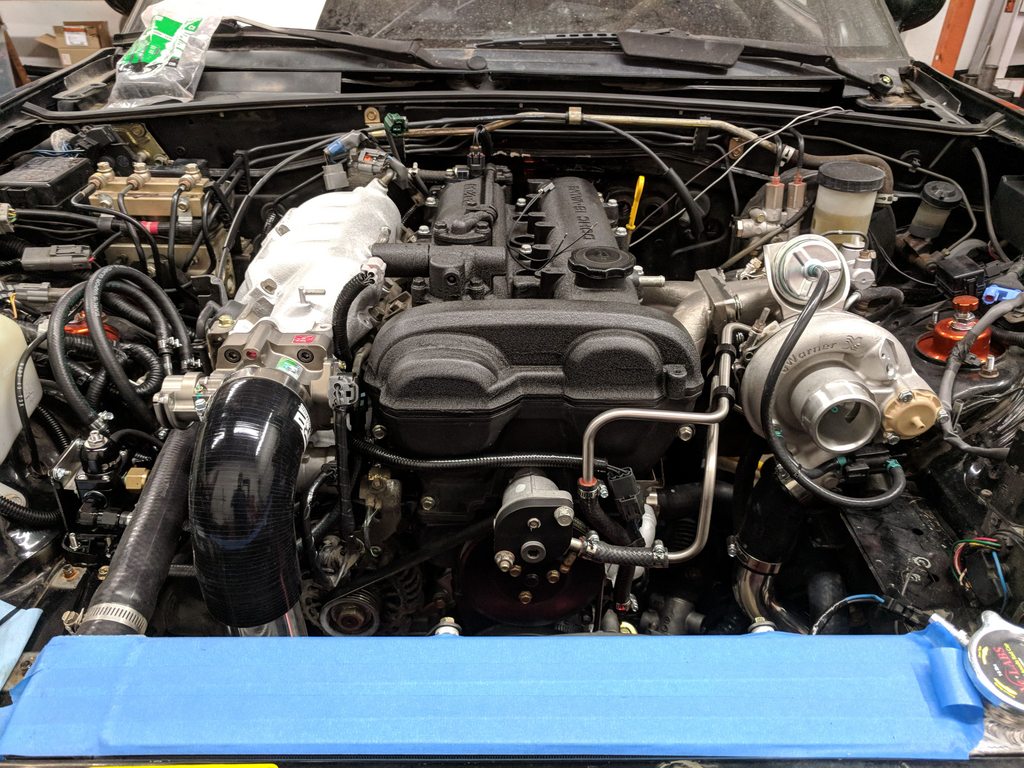
Knocked out the IC pipes yesterday and today as well. One-piece pipes for both sides to limit the number of failure points. Hotside:
Coldside, sans a few hose clamps. Also peeking into view (didn't get a specific pic of it) is the 13" Spal fan. There's no room for the NA fan with the 1.25" RB front bar, so a low-profile Spal it is.
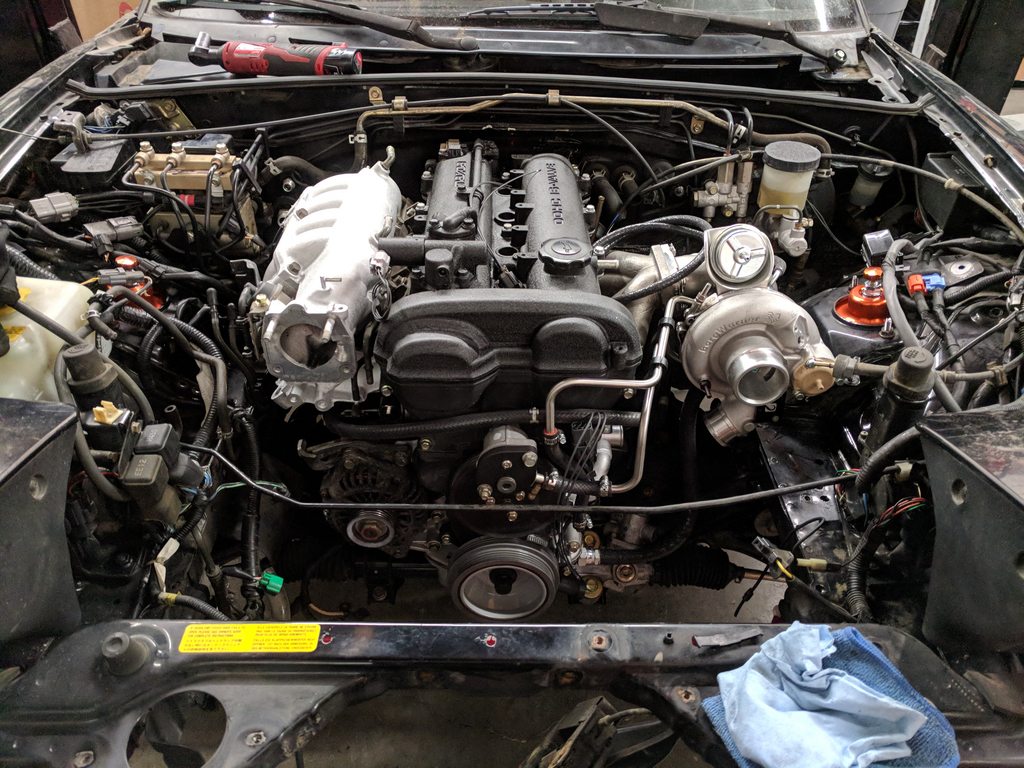
Getting much closer now. It actually looks like an assembled race car under the hood now.
After seeing Soviet's amazing plaited wiring harnesses, I can't help but look at the efforts of others, including myself, and think we're just "hacks" - thankfully split loom is readily available to make them look respectable/tidy!
Originally Posted by Savington
:
:
Here's some of soviet's harnesses:
(I suspect that Soviet grew up in Russia as the only boy in his family with 5 older sisters and had nothing else to do in Winter when snowed in other than plaiting his sister's long hair, those are impressive plaiting!).
I would go much further with the wiring tricks if (a) I weren't billing for the time, and (b) it weren't sitting directly next to a whole bunch of 25 year old TXL wire anyway. If I were doing it from scratch, it would all be milspec /32 wire, stress relieved, etc. I'm only adding a dozen or so wires for extra +12 and +5v, signal and chassis grounds, and signal wires for the flex fuel, oil/fuel/water pressure, oil temp, VVT, VICS, etc, and I want to do it in a cost-effective manner (time+materials), so TXL with vinyl split loom and 3M Super 33 is what I typically do.
^
It wasn't a true criticism which you seemed to have appreciated based on the smilies in your response.
Soviet's efforts must have been incredibly time consuming and went far beyond what any DIYer or professional shop would do.
I'd hate to think what a shop would charge for that level of work and 99.9% of customers wouldn't appreciate it anyway and be more than happy with split-loom to tidy it up.

 02-15-2018, 11:06 PM


 0
0


 Will tear out the interior and dashboard at the same time here, rewire the fuel pump, and add wiring for the knock sensor, oil/water/fuel pressure sensors, oil temp sensor, VVT, VICS, and EBC. MS3 Basic, LC-2, CAN module, etc. will all go in as well.