When you click on links to various merchants on this site and make a purchase, this can result in this site earning a commission. Affiliate programs and affiliations include, but are not limited to, the eBay Partner Network.
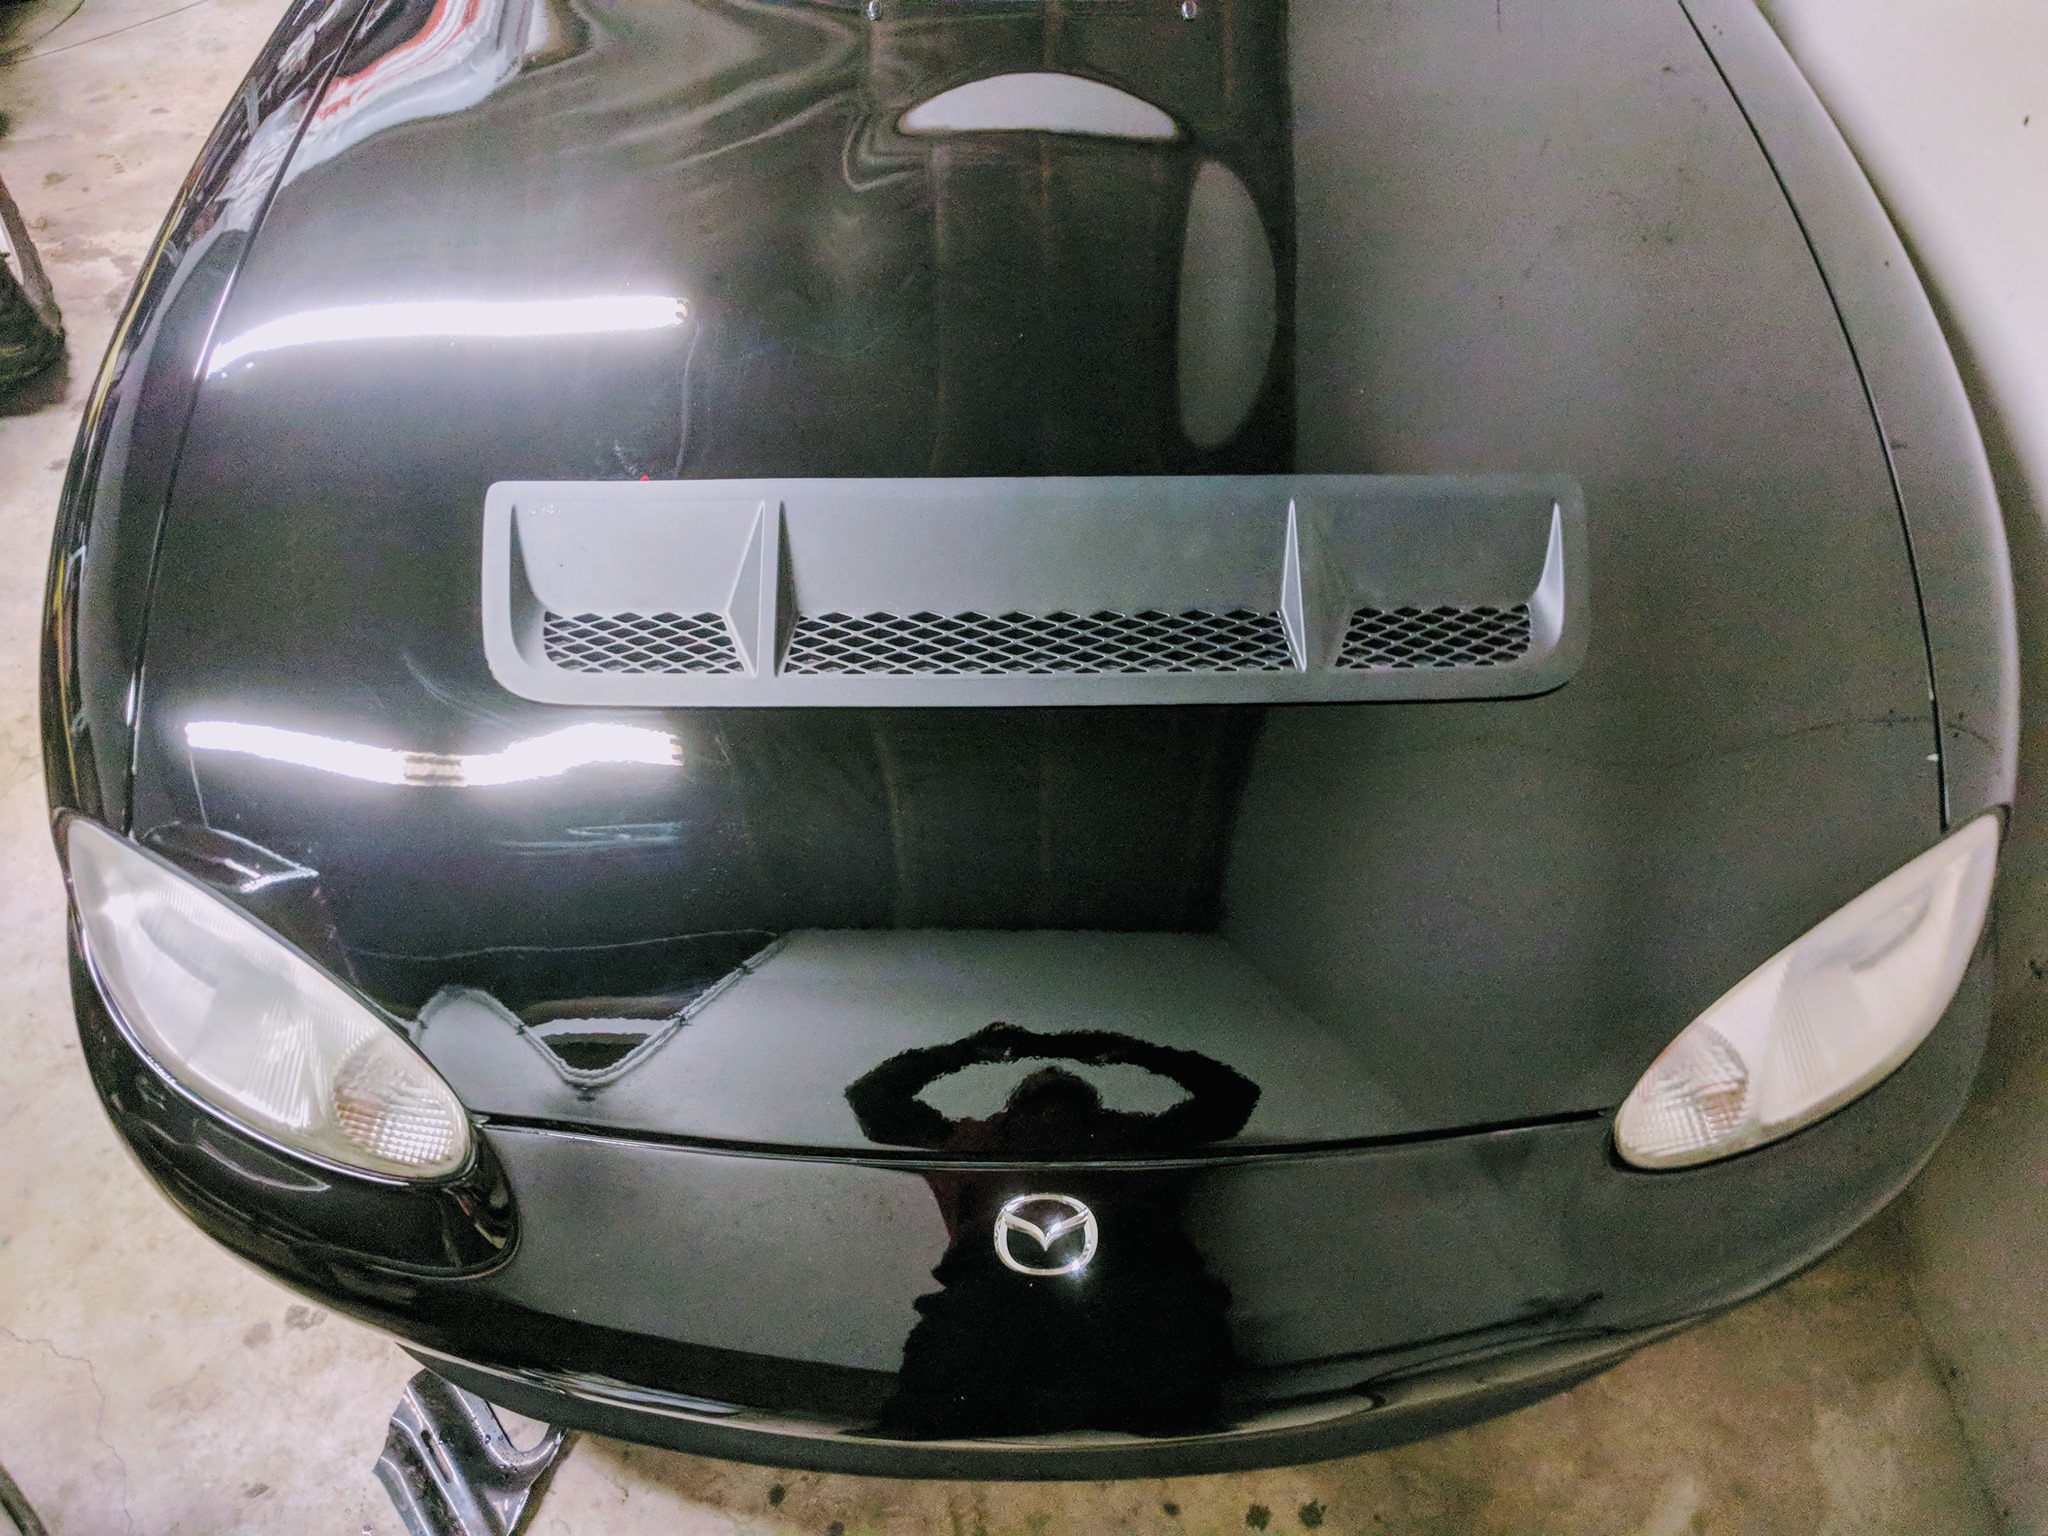
Just got my car back from my painter last night. I'm in love with my car again. It's changed a lot since I got it from the used car lot in Germany, unregistered and uninsured.
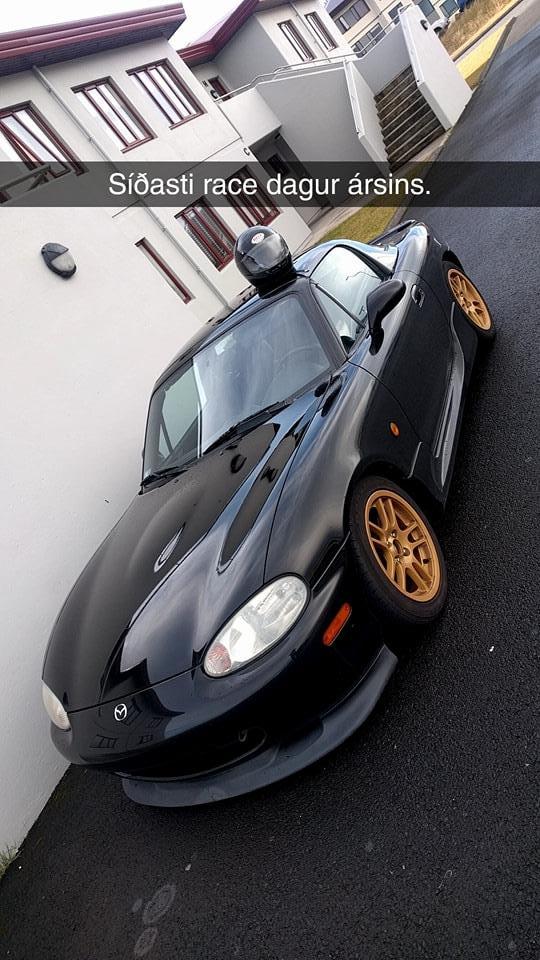
Just a few from the summer before I threw it into the garage and started getting ready for going all out
Threw her in to the garage where I'll work on her this winter
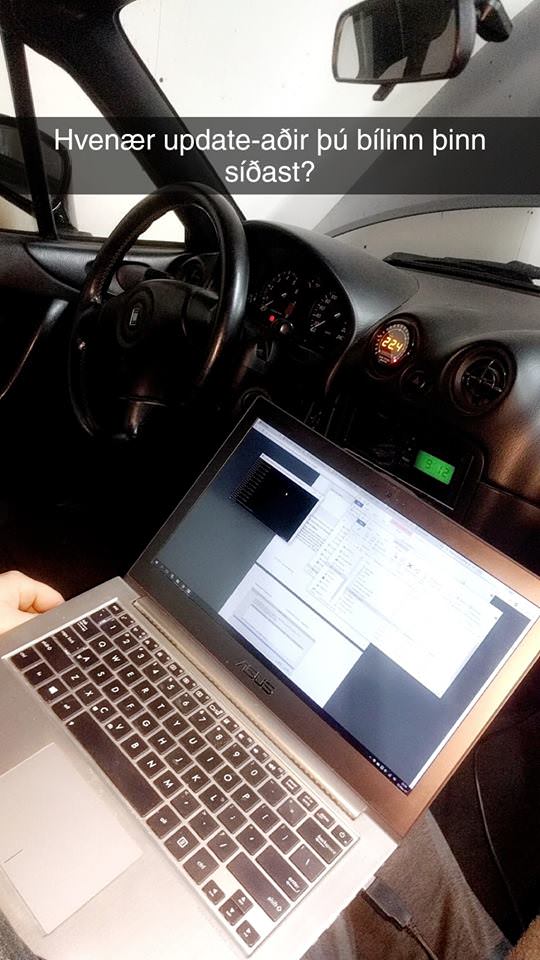
reconnected the MS3 and fired her up confirming that everything worked so I could eliminate that as a point of error if starting up becomes a problem when the new engine goes in
Cut her up real good
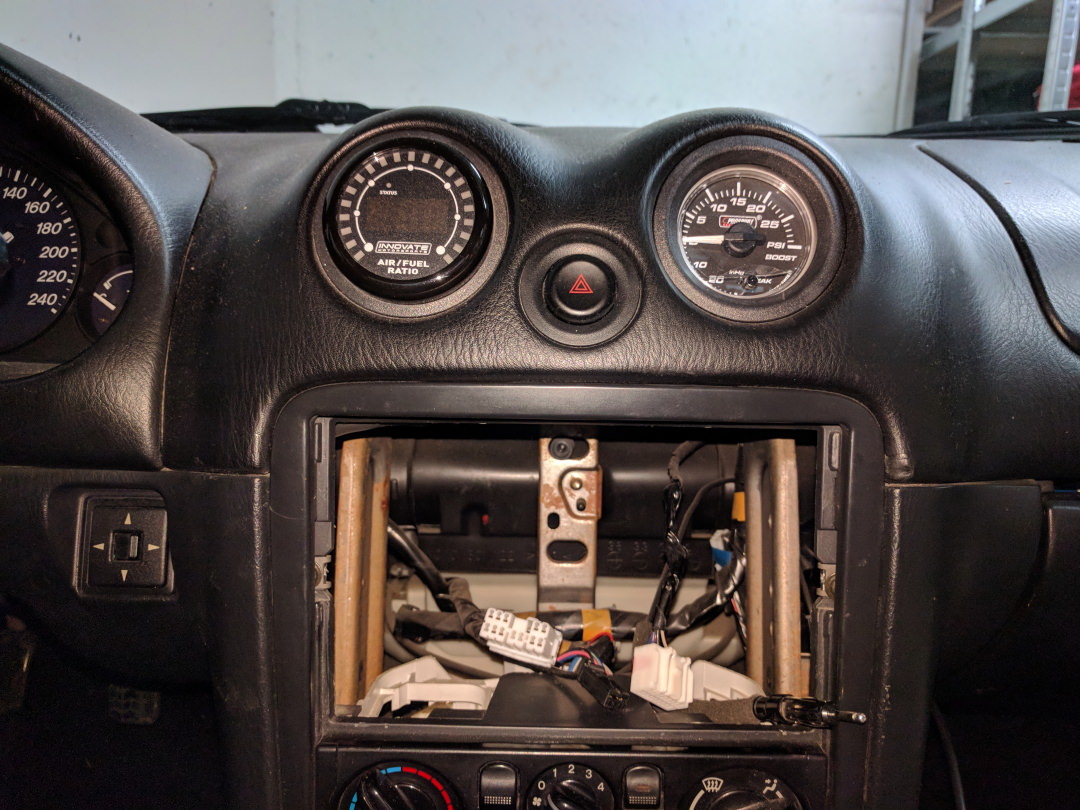
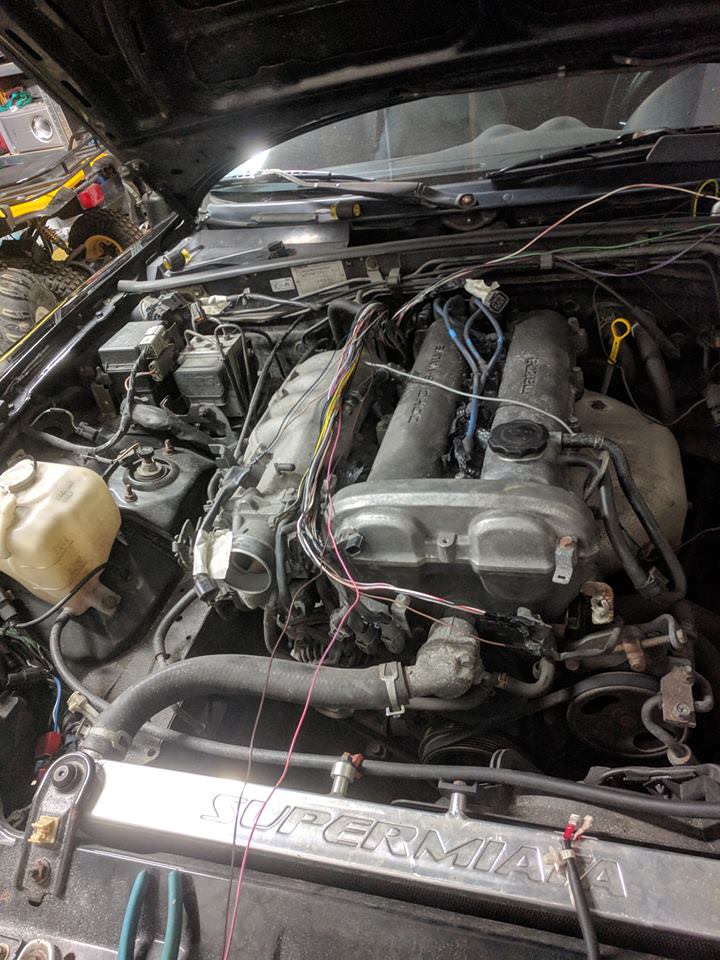
Started unraveling the wiring and labeling everything. I'm simplifying the wiring and deleting all plugs and wires that are unused and going for a minor tuck. Now is the logical time to do it
Just got home from the US and started tinkering.
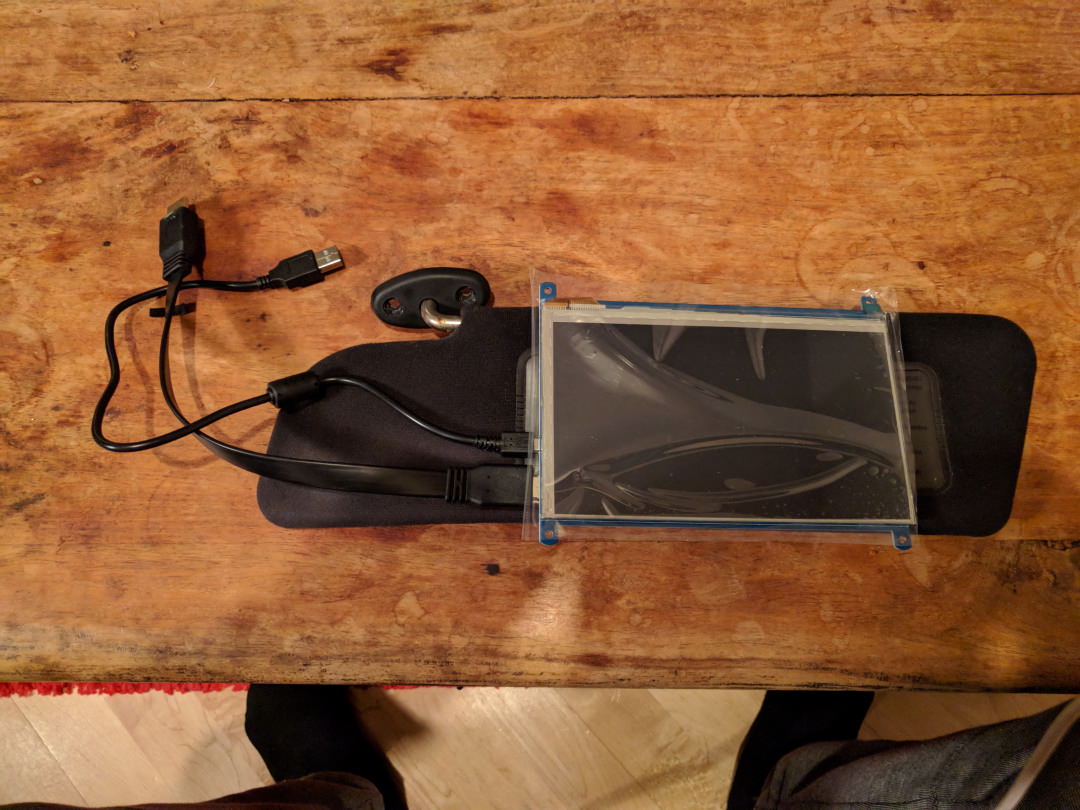
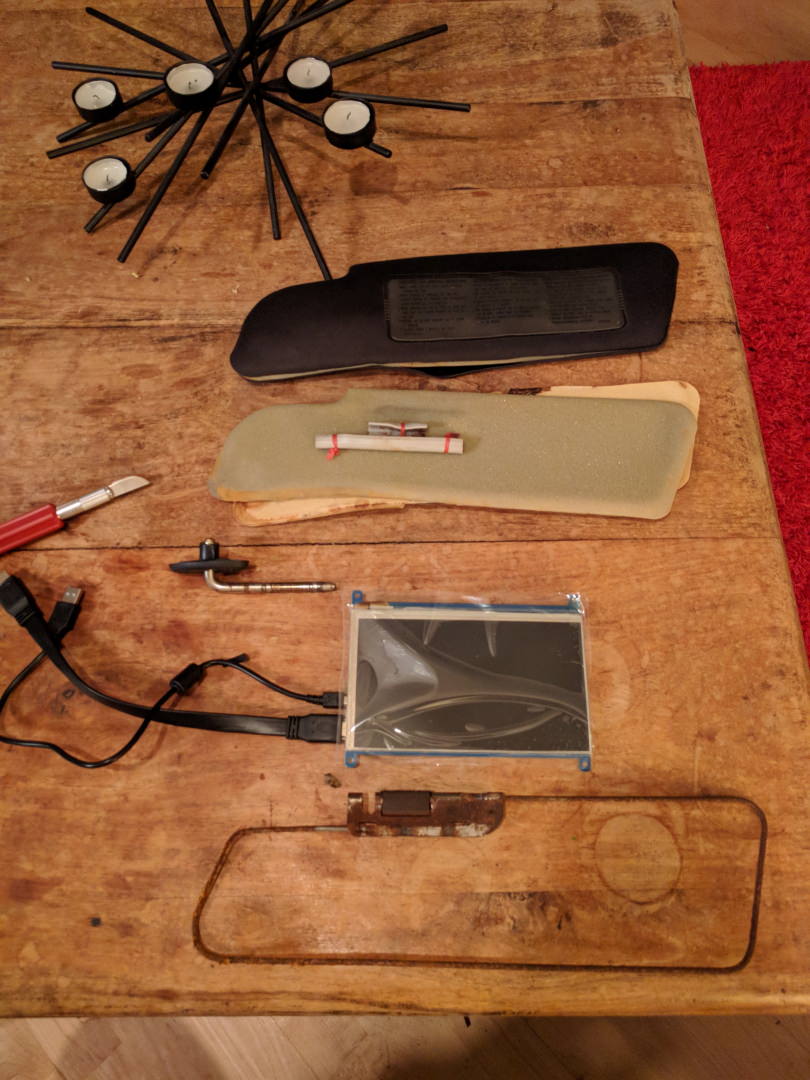
2x raspberry pi 3 with touchscreens. One auto boots into tunerstudio on startup and will be placed in the sunvisor for logging and tinkering with the tune if needed.
The other one will be LTE/4g connected with a dedicated sound card connected to an amp through an RCA connector to run Spotify. Maybe GPS later on.
Power will be provided with a pair of these
https://mausberry-circuits.myshopify.com/collections/car-power-supply-switches/products/3a-car-supply-switch-1
constant 12v connection and a 12v switched. When the 12v switched is off the board will send a shutdown signal to the pi and keep power on for 30sec for safe shutdown.
Now I just gotta get it in the car as neatly as possible.
I'll build a new frame at work tomorrow and then most likely upholster it in alcantara
Now one technical related question. I remember reading it a while ago and can't find the info again.
I have both a NB1 and a NB2 engine. I remember someone stating that the nb1 block + nb2 head + coolant reroute is the best combo for the most efficient cooling. right or wrong?
I think you need to use the NB1 head gasket to do that. The NB2 head gasket only kinda solves the problem and the coolant reroute is okay with it but is overall better with the NB1 head gasket.... IIRC.
I think you need to use the NB1 head gasket to do that. The NB2 head gasket only kinda solves the problem and the coolant reroute is okay with it but is overall better with the NB1 head gasket.... IIRC.
Looking forward to the cool tech progress!
Thanks for the quick reply.
And I'm excited too, can't wait to get to work tomorrow to make the sunvisor frame.
Finally tore the engine out. Didn't find the shop hoist so I was forced to yank it out by hand.
Figured out that the PCV was literally just open and my rear main seal was leaking. That's where all my oil was going(notice the spot on the wall after I started it once inside? lol). Also noticed that my timing belt idler had worked itself loose and was kinda just held in place by luck and pixie dust. Yikes!
Now to get the block bored and assembled. Wheels, brakes and roll bar arriving next week
In the process of moving the fuse boxes into the cabin, will place them in an aluminum box where the airbag used to be. Just a part of cleaning up the engine bay
And today I got a package. I could barely work today I was so excited to get home and open my stuff
And we all know what 6UL's look like but I don't care. So purrrrdy
so just run the smaller thrust bearing that fits the nb1 block and good to go? (crazier yet. throw on the cap from the NB2 block and use a larger thrust washer with the NB2 crank.)
The reason I'm going through all this is that I asked a friend to mount the nb2 block on the engine stand bracket while I was doing something else and he used the wrong bolts and stripped the threads on the block
The guys at the machine shop seem to enjoy this build and offered to cut for the valves for next to nothing while they have the head.
now all the valves I find seem to be ~.6mm longer. Does that mean I have to buy bigger shims for the lifters or run the stock ones since .6mm is such a tiny difference?
The weekend was productive. got a lot done and learned a lot.
Smoothing out the intake manifold before taking it to be powdercoated
Porting the wastegate on the turbo
Finally starting block assembly. Never done any engine work so pace was slow and steady
Glamour shot
A tape measure is sufficient for ring gap measurements right?
This tool made the installation SO easy
Spent a whole lot of time with a wire wheel and a dremel to clean the rust off the block
But the final result is nice
Now I just gotta wait for the head and powdercoated parts before finishing the engine.
But I gotta ask again. Since most oversize valves seem to be .6mm longer, do I have to buy other lifters or can I run the stock ones? kinda lost there. it's a VVT head if that matters.
been making a decent amount or progress since I got the car up on the lift.
Motor is almost ready, just gotta adjust the valve lash since the valve seats got a light cut. Gotta figure out why my oil pan feels like it doesn't want to sit quite right.
Testing a splitter shape and finding material to make it out of tomorrow.
Engine mostly done
Ripping the subframe out tomorrow and getting it powdercoated. Yet another "oh well, since I'm already in here I might as well..." moment.
Part of my wire tuck
and since apparently I didn't feel like I was busy enough... I bought a house too. Finally my own garage


 11-13-2017, 07:29 PM


 0
0