When you click on links to various merchants on this site and make a purchase, this can result in this site earning a commission. Affiliate programs and affiliations include, but are not limited to, the eBay Partner Network.
Long time lurker enjoying other people's builds but I've finally taken the dive. I've been collecting parts for the build for more than a year now and it is finally time! Actually the car has been under the knife for just over a month, but I've been so busy working on it after I get off work, I hardly have time to take pictures.
Car is a '94, black on black, with the original 120k mile 1.8L. I've built a MegaSquirt 2 and ran it all last winter. Took it off for more mods and have yet to put it back on.
Plan is (parts that I have already):
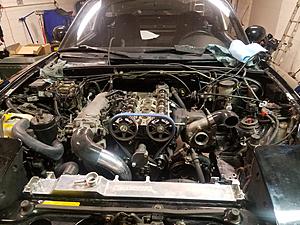
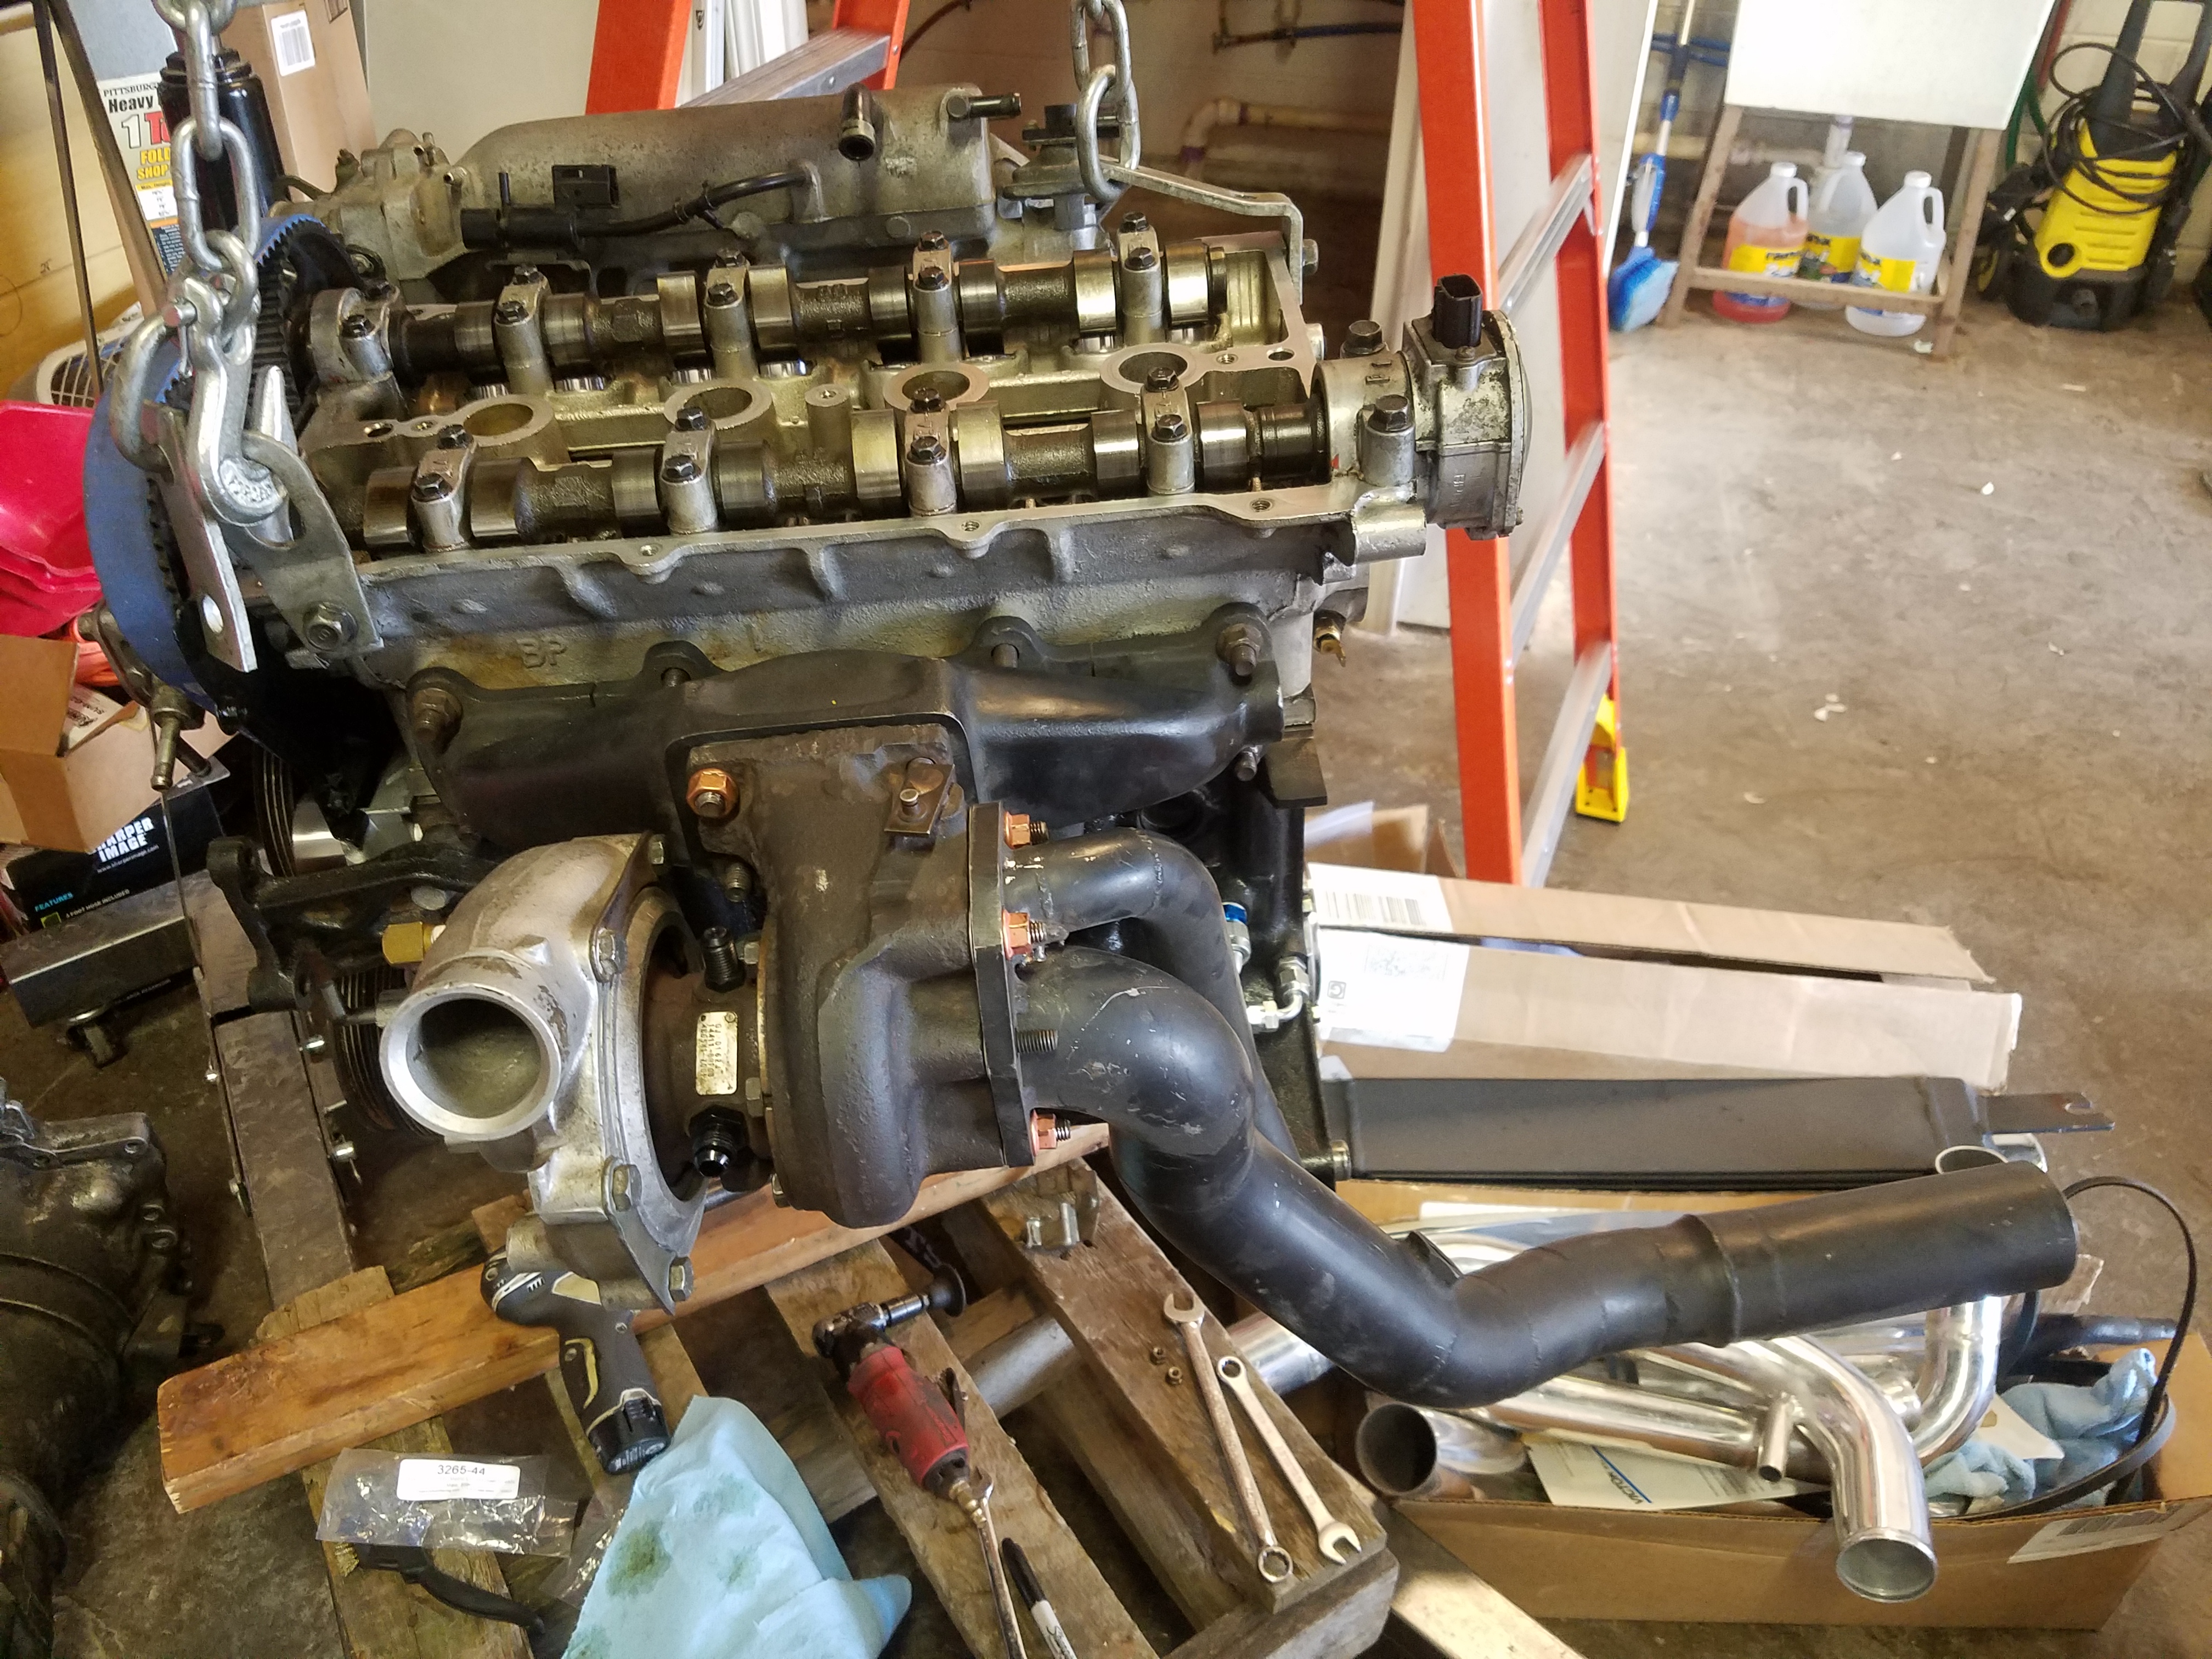
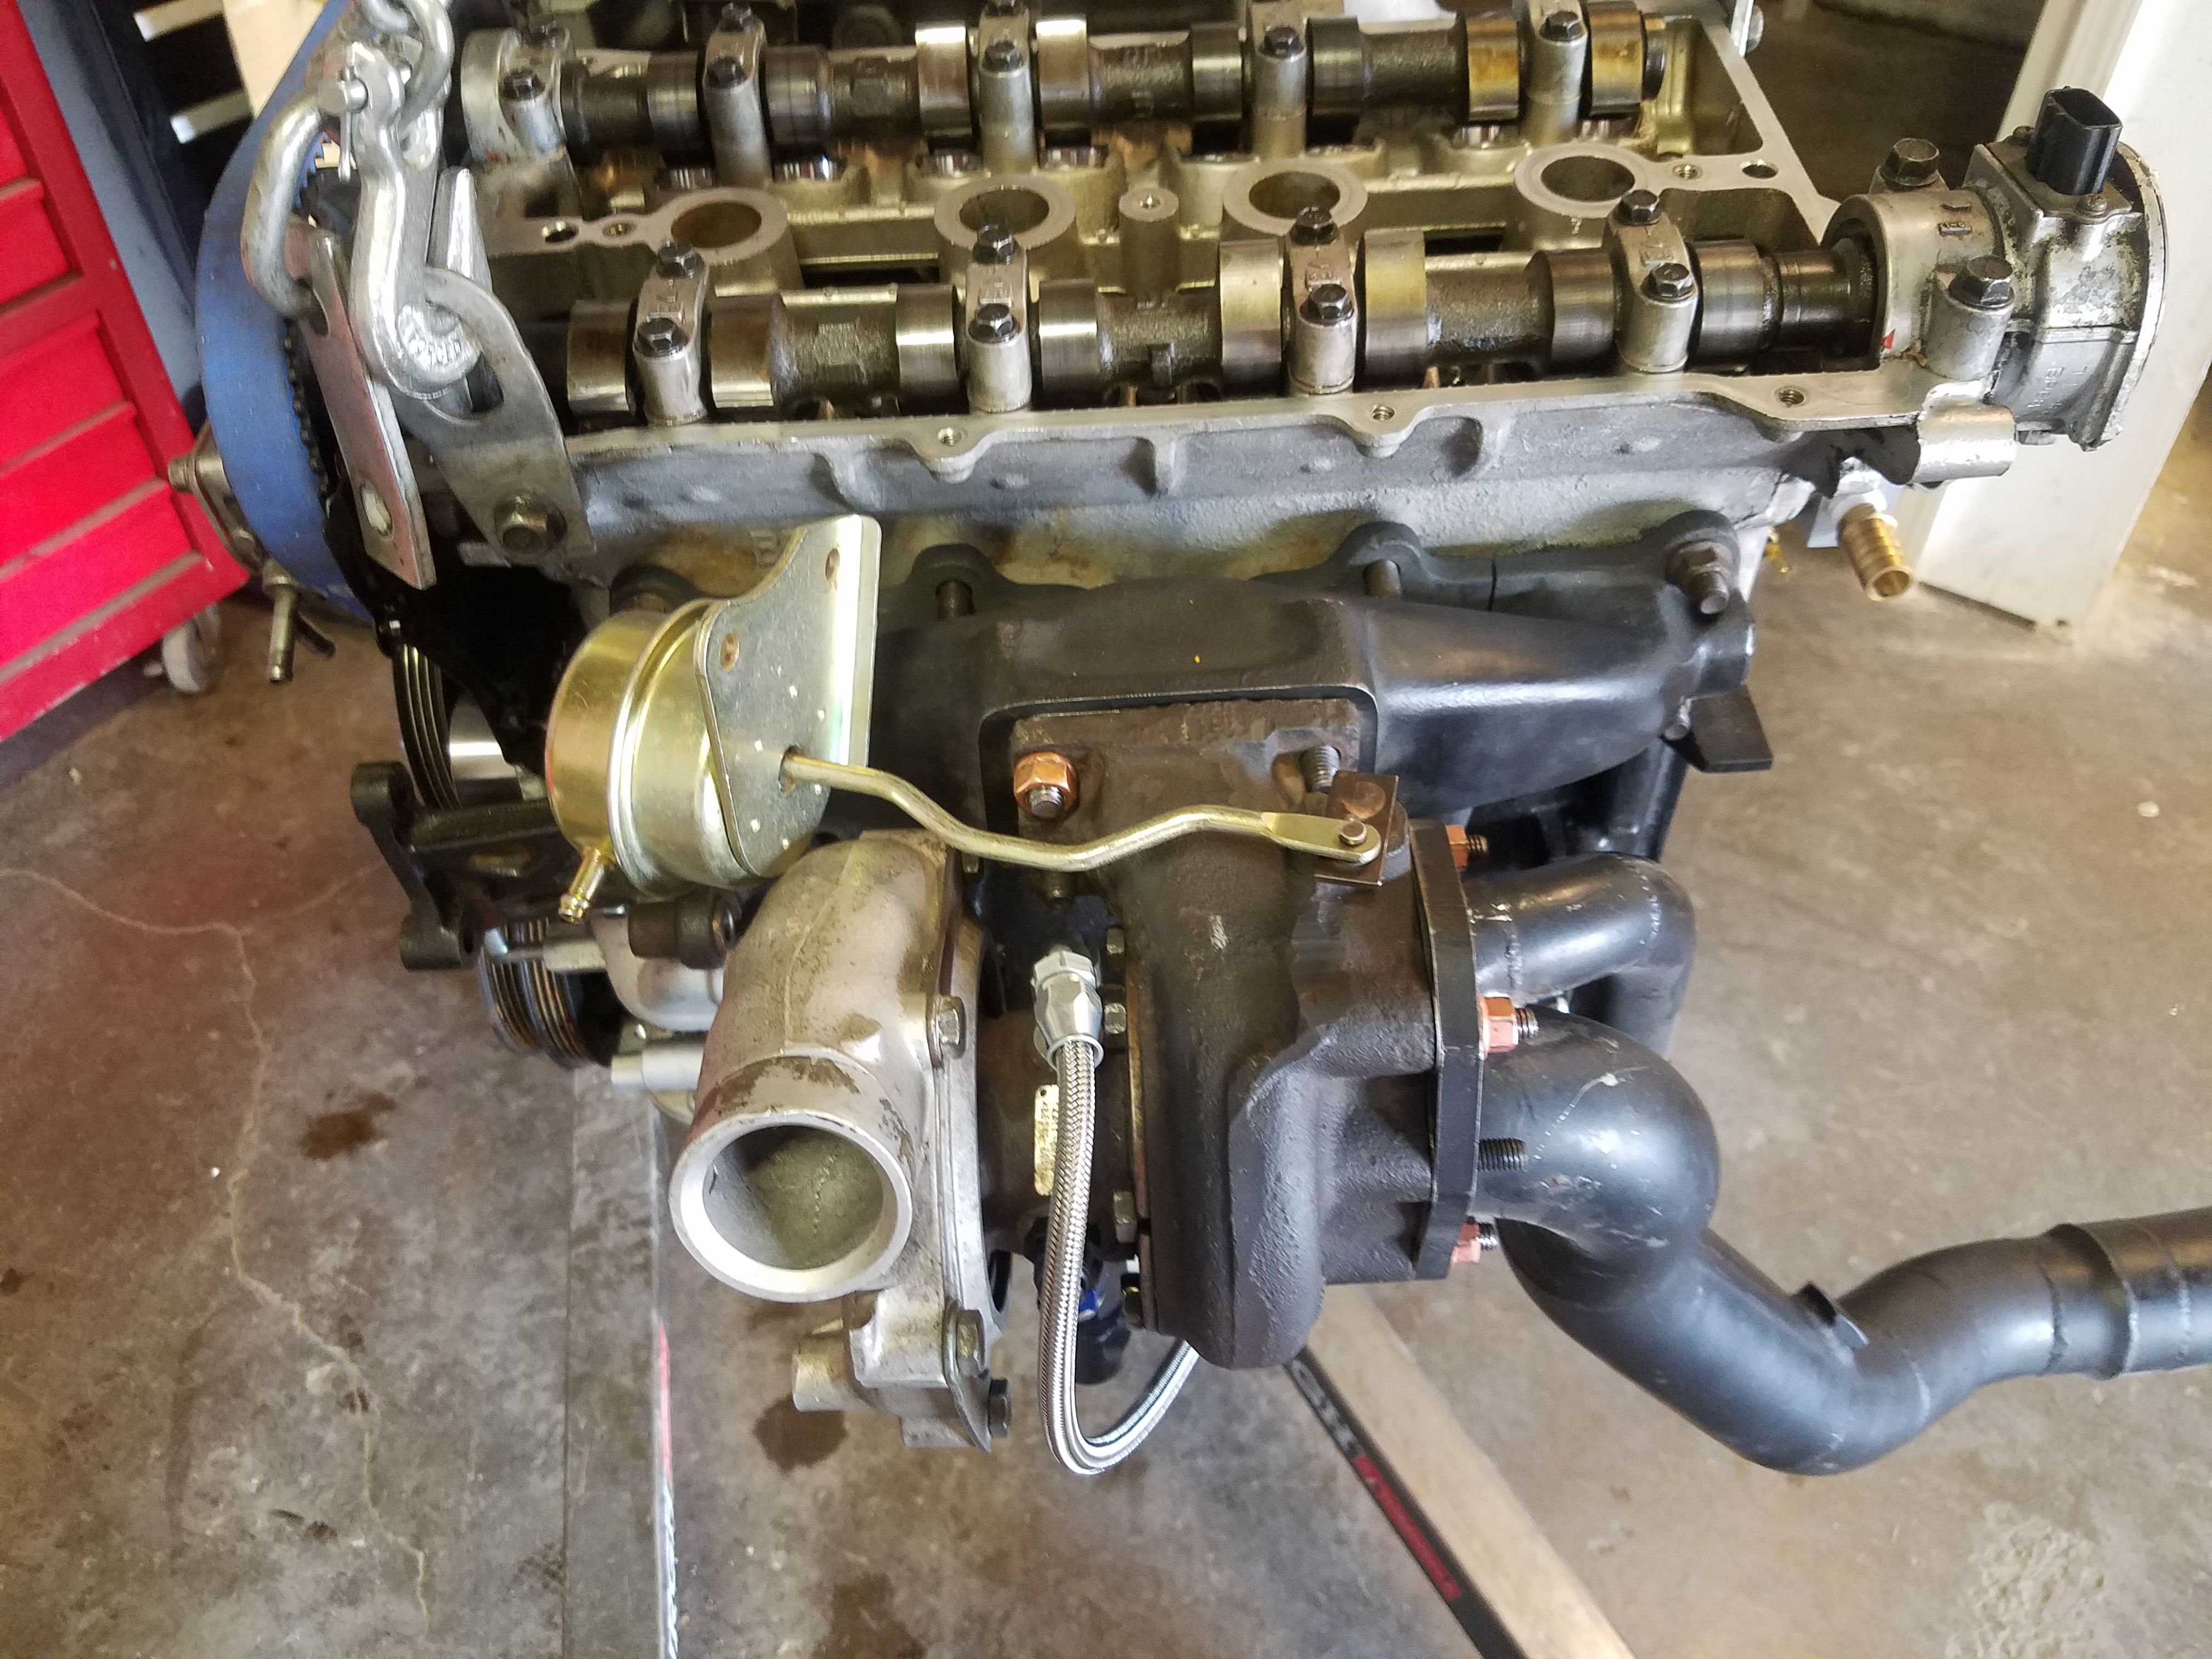
Used Garrett GT2560r
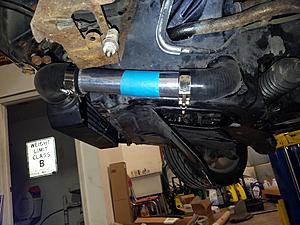
BEGi cast manifold and down pipe
Enthuzacar exhaust
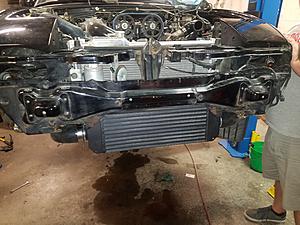
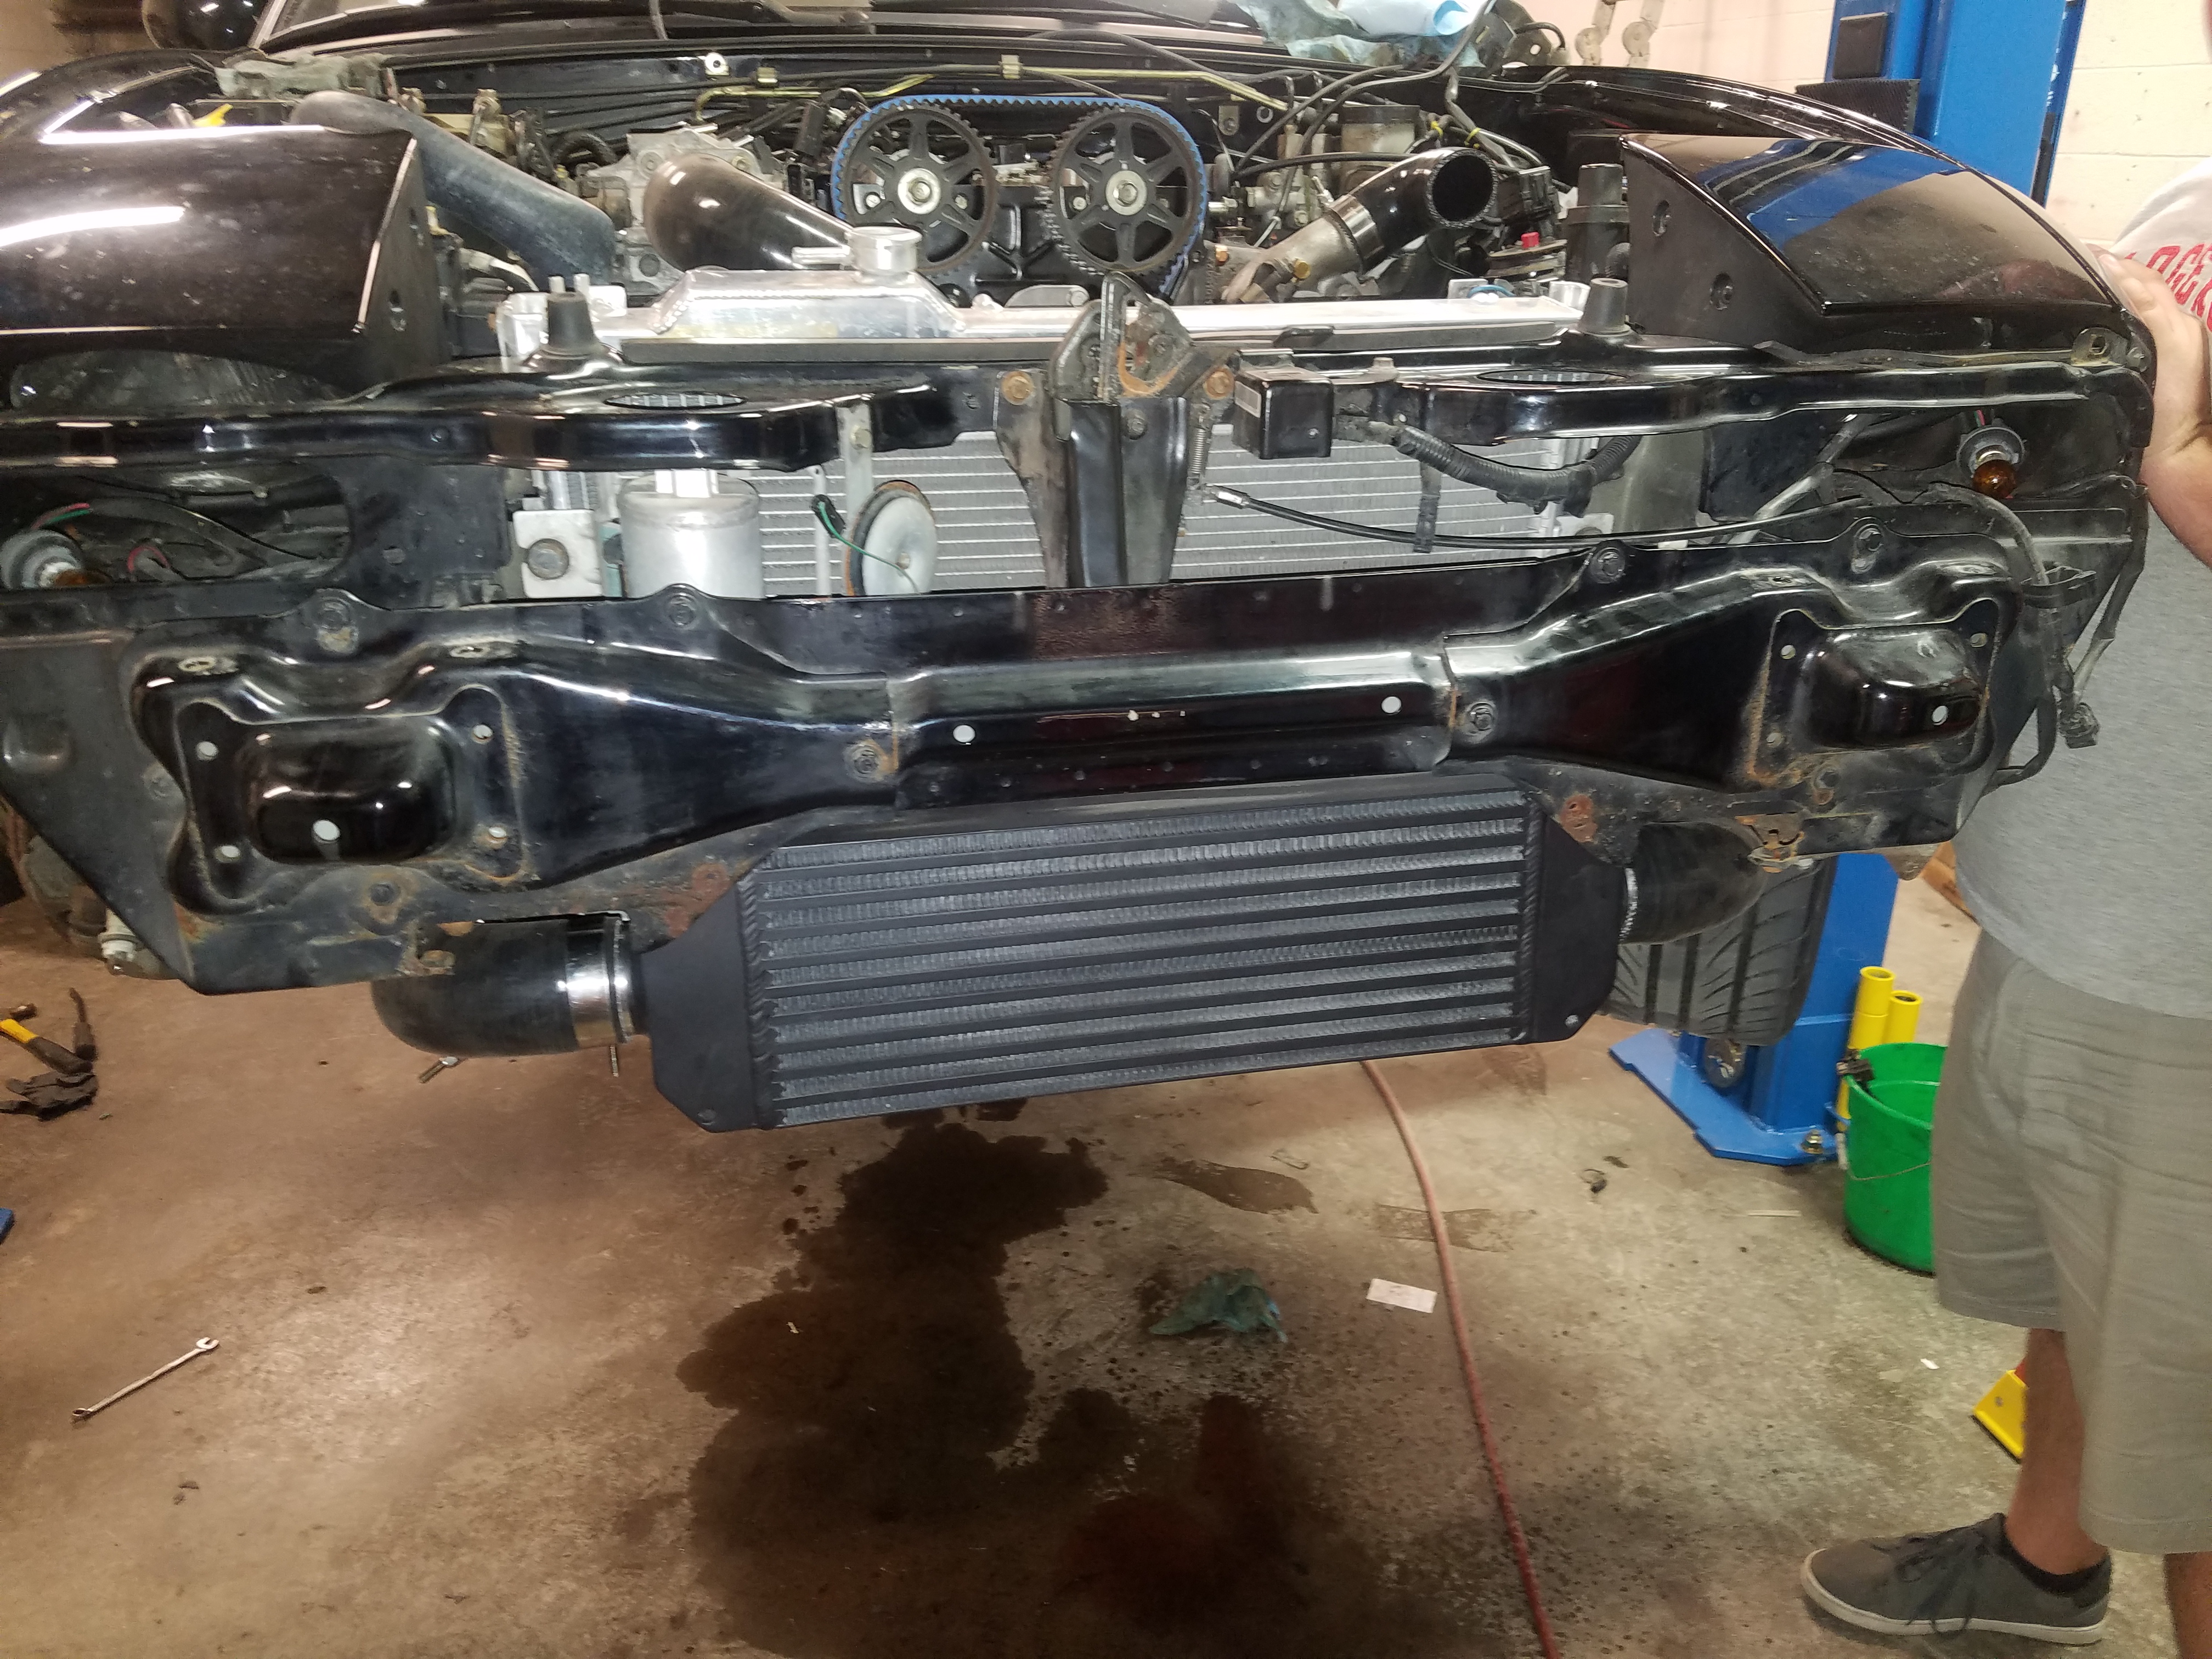
Fab9 "Stage 1" front mount intercooler, black
Mishimoto radiator & fans (already installed)
Flyin' Miata lower radiator hose
Coolant reroute: Skou spacer, Kia water neck, Escalade hose
DIY MegaSquirt 2
Deatchwerks 460cc injectors
Flyin' Miata happy meal clutch kit
Boundary Engineering billet oil pump
I'll do mostly pictures to catch up to the build and do better/more detailed updates after that.
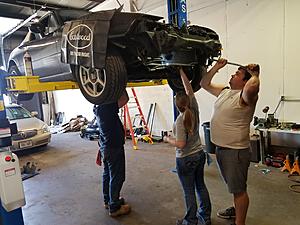
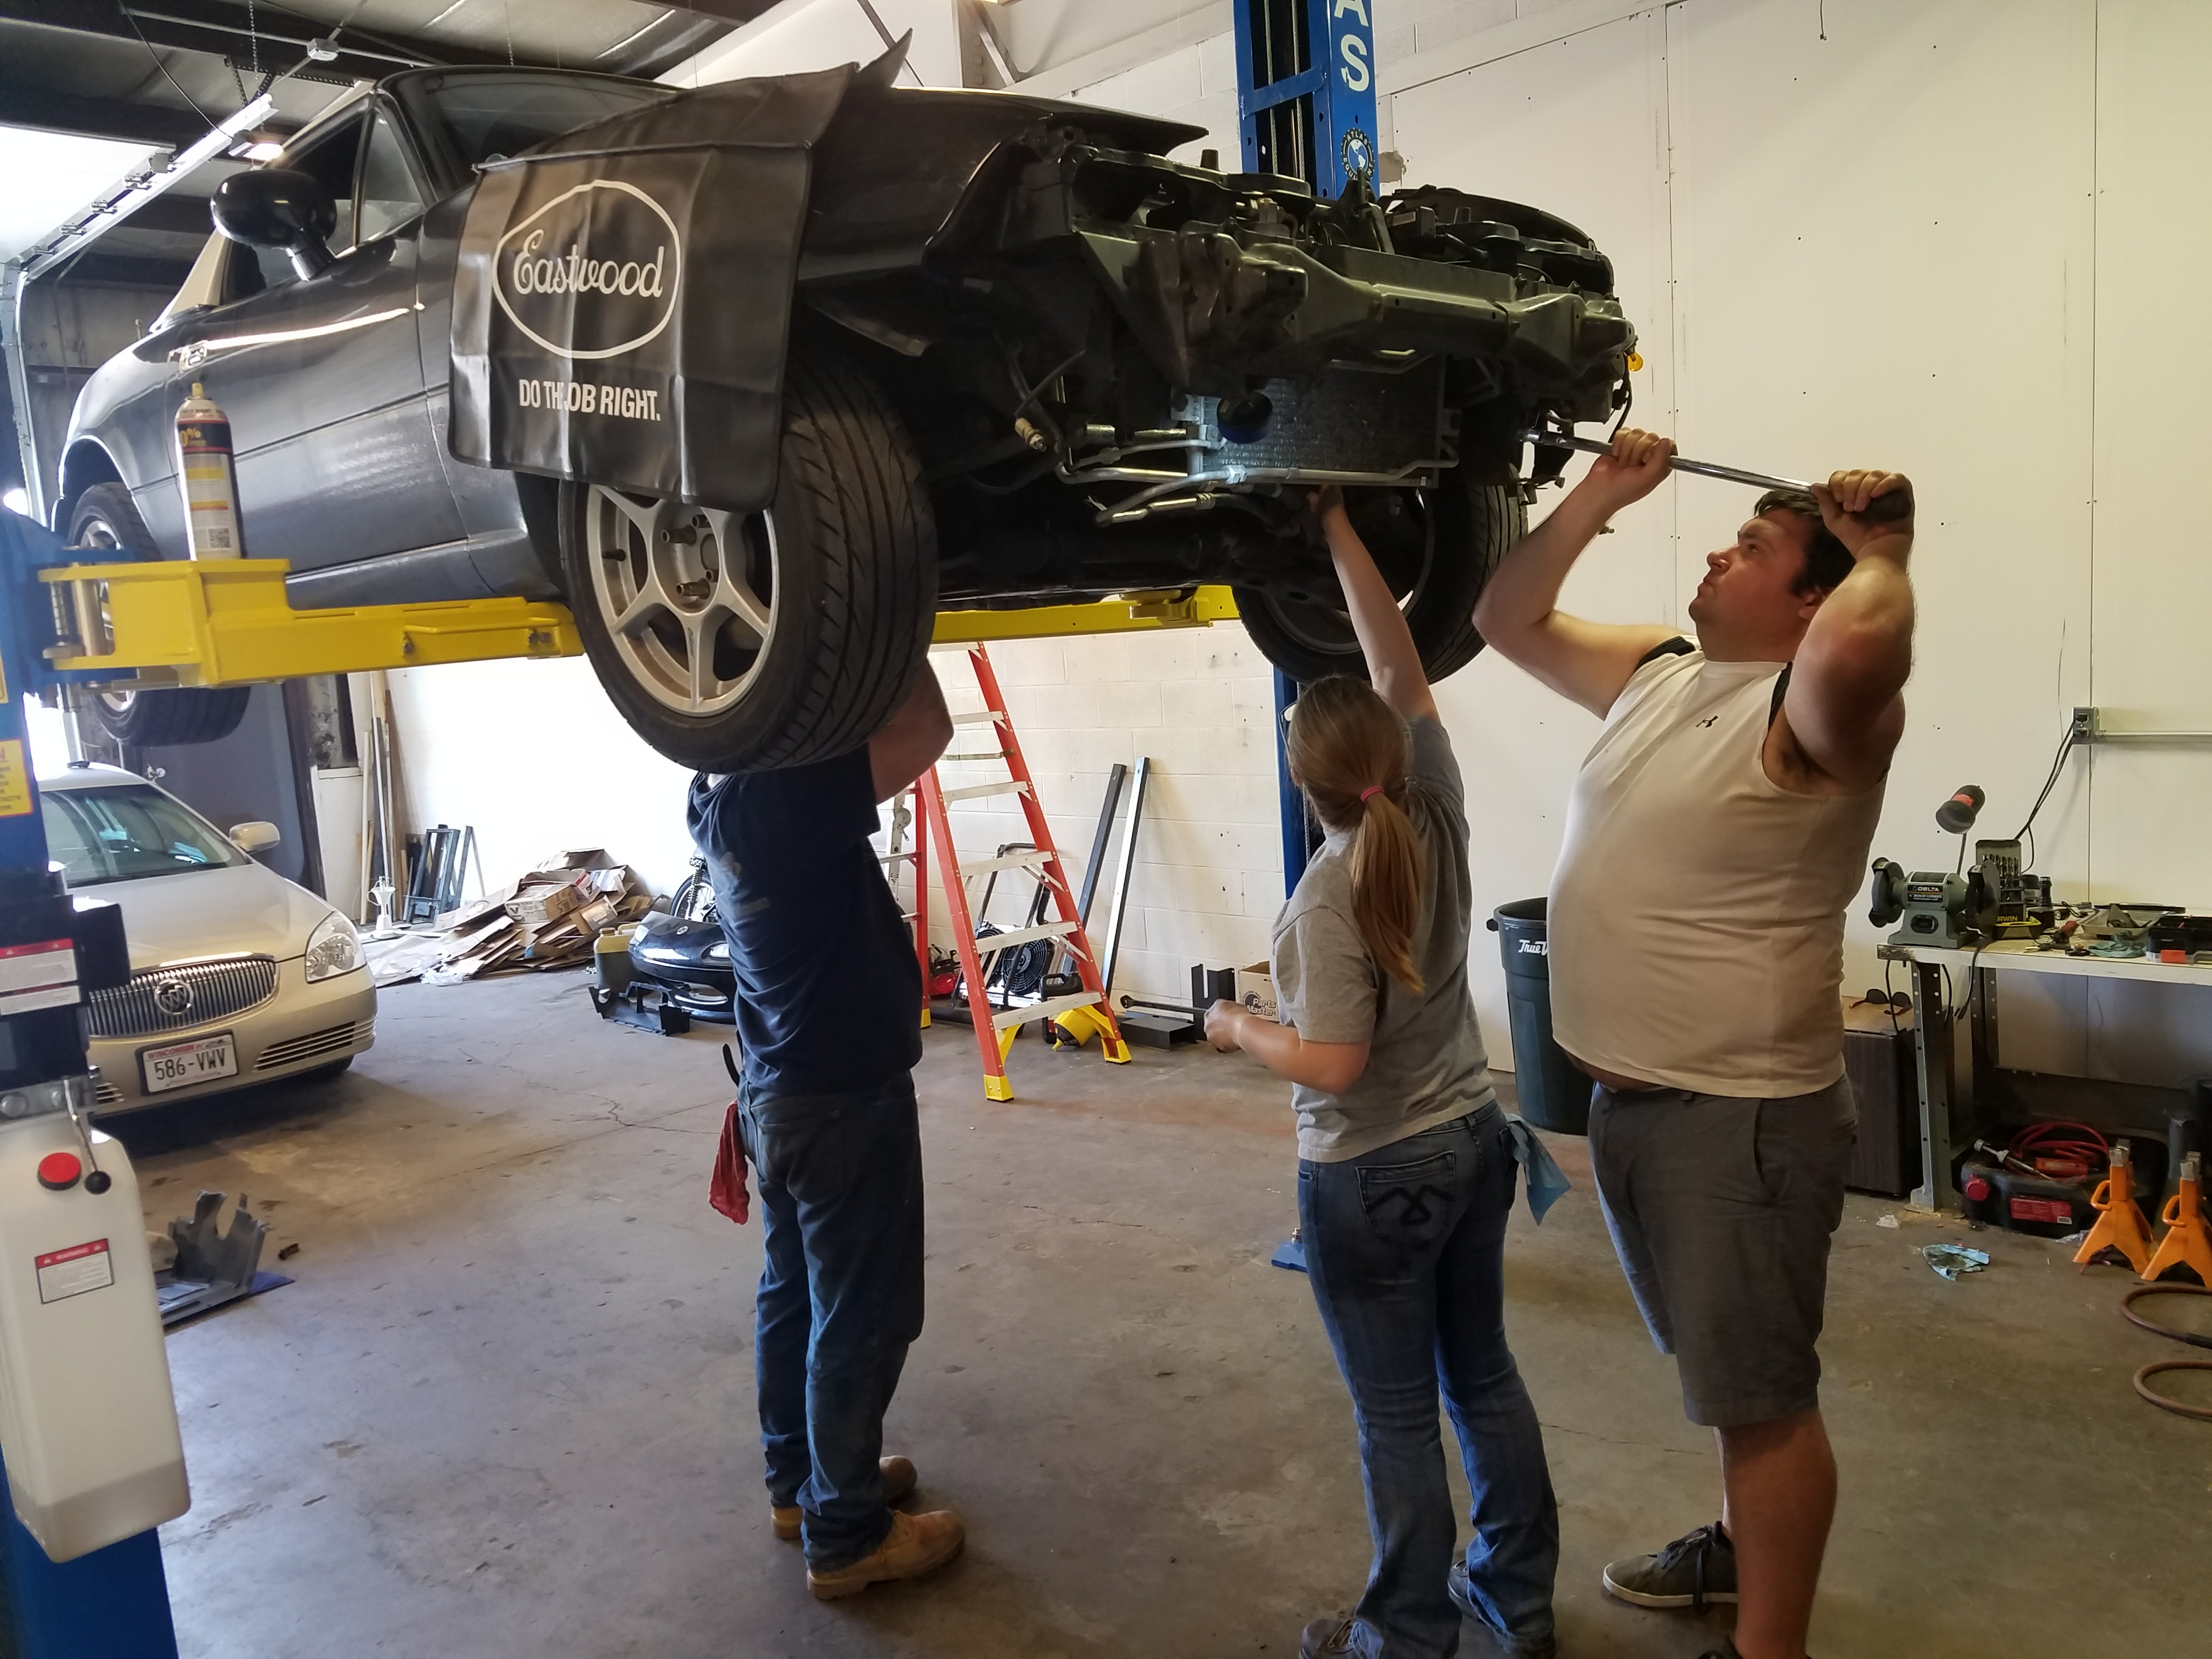
Two of my friends and I rent this shop. One of them was a mechanic and finally bought the lift he has always wanted.
Probably the fastest engine pluck yet. Our slowest must have been the engine out of a Mitsubishi 3000GT VR4 (went way faster the second time).
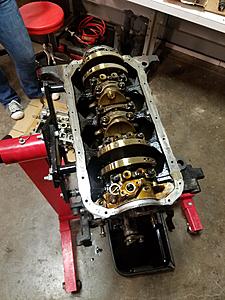
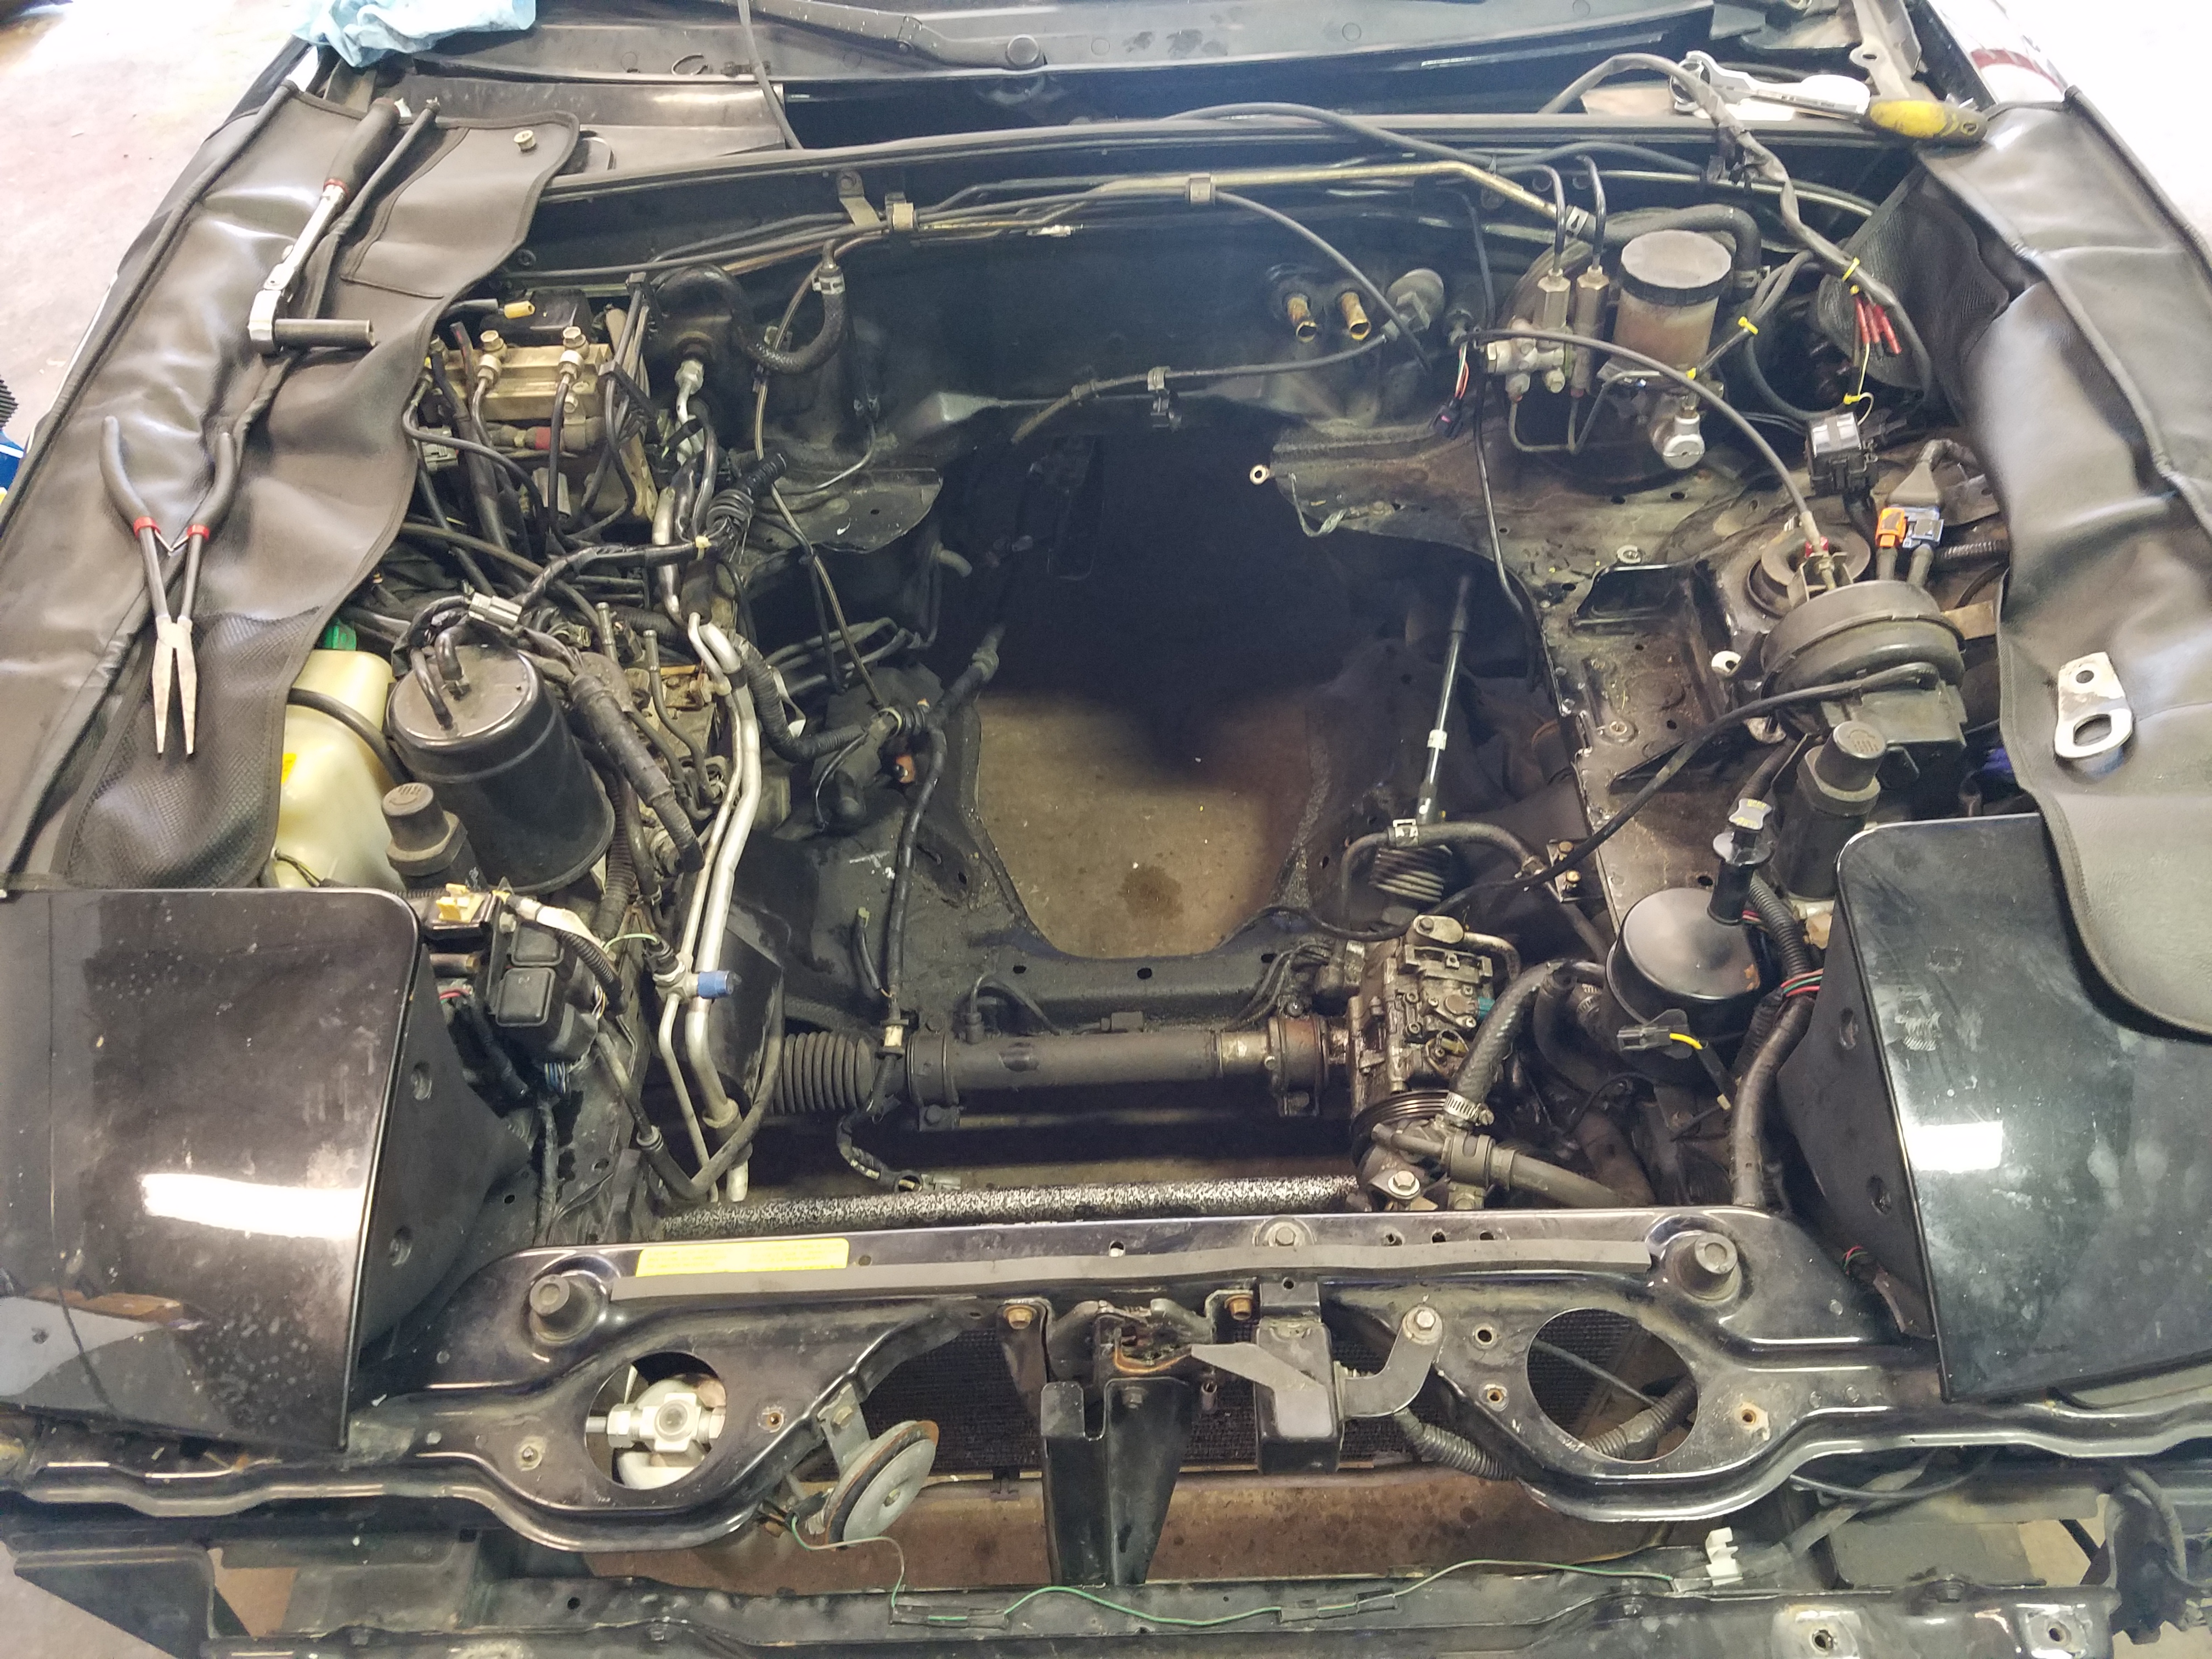
Waiting for further disassembly.
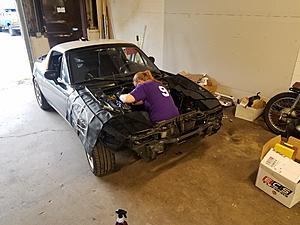
Fiance asked if she could clean the engine bay for me because it was so dirty it was bothering her. (I neglected to change a valve cover gasket for a good while earlier in my ownership).
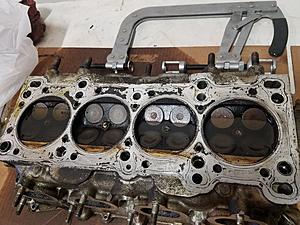
Compression test yielded 120 all around so she needed a little love. Unfortunately no built motor here and yes, I know, rods only WHILE I'M IN HERE, but that just wasn't in the cards right now. I really did want to do the rods.
Bottoms up.
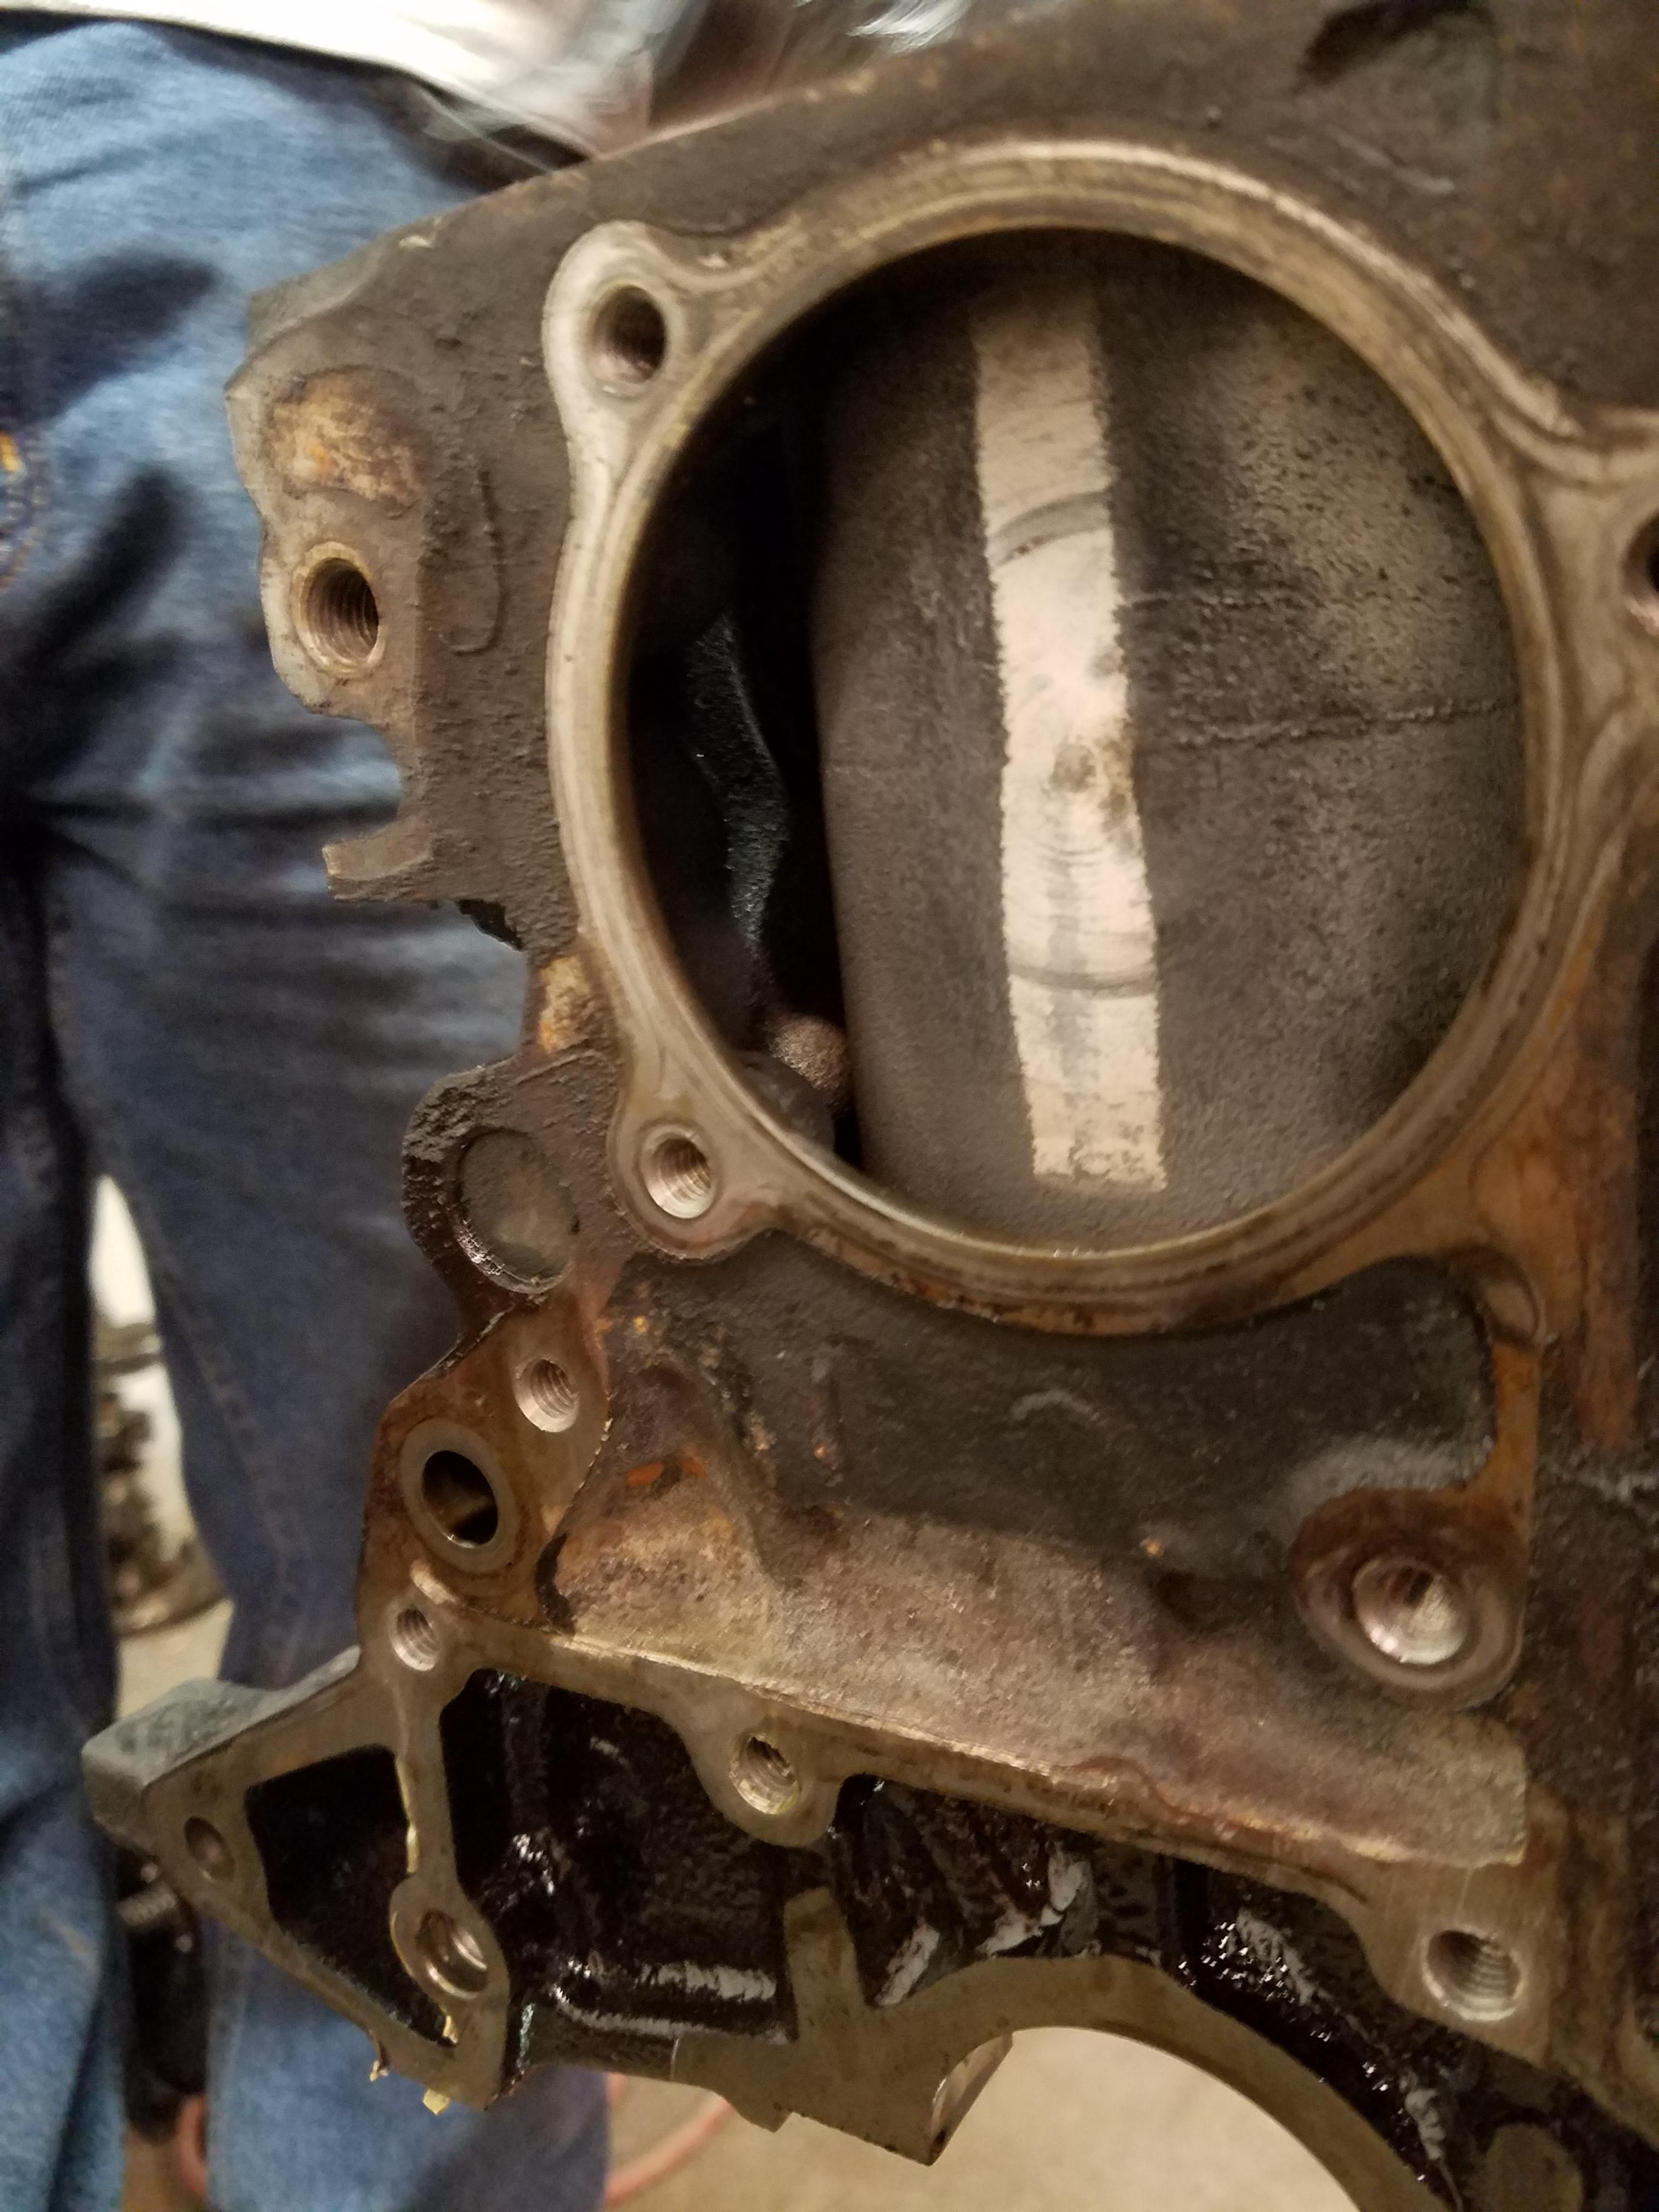
Not looking too bad.
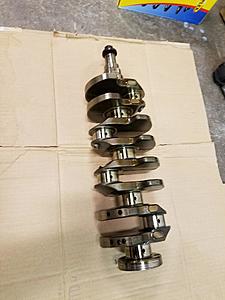
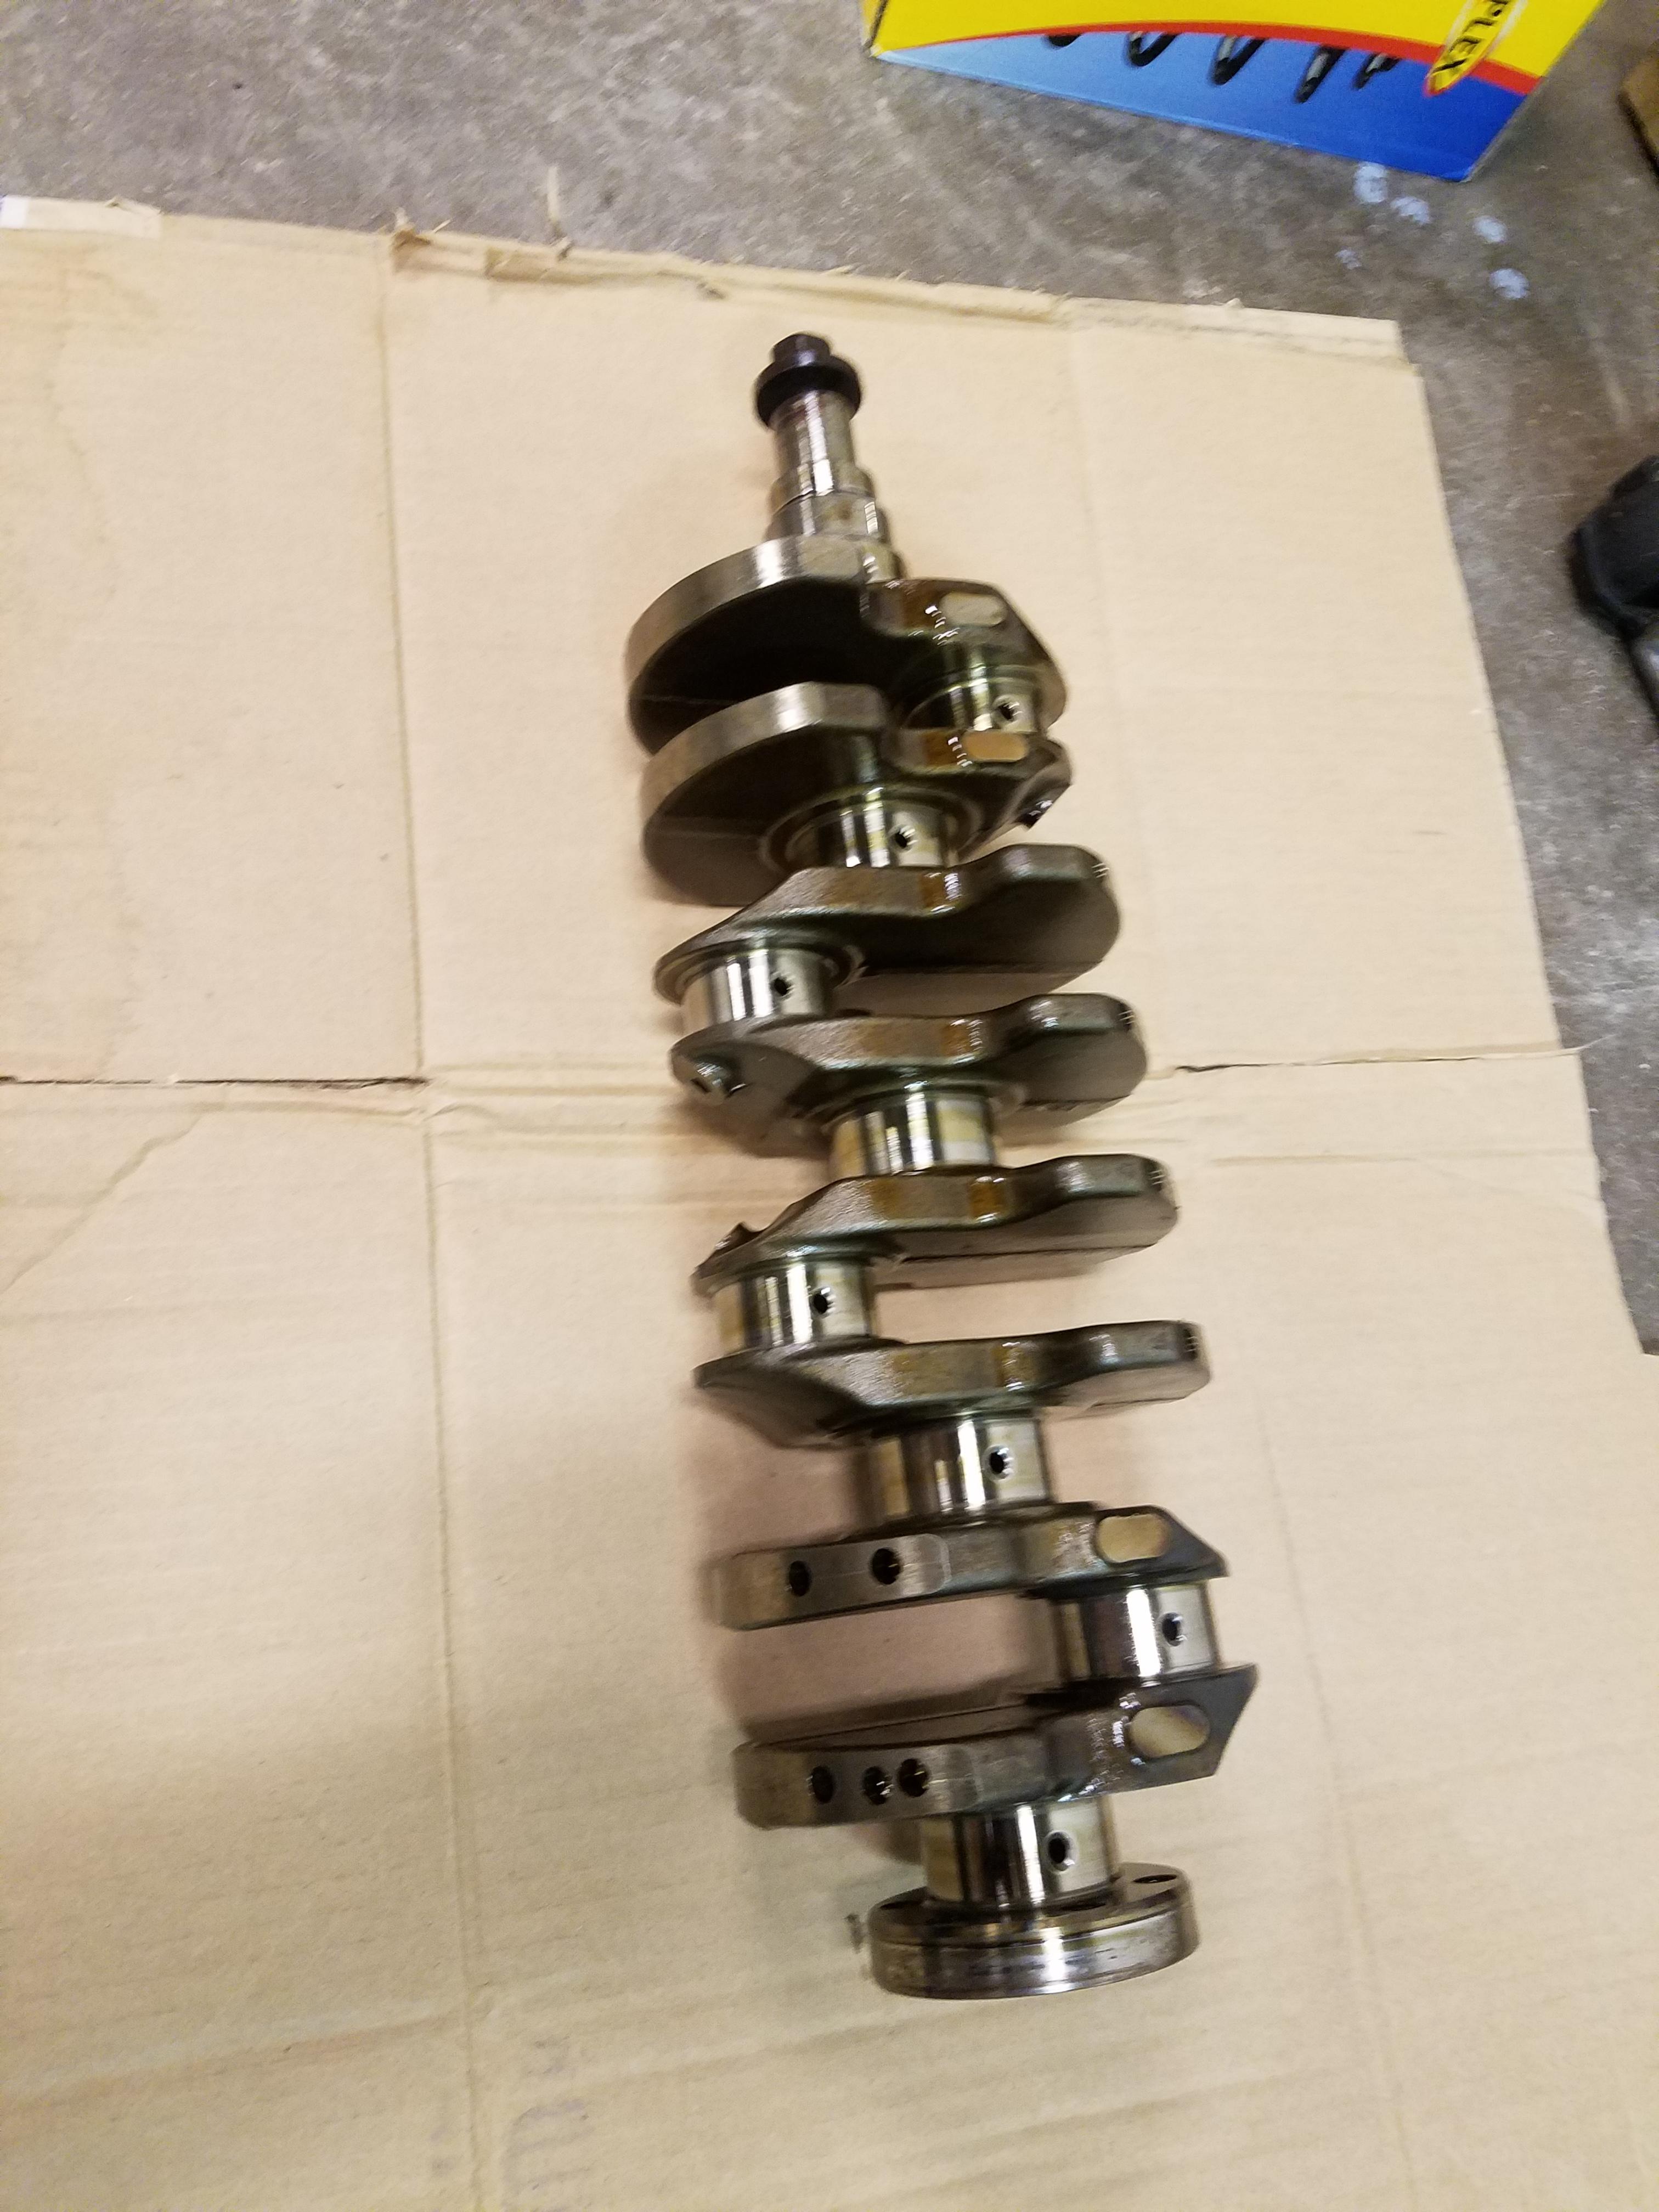
It's a crank!
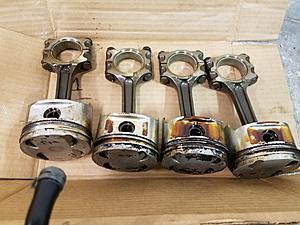
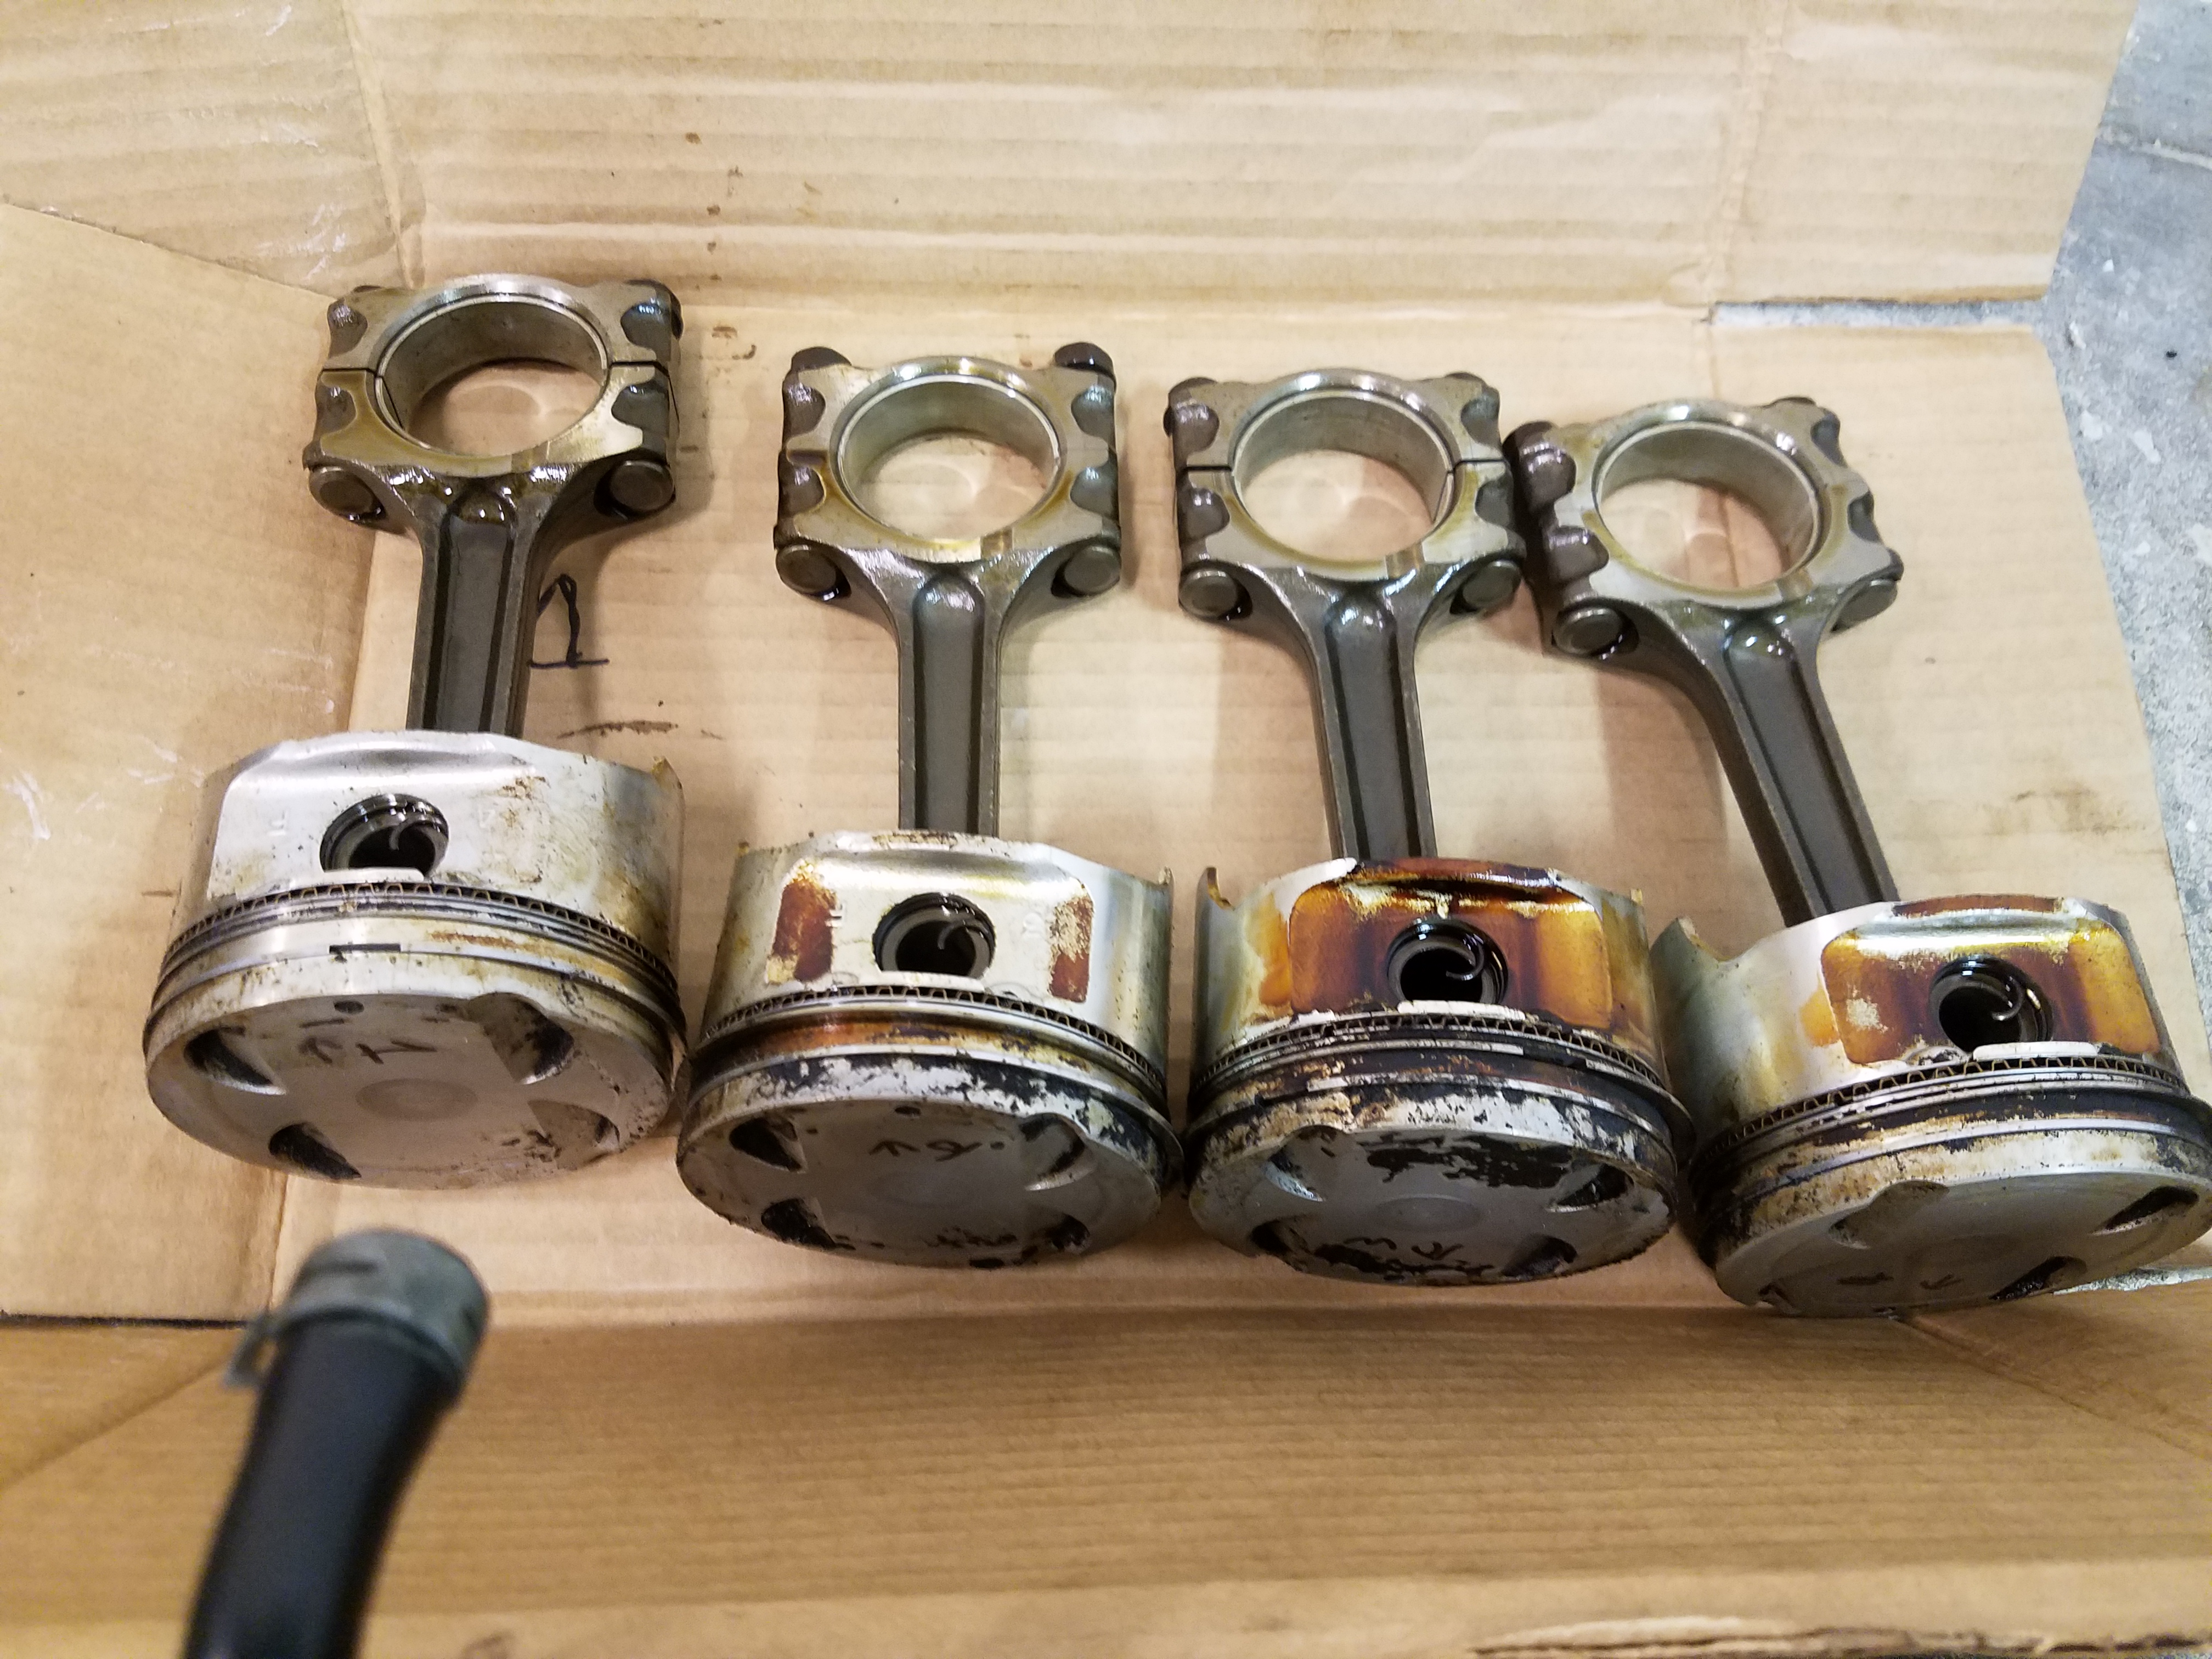
Pistons
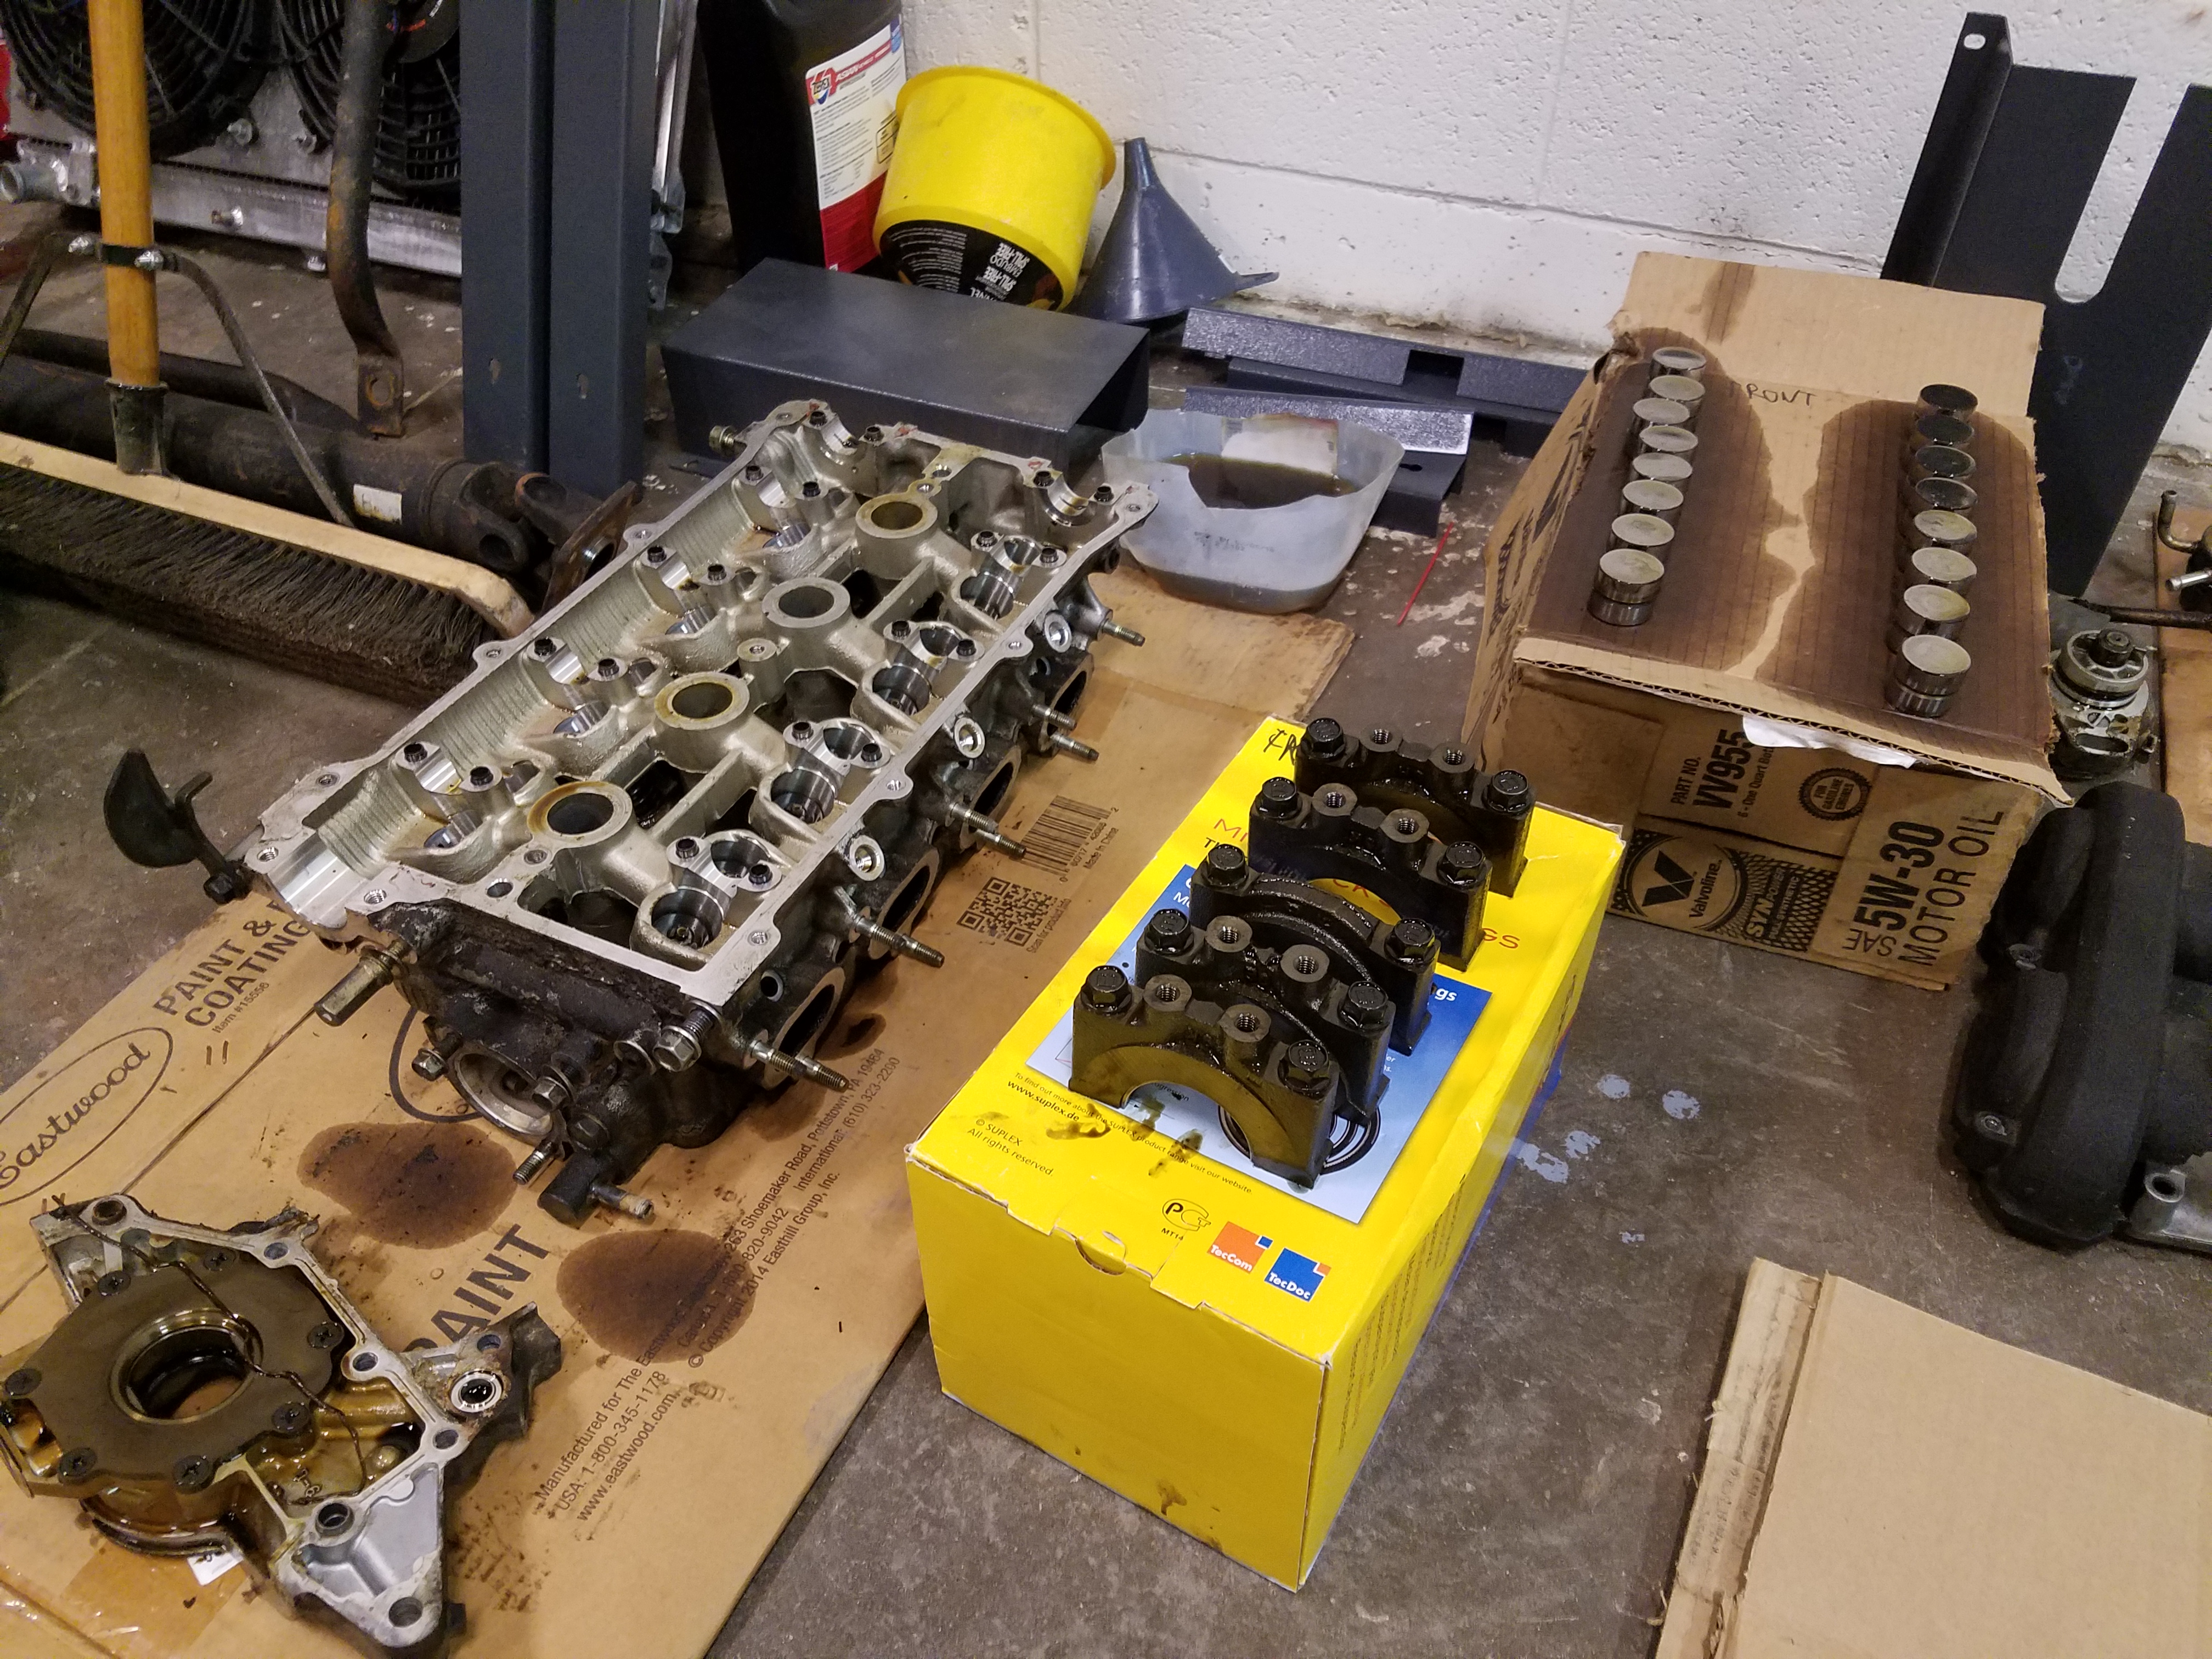
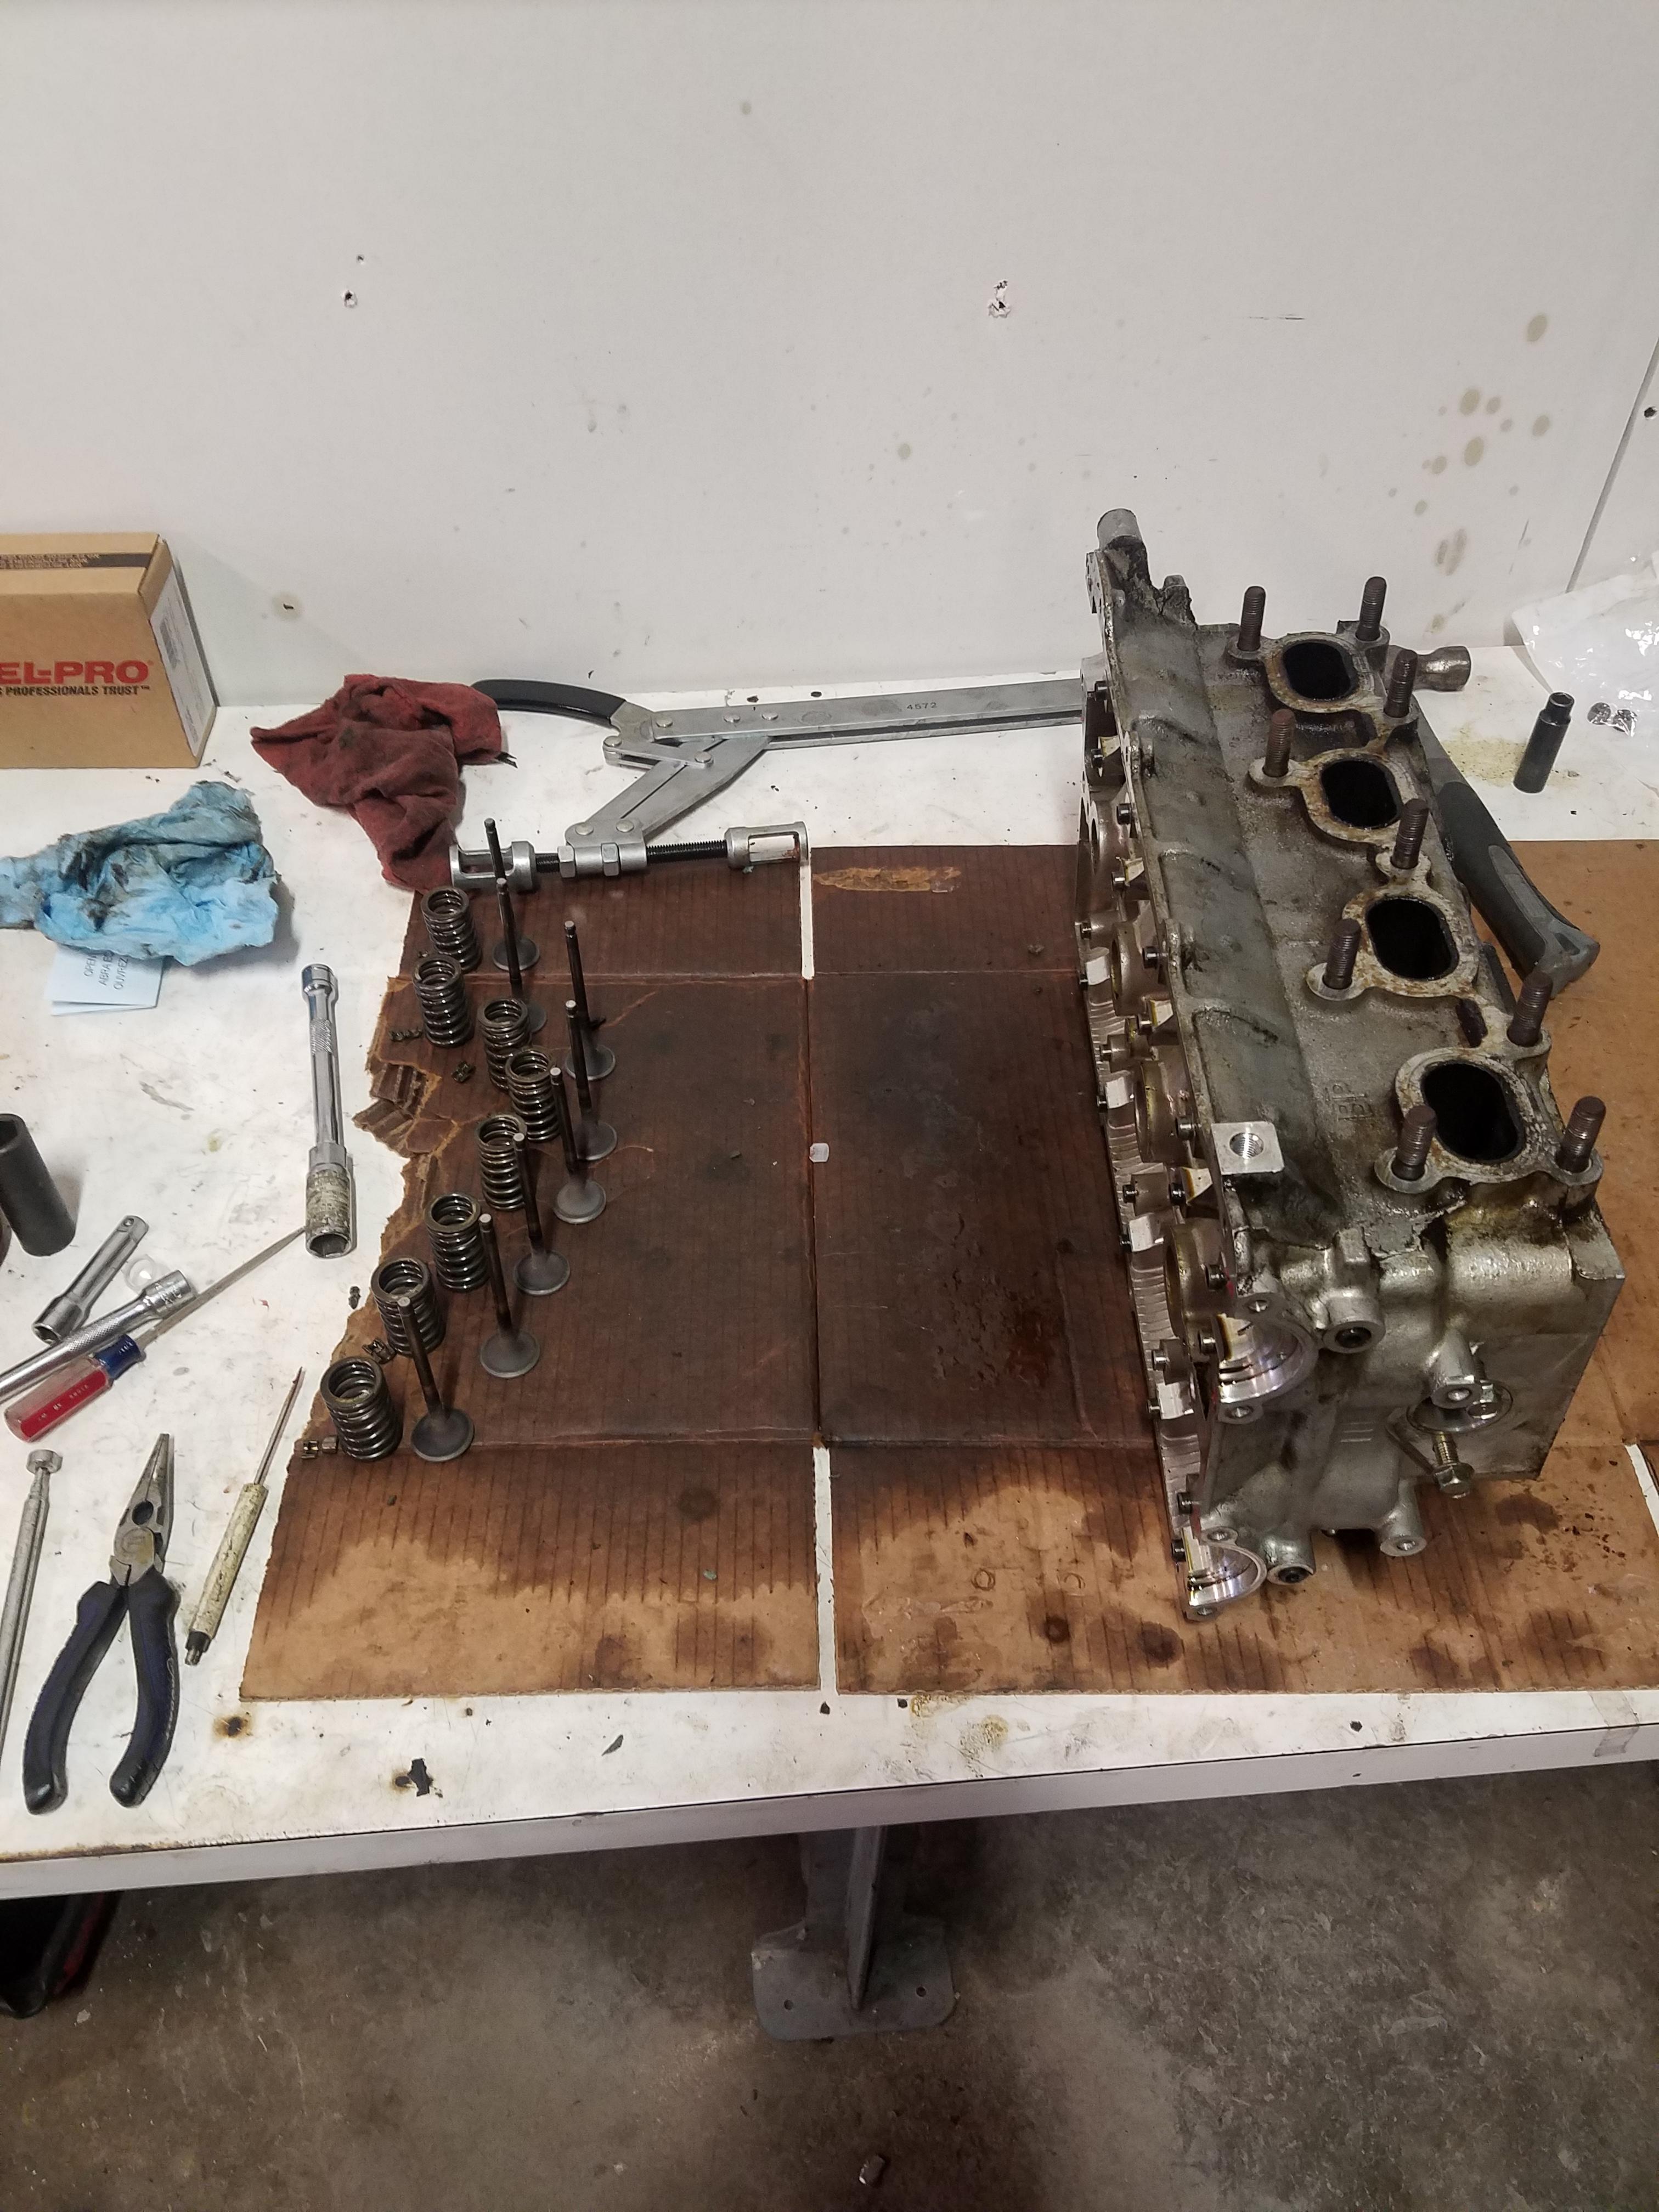
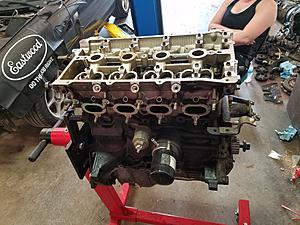
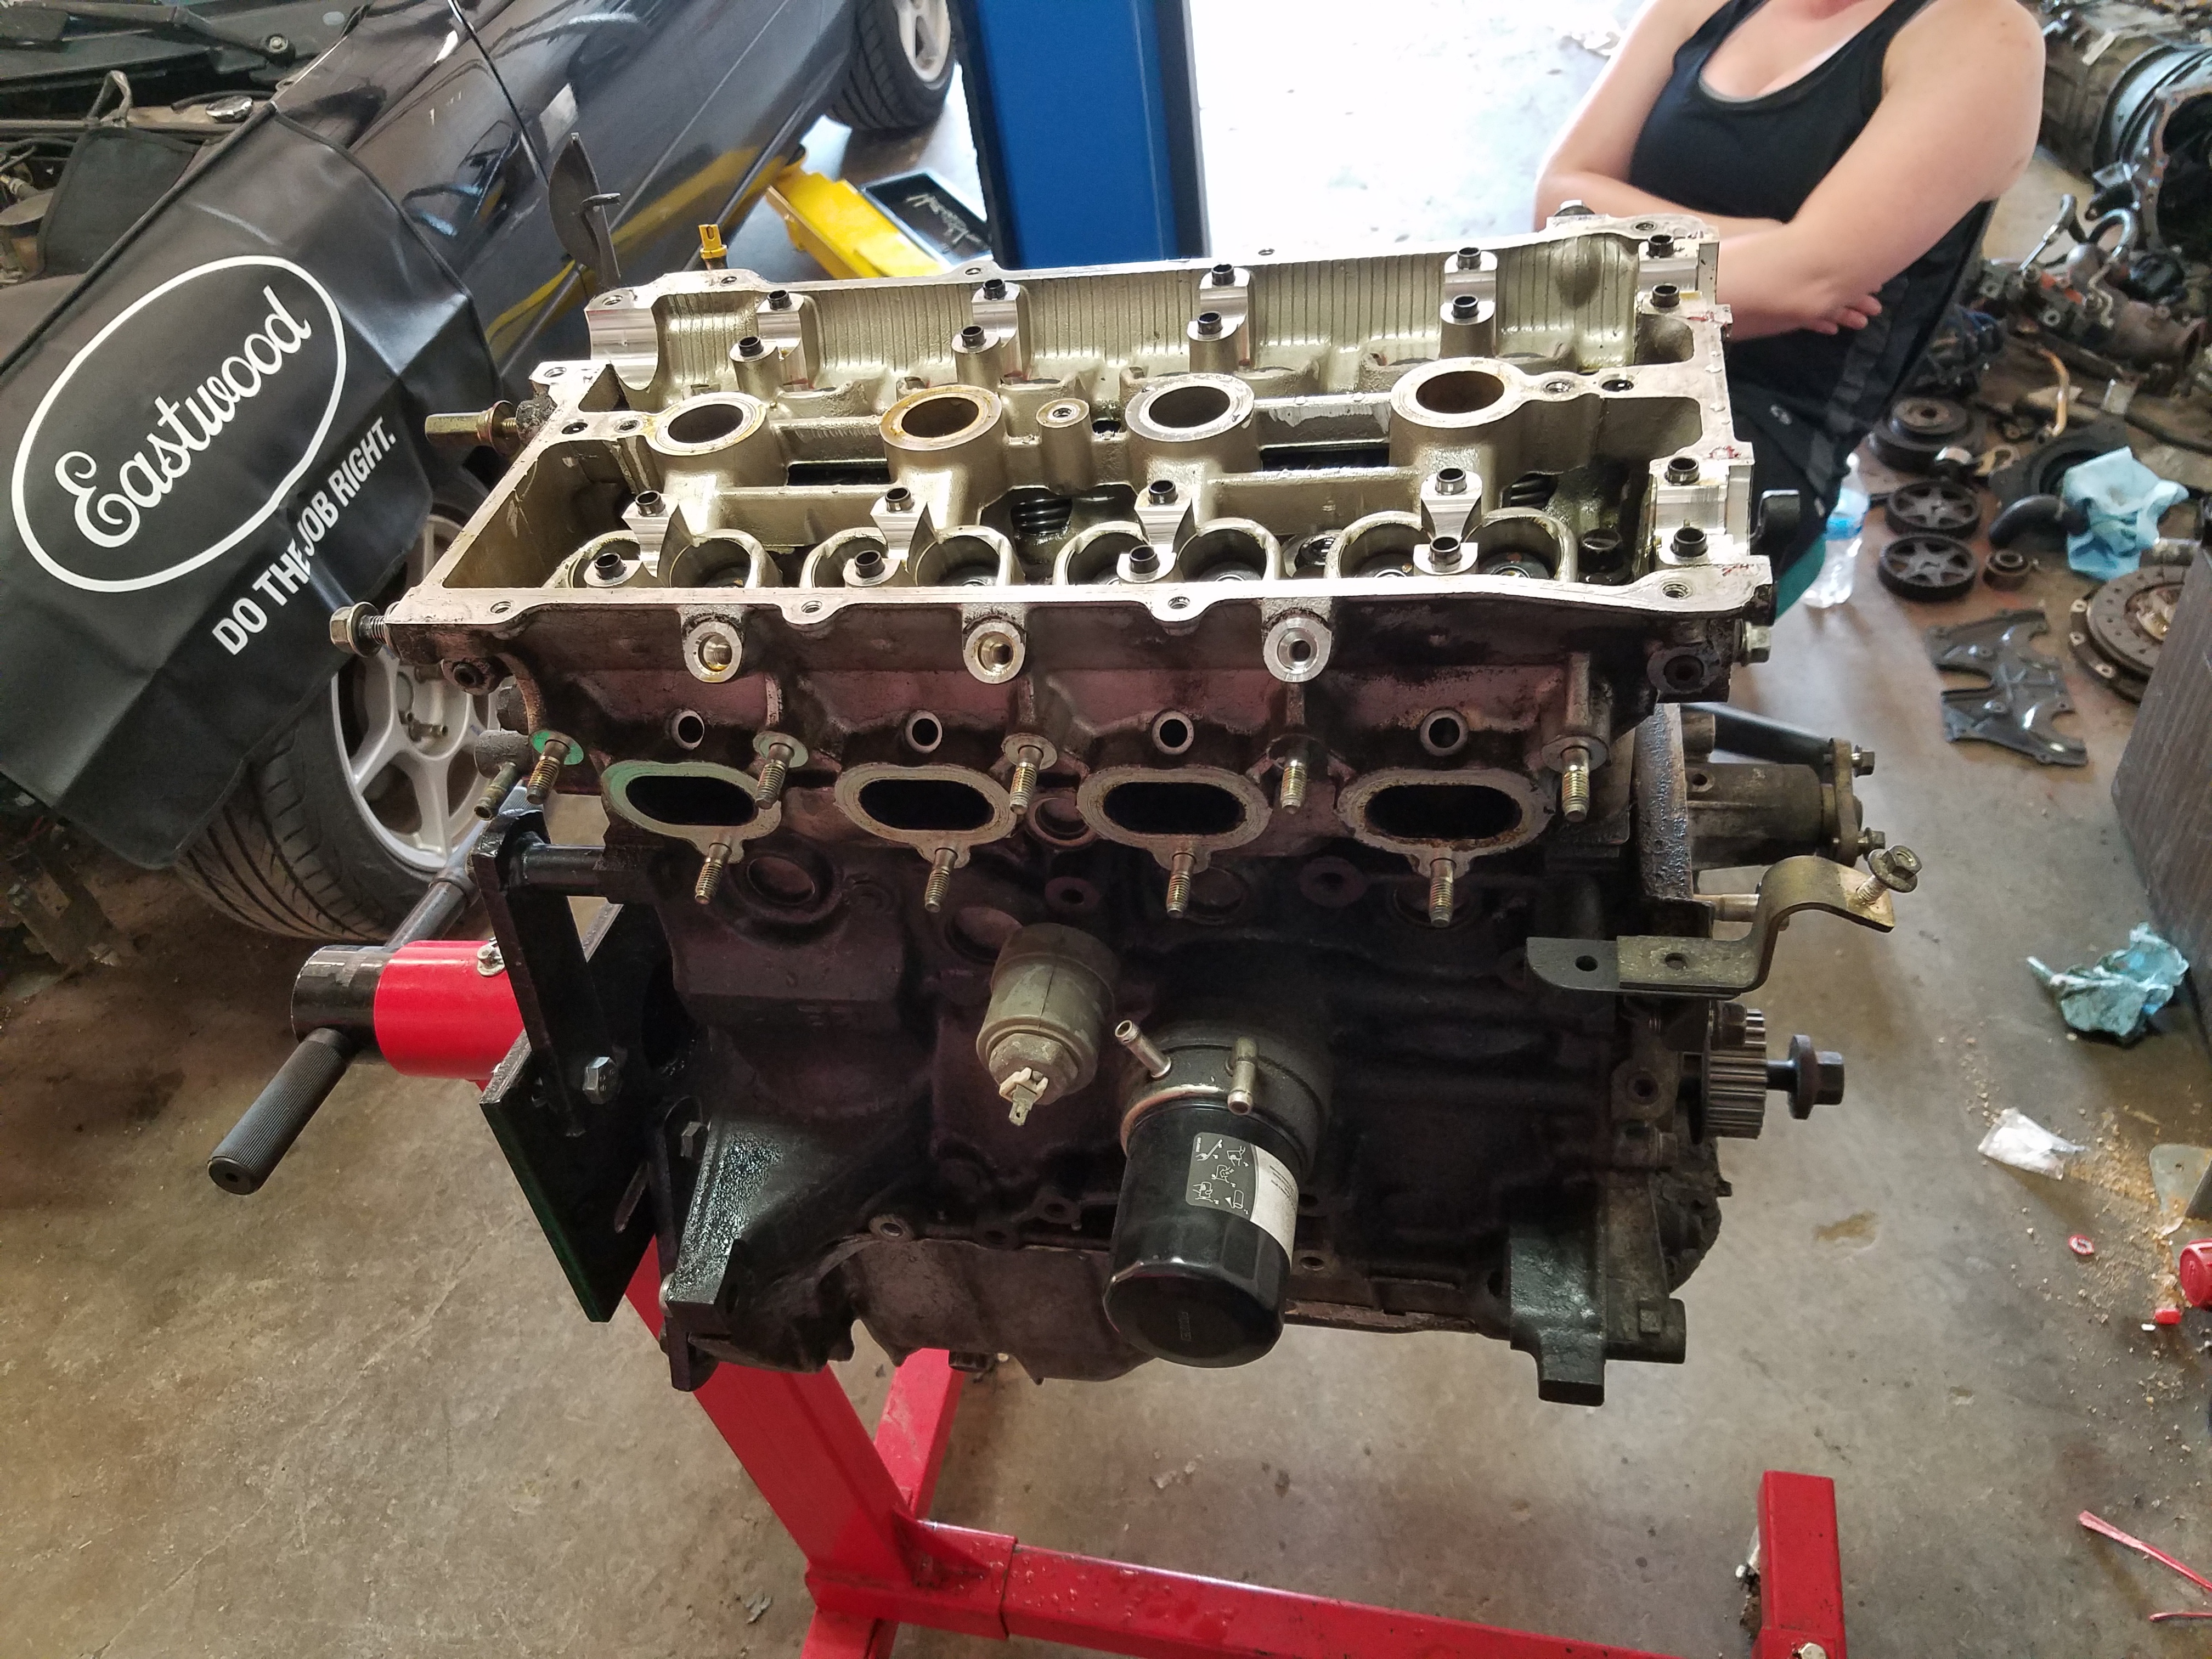
Head, hydraulic lifter assemblies, oil pump, and main caps.
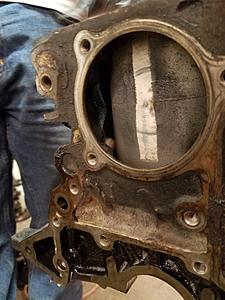
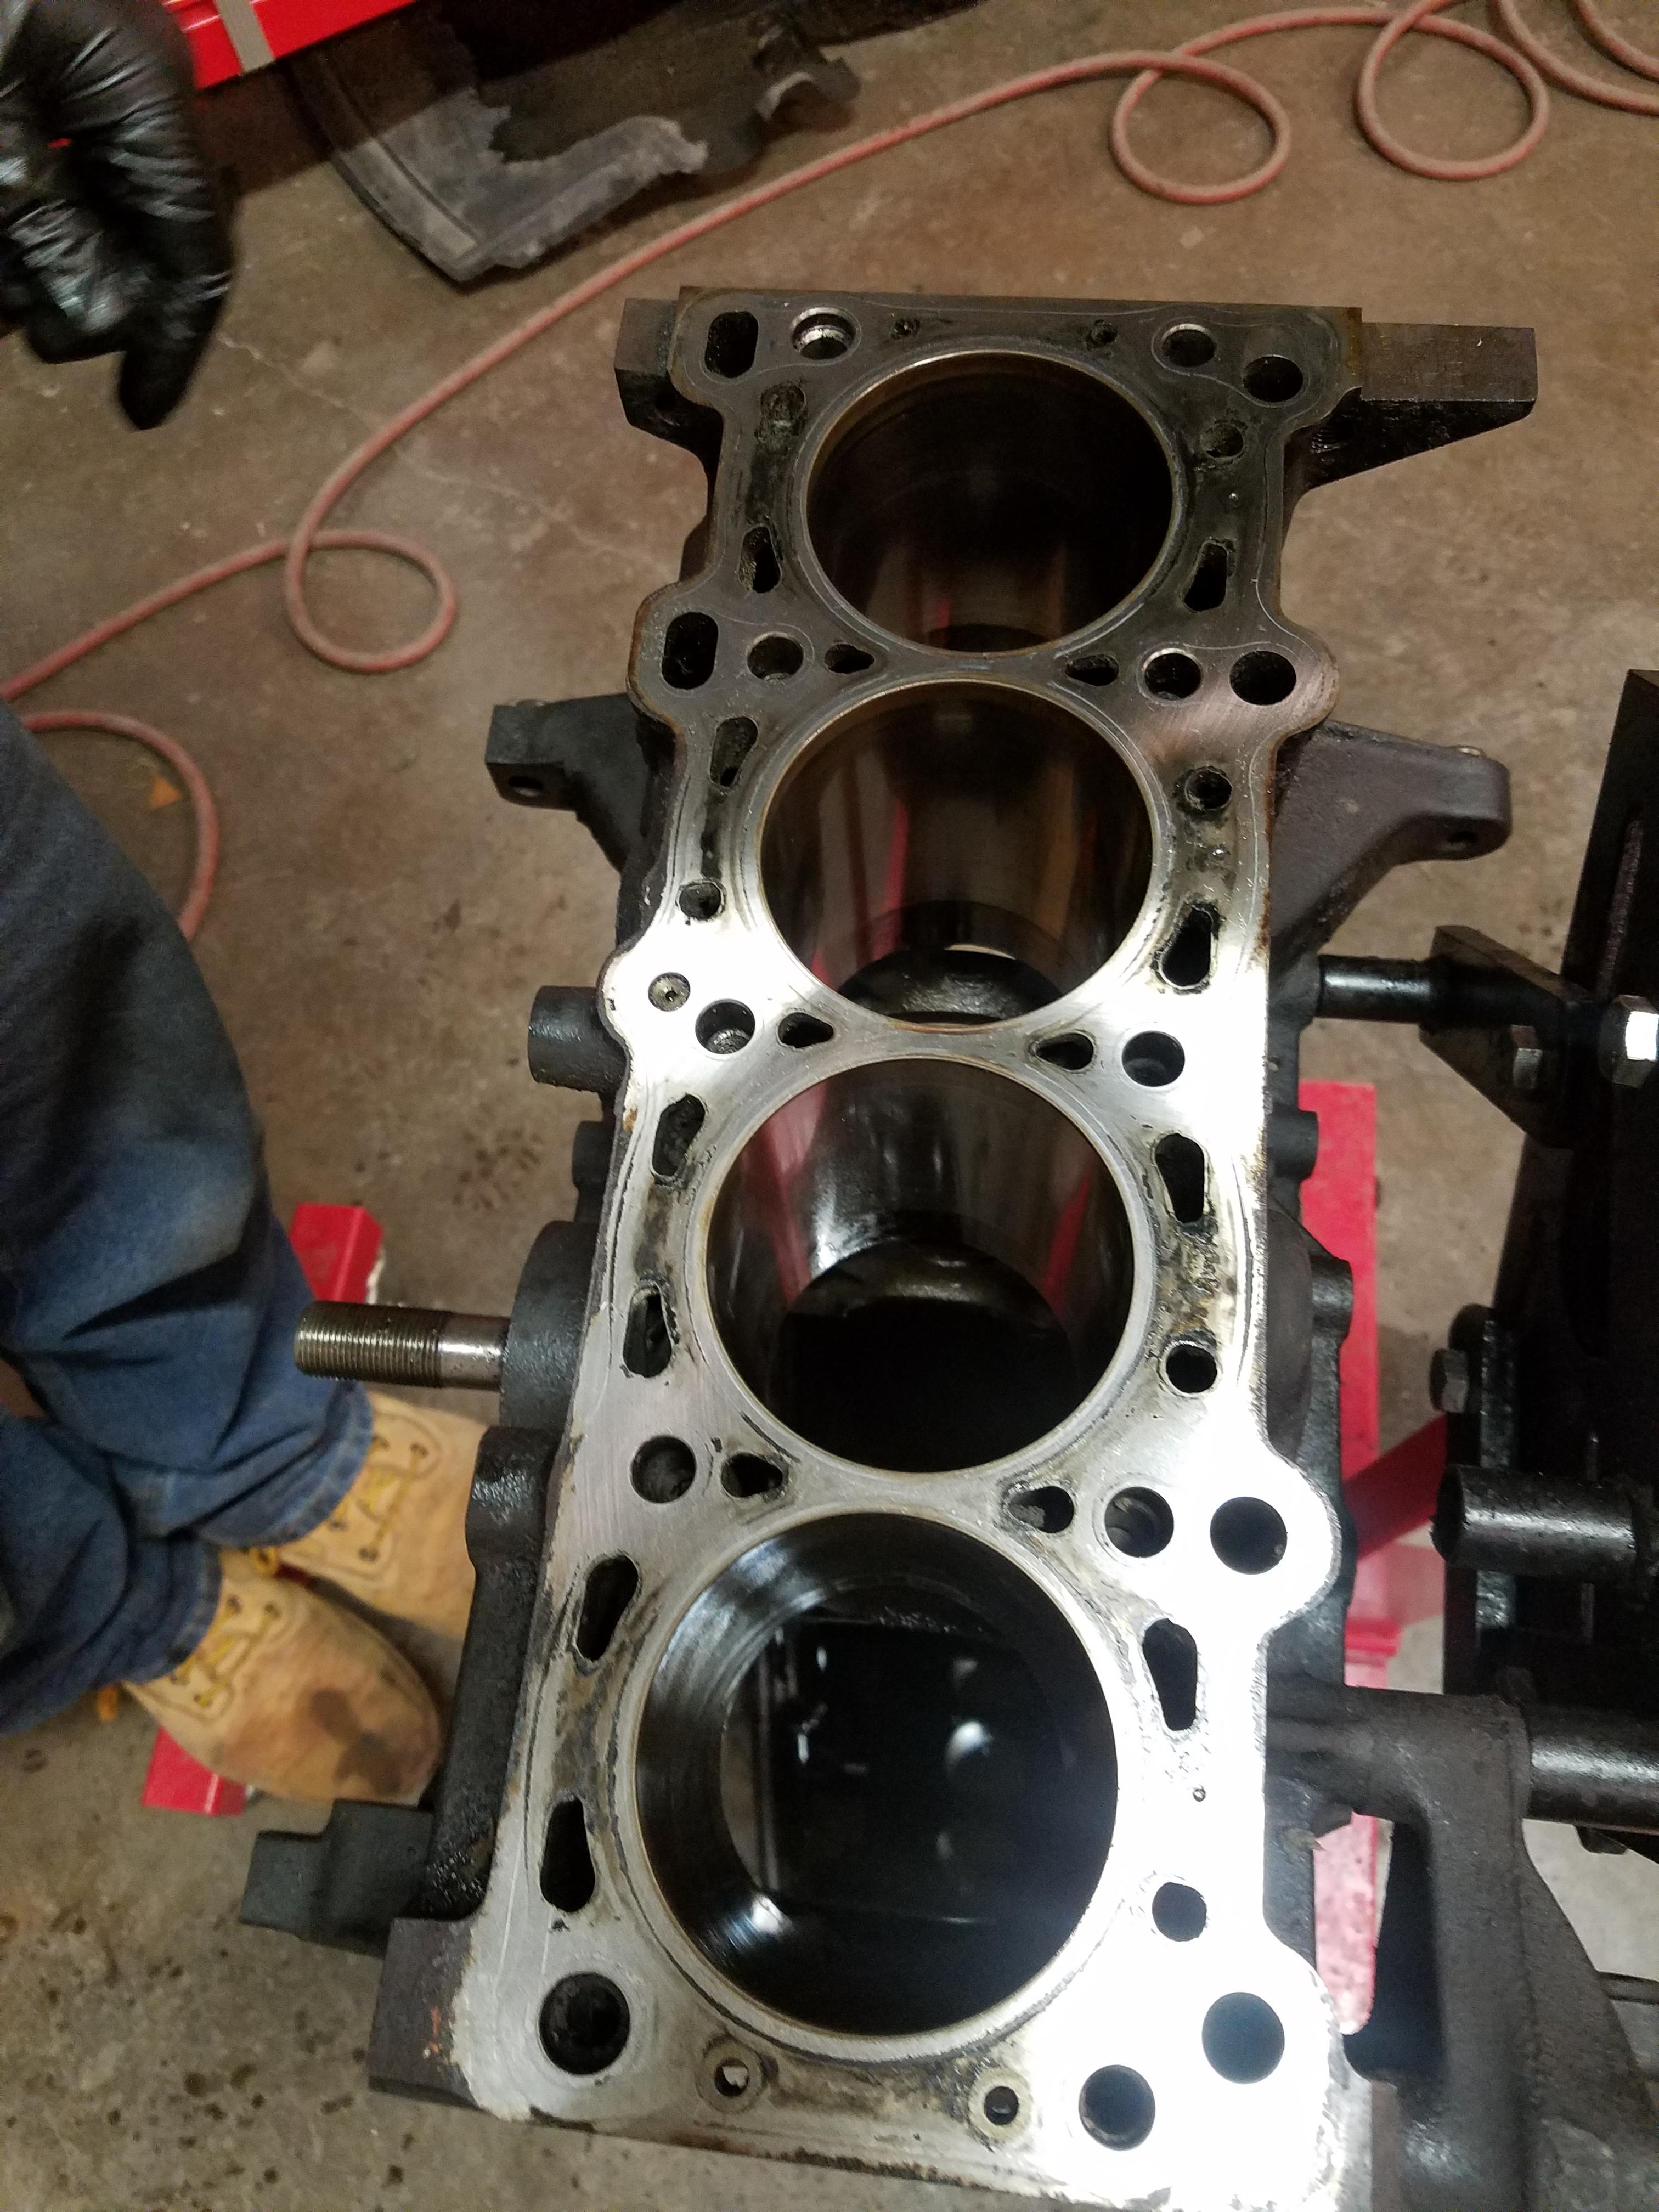
View of the block that I think is really cool. Block makes me think solid, but it's a little less solid than I thought. Jugs in a box!
Bath of Seafoam helped clean up the combustion chambers.
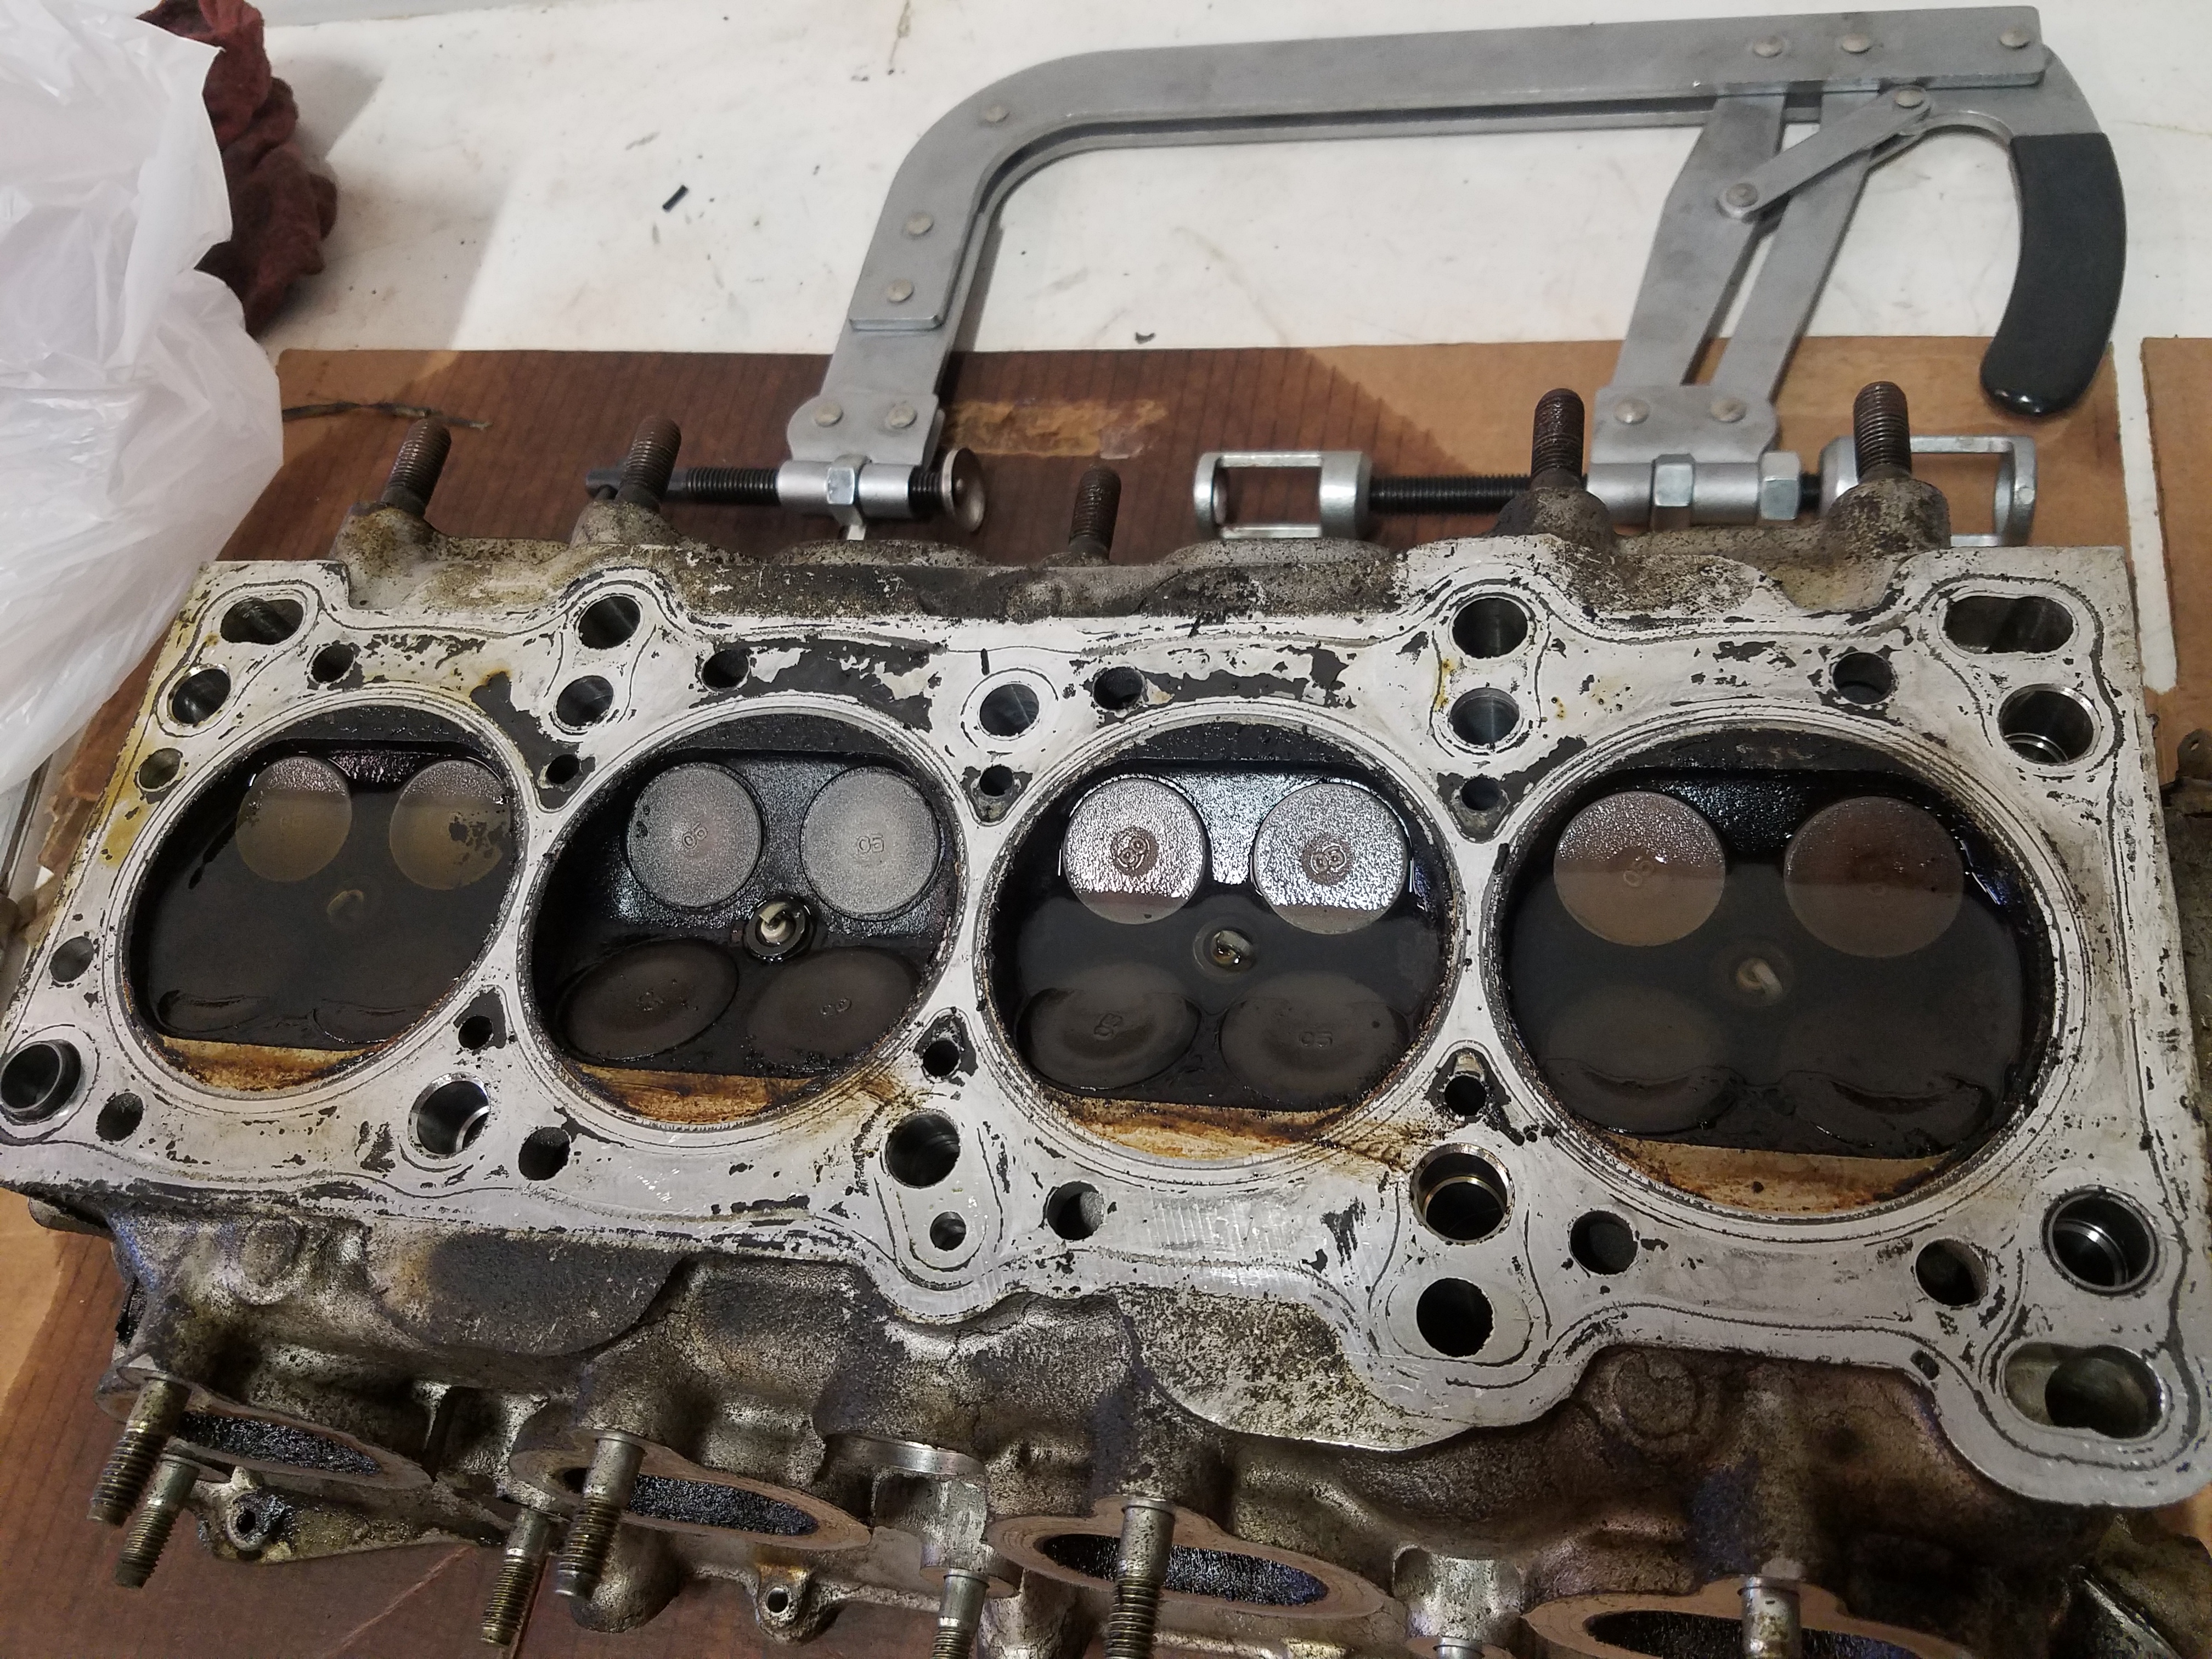
Valves out for lapping.
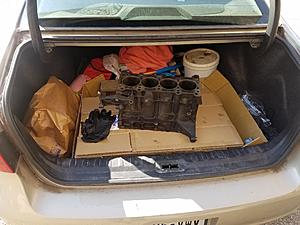
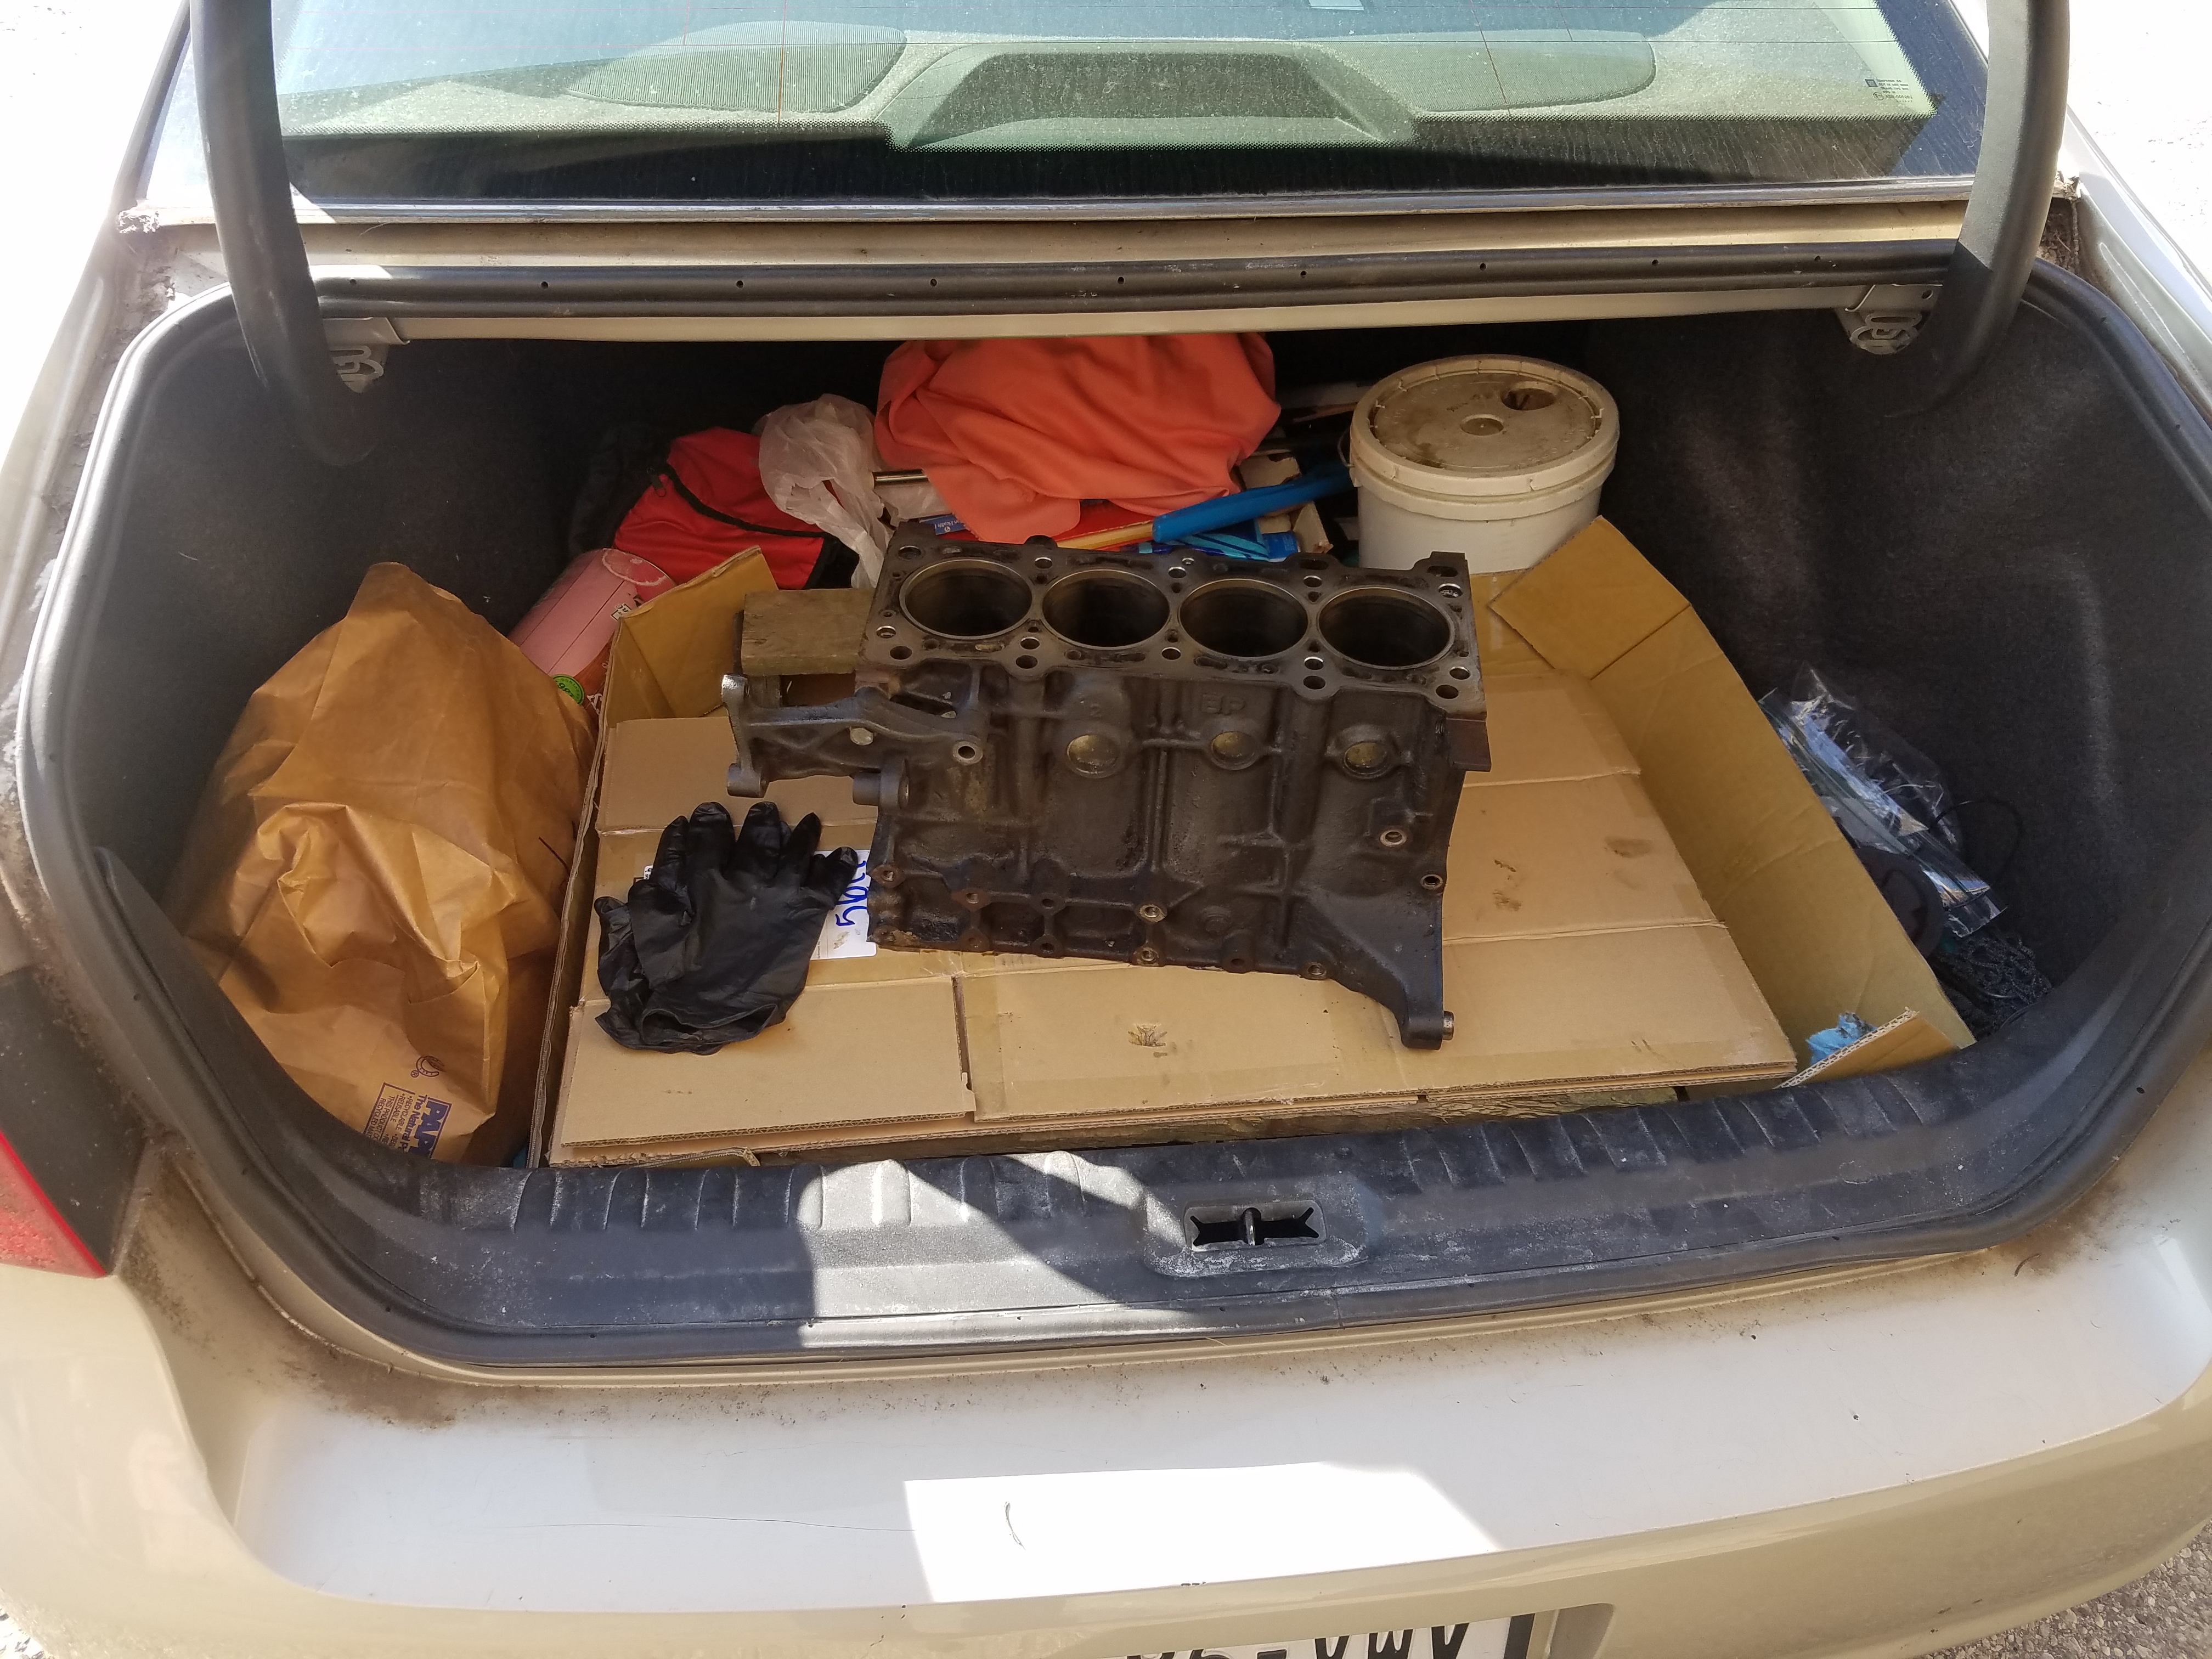
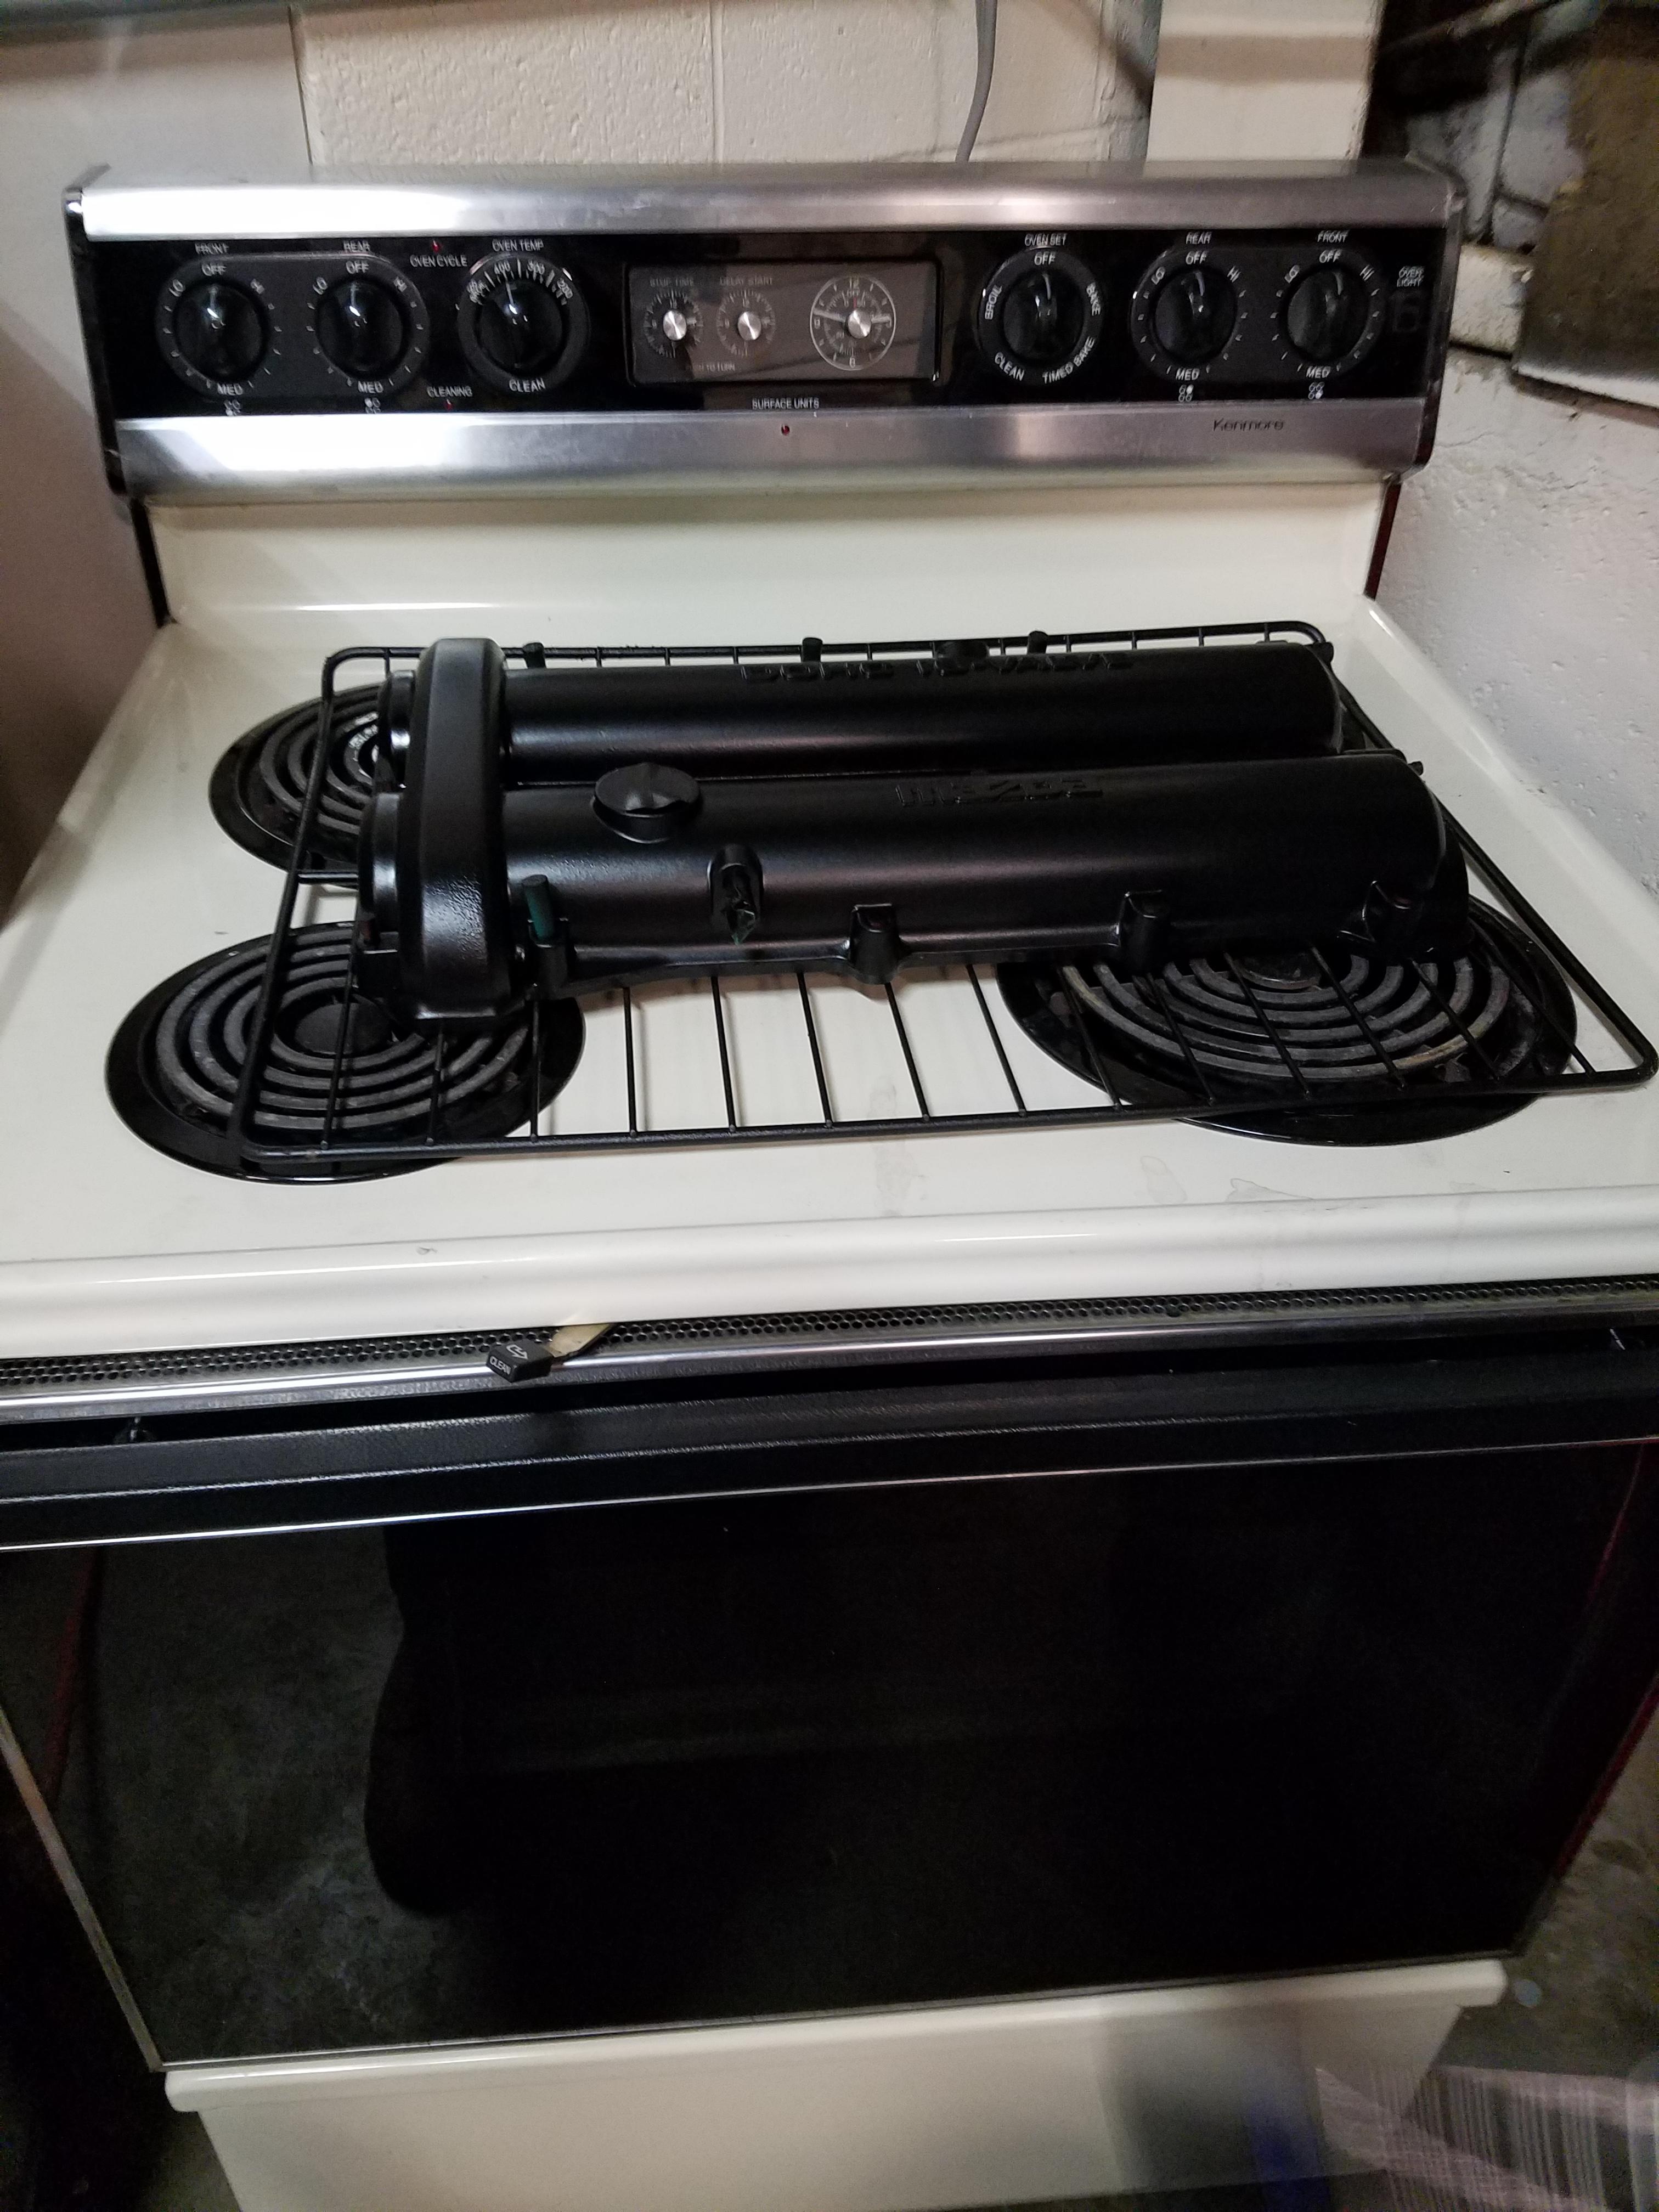
The only good part about my current daily driver, Buick Lucerne. Plenty of space to take the block to the machine shop for a clean and hone
Are you planning on building something on the side?
Honestly shuiend has written about this a decent amount re: at least throwing in rods for a rebuild because it doesn't add much to the total cost and affords one the headroom to max out most of the smaller turbos and only adds like 250 dollars to the total if you buy China rods on eBay.
You're there already, so might as well
There's also a boundary stage 1 pump in the classifieds.
As an aside, a few folks are doing rods only builds right now so there's a decent amount of chatter about it.
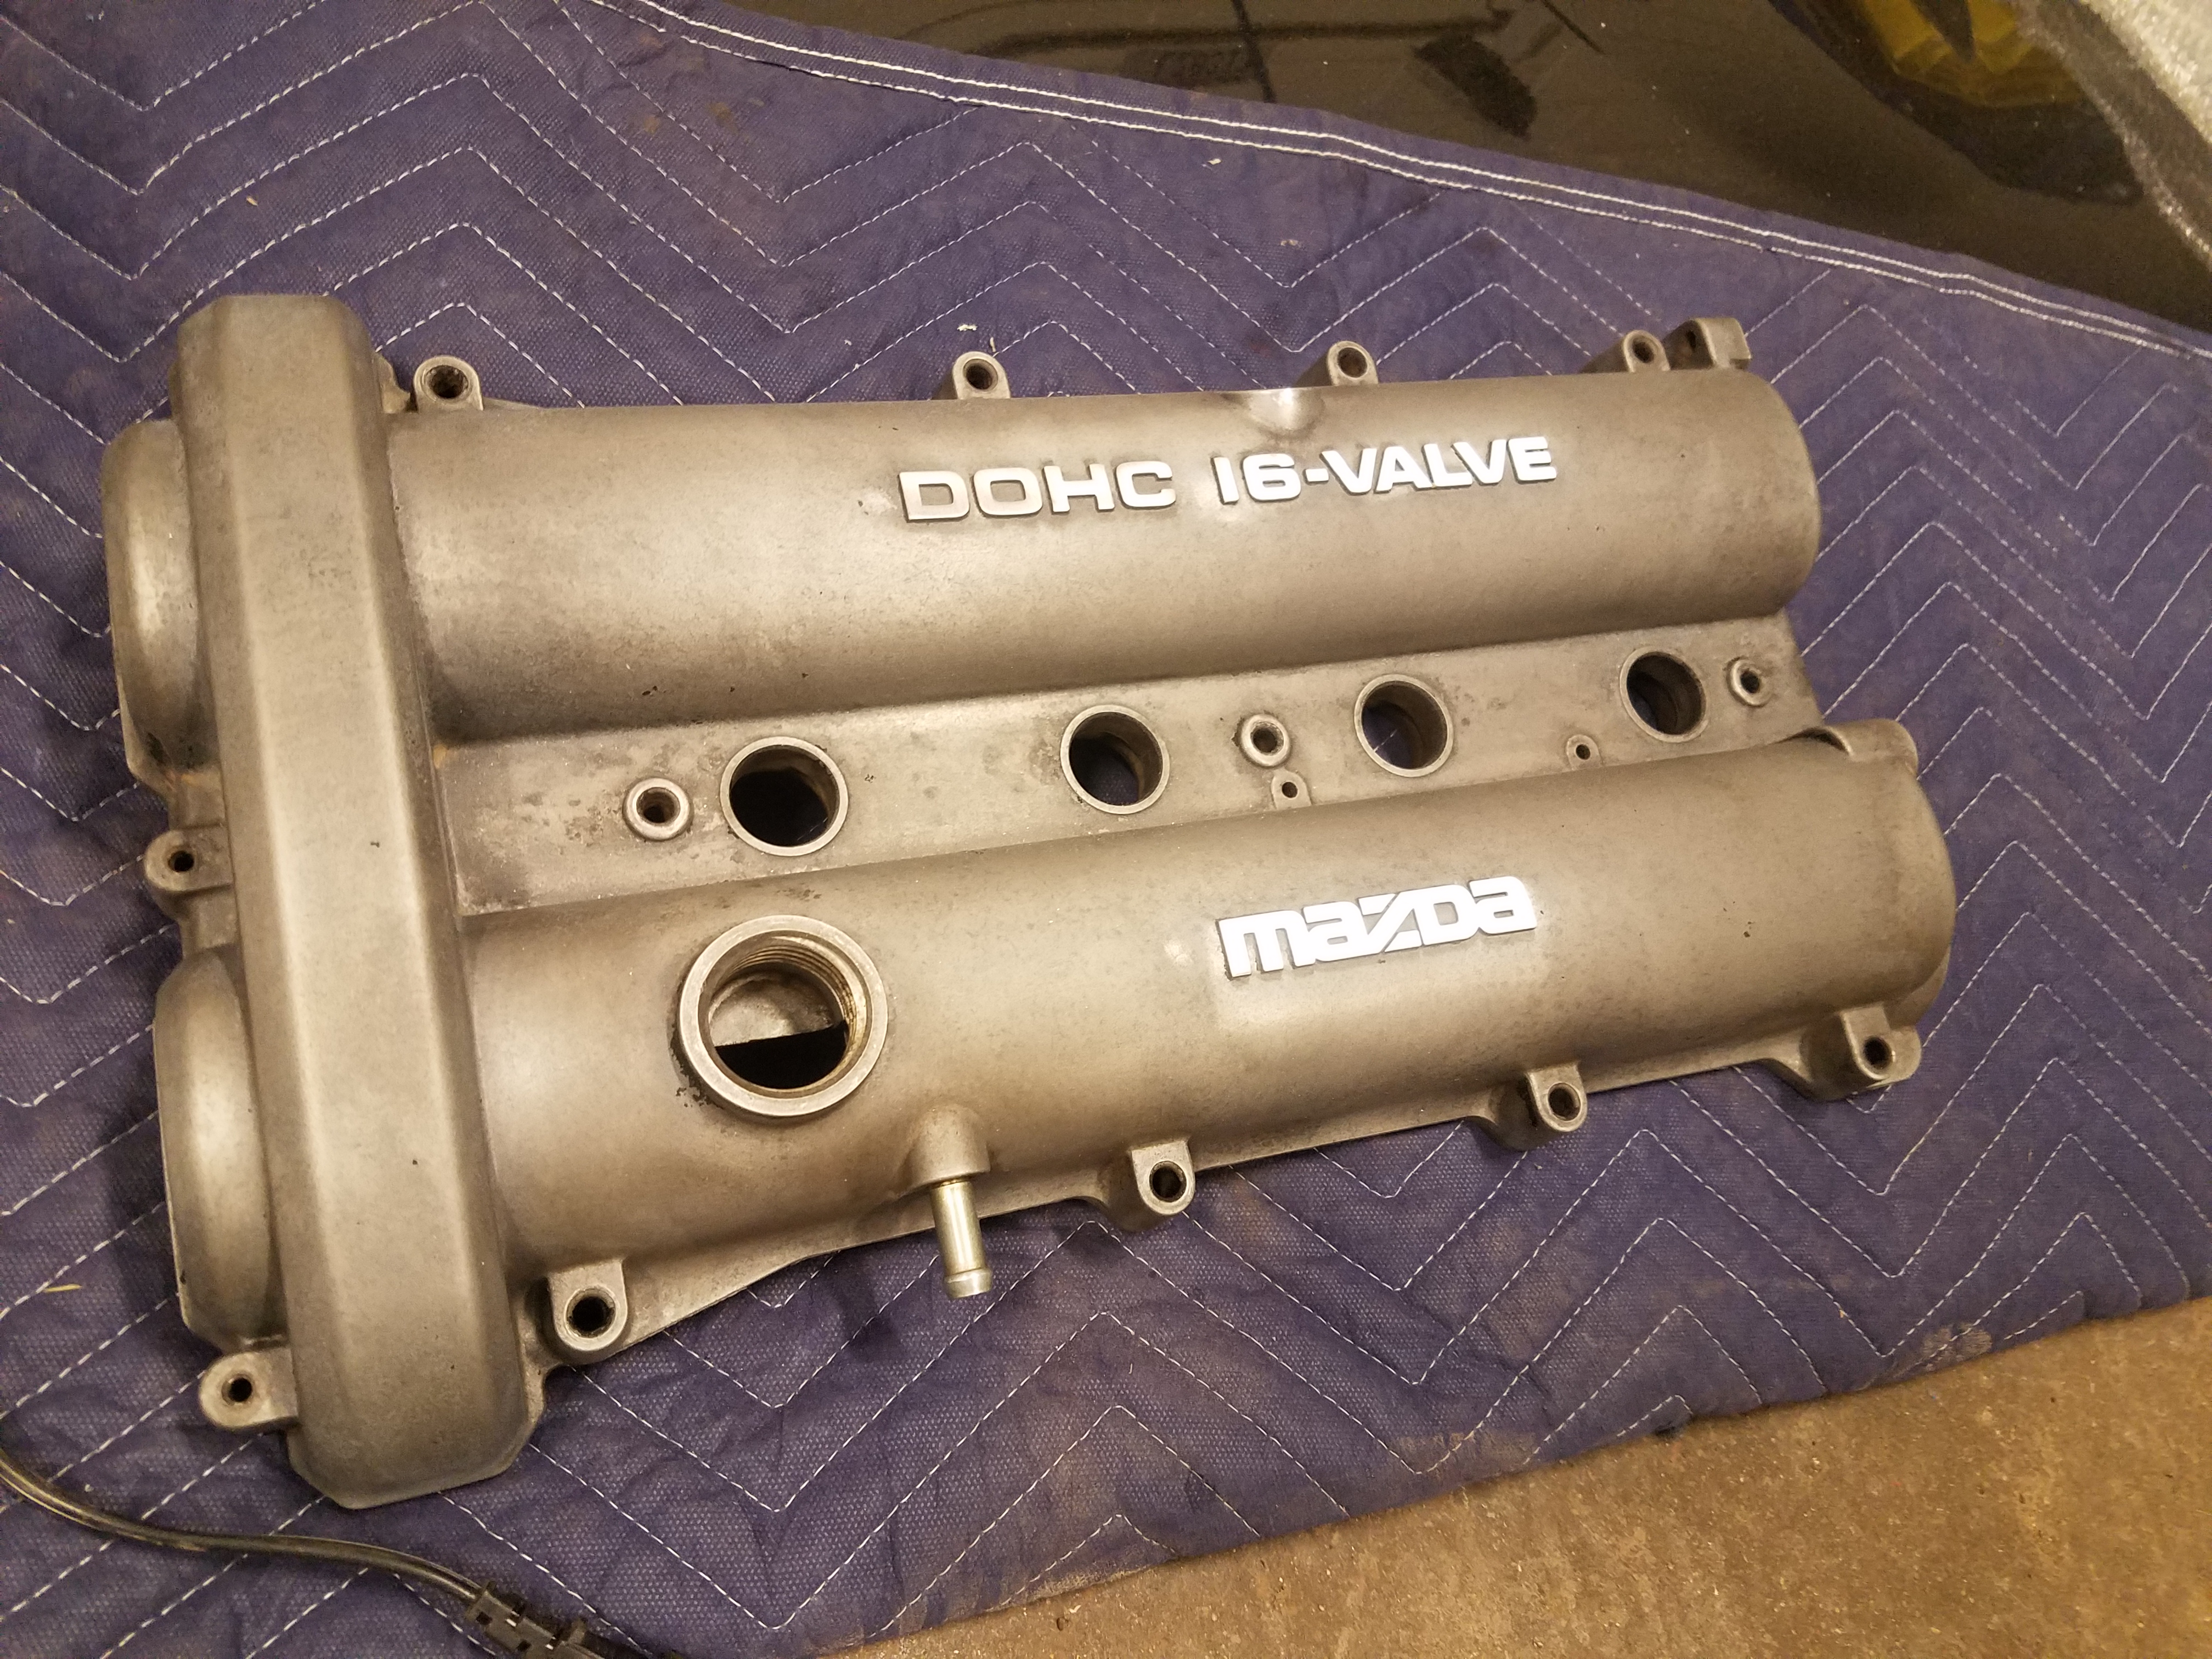
Starting off, we have a wonderfully satisfying video using our new media blasting cabinet with ground/crushed walnut shells to thoroughly, yet gently, clean the pealing factory paint off the valve cover.
End Product is nice.
Side note, had a strut on the fiancee's car break in two. Made a hell of a noise.
Still playing catch-up with where the build is actually at, hopefully I can get up to speed tonight the thread.
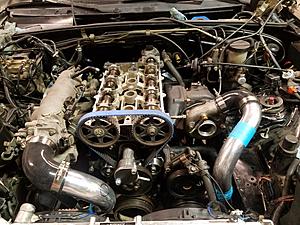
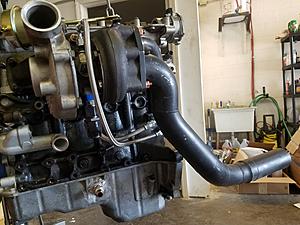
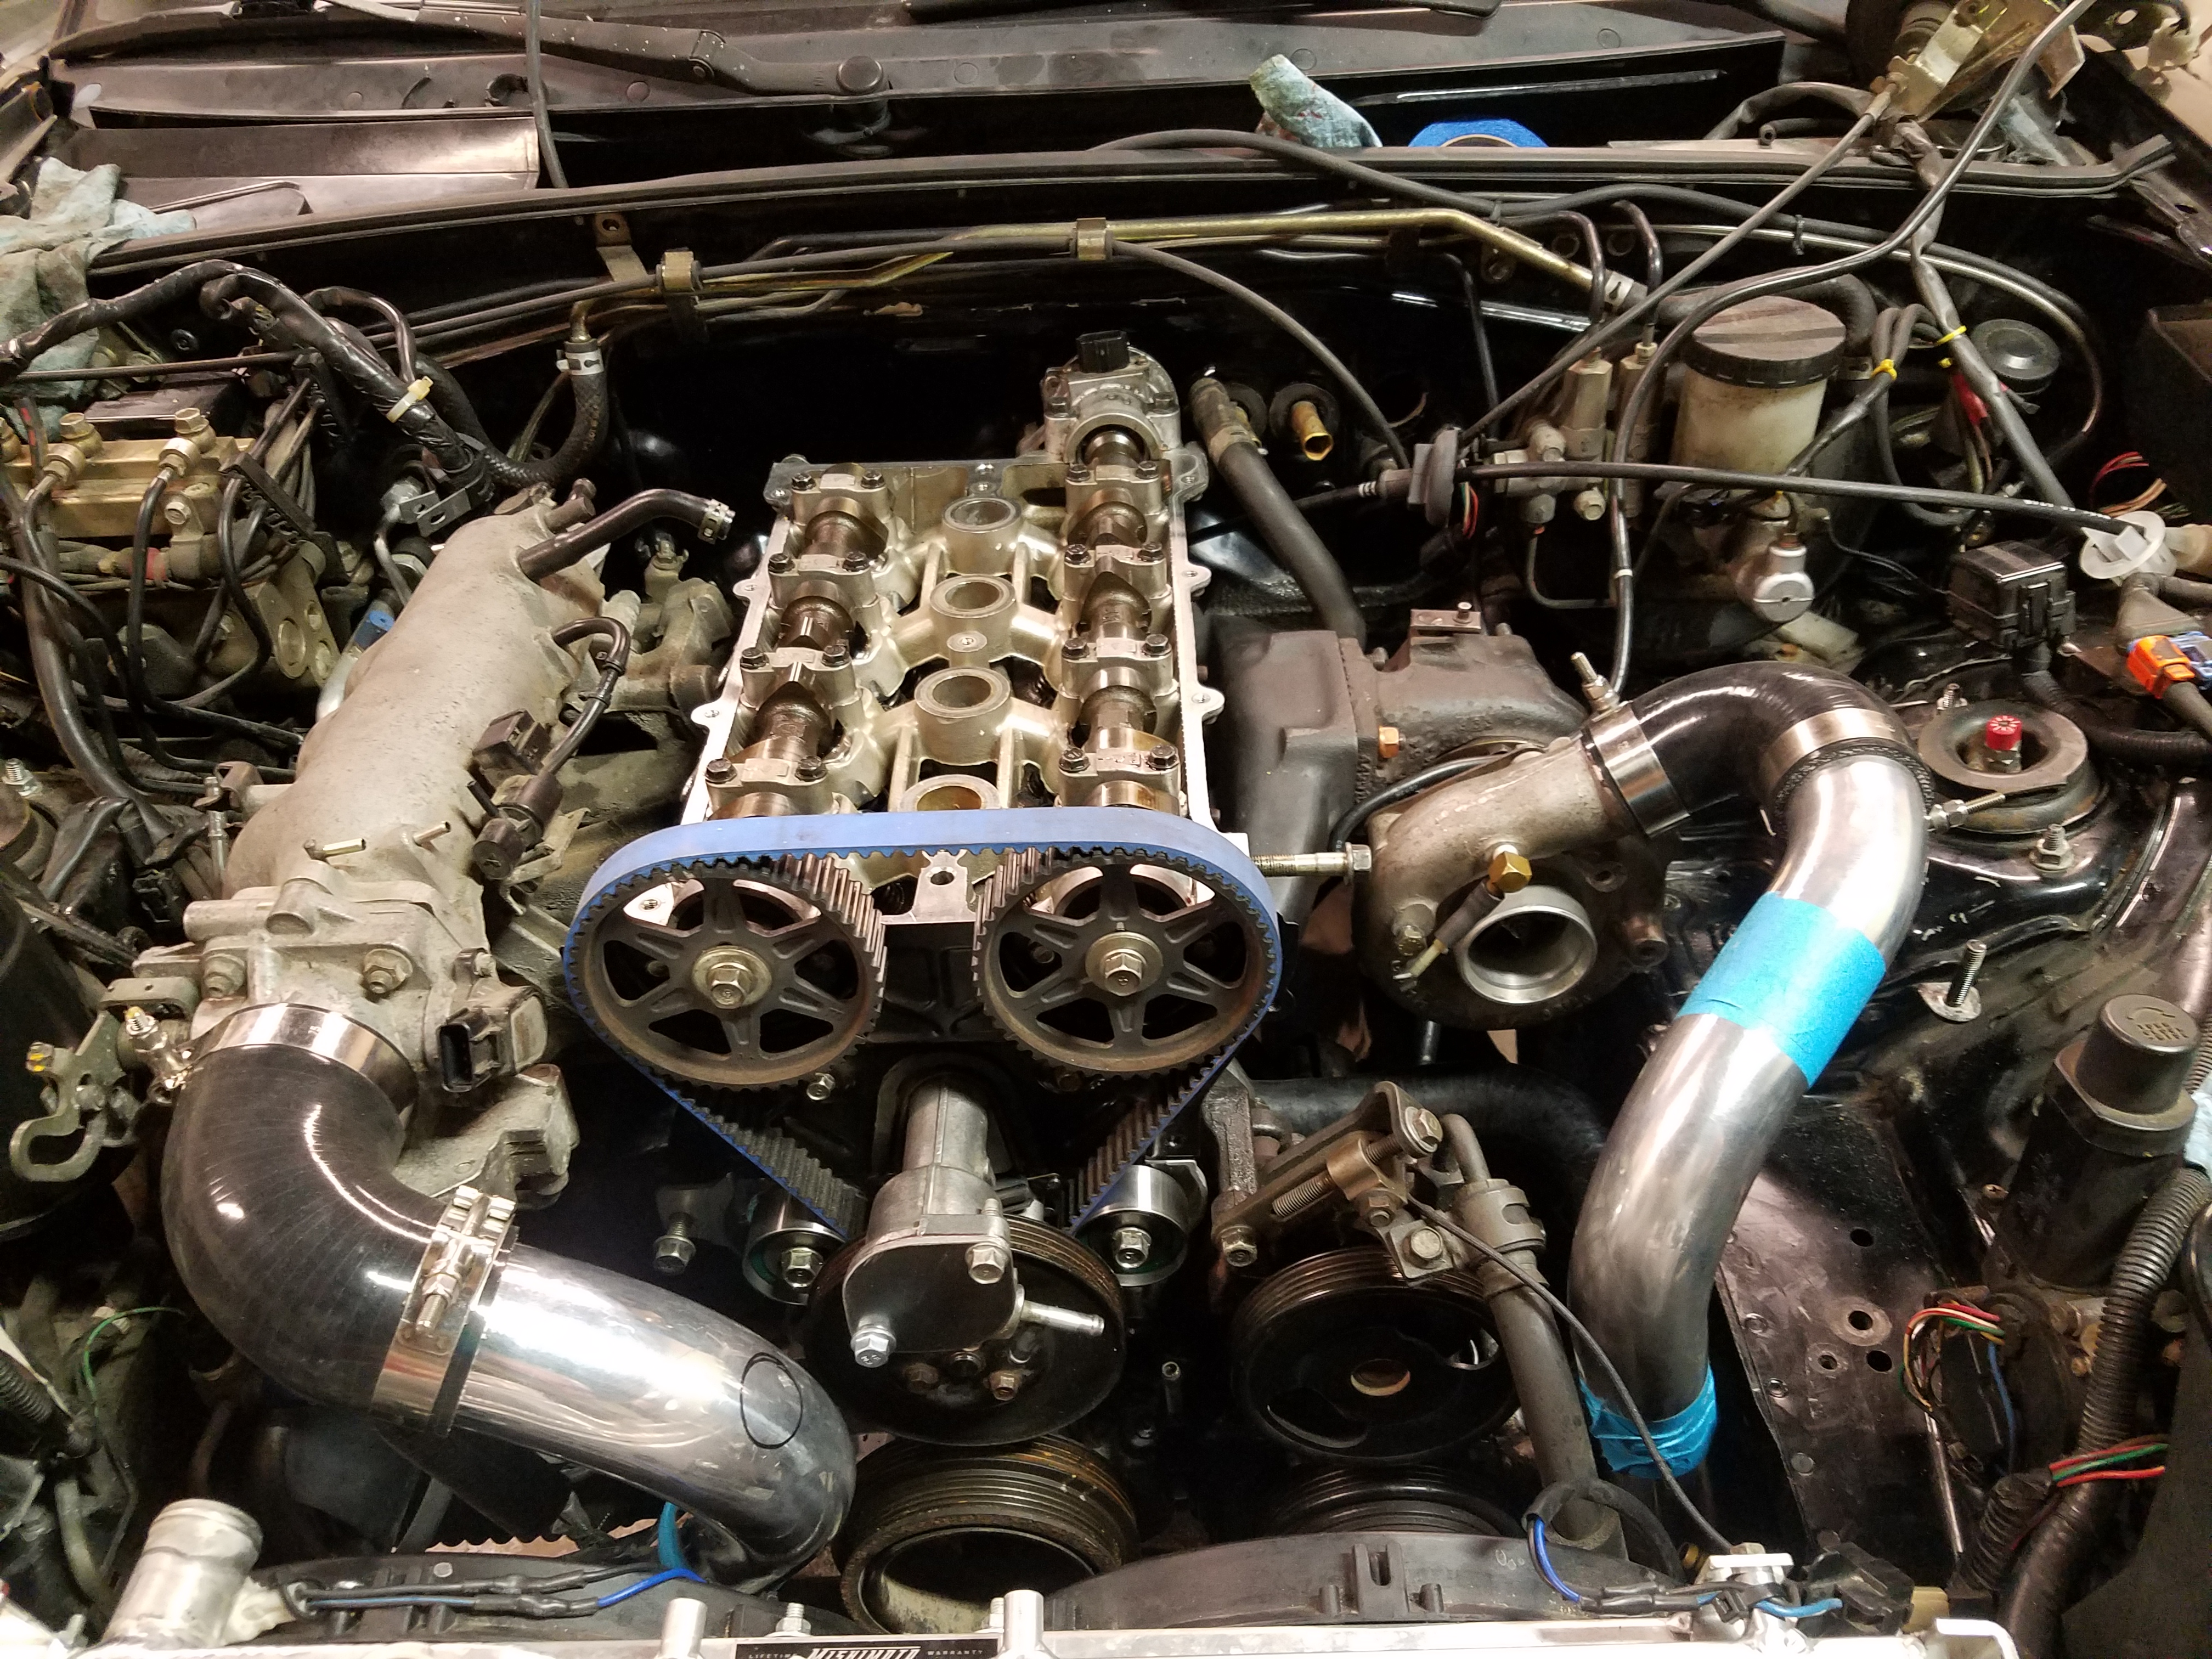
Trying to figure out the piping... with air conditioning and power steering. Love the black intercooler.
Cold side was easiest.
Hot side was the tricky part.
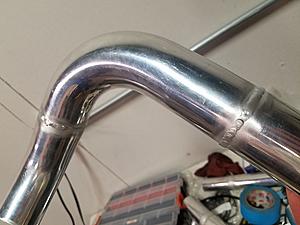
Some more pictures of the pipes
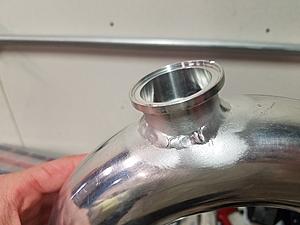
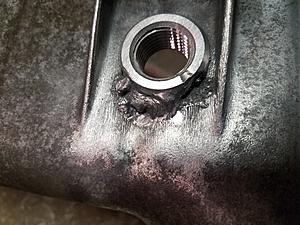
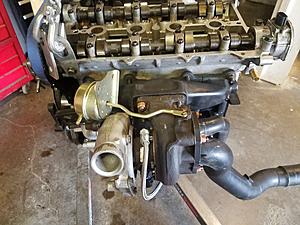
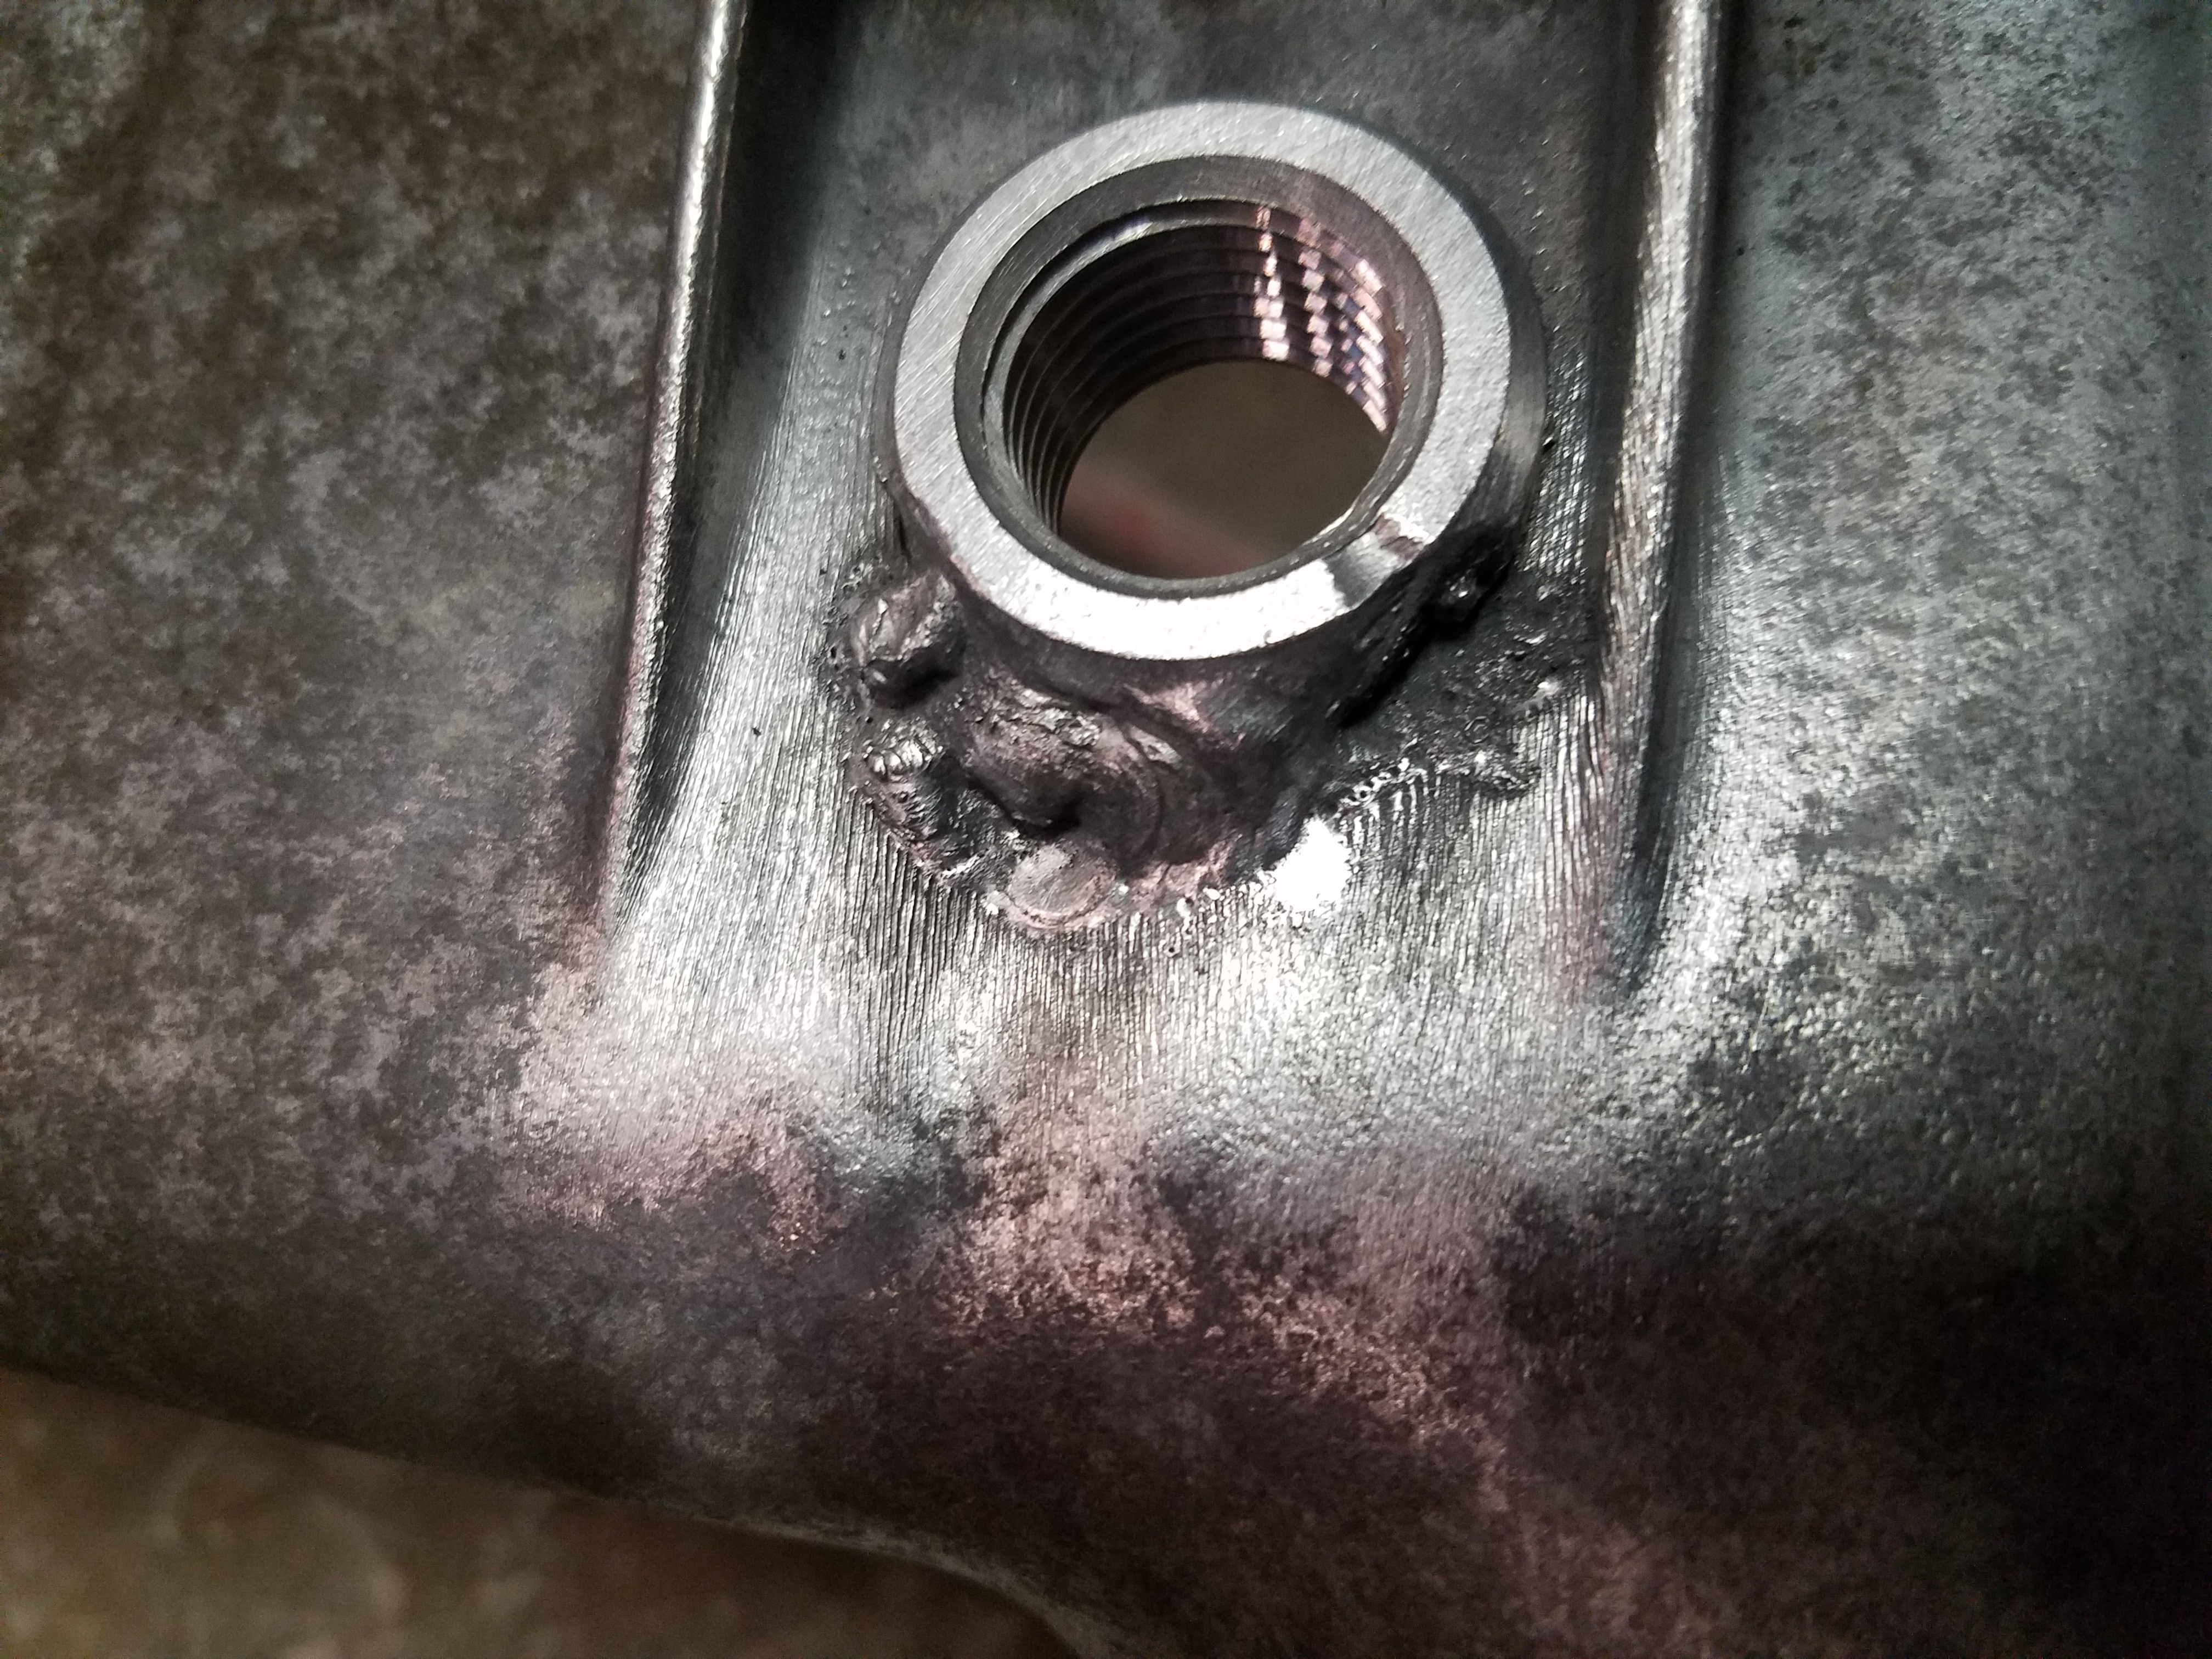
First blush at welding in the 1/2" NPT bung. My buddy gave it a good try.
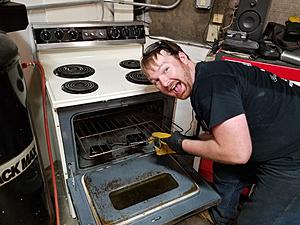
Brief intermission for shop baking. We tried for wrinkle black powder coat on the valve cover, buuuuut it came out just black lol. Works for me!
Main partner in crime. Checking the regular black powder coated engine mount covers.
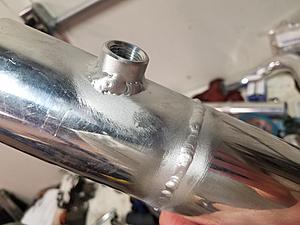
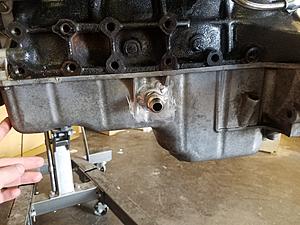
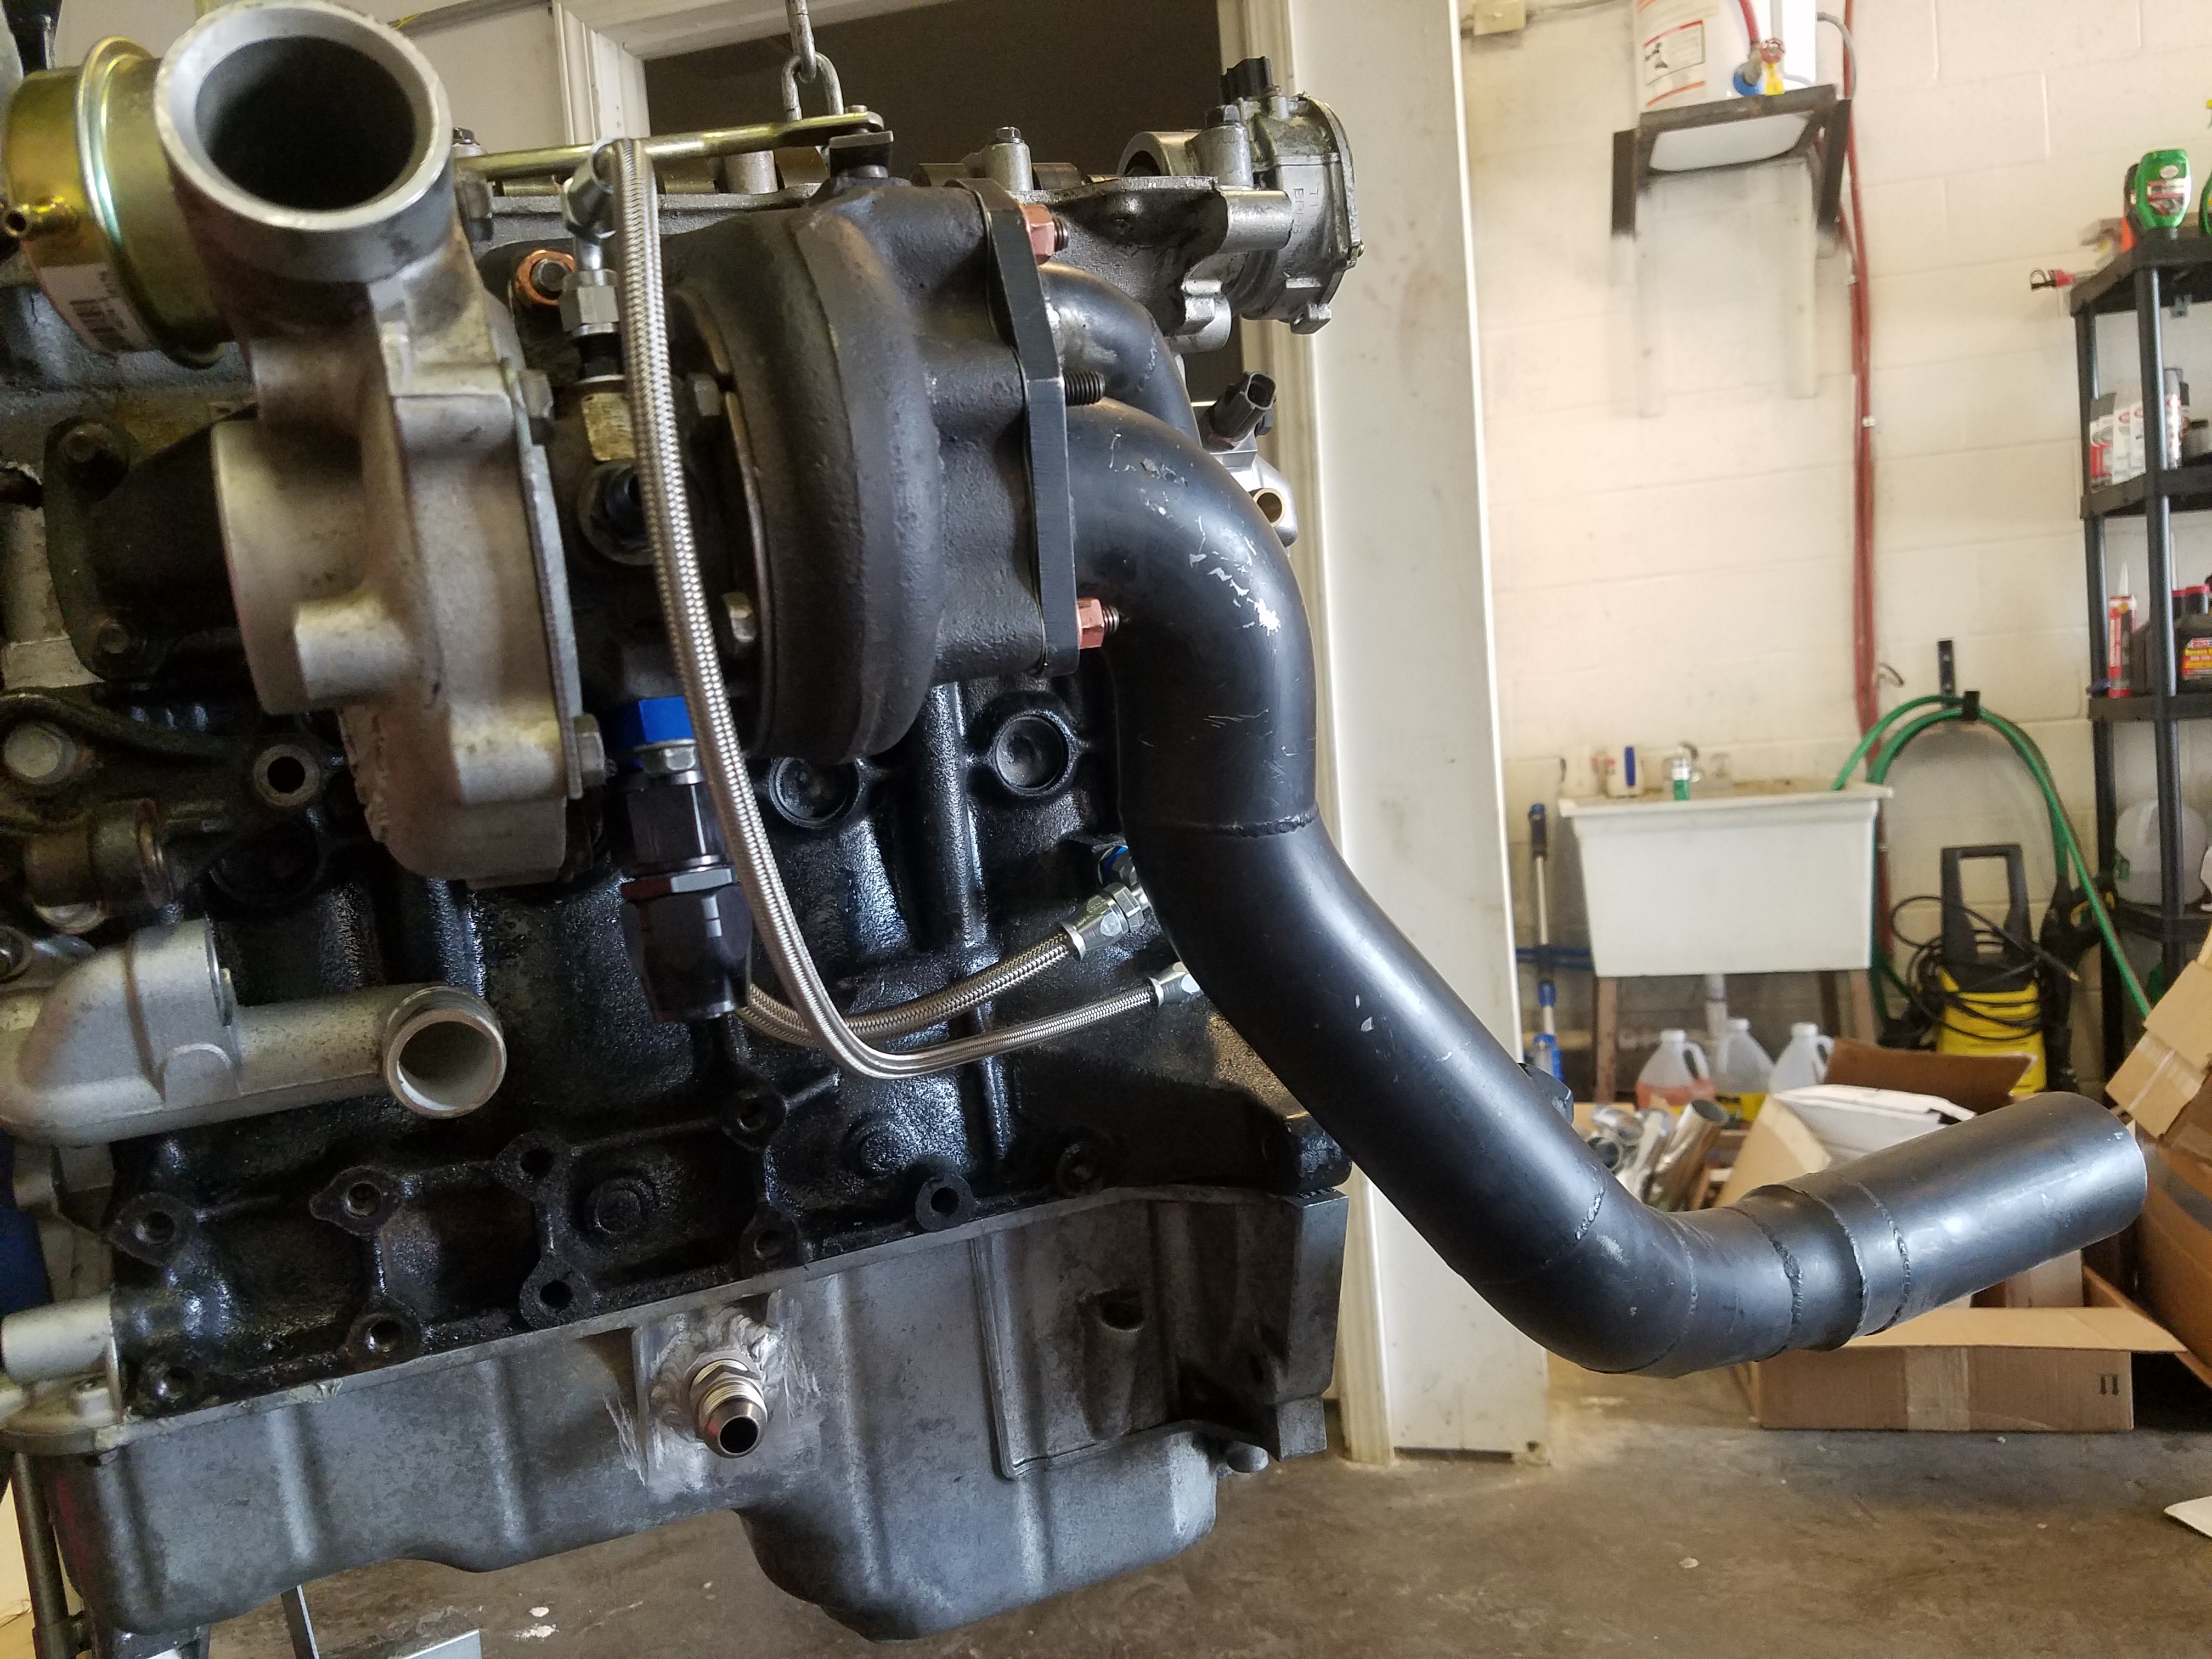
Oil return bung all welded up with the 1/2" to -10AN adapter.
Didn't get pictures during engine assembly, but we did a hone and rings to bring some life back into the motor. Here we are sorting stainless steel braided lines to and from the turbo.
Trying to figure out mounting the wastegate actuator.
Aaaaaaand we're up to present!
Found out I'm missing my -10 AN fittings which sucks. I was hoping to get this on the road Oct. 1st for the last cars and coffee by me. We'll see what this next week holds.
~Chris
Found the -10AN hose ends! Made most of the lines to the turbo yesterday. Test fit the motor and the oil drain just misses the steering shaft boot. We tweaked it a bit backwards for more clearance (Clarence).
Picture is definitely at an angle. I don't think that the line goes uphill at the bottom, but I'll start there if I have any issues. 1/2npt 45� adapter should do it and would give more room around the steering bit 1s.
Flyin Miata stage 1 happy meal on.
Seems we lost the oil pickup tube gasket so one is on the way and will hopefully be here Tuesday or Wednesday.
Also waiting on a valve cover gasket and some heat shielding for the heater lines and due in Wed.
Hoping I can get in some time Tuesday to line the trans tunnel with heat shielding.
I have obligations after work early this week but if we get all the parts soon enough, we may yet finish in time for Sunday morning cars and coffee. Here's to hoping!
Oh, please let me know on suggestions for how to return coolant from the turbo with ss braided line. We have a plan now for it, but I'm not thrilled with it.
Go look at my build. You can see how to easily return the water from the turbo.
Found it, thanks Ryan. Any idea if it'll sneak in between an AC compressor and Power steering pump that way?
My other thought would be welding on a fitting pointing to the rear where that inlet turns to the driver side of the car to connect up to the lower radiator hose but welding aluminum requires an hour drive and favor from my buddies dad.
Wow, so much butt hurt for not doing rods. It's amazing. I'll do a built bottom end after I'm married.
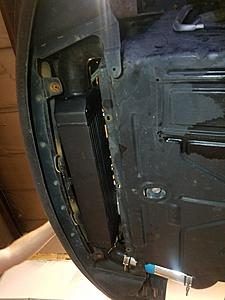
Put in DEI Trans tunnel shield 2. I'm excited to not cook my left foot. It's not terrible to work with but not the easiest thing either. Use good scissors if you use them. I got a roller too and that works nicely.
Clean as much of the shmoo off your tunnel as possible. One area didn't want to stick and I realised that the texture wasn't under body coating.
Blocked off EGR.
Finally, I'm not sure what to do about injectors. I bought a set of "Deatchwerks 460cc Injectors" from a guy on here but they have never made any in that flow rate from what I can tell.
They say Denso and some info has been burned/ground off with some seemingly random numbers added. They look like EV6's but I have no clue what I would use for dead time and now no guarantee these even flow what I was told they flow.
All the added numbers are different and different by a wide margin so I don't think it's the flow rate. Any ideas? I'll probably go buy real Deatchwerks but I am curious about these.
Still waiting on the oil pick up tube gasket because the dealer's system cancelled my order without notifying me. Using a different dealership this time. Hopefully it'll be here tomorrow but probably Friday.

 09-23-2017, 12:10 AM


 0
0