When you click on links to various merchants on this site and make a purchase, this can result in this site earning a commission. Affiliate programs and affiliations include, but are not limited to, the eBay Partner Network.
In my track car build thread, I document the modifications to my MSM, mostly for reliability instead of extra speed. I thought a dedicated thread might be appropriate to show how I and two friends managed to install a set of NB-spec Singular Motorsports Hood Louvers (aka Speed Holes) in about six hours.
Here's my car with a completely unmolested hood. The paint job, however, is only slightly better than the one on the nose, which experienced the heartbreak of psoriasis after a really shoddy crash repair by the previous owner.
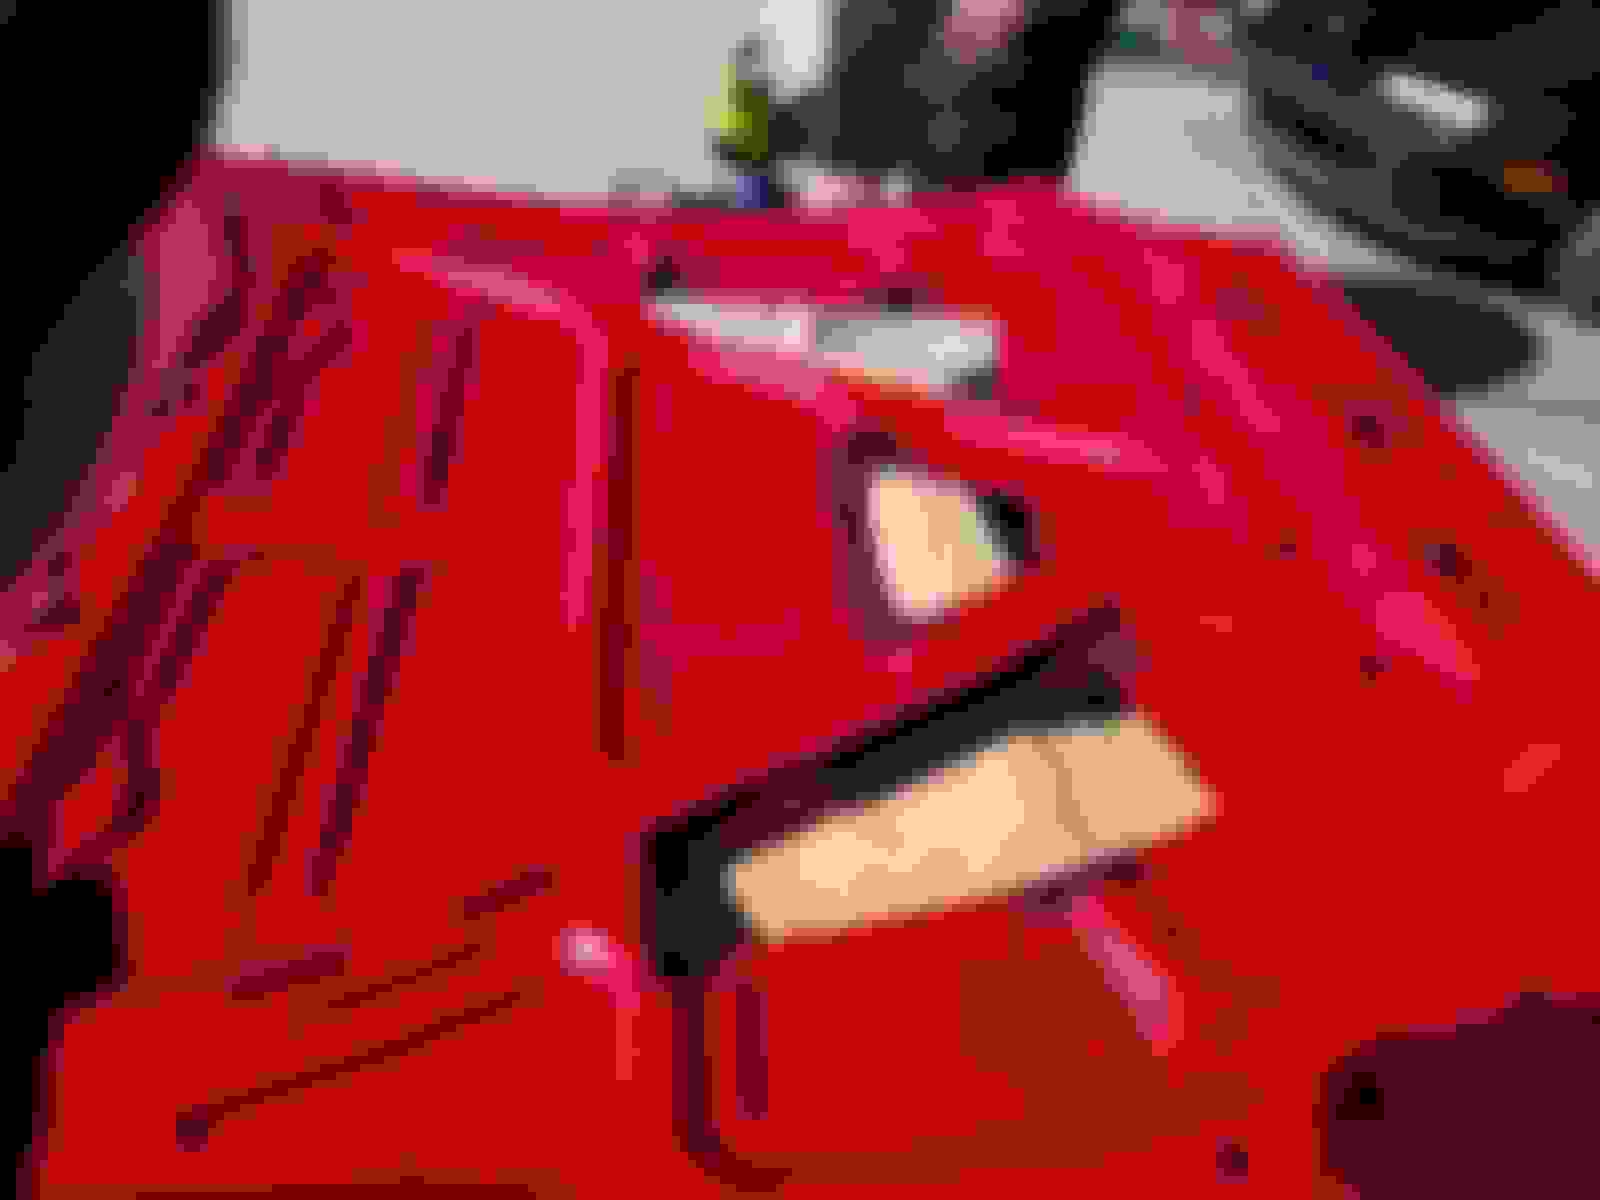
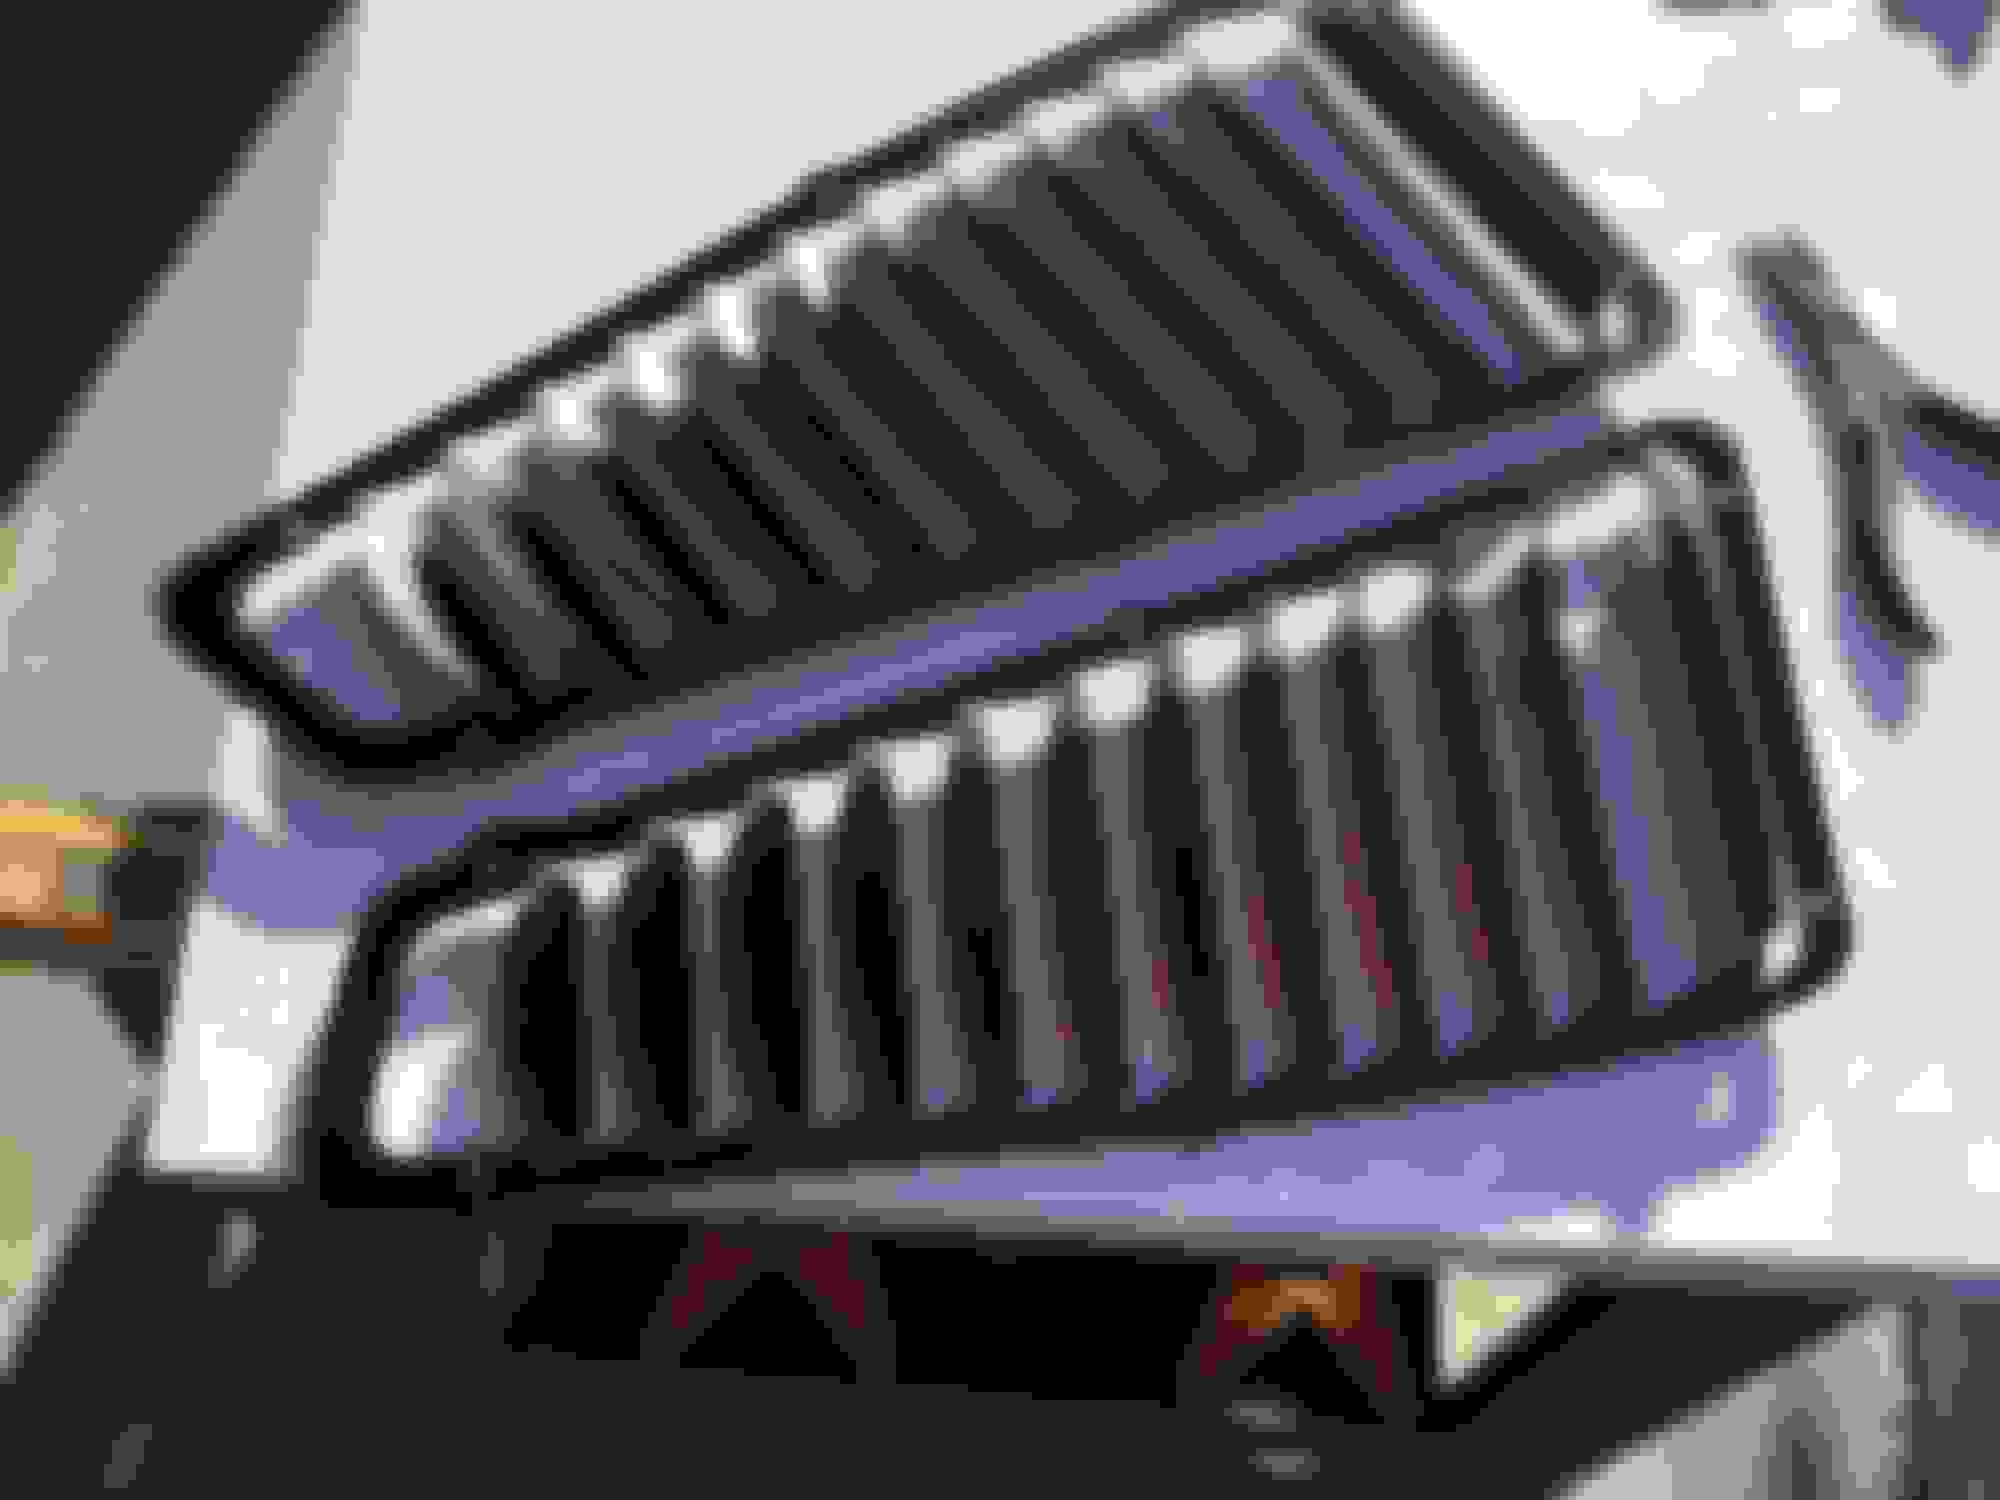
The fins have to be carefully bent to about a 45 degree angle, after judicious application of a heat gun to prevent the powdercoating from flaking off
All three pieces complete. Now on to the next stage.
The upside-down umbrella is code for something - maybe a measurement?
The template is taped in place and then measured again (for good measure)
Part of the sticker didn't want to transfer off the backing paper
The first cut is the deepest. I'm new to this angle-grinder thingy, so I was a little trepidatious, to say the least. Blanket under the hood protects the engine bay.
Stay on target. The template sticker burns away at the edges as you cut, so there is precious little reference to go by if you stray from a straight line.
Every hole needs to be looked at from a different angle
View from the under-side after a few cuts
The main cuts in the top are complete and the edges are completed with a Dremel. The smaller cutting wheels disintegrate comically fast and we send a volunteer to Canadian Tire for additional supplies.
Now the hood has to be removed so the supports can be trimmed. Make sure to leave as much material intact as possible in order to promote stiffness.
This one needed some additional trimming at the top
Not much guesswork needed on the center one
Additional trimming required here too. Not shown is a significant quotient of time to deburr and smooth out the cut edges. Then I hit the underside with some Tremclad high-temp paint and dabbed the edges with cotton buds dipped in paint (I couldn't find a paint brush).
After adding the rubber trim, the louvers are held in place and a center punch marks the spots. Drilling ensues.
There is lots and lots of metal filings to contend with. They sure are attracted to fingerprints.
Louvers are then held in place and a pop-rivet gun works its magic
Finished
A view from the side...
...and the underside
Not bad, for a bunch of amateurs
An every-so-slightly different viewpoint
Some of the aftermath
Time to strike a pose
All in all, it wasn't a terrible chore and it went much more smoothly than I could have hoped for. Of course, beer and pizza helped fuel the troops and keep morale high.
You might wonder, how did it all work out? My next track day was held in cool, overcast weather, so it wasn't an apples-to-apples comparison. However, I was easily able to complete a 20 minute session with no discernible timing retard, so I think it can be considered a success. The acid test will be at MRLS next month.


 09-25-2017, 01:09 AM


 0
0