When you click on links to various merchants on this site and make a purchase, this can result in this site earning a commission. Affiliate programs and affiliations include, but are not limited to, the eBay Partner Network.
Is that the racing beat block? Doesn't it have a nut in the middle to snug it up against the frame? Hard to tell from the picture but yours looks like it's going directly into the block.
Nope. Took that crap off and installed this crap: AWR / Mazdacomp heavy duty mounts. The bushings / clamps Racing Beat supplied with the bar do not quite fit together. A quick search last night turned up both solutions as possibilities. I'm inclined to shave the bushing to make it flush, but thought I would ask for opinions first.
I ended up shaving the bushing with a buddy's belt sander. Probably messed up the bushing but I haven't died yet.
By the way if you are planning on being on the ground again come September, you should sign up for Miatas at Hallett. This will be my first year.
Yeah. That's exactly the approach I was thinking of taking, except that I don't have any belts for my sander. Stuff like this is why this stage of the "build" is taking so long. Nothing wants to just work without modification, and I keep having to order more parts and tools.
The plan is to have the car back on the ground in time for a track day on September 9th. I'll look into Miatas at Hallett for this year. I have wanted to do it for several years, and now I actually have a Miata.
FYI, washers work to space the bushing clamp out a bit. I was able to use just 1 washer per side but maybe 2 in your case. Way easier than sand + inspect + sand....
Washers FTW. Had the same problem on mine and was able to fine tune them with washers to allow for the least friction/resistance. RB really goofed up with the bushings/brackets on this bar.
It seems like a really stupid question in retrospect (one day after). But, I have installed a lot of sway bars from a lot of manufacturers, and I have never seen this before. The brackets and bushings have always been sized correctly. I expected Racing Beat to at least be on the level with the likes of Progress, Hotchkis, Eibach, Flyin' Miata, etc.
The Racing Beat blocks may be functionally fine, but I hate their fiddly nature. I figured I'd take care of that once and for all, while the car is apart.
Short version: my FM Stage 1 clutch kit was stolen out of my garage.
This is truly weird. It seems my garage door spring was going out last week, and the door did not close completely one night last week. Several tools were stolen out of my garage that night. The spring asploded this morning. When I went to install the clutch in my Miata tonight, I realized the pressure plate and clutch disc were gone. Of course, FM is out of stock, so I can't have a replacement set expedited for this weekend. I chose the FM clutch, because I have driven it before on other cars, so it is a known quantity to me, and I like it.
949 has their organic kit in stock. SuperMiata clutch?
Someone on another forum took pity on me, and sold me his extra disc and pressure plate cheap, so I'll be back in business next week. Odd that the flywheel wasn't also taken. It was sitting right next to the other parts. I think the punks ran in and grabbed what they could carry and made a run for it. They also took 2 torque wrenches, but left the impact driver behind as well. Why steal a Miata clutch, though?
Since I can't put the transmission back in the car this weekend, I am planning to focus on getting the ECU installed and configured and tidy up some other bits.
Another entry into the annals of having more money than sense...
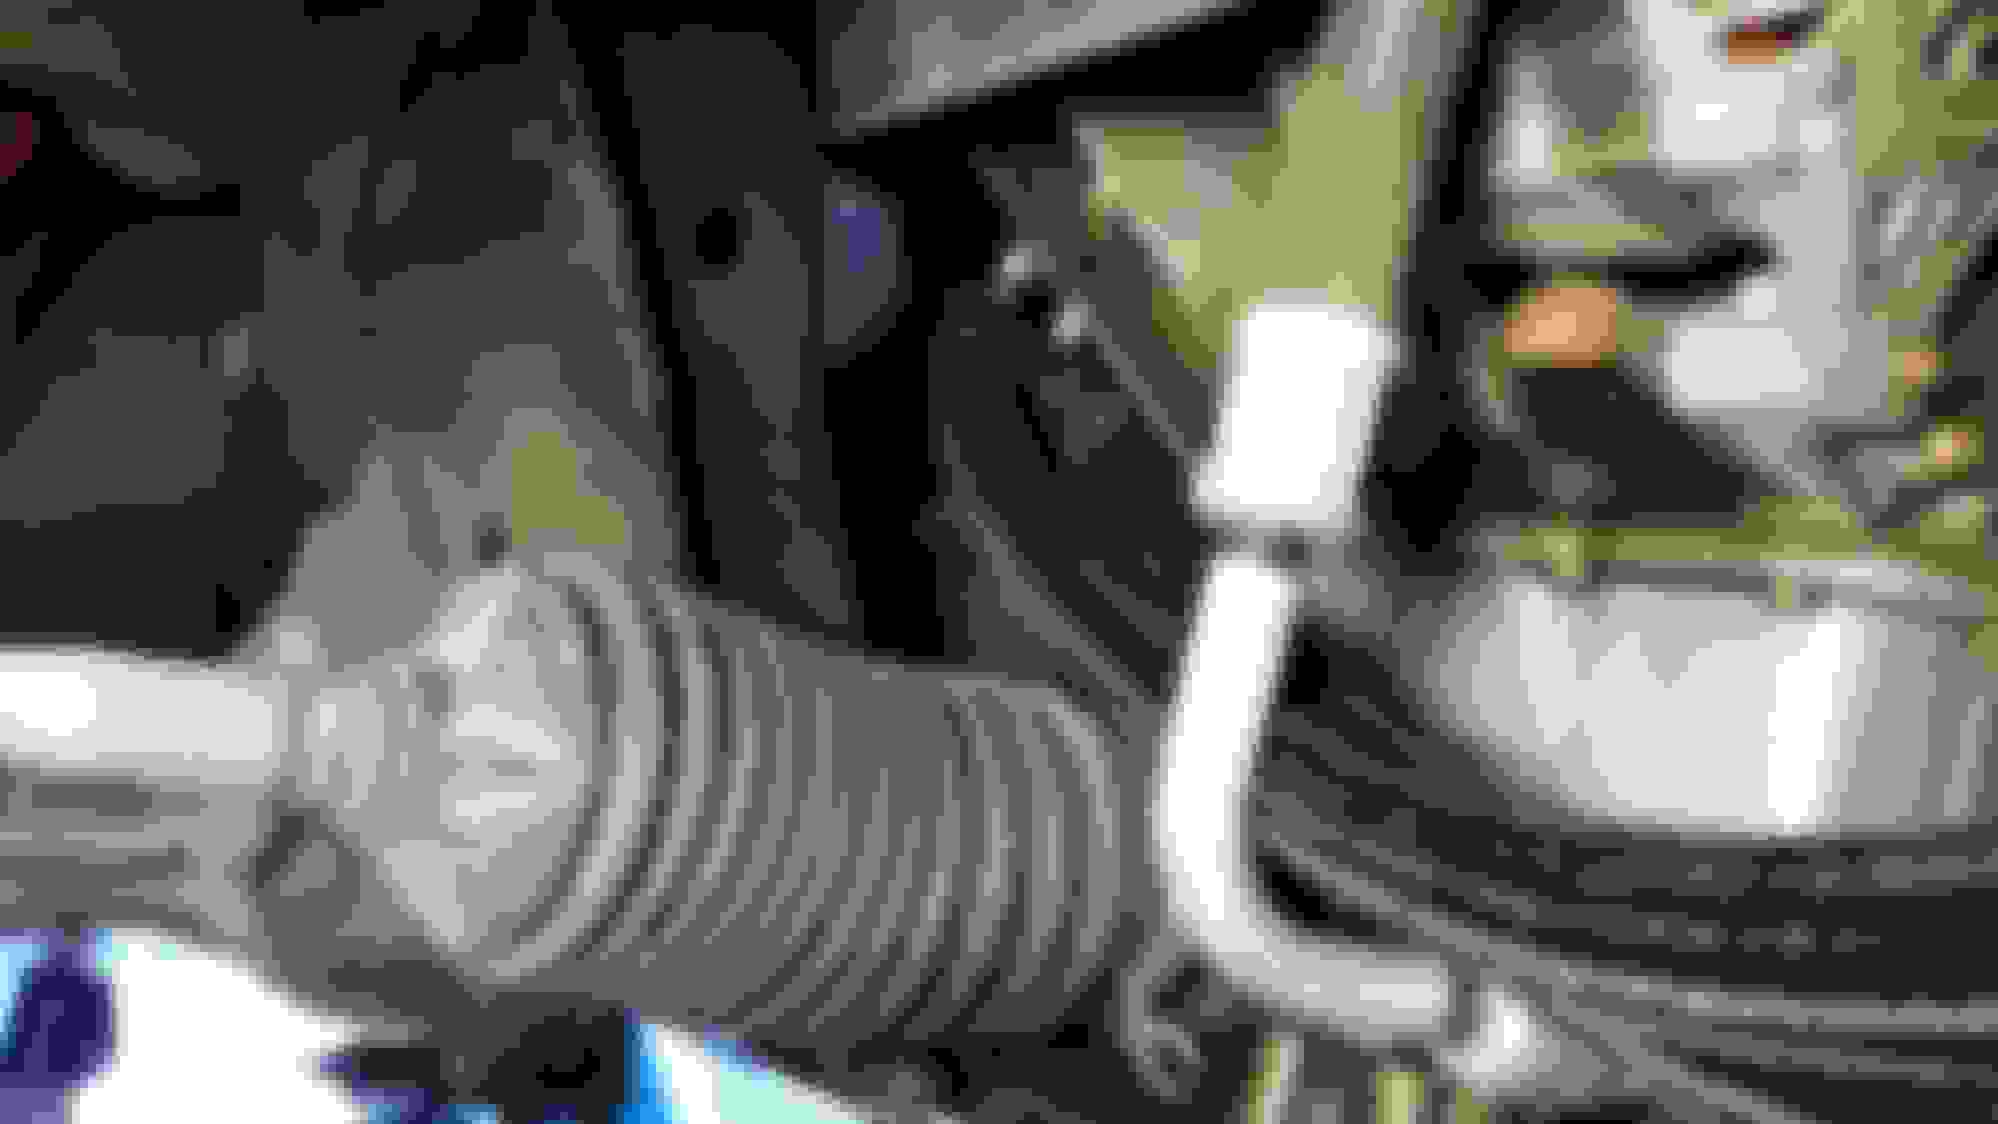
Having not liked the fiddly nature of the perfectly good Racing Beat sway bar reinforcement blocks, I decided to pay too much for the AWR / Mazdacomp reinforced sway bar mounts. These are very high quality units that are beautifully made and nicely powdercoated. What they are not, is trivial to install. Allow about 3 hours. Here is a DIY of sorts.
1. Remove the radiator. Discover it has been leaking.
2. Remove the radiator / condenser mount from one side.
3. Remove the sway bar mount bolts and punch the center of the spot weld on both sides of the mount.
4. Drill out the spot welds.
5. Grind the things, sand the things, prime the things, paint the things. It is the way jeffbucc would want it.
6. Install the mount, by aligning the holes and beating the crap out of it with a rubber mallet. Hopefully, your tool is bigger than my tool. Pound the crap with your tool. Pound it. Hard.
I couldn't find the torque values for these bolts, so I went with 12 ft-lbs, which is equivalent to exactly 1 ugga-dugga.
72. Marvel at how Racing Beat lets this happen. Grumble about it. Google it. Take good advice regarding washers. Drive to Home Depot Racing and locate grade 8 washers in yellow zinc. Buy too many washers. Realize you only need 2 per side. Throw extra washers in the "I bought too much hardware yet again" box.
141. Reinstall the radiator / condenser mount to hold the condenser and repeat on the other side. There is one important difference on the passenger's side. You will have to modify the mounting bracket.
223. Reinstall everything and install the sway bar as normal.
1089. Wonder why you spent the time and money on this, when the other junk worked just fine. Realize you just like touching junk.
.
Last edited by Steve Dallas; 08-30-2017 at 04:22 PM.
This will be one of the less imaginative oil cooler installations you have seen. Prepare to be disappointed.
Thinking I would be super cleever and do something cool, I opted not to purchase the obvious kit from TSE, and instead put this together piecemeal from Racer Parts Wholesale and other sources. In the end, I could have bought TSE's kit and saved some money. Learn from my many mistakes.
First thing to do is make up some fittings. I cut a 10' section of -10AN braided nylon hose in half and did this thing.
Upon breaking out of analysis paralysis, I decided to just be boring and mount it in front of the AC condenser. It seemed prudent to move it back about an inch from the obvious mounting location, where it lines up with existing holes, which places it about 3/8" forward of the condenser. I would have liked to mount it at a similar angle to the condenser and radiator, but it is vertical for now. Home Depot Racing provided the necessary parts, which amount to a piece of 1" aluminum square stock and some grade 8 yellow zinc (because Mazda) nuts and bolts and washers. Be sure you plan poorly, so you can visit Home Depot Racing at least 3 times. Also be sure to buy too much hardware, so you can continue to fill your "I bought too much hardware yet again" box.
When you don't have the right tools for the job, be sure to use the wrong tools with style and make it fabulouth.
Be sure to cut one bracket 1/16" longer than the other, so you'll have a reason to make groovy utterances, such as, "Great googledy moogledy!!!" Oh. Yeah. Also drill some holes.
Once your oil cooler is assembled, it should look something like this. Be sure to use blue Loctite on allthethings.
Test fit allthethings and mark the hoses to length.
Barely fits with a Wix Miata filter. A Millenia filter does not fit. WTF am I supposd to do with all the Millenia filters on my shelf now?!
Adjust everything so that nothing touches / rubs anything sharp and plan to insulate anything that has to rub something dull to prevent hose chafing. No one likes chafing on their hose.
This routing works well, but radiator hose and / or Xtreme tape will be needed to protect the hoses.
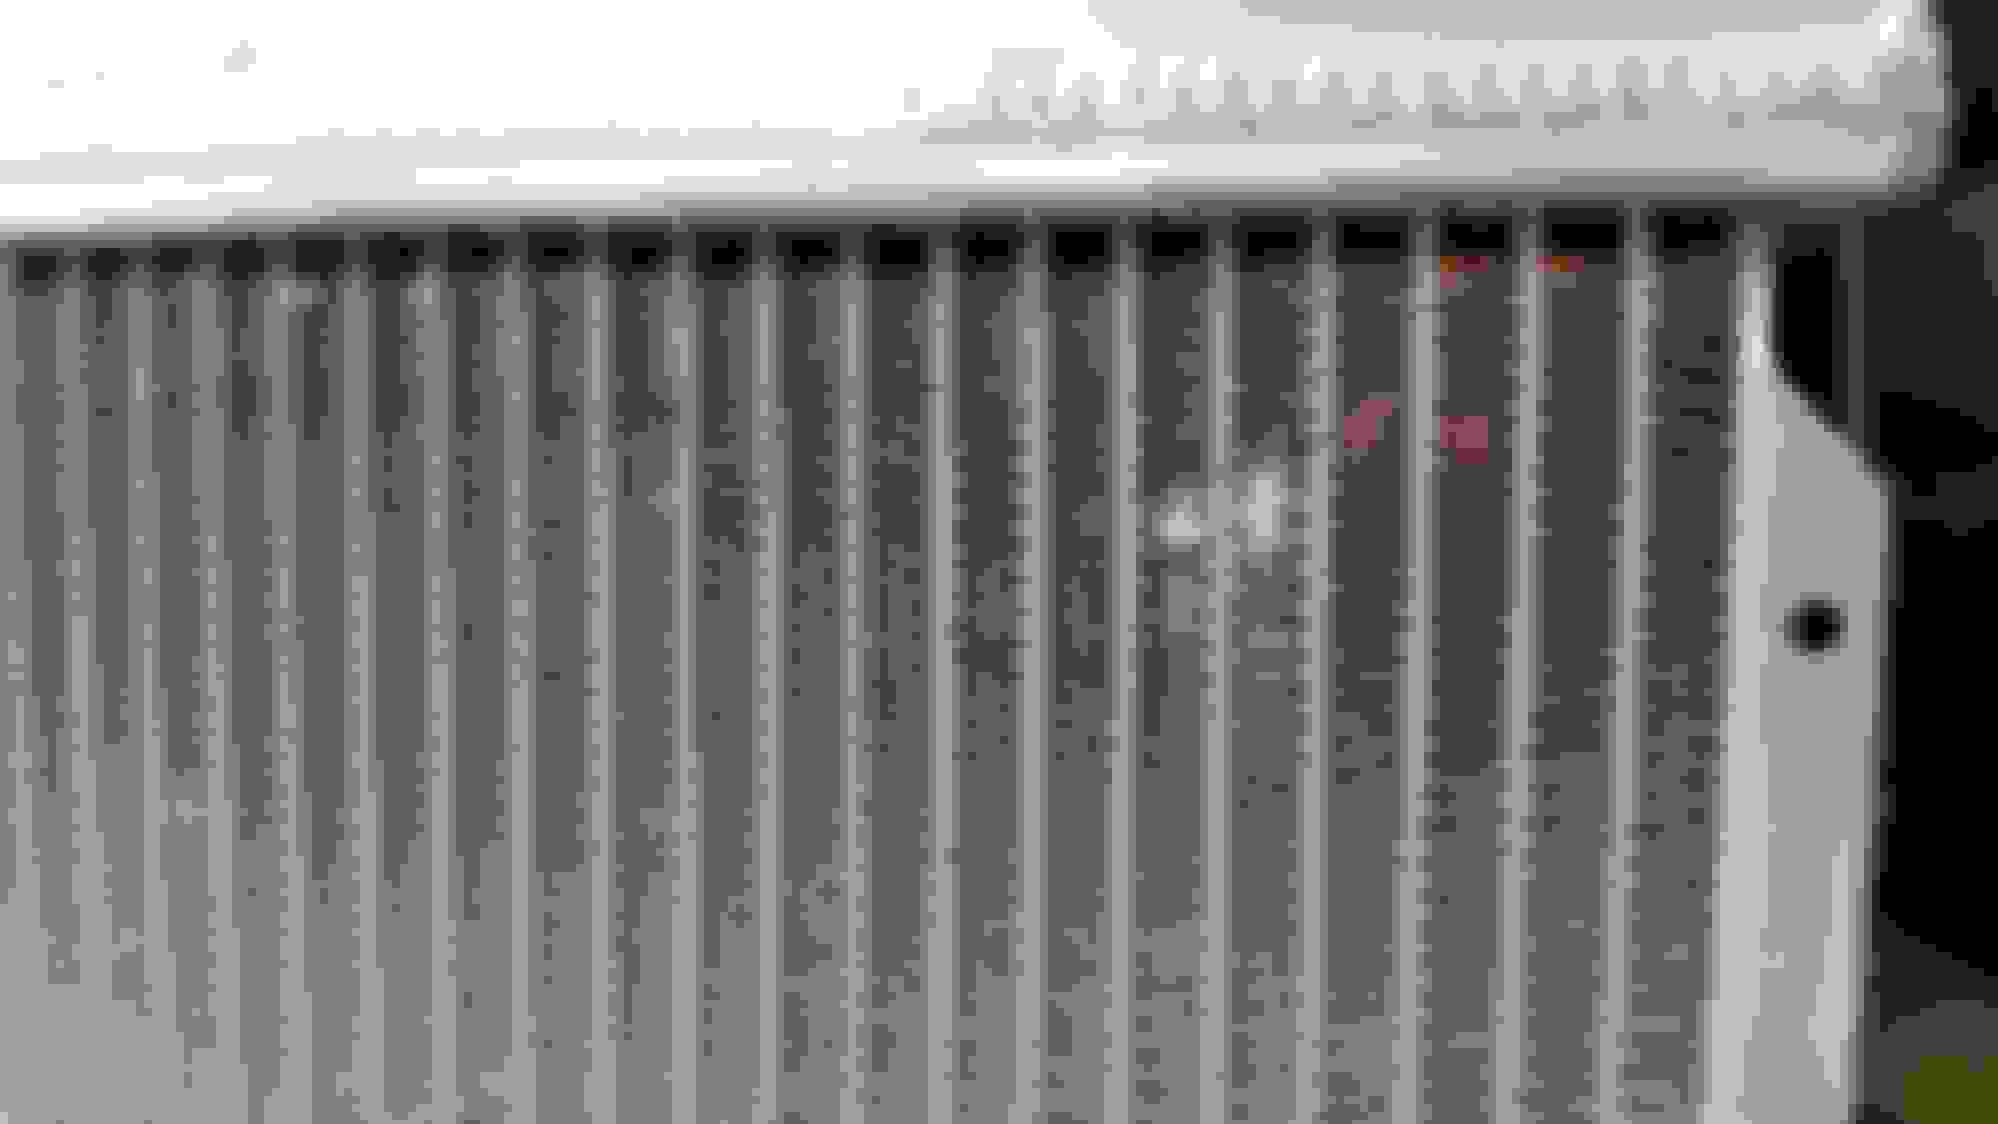
Space between oil cooler and AC condenser.
Space in front of oil cooler.
View from the front. The horn has to be relocated to the helpful little hole waiting on the other side of the hood latch. More on that later.
Hoses trimmed to length and assembled.
Wrap parts of the hoses that may contact other non-sharp parts with Xtreme tape or similar. This is 2 layers. I ended up going with 3. I didn't take any better photos for some reason.
Extend the horn wire and move the horn to the matching hornhole on the other side of the bumper, if you want to stay horny and have your hornhole filled.
It misses touching the oil cooler by about 1/4", but you can't see that in this lousy pic.
As you throw the Setrab box in the recycle bin, a slip of paper will fall out. That slip of paper will tell you to oil the fittings on the cooler and torque to 29 ft-lbs--information that is not in the instructions. Shrug your shoulders. Lose sleep the following night. Pull everything back apart and do as belatedly instructed. Realize you can't use a torque wrench on the fittings with the tools you have on hand. Shrug again and tighten to exactly 2 ugga-duggas. Reinstall. Groan.
Attempt to reinstall radiator. Realize radiator is now contacting condenser for some unknown reason. Aaaaaaaaaaarrrrrrrrrrrrgh!!!
Other side too, dammit!.
Damage isn't too bad. Can be fixed.
Also over there.
Use BFH to convince condenser mounts to give radiator more clearance.
Add 1/2 quart of oil. Start car and run for 30 seconds. Add oil to your definition of full. Start car and let idle to operating temp. Check oil again. Check for leaks.
All that is left for me to do is figure out how to support the hoses at the top, so they are not putting undue weight on the fittings. The ghetto solution might be a piece of radiator hose and a heavy duty zip tie. I don't NEED to do it right away, so I'll ponder it a bit more, until I forget about it and have to buy new fittings a year from now. Sounds like a plan.
/project
Last edited by Steve Dallas; 09-13-2017 at 09:32 PM.
I tried a tool similar to that years ago, and it didn't last through 1 radiator. Besides, the tool misses the point. It's all about the excuse to drink cheap beer and stay out in the garage for hours.

 08-13-2017 | 10:23 AM


 0
0


 The 50 cent solution to the million $$ problem. Why didn't I think of that?!


 that's awesome. Probably a good idea too.


