When you click on links to various merchants on this site and make a purchase, this can result in this site earning a commission. Affiliate programs and affiliations include, but are not limited to, the eBay Partner Network.
AIUI, you need to be careful machining oil impregnated bushing material, because if the tool isn't super sharp it will smear the porous metal and you won't get proper lubrication on the surface that was cut.
I know a guy in SJ with a lathe if you can't find anyone over there
@gesso has one, I just need to get up there and use it. I need to make some couplers as well, we just need to find some time to connect.
I'm in a strange spot when it comes to machine tools. I started working with CNC and never got a chance to learn the basics on a manual machine. I know the basic theory of operation, but I need someone who knows what they are doing to look over my shoulder and make sure I'm not going to kill myself.
Originally Posted by codrus
AIUI, you need to be careful machining oil impregnated bushing material, because if the tool isn't super sharp it will smear the porous metal and you won't get proper lubrication on the surface that was cut.
--Ian
You are correct, I've worked with these types of materials in the past so I'm familiar with their particulars. Fortunately I'm not turning an OD on impregnated bushing, I'm turning the length on the steel support sleeve that rides inside that bushing. I'm guessing its something like 0.5~0.75mm per sleeve, but that remains to be seen. It "should" be cake, but I seem to find new and novel ways to **** things up.
If you can hold the sleeve in the chuck, you can bolt a piece of HSS or what have you to the table and make it a vertical lathe. Or if its anything but convenient to find a lathe, I can make some custom sleeves for you and we can just exchange yours.
And another point on oilite, if you get it even just warm, it pisses all the oil out.
If you can hold the sleeve in the chuck, you can bolt a piece of HSS or what have you to the table and make it a vertical lathe. Or if its anything but convenient to find a lathe, I can make some custom sleeves for you and we can just exchange yours.
Much appreciated Unfortunately, I don't have anything that has a chuck large enough to grab the bushing otherwise I'd try to do it on the workbench. Because I have that particular type of crazy.
Originally Posted by hi_im_sean
And another point on oilite, if you get it even just warm, it pisses all the oil out.
Except I don't need to touch the bushings themselves, just the sleeves. I was under the impression the sleeve is some flavor of steel and the bearings themselves are SAE 863 Oilite. Is this not accurate?
Much appreciated Unfortunately, I don't have anything that has a chuck large enough to grab the bushing otherwise I'd try to do it on the workbench. Because I have that particular type of crazy.
Except I don't need to touch the bushings themselves, just the sleeves. I was under the impression the sleeve is some flavor of steel and the bearings themselves are SAE 863 Oilite. Is this not accurate?
Depending on the batch, sleeves are either 4130, 1144, or a513. You have 1144, cuts like butter. And yea all oilite bushings are SAE863. First time I cut some SAE841, it took me a min to figure out why oil was flinging off the chuck lol.
Depending on the batch, sleeves are either 4130, 1144, or a513. You have 1144, cuts like butter. And yea all oilite bushings are SAE863. First time I cut some SAE841, it took me a min to figure out why oil was flinging off the chuck lol.
Hahaha! Yeah, the sintered/powdered bronze stuff is a trip to work with. When I did bushings with that stuff, we would buy the material as tube with a nominal bore and only machine the OD, and then press them in to cast iron roller wheels for some godawful piece of palletizing equipment. I ******* hated those things because they would bring me a big pallet of rollers and I'd have to press out the hooped up bushings, measure the bores, sort them by size and then cut bushings to fit. Eventually I got tired of all the front end sorting work and small batches so I just bored all the rollers to a standard ID and only had to make one bushing. After 2 trips through the shop, I didn't have to measure them anymore. My foreman was shocked that I was able to do them 3x faster than anyone else had previously, though I'm pretty sure they continued to quote the same amount for the job
Originally Posted by psyber_0ptix
I had to cut off 3mm off each FUCA steel sleeve. It would knock around otherwise when braking. Still works like a charm otherwise.
3mm PER SLEEVE? So 6mm of material removal per side? Jeebus. Ok, so my 1.5~2mm doesn't sound nearly so shocking now. Thank you for the data point
I had to cut off 3mm off each FUCA steel sleeve. It would knock around otherwise when braking. Still works like a charm otherwise.
Thats because you have V8R front upper arms and I sent you the wrong sleeves(for oem arms). Gordon just has a weird issue as his sleeves are the correct length for oem arms.
Next track day is October 6, so I guess I should start trying to do things.
One thing I've been complaining about for a while now (wait, just one thing?!) is that I'm the jackass in the 300hp Miata with the stock seats and 3 points, so to that end, I've decided to do something about it.
Enter: the Hard Dog Harness Bar
I ordered from Goodwin and it showed up with no drama. Its a very nice looking part in black powder coat that of course matches my HD roll bar.
My problems started when I opened the box and discovered no instructions. The Harness Bar included 6 washers and 2 black powder coated steel tube spacers zip tied to one of the bolt holes. And thats it. Not to have my enthusiasm for new parts be dampened, I forged ahead anyway.
I started by removing the pesky seats so I had room to work.
The first order of business was to figure out where the bar needed to go, either over or under the existing ears on the roll bar where it ties into the seatbelt tower bolts.
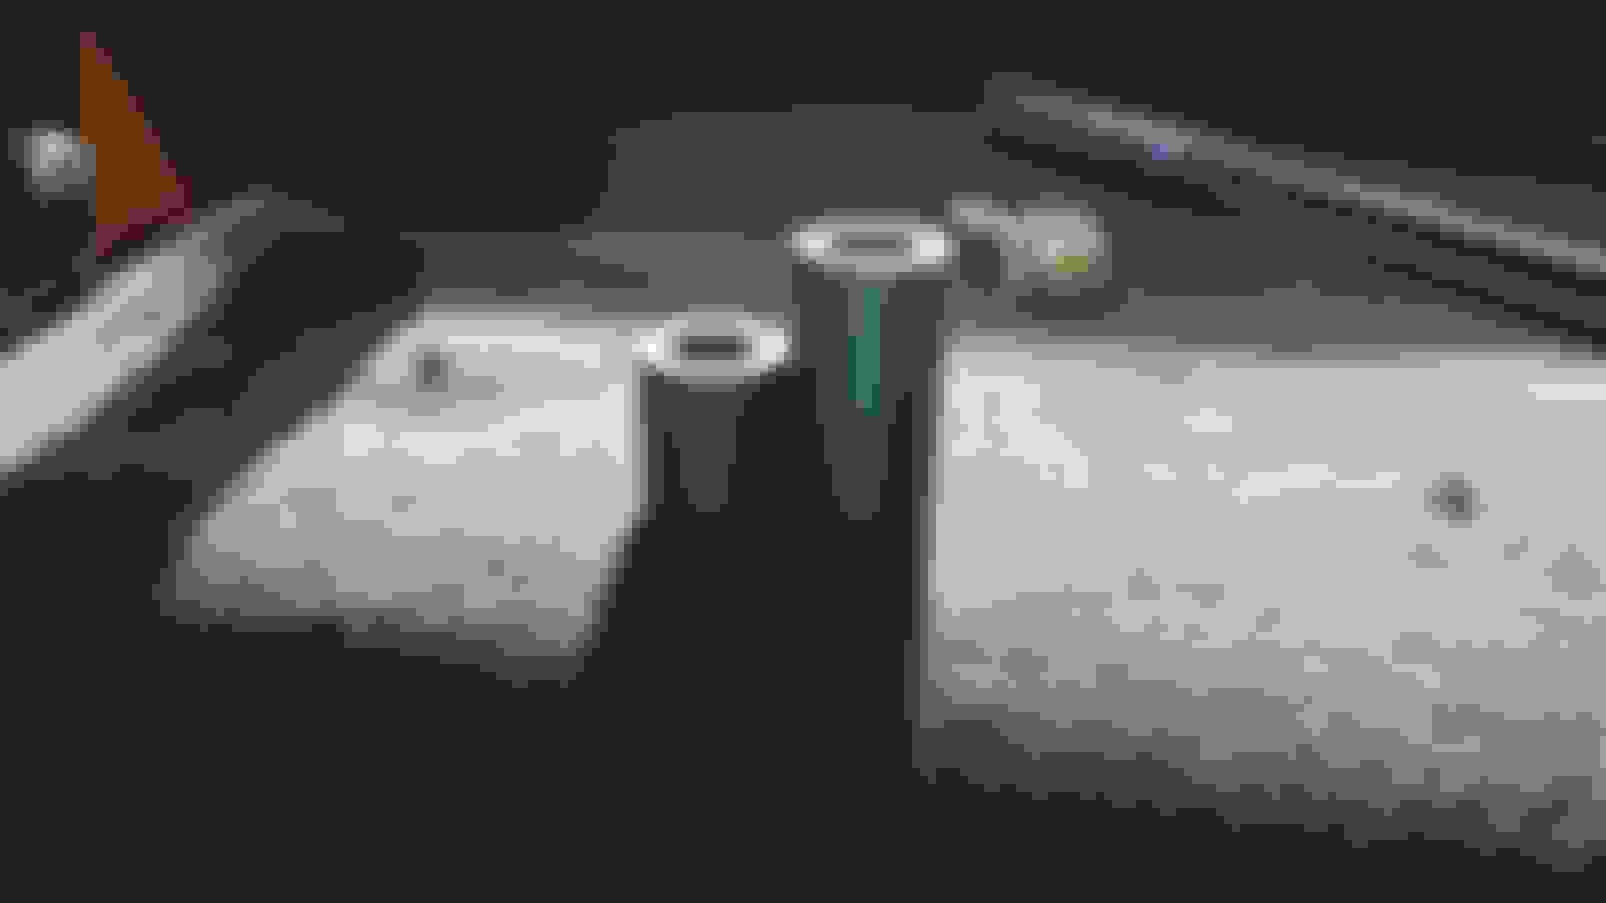
The short spacer on the left is the one included with the harness bar, the taller one on the right is the one that was installed in my car like ~8 years ago when Gesso and I installed my roll bar. Just FYI, they were an absolute bastard to pry out.
This tiny *** bolt is probably useless, but it at least gave me a data point about location.
Short spacer, harness bar ear, and roll bar ear. Harness bar is obviously rotated back in this picture, but as you can see, there is quite a gap.
Here is the passenger side with the gap. It doesn't look squared up because the bar is not rotated up into place quite yet, plus the angle of the camera is stupid.
Well, through some online inquery and process of elimination, I cam to assume this is what the 6 washers are for, to take up the space between the top of the harness bar mount ear and the ear on the roll bar. Unfortunately, it took all 6 washers to do just one side and there is still a huge gap on the drivers side. And I don't have any more washers. Goddammit.
Somewhere in the back of my mind I remember when we installed my roll bar there were some gold cad plated spacers that were left over. It was an old and fuzzy memory, but it seemed like they might be the perfect fit. If I could find them.
I tend to bag and tag the hardware that comes off the car when I do mods, and sometimes it actually makes it into the big box of stock stuff.
Hell yeah! That little gold spacer is the one I remembered, and its almost exactly the same height as 6 of the provided washers stacked up.
Damn, perfect fit! Double dammit! I only have one of them
If I had a lathe I'd measure and cut something to fit, but I don't have a lathe so that's out. I absolutely did not want to go to the hardware store to buy a bunch of washers I dug through the garage and ended up using leftover ARP head stud washers that I didn't use when I installed my head.
I mean, I understand production variance, but... really? Oh well, ****'s installed. Next step is to get seats and belts and harnesses setup
Ok, passenger side is done. I had a little challenge getting the factory seatbelt receiver bolted up, and I'll probably buy another one (hint: if you have one to sell LMK) so I can bend it to fit a bit better, but it's good 'nuff for now.
PCI mount is in, and out again, and back in again. I invited my friend Jeremy over and we made the adjustment to the tunnel sheet metal so I could get the full amount of left/right travel out of it. I'm on the second from the bottom hole in the front, and the top hole in the rear and that puts me about where I was with the foamectomy seat. Tomorrow I'm going to drop it down and see how low she can go. The fore/aft adjustment is a bit of a challenge because once you loosen the bolts enough that you can slide the seat, it's almost impossible to get out of the car without screwing up the location. It's not insurmountable, but a second person would make it a lot easier.
It's a really nice super high quality part, it almost seems a shame to cover it up with a seat.
 08-27-2017, 05:18 PM


 0
0


 Unfortunately, I don't have anything that has a chuck large enough to grab the bushing otherwise I'd try to do it on the workbench. Because I have that particular type of crazy.