When you click on links to various merchants on this site and make a purchase, this can result in this site earning a commission. Affiliate programs and affiliations include, but are not limited to, the eBay Partner Network.
plugging the 2 holes on the body of the rack with the seal still installed on the rack is going to give you a bad time... just spend the extra time and properly cut the seal out and all will be well with the world afterwords.
Today was a little productive. Talked to Shandelle and apparently they are supposed to be snug. The upper ball joint on the tubular setup have a break in period. Also Im retarded and forgot to grease the bitches. I reinstalled the hard lines because frankly I'm a lazy sack and didn't have the energy to take the whole rack apart. The car had this setup before and the steering felt fine. Greasing the ball joints helped too. It is still stiffer than the 20 year old balljoints but I confirmed that this was normal.
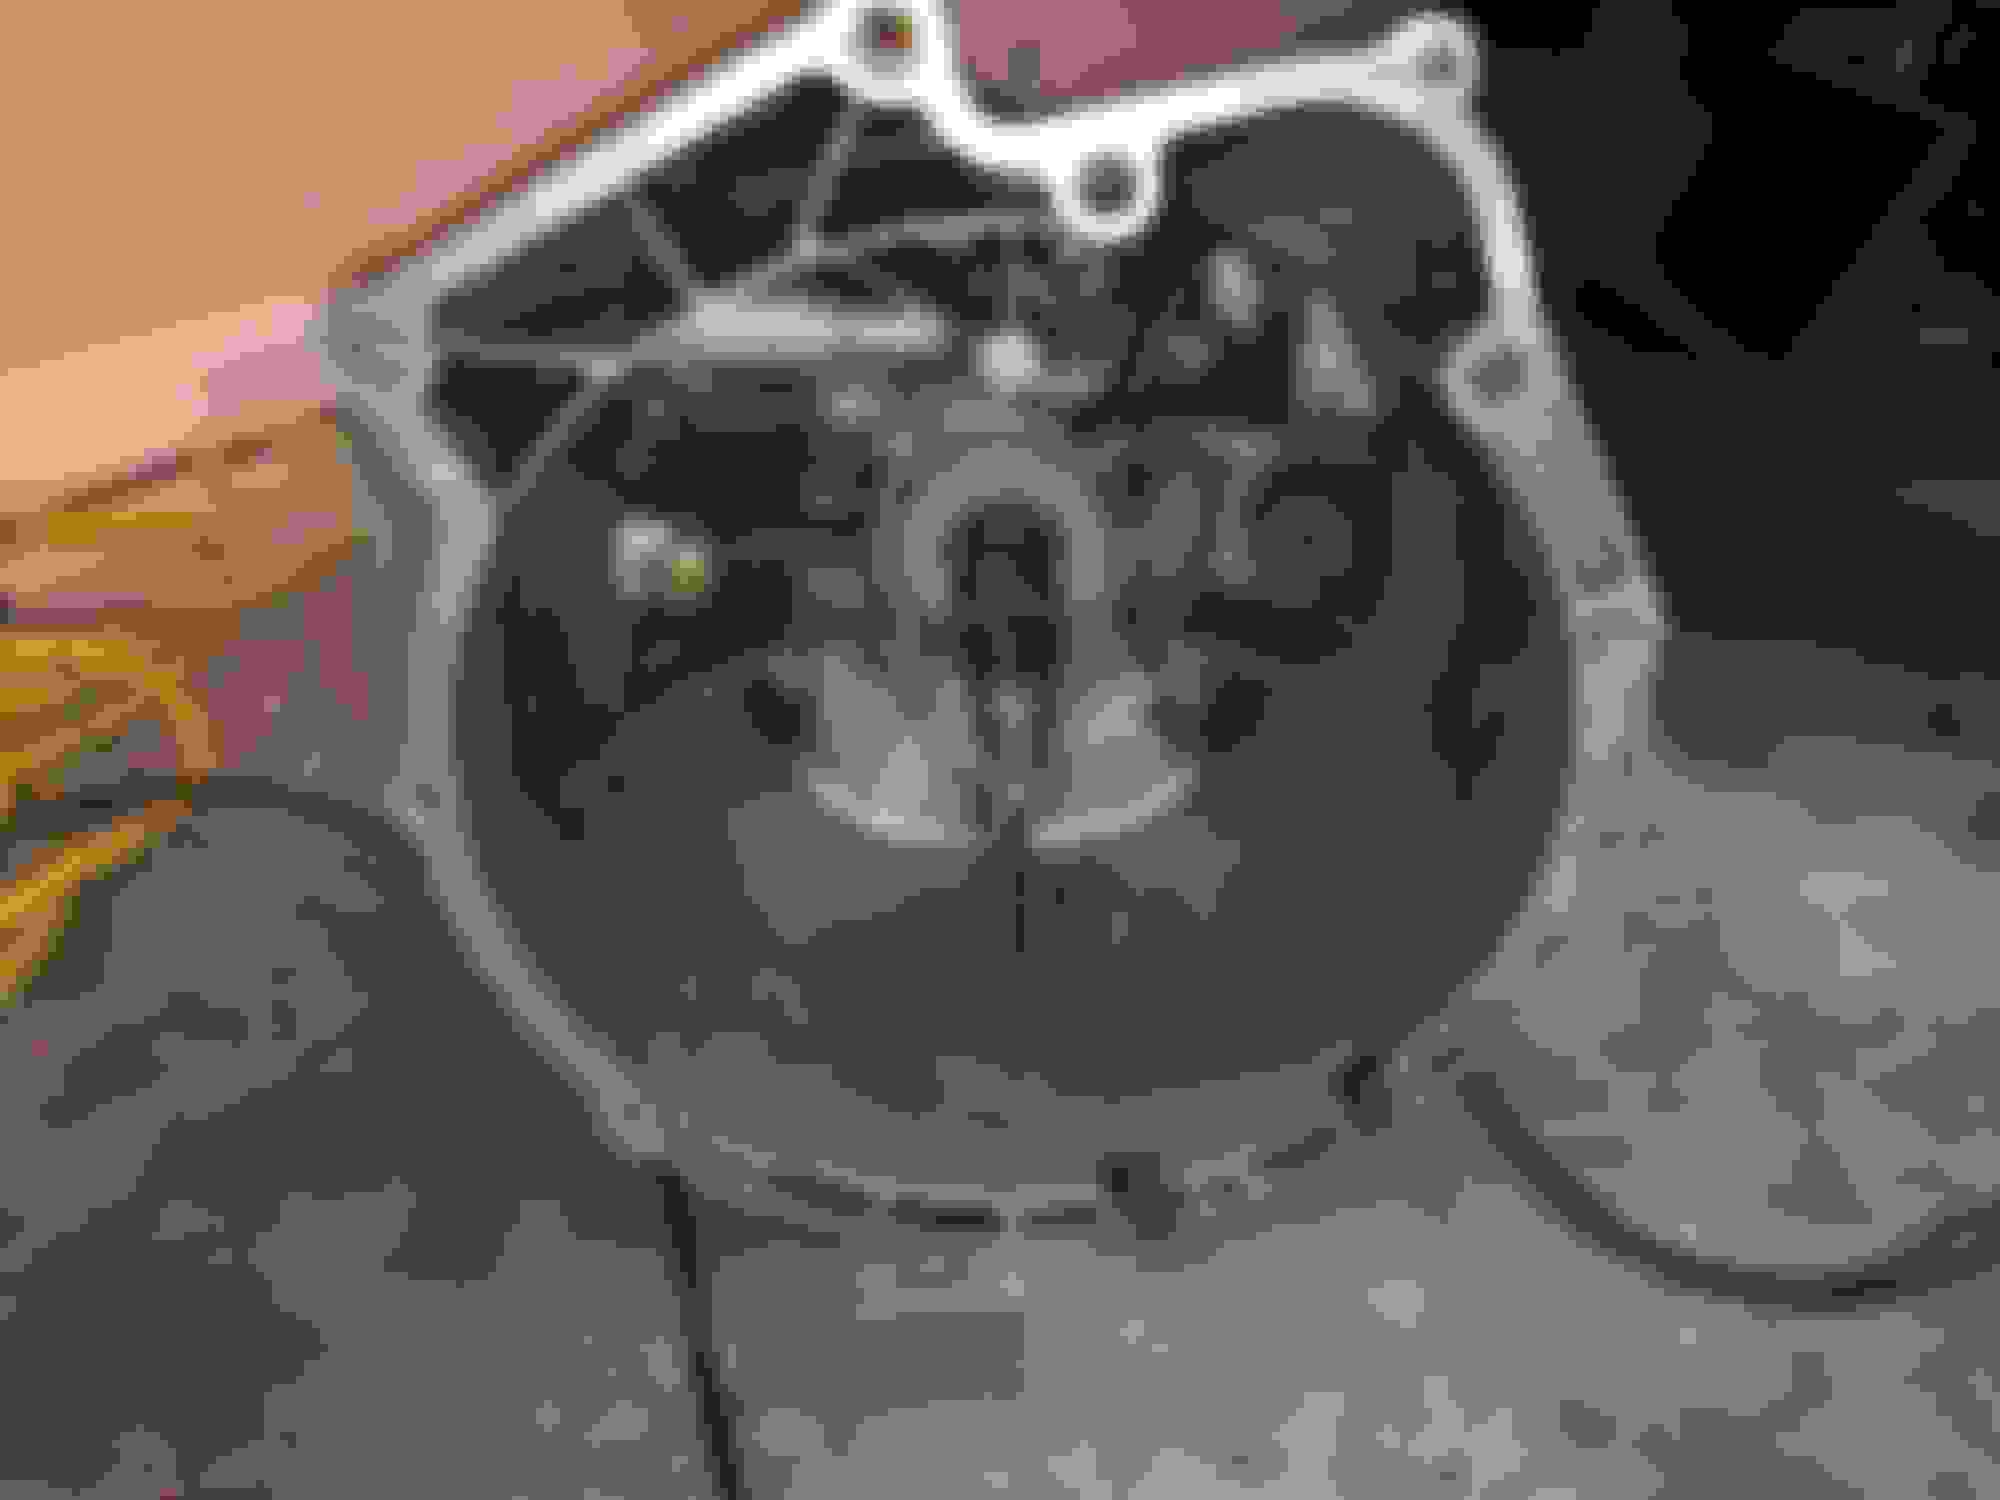
Spent the rest of the afternoon cleaning the transmission and doing the pin service. It looked like the Z3 it came out of had a leaking rear main seal because the thing was caked in oil. I spent several hours just cleaning it up. Overall it looks pretty good. Not new by any means but at least better than a black turd. Installed the metal pivot ball I picked up as well.
Lastly the pin service. Let me tell you what a mother bitch that is. For anyone doing this mod in the future brace yourself for the pain. I said many a swear word for this but at least its done.
Ive attached a few links that I found helpful so people don't have to go searching in the future. One is a website and the other a youtube video. The youtube video only was helpful for the 5th and reverse pins. The website was good for the other ones.
Glad that **** is over with...just painful as a mother ****** and really not super satisfying.
Sixshooter is gonna help be assemble the motor so I don't **** that up royally so hopefully progress will continue over the weekend. Moving forward...just waiting for essential parts...
Last edited by TonyMontana; 09-02-2017 at 12:03 AM.
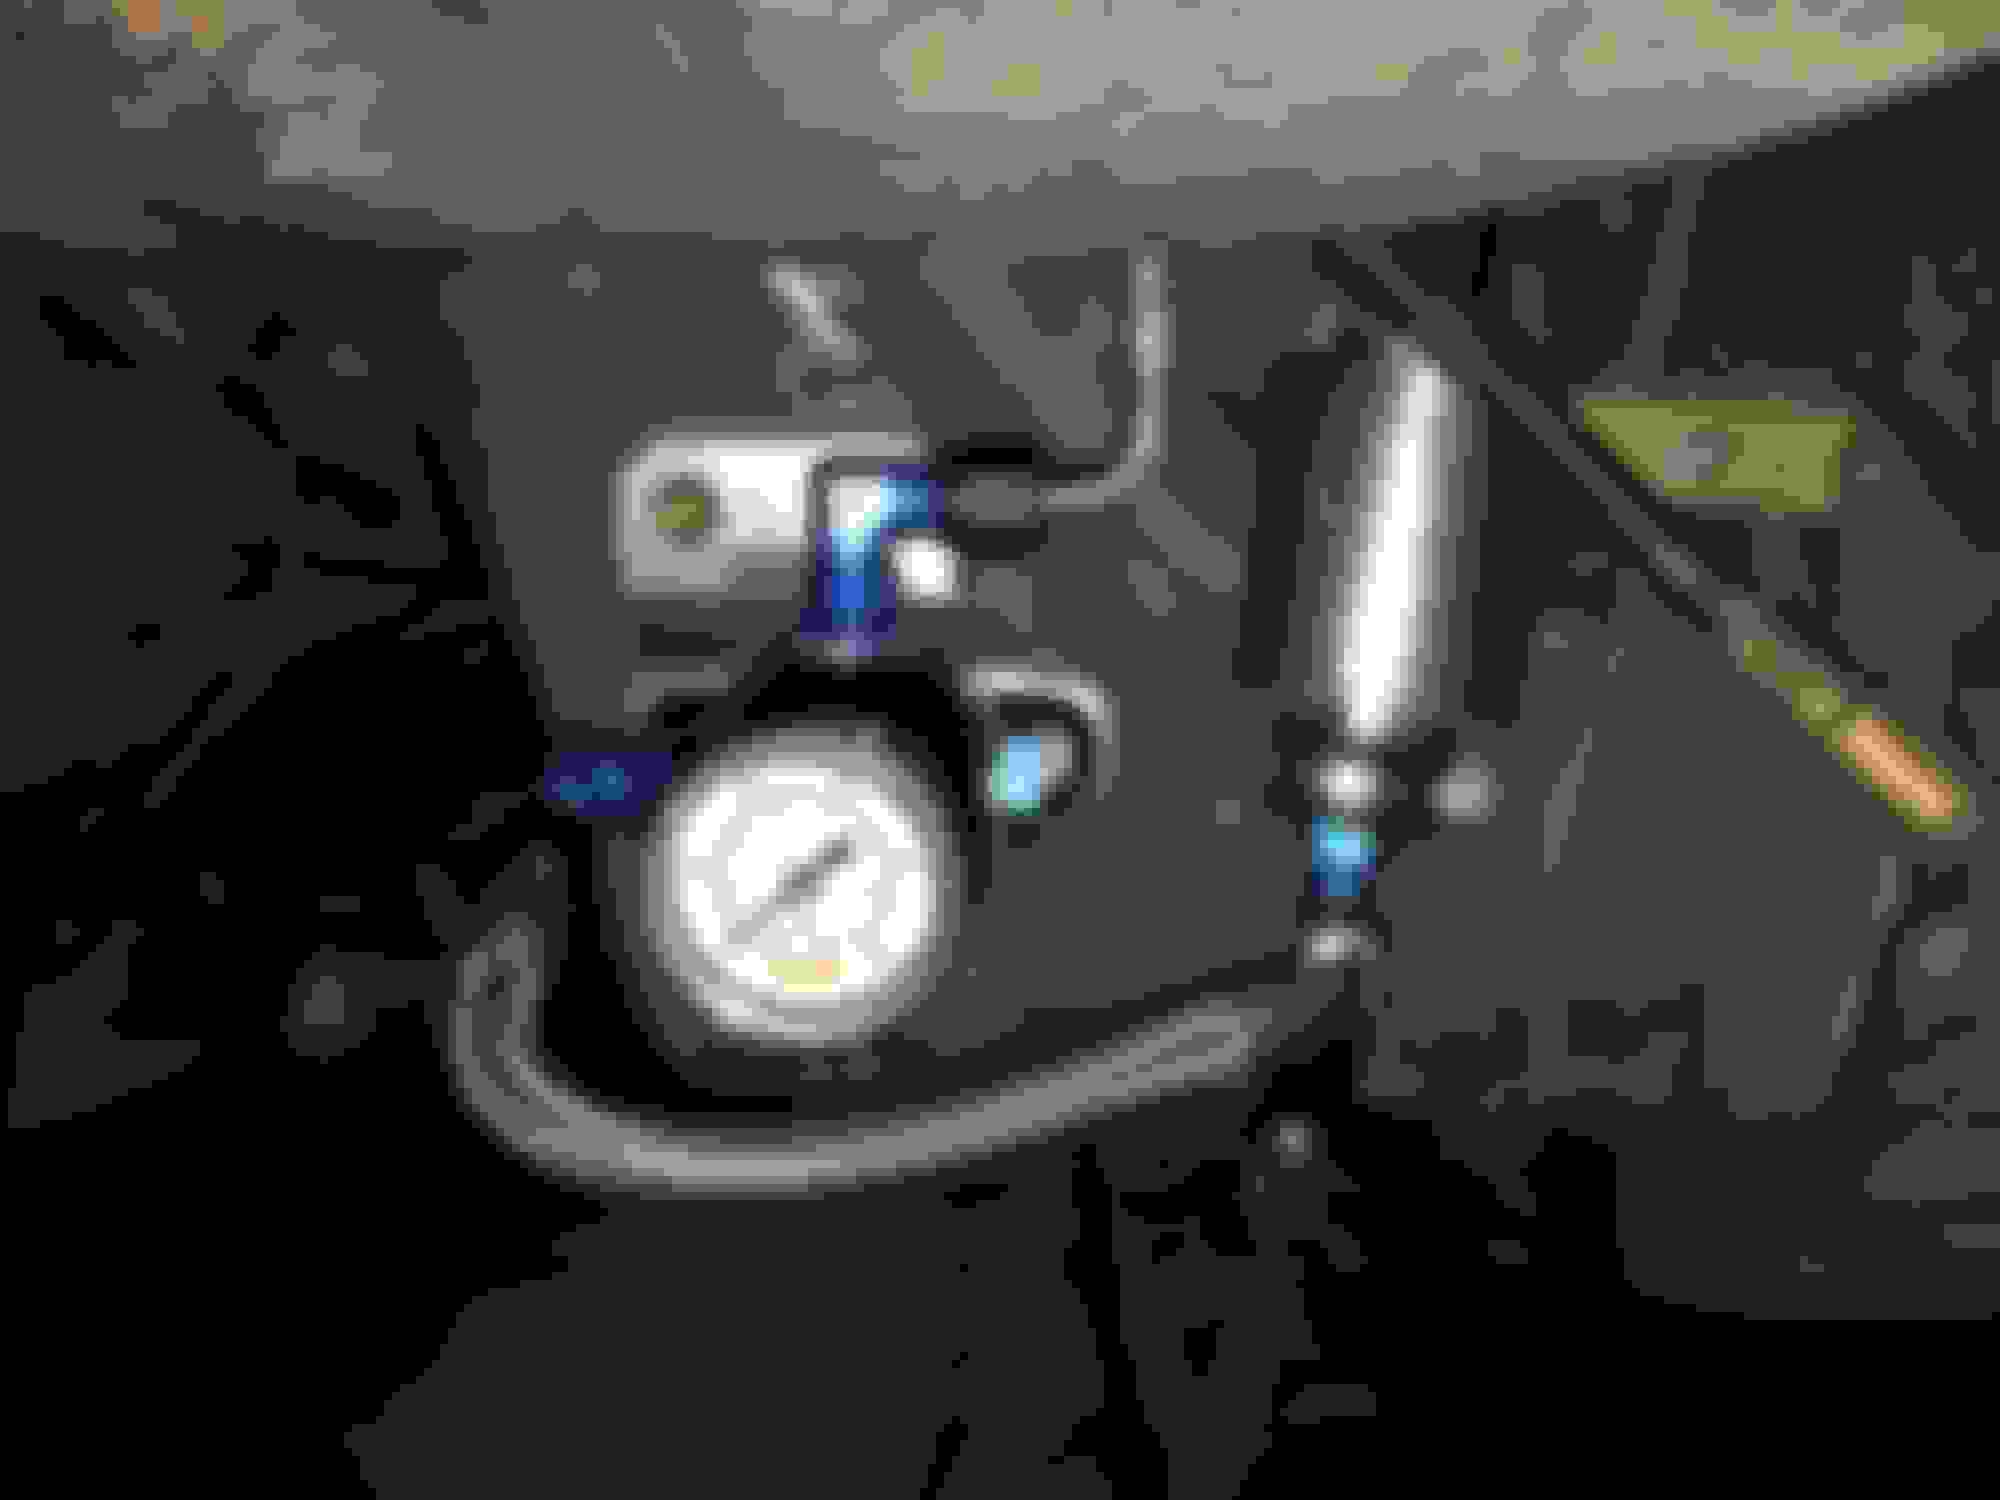
This is why you don't need to go to the trouble to remove the seals. Once you drain all the fluid out and loop the lines you can grab one of the wheels with one hand and turn the steering very easily. I made this shaky video just for you. Excuse the rusty wheels, I used to use Hawk pads.
Quick update - With the help of Sixshooter beating the **** out of the car we were able to get the frame rails on the car.
Hopefully the motor will go back together soon. I tried to get that done prior to the hurricane but the machine shop lost my oil pump bolts so I was pretty much halted on that. I ordered the replacements without issue and those were delayed because of the hurricane...frustrating. Hopefully they will be here tomorrow or Saturday so I can get the motor as much together as possible. Got some work done after the storm. Installed most of the big fuel kit. Wasn't terrible overall. I will say removing the old fuel lines sucked large ***** and fitting the larger fuel lines between the tank and body required dropping the front of the gas tank which was awesome considering my tank is currently full. The install is pretty straight forward. Had to call FM because the directions they sent were old and they have changed the filter setup so the directions were not making sense. Overall I don't think it looks too bad. Drilling more holes in the floor to mount the larger fuel line.
Also found the only rust on the car during this install. The metal covers on the rear shelf were all rusted as were the screws. I ordered a replacement set with hardware off eBay from miatamecca. Nice seller and everything was as described. Have 2 of the 3 installed. Waiting to install the 3rd until I test the fuel pump and fuel system to ensure there are no leaks.
Hopefully this weekend I can get the motor mostly together. The wait continues. Im at 2 months on my TSE order and still no manifold, DP, WB O2, or ECU. To distract myself I have picked out seats for the car...working on picking the harnesses and then I will place my order. I know the updates suck ***** at the moment. Hopefully they will pick up very soon. Things that Im expecting are receiving the remainder of my turbo setup, the transmission swap kit, and the rear subframe adapted for the Getrag diff install. It'll be great track weather here in like 3 weeks so I want to get this bitch rolling so I can get to some events this season.
Last edited by TonyMontana; 09-15-2017 at 12:54 PM.
Any more sweet parts show up? Is there more stuff in your car now?
Small **** has been randomly showing up. Picked up LS coils and a SADFAB bracket. The crank angle sensor showed up since I have a 95...wasted lots of time dicking around with the ATI damper. That thing was a pain in my ***. In theory I should have the transmission setup soon and my rear axles for the getgrag setup. My ECU showed up...MS3 with a 4 bar MAP sensor. Big Fuel Kit is mostly installed -- aside from the motor parts. Brand new hose kits for the engine bay also arrived. I got another delay from TSE--manifold and downpipe now won't be ready until end of October. Is this **** normal? Over 2 months for a cast manifold and downpipe? Anywho heres a pic of the engine as it sits. I won't put it in the car until I have a manifold and as much mounted as I can. I just prefer the access since Im learning. Makes it easier on me.
I have some shiny parts showing up this coming week so Ill be sure to post those when they arrive. The stuff i mentioned before is sorta dull so I didn't take tons of pictures. Just necessary ****. I'm hopeful that the pace will pick back up soon. Im not super patient so this is killing me.
Unfortunate about the delay, but I agree it's worth the wait. There used to be crazy wait times on stuff like xidas, I think it took 4 months to get mine, but damn it was so worth it!
Take more pictures of the piles of brand new parts sitting in your house.
But seriously guys, Dr. Montana has done most of the assembly himself. Only the head and shortblock were done at the machine shop. He mated the two and did the balancer and timing belt for the first time ever without any help (I'm a bad friend). He just jumps in there.
I didn't ask, did the shop set up the valve lash or did you do that yourself?
Lash was set at the machine shop. Per request here is some of the stuff just waiting to go on the car. I have other stuff showing up shortly as well. After the seats and harnesses are bought the extremely expensive purchases should slow down. Then just down to getting the bitch together.
Fan mounted with the brackets...just need to dremel them now with the appropriate angle.
Full hose kits from carbon miata. Seem like a nice complete kit. Interesting thing they shipped from China. Surprising I thought.
Everything for my coil setup. Got the coils off Amazon. Seem legit. Guess Ill find out. Got the harness off eBay...seems like a nice piece. Just have to figure out the cleanest way to wire the harness.
25 row Oil cooler from TSE -- Will figure out the mounting solution after the motor is in.
Gonna try and use these adapters for my sensor solution. Will use one right after the sandwich plate for oil temp. My TSE kit has a thermostatic sandwich plate so with this solution the temp will only register after the engine reaches operating temperature and it opens. Don't think this will be too big of a deal as this will mainly be important on the track. The smaller adapter I plan to sneak in between the TSE oil feed adapter and turbo oil line. Should be able to get an additional oil pressure sensor in this location.
MS3 with 4bar MAP sensor and harness. Pretty sure I have no clue how this works. Should be fun.
Innovate LC-2.
Turbosmart wastegate with extra 11psi spring.
Aftermarket Crank Angle Sensor. Ordered a harness from TSE. One more thing to figure out.
Clutch kit for my Transmission Swap. Reservoir is rather large. That corner of the engine bay is going to be full of wilwoodness. So lots of things waiting to go on the car. I laugh sometimes with all the stuff that I have no idea how to make work. When everything is back together the gremlin search is going to be unreal but should be fun.
Marc (CarbonMiata) is located over in China, he does nice stuff though. I have a gauge cover my girlfriend bought me as a present and his rear flares on my car, both fit well with pretty minimal trimming. Much better fit than some of the AK stuff I picked up used.

 09-01-2017, 12:24 PM


 0
0