When you click on links to various merchants on this site and make a purchase, this can result in this site earning a commission. Affiliate programs and affiliations include, but are not limited to, the eBay Partner Network.
Yes. I bought a transmission re-seal kit from Track Dog, and that kit includes a new OE rear crank seal. All seals in that kit are OE Mazda. I probably could have sourced the seals myself for a little less, but I like supporting local businesses.
One quick look at the oil pan configuration, and I knew that leak is not bad enough to be worth the work at this point.
Good, I have just seen to many non-OEM rubber seals leak in miata's to ever use anything but OEM from now on. Would suck to have thrown in a non-oem one, then have that one start leaking on top of the oil pan leaking.
Some other progress was made last weekend, but Saturday and Sunday were both days in which everything takes longer than it should. Only one project was actually finished. The others are waiting on parts or tools.
I did manage to get most of the coolant re-route done.
Front outlet.
Rear housing.
Pigtail extension made with aircraft grade crimp connectors and Teflon appliance wire (excellent for building tube amplifiers).
Installed.
Mishimoto heater hoses, because I still have more money than sense.
Could not button up the system, because the Comp Cams Gator clamps I ordered turned out to be a size too big, even though the diameter should be correct.
This was sooooooooo much easier with the transmission out of the way. I can't imagine doing it from the top. The hardest part was scraping the old gaskets off, without scratching the mating surfaces. I took my time and did a clean job, but still cheated and used a little RTV on that side of each gasket to make sure everything seals. All-in, I ended up spending about three hours and six cheap beers on this project.
.
Last edited by Steve Dallas; 08-02-2017 at 10:30 AM.
Good, I have just seen to many non-OEM rubber seals leak in miata's to ever use anything but OEM from now on. Would suck to have thrown in a non-oem one, then have that one start leaking on top of the oil pan leaking.
Yeah. I learned that lesson the hard way many years ago. OE for all seals, period.
New Exedy slave cylinder installed. Looks kinda limp. Should have bought a manlier one.
Completely unnecessary Goodridge stainless clutch line installed, because I haven't learned to keep a healthy balance between money and sense. This stainless line is sold as a direct replacement for the Miata, but you have to file down one of the hex points to get it to fit in the bracket. Could not bleed the system, because I was out of brake fluid, thanks to my teenage boys, which never happens, until it does.
DEI heat shield installed to hopefully keep my right foot from roasting all the time. Installation was simple. After going full jeffbucc on the area, I employed a rubber mallet and the fetching Mrs. Dallas' Pampered Chef crap... err... fine example of a dough roller, which I promptly broke (and I wouldn't use on food again anyway, seeing how much aluminum it picked up). I couldn't get a good photo of the shield. It looks much better than that in person.
Pilot bearing "pressed" in with a large socket and rubber mallet. Who knew bubble wrap could be used as a cushioned workbench, when your teenage boys have taken over your real workbench?
"Pressed."
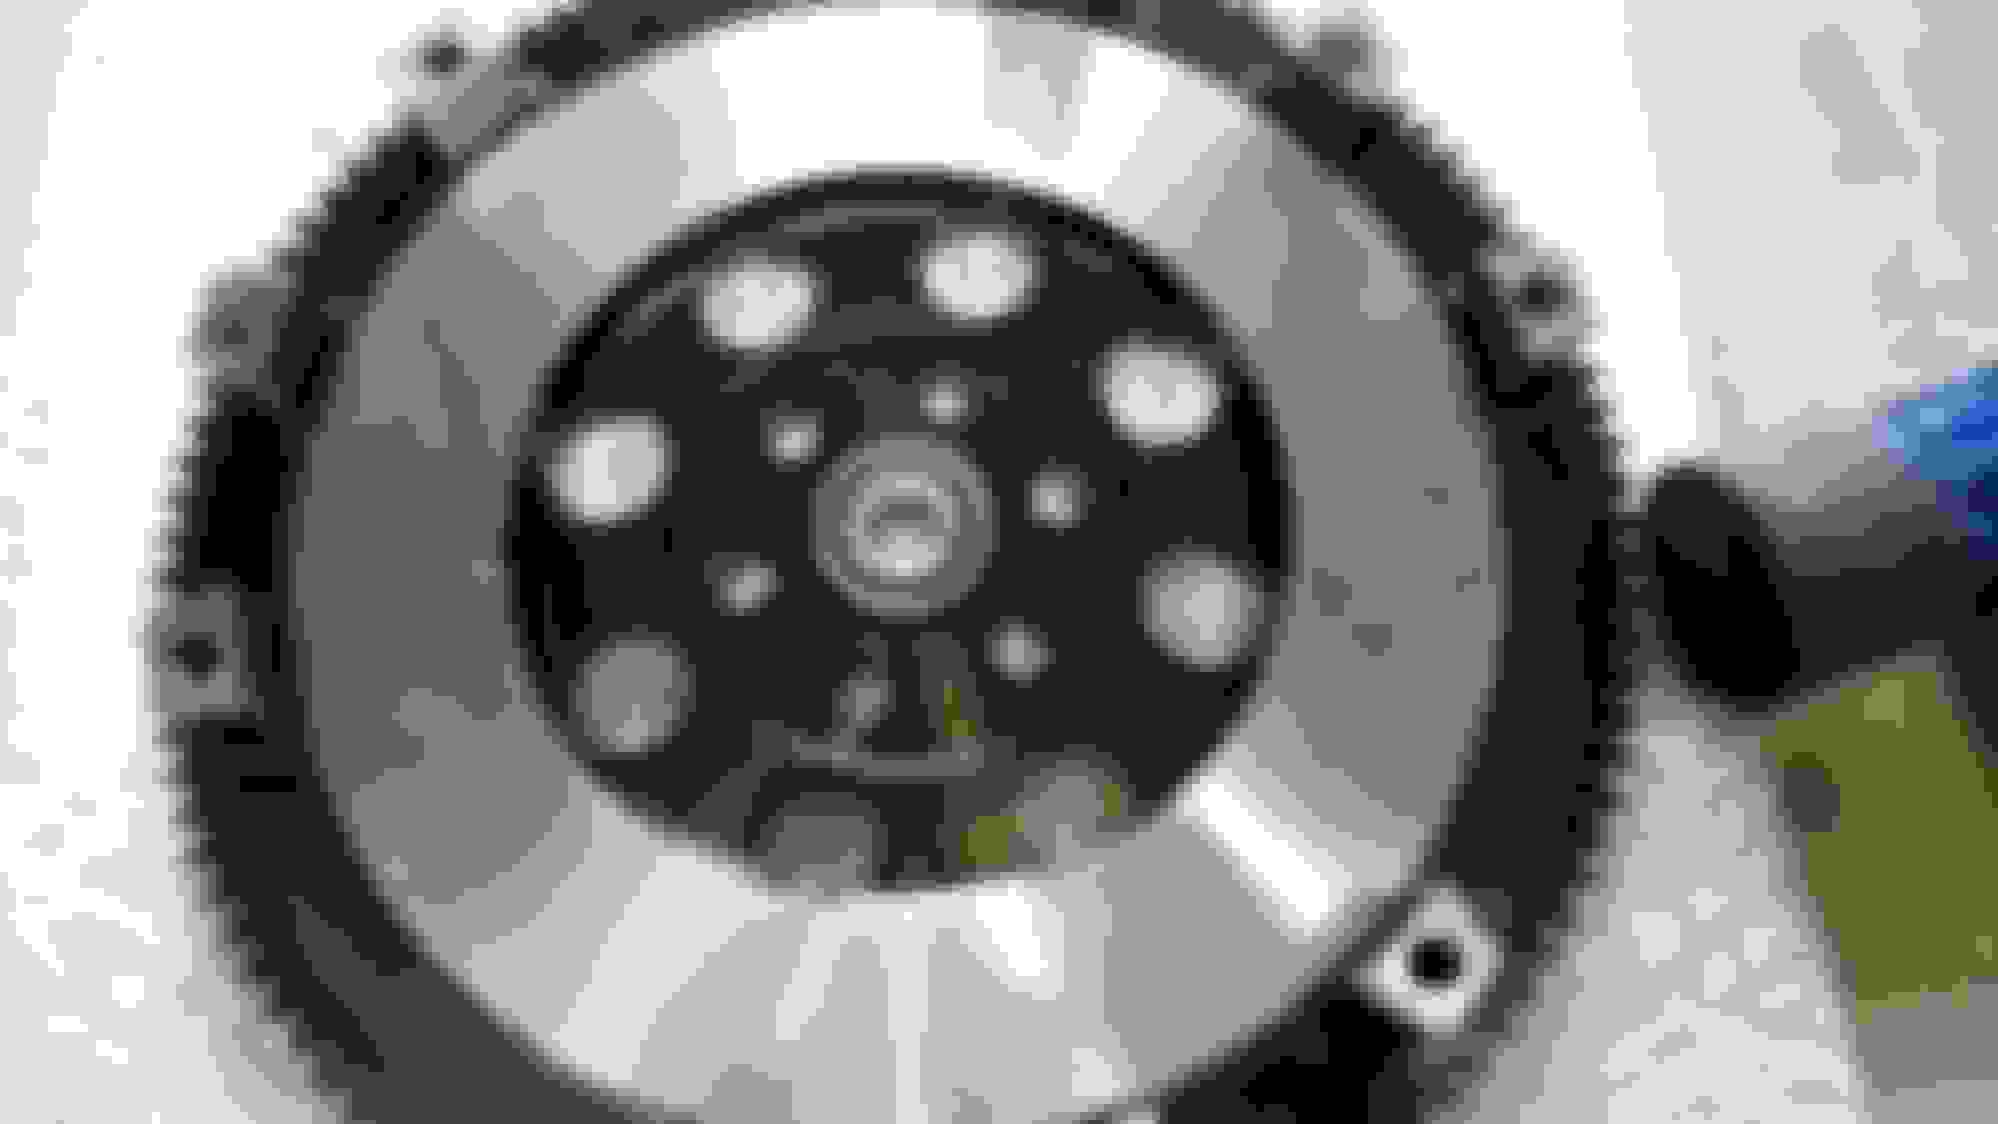
Got excited about installing the flywheel and clutch and starting to put things back together, until I realized there is no better time than now to install the oil cooler. Just look at that access!
So started the project and immediately ran into setbacks, such as a dull cable cutter and missing chisel. Having teenage boys is great, until it isn't.
At least I got this far.
More tools to buy...
.
Last edited by Steve Dallas; 08-02-2017 at 07:23 PM.
Wait $37 to have an O2 bung welded on? Did that include the cost of the bung? I need to start charging higher prices I think if people are willing to pay that much.
1/3 hour of labor plus the stainless bung plus tax. I think it's reasonable for a one-off at one of the top shops in the area. I paid a little more for insurance that it would be done well. Or, maybe a sucker () really is born every minute.
.
Last edited by Steve Dallas; 08-04-2017 at 10:00 AM.
Wait $37 to have an O2 bung welded on? Did that include the cost of the bung? I need to start charging higher prices I think if people are willing to pay that much.
$37 isn't unreasonable.
I do $20 on thin wall per additional, but the part is already in my hands and im already welding so I don't charge for the setup. I charge $40 on the low end if someone brings me a part to weld.
Protip: if you have a 200A tig welder...200A and 0.065" wall tube makes the perfect size hole for an o2 bung.
Well you guys just convinced me to start raising the prices on my MKTurbo setups. When people complain, ill tell them you told me to.
I have always just used a cheap HF step bit to drill my holes for the o2 bungs.
Because I'm a maroon. I failed to order heat shrinkable connectors and didn't have any heat shrink tubing on hand in the right size. I have a roll of X-Treme tape on the way to remedy the situation. I may go back and fix it with the correct connectors, next time I need something from Aircraft Spruce. But, it'll ride just fine for a good while.
It looks like Harbor Freight welded by crappy transmission jack with one of their HF blob makers. Anyway, always re-grease your HF threaded bits before use to prevent galling.
This round of bolting stuff on is going painfully slowly. Perhaps good progress will be made this weekend.

 08-02-2017, 10:17 AM


 0
0


 ) really is born every minute.


