
Curly's boring mt.net circle of life completion (Turbo->N/A conversion)
 05-22-2017, 03:27 PM
#241
Cpt. Slow

Thread Starter
iTrader: (25)
Join Date: Oct 2005
Location: Oregon City, OR
Posts: 14,439
Total Cats: 1,214
I'll get more pics soon.
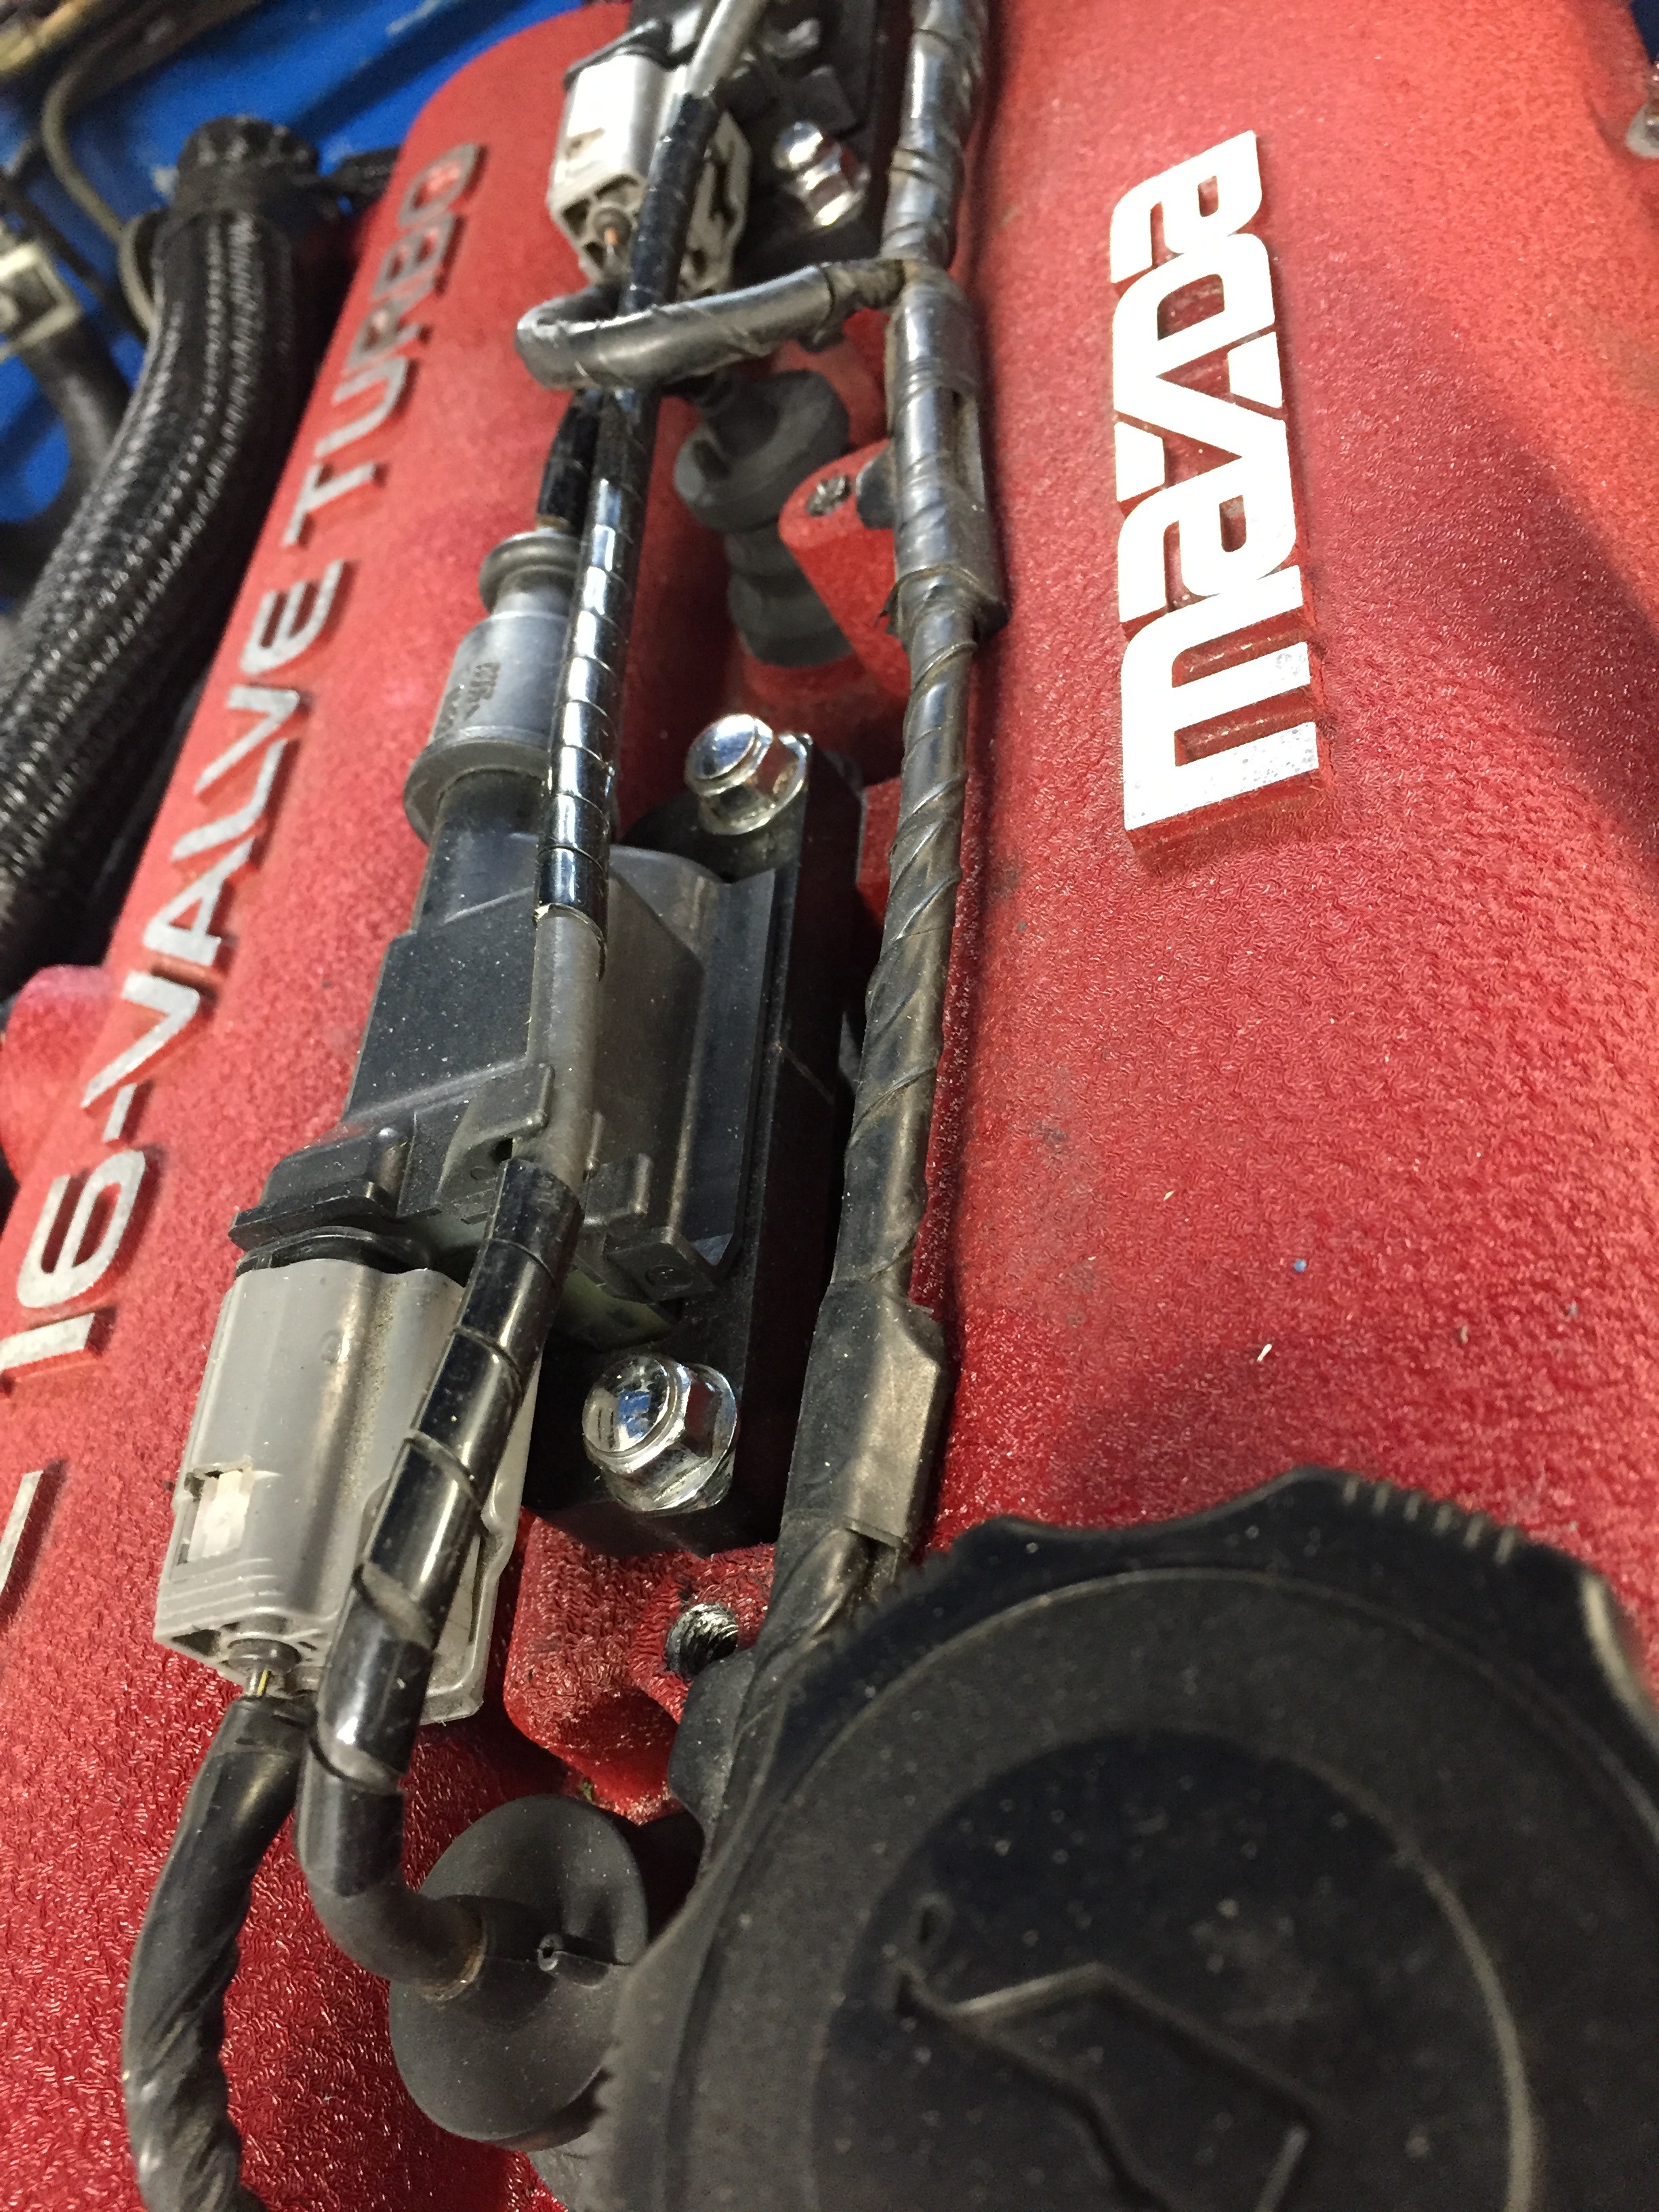
It is your valve cover and intake cam ed, figured it should go to use somehow. Added benefit is I really like the simple VVT coil mounting vs. anything aftermarket.
It is your valve cover and intake cam ed, figured it should go to use somehow. Added benefit is I really like the simple VVT coil mounting vs. anything aftermarket.

Reply
 0
0

0
 05-23-2017, 11:15 PM
#243
Cpt. Slow
Thread Starter
iTrader: (25)
Join Date: Oct 2005
Location: Oregon City, OR
Posts: 14,439
Total Cats: 1,214
Ok, here ya go.
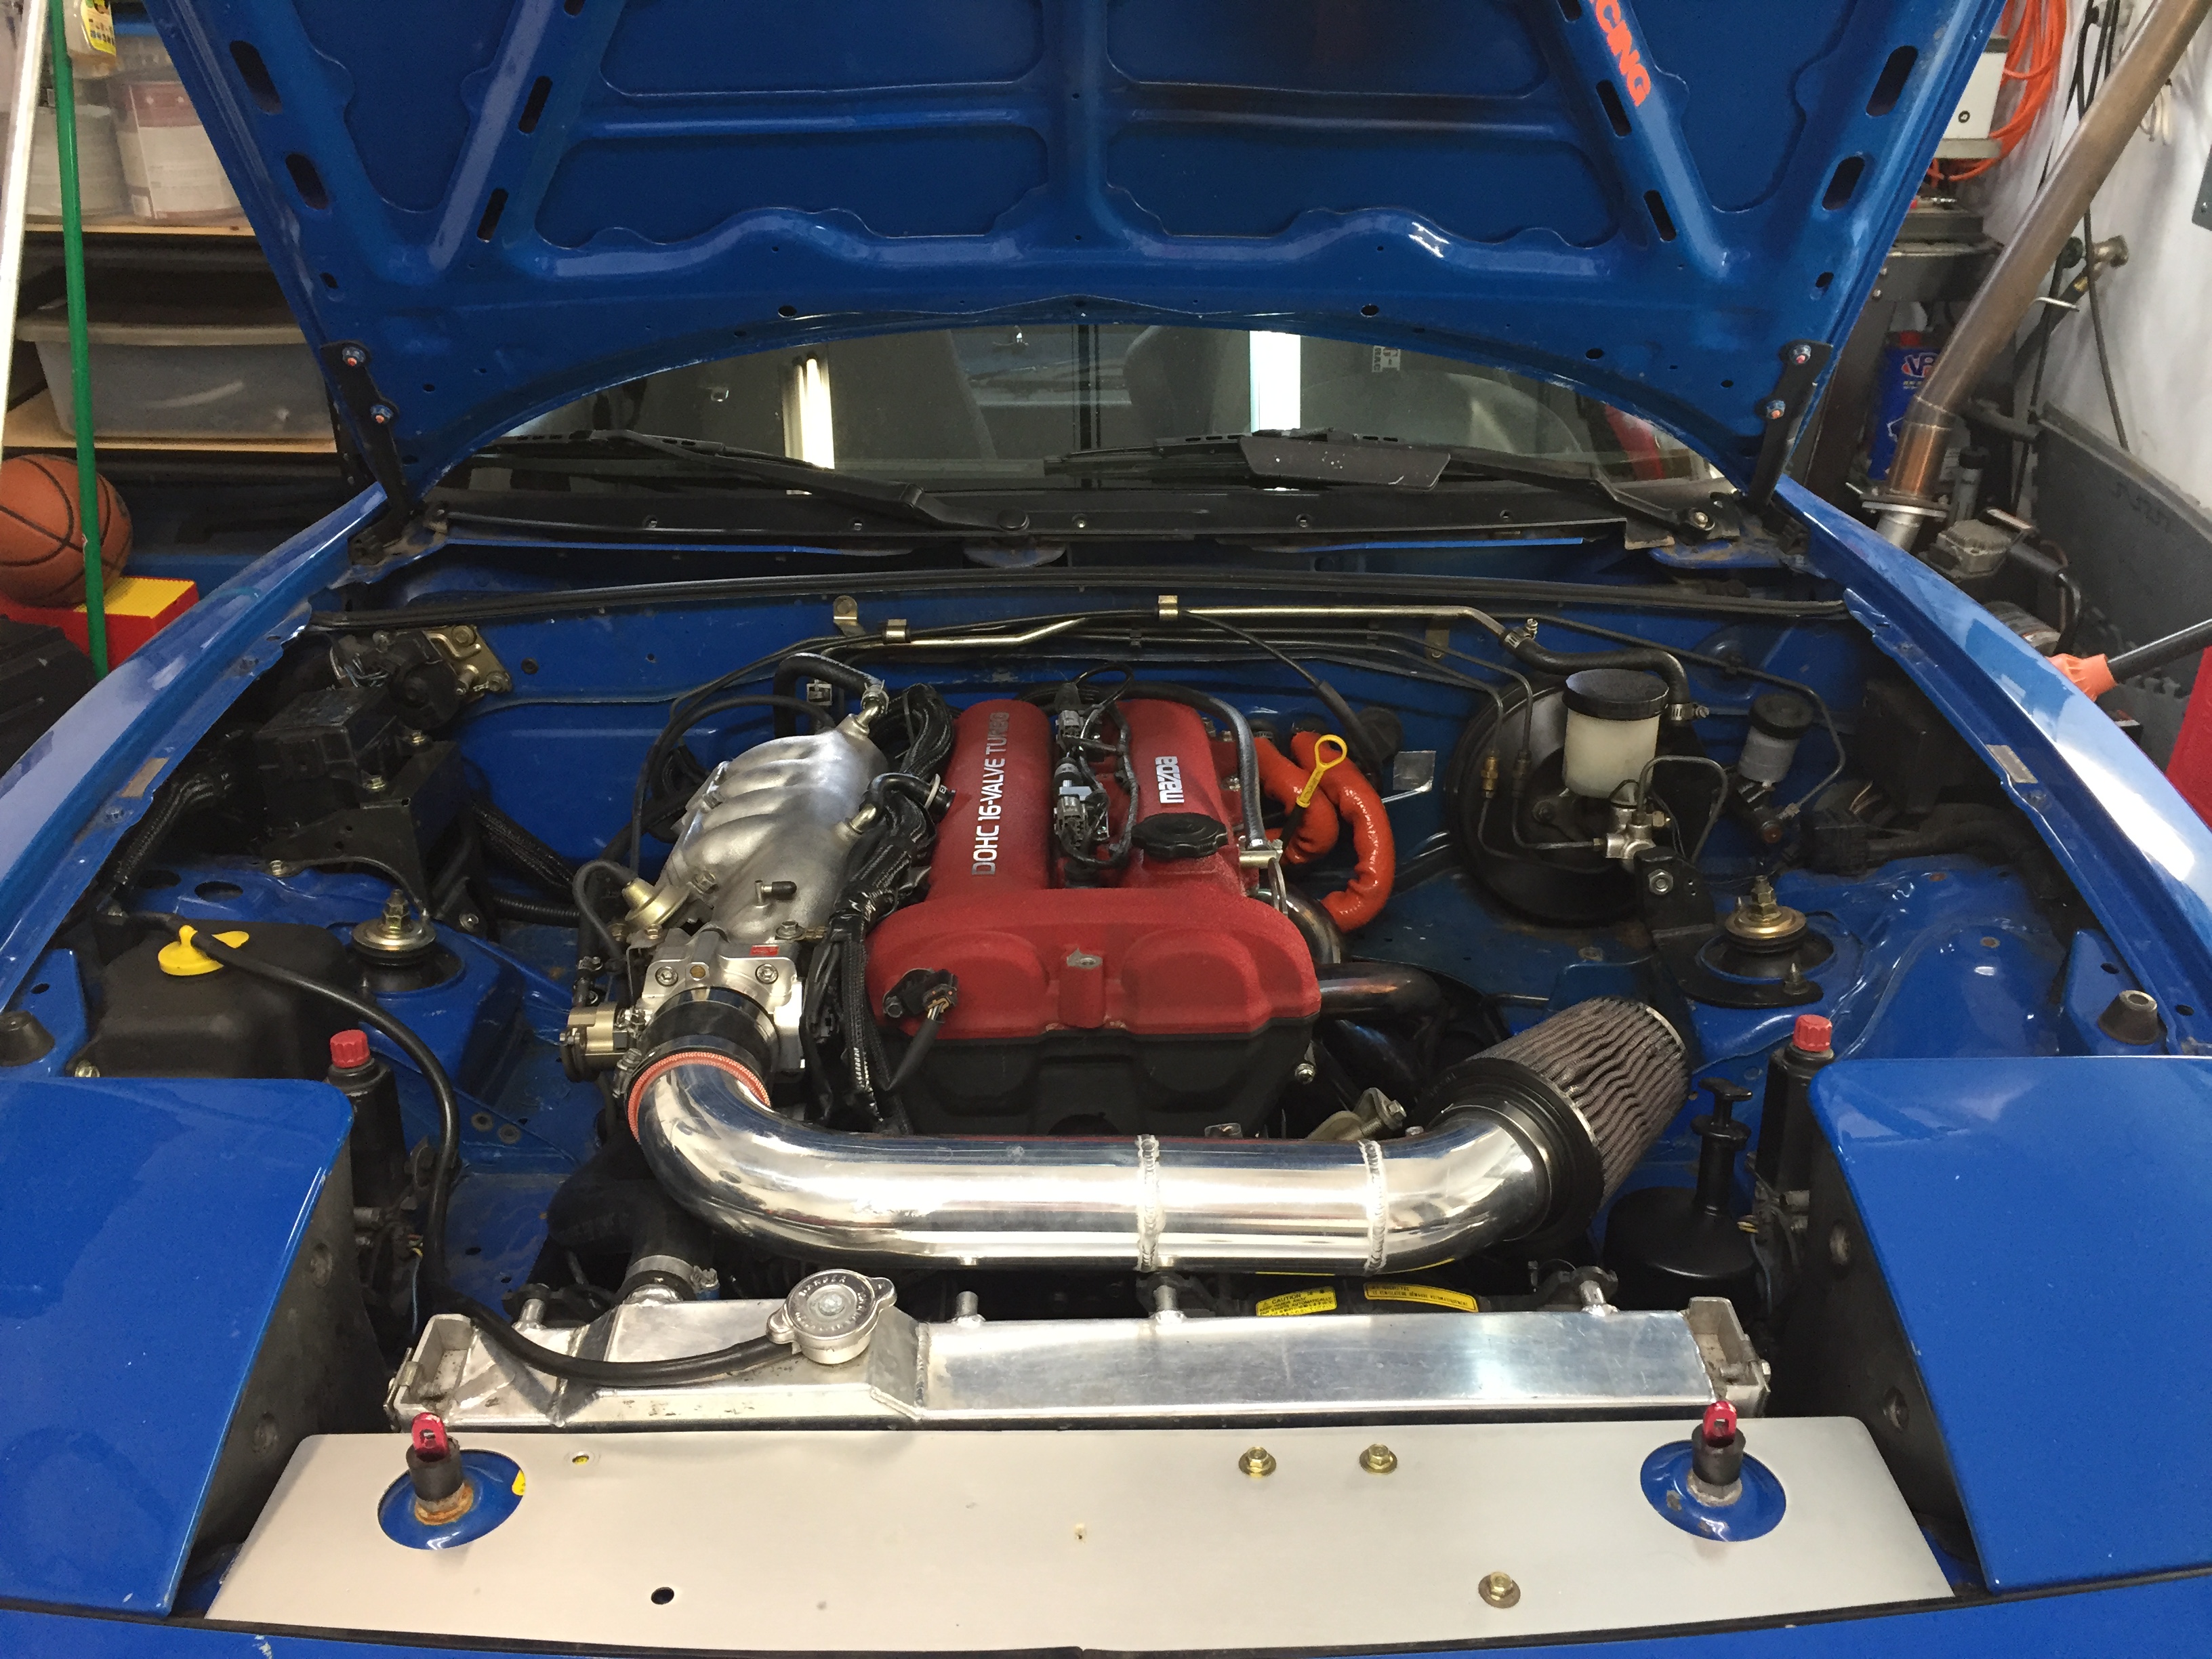
I don't really have too many interesting parts in the engine bay, just a lot of new OE parts I'm really stoked about. You'll be suprised how happy a brand new brake booster hose without worm clamp scars makes me.
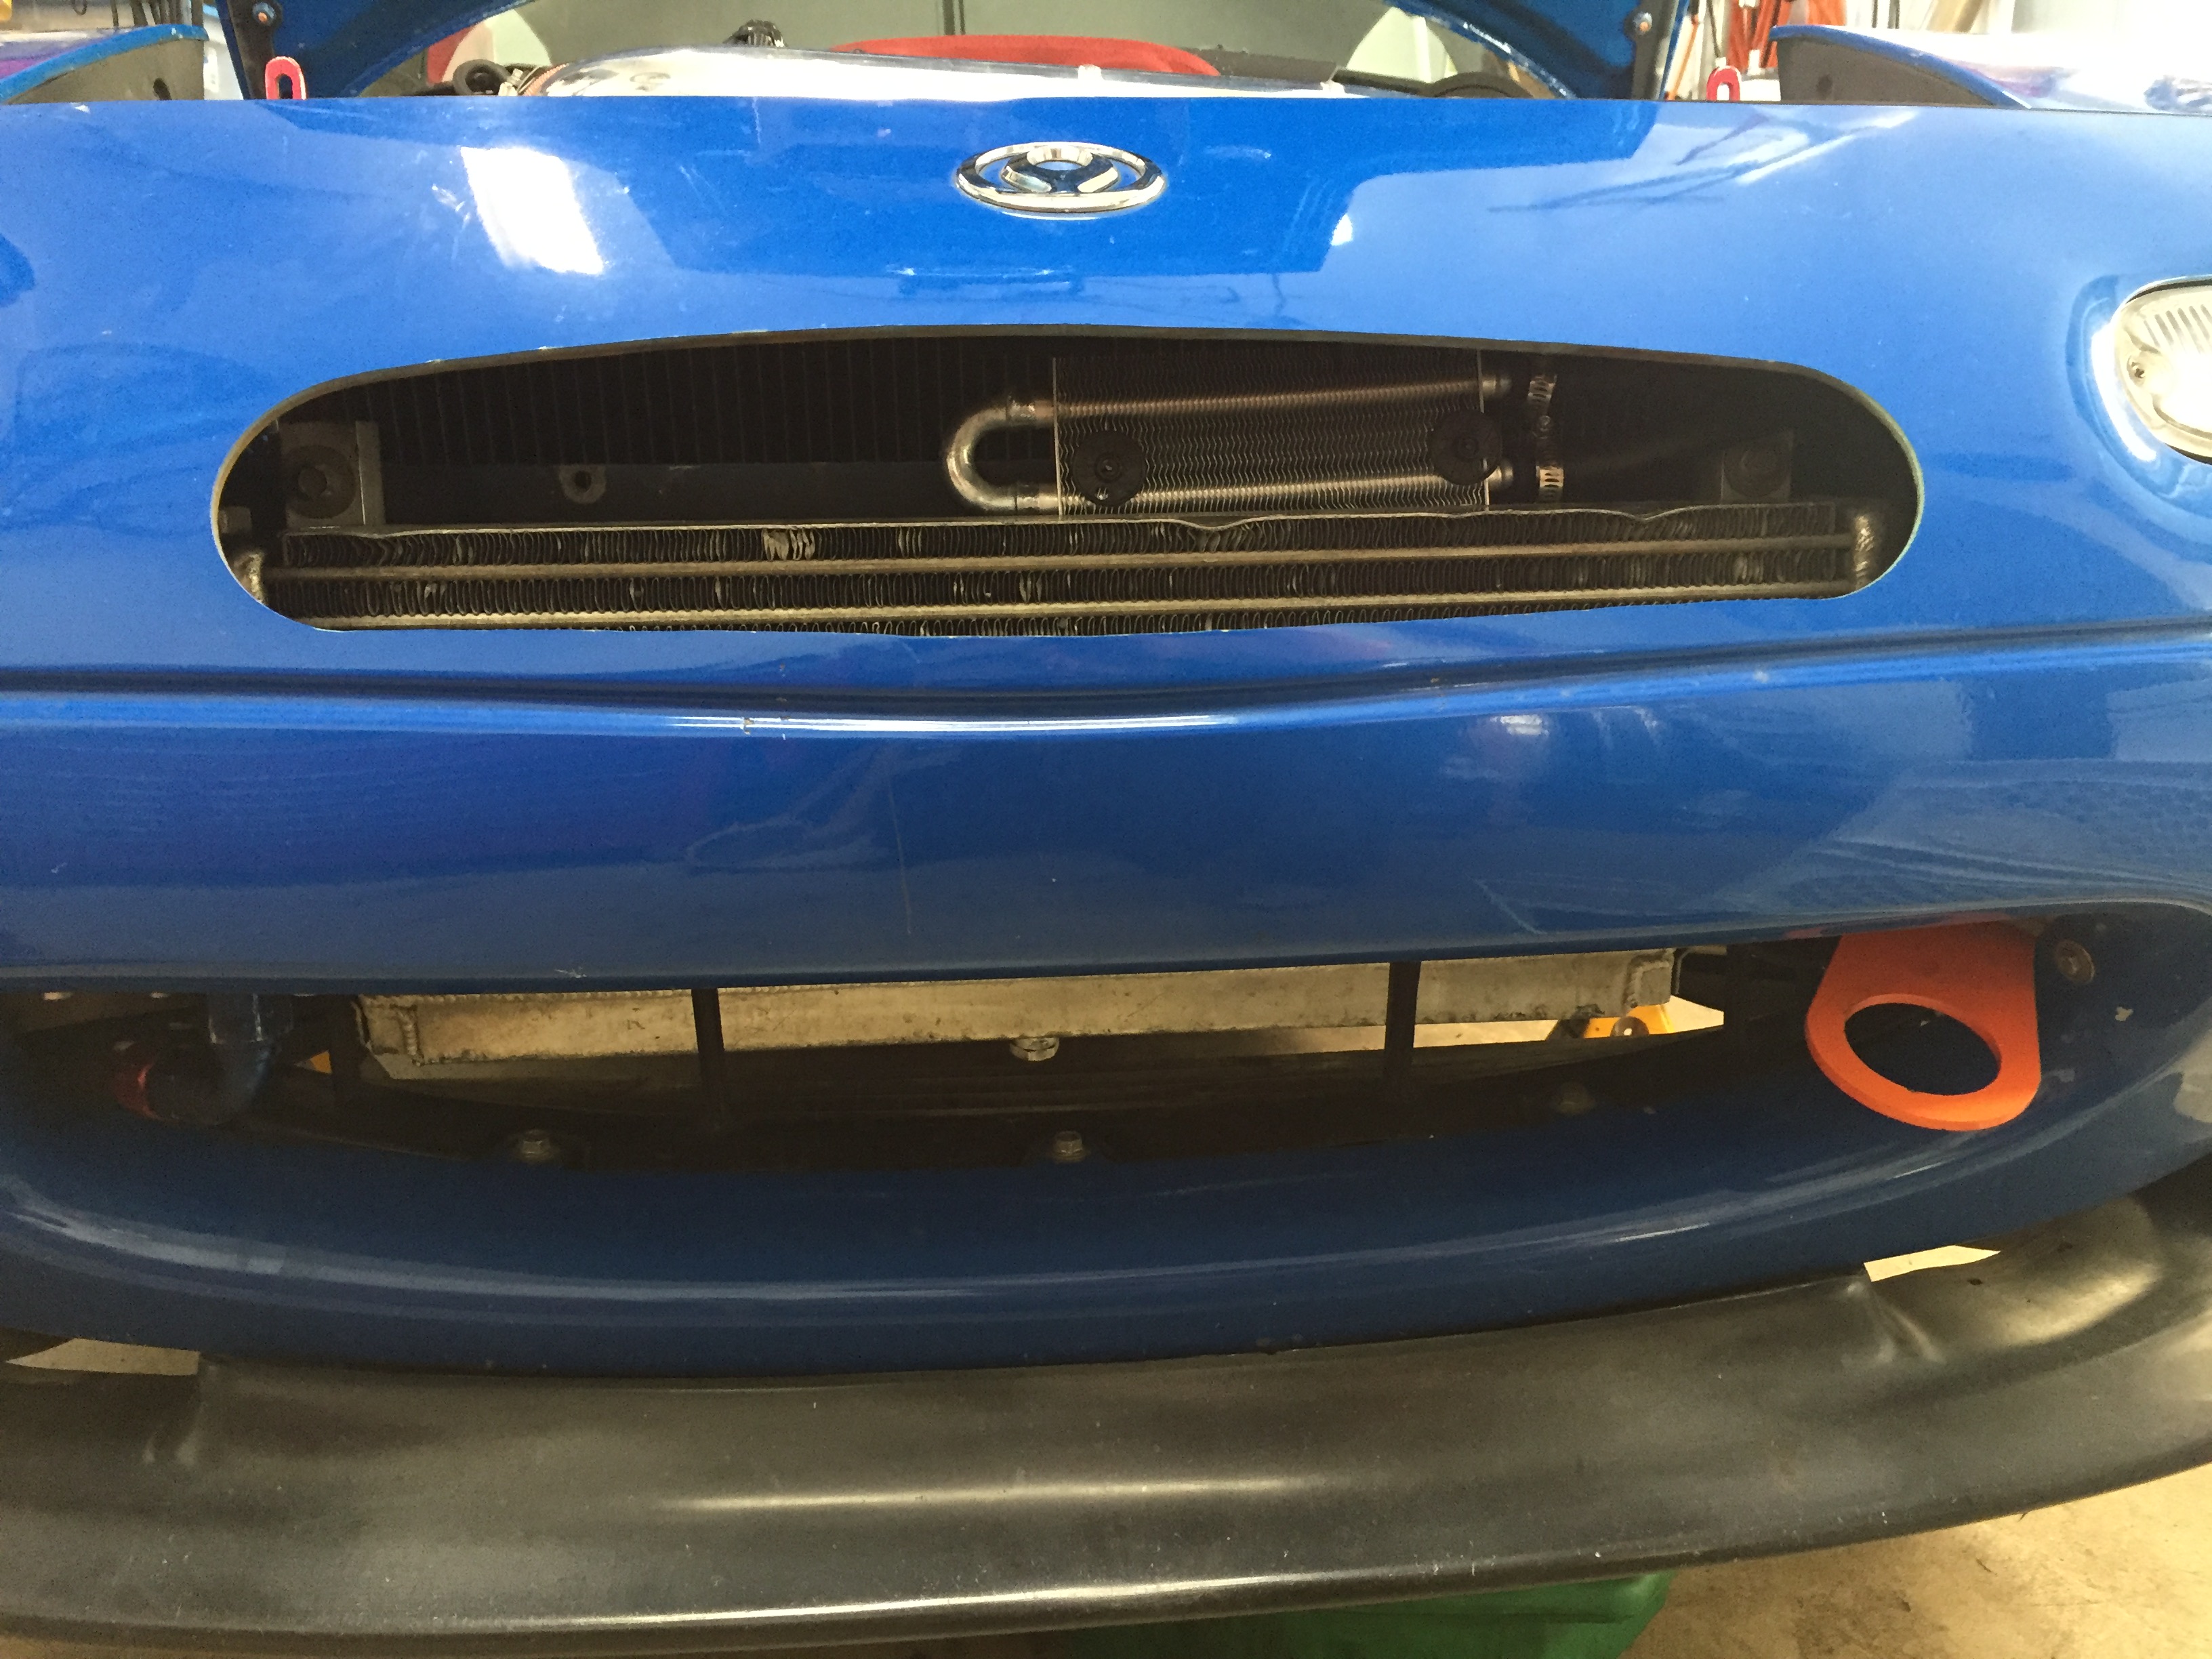
Aesthetically, I painted the yellowing coolant bottle black, got Laz's GS radiator panel for free and spent a few hours cleaning it up, and the bright orange fire sleeve on brand new heater hoses is fairly obvious. Like I said earlier, I've put a LOT of time into it earlier, but swapping out an NA subframe for an NB is nearly unnoticeable, and putting a bone stock PS system in may make me orgasm, but again, hardly looks interesting. I did run into a bit of trouble routing the cooler lines, so I bought an aftermarket unit from autozone for $19.99 and used soft line to connect it to the system. Here you can see it quickly ziptied above the RX-7 oil cooler while I figured **** out. Of course now that I'm all done I'd love to get some better clamps (anything but worm clamps), remount a better cooler, and remake the lines so they're not so stretched, hence the crooked mounting.
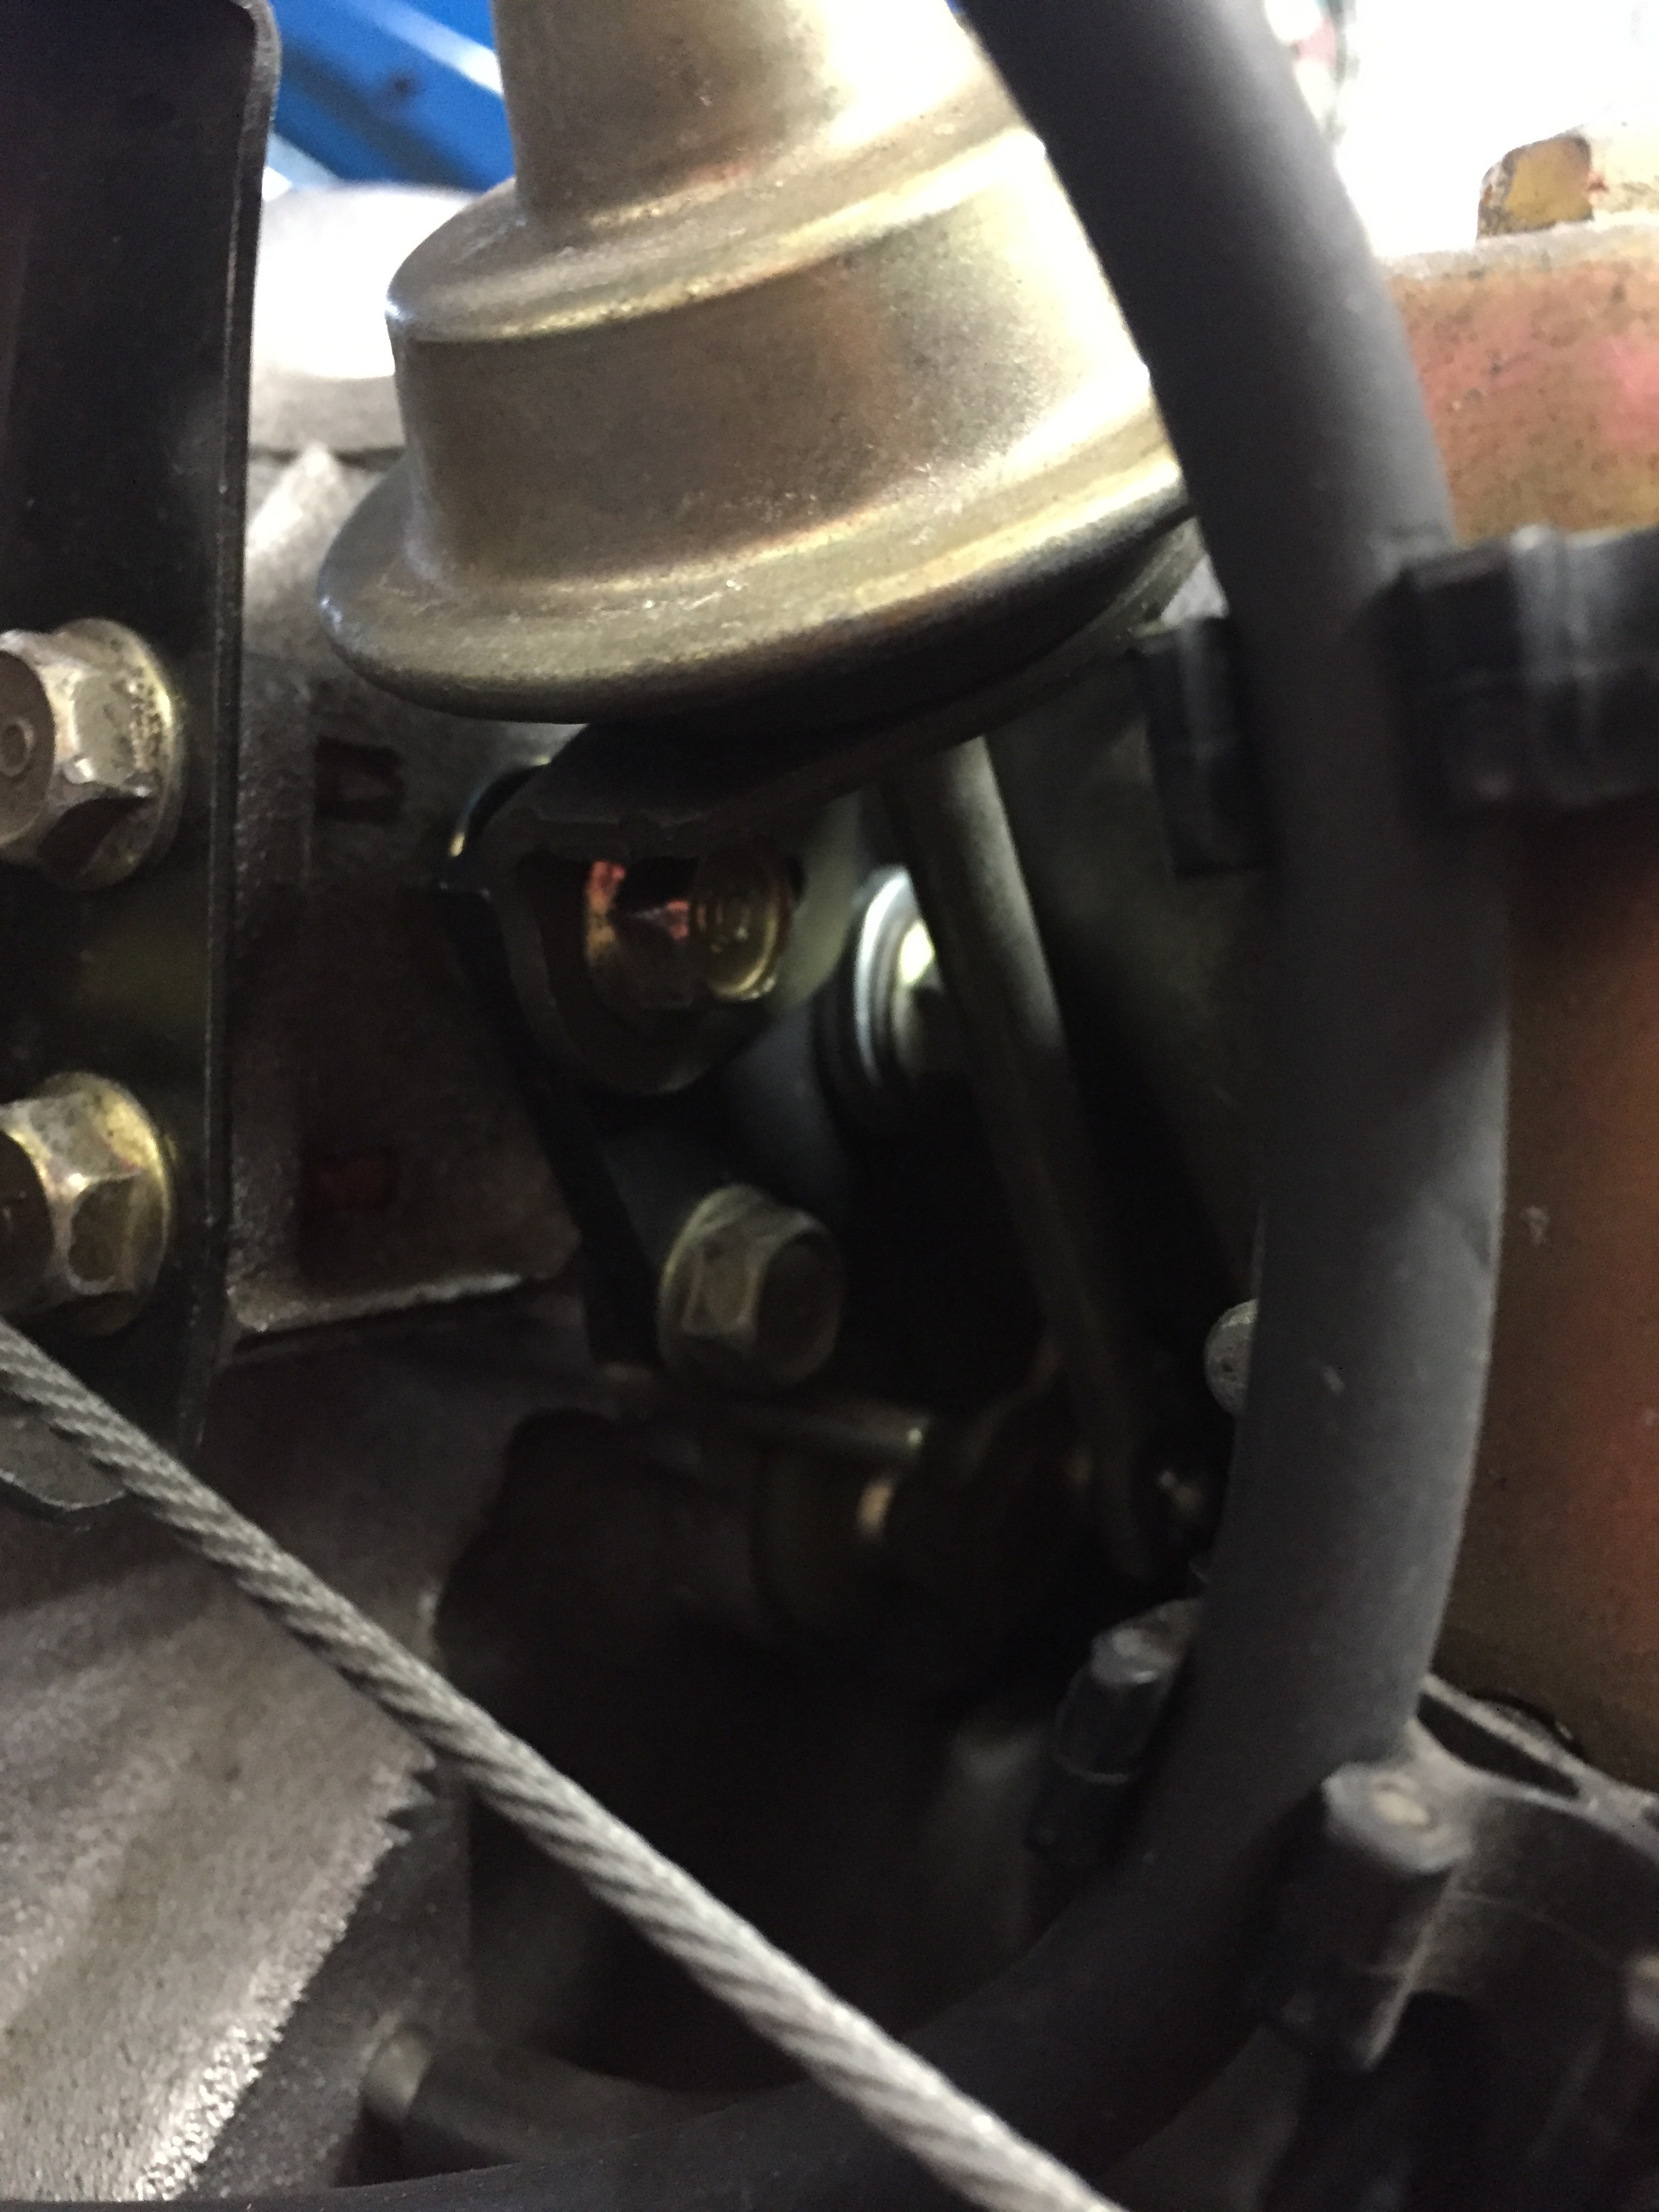
About the only other tricks are a VCTS to VICS adapter plate, this is super nice to use the all-metal actuator that comes with the 01-05 Miatas, vs. the plastic one from the 99-00, which I like to break.
Also I had some spare 90-93 valve cover bolts that I trimmed down and used for the VVT/MSM coils and the upper timing cover.

I don't really have too many interesting parts in the engine bay, just a lot of new OE parts I'm really stoked about. You'll be suprised how happy a brand new brake booster hose without worm clamp scars makes me.
Aesthetically, I painted the yellowing coolant bottle black, got Laz's GS radiator panel for free and spent a few hours cleaning it up, and the bright orange fire sleeve on brand new heater hoses is fairly obvious. Like I said earlier, I've put a LOT of time into it earlier, but swapping out an NA subframe for an NB is nearly unnoticeable, and putting a bone stock PS system in may make me orgasm, but again, hardly looks interesting. I did run into a bit of trouble routing the cooler lines, so I bought an aftermarket unit from autozone for $19.99 and used soft line to connect it to the system. Here you can see it quickly ziptied above the RX-7 oil cooler while I figured **** out. Of course now that I'm all done I'd love to get some better clamps (anything but worm clamps), remount a better cooler, and remake the lines so they're not so stretched, hence the crooked mounting.

About the only other tricks are a VCTS to VICS adapter plate, this is super nice to use the all-metal actuator that comes with the 01-05 Miatas, vs. the plastic one from the 99-00, which I like to break.

Also I had some spare 90-93 valve cover bolts that I trimmed down and used for the VVT/MSM coils and the upper timing cover.

Reply
1
1
 07-21-2017, 11:16 PM
#245
Cpt. Slow
Thread Starter
iTrader: (25)
Join Date: Oct 2005
Location: Oregon City, OR
Posts: 14,439
Total Cats: 1,214
Big white box arrived!

My poor original kit was accidentally shipped to a shop in Florida with the same name as the one I work at. They contacted us and agreed to ship it to us, but we never heard from them. After waiting an acceptable amount of time, we contacted our vendor, who drop shipped another kit from stoptech. And nearly two months later, I have my BBK!
The rotors came individually boxed and bagged with Left/Right stickers, and preassembled.


The calipers again came labeled L/R, and in their own individual boxes, with a small hardware bag. You'll notice there's a bleed screw and AN adapter, however you'll see in the next photo that the AN adapter was NOT used. There's two ports pictured in the second photo with black rubber plugs. Once these are removed, I believe the threads are the same flared size, so really the calipers are not L/R dependent aside from the leading/trailing piston size.


Next was a box of brackets and hardware. The brackets themselves are very stout and nicely anodized but otherwise fairly boring. Which is a good thing! All you need to do is adapt the lug mount stock hub to the radial mount caliper. The threads are slightly different, but are labeled "rotor side" with an arrow to aid with any confusion. The four allen bolts and washers for mounting the calipers are included, stock bolts are reused for mounting the bracket to the hub.

Pads sitting on the instruction booklet. That's about all there is to say about that...popular pad shape, decent thickness, lots of options available. Comes with stoptech sports, in case you weren't aware.

Finally the baggie of lines. Fairly standard stoptech stuff, which means great quality and fitment. You can see through the bag that it has an inverted flare on the angled end, so again no AN adapter is required, the lines screw directly into the calipers. These screw into the bottom of the caliper and neatly bend up towards the stock hard line, and have a nice cushion built in (black piece in the middle) that lands right where the lines come very close to the lower A-arm.

And a variety of mounted pictures. MAKE SURE TO WASH THE ROTORS. They warn you about this many times in the instructions. If they don't start to develop surface rust within a few hours, you haven't washed them enough.
Let me know if you desire any specific photos!
Not pictured, but the singular shield was touching the rotor, and about .25" off the tie rod. Removed it, bent it in the vice, and the top hit. This was a simple bend while mounted, and fitment is now perfect. (pictured below).


Pad bolt is a simple 5mm allen and 10mm nut. Bolt comes out, giant spacer is removed, and pads slide out.

Fitment is great with notoriously tiny 15x8-20 Wideopens, aka RPF1s. ~.5+" spoke clearance, ~.25" barrel clearance.


Reply
1
1
07-22-2017, 09:16 AM
#246
Cpt. Slow
Thread Starter
iTrader: (25)
Join Date: Oct 2005
Location: Oregon City, OR
Posts: 14,439
Total Cats: 1,214
Boo-hoo. I've been itching to drive mine lately. Thanks to the brake fiasco and previously the subframe/PS swap, mines been down since the end of April I believe. I had one chance to bring it out to an open track day my work hosted, but at least I had seat time in an aero'd Lucky Dog car for our upcoming (today) enduro at PIR.
Reply
0
0
 07-23-2017, 09:24 AM
#248
I'm happy enough with Torsens. Although I can think of a few corners where the OSGiken would be nice. Maybe that's why I'm currently in the "drive and oil change" state. I'm "happy enough."
To be honest, your buying/modding habits are mysterious to me. You go for the hardcore racer mods but don't like to twist your own wrenches and hardly ever go to the track. ???
Seriously, though, I had no idea StopTech was making a BBK for the Miata. So, interested to hear how it works out. They make nice components.
Reply
0
0


Thread
Thread Starter
Forum
Replies
Last Post


