When you click on links to various merchants on this site and make a purchase, this can result in this site earning a commission. Affiliate programs and affiliations include, but are not limited to, the eBay Partner Network.
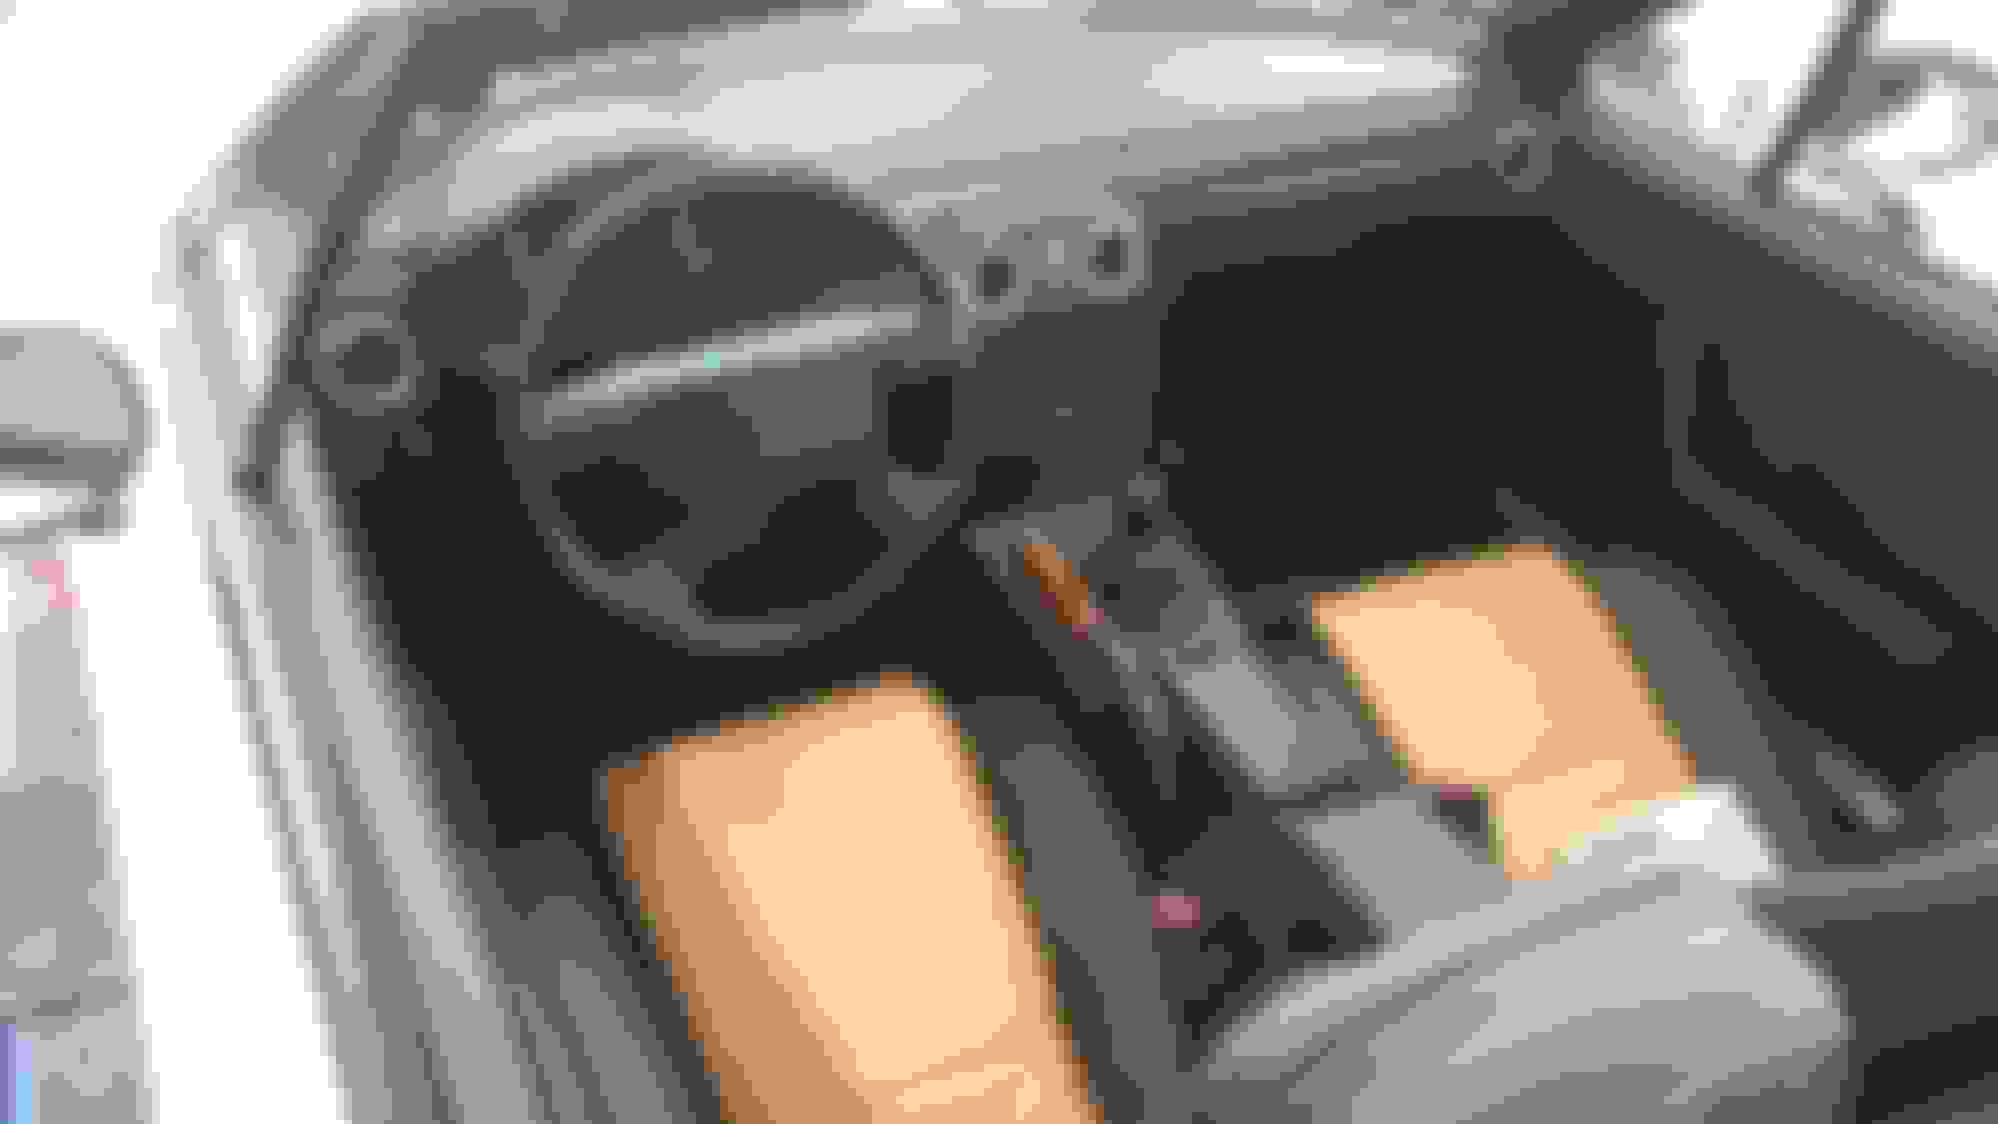
And in other news: My turbo is running, albeit not in boost yet. I limited boost cut to 100 kpa because I still had to weld in a bung for the o2 sensor, plus a new tailpipe finisher + bend. Here they are:
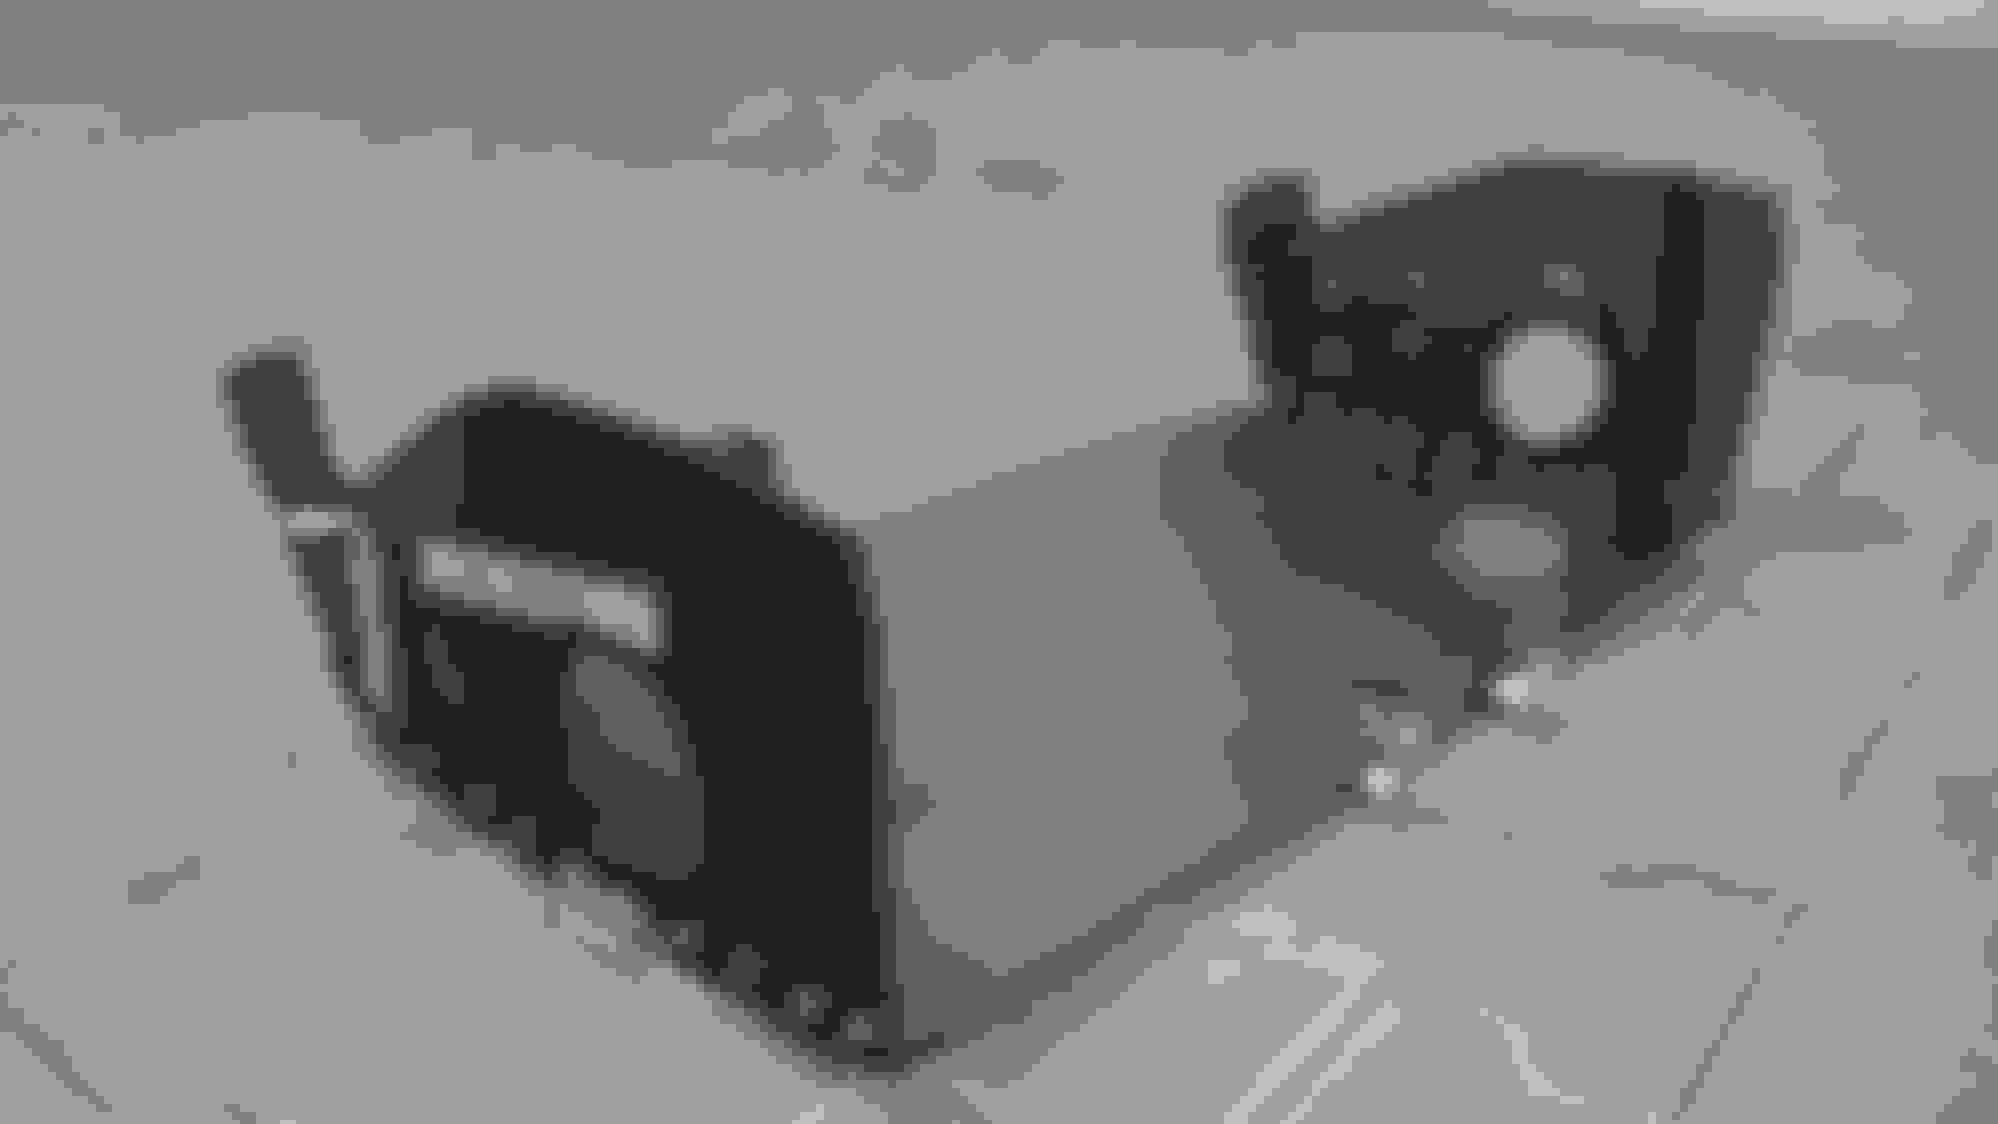
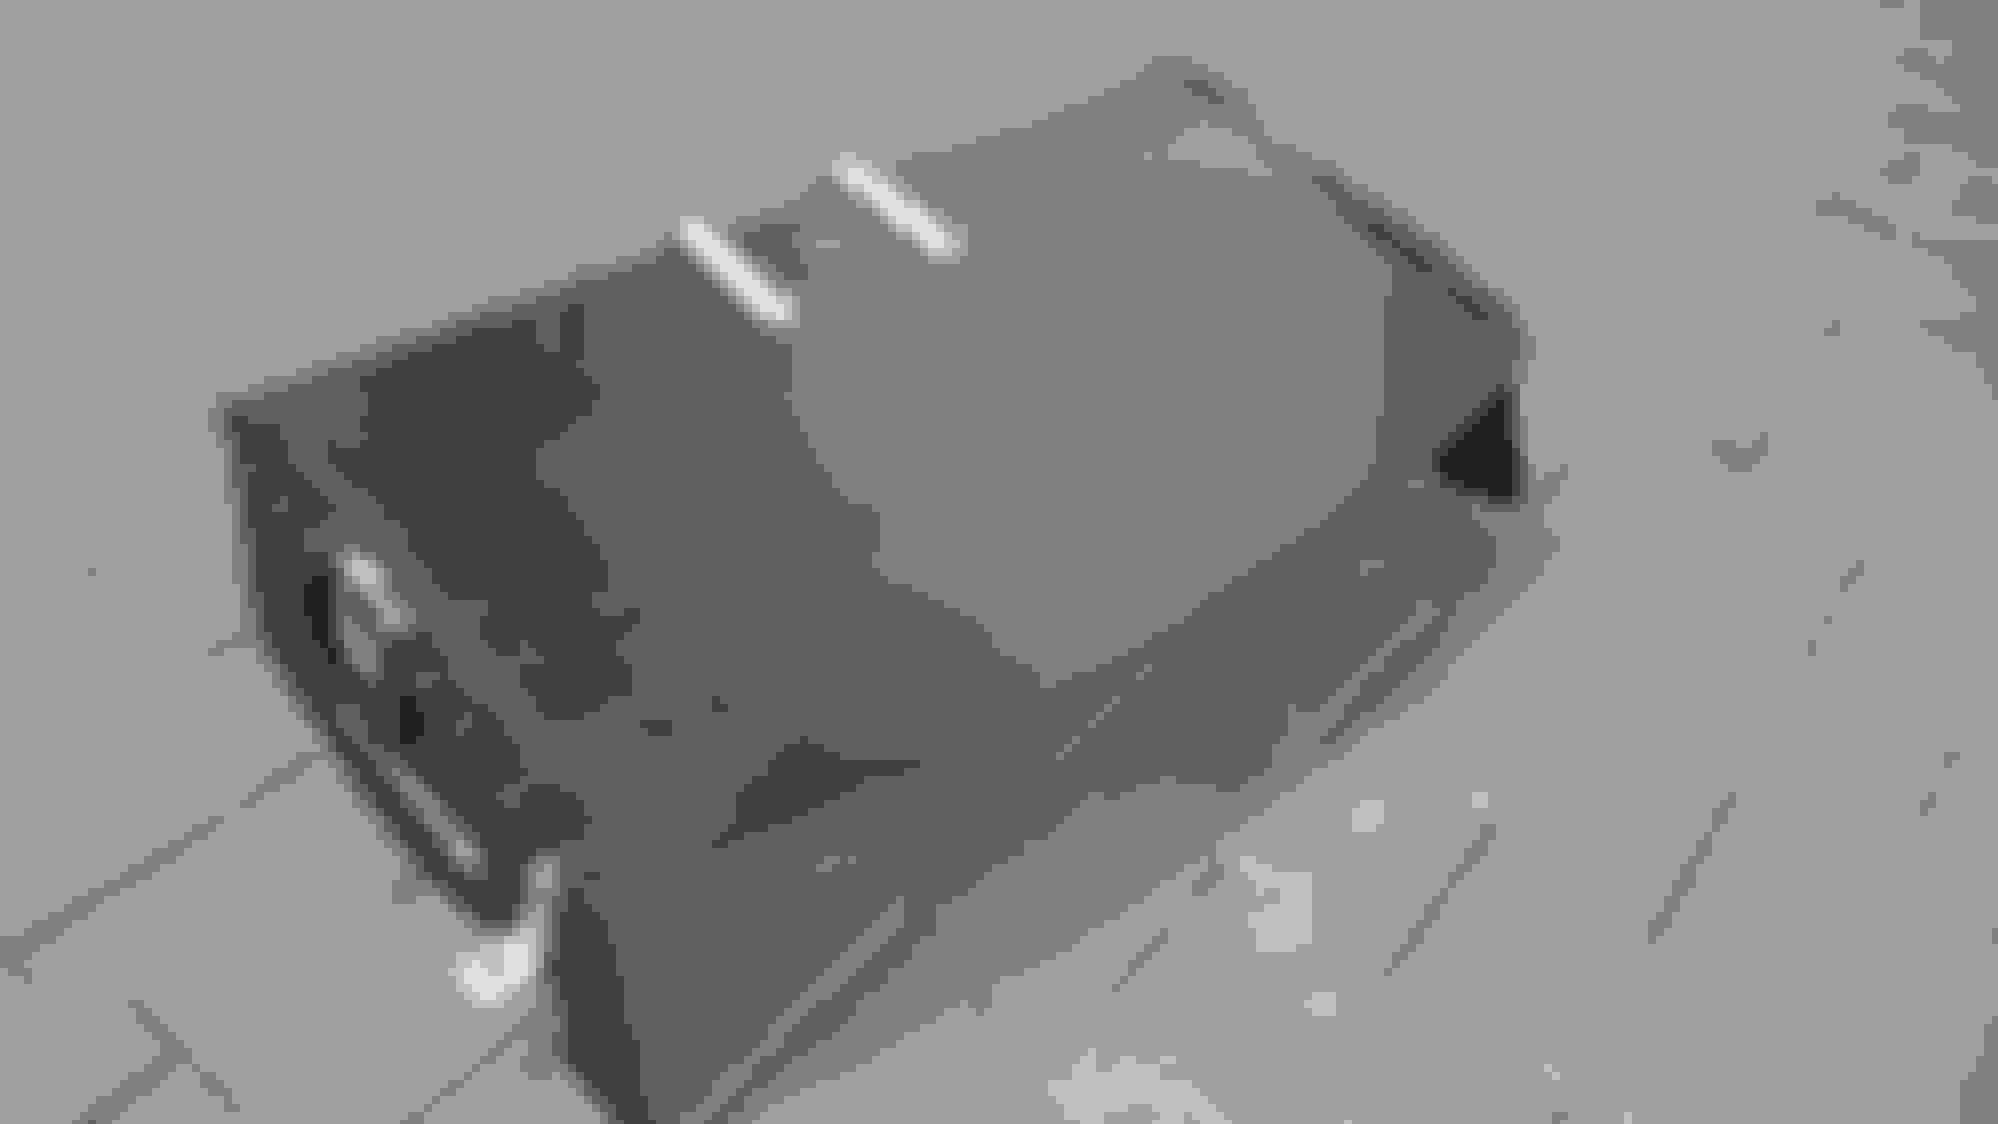
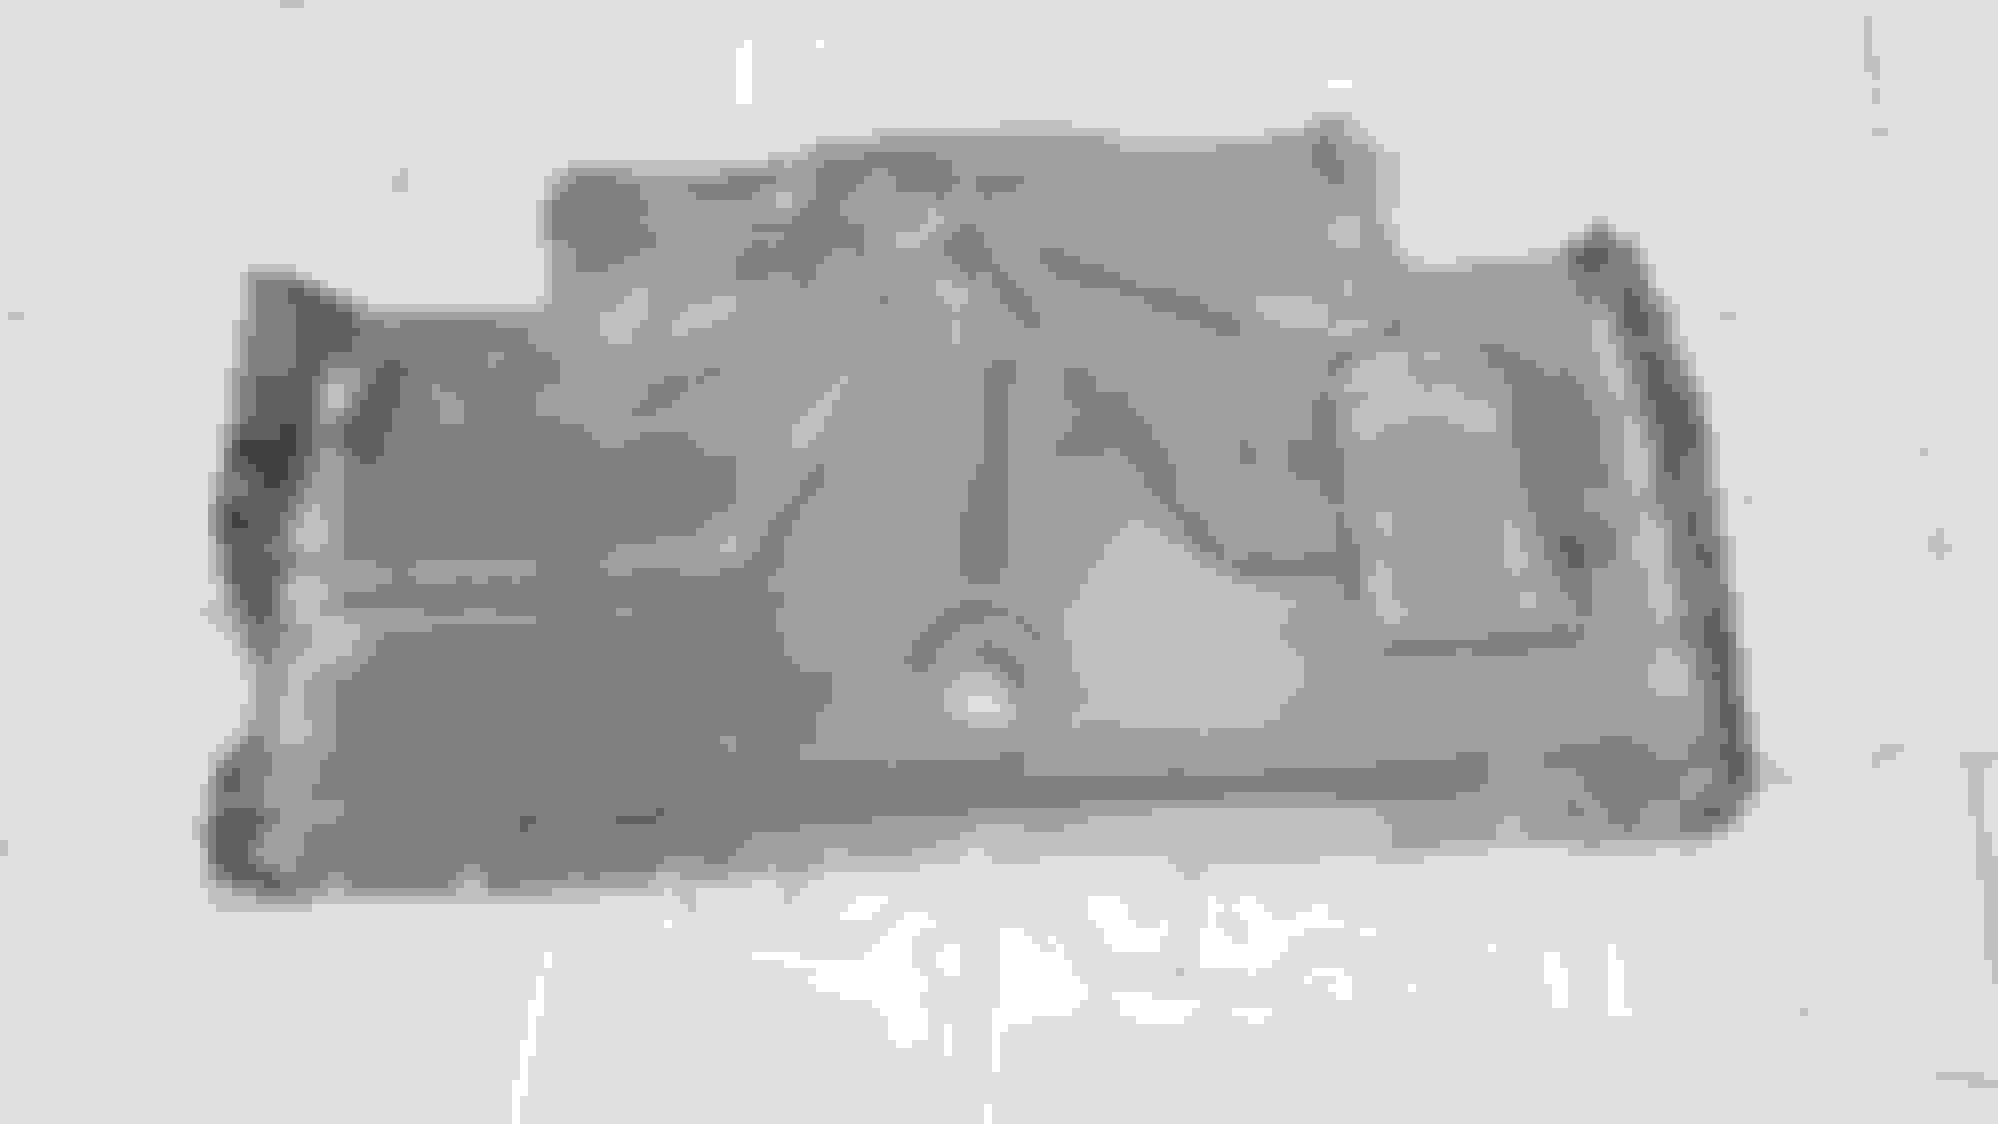
Today I made a turbo heatshield. Space was tight because of the EFR length, so it took forever to get it perfectly right. Went with 1.6 mm predrilled aluminium. The holes made it easier to bend and draw rectangular lines (plus they add surface area to improve cooling LOL). Applied some golden heat shield tape on the outside just for the look of it. Still gotta stick some insulating aluminium-fiberglass mat on the inside.
also, I'm currently ducting the front. This takes forever, so I'll post the results when I'm done.
Heatshield dickpic template FTW. We all love dicks here, don't we? Wood blocks and a vise were used to press profiles into the aluminium No clearance yet Took a hammer and went to town Top lid for structural integrity Clears downpipe, heater hoses and brake lines. Very sturdy construction *bling*
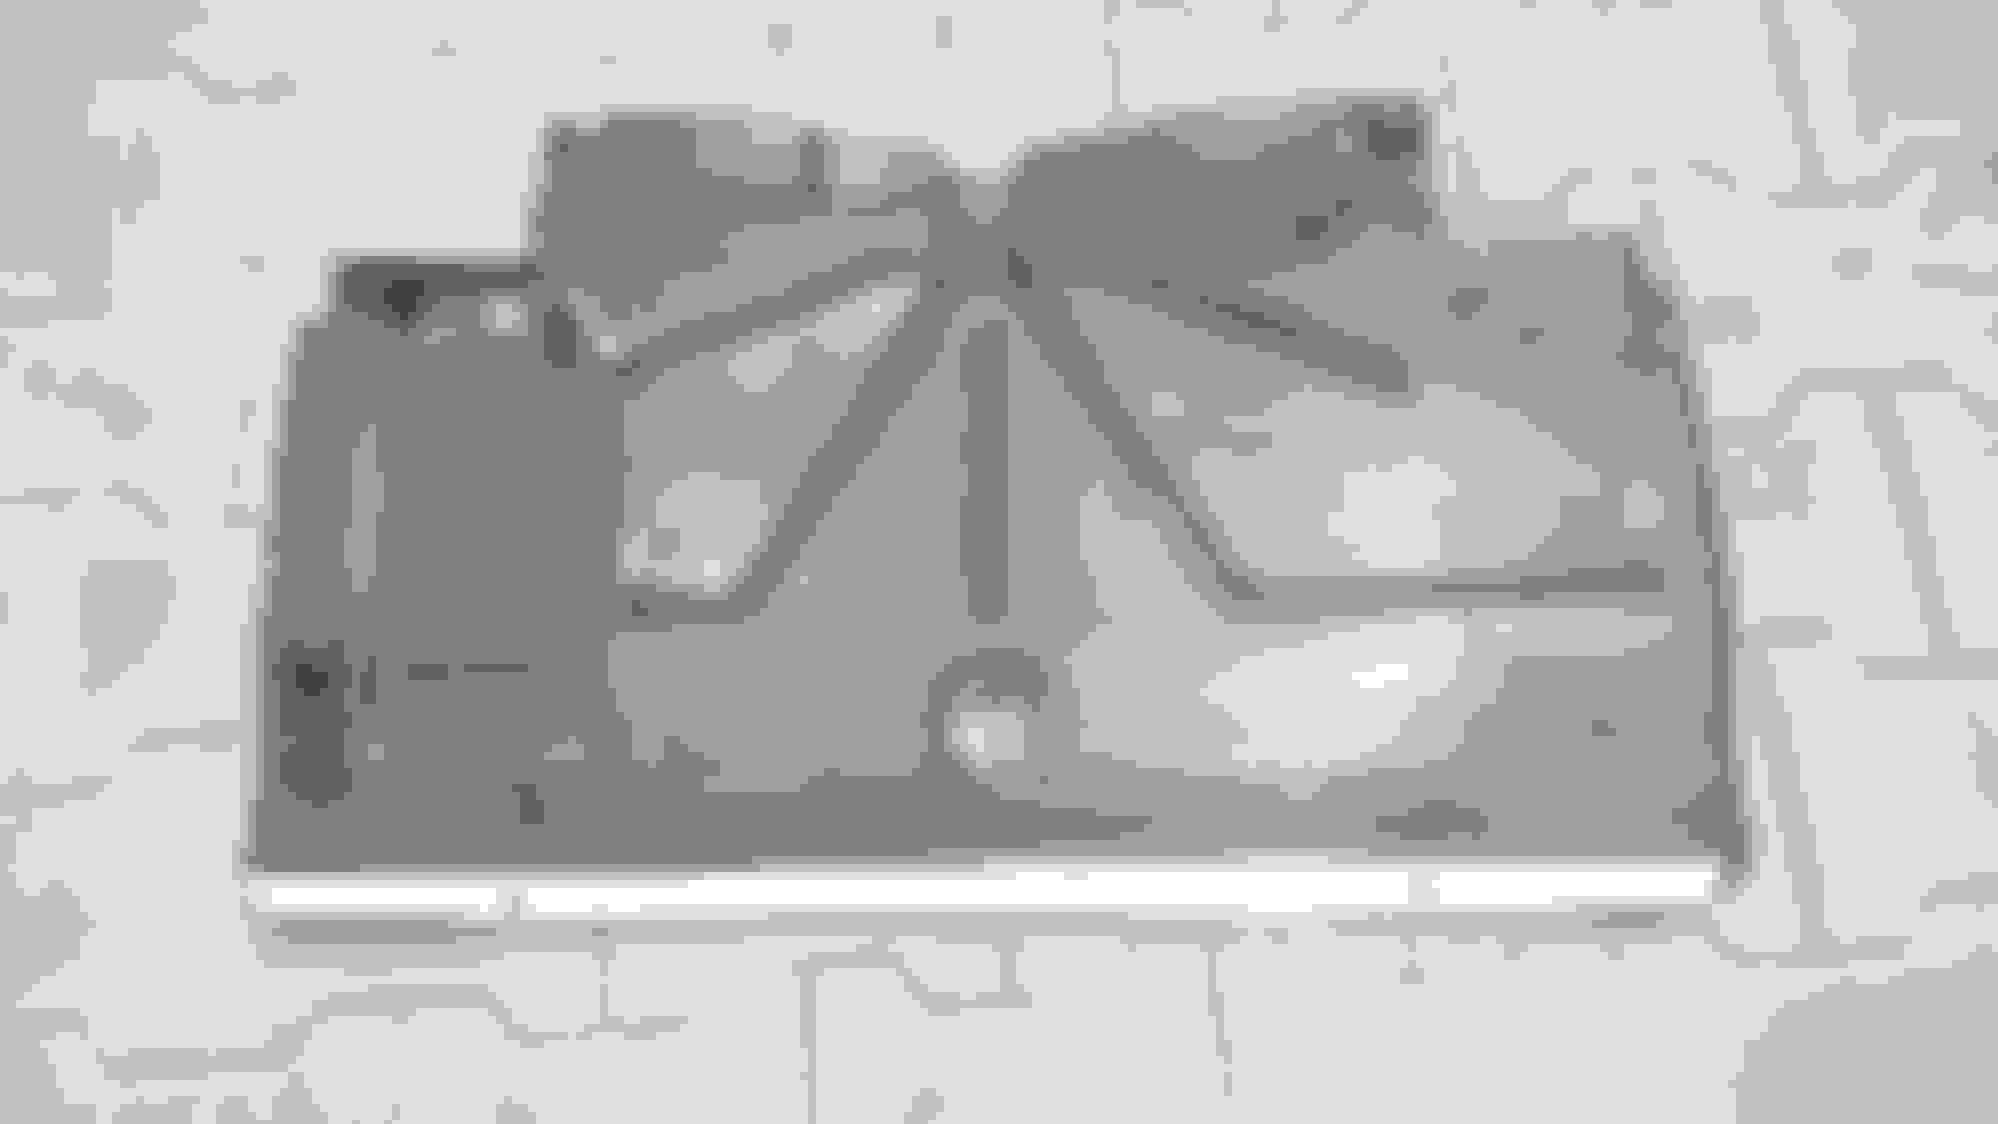
Finished ducting the front. I used adhesive foam strips, 2mm aluminium strips, 4mm PVC hard foam sheets and rivets. The PVC is great for this application. Sturdy but flexible enough, can be bent with a heat gun, cut with a knife, sanded and won't shatter or damage the radiator in a crash.
Huge gap on the top side of the radiator Huge gap on the sides of the radiator Radiator mounting brackets with PVC profiles L brackets seal the side of the radiator Upper gap closed Intercooler sealed to the radiator. Gap is approx. 25mm In order to maximize airflow i bent the Hella supertones out of the way. They now point downwards and sit as far up as possible This took forever to get right Radiator ducting in place. The two 8mm bokta is where the second undertray will bolt to Fits nicely Upper half of radiator gets clean air, thr lower half draws air through the intercooler Cut undertray with a strip of aluminium as a structural reinforcement Rear section attaches to threads in intercooler in the front and the stock threads in the subframe in the rear Flat underbody to maximize pressure differential between front of radiator and engine bay
So now I have a problem. The intake temps are super stable (2-3 degrees above ambient although is was really hot yesterday) and everything runs without any issues.
however, my turbo sucks. It is the biggest disappointment throughout the whole build. The boost lag is gigantic. Really, it feels like "no...nothing...nope...sigh...oh wait...yeah there's something... Oha.... BAM!"
given this is the bee's knees EFR turbo on a VVT engine, the turbo lag is really horrible. There's nothing happening until 3000 rpm, and 200 kpa are only reached at around 4050 rpm. Max. boost of 230 kpa shortly afterwards.
I went looking for causes. Swapped the external BOV for the proprietary EFR internal BOV. Nothing. Wired the wastegate shut. Nothing. Ran the wastegate with the signal line unhooked. Nothing (for whatever reason it hit the overboost limiter!?).
so a leaking BOV, a blown open wastegate and a faulty solenoid were ruled out. Then I checked the turbo. Back when I received it from the vendor, the ID plate said "EFR-6758-0.85-WG�. This indicated it was indeed the wrong A/R (0.64 is what you want). However on the same plate the part number said 179388, which would translate to an EFR 6758 with a T25 flange, internal wastegate and the proper 0.64 A/R.
oddly on the packaging it even said" EFR-6758-0.64-WG�. So it looks like there was a 0.85 A/R EFR with a mixed up part number plate in a sealed box of a 0.64 A/R turbo. Coming sealed directly from the official distributor for Germany, Austria and Switzerland, I suspect the mistake was already made in the factory. If it really is a 0.85 turbo, that might explain the late spool.
so I'm waiting for a replacement. In the meantime I'm taking 12 MX-5s on a 3 day tour through the dolomites. 350-380 km of hooning through twists and turns. This is gonna be epic.
So it was finally time to do what this car was built for: seeking thrills in the Alps. Sort-of-finished the build on Tuesday, mapped it on Wednesday and embarked on a 1000+ km alpine round trip with 10 MX-5s on Thursday.
the conditions really put the cars to a test. 30-35 degrees Celsius ambient temperature is about the hottest it ever gets in the alps. Combined with countless tight serpentine turns (low 2nd gear, sometimes 1St gear) and thrashing the car on the short straights or curvy sections had the stock powered cars overheat, while mine was stable. Really, really happy about the results of my attempt at ducting. This was what worried me the most prior to this build.
seat of pants dyno says the car is running around 300-310 HP (1.3 bar boost, conservative timing for RON 95). It's bloody quick, that's for sure. Gone are the times when I was pegged behind some German grandpa ascending the mountains at 25 kph.
my rear right caliper failed on the second day. So we plumbed it at a small workshop who happened to have two lovely Abarths. With them being Italians and me only speaking a little Italian (anyone remember Peter Griffin speaking Italian? *badabeebapapa*) we spoke the universal language of mechanics, got the car running again and I proceeded to attack the mountain passes on three brakes. This was... interesting.
other mechanicals in our group were a blown diff, internal ruptures of a tire carcass, one loose gear shifter and severely pressurized fuel tanks on all NA and NB cars.
Shielding the bottom of the fuel tank from the exhaust will help the pressurization problem. Factory exhaust systems have it but most aftermarket systems neglect to include it.
Um, are you guys talking to me? My last post was about me having a great time in the Dolomites, enjoying the fruits of my labor?
i'm running the medium EFR wastegate actuator, preloaded to around 4 turns. 160 kpa with the EBC unhooked. So that is about 9 psi of boost on wastegate pressure.
Um, are you guys talking to me? My last post was about me having a great time in the Dolomites, enjoying the fruits of my labor?
i'm running the medium EFR wastegate actuator, preloaded to around 4 turns. 160 kpa with the EBC unhooked. So that is about 9 psi of boost on wastegate pressure.
Anywhere in the area of Cortina d'Ampezzo? North and East of Bolzano.
Anywhere in the area of Cortina d'Ampezzo? North and East of Bolzano.
Yes. First day had us drive the old Brenner road to Sterzing, Kastelruth and Selva. From there we attacked the Sella Gardena, down to Kurfar, Arraba, Marmolada and Passo Giau. We then drove to Cortina and up to the Lago di Misurina. We spent the first night at Lago die Antorno (it was spectacular). Second day was another 380 km, passing the Sella Ciampigotto, Sauris, Ampezzo, Agordo, Moena and Bolzano. We spent the night up in Ritten, with another spectacular view over the valley and the mountains.
third day included the Sella Giove, Timmelsjoch and a scenic route through the Austrian and German alps back home to Munich where we finished the tour on my balcony, having a barbecue.
Originally Posted by Lexzar
I apologize to be all business
I'd try more preload? 4 turns should be like 12psi?
Also altitude will severely affect spool up characteristics
having the wrong A/R housing affects spool-up the most as stated in a previous posting I shall soon receive my 0.64 A/R turbo and then make 200kpa at 3,000 rpm instead of 4,000. No idea what went wrong in the factory...
I actually prefer having a lower wastegate pressure and raising the boost with the EBC. I have a spare fog light switch painted in black the cuts power to the EBC. This allows me to enter a lower boost "rain" map. Pushing the switch enables EBC control, and with the switch not engaged it looks just like another fog light switch blank
For those across the pond: imagine the Dolomites/alps as the Tail of the Dragon road, but only 300 miles long. With 7500ft high mountain passes. And 1000ft cliffs right next to you, only separated by a 2ft wall.
So my throw-out bearing exploded on my Flyin Miata Stage 2 clutch after 1,000 km. I had previously run a Competition clutch stage 4, but it was more like an on-off switch in urban traffic. Git hold of a almost new FM2 clutch, but it didn't come with their uprated TOB.
So while on holiday abroad I had to learn the hard way that the competition clutch TOB wouldn't last. The bearing simply fell to pieces, leaving me stranded. Got parts shipped overnight and put a standard clutch in. So no boost til I get home :(
I'll get me a TOB from an NC miata and fab up a bushing to make it work on the NBFL gearbox. I guess that's what FM does with their TOBs anyway.
My FM-II clutch tends to slip at 1.2bar (~17.5psi) boost pressure on my 6258 on the VVT engine (in 3rd/4th) gear... any problems with that? I guess not atm because of your huge lag...
So the NC TOB doesn't work. While it would have been easy to machine a bushing to make it fit on the NB gearbox, the hooks that attach the TOB to the fork are too wide and wouldn't bend without breaking. So it looks like I need to get the proper bearing from flyin miata. Which sucks, because they could have made the springs of the pressure plate as long as on the stock clutches, and any TOB would have fit. But since they are a bit shorter, the the contacting ring of the bearing would sometimes only partially push the springs
anyway, on the way home from my holiday I was forced to buy another MX-5 - my first Miata! First registered in 12/1990 in Germany (the German demand for Mx-5s skyrocketed when it came out and far exceeded the supply, so they grey imported US and Canadian Miatas), it has only 71.000 miles on it. Completely rust-free. It also has everything on board that my EUDM MX-5 lacks: air con, PAS, cruise control, airbags, electric windows,...
since the paint is in perfect nick I finally have the chance to fulfill a long-held dream: build a high HP Miatini.
the plan is to swap the drivetrain and interior with my red miata, add a white rollbar and 6point harness, design proper Miatini Racing stripes and be merry. The red one will become the daily for the wife with all amenities available.
check out miatiniracing.wordpress.com for pictures and updates (in German, but you may still admire all those pictures)

 06-15-2017, 05:51 PM


 0
0


 as stated in a previous posting I shall soon receive my 0.64 A/R turbo and then make 200kpa at 3,000 rpm instead of 4,000. No idea what went wrong in the factory...