When you click on links to various merchants on this site and make a purchase, this can result in this site earning a commission. Affiliate programs and affiliations include, but are not limited to, the eBay Partner Network.
Is this some sort of common issue with 6ULs? Or is it simply the fact that wheels are wear and tear items on track Miatas and these have reached the end of their service life?
Is this some sort of common issue with 6ULs? Or is it simply the fact that wheels are wear and tear items on track Miatas and these have reached the end of their service life?
I've got some other brands of wheel that have taken far more abuse with no issue, but they're not even close to as light as the 6UL.
That's one of the trade offs I suppose. It's like how rally car wheels all weight a ton because they need the extra durability to withstand the punishing duty.
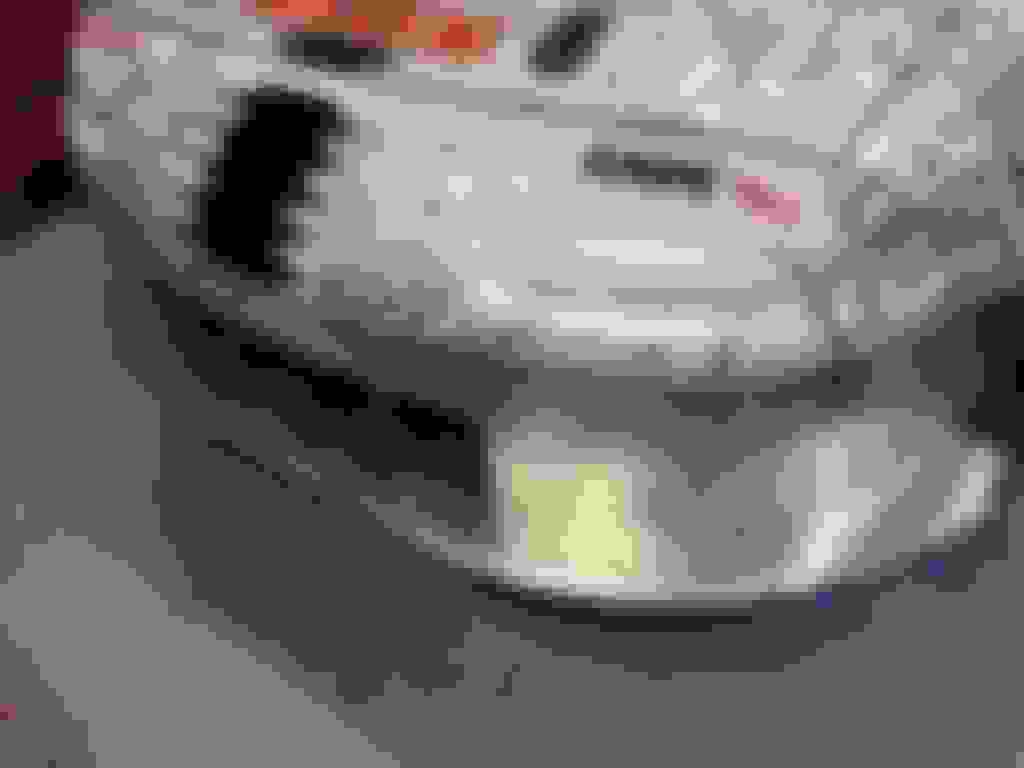
Anyone want to sponsor me a TIG welder? I repaired the bent in section of by midpipe using chunks from my old midpipe. My MIG is right between temperature levels on the stainless - 1 piles up weld, 2 burns right through. So you end up with this.
Ugly but functional!
Typical Monday night in the garage. I built a replacement air guide since the previous one had been bent up too many times.
I also modified the intake piping:
Filter is now in front of the wheel. I'll probably need a shield or something to protect it.
The velocity stack is bolted to the body, and the filter is pinned to the stack to keep it in place even if the clamp loosens.
The track photographer caught a nice forensic sequence for me.
Start of race: Splitter OK.
Next lap, after driving through grass to avoid blocked track. Just running along the grass bent the air dam and angled the splitter.
A few laps later, after dropping two off, then spinning when the splitter dug in:
So I set out to build an even better one. I raised the whole thing 2", went with a 4" splitter, and flattened out the front.
I used 0.90 aluminum for the splitter / undertray and 0.040 for the air dam (as opposed to 3/8 plywood and 0.030 on last iteration.)
I also added some support for the front/middle. Makes me nervous since it won't likely separate if the splitter gets ripped off (or will separate catastrophically taking the bumper cover with it.) I used what I had laying around; there are prettier ways to do this.
Air dam/splitter total weight: 13lbs. Back on the scales to corner balance and align for COTA this weekend.
With 1 gallon in the tank, driver, and a filled cool shirt cooler, I'm at 2118 lbs. My advertised competition weight is 2100 lbs, so getting pretty dang close.
Why not attach the splitter to something more solid than a bumper.
I'm grappling with the tradeoff between rigid and destructible. If (or when) I go nose first into a mound of dirt, I don't want to rip up the car. I'd much rather the thing tear off like a tissue and let me continue the race than cause major issues hanging halfway off the car. The bumper, when bolted all the way around the edge, is actually pretty rigid.
I'm less worried about this weekend since COTA's runoff is mostly paved and very smooth, but in the coming weeks I'll be adding some protection for the oil pan, including some sort of angled skid plate to divert broken splitters, rocks, and the ground safely under the car. Maybe at that point I'll put in a stronger splitter mount.
Because with current engine hardware and tune, I'm making a NASA average of like 199 hp. If I throw money at the engine I'll ballast up to where I need to be, but for now adding lightness is cheaper.
Breaking stuff!
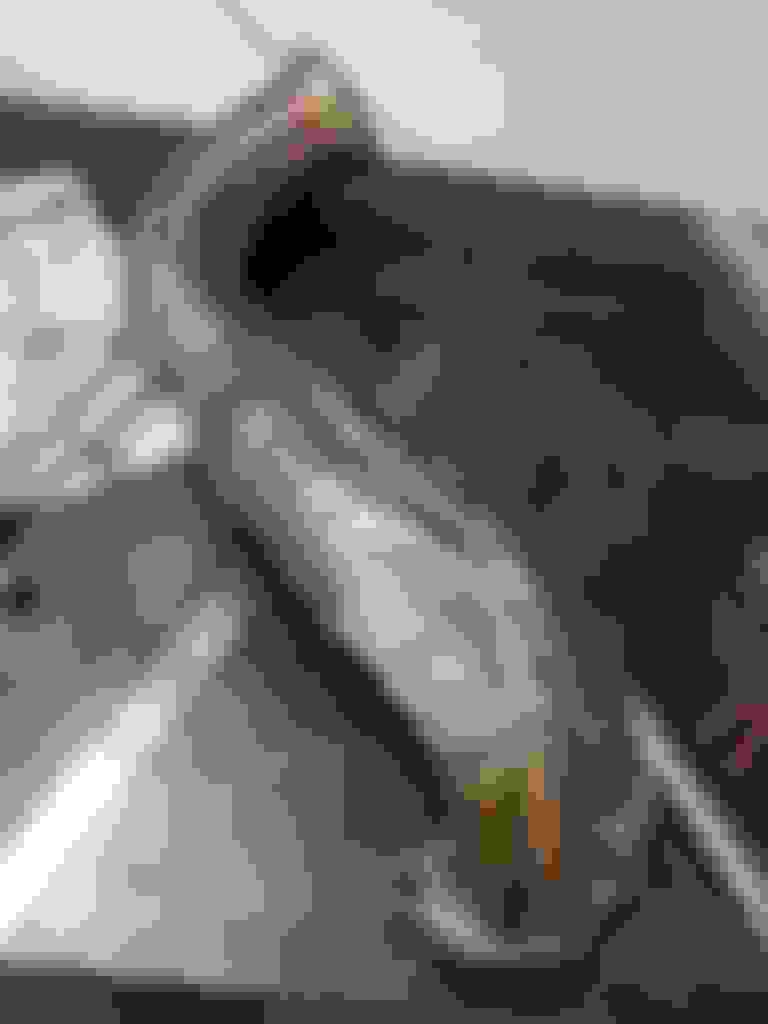
This was a near disaster. The rail mounting tabs cracked and fuel shot all over the engine! This was on track at about 90 mph. Strong fuel smell... engine lost power... shut it down. No fire, thankfully, but that's just luck considering how much gasoline was sprayed!
Golden Eagle replaced the rail for free, which was nice of them... but I went for a rail with thicker material at the mounting point.
You can see where the fuel power-washed the paint right off the valve cover.
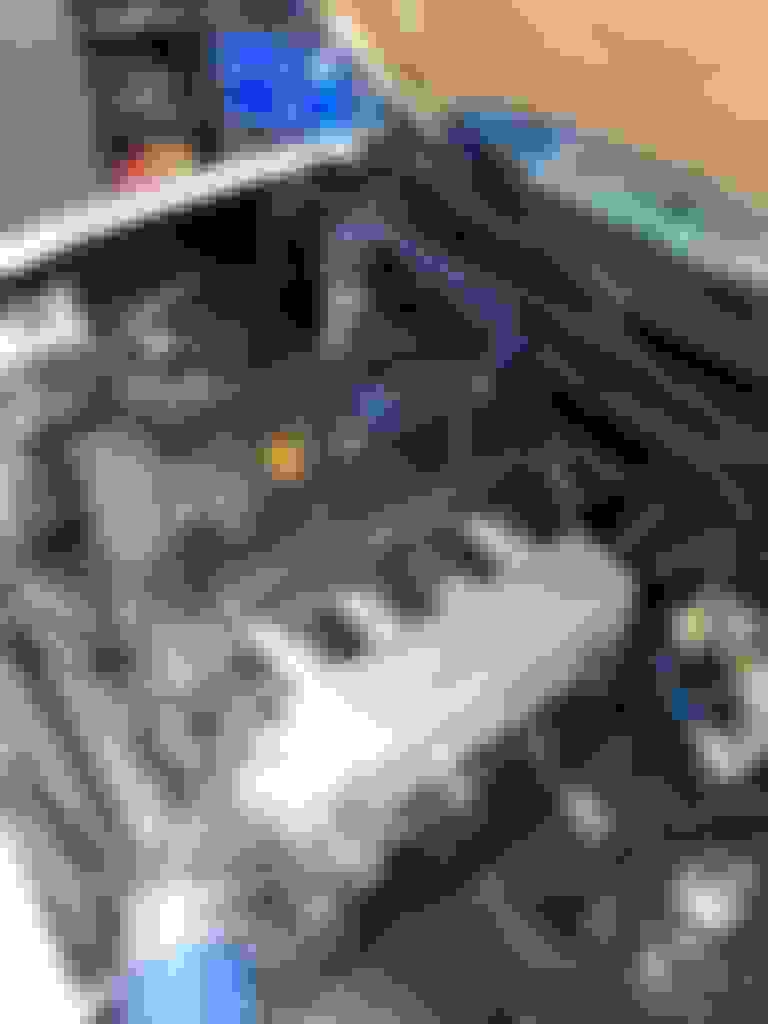
And a few events later, another failure with a Golden Eagle component. This time it's the intake manifold, cracking around one of the runners where the fuel rail mounts. I'm going to try and repair this one with the TIG welder.
These are really drag racing components I suppose, and they're living a hard life with a LOT of vibration and heat.
It's not all broken components and disaster though - sometimes I get to go race it!
I pulled the intake manifold off and it was a lot worse than initially thought. Cracked right through the billet!
While waiting for a new manifold, I FINALLY installed brake ducting. This is one of the things I should have done from the very beginning... instead of destroying a bunch of brake pads and rotors and hubs...
I normally try to build things like that, but the Singluar pieces are way too perfect to really improve upon.
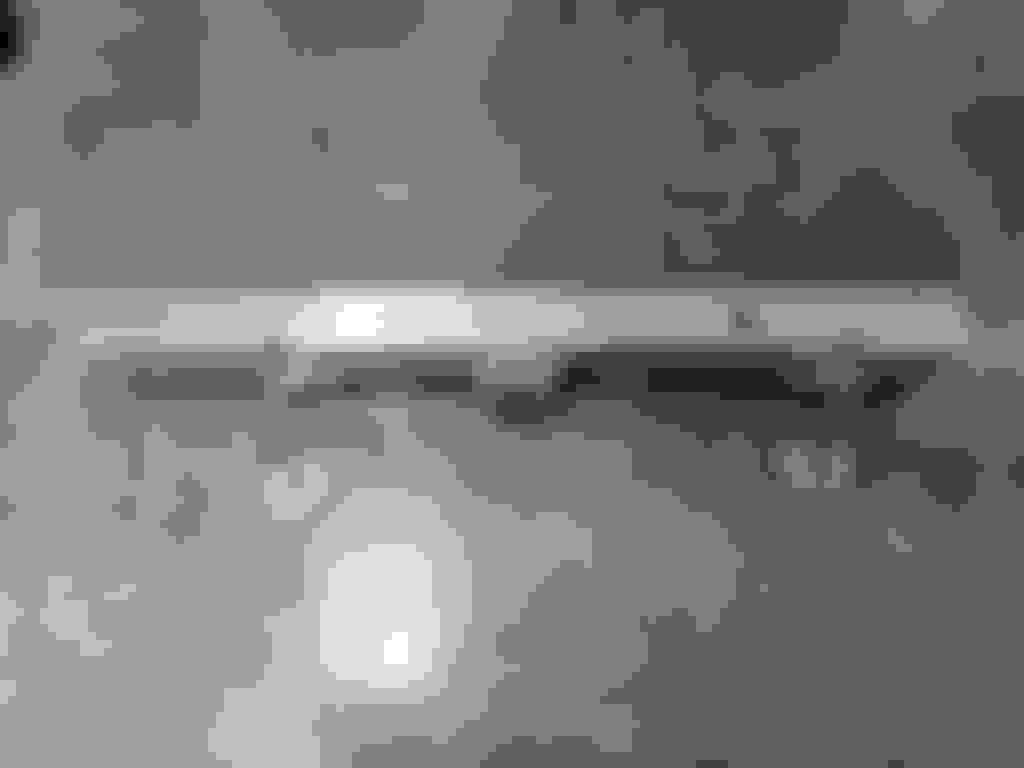
I also pulled the midpipe off again to patch it up. I really don't like that it hangs down so far.
The new manifold arrived - a Skunk2 Ultra Street model. It can be flipped around for RWD application. I drilled out the vacuum port on the rear, and drill/tapped an M6x1.0 hole to mount the MAP sensor. The alternative was to lengthen the wire and mount the sensor on top of the TB.
New intake manifold installed!
Shakedown at MSR Houston went well. The throttle cable popped out of the bracket, resulting in a flat tow back to the paddock. Quick fix and a zip tie, and it worked fine the rest of the weekend. I cobbled together intake piping parts to make it work for NCM this weekend., but will make something nicer in the near future.
Quick tip on the throttle cable - cut the rubber grommet our that's between the two washers. There is a metal sleeve inside that fits perfectly between the prongs on the throttle cable bracket. Then you can crank it down and it will never move on you.
New manifold looks good. Very glad to hear that Golden Eagle is warrantying their manifold as well.
__________________ KPower Industries
Home of the original KMiata Swap
Quick tip on the throttle cable - cut the rubber grommet our that's between the two washers. There is a metal sleeve inside that fits perfectly between the prongs on the throttle cable bracket. Then you can crank it down and it will never move on you.
New manifold looks good. Very glad to hear that Golden Eagle is warrantying their manifold as well.
Already done! That was how I fixed it at the track - pull the rubber grommet out and tighten the nuts, then zip tie around the bracket just to make sure.
In our Texas 2-month racing off season, I'm doing some work.
This had been on my list for a while. I had covered the rear deck with an aluminum sheet. NASA CCR requires a "metal bulkhead" between the fuel filler hose / lines and the passenger compartment. If you notice, I also had my fuel regulator, filter, and lines back behind the tank in the trunk. All of that came out for relocation.
Now that I'm really scraping for every single ounce, I wanted to remove a bunch of the steel in this area. I marked on it like a plastic surgeon. An angle grinder is my scalpel. I also identified places that had spot welds and got them with a spot weld drill bit before I cut.
I welded the wheel wells where they met the cut section, but ended up cutting out the seat belt towers and most of the guts that made up the parcel shelf and seat belt/hard top reinforcement. This was 16 pounds of steel removed from the car.
I still have to meet the bulkhead requirements, so I went about building an aluminum divider between the front and rear - similar to the arrangement in the ND MX5 cup cars.
Made a box around the fuel filler and vent lines, and welded it to the rear bulkhead. I also cut out a fuel tank plate to cover a bunch of the little holes.
Cleaned up and painted:
The trunk. The rear shocks stick up in the passenger compartment now. I forgot to grab a picture after I reinstalled the filler neck, but I cut the steel part of the tube a lot shorter and extended the rubber hose (-1 lb.)
I took the gauge off of the FPR and mounted it inside the tank compartment. The filter is in there too. I'm planning to replace the rubber hoses connectors here with AN lines. I used rivnuts to hold the new tank cover down.
I covered all of the other little and big holes with aluminum discs, painted black and attached with RTV over the holes.
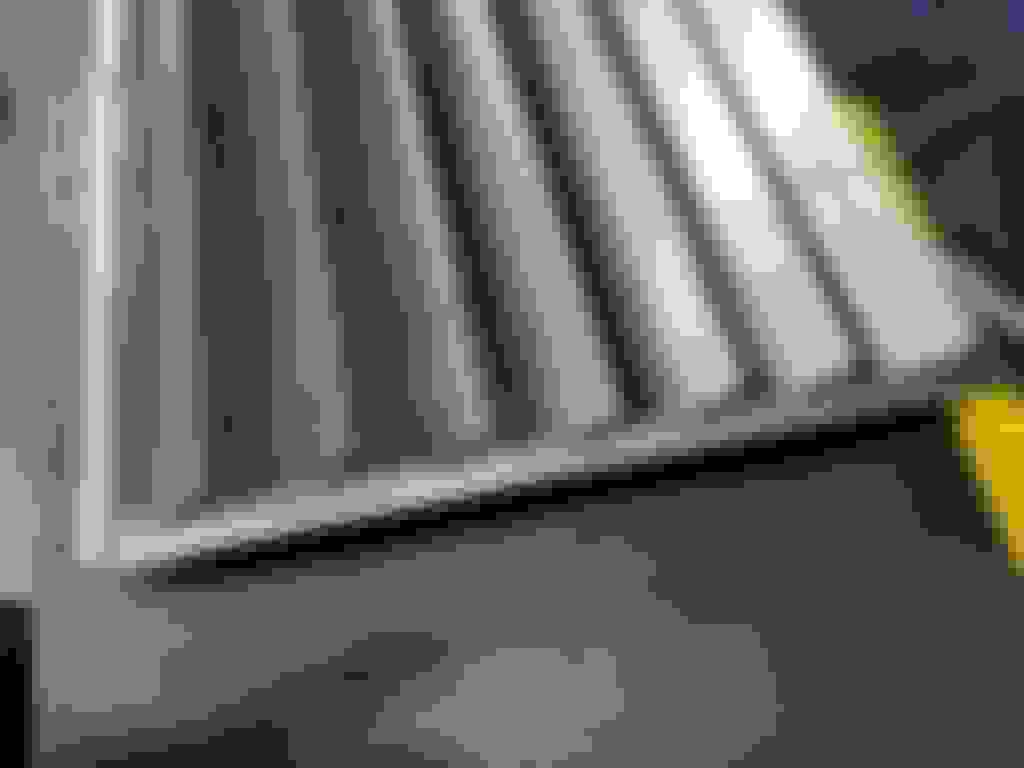
I wanted better venting in the hood, but didn't want to cut up my fancy fiberglass Treasure Coast "V6" hood. Instead I picked up a used OEM aluminum unit and cut a giant hole in it:
I figured it would need some sort of louvers or something:
I cut this out of a single sheet of 0.080 aluminum using a jigsaw:
Glued it together with the TIG
Shot it with Plastidip and riveted it to the hood:
This was all rough-fit still. The hood needs paint and the louvers need a better trim piece to fit the curve of the engine.
A new rear bumper bar from Drift Armor. It came with the rear-jack point, but I cut it off to save weight. I should probably have asked them to leave it off entirely to save the time and money.
Plasti-dip on the Drift Armor
Since I don't need to get in the trunk easily, I replaced the heavier hinges and pins with bolts. I'll go for something cleaner than wing nuts but this works for now.
And on to the fun stuff:
Old and new. The new calipers are 2.5 lbs heavier, and the new rotors are 2.5 lbs lighter, so it's a wash for unsprung mass.
Upgrade...
The FM "little big brake" kit was definitely not OK for heavy track use. Their website now says as much on the description page (I swear it didn't when I bought the kit originally!) So the little guys will be going on a different project.

 05-15-2017, 09:15 AM


 0
0


 I repaired the bent in section of by midpipe using chunks from my old midpipe. My MIG is right between temperature levels on the stainless - 1 piles up weld, 2 burns right through. So you end up with this.