When you click on links to various merchants on this site and make a purchase, this can result in this site earning a commission. Affiliate programs and affiliations include, but are not limited to, the eBay Partner Network.
Almost killed myself yesterday when my toolbox fell on me
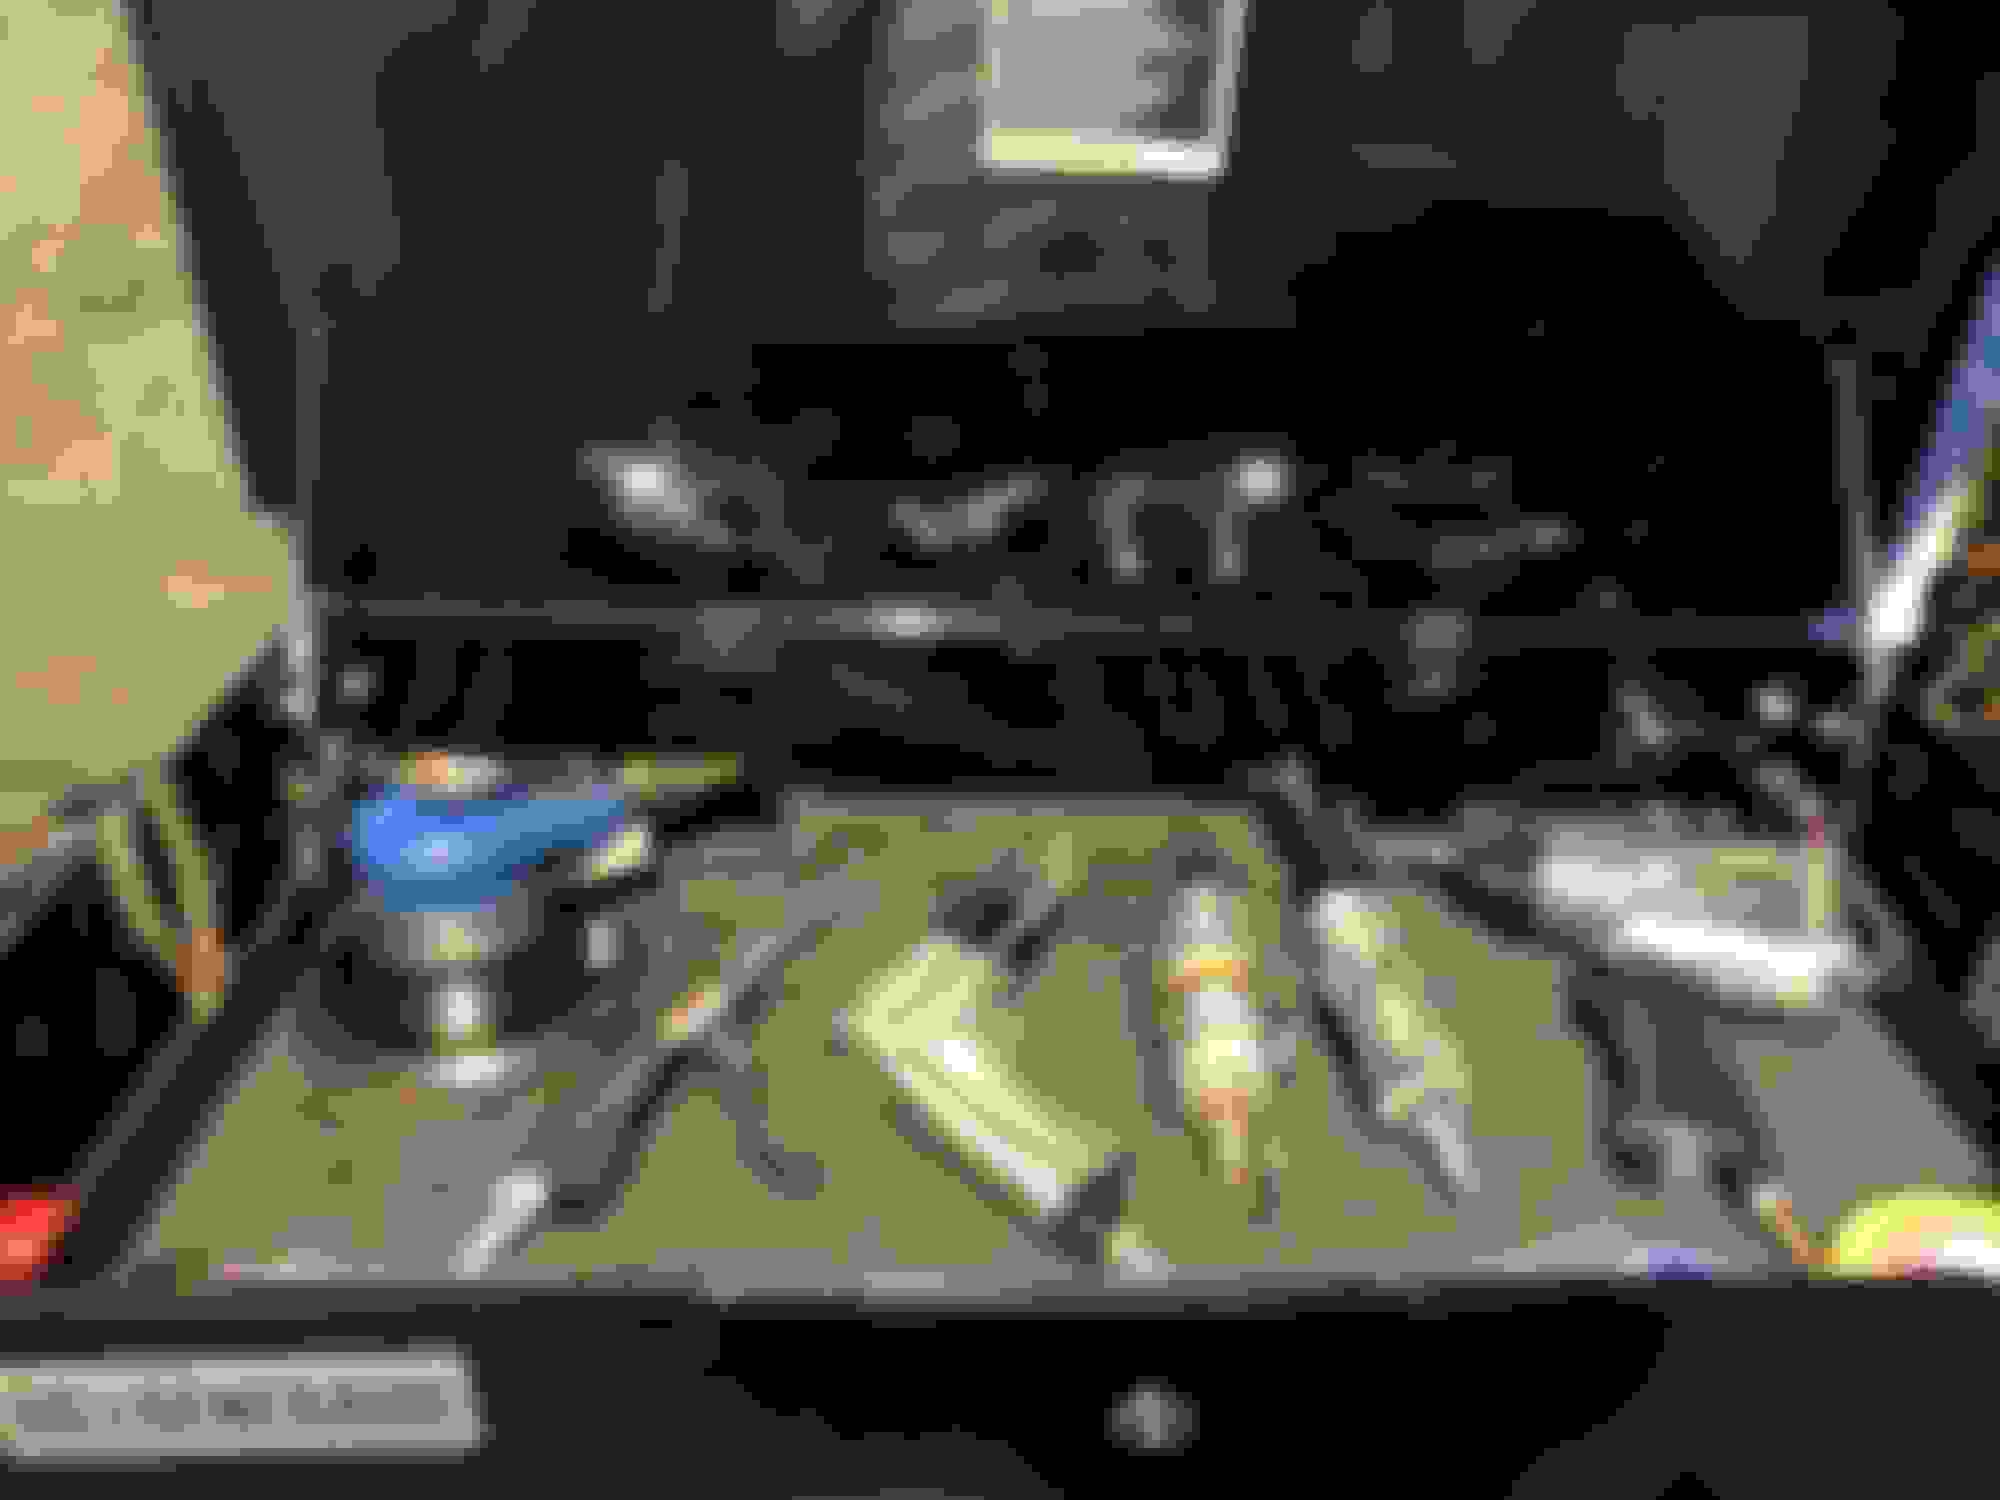
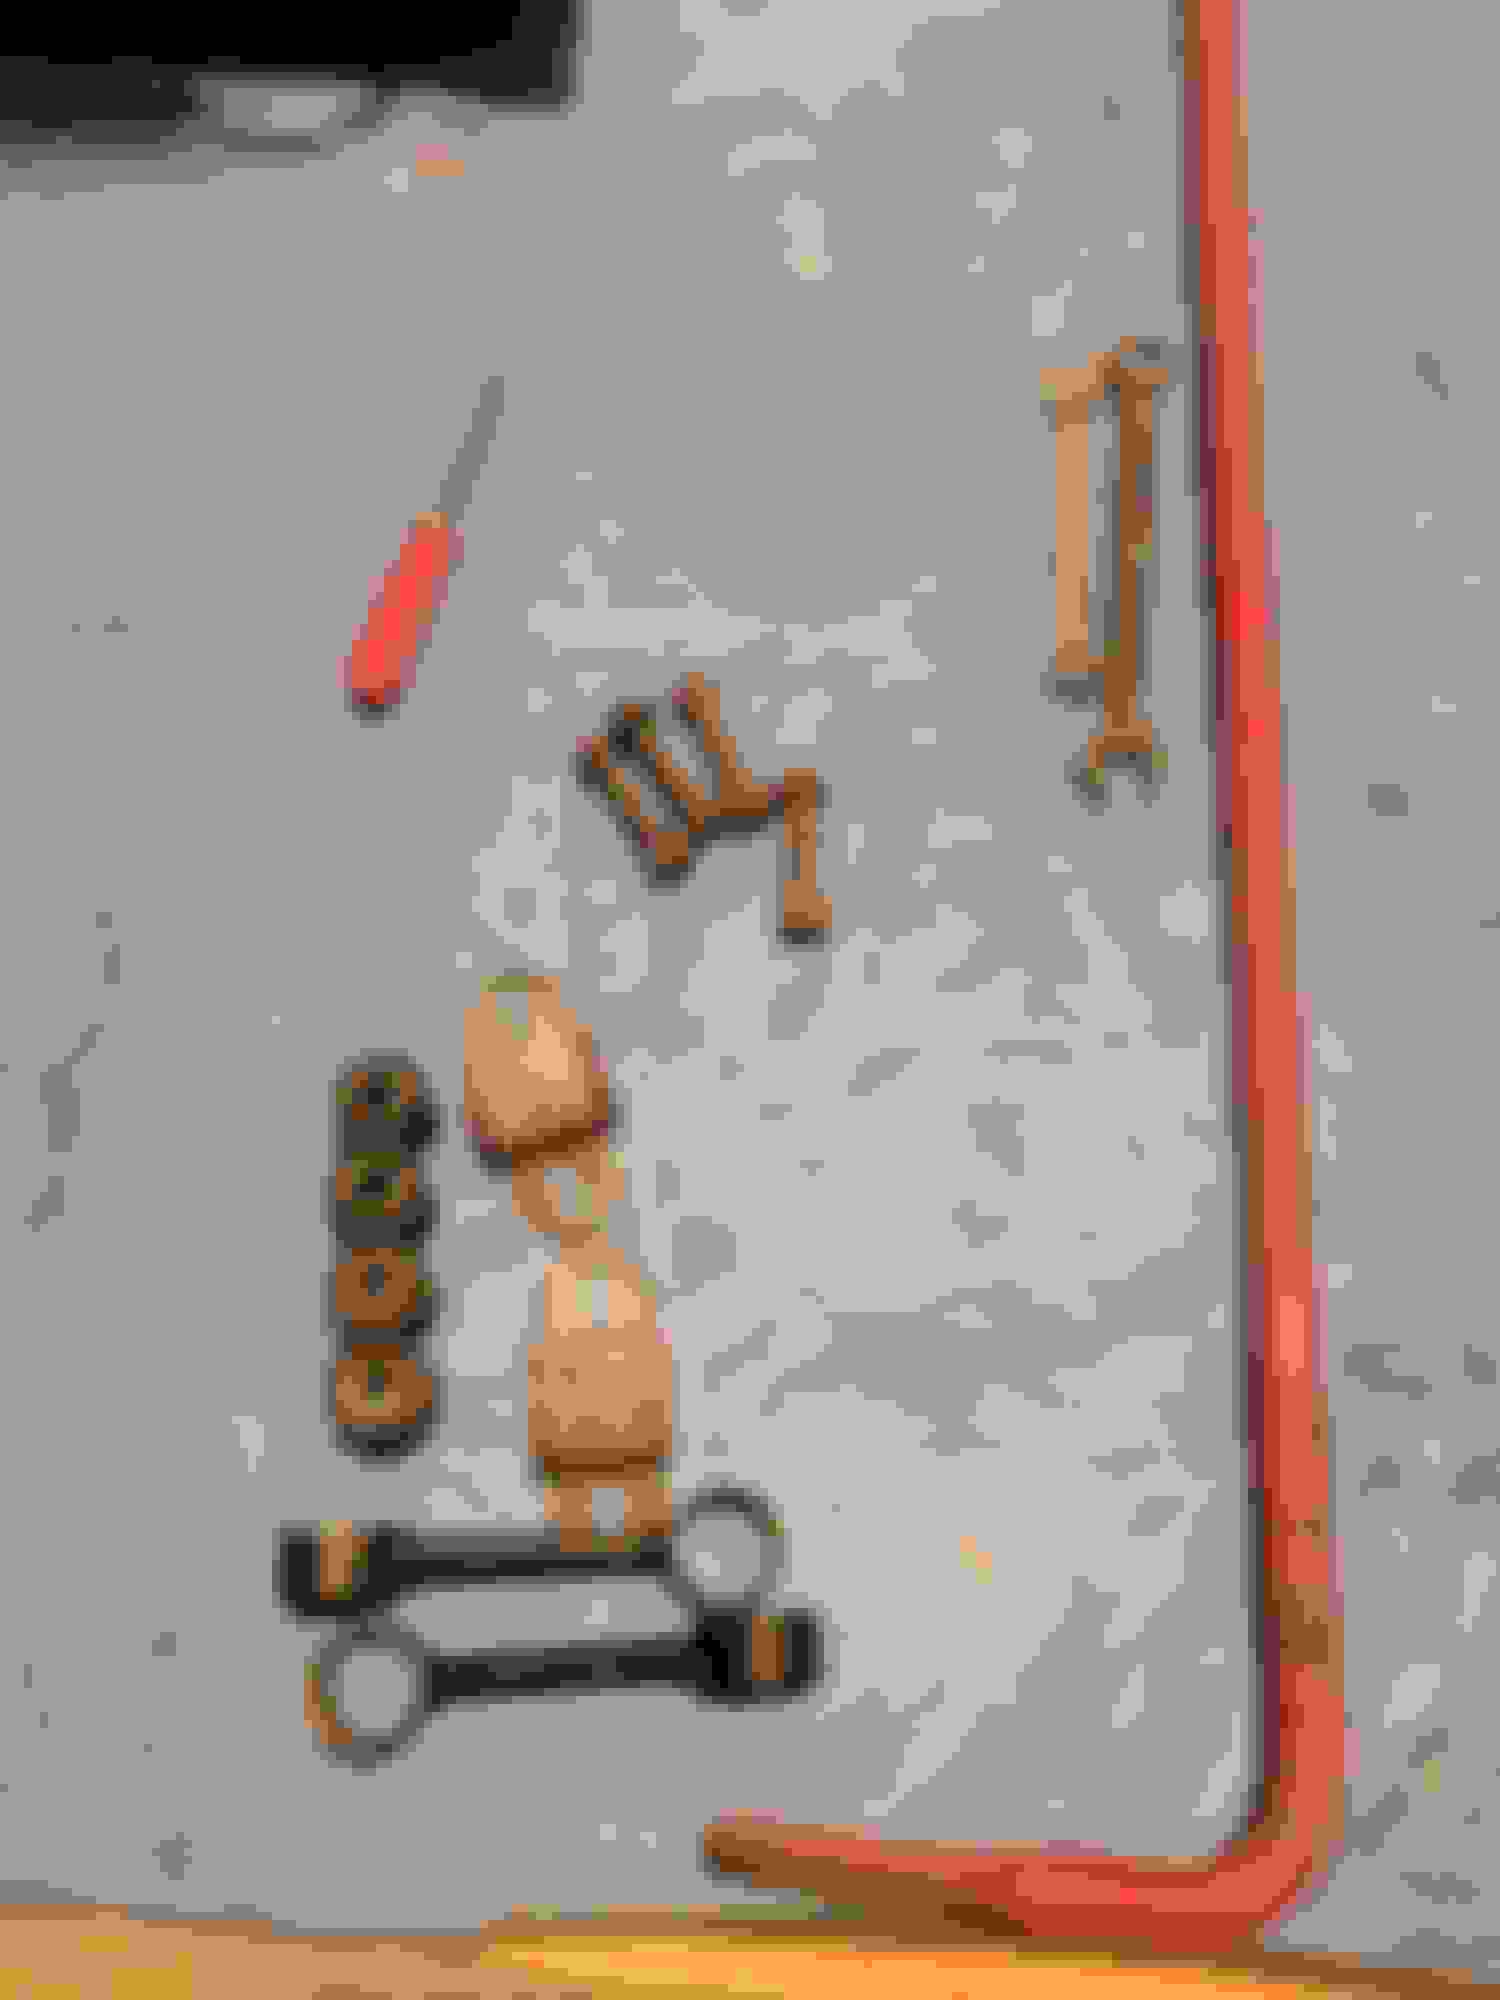
Started engine bay tear down / bushing replacements and repaint on the racing beat sway i took from the black car i parted in this - Planning on getting new bolts / nuts for mostly everything
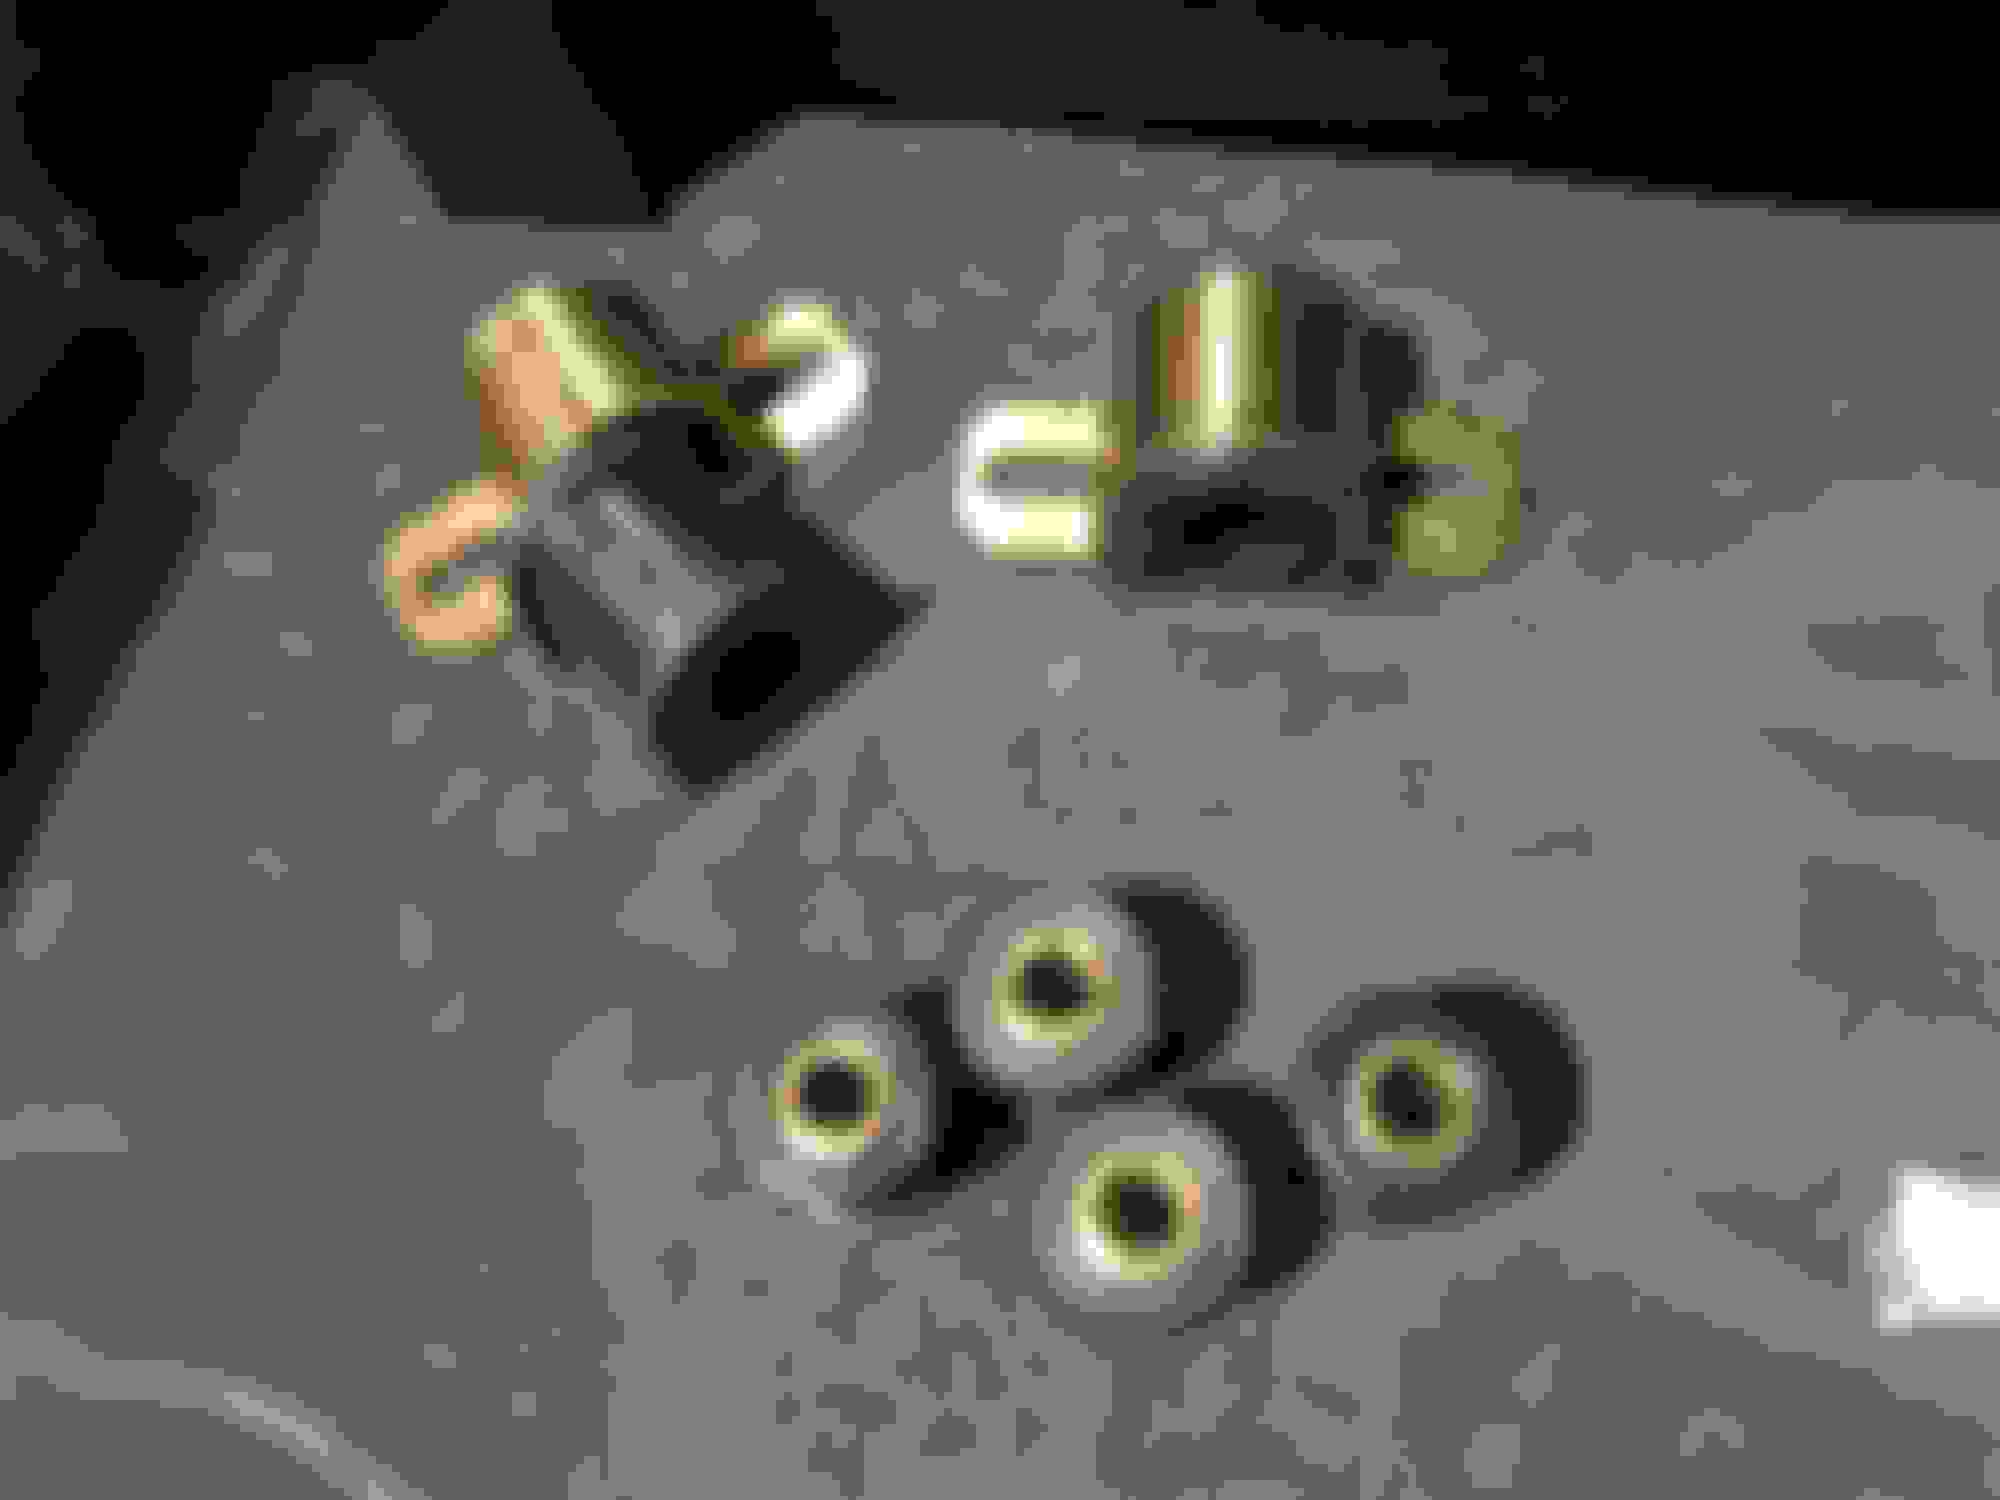
energy suspension sway / endlinks
cleaned up
Primer, parts will be painted black - including the bar
i hate rust. i have broken nearly every stud on this front bumper while trying to get at the nuts, good thing im replacing all of it, with parts from the black car.
Going to repaint the engine bay red, the car will be black
I just need to figure out the best way to paint the car first.. not sure i wanna rattle can it
Any reason you wouldn't consider finding a good shell? Maybe in the near future if not right away...
Rust is a bitch......
Come work on my car sometime if you want to see how much nicer it is to not deal with it hahaha.
You seem to have forgotten i have worked on your car before lol I am always on the lookout for clean shells in the area.. Its hard finding the same year chassis to swap everything to - but if i found one i would def do it.
This shell is mine, and i shall treasure it until its last day.
working with a toolbox and air tools now.. what a difference.
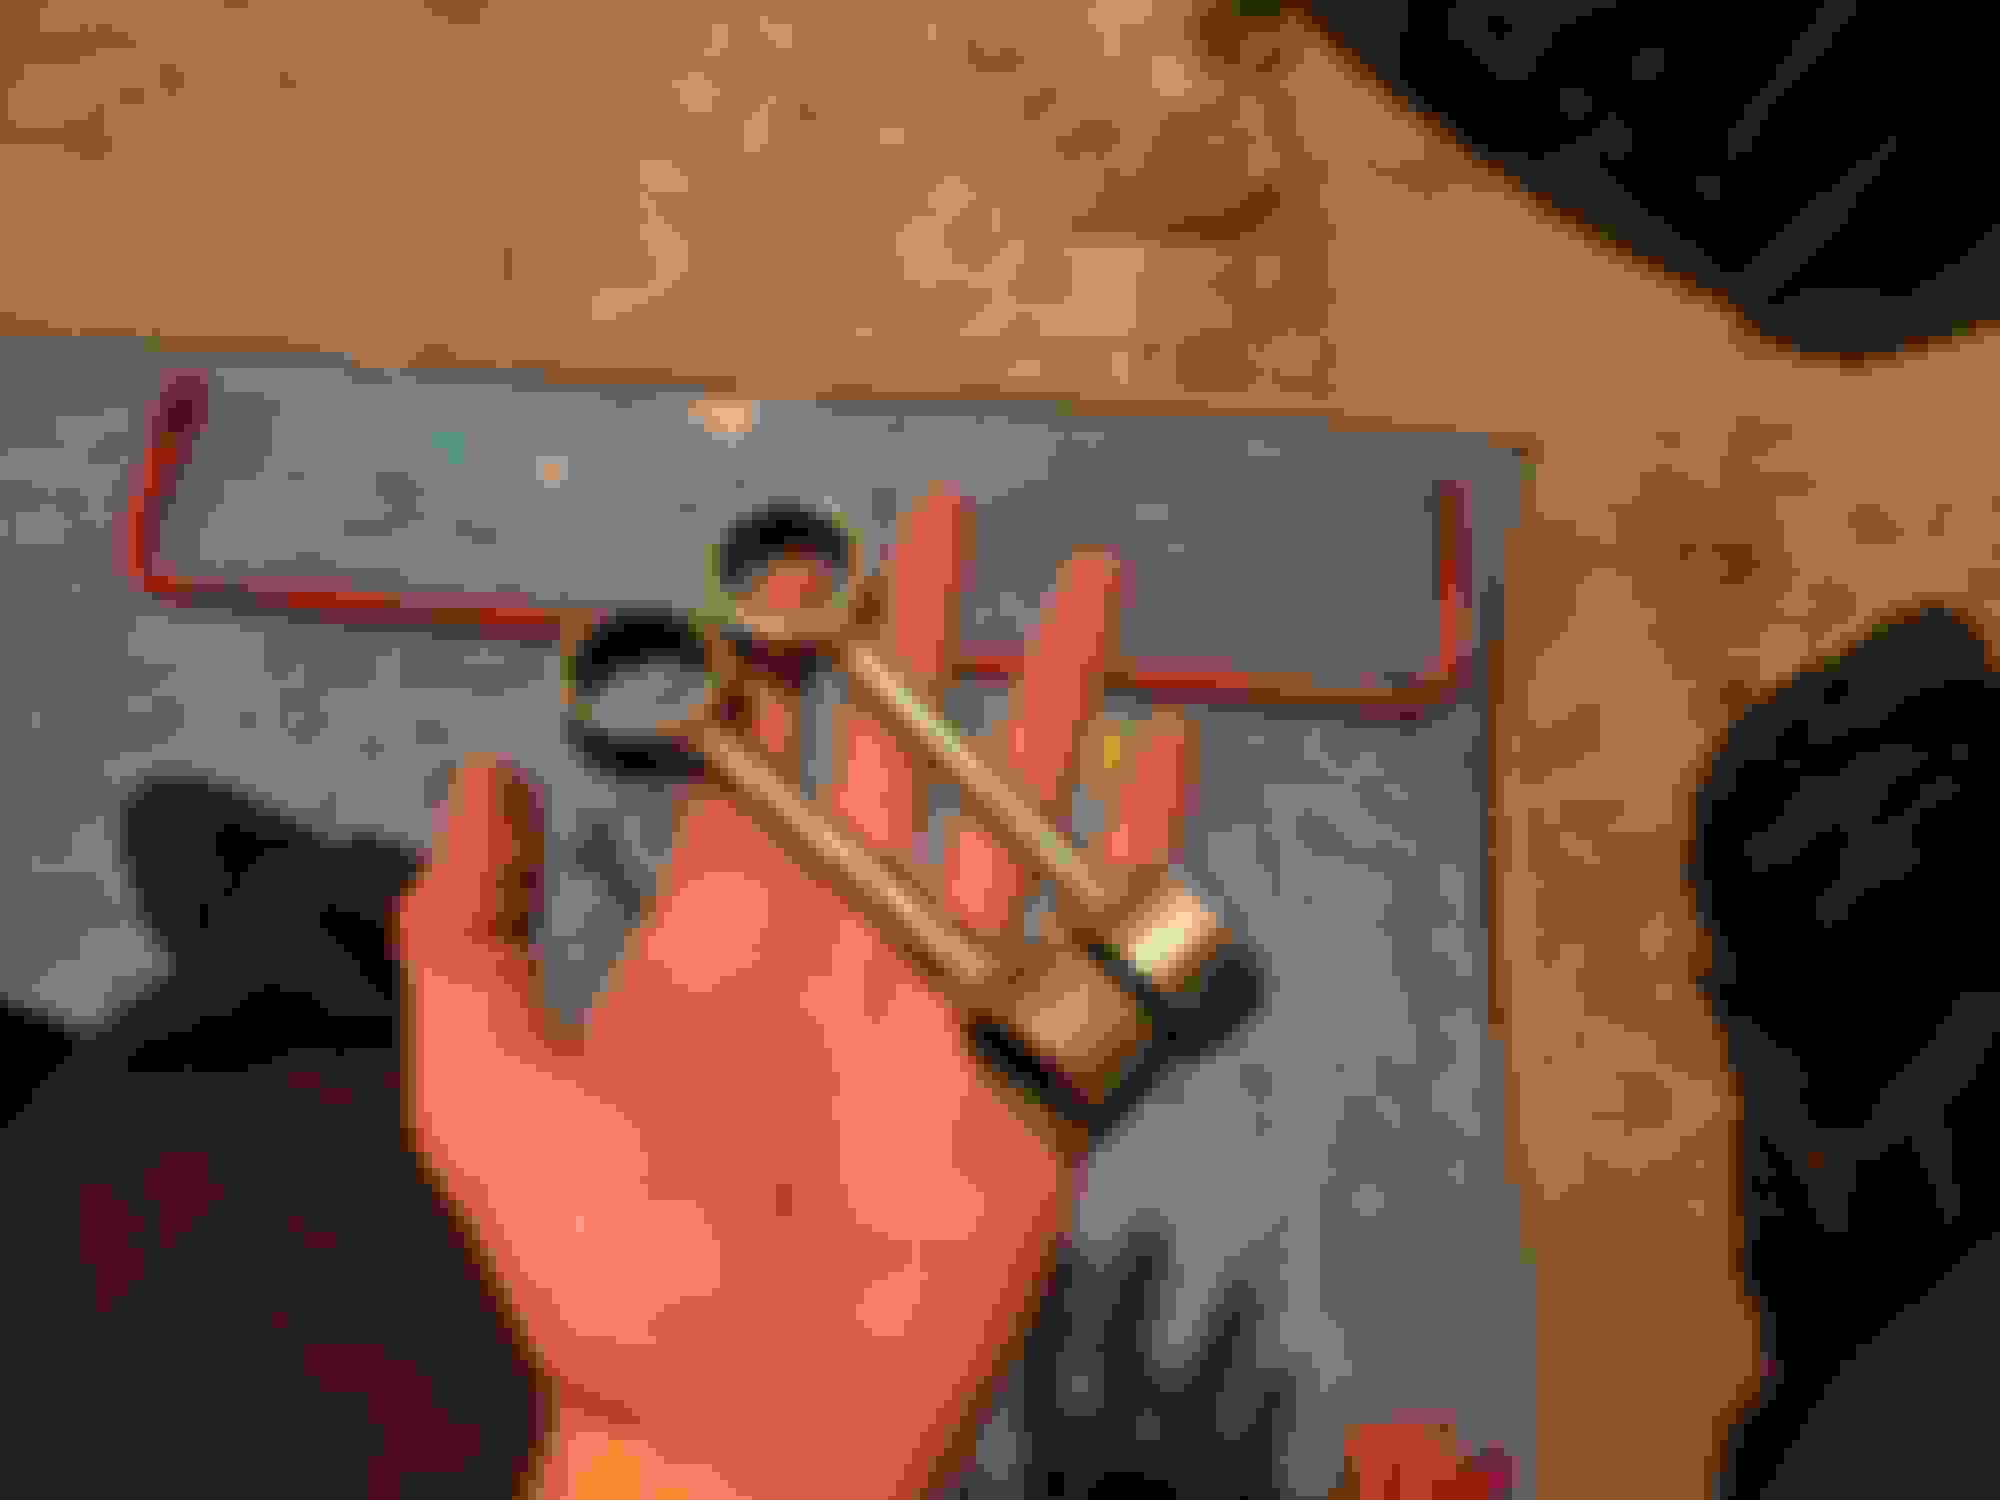
rb front sway bar and endlinks paint black, new energy suspension bushings
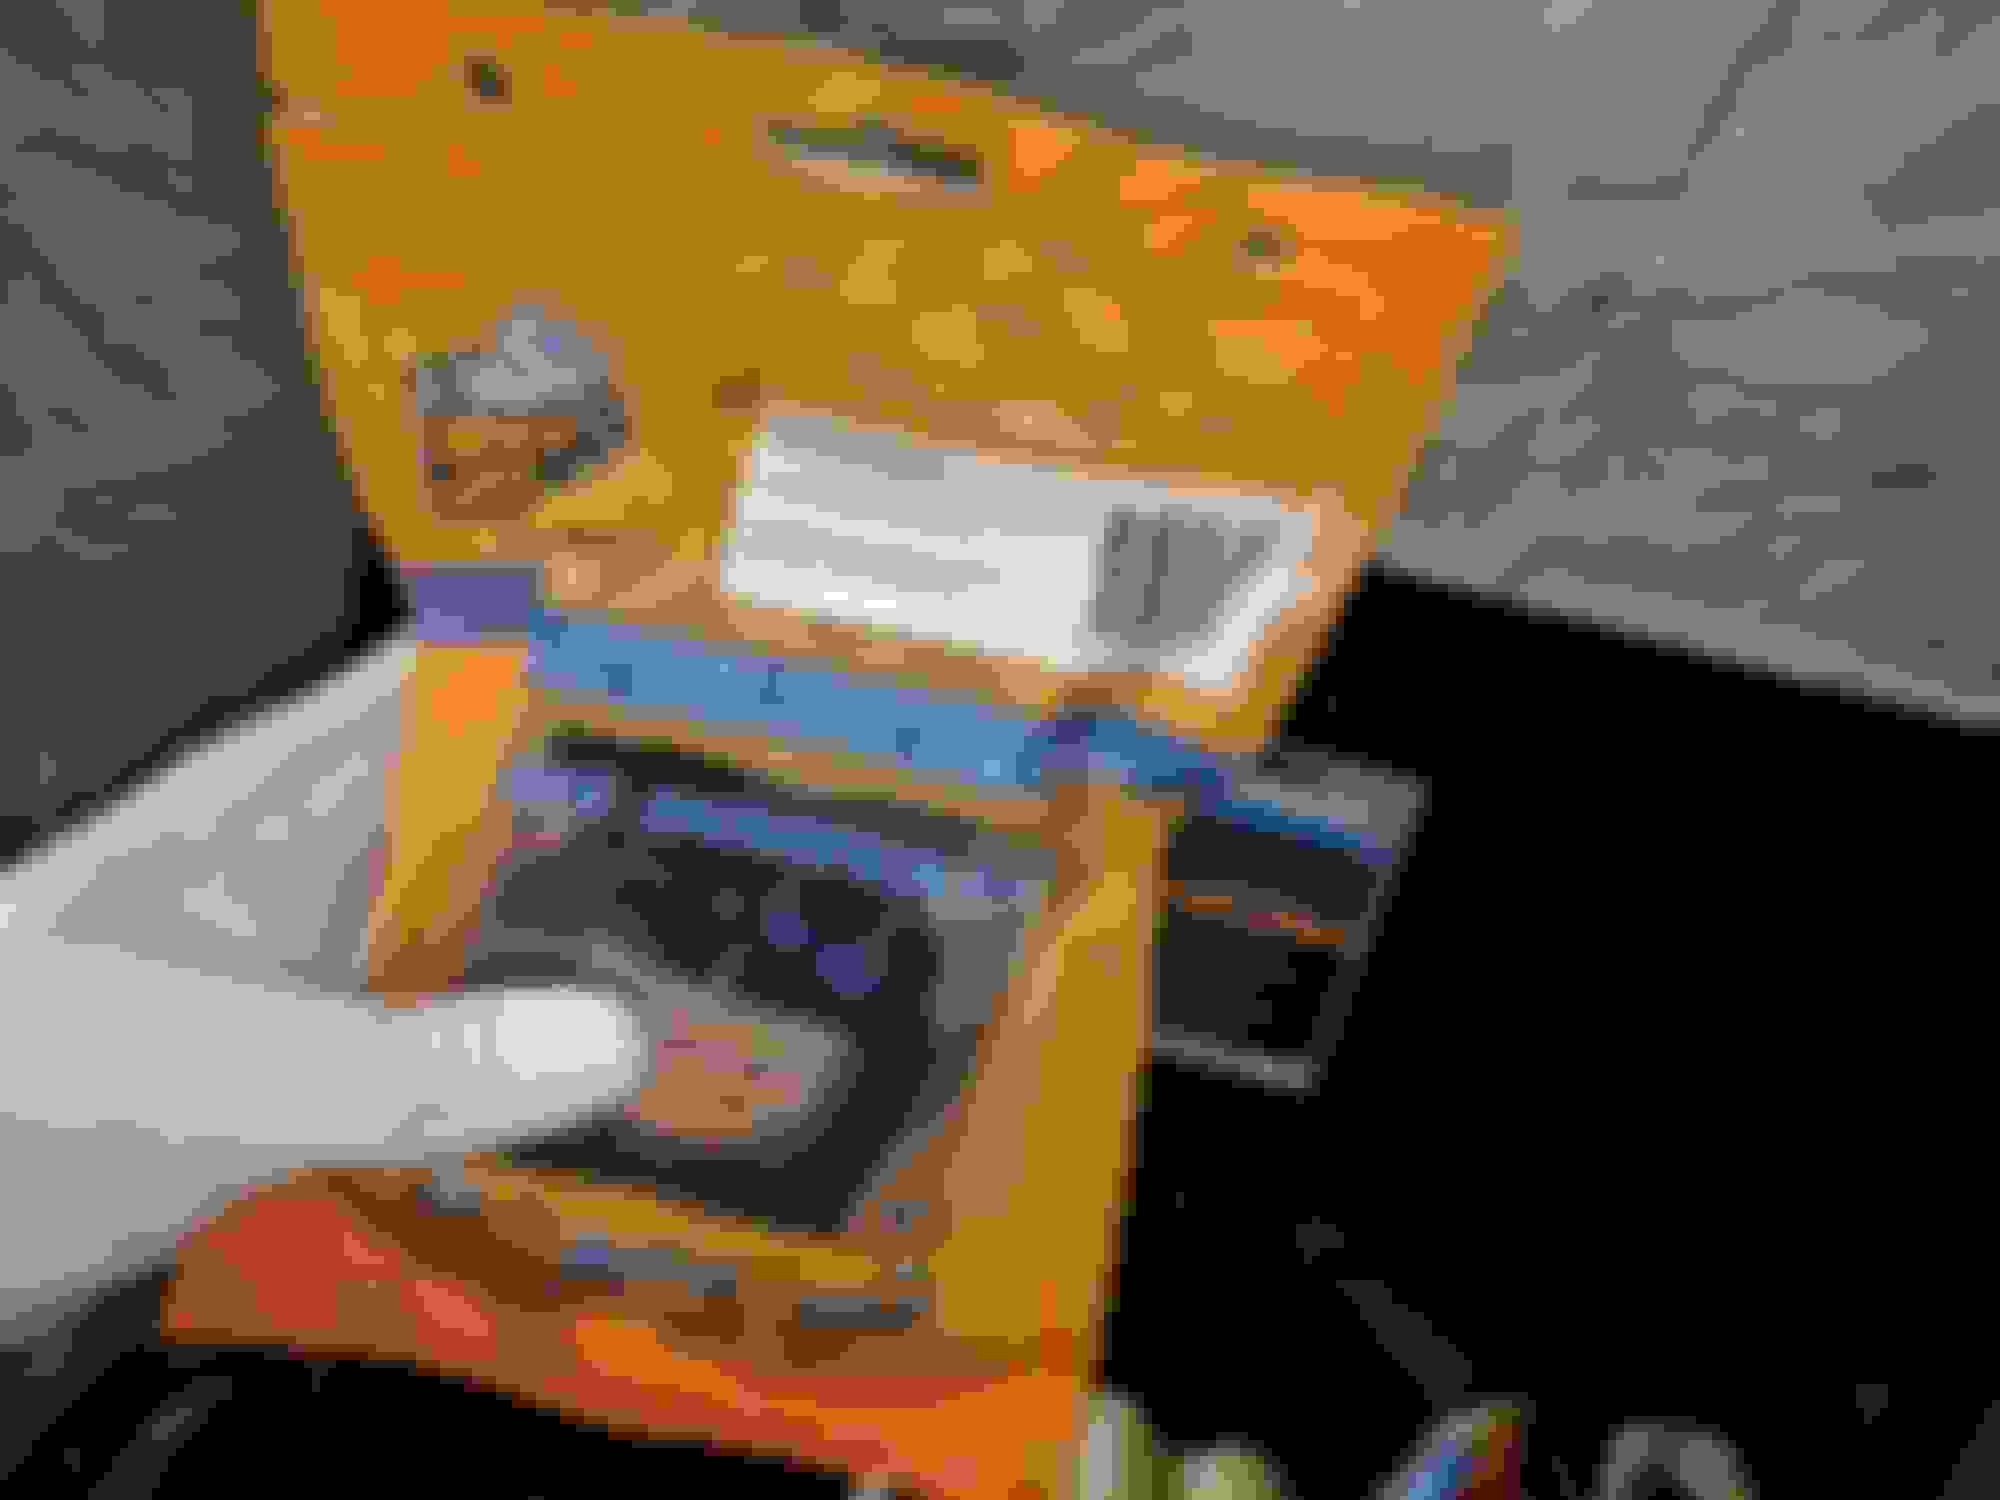
I thought i would be painting by now.. clearly this is going to take me much longer then i thought. There's so many rusted bolts that take time to remove.. just to get to this point required me breaking the hood latch, hood release cable, and that thing that's connected to the horn while removing the steering wheel ( pic attached and thanks to anyone who can identify the name of the part lol i need a replacement.)
harbor freight specials - i ended up returning the harbor freight air compressor (21 gal) and went with a husky oiless compressor 30 gal, MUCH better, and should take anything i throw at it for the work i plan on doing.
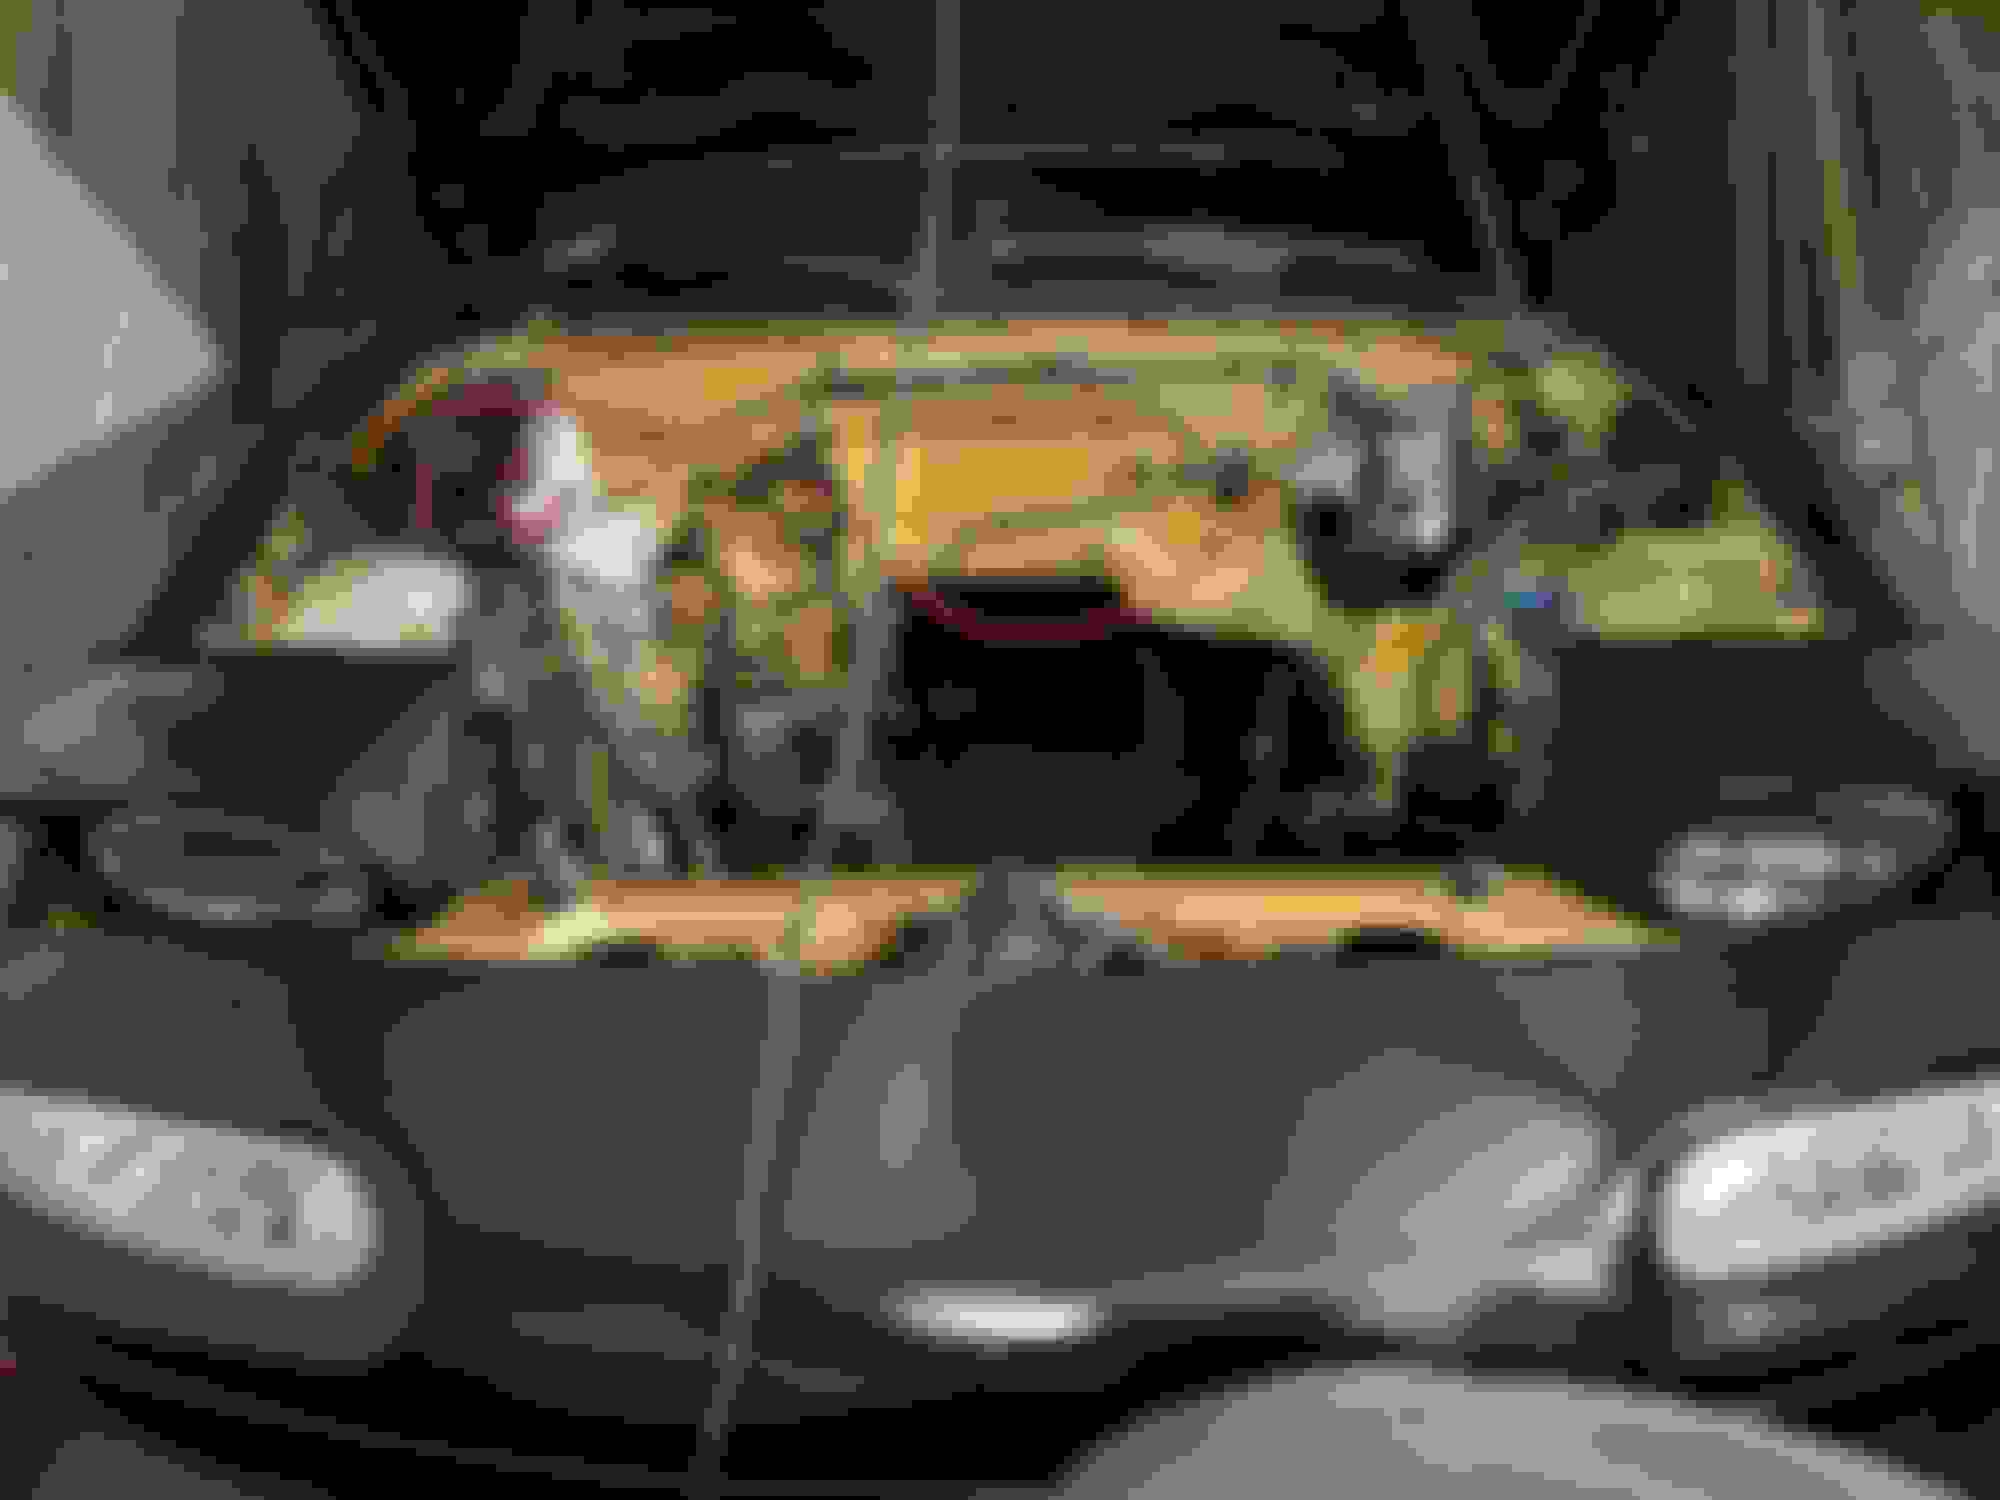
engine bay after a bit of cleaning - i was going to remove the brake lines, but I'm probably just going to cover the middle area anyways.
Most likely going gold engine bay / black car theme now
I'm thinking about 2-3 weeks, towards the end of this month is when the car is going to be up and running. mostly because I just got the gold and black paint today and decided it was best to go to a urethene type paint (eastwood) So i'll have to go through the return process for this which will delay things a bit.
Not by much, since there's so much to do on this car.. I've pretty much bought all new replacement hardware for the majority of the places (100) M6-1.0x12 - these fit everywhere. SO far I've used them on the timing cover behind the cams and they worked great. I'm sure I'll need alot more as i go through the engine bay and remove rusted bolts / re-tap a few places.
Engine will be fully assembled by tomorrow, I've completely rebuilt the engine again with new gaskets due to leaks in the front
New Head Gasket sprayed with copper
new front crank seal
sealed the oil port on the Boundry pump ( possible leak? )
Resealed Oil pan
New cam seals etc
Painted a **** ton of parts black, including the valve cover.. Honestly there's so many things I'm leaving out, these pics do not do justice, I'll have some better pics hopefully soon.
Some progress in the bay. This is my first bodywork ever. Fiberglass is pretty cool, it covered that hole perfectly and is strong as hell once it dries.
Progress on the engine, New studs and hardware
Not a quality post - More pics to come.. I find it difficult for me to pick up my phone and take a pic - i just want to get it done. Correctly. No matter how long it takes, i have all the time in the word right now.
All of the studs were replaced on the head, looks like one of the studs are actually touching the manifold at one point - Most likely going to remove the manifold tomorrow and trim that down to have 1-2mm of clearance.
Waiting on my primer to start body work, hopefully i can be painting by this upcoming week. Valve cover flaked from my air blow gun so I'll probably paint it gold with the bay.
I am much excite, planning on taking my time to minimize mistakes, something always goes wrong lol
Crossthreaded two studs,nuts, So will be ordering a replacements and using the stock
pic showing height differences - decided to use stock stud in the location having clearance issues
engine bay, i did decent stripping today. I'm sure I'll fly through the body of the car but the engine bay has so many nooks and crannies, tried aircraft stripper, works pretty well. Most likely will buy more and use that method for the rest of the bay.
engine bay sprayed down with wd40 to protect from flash rust. I have my paint and primer, just need to finish stripping / bodywork, its gonna be warm soon, so that will help.
That wd40 did not help im pretty sure, it might've made it worse
Got some Klean strip prep and etch, that seemed to be much more effective.
Still have to touch up a few more areas in the engine bay and prime the rest of the car, hopefully i can complete that all tomorrow - it has been way too hot to work.
def ned to pick up a clay bar to remove overspray , im not sure i want my subframe gold lol
Whole car is primed, and engine bay is now gold :O - It was actually more like orange at first because i didn't mix the paint enough. a quick respray fixed that lol
Tomorrow i will paint the doors and the rest of the car black and be done with it after block sanding a few panels straight - learning bodywork has definitely been the biggest delay.
I'm thinking about 2-3 weeks, towards the end of this month is when the car is going to be up and running.
I am hilarious, I screwed up some more with the paint and didnt like how it looked in a few spots. - long story short i decided to do it all over again in a few spots. i would say my lack of primer surfacer was the biggest issue
Hopefully i can have everything reprimed and sanded and ready for paint tomorrow. I forgot to throw the lip on - Its definitely a lot of work - i understand what needs to be done to get the results i desire now after failing.
I feel so behind, i keep beating myself up for not having it done yet - Still need to paint the inside of the doors, side mirrors, and the trunk which i plan on taking care of tomorrow.
my goal is to at least start dropping the engine in this week. The occasional runs to home depot to find nuts and bolts are killing me
FYI, in case anyone needs them.
Headlights, and Hood are held on by M8x1.25 Flange Nuts
Mirrors are held on by M10x 1.0 x 25mm Phillips Flat head
Almost every other bolt on the car is held on by a M6-1.0x12 (10mm)
Pretty positive i've replaced most nuts and bolts in the bay
I've learned enough to put the paint past me at this point, I am okay with "Good Results" for now
Spent the whole day putting the front end of the engine bay together. Couldn't use the racing beat sway bar i had so i just replaced all the bushings and endlinks and kept the rusty old sway bar till i can find the replacement bushings for the RB. Car paint looks okay but i am still not happy with it, once the car is put together I'll wetsand and buff it, I'll be more happy then.
Def want AC on miata. I have an ac compressor / relay / lines from the car i parted out, but the condenser was shot, so I'll be looking for one of those soon most likely
Also Im concerned with how my oil pan is currently drilled, i might have to pull the oil pan if its in a bad spot and blocks the ac compressor bracket, I'll figure it out tomorrow once i drop the dash / engine in, First start (with new turbo kit) next week?
I get the feeling you're likely to spend more time wet sanding and buffing the paint then it took to paint it, probably by quite a bit. Not an envious job.
Wet sanding isn't fun, but the buffing can be very rewarding on simple surfaces. Once you get into complex/tight surfaces and you have to buff by hand instead of using a dual action buffer, it gets old fast.

 04-24-2017, 08:31 AM


 0
0