When you click on links to various merchants on this site and make a purchase, this can result in this site earning a commission. Affiliate programs and affiliations include, but are not limited to, the eBay Partner Network.
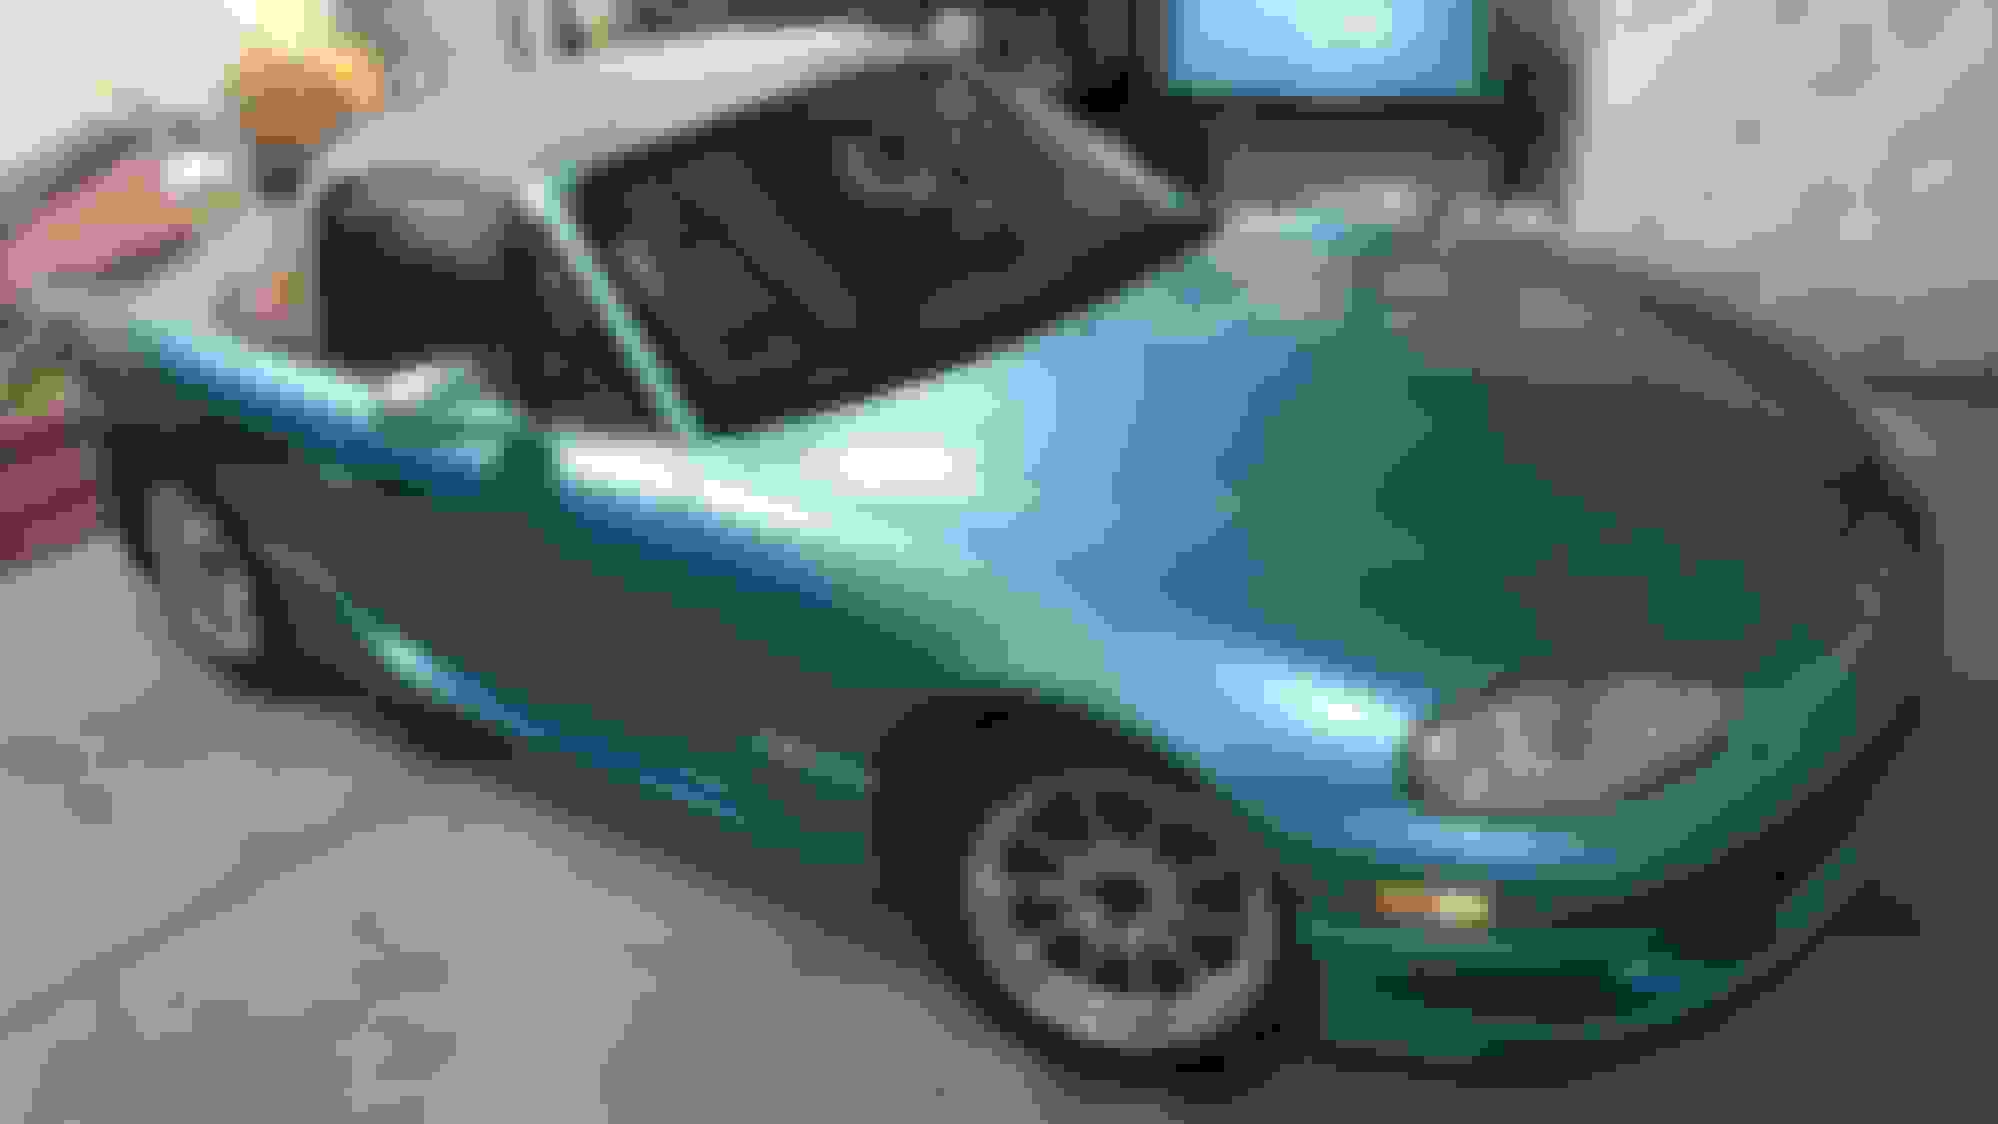
Spent 12 hours so far detailing the miat. Full interior detail (suuuuuuper dirty) completed. All the body work has a cut, polish, sealant, and wax. Headlights were pretty faded on the top half, but they turned out clear with just the cutting compound. The paint is in terrible condition, as almost every body panel had been repaired (yeah right) and repainted by the previous owner. Deep scratches in the color and beneath the clearcoat, for example. Other panels were repainted so poorly that they turned out almost matte finish even with a wax over them. The car really needs to be stripped and repainted properly. Some day I will do this, but for now, it looks pretty good.
I don't have adequate lighting in the garage, so I couldn't really take better pictures, and once I start something I get really consumed, and always forget to take pictures. Anyways, here is a pic.
I still have to clean, seal and wax the rims, "restore" the soft top, and minor cut, polish, seal, wax the hardtop.
My clear coat is starting to come up in 3-4 places on the hood, and one part of the windshield frame and I've got no idea what to do about it. Sad times
If any of you Bay Area guys see an NB hood in serviceable condition for less than elevelbilliondollars, please let me know. Color does not matter and it at least needs to not be beat to absolute hell. I pay finders fees in beer.
Have said this before, but your car looks awesome. Best looking NB I've seen. The wheels match the car perfect.
Wow! I don't believe you! But thanks so much!
I was just comparing pictures with and without the tupperware, and with a hardtop on, and in person, i like the car the way it is. In photos, however, the tupperware looks really bad to me, especially with the tired soft top.
If any of you Bay Area guys see an NB hood in serviceable condition for less than elevelbilliondollars, please let me know. Color does not matter and it at least needs to not be beat to absolute hell. I pay finders fees in beer.
I can find a hood for you. But I'm not old enough to drink beer. At least not legally.
Never sealing these rims again. They took 2 hours each.
I also discovered that the cutting pads I bought from Chemical Guys (like much of the products they sell) are crap. They left almost all the scratches without any cut. I purchased proper microfiber cutting pads from Maguires, and some 1500 and 3000 grit wet dry discs to do a proper job. I am also suspecting the cutting compounds from chem guys to be of poor quality.
I am still learning, but the correct process for all the painted surfaces is wash with a sealant cleansing soap, dry immediately, light clay bar, 1500 damp sand, 3000 damp sand with thin foam backing pad, microfiber cut, polish with soft foam pad (similar to the "cutting" pads chem guys sells) seal and cure, wax.
Should take a few days, but i should get a mirror finish everywhere with zero orange peel (every single car leaves the factory with a textured paint finish. This is called orange peel, and distorts reflections) except for the areas where the clear coat has peeled off. I may decide to do a minor repair of these areas (before detail) by sanding the areas down and using a 2K Clear coat spray can. The issue is my dusty garage (unavoidable due to strong winds) will likely cause dust particles to adhere to the clear coat before it completely cures (over 2 days without lamps or a drying booth) AND I may have to just respray the entire panels just to look better, and thats a lot of work. We'll see what I do!
Last edited by thumpetto007; 04-04-2017 at 04:25 PM.
So I'm day two in "the great miata steering depower bonanza!" and I finally found a welder that would handle the pinion.
All yesterday I was struggling with the P/S hard lines, not having a bench or a vice... so that was not very fun.
Today my only goal was to get the pinion welded.
I started with the steering rack, and was having difficulty removing the large passenger side shaft seal. Turns out it was crossthreaded from the factory, or the aluminum threads corroded onto the steel housing. FUN.
When I got to the pinion, I was having trouble figuring out how to remove the seal and bearing safely. My pinion is not serviceable. It has a machined crimp on one side of the bearing, and a steel post on the other.
I realized the seal was not necessary, as its job was to partition the bearing from the valvebody (which is not structural and isn't needed anymore)
I ground down the pin to take the seal off.
Then off to get the pinion welded...
Went to 3 different welders, the first one said.... "nope, try mike" ... mike said "thats hardened steel, it'll break, and its illegal to weld any steering components." literally said that and walked away.
Third guy had a packard on airbags outside, and I knew, that was the shop that would do it!
Got a decent amount of warp, then he welded some more, runout is much less, still a tiny bit. I'm going to try and center the high point of the part at the center for the most even feel, and a "firm on center feel" if that's even possible.
I have been talking to a lot of people about depowering the steering, and I'm pretty sure I'm going to love it. Outside of a parking lot, or my driveway ramp.
Last edited by thumpetto007; 04-13-2017 at 09:05 PM.
I ended up putting the washer and seal on the top of the bearing, maybe that is good
Greased up the binch reaaal good. Like a quarter tube of grease good.
I will spend long time setting the tension. I want this baby to be perfect. Its supposed to be set three times at 43 in/lb, then backed off 25 degrees, but I'm doing it by feel once it's in the car and attached to the steering wheel.
Finished the depower. So far I hate it. Anyone here that daily drives a miata with a depowered rack doesnt turn fast enough.
My castor is at 5 iirc, so ill hopefully be able to lower it to around 3. Steering is tough at a standstill, lightens up until around 30mph, then progressively heavier as speed increases and road radius decreases.
I can feel what each tire is doing during a hard turn, which is nice, but that doesnt make up for the INSANE difficulty driving slowly up really steep curbs.
Also dont have A/C yet, since no standard belt fits between the crank and ac pulley with proper tension.
There is a "power steering idler pulley" and bracket that Ill need to find used, and the belt is the standard one for a manual steering miata.
I will also say that the car is noticeably faster in 3rd gear onwards. Im guessing there is 2 more whp since no P/S pump drag.
Anyhooo... i also completed a project that I "started" 1 year ago. (Had the parts this whole time)
HD racing dual catch can (husky air compessor filters) with a vented exhaust side.

 03-30-2017, 05:11 PM


 1
1