When you click on links to various merchants on this site and make a purchase, this can result in this site earning a commission. Affiliate programs and affiliations include, but are not limited to, the eBay Partner Network.
I'm getting ready to swap heads, and I'm running into some difficulty getting the block deck prepped to the level required for a MLS gasket. I've seen some useful info about prepping head & block decks on the site, but not a ton of DIY addressing my specific desired path. I got the head decked at a machine shop, but I don't want to pull & disassemble my block. The block deck is as clean as I can get it with solvent & plastic scrapers, but it's not good enough. In particular, the area immediately surrounding the cylinder bore and the coolant ports are resistant to even MEK & aggressive scraping with plastic scrapers. I tried delicately hitting it with a razor, but it just seems sketchy. This is my planned approach:
I have a 2"x1/8"x24" straight edge accurate to .001". I'm thinking of getting adhesive backed sand paper with grit ~180-200, and sanding the deck lightly with the straight edge laying flat on the deck. It looks like swirling while sanding would be important. I've already globed grease down around the pistons so I don't get grit ground into the cyl walls. Any concern about getting grit into the oil & coolant ports? Am I way off track here? Looking for recommendations from anyone who has successfully done something similar.
Right. Never got clarification from that thread about deck prep for MLS gaskets. I can't be the first person on this thread to have tried it! I found this from another site:
this makes me think that with care, elbow grease, and luck, I can prep the deck myself with 180 grit.
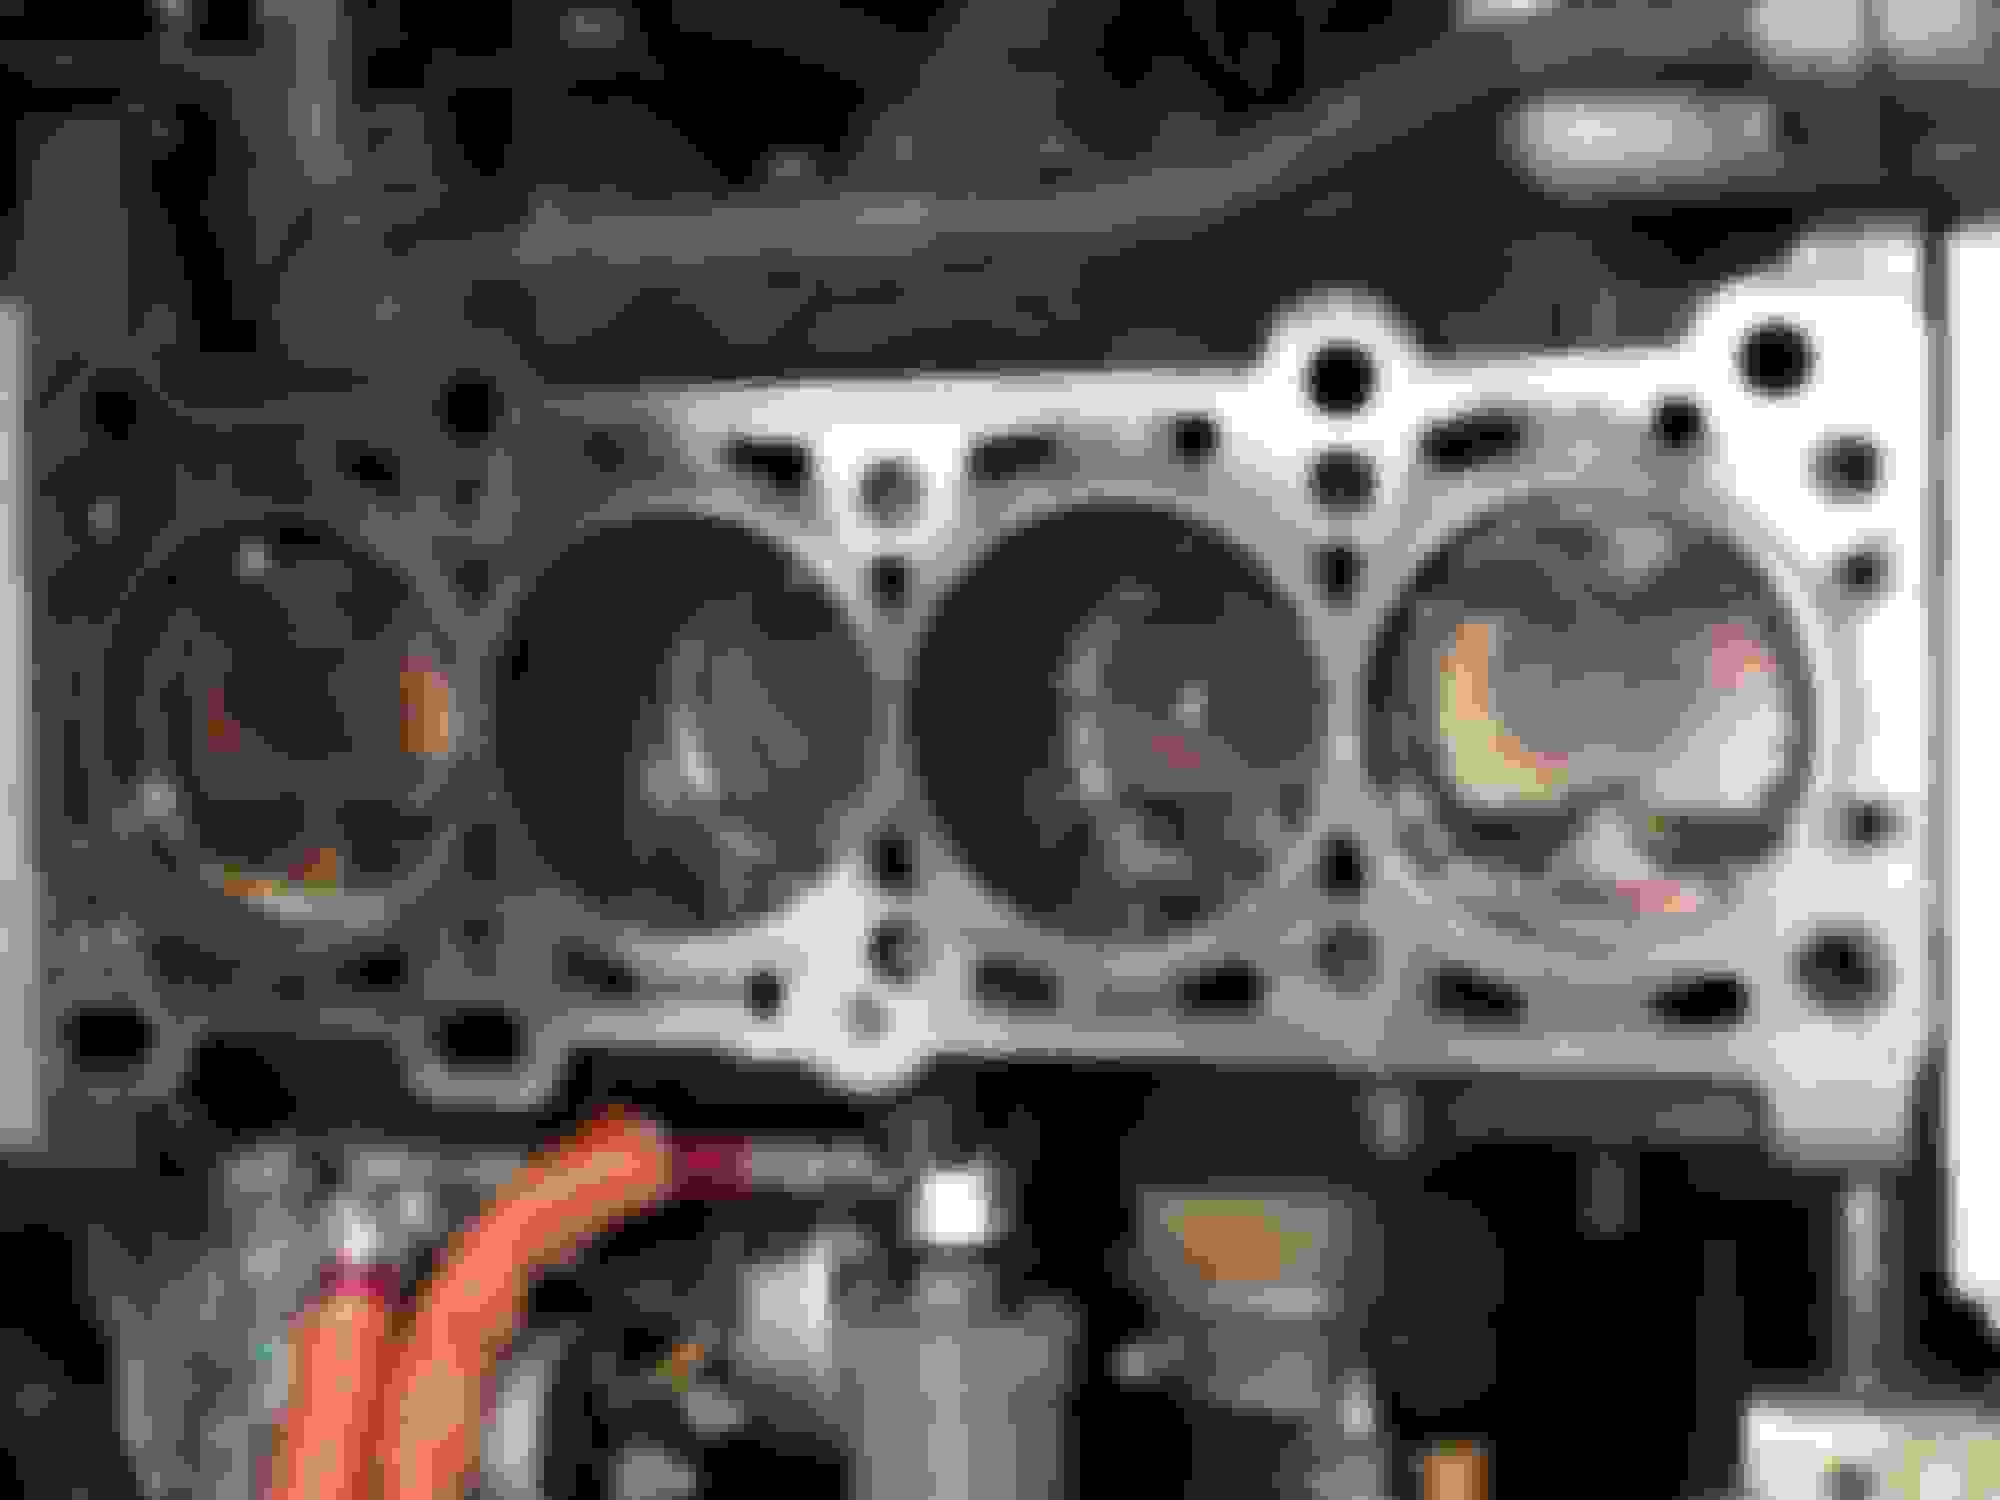
I'll try to get some pics tonight. I'm not sure. The MLS gasket has a thin "rubber" coating that needs to be scraped off. Around the cylinders, it's turned half way into diamond on my block. Around the coolant ports, it's kind of... Crusty? Maybe some corrosion. Hard to say. I bought the motor out of a '94 with 102k on it. I've run it for about 5k with no issues.
you can see in the last picture that I've scrubbed out most of the debris, and it looks like the block is eroded. It almost looks like the HG partially failed long ago, and coolant has been eating away at the block deck. I don't think there's any way around getting this milled.
I've seen tale of people filling the ports with grease, but honestly it's looking like the block needs to be taken down more than I want to do by hand!
There's a local guy selling a stripped '94 block on CL for $50. If it's already got a smooth enough deck, that would be cheaper than sending my current one in to get milled.
I've used a razor at a shallow angle. The block is cast iron, you're not going to just slice into it.
This.
I scraped with a thin razor blade held perpendicular to the block. It got all of the old gasket off and barely changed the surface finish. I've had no issues with engine since.
P.S. - You can dab a bit of shaving cream in the top of the coolant/oil passages to catch any grit. I used some small nylon tubing (1/4"?) and duct tape on my shop vac to make a small high speed vacuum to suck the shaving cream out when i was done scraping. I used wd 40 and saran wrap to keep the deck rust free/clean while I finished porting the head.
Edit - Grease sounds way smarter... Doh.
Last edited by soot; 02-21-2017 at 09:07 PM.
Reason: better solution than mine
Really sharp razor blades and a lot of care will get pretty much anything off the deck surface. The other trick is to use a plastic lightswitch cover (like the ones in your house) which is sharp enough to get the stuff off but not hard enough to scuff the block. Neither of those will add metal to the block, which is what your block looks like it might need (in lieu of just having it skimmed).
Really sharp razor blades and a lot of care will get pretty much anything off the deck surface. The other trick is to use a plastic lightswitch cover (like the ones in your house) which is sharp enough to get the stuff off but not hard enough to scuff the block. Neither of those will add metal to the block, which is what your block looks like it might need (in lieu of just having it skimmed).
Yeesh. I hope not. A little internet searching turns up .008" allowable removable from the block. If I had to guestimate, I don't think I've seen any imperfections that looks that deep. I got a pile of old light switch covers so I'll give that a whirl, but my gut is saying that there is damage here that won't scrape off.
I did end up picking up a used block last night. It's not 100% perfect though, and with unknown history, I'm thinking I'll use it for a full rebuild on the side.
Looking at your pistons, is the block deck really the biggest of your worries?
Oh they just look wretched in these pics, but it's just a little bit of loose carbon that flaked up from not driving for a few weeks, combined with some grease I smeared around to trap crud while I scraped. They just need a bath. But I get it. They look like hell in these pictures.
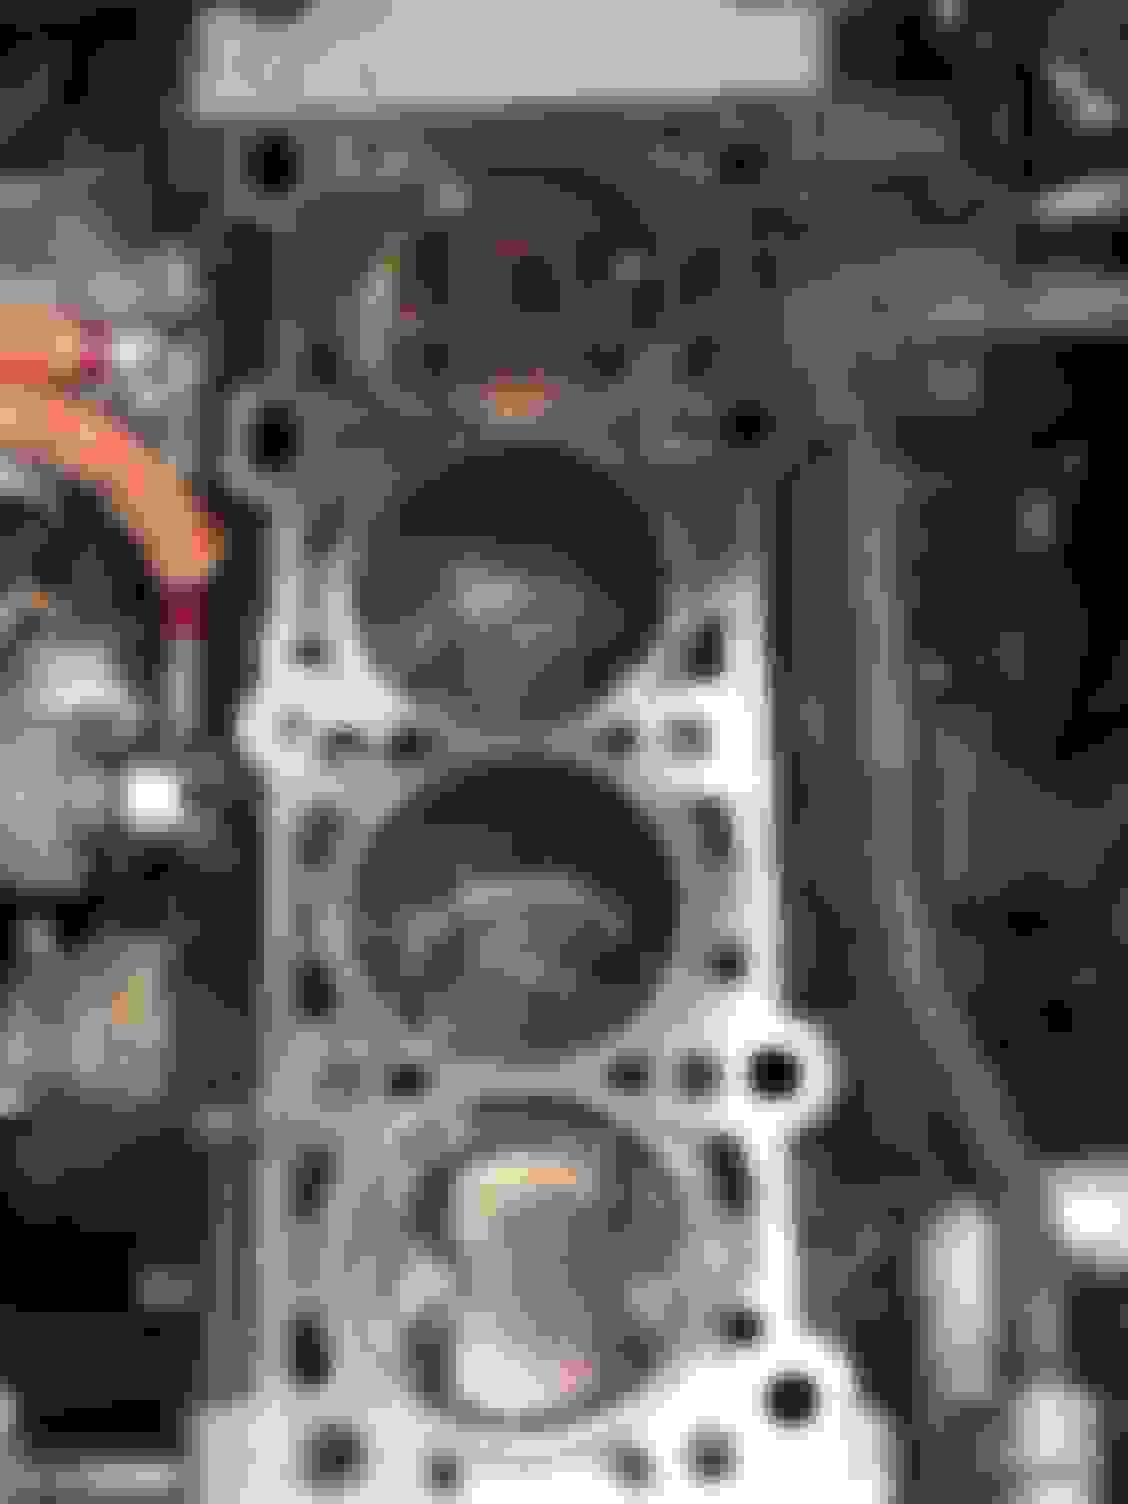
after really really cleaning it, you can see that I'm fighting a loosing battle. I'm pulling the block. I hope this can be milled out within allowable tolerance.
On the bright side, I picked up a set of Manley rods to drop in while I have it apart. I've never torn down a block for rebuild before. This will be a learning experience. compression & oil consumption are great, but I'm guessing it would be a crime not to re-hone/re-ring at a minimum while I have it apart?
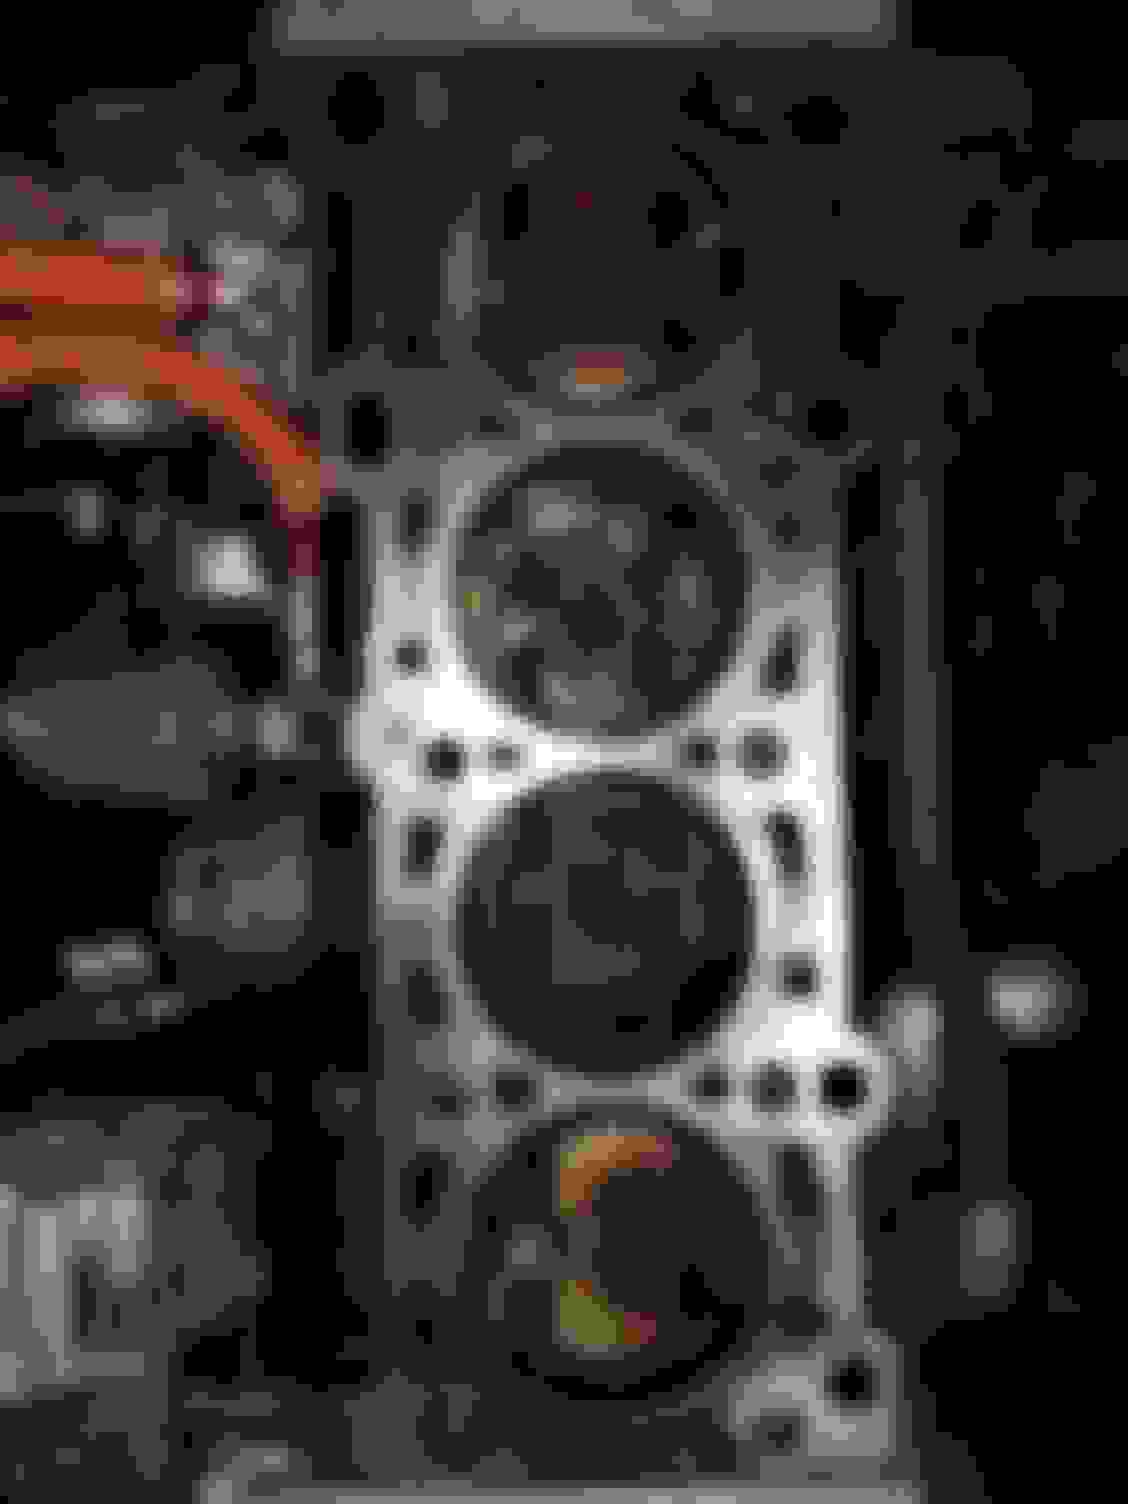
this is a good representative pic of what the pitting looks like in the bad spots:
The pitting around the coolant ports doesn't actually bug me all that much. The real sealing happens around the fire rings that circle each cylinder. Every block I build gets a light skim just to clean that area up, no matter what.
As far as tolerance goes, the squish measurement is what you are affecting when you deck the block. Before you disassemble (you'll need to disassemble to deck it, unfortunately), measure the difference in height between the top of the block and the top of the piston on the outer sides (where the flat parts are on the cylinder head). Basic rule of thumb is .030" minimum for a steel rod. Yours will probably be in the ~.040" range if your motor has never been opened. That squish measurement will dictate how far you can deck the block.


 02-21-2017 | 05:01 PM
 0
0