When you click on links to various merchants on this site and make a purchase, this can result in this site earning a commission. Affiliate programs and affiliations include, but are not limited to, the eBay Partner Network.
You took out you a/c condenser right? so, can't you just put the cooler in front of the rad? or did you shove the rad too far forward? This is why I was short shifting at MRLS. I was so paranoid about my oil temps.
Putting the oil cooler in front of the radiator would be injecting heat into the coolant, which is something I really want to avoid. Also, there really isn't any way to get the oil cooler lines around the bends.
Right now, the cooler is mounted on the FM brackets attached to the front of the subframe. It's probably not getting much airflow, and it's a fairly small cooler. I have a larger one available, but the FM brackets don't leave enough room to put the larger one there because it would hit the sway bar. I may try mounting it on the back of the radiator instead.
This area works out pretty well. Also running the dominator. I still haven't had my car out for more than a 20 minute session so I'm not sure if it would hang through a full enduro race.
I have yet to see oil temps get above 220. That wasn't even at the track.... It was on the highway after a hour with the ac on during a 105F day...
At the track it holds around 210.
Edit: Bonus: you get to worry about running into things even more!
Hahahaha, if you noticed, I've commented on that and given my complete unbiased opinion... lol
You probably could turn it over, but those lines are stiff and the routing is deceptively tight. That hex is actually noted as being capable of any mounting orientation.
I was more referring to the oil cooler tech thread where there seems to be some debate as to "appropriate" mounting orientation of these things.
But I like your edit. I remember on my NA the first thing I did was run it up on things and tear out those steel support arms for the ends of the nose at the wheel well edge.
Shameless plug... If you end up looking for new brakes, I have the radial mount dynapro v8roadster kit, j hook front and coleman rear two peice directional vane rotors, all the fixins... for sale
Shameless plug... If you end up looking for new brakes, I have the radial mount dynapro v8roadster kit, j hook front and coleman rear two peice directional vane rotors, all the fixins... for sale
I have the TSE 11.75 kit on the car with Dynapros, so no, I'm not looking to replace the overall system.
Well, driving the FD back from lunch I noticed it smelling of coolant. Popped the hood and there's visible green on various things in the engine bay. Looks like it's time to put in all those cooling system refresh parts I have sitting in the garage (radiator, air separation tank, thermostat, hoses, etc).
So the FD has an original, 25-year-old, plastic-end-tank radiator in it. That's about 18 years into borrowed time already, so I bought a bunch of cooling system refresh parts for it a while ago, and they've been sitting around waiting for me to get around to installing them. Driving back from lunch on Thursday it started smelling of coolant -- sounds like it's time. I have a Koyo radiator (from Goodwin Racing), a metal AST ("air separation tank" -- basically a swirl pot for the coolant where it bleeds the air out because the FD radiator is in a strange position where it doesn't self-bleed), thermostat, gasket, and new radiator hoses. The leak initially appeared to be from the AST, which isn't surprising either (stock ones are all plastic and known to be a weak point).
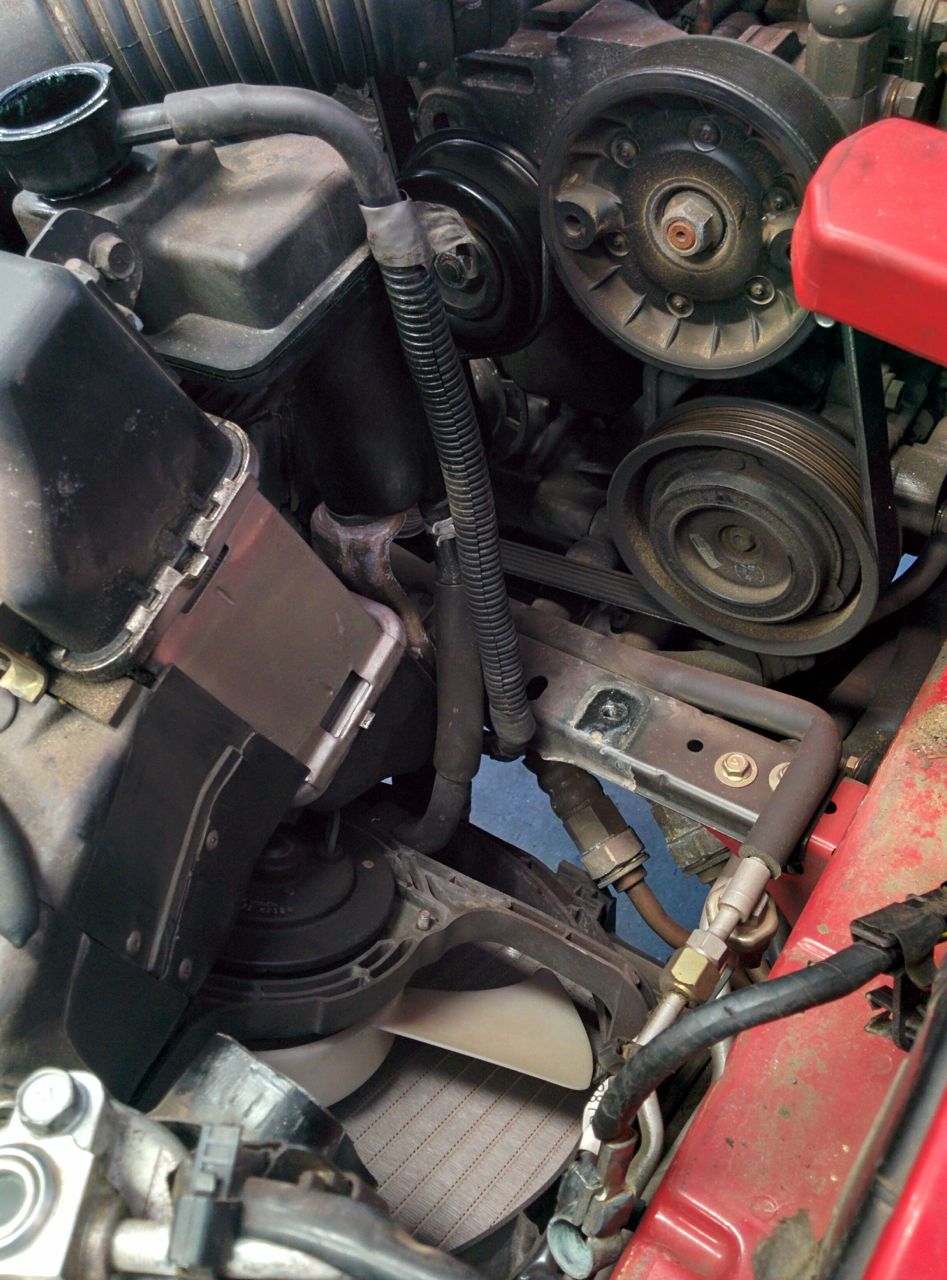
So today I put it on the lift, pulled the belly pan off, dumped the coolant, and started tearing it apart. The air box came out after a lot of wrestling, there are like 6 hoses that connect to this.
Battery came out easily. I'll probably pick up a replacement to put back in, the one that was in there has a date code from 2009.
This is the evil plastic AST:
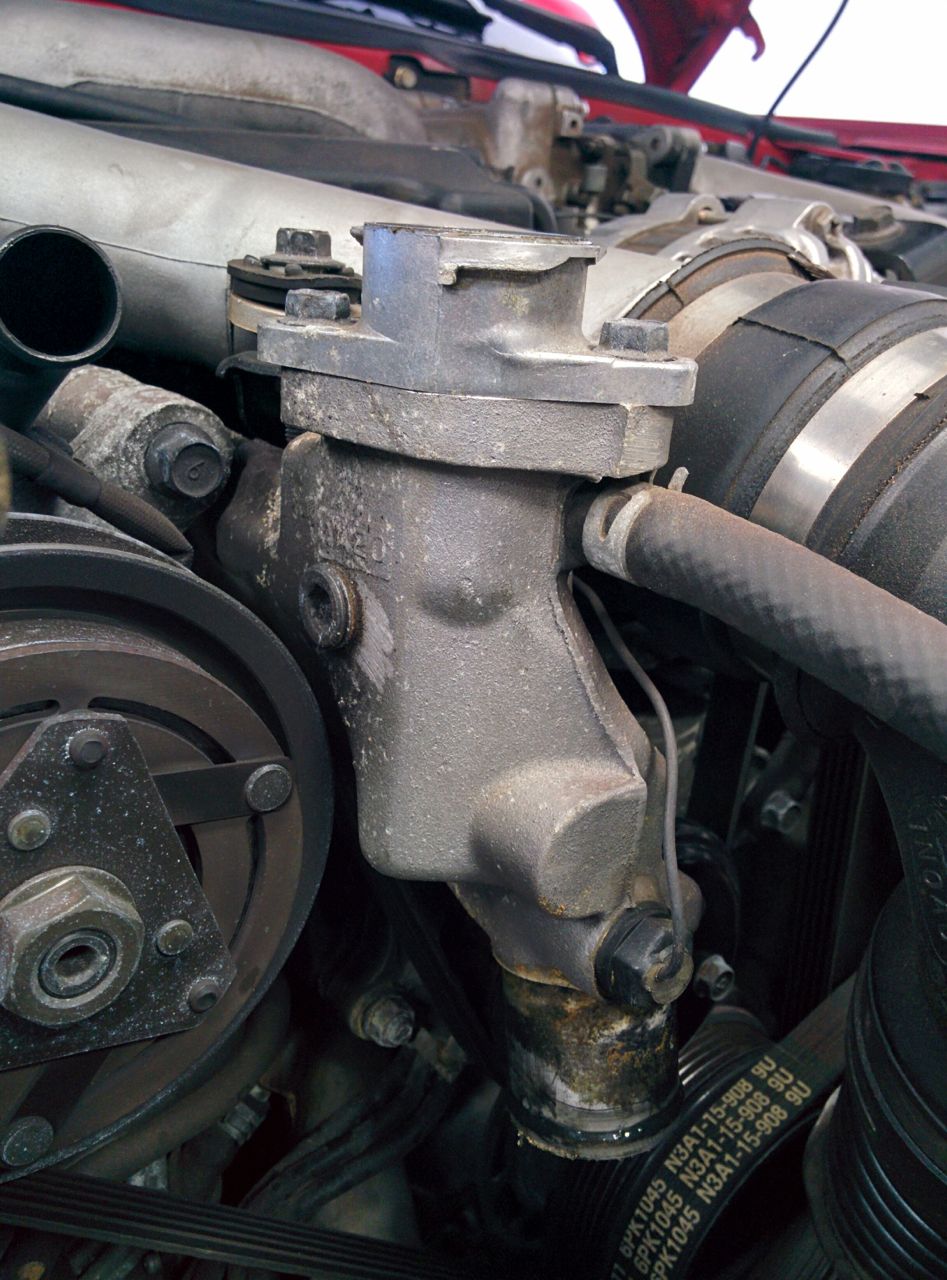
This is the thermostat housing. It's bolted to the front of the water pump housing, with the thermostat sandwiched between them. Getting it off requires taking off the smog pump.
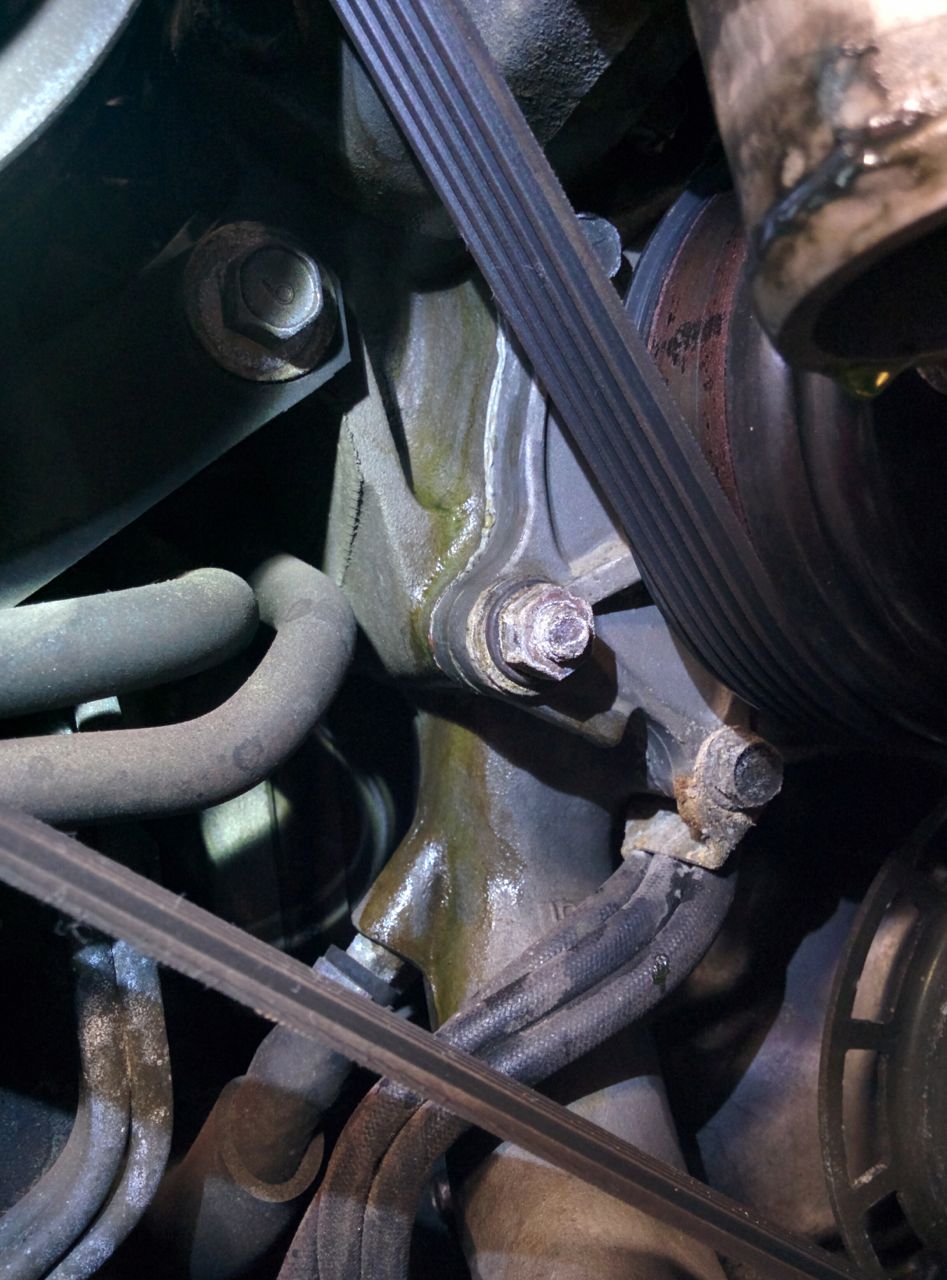
So out it comes, and while poking around behind it I found:
Doh, looks like the water pump is leaking. I guess this project just got bigger. Fortunately I live less than a mile from a Mazda dealer with a parts department that's open on Saturday -- unfortunately they closed 15 minutes before I got there. Doh. FLAPS says they can have one Sunday morning, and RX-7 expert friend says Mazda sells the same reman pump as FLAPS, so that'll be fine. OK, so I can't finish the job tonight, but there's a bunch more stuff to take off before the water pump comes out.
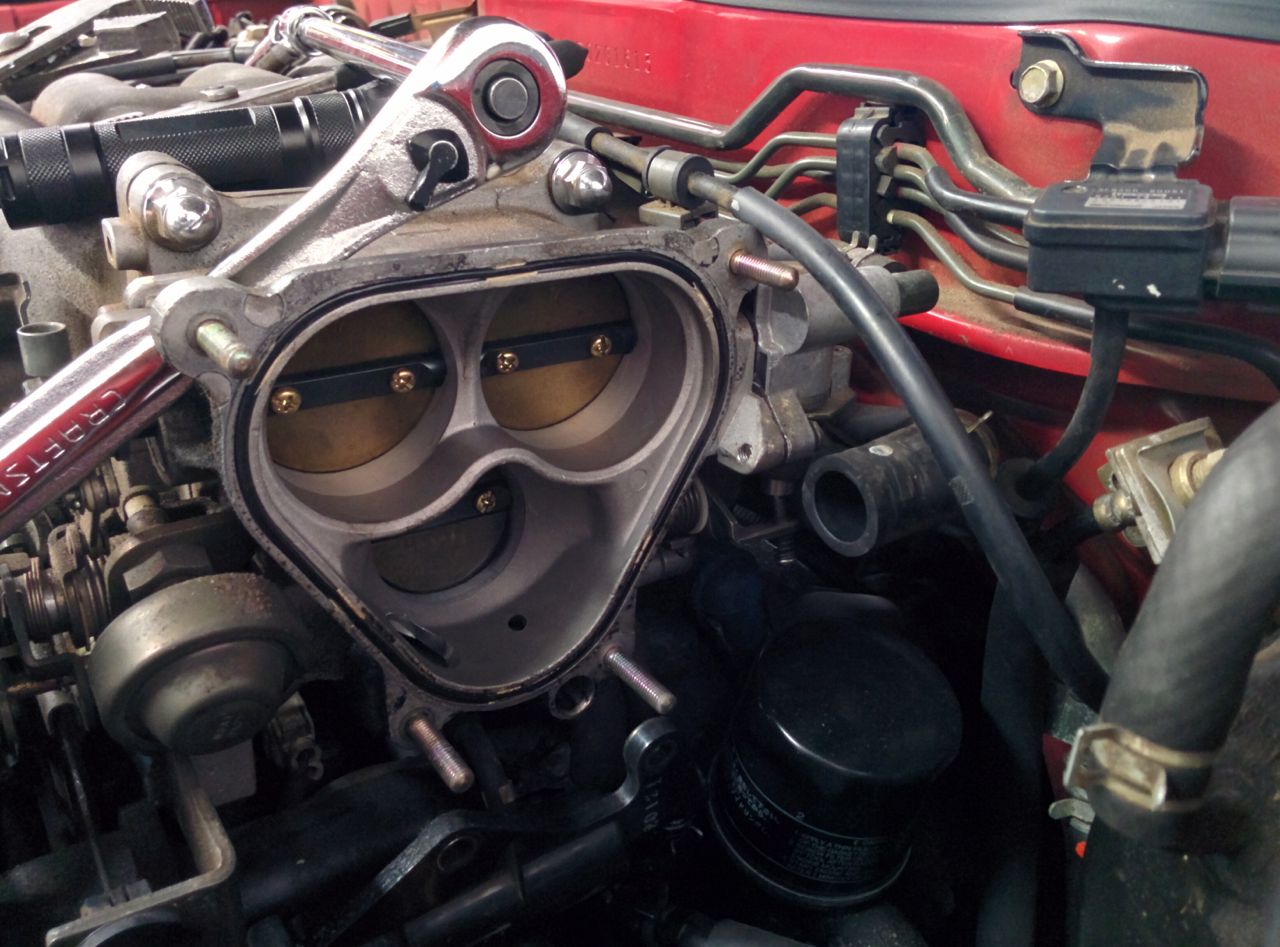
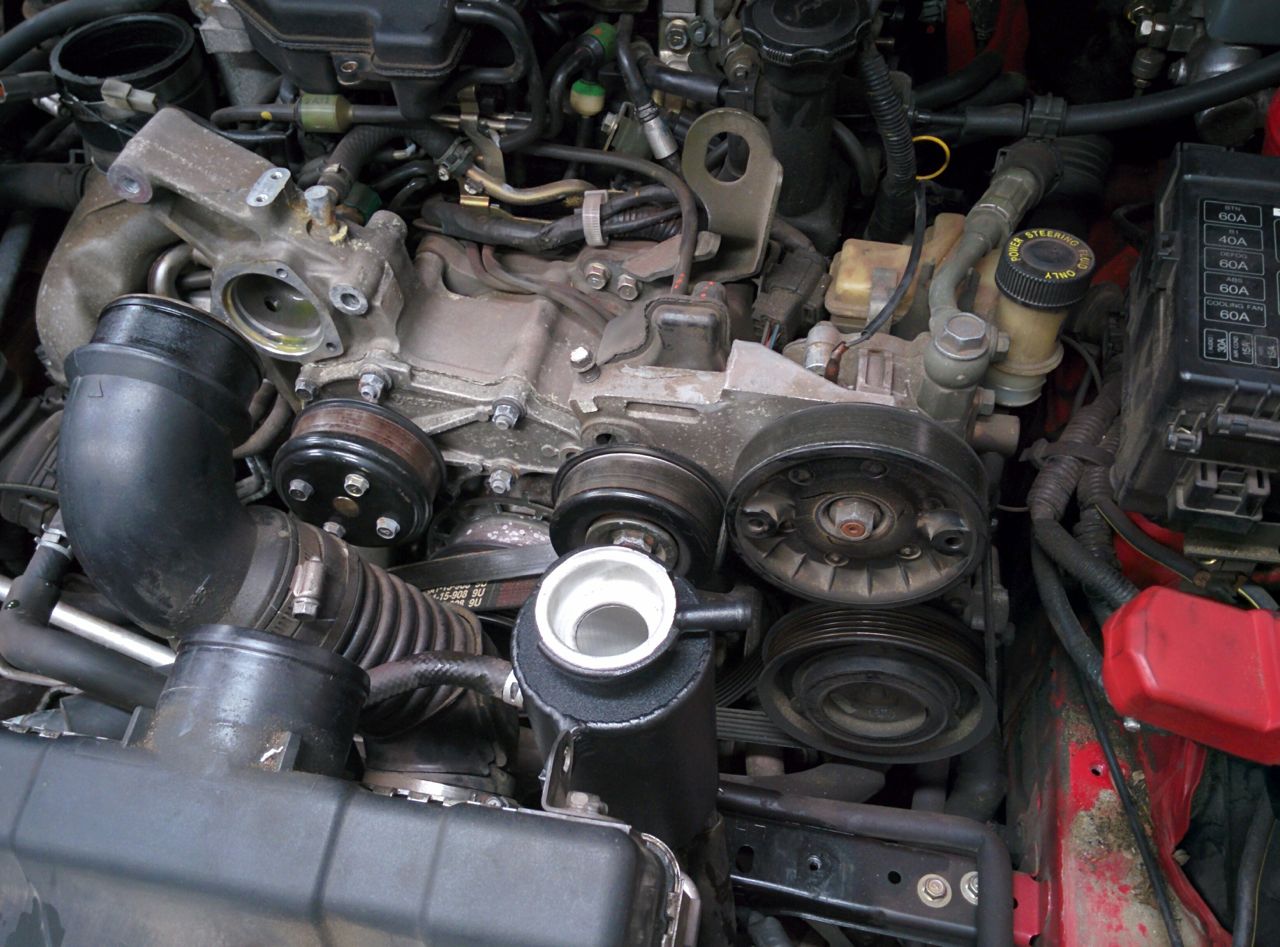
Taking the intake piping off reveals the fancy multi-plate throttle body:
Alternator comes off:
Water pump comes out, and we're left with the WP housing:
That's where I stopped for the night. I need to figure out how to get the housing off -- there's a gasket behind it that seals it to the front housing, but the WP housing is sandwiched on 4 studs between the WP and the front housing. When you pull the water pump off the housing, the gasket between the WP housing and the front housing usually gets damaged, and to replace it the whole housing needs to come off. Unfortunately, those 4 black lines in front of it are kind of in the way -- these are the oil lines going to the metering pump, the FSM says you can move them out of the way to get the WP housing out, but I can't see how that's possible. Time for some internet research.
Hopefully FLAPS has the WP housing gasket as well...
More random FD stuff because that's what I did today.
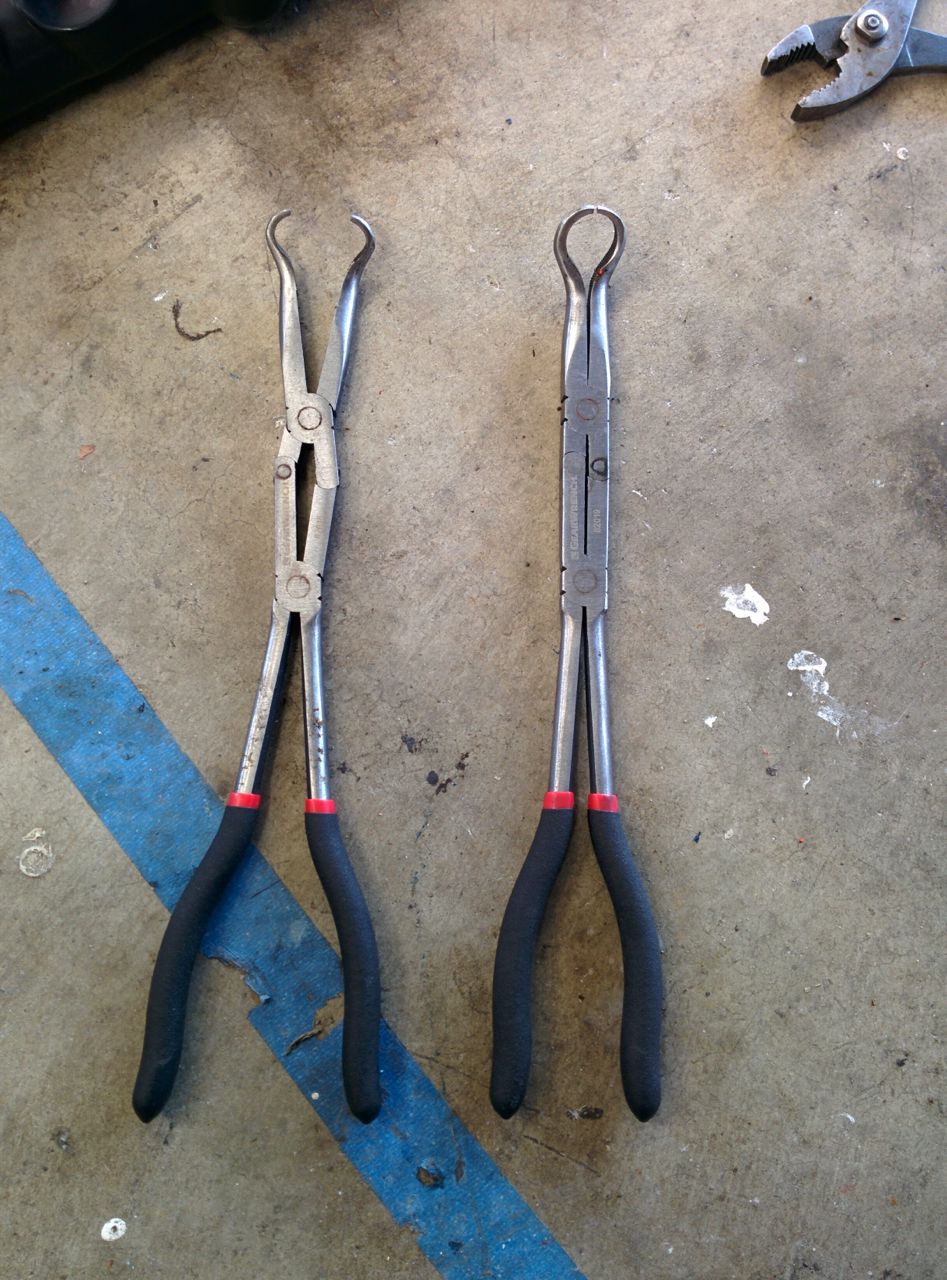
Hose clamp pliers. Bought these on Amazon, they are super useful at getting hoses off barbs. Where have you been all my life?
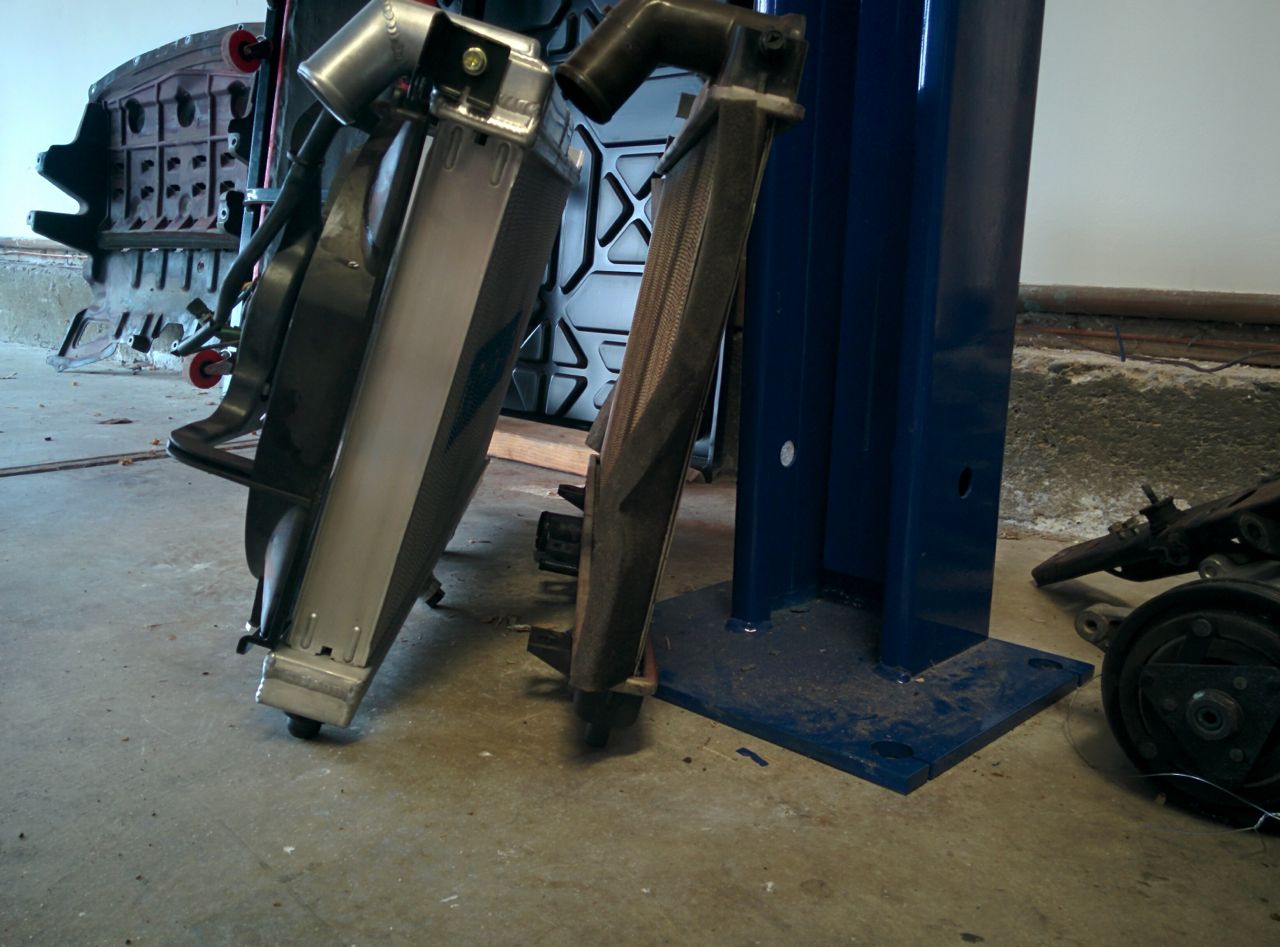
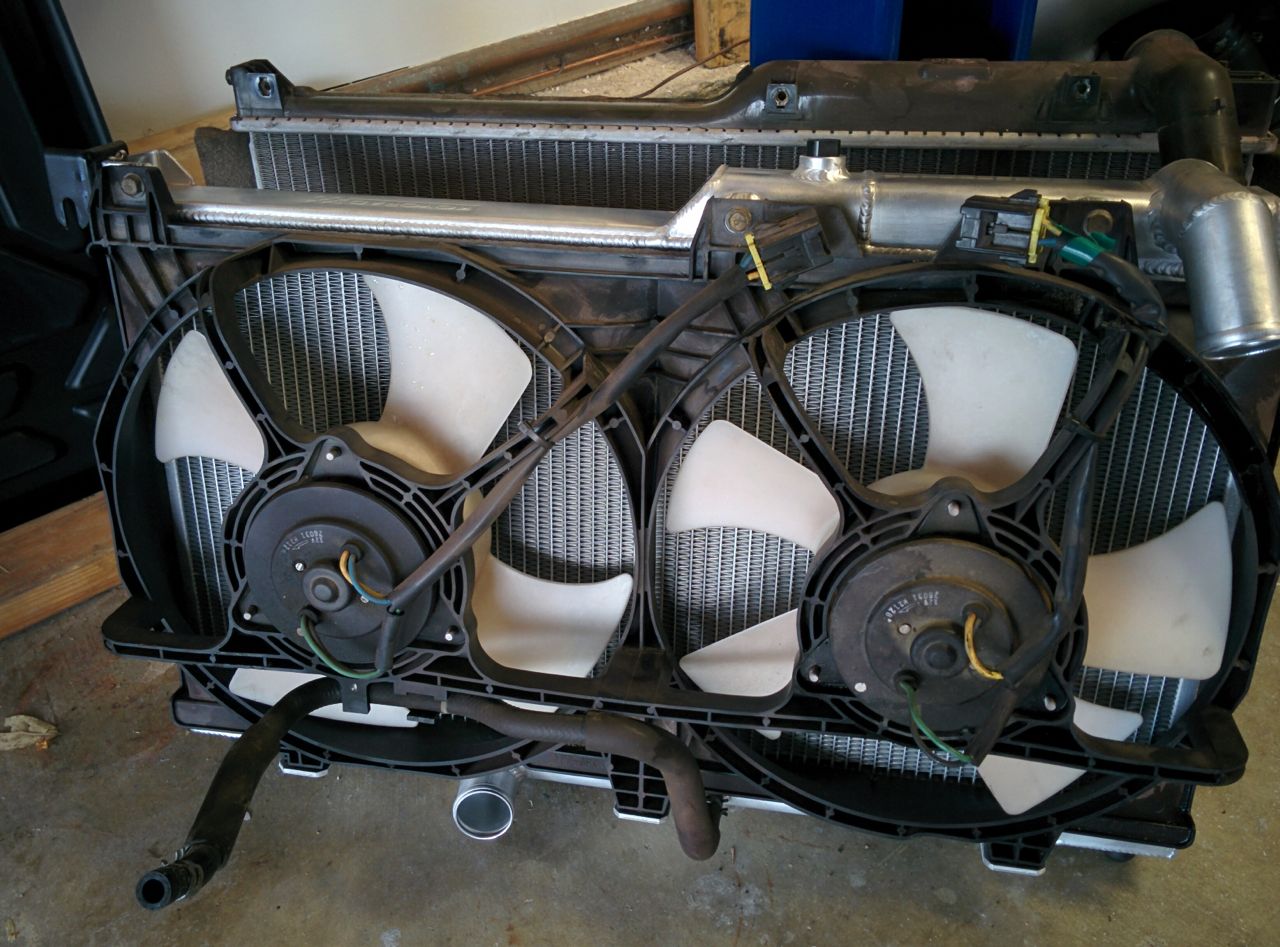
New rad vs old:
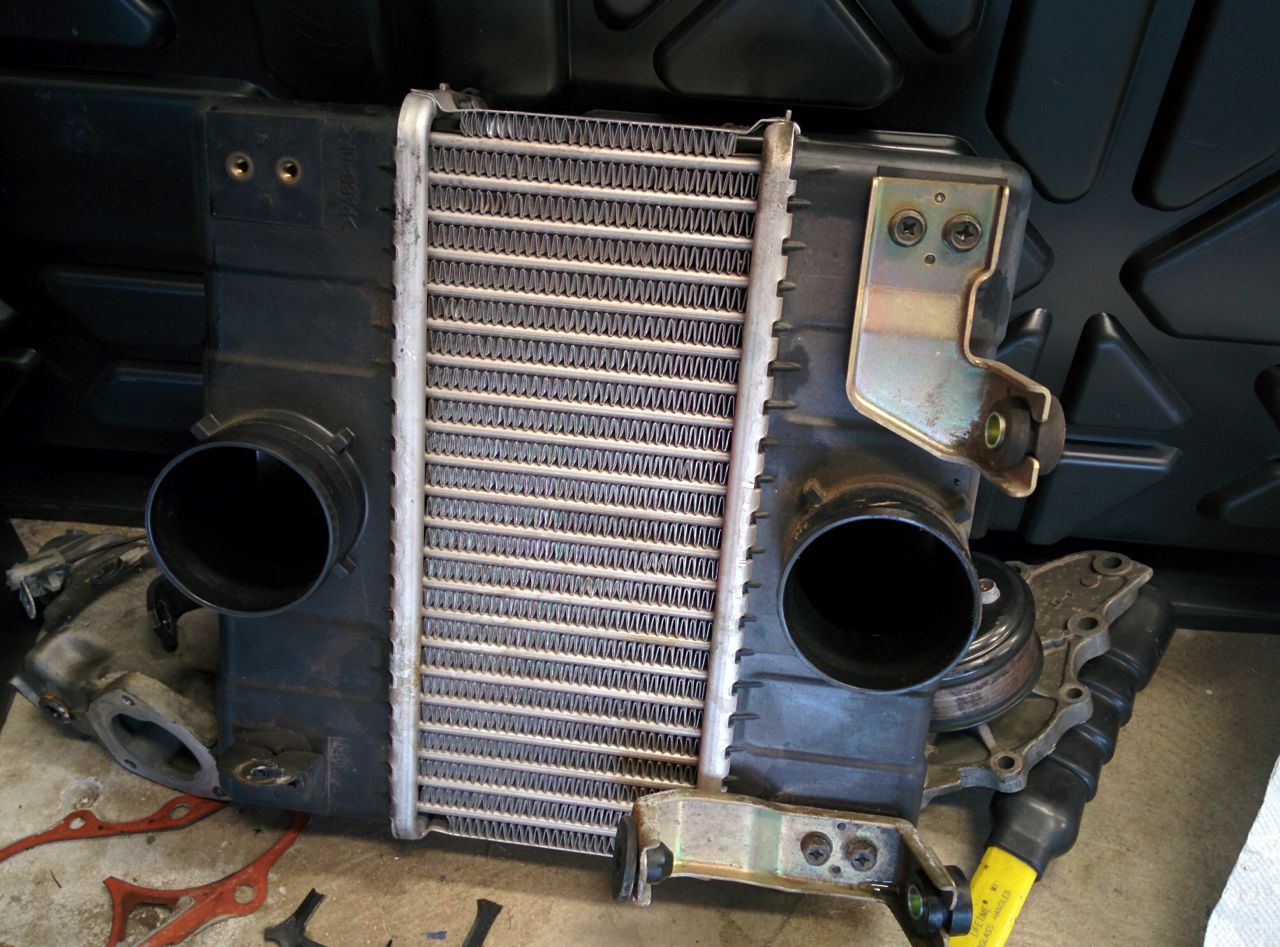
How cute! It's just like an intercooler, only smaller!
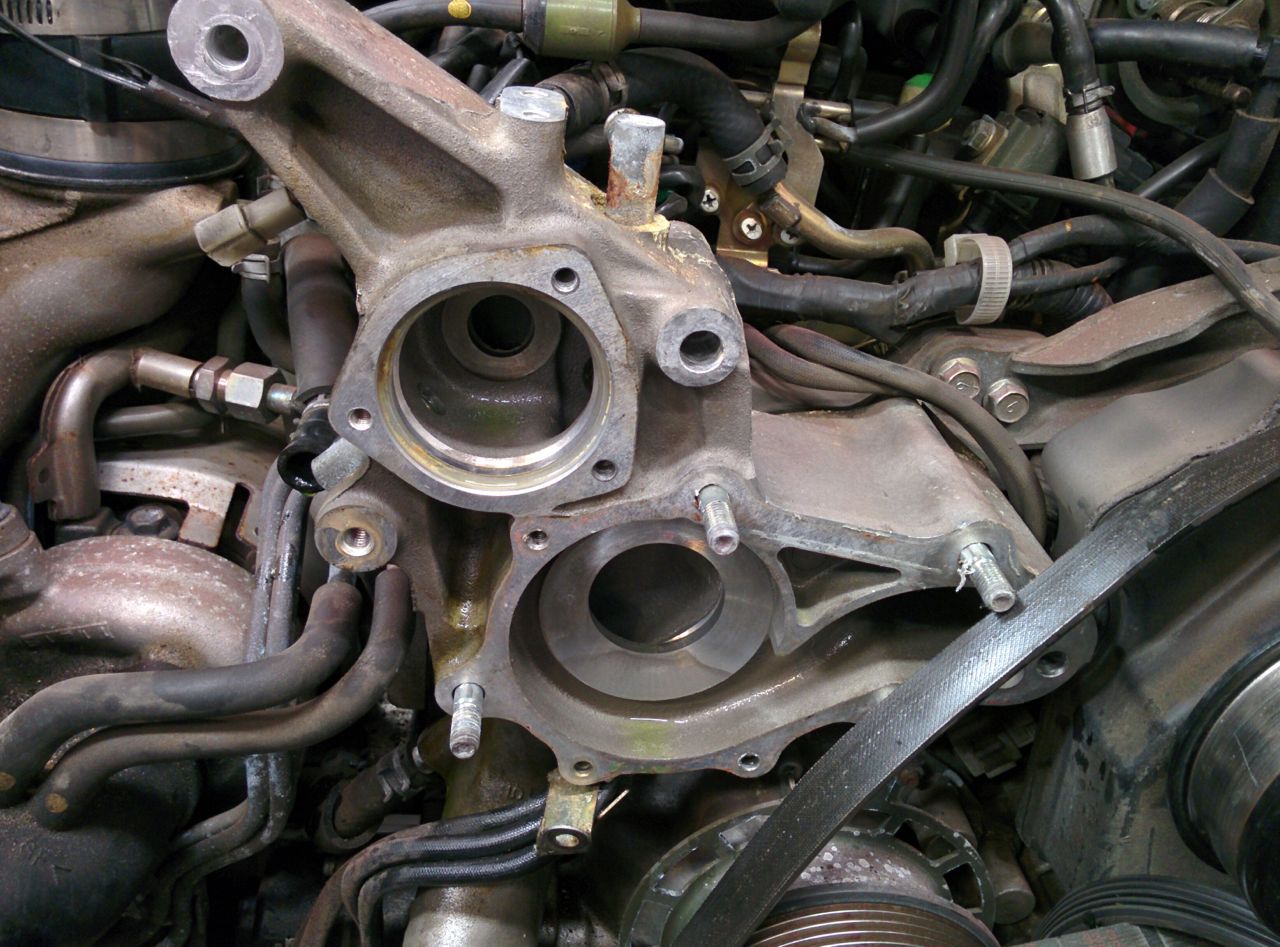
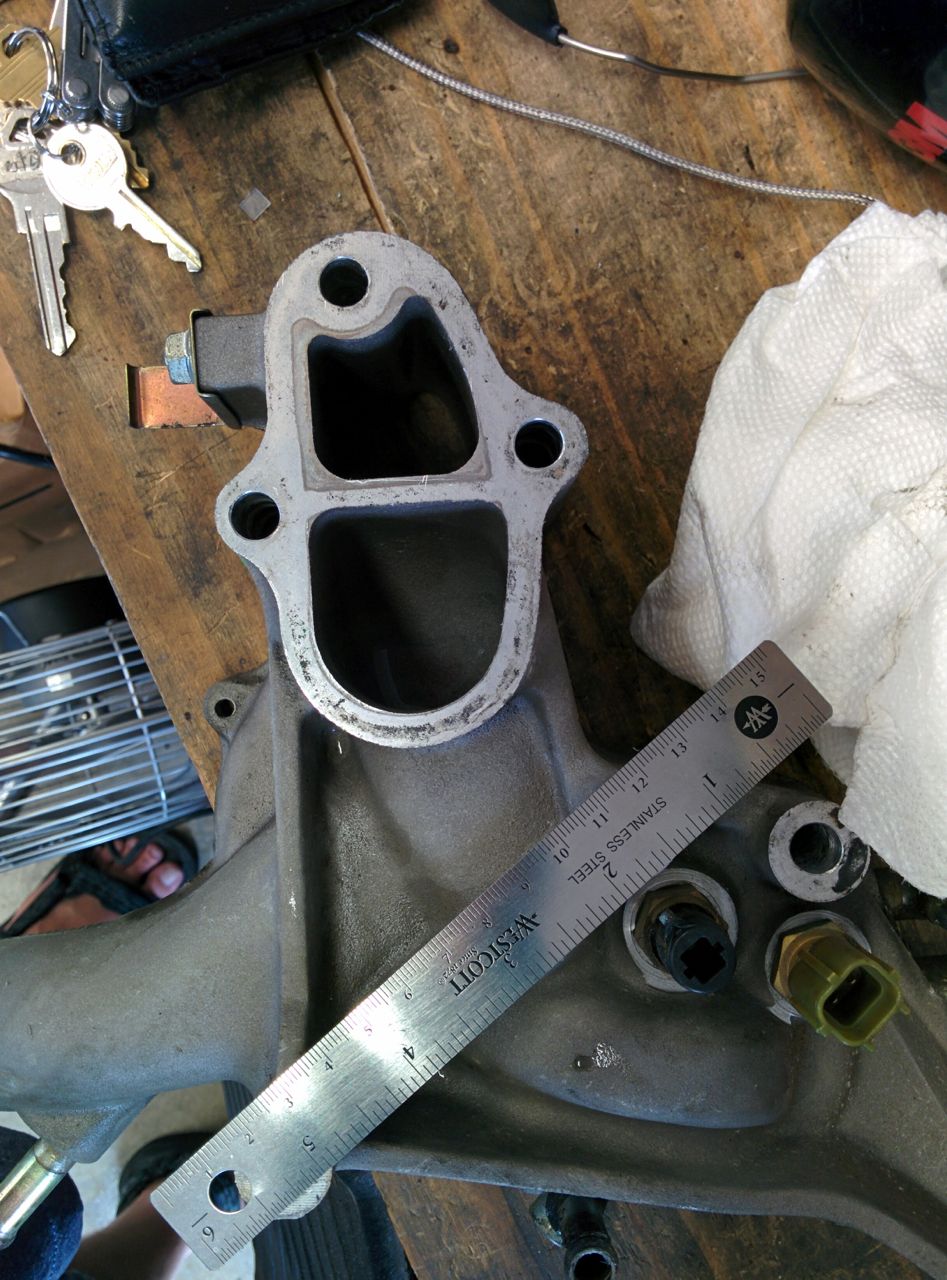
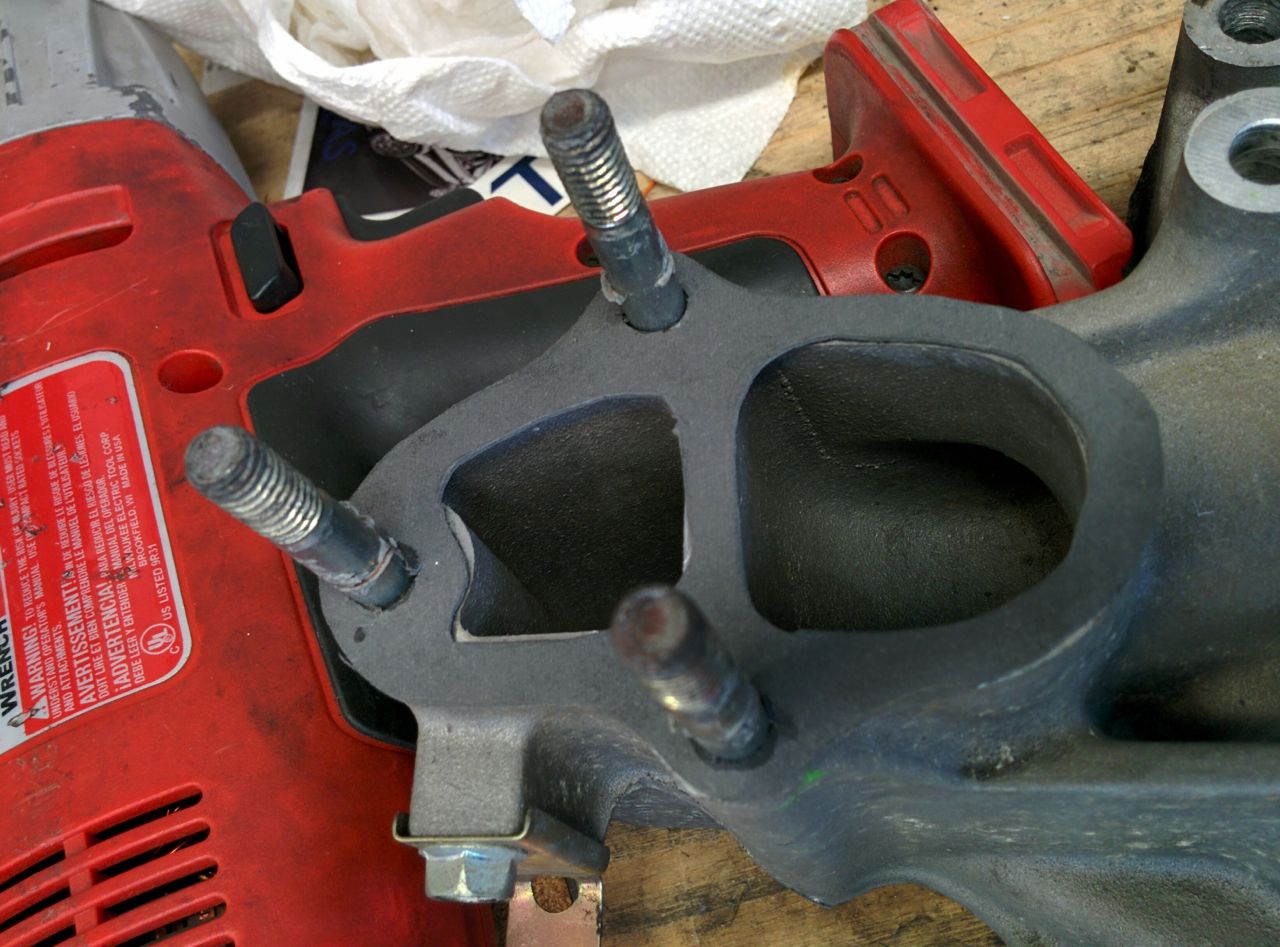
Got the water pump housing off the car. WP & thermostat go on this side:
The ports on this side go into the front housing and circulate coolant through the block:
So I got a water pump for it, it came with a gasket for the front of the housing (between housing and WP), but not with one to go between the two housings. Since Mazda is closed today I had to make one. First, snap a photo of the ports with a ruler for scale:
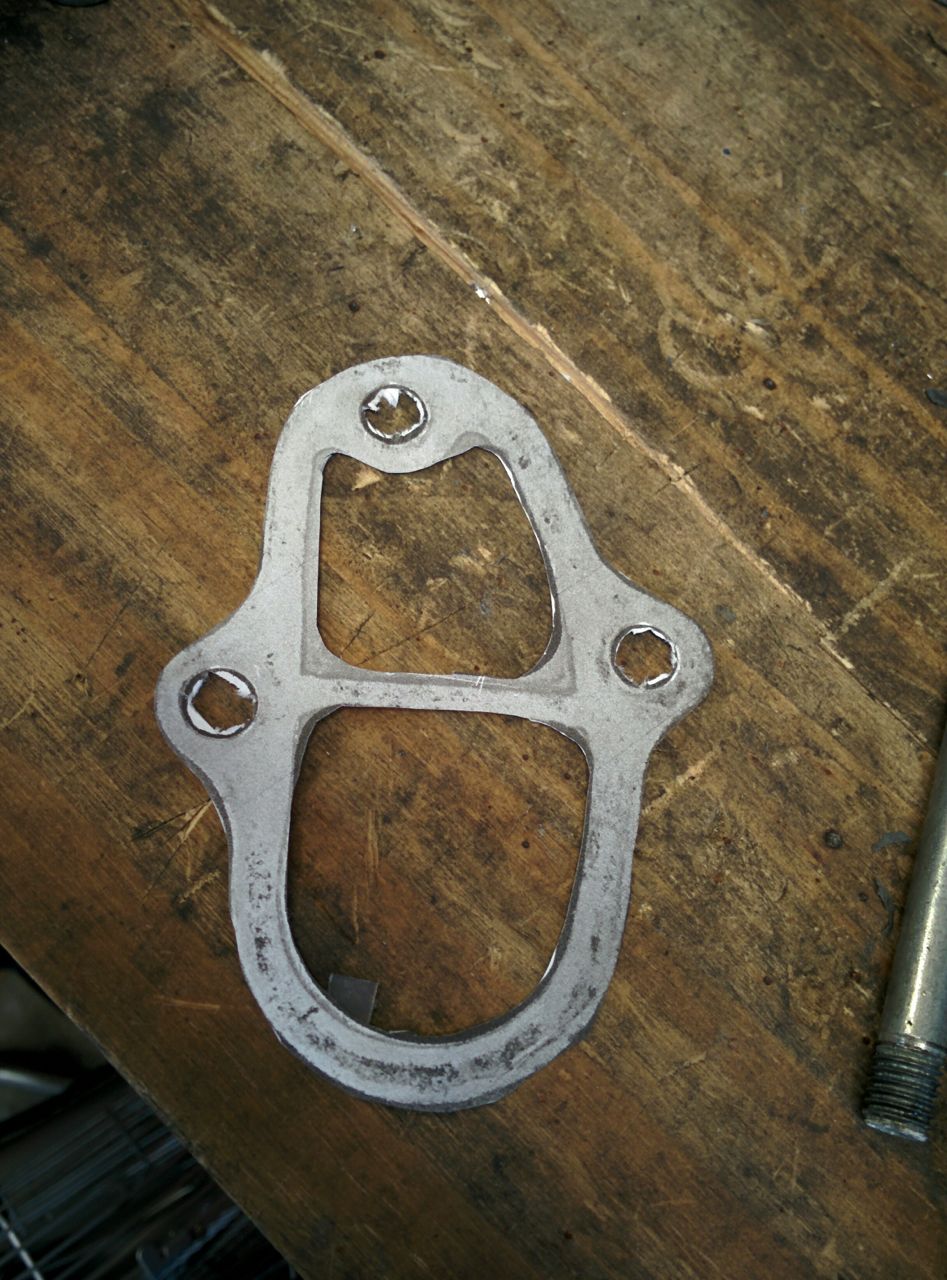
Then go import into photoshop, resize to match the ruler, erase everything but the flange, print out, then cut out of printer paper:
Then trace onto gasket sheet and cut out again:
It fits!
I'm pretty pleased at how that worked out, previous times that I've tried to make gaskets they've been terrible.
So I got the mechanical bits all put back together, but the rad isn't in it. It's fiddly, really needs a second pair of hands to move stuff out of the way while shoving it in without breaking the AC condenser or anything like that.
Those OEM heat exchangers look pathetic, I'm sure they're a big contribution to these things running lava hot all the time.
Also I always knew the fd was over complicated, but man, it just keeps on amazing me just how much they overcomplicated every single part of the car. Some engineer just went nutso with it
It's the tandem sequential turbos that really drive a lot of the complexity. 2/3 of the vacuum lines are to control the various flappers that make that happen, as are all but two of the hoses going to the air box . If they had done it as a single turbo and then found a different way to solve the emissions problem that didn't involve a smog pump (which has its own complicated set of controls for the cat air injection system), then the engine bay would be a ton simpler.


 10-13-2016, 12:17 AM


 0
0


 I remember on my NA the first thing I did was run it up on things and tear out those steel support arms for the ends of the nose at the wheel well edge.