When you click on links to various merchants on this site and make a purchase, this can result in this site earning a commission. Affiliate programs and affiliations include, but are not limited to, the eBay Partner Network.
I have purchased and began building an MS3 from DIY Autotune using the Megamanual (Assembly Guide - MegaSquirt(R) V3.0 Main Board). There are certain steps that require you to make decisions based on the vehicle. I can't seem to find anywhere which options to choose for the miata. Also I don't have an Ms3x, is it possible to do the build without one and what mods will this require? I have a 2000 with the stock 1.8 and I plan to use the MS as a standalone.
I have purchased and began building an MS3 from DIY Autotune using the Megamanual (Assembly Guide - MegaSquirt(R) V3.0 Main Board). There are certain steps that require you to make decisions based on the vehicle. I can't seem to find anywhere which options to choose for the miata. Also I don't have an Ms3x, is it possible to do the build without one and what mods will this require? I have a 2000 with the stock 1.8 and I plan to use the MS as a standalone.
Doing it without an MS3 will multiply the amount of work you have to do by approximately 10x. Just ask @hi_im_sean
One more thing Brain, just a general question about forum courtesy; In the future as I undoubtedly will have more questions as I'm building the MS, is it better to reuse this this thread or start a new one?
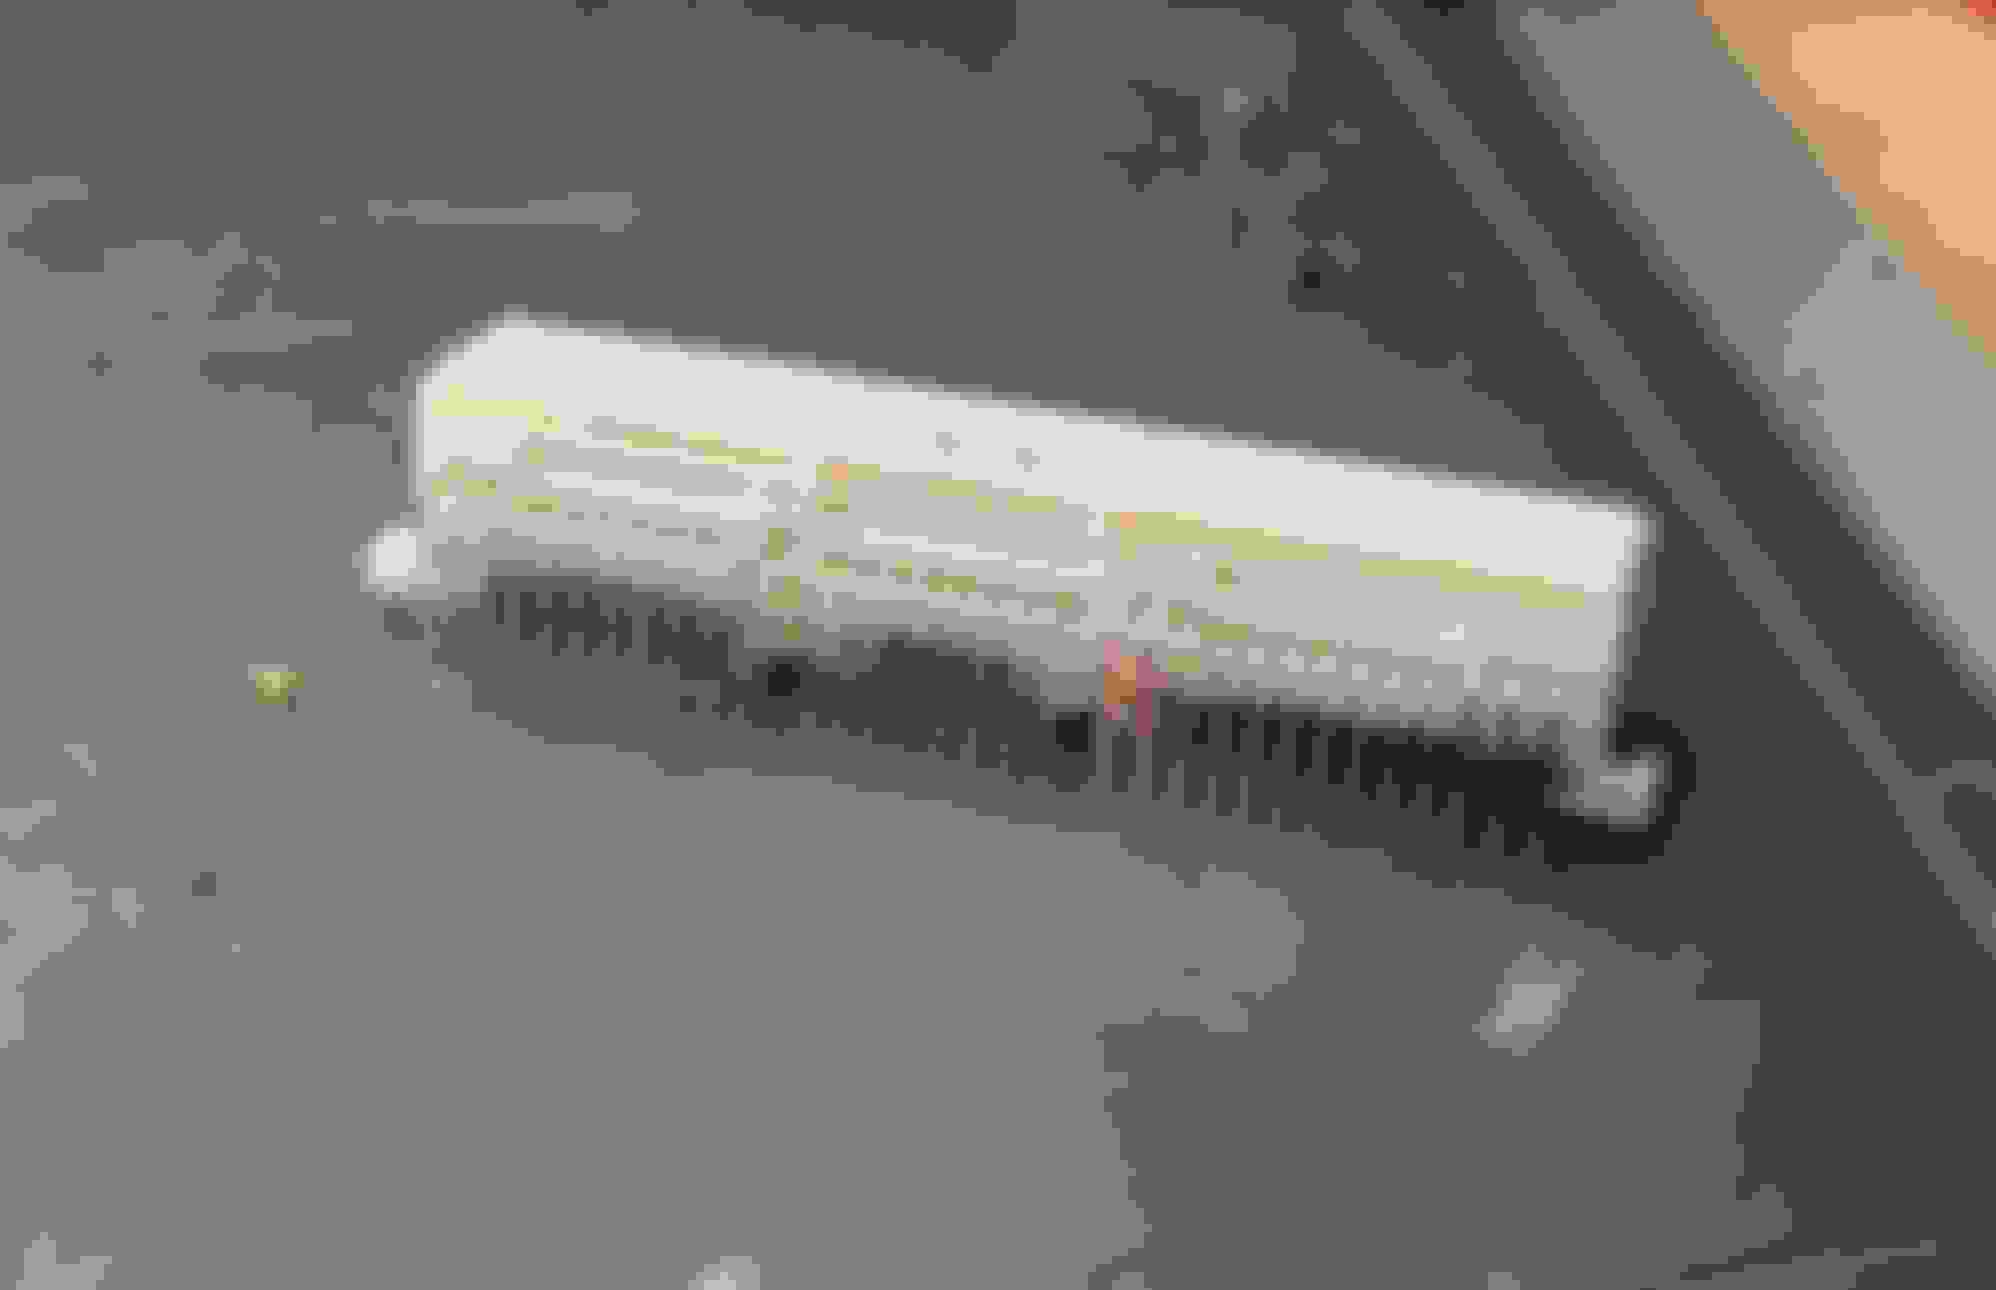
Chop off the top pins so they are about 1/4" long:
Bend up the lower row so they are flat (try to actually fold them back straight):
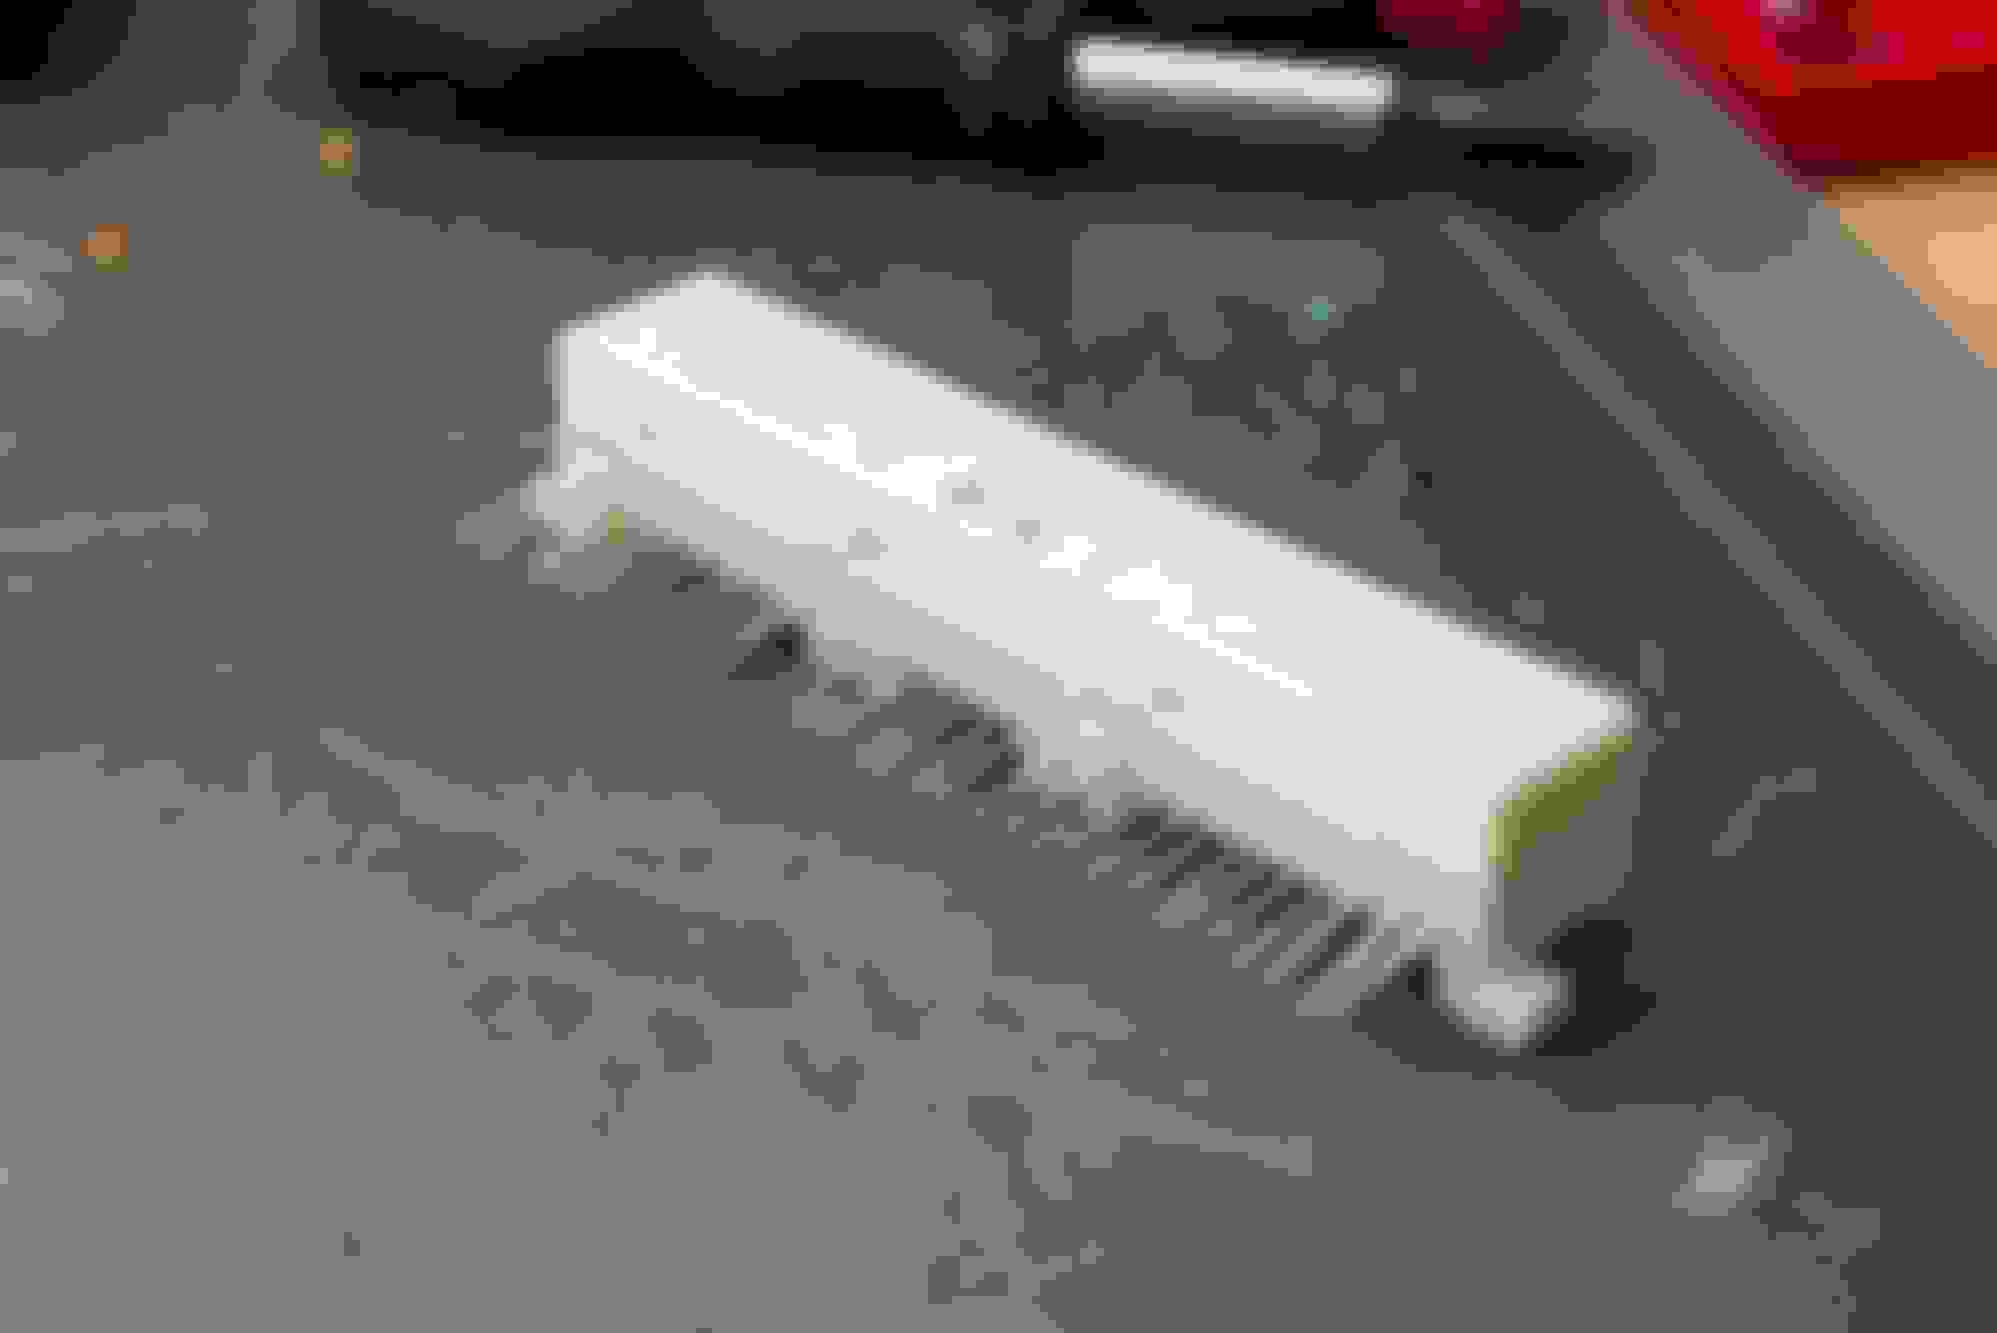
Cut them flush to the top row:
Pre-tin the pins you'll be soldering wire to.
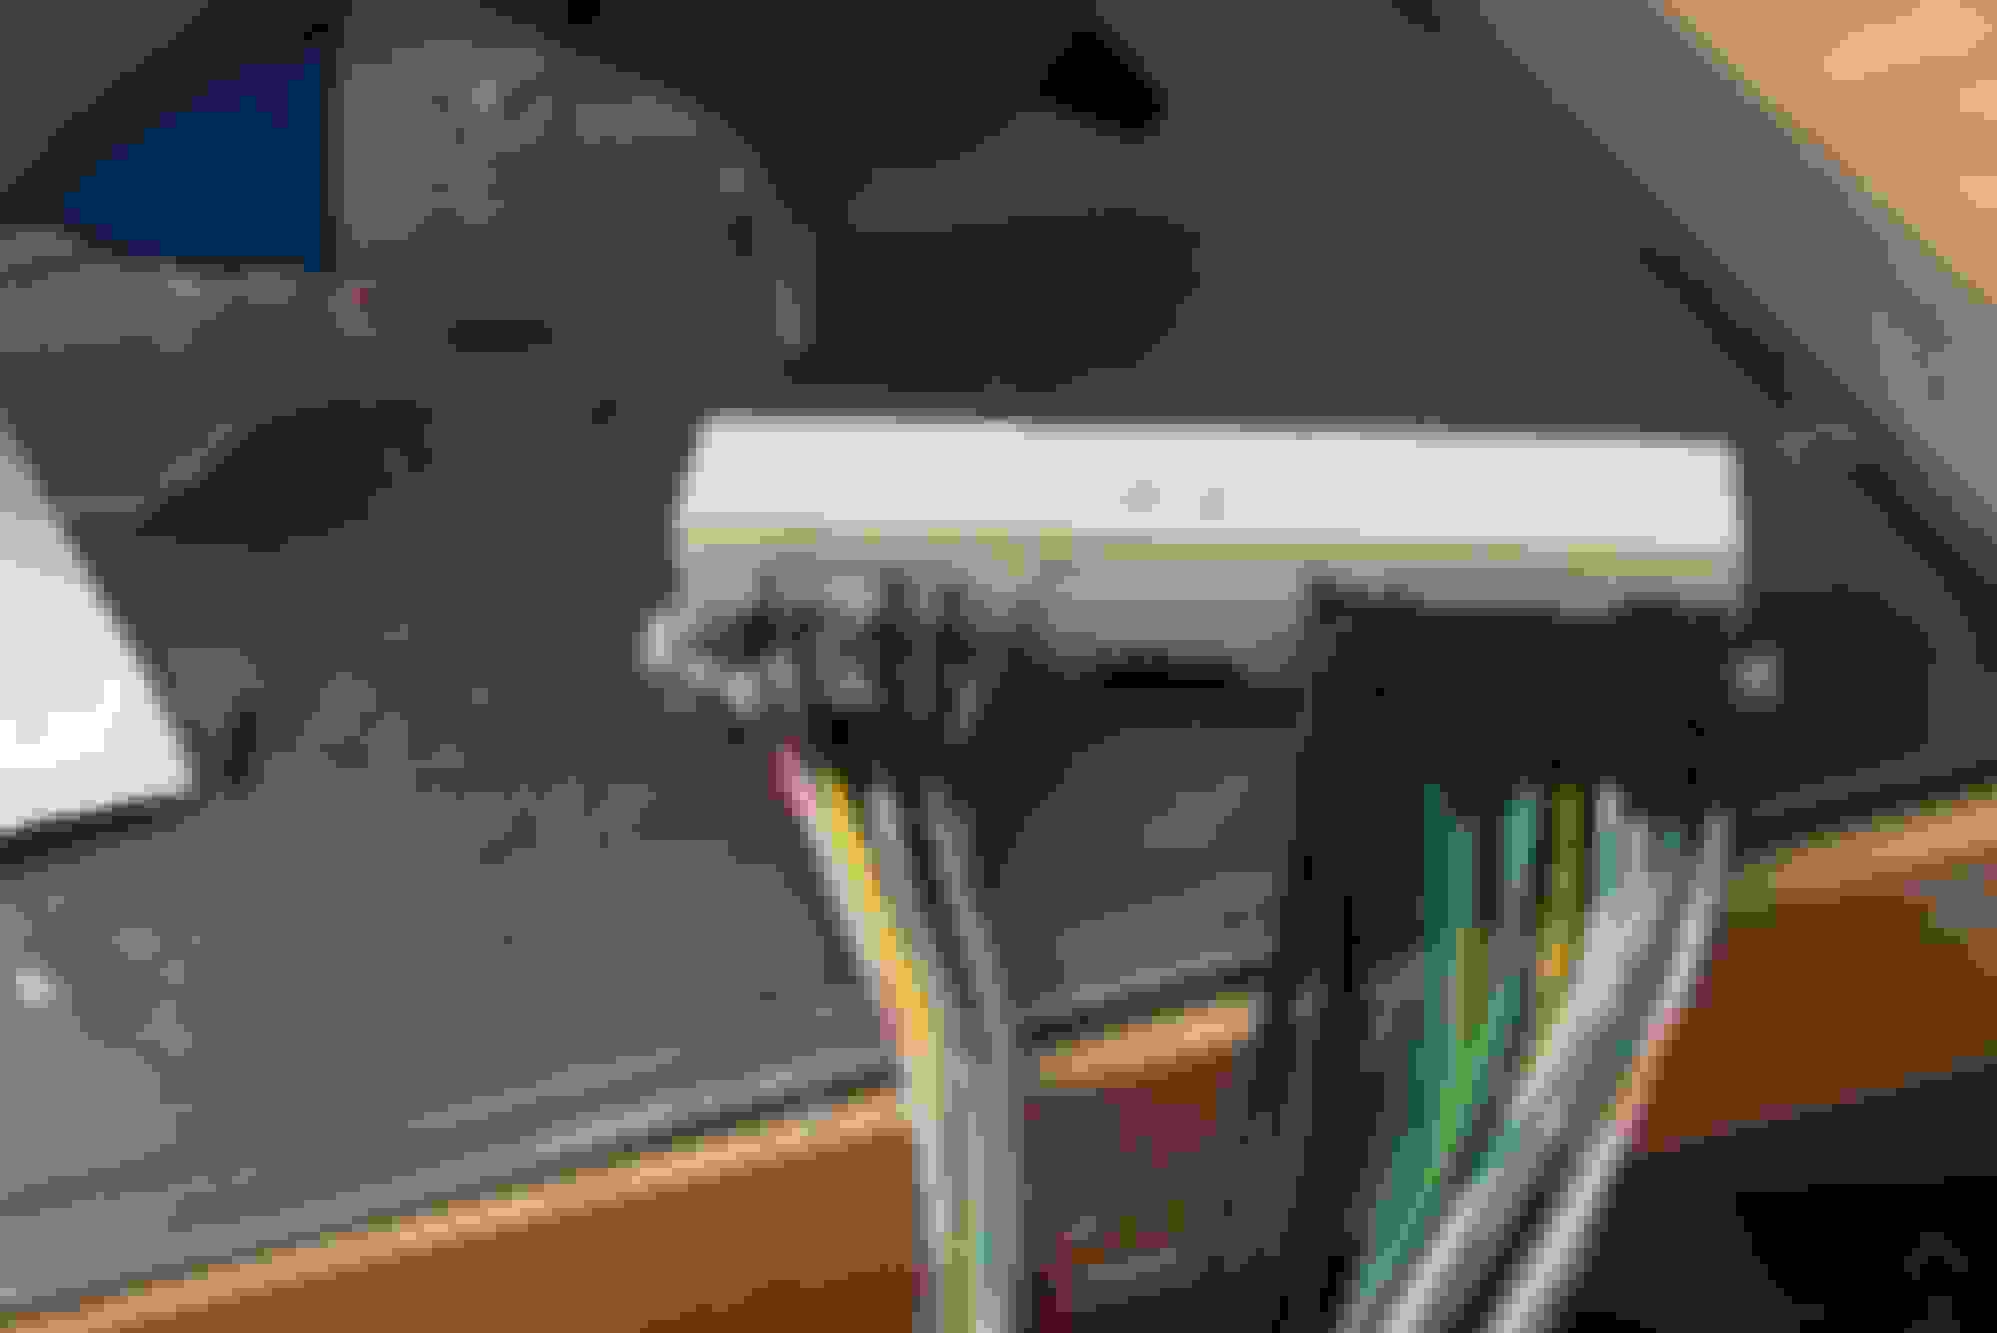
Put heatshrink on each of your wires. *SUPER IMPORTANT*
Pre-tin the wires.
Start soldering the Mainboard DB37 wires (I start from left to right, lower-rows to top-rows):
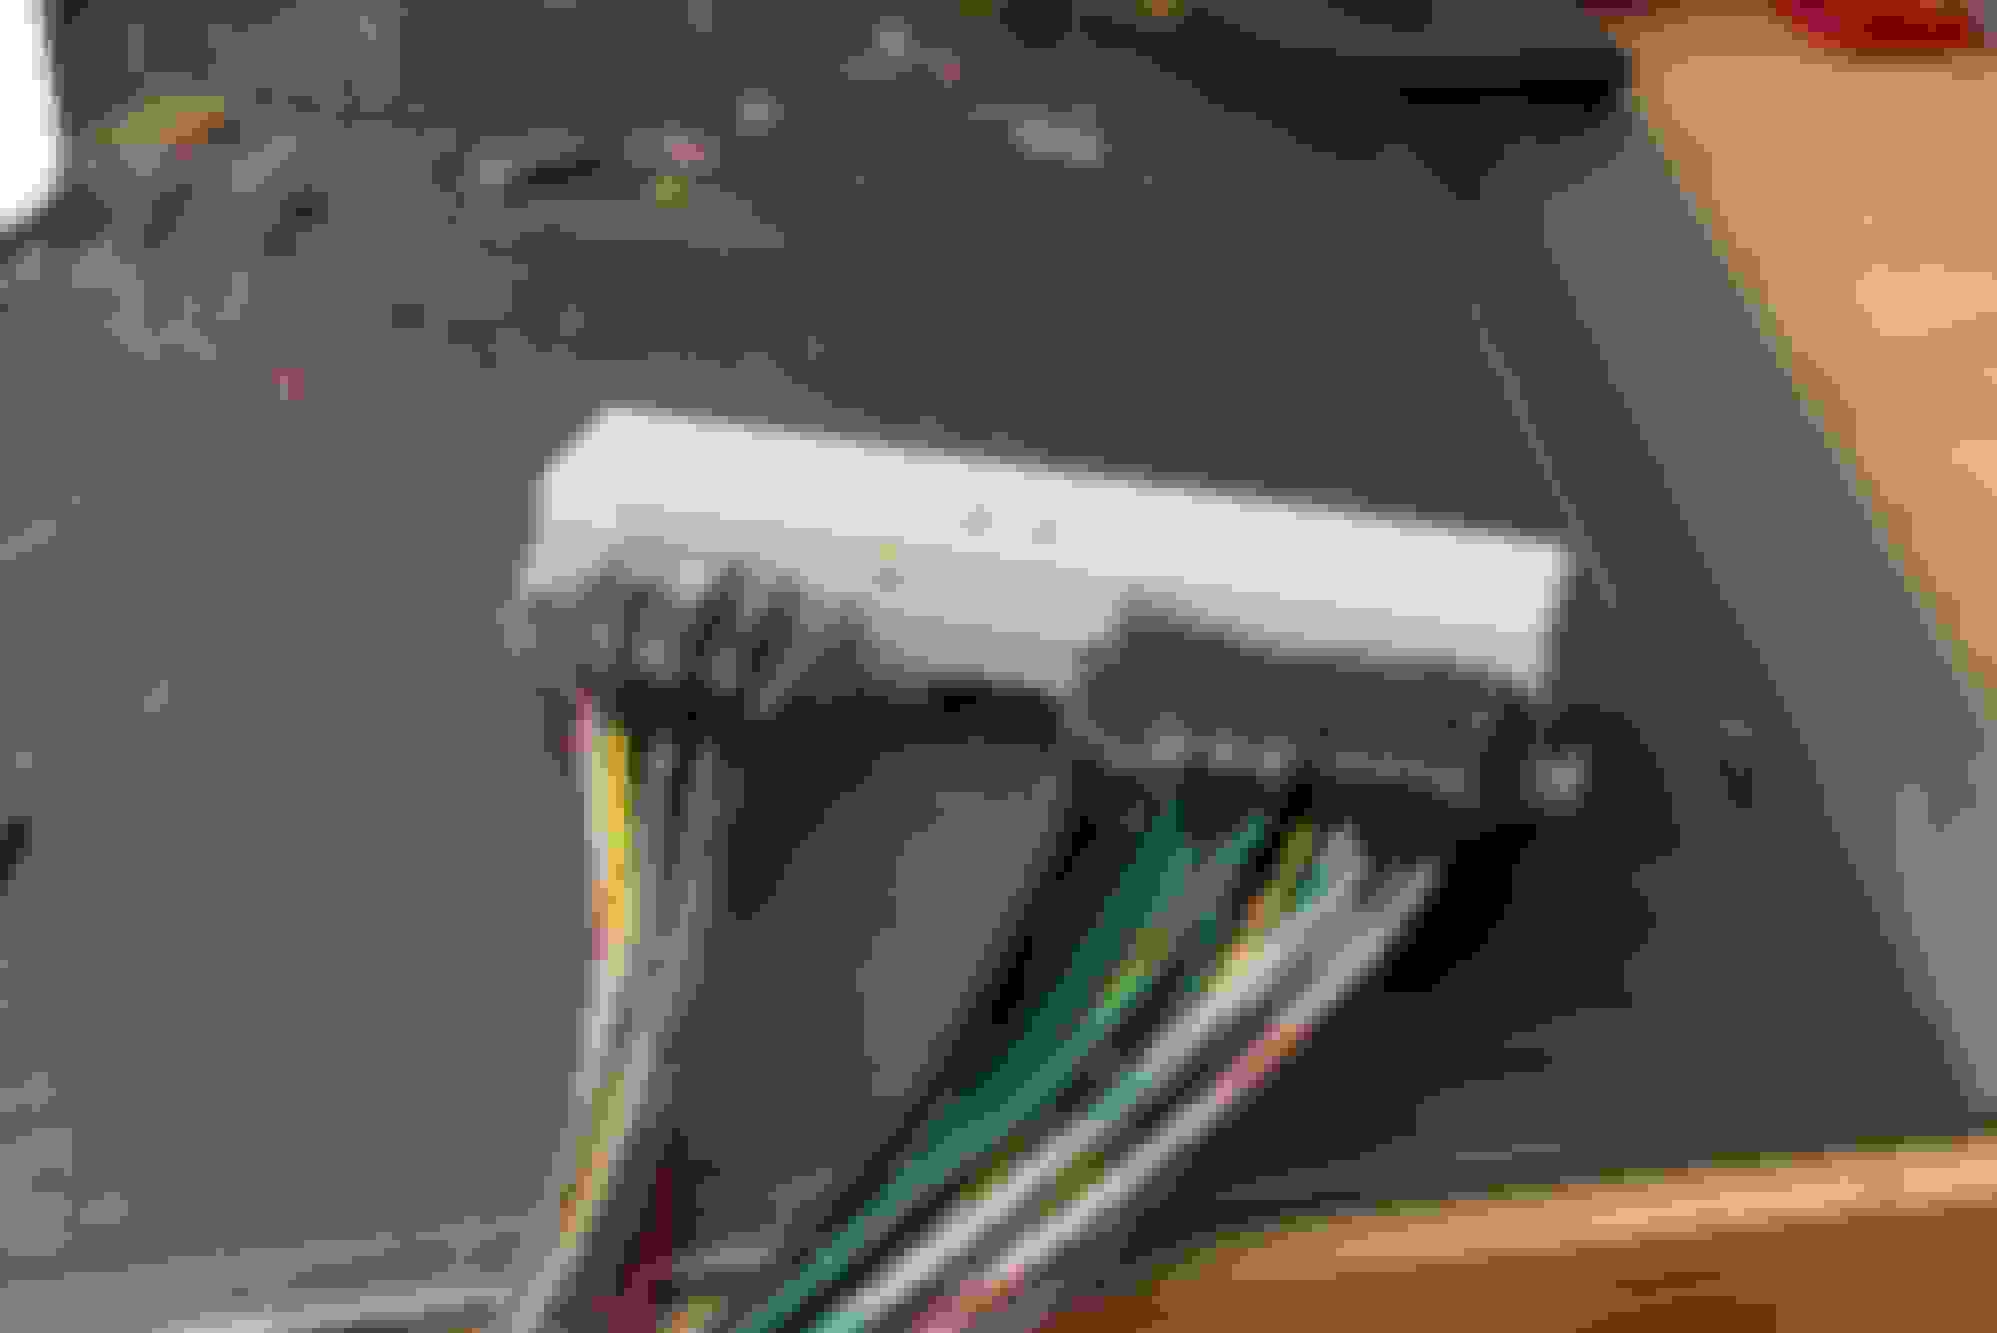
Follow up with MS3 Expander wires:
Melt the heatshrink so you ensure no wires will make a connection:
Follow that up with hot-glue so the wires stay secure and are less prone to vibration & stress:
And done:
You can populate the center connector for inputs and output, I used to do this, but lost my source for pre-populated connectors -- i hate crimping pins
 08-16-2016, 06:37 PM


 0
0