
Tim - Building the boosted Miata!
 09-30-2015, 03:09 AM
#21
Junior Member
Thread Starter

Join Date: Apr 2015
Location: Belgium
Posts: 50
Total Cats: 4

Looks like a gasket leek at Cylinder 4...
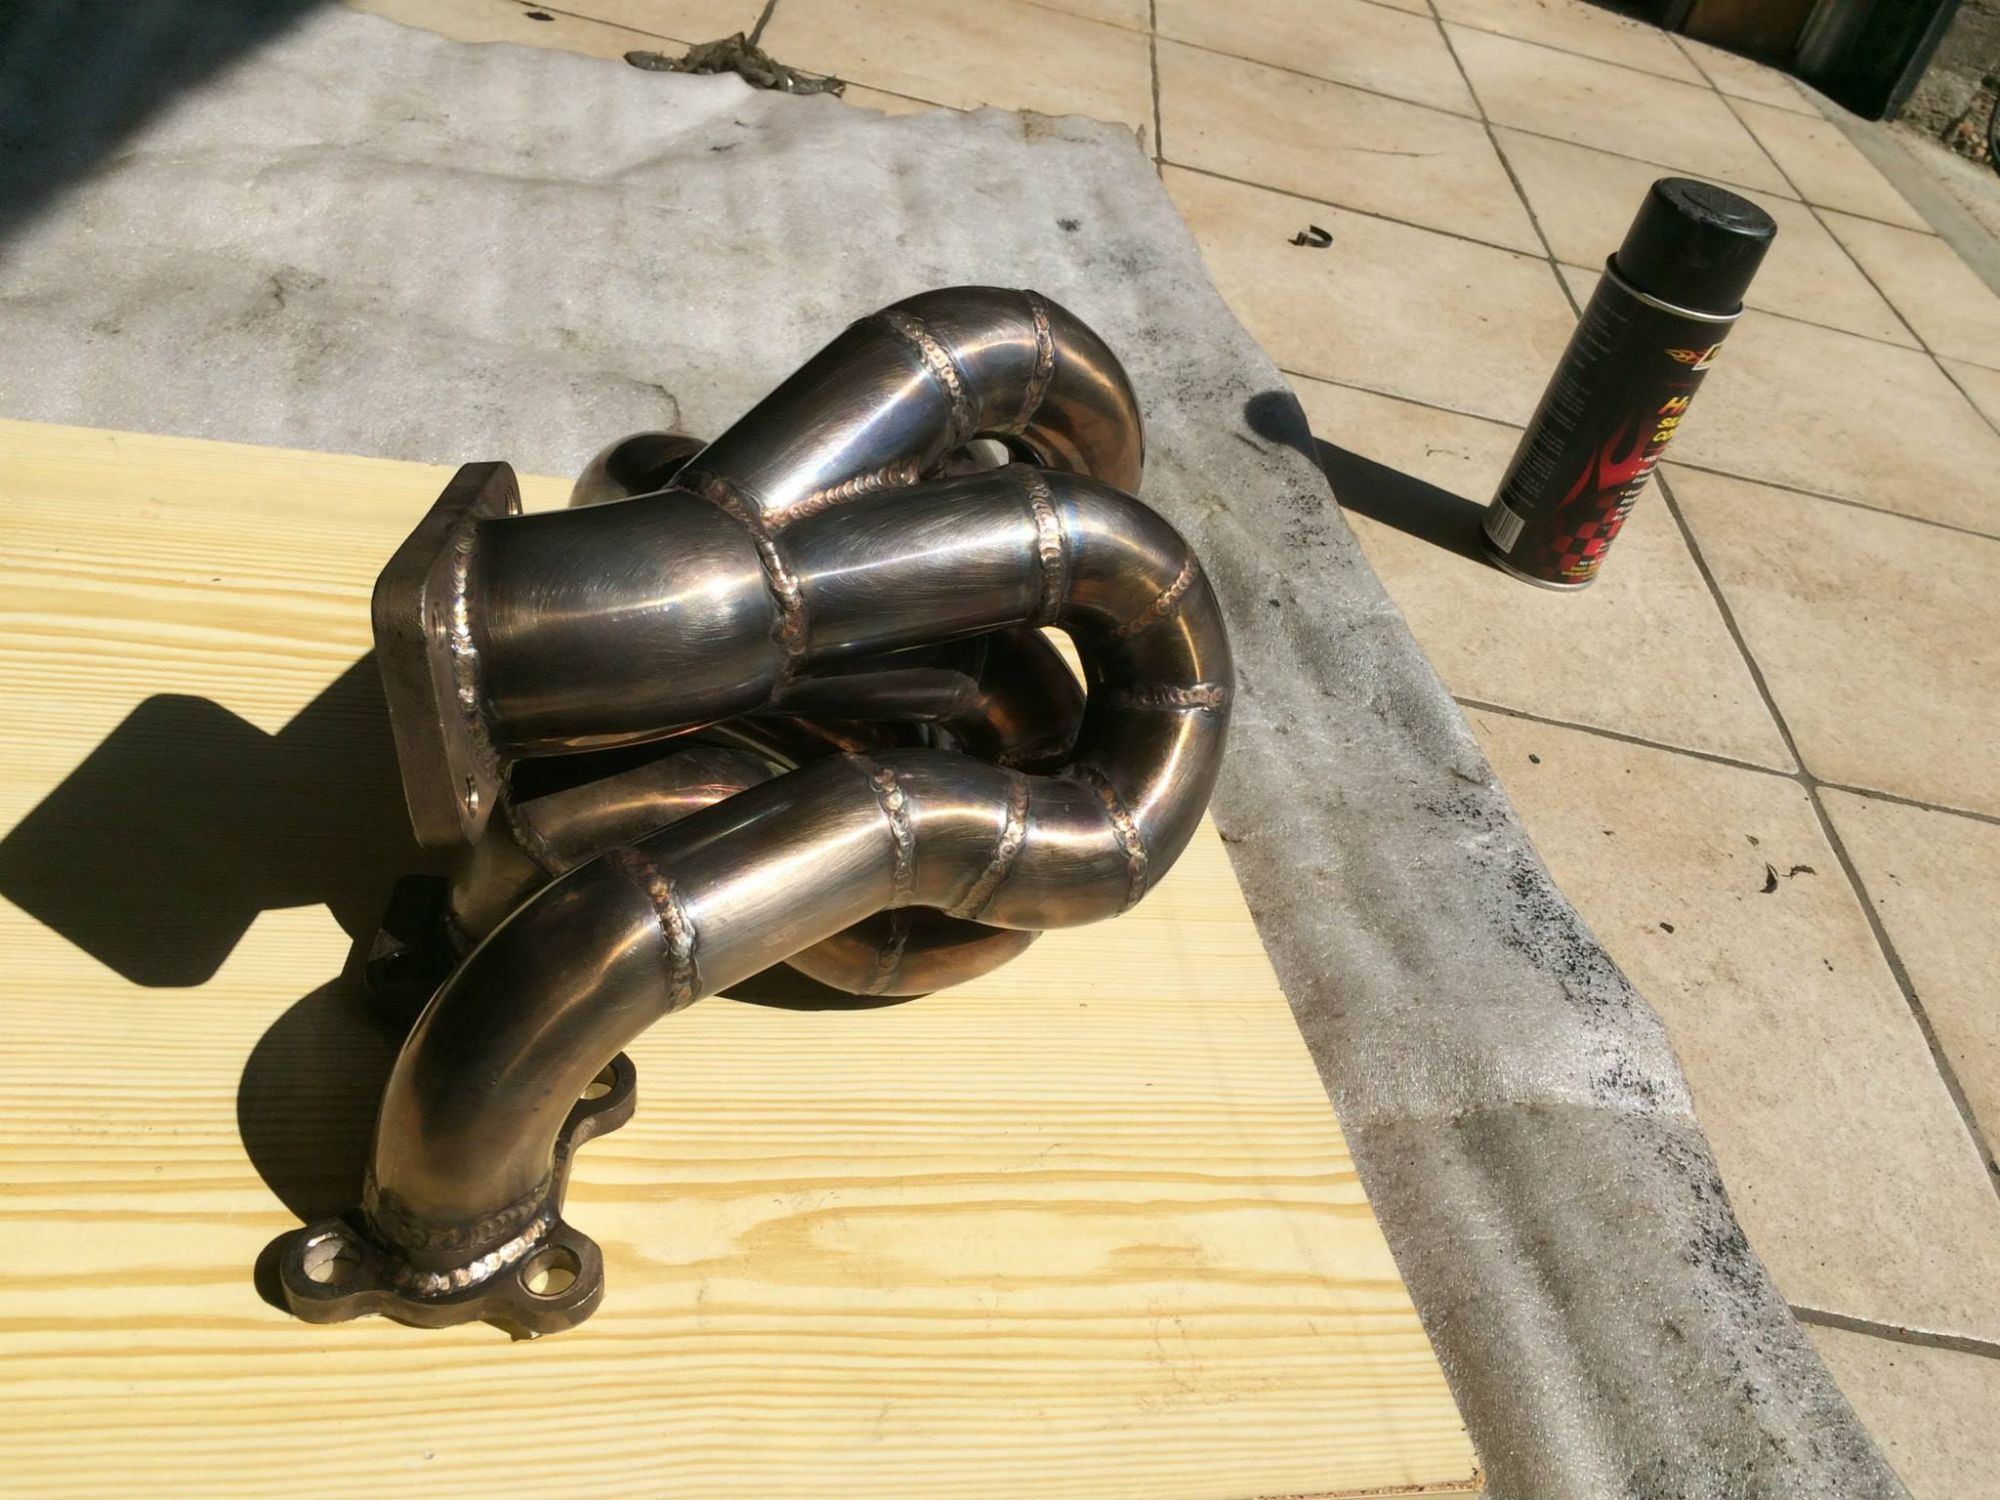
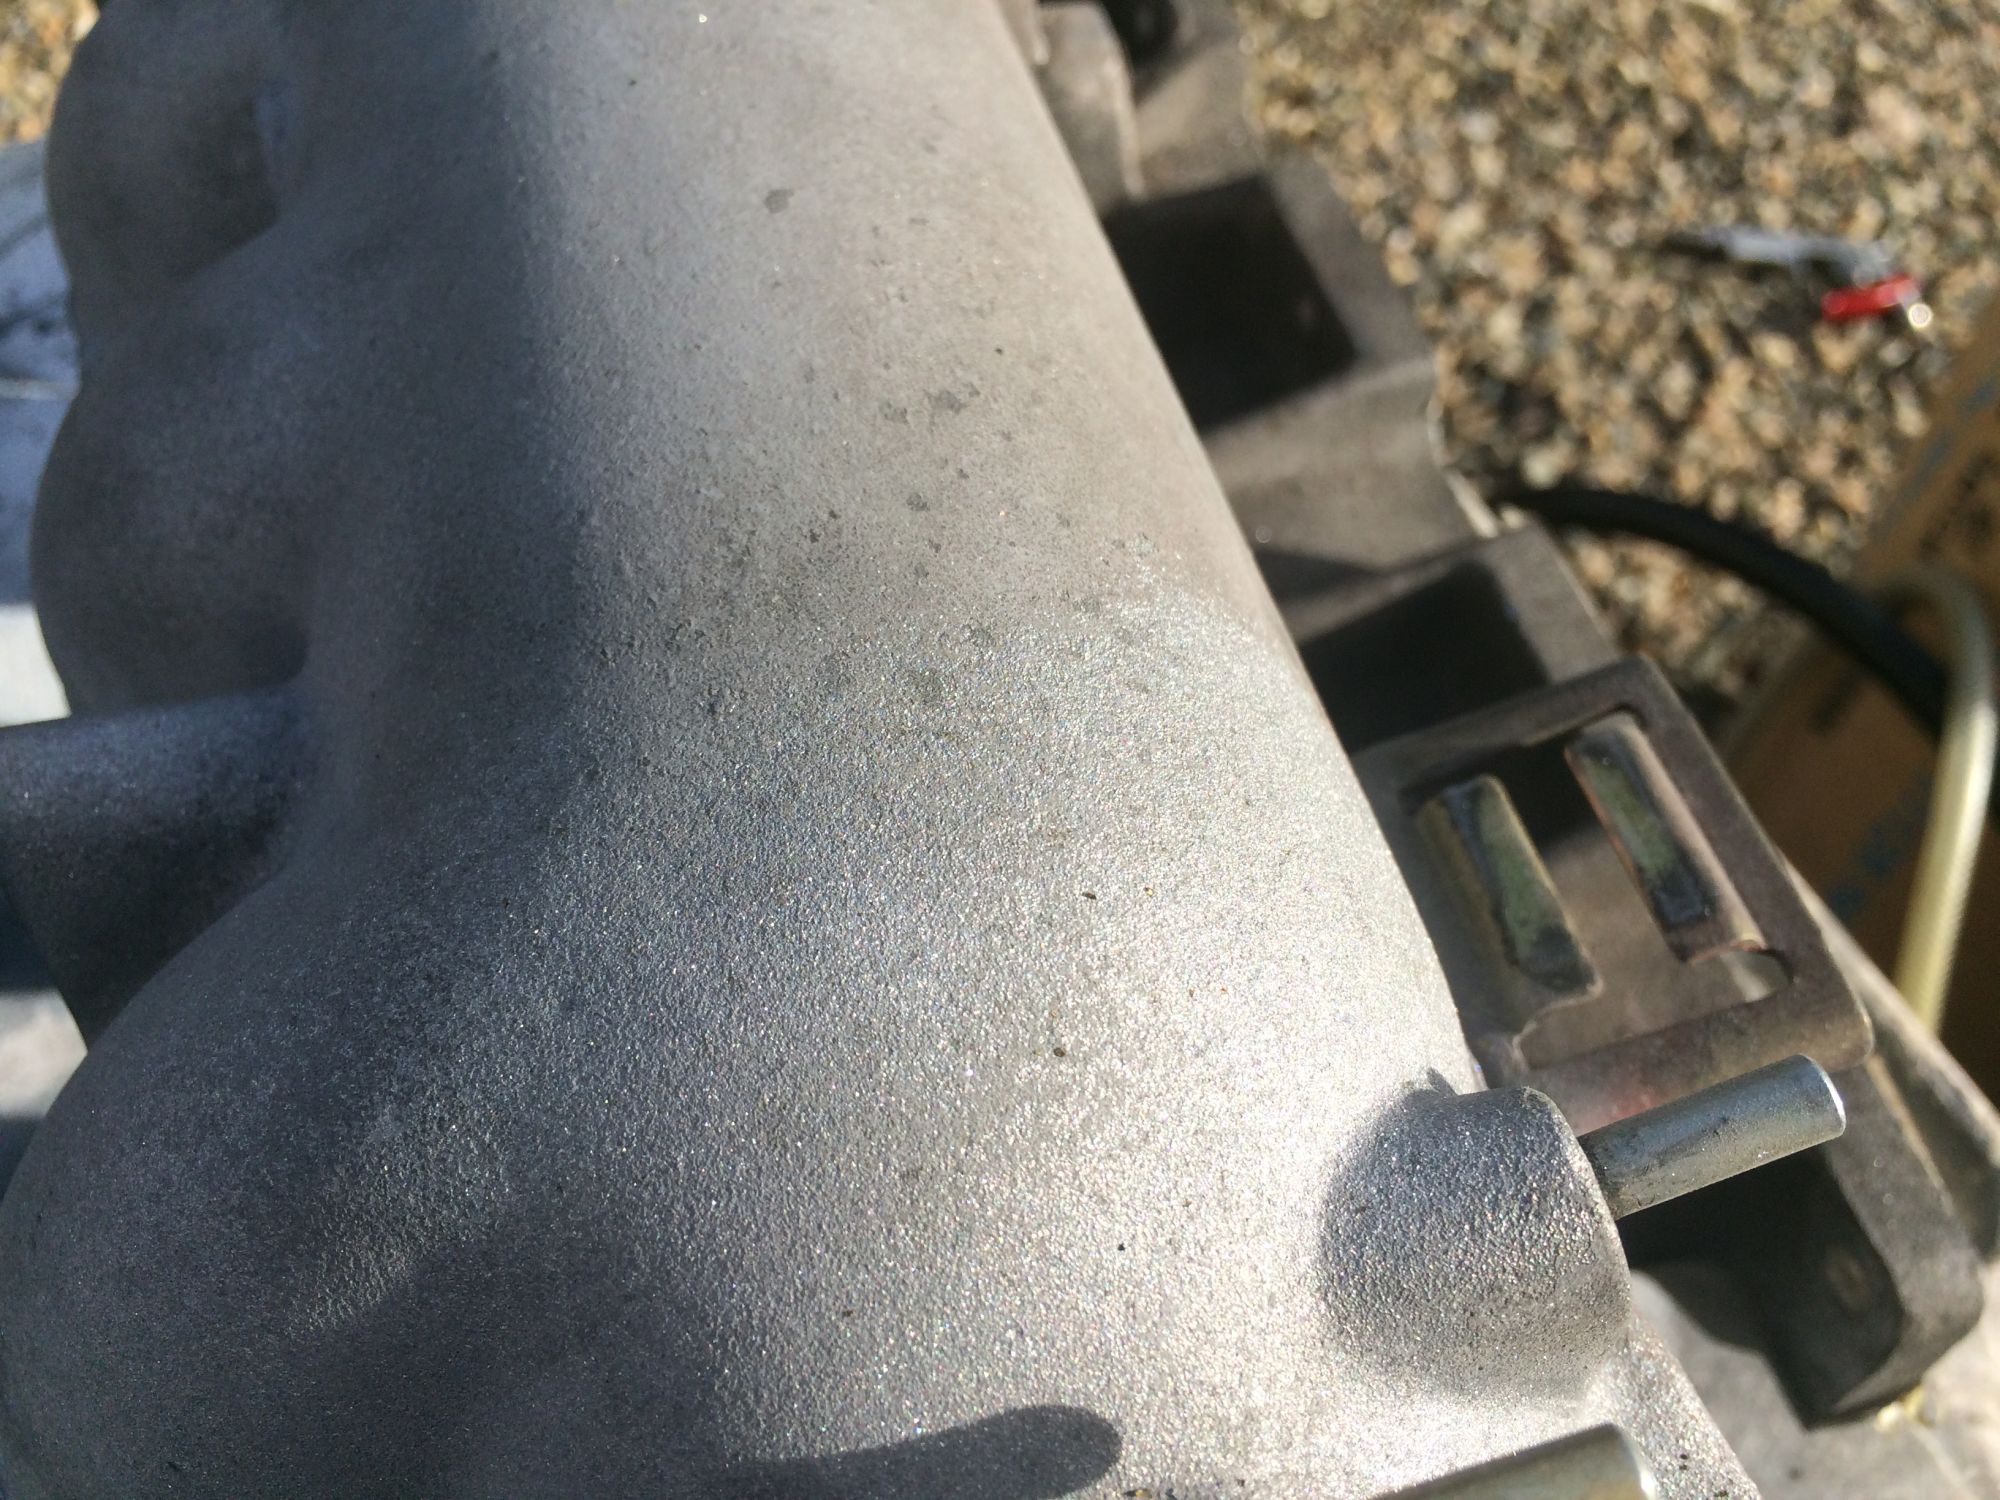
Time to paint the header with High Temp paint

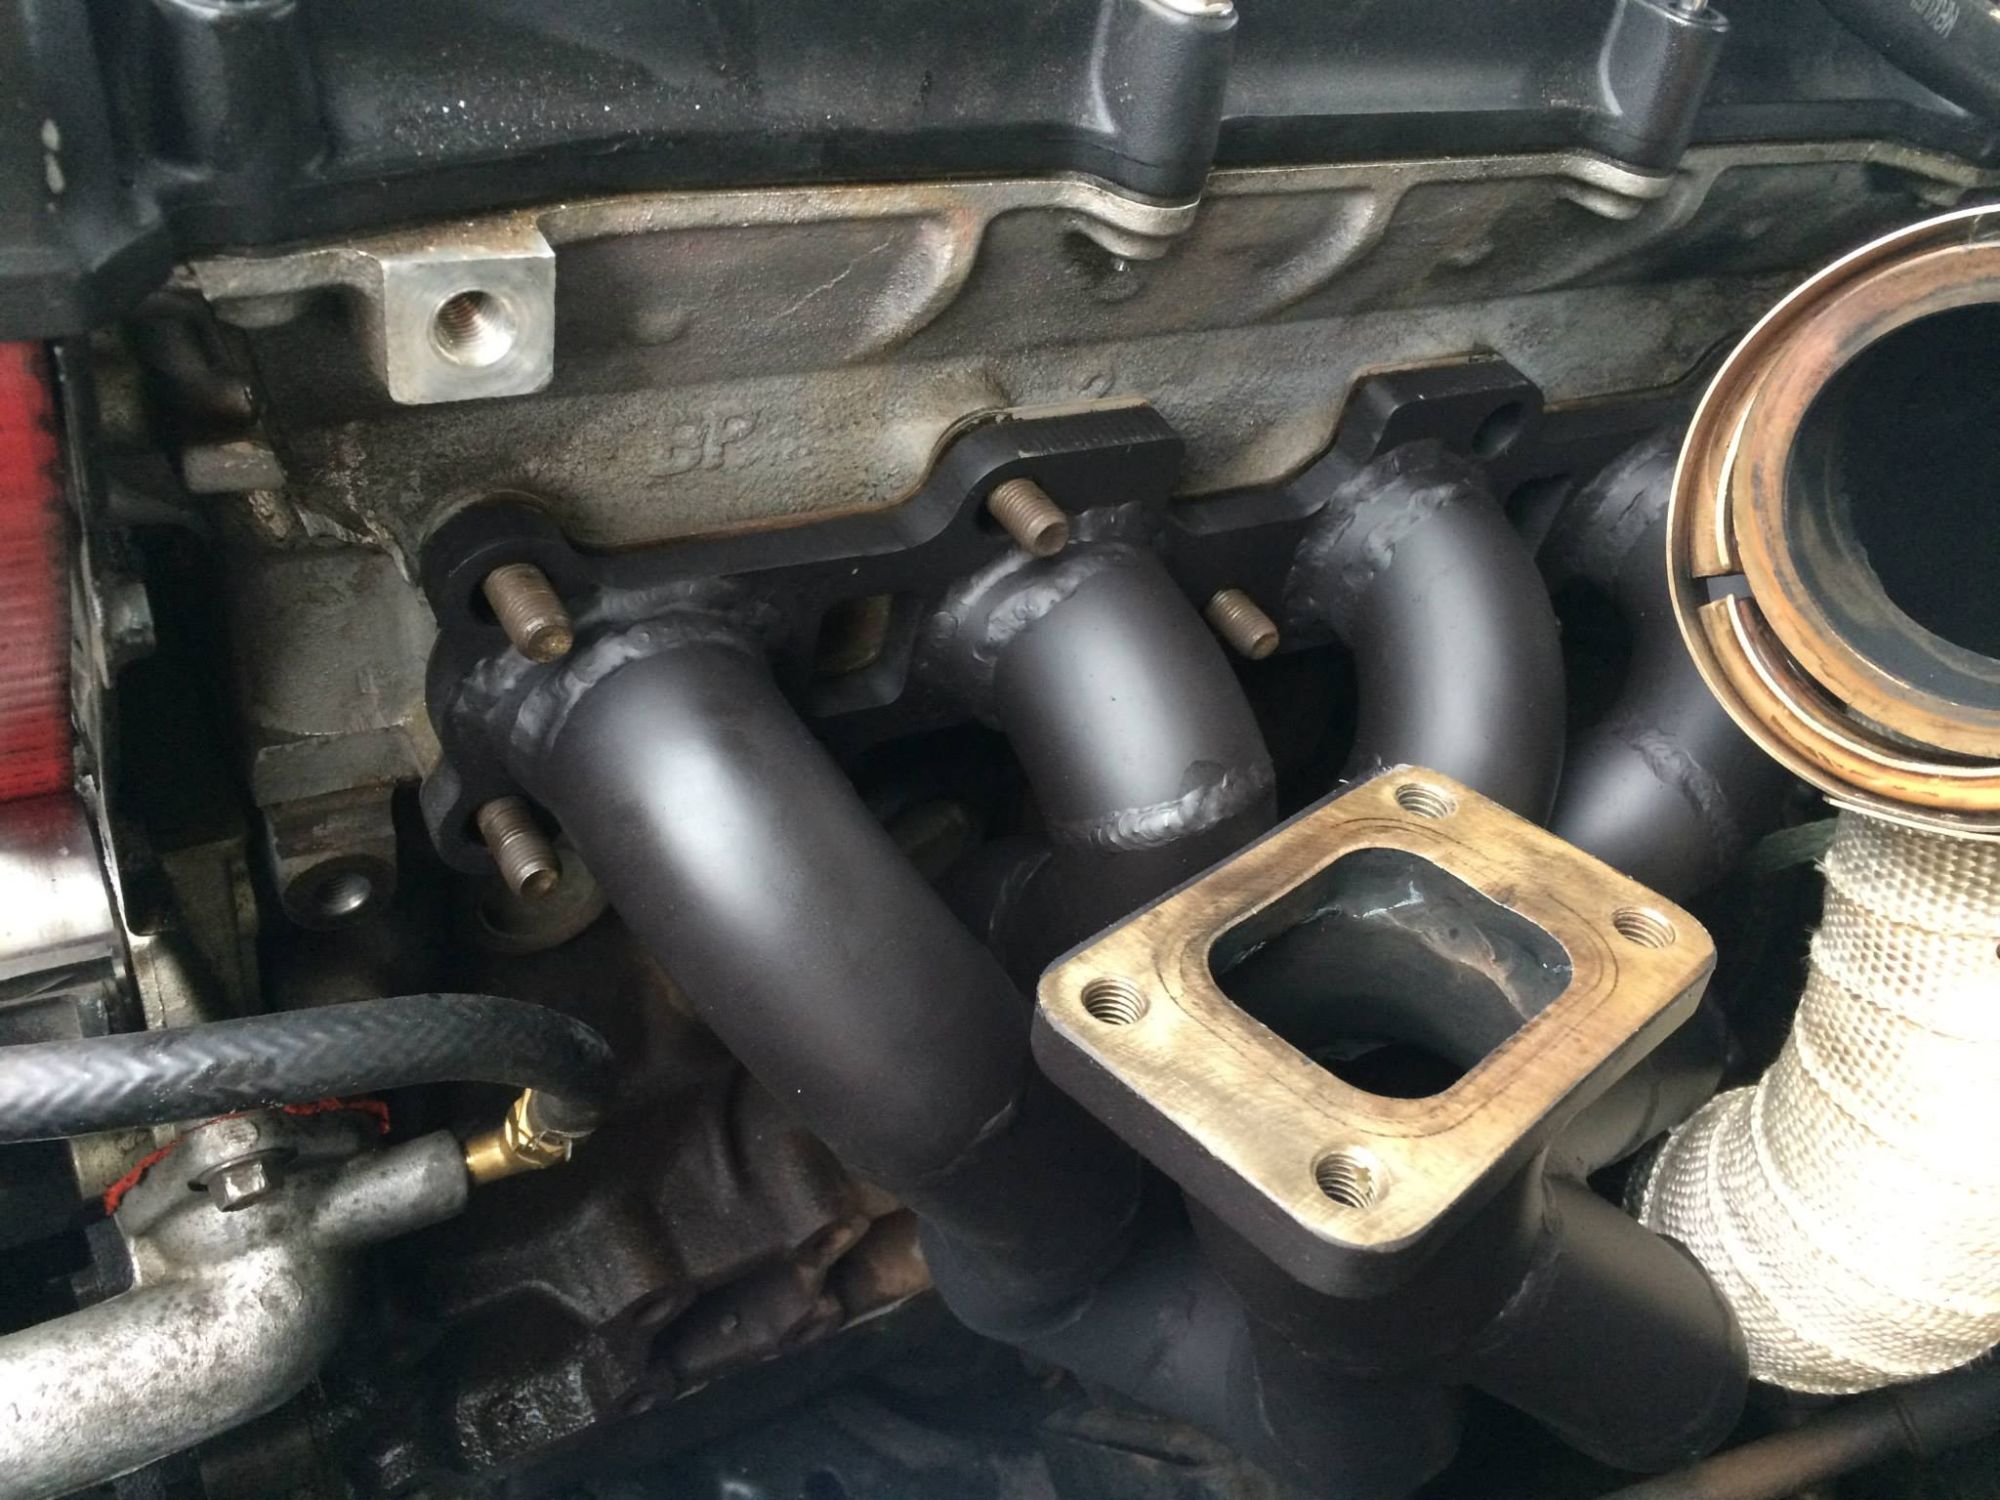
Looks good for me.

Inside View of the turbo


First meet and greet with the Turbo..


Turbo blanket installed.

Reply
 0
0

0
11-17-2015, 03:23 AM
#23
Junior Member
Thread Starter
Join Date: Apr 2015
Location: Belgium
Posts: 50
Total Cats: 4
Wintertime so The mx5 is back in the garage.

removed the head.

Work space.

I will be doing a DIY port job and maybe Valve Job. anybody who can give me some tips ?

ready for sandblasting the intake. <br/>Previous owner had painted some parts red and gray. Time to make it clean.


Exhaust ports are really clogged with Carbon.
I have already done some resurge on port jobs but any tips or previous experiences are welcome.
removed the head.
Work space.
I will be doing a DIY port job and maybe Valve Job. anybody who can give me some tips ?
ready for sandblasting the intake. <br/>Previous owner had painted some parts red and gray. Time to make it clean.
Exhaust ports are really clogged with Carbon.
I have already done some resurge on port jobs but any tips or previous experiences are welcome.
Reply
0
0
01-04-2016, 08:16 AM
#24
Junior Member
Thread Starter
Join Date: Apr 2015
Location: Belgium
Posts: 50
Total Cats: 4
I started with cleaning the intake side. This side most not be polished in fact, within intake systems, the surface is usually deliberately textured to a degree of uniform roughness to encourage fuel deposited on the port walls to evaporate quickly.
So I only polished the first part of the port until the injector opening. I hope this will make some more power at high RPM.


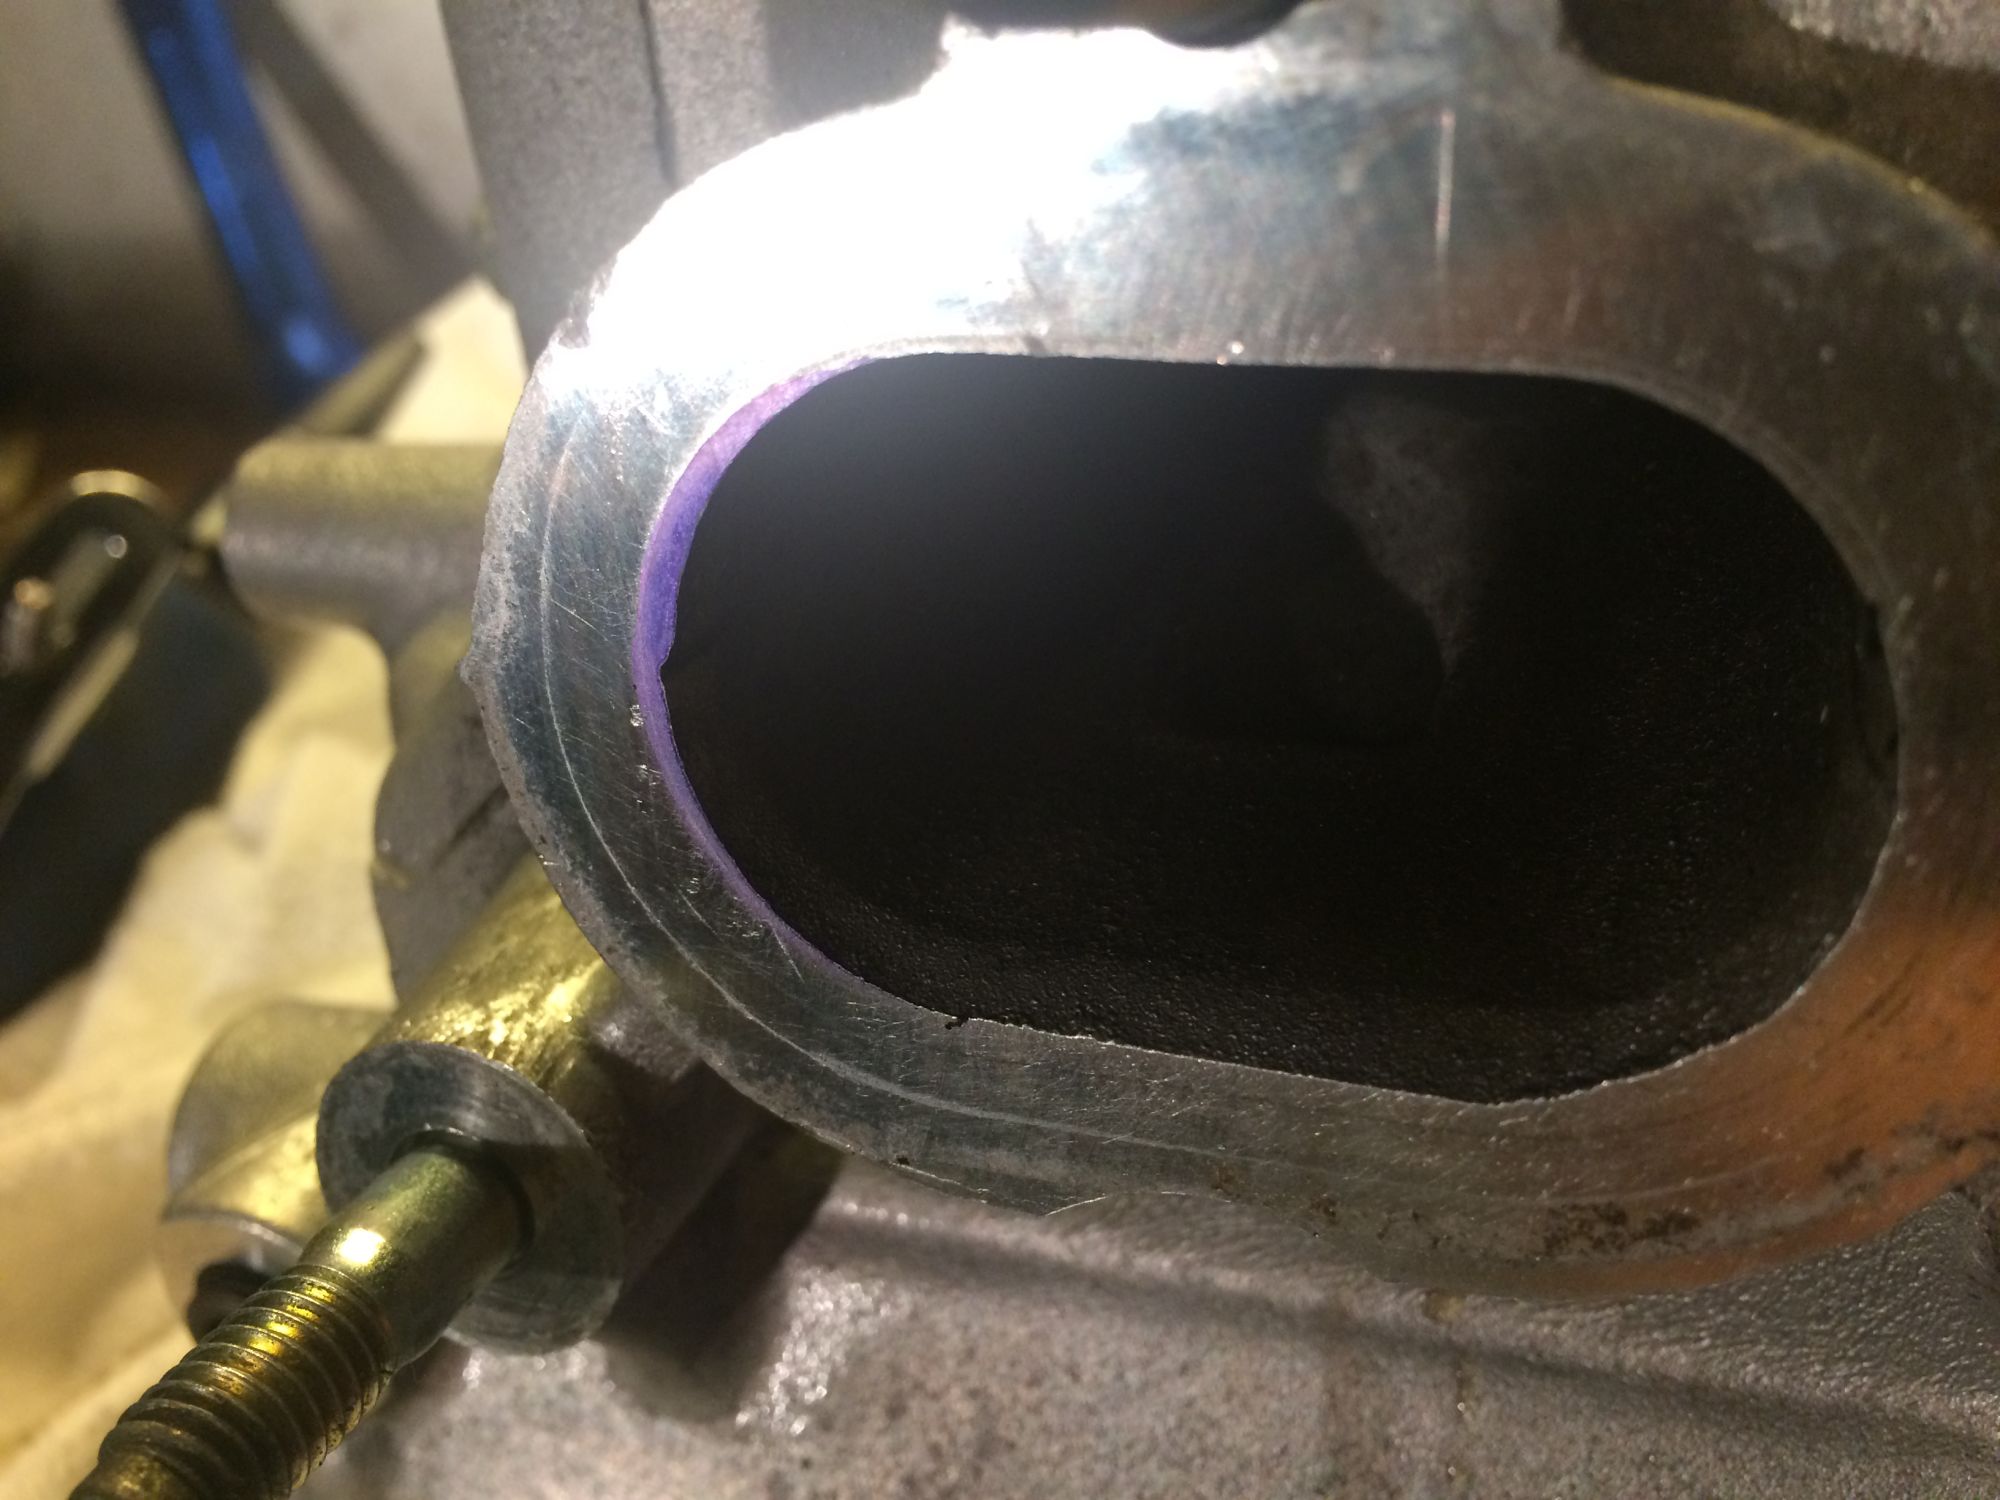
Gasket matching. Extra material is colored in blue. Most be removed.


Christmas time and my parents bought me an engine hoist !!

First time removing the engine... I have a feeling that this will not be the last.

I used the original passenger seat belt to hoist the engine.. No problem at all..


So I only polished the first part of the port until the injector opening. I hope this will make some more power at high RPM.
Gasket matching. Extra material is colored in blue. Most be removed.
Christmas time and my parents bought me an engine hoist !!
First time removing the engine... I have a feeling that this will not be the last.
I used the original passenger seat belt to hoist the engine.. No problem at all..
Reply
0
0
01-04-2016, 09:28 AM
#25

I love this build. Some parts are questionable but I totally understand that we're slaves to availability. It's still a nice progression and love the pics along the way. Keep it up.
Where Miata's sold in Belgium or did you import?
I wonder what'd it'd take to get my car over to Europe should I ever change jobs.
Where Miata's sold in Belgium or did you import?
I wonder what'd it'd take to get my car over to Europe should I ever change jobs.
Reply
0
0
01-05-2016, 01:15 AM
#26
Junior Member
Thread Starter
Join Date: Apr 2015
Location: Belgium
Posts: 50
Total Cats: 4
I love this build. Some parts are questionable but I totally understand that we're slaves to availability. It's still a nice progression and love the pics along the way. Keep it up.
Where Miata's sold in Belgium or did you import?
I wonder what'd it'd take to get my car over to Europe should I ever change jobs.
Where Miata's sold in Belgium or did you import?
I wonder what'd it'd take to get my car over to Europe should I ever change jobs.
Tanks, I bought mine second hand from a guy in antwerp. They where also sold by Mazda Dealers all over Belgium.
Reply
0
0
 02-26-2016, 03:45 AM
#28
Junior Member
Thread Starter
Join Date: Apr 2015
Location: Belgium
Posts: 50
Total Cats: 4
Time for some updates.
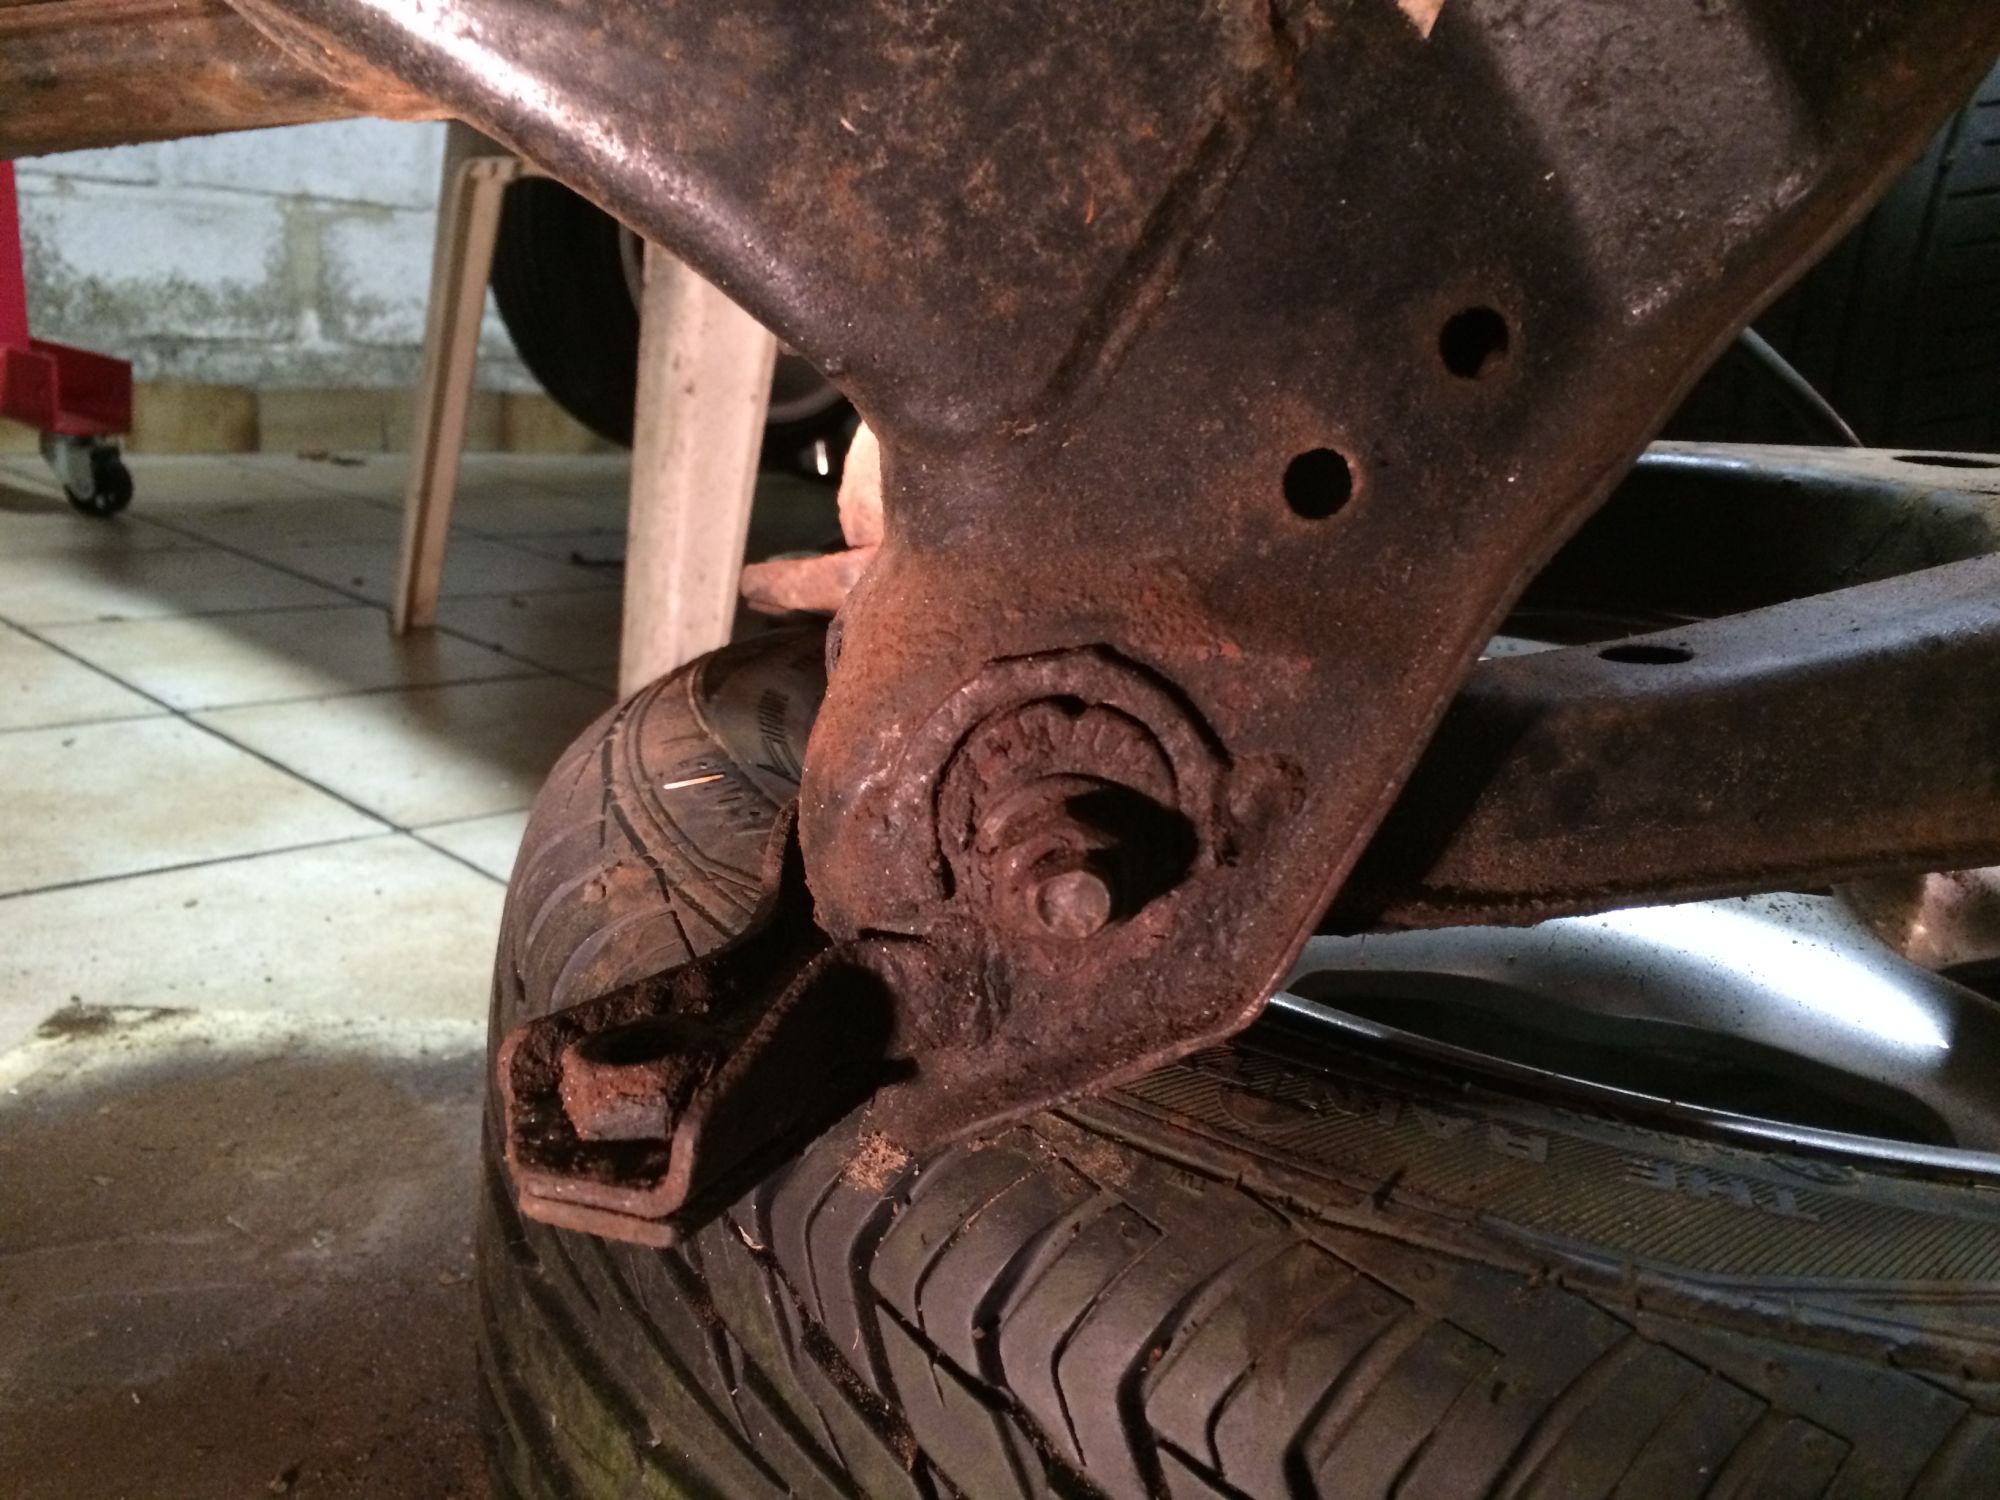
While I was waiting for parts to arrive (Shipping from US to Belgium takes time) I decided to repaint my subframe front and rear.

Alignment bolts are really rusty and some are bad. So I ordered new ones.


While I was waiting for parts to arrive (Shipping from US to Belgium takes time) I decided to repaint my subframe front and rear.
Alignment bolts are really rusty and some are bad. So I ordered new ones.
Reply
0
0
 03-21-2016, 04:09 AM
#31
Junior Member
Thread Starter
Join Date: Apr 2015
Location: Belgium
Posts: 50
Total Cats: 4
After taking a closer look at the pressure plate and Flywheel. I noticed a lot of little groves. Can this be the cause of bad "Breaking in"
I did some miles driving really careful and slow shifting (no boost)
For now I will be using this clutch until it wears out.

You can see the groves in the pressure plate

Also on the flywheel

I did some miles driving really careful and slow shifting (no boost)
For now I will be using this clutch until it wears out.
You can see the groves in the pressure plate
Also on the flywheel
Reply
0
0


 03-22-2016, 03:14 AM
#38
Junior Member
Thread Starter
Join Date: Apr 2015
Location: Belgium
Posts: 50
Total Cats: 4

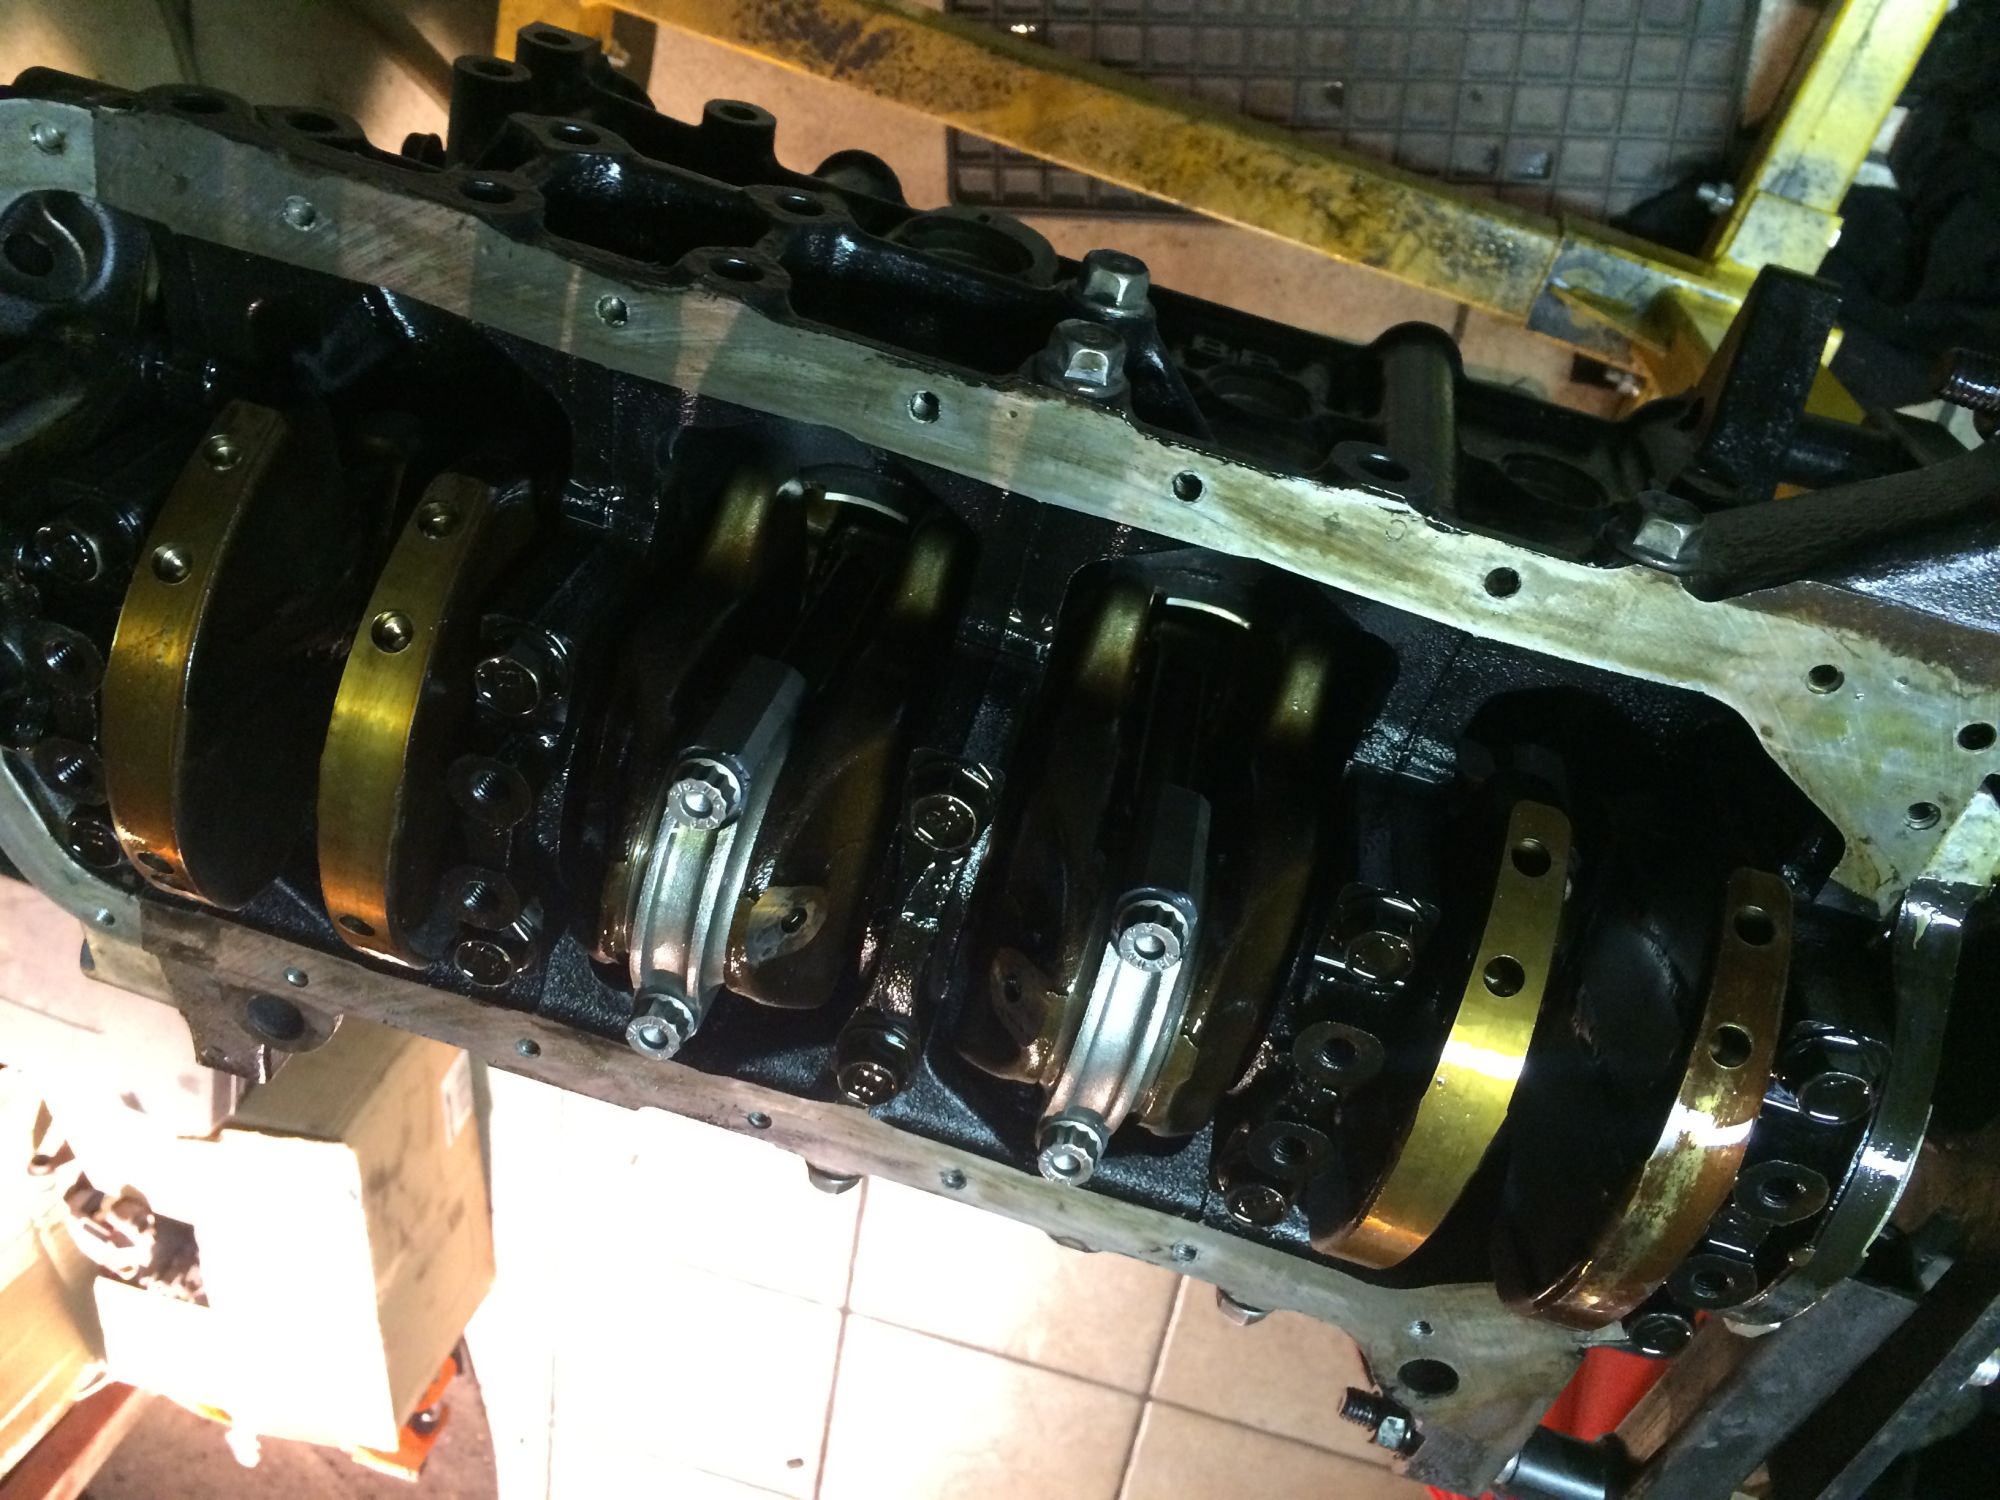
Finally all the parts arrived to swap my rods. Clearance of old rods is good.


Inspecting the rod bearings, no grooves that I can feel so looks good to me. All 4 rod bearings are like this one.


Pistons are a bit dirty but after a good clean they will look perfect for me.


Removed the old piston rings and cleaned the grooves. I did not have a piston ring clamp to install the new ones, but I managed to install them by hand without damage.


New rings fit perfectly !!!

New rods look massive next to the old setup.

New rod bearing.

arp bolts torqued to spec.


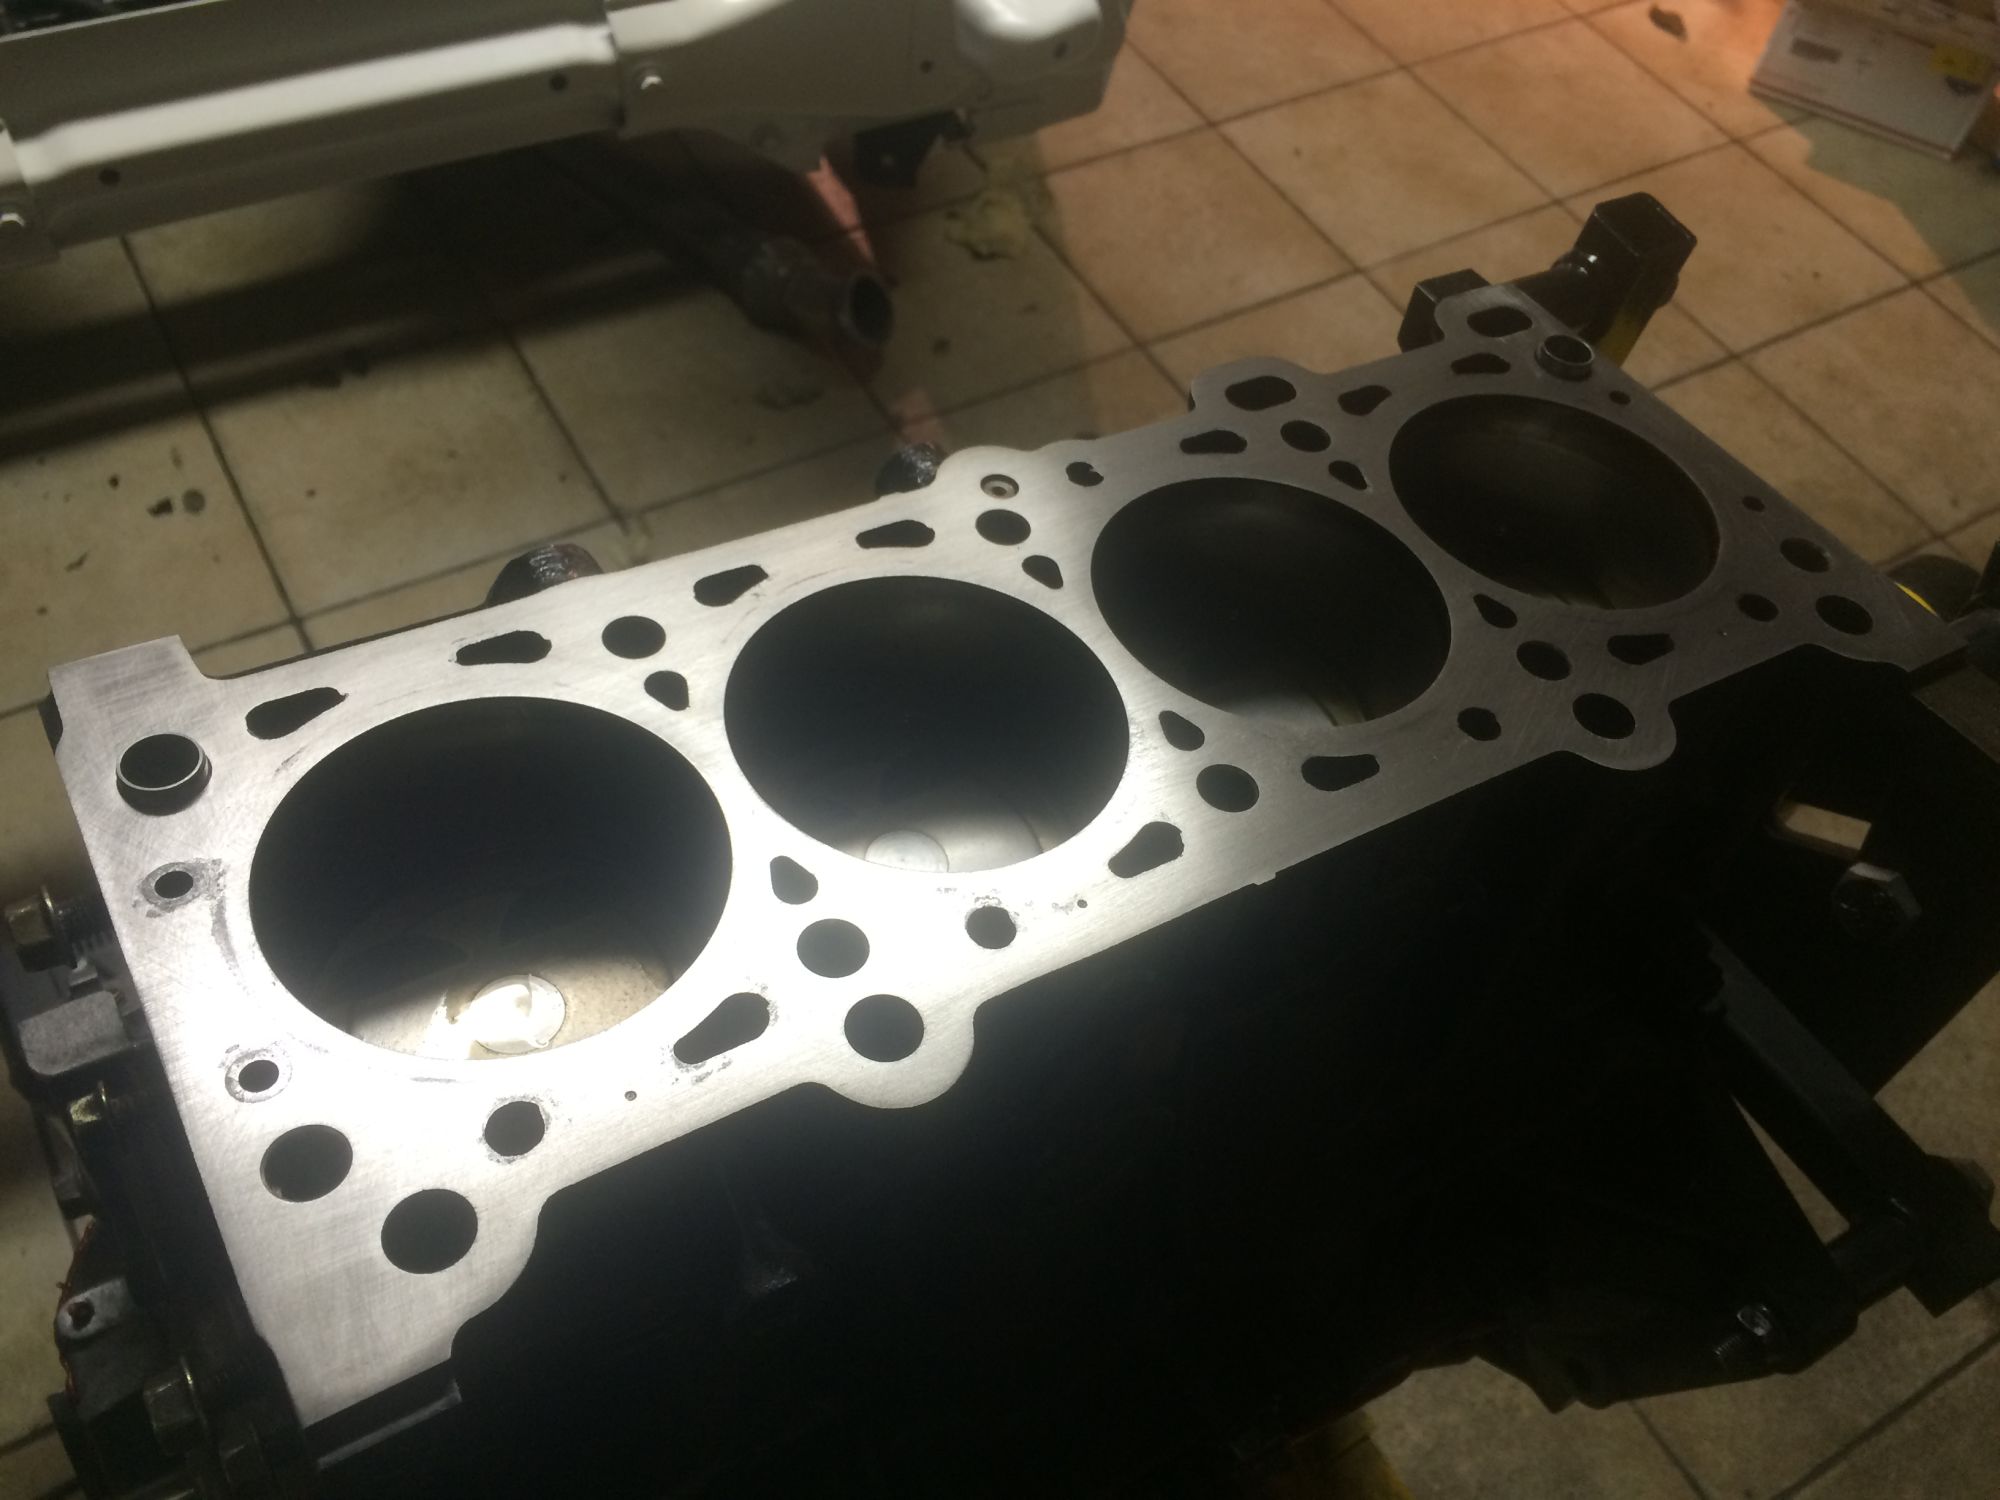
Time to bring the head to my machine shop.

It took them only a couple of hours to clean and resurface


Starts to look like an engine !!!
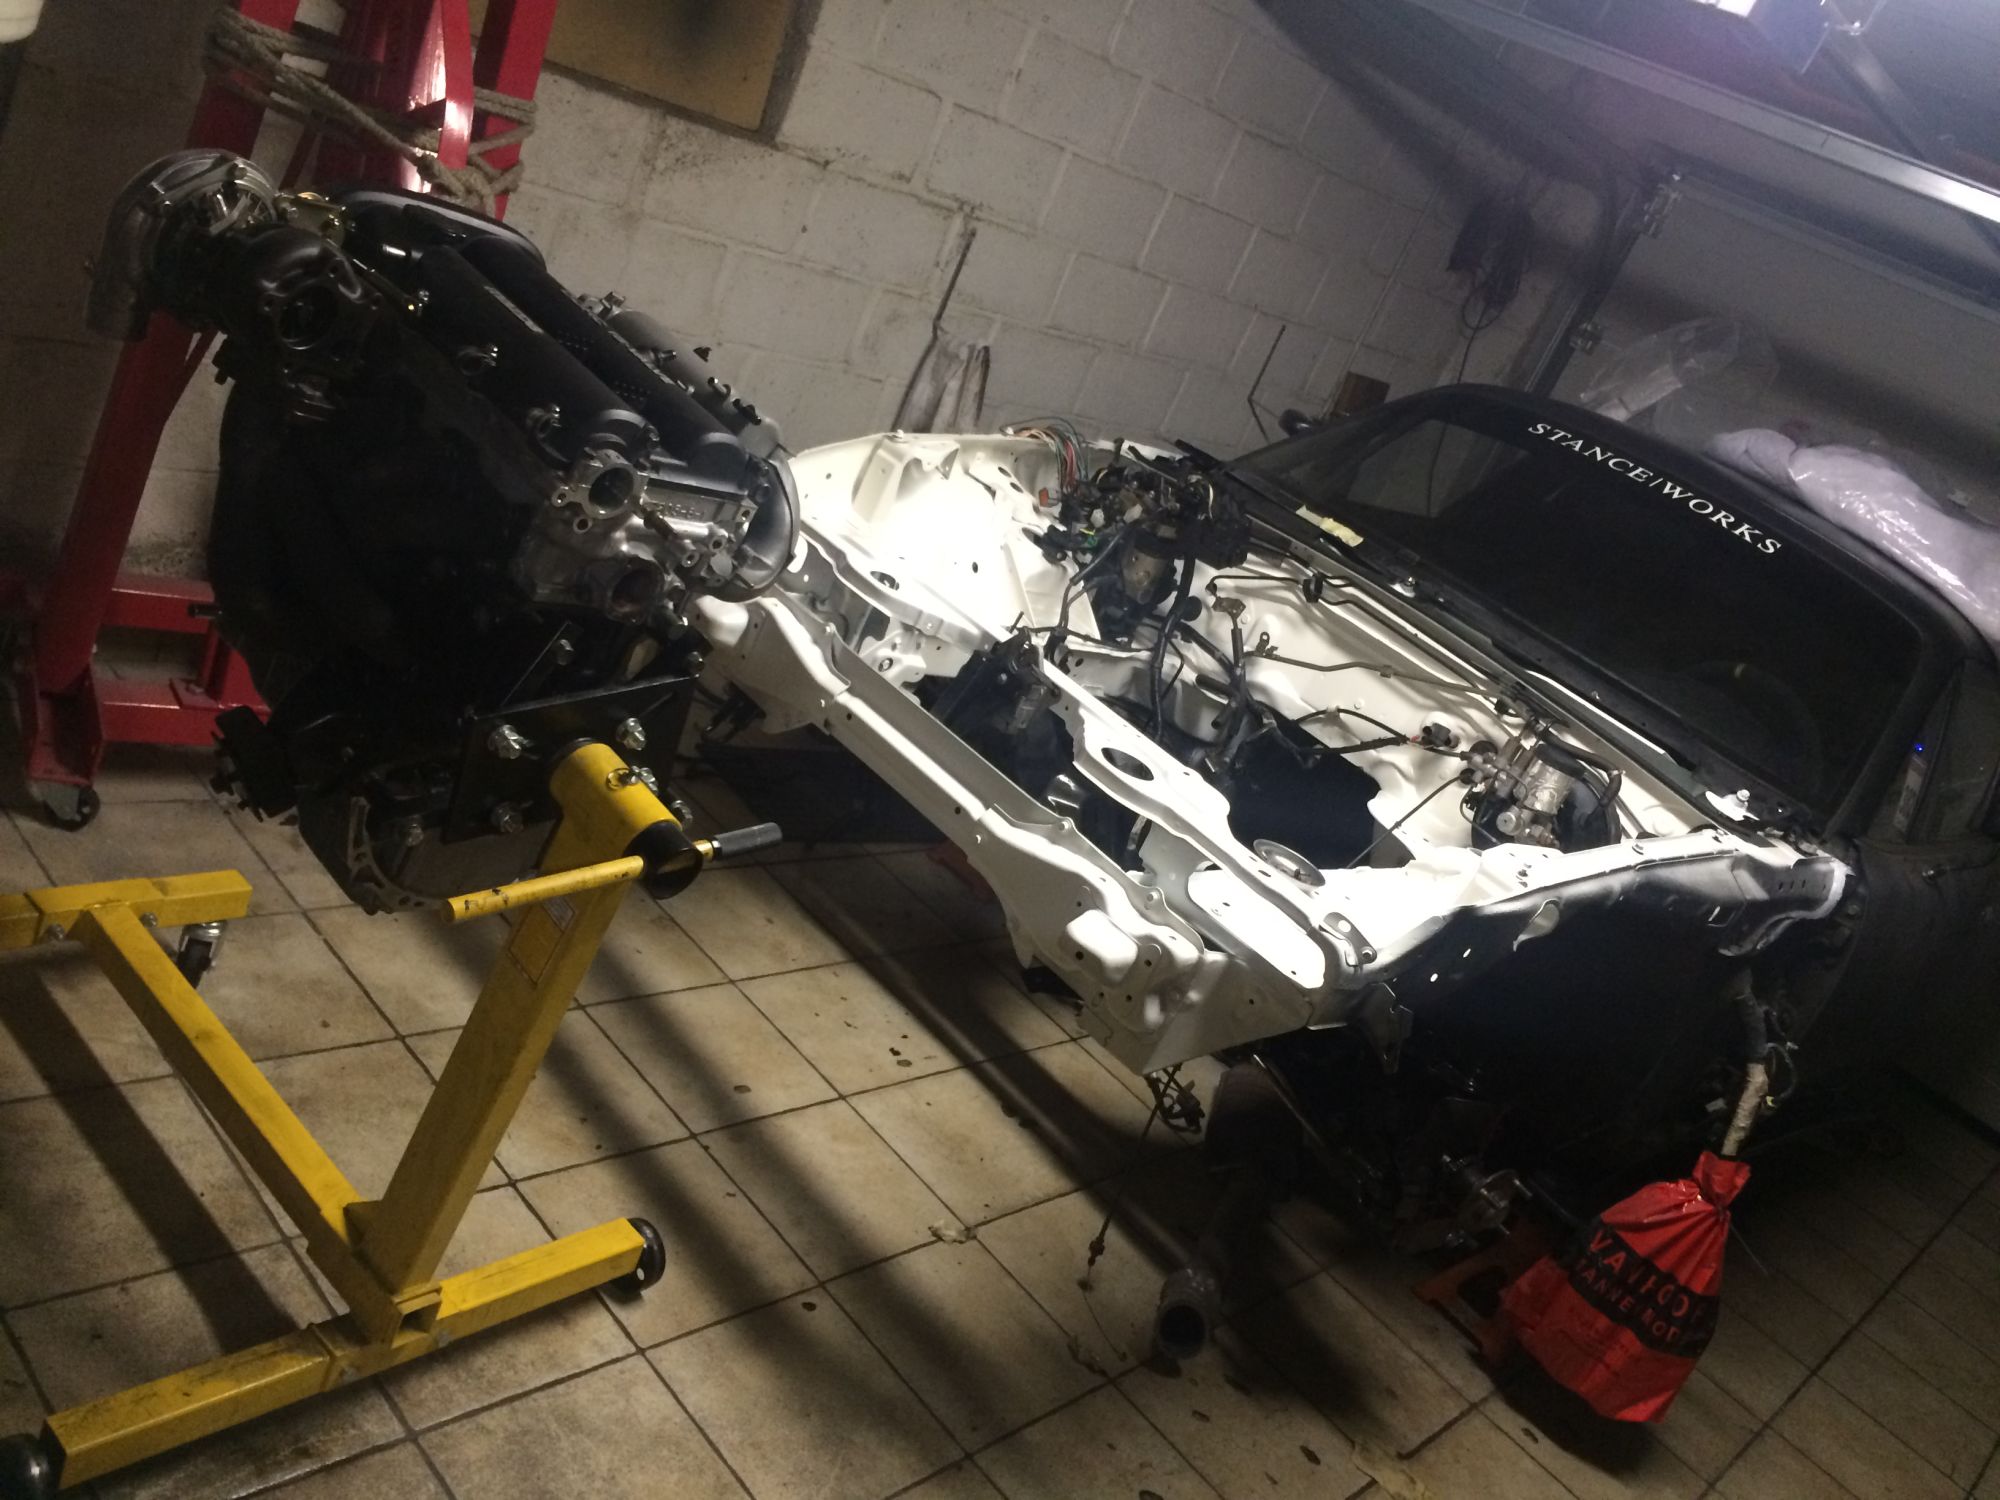

This is the line for opening the hood. The other wires are going to be under de fender.
Coolant reroute.

Installed the coolant reroute adapter en KIA part.
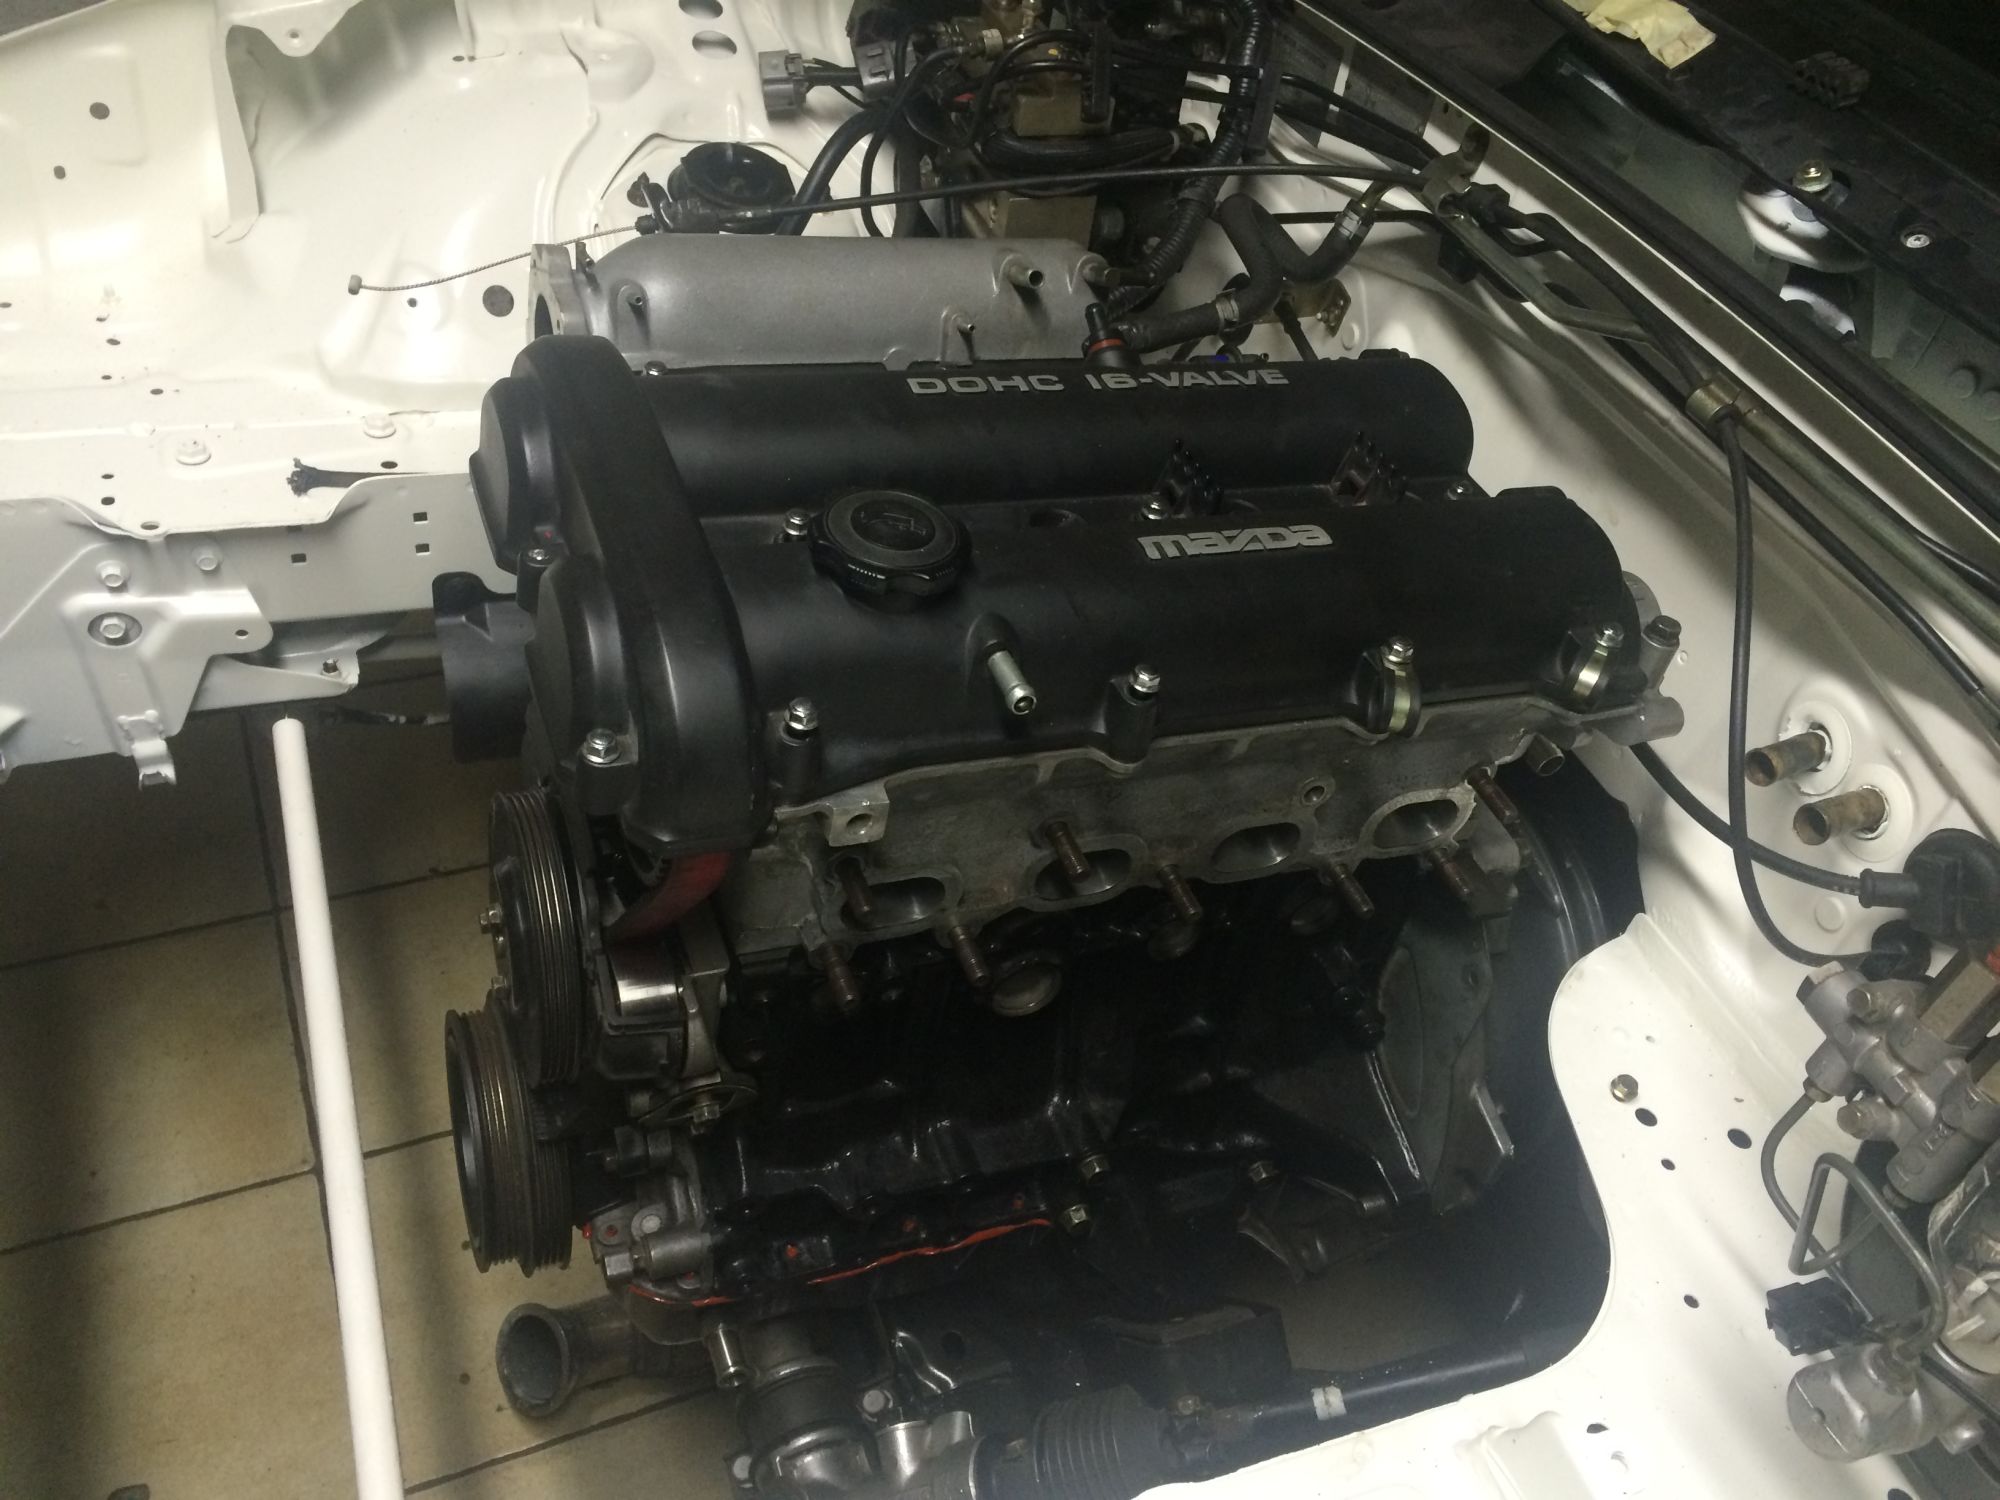
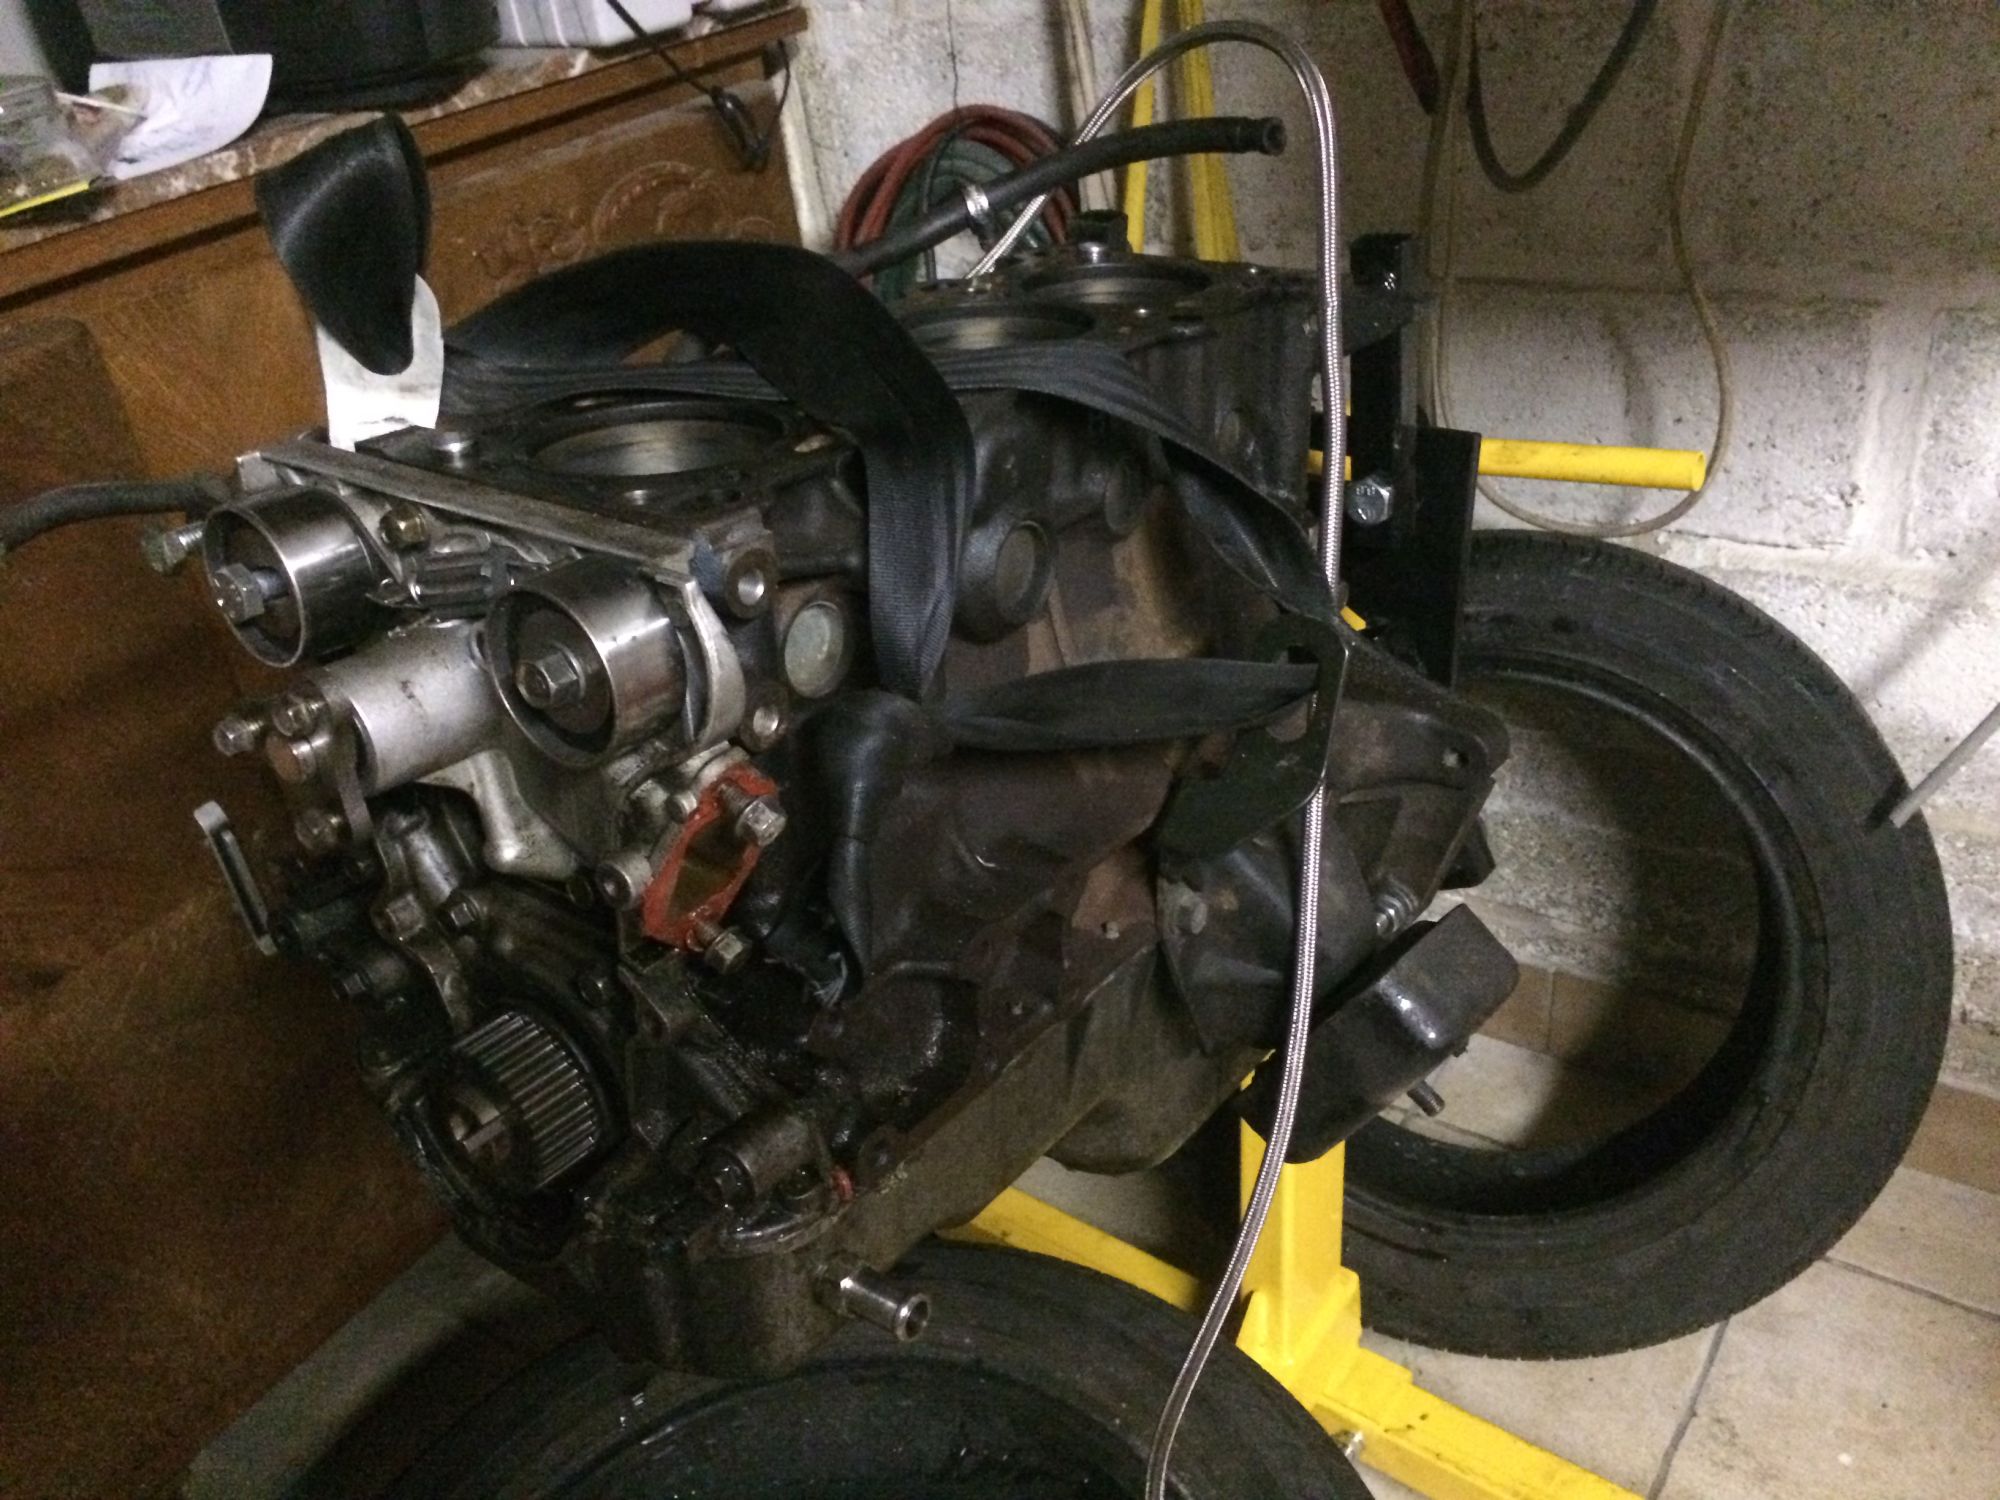
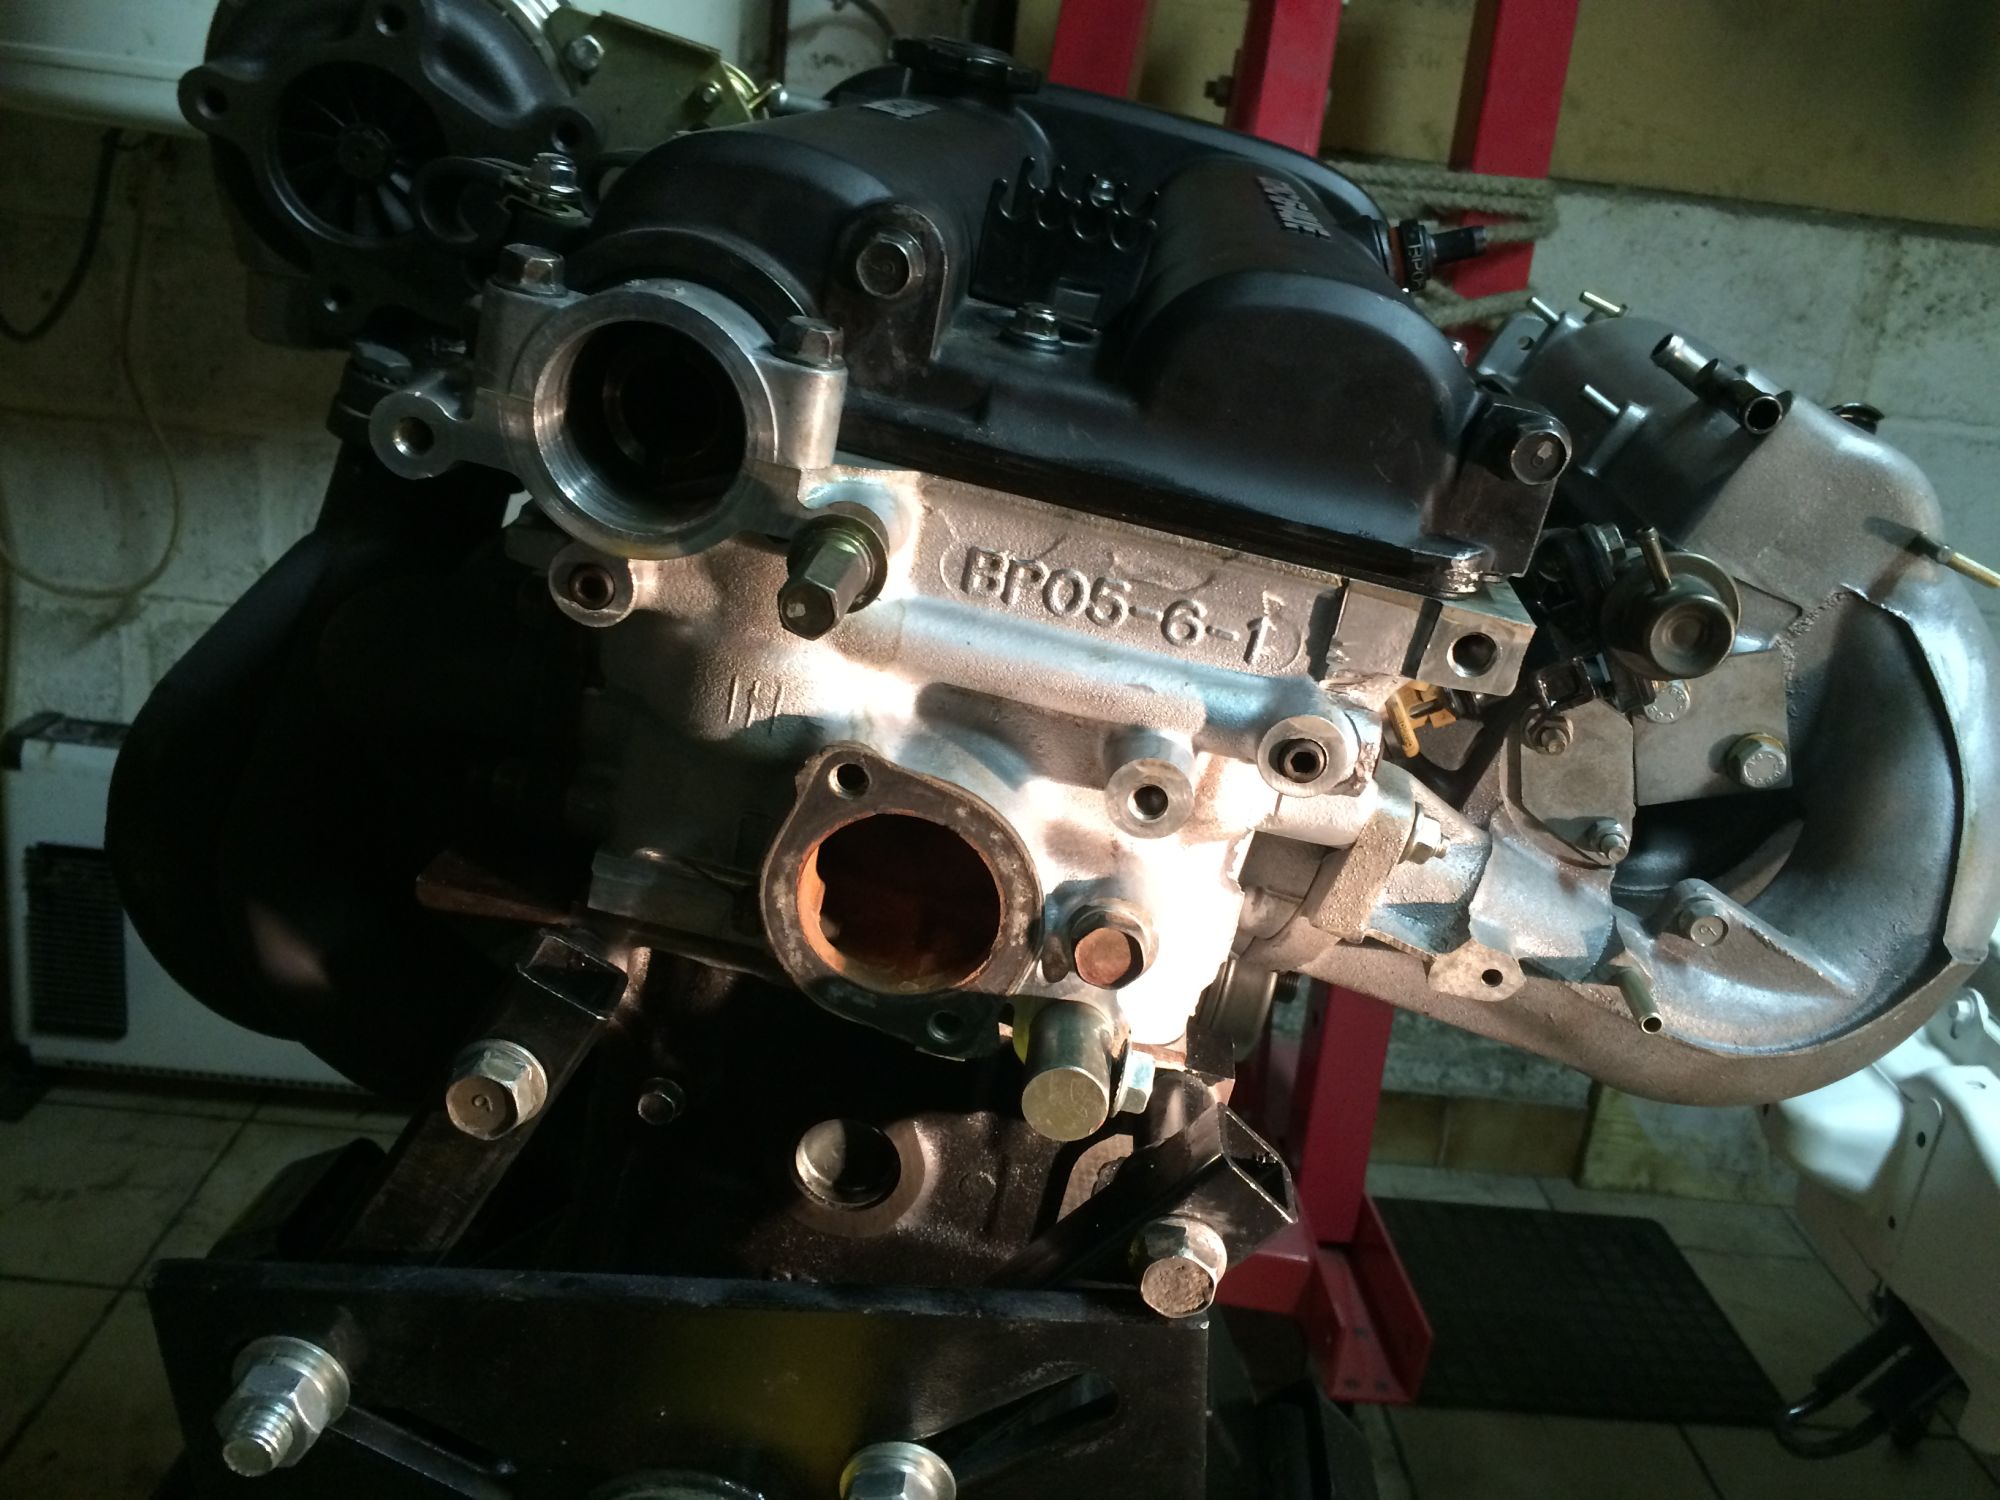
And the engine is back in place. Love it!!


Cleaned the Diff. At first I wanted to weld it. But now I will be looking for a spare diff to weld or a torsen if I can find one.

This was a pain in the **** to install alone. I love going to the GYM but this is a whole new level.
Reply
1
1
04-05-2016, 05:29 AM
#40
Junior Member
Thread Starter
Join Date: Apr 2015
Location: Belgium
Posts: 50
Total Cats: 4
Update,
Car is running.
I was having trouble at first but found that I switched the fuel lines in engine bay. My bad.

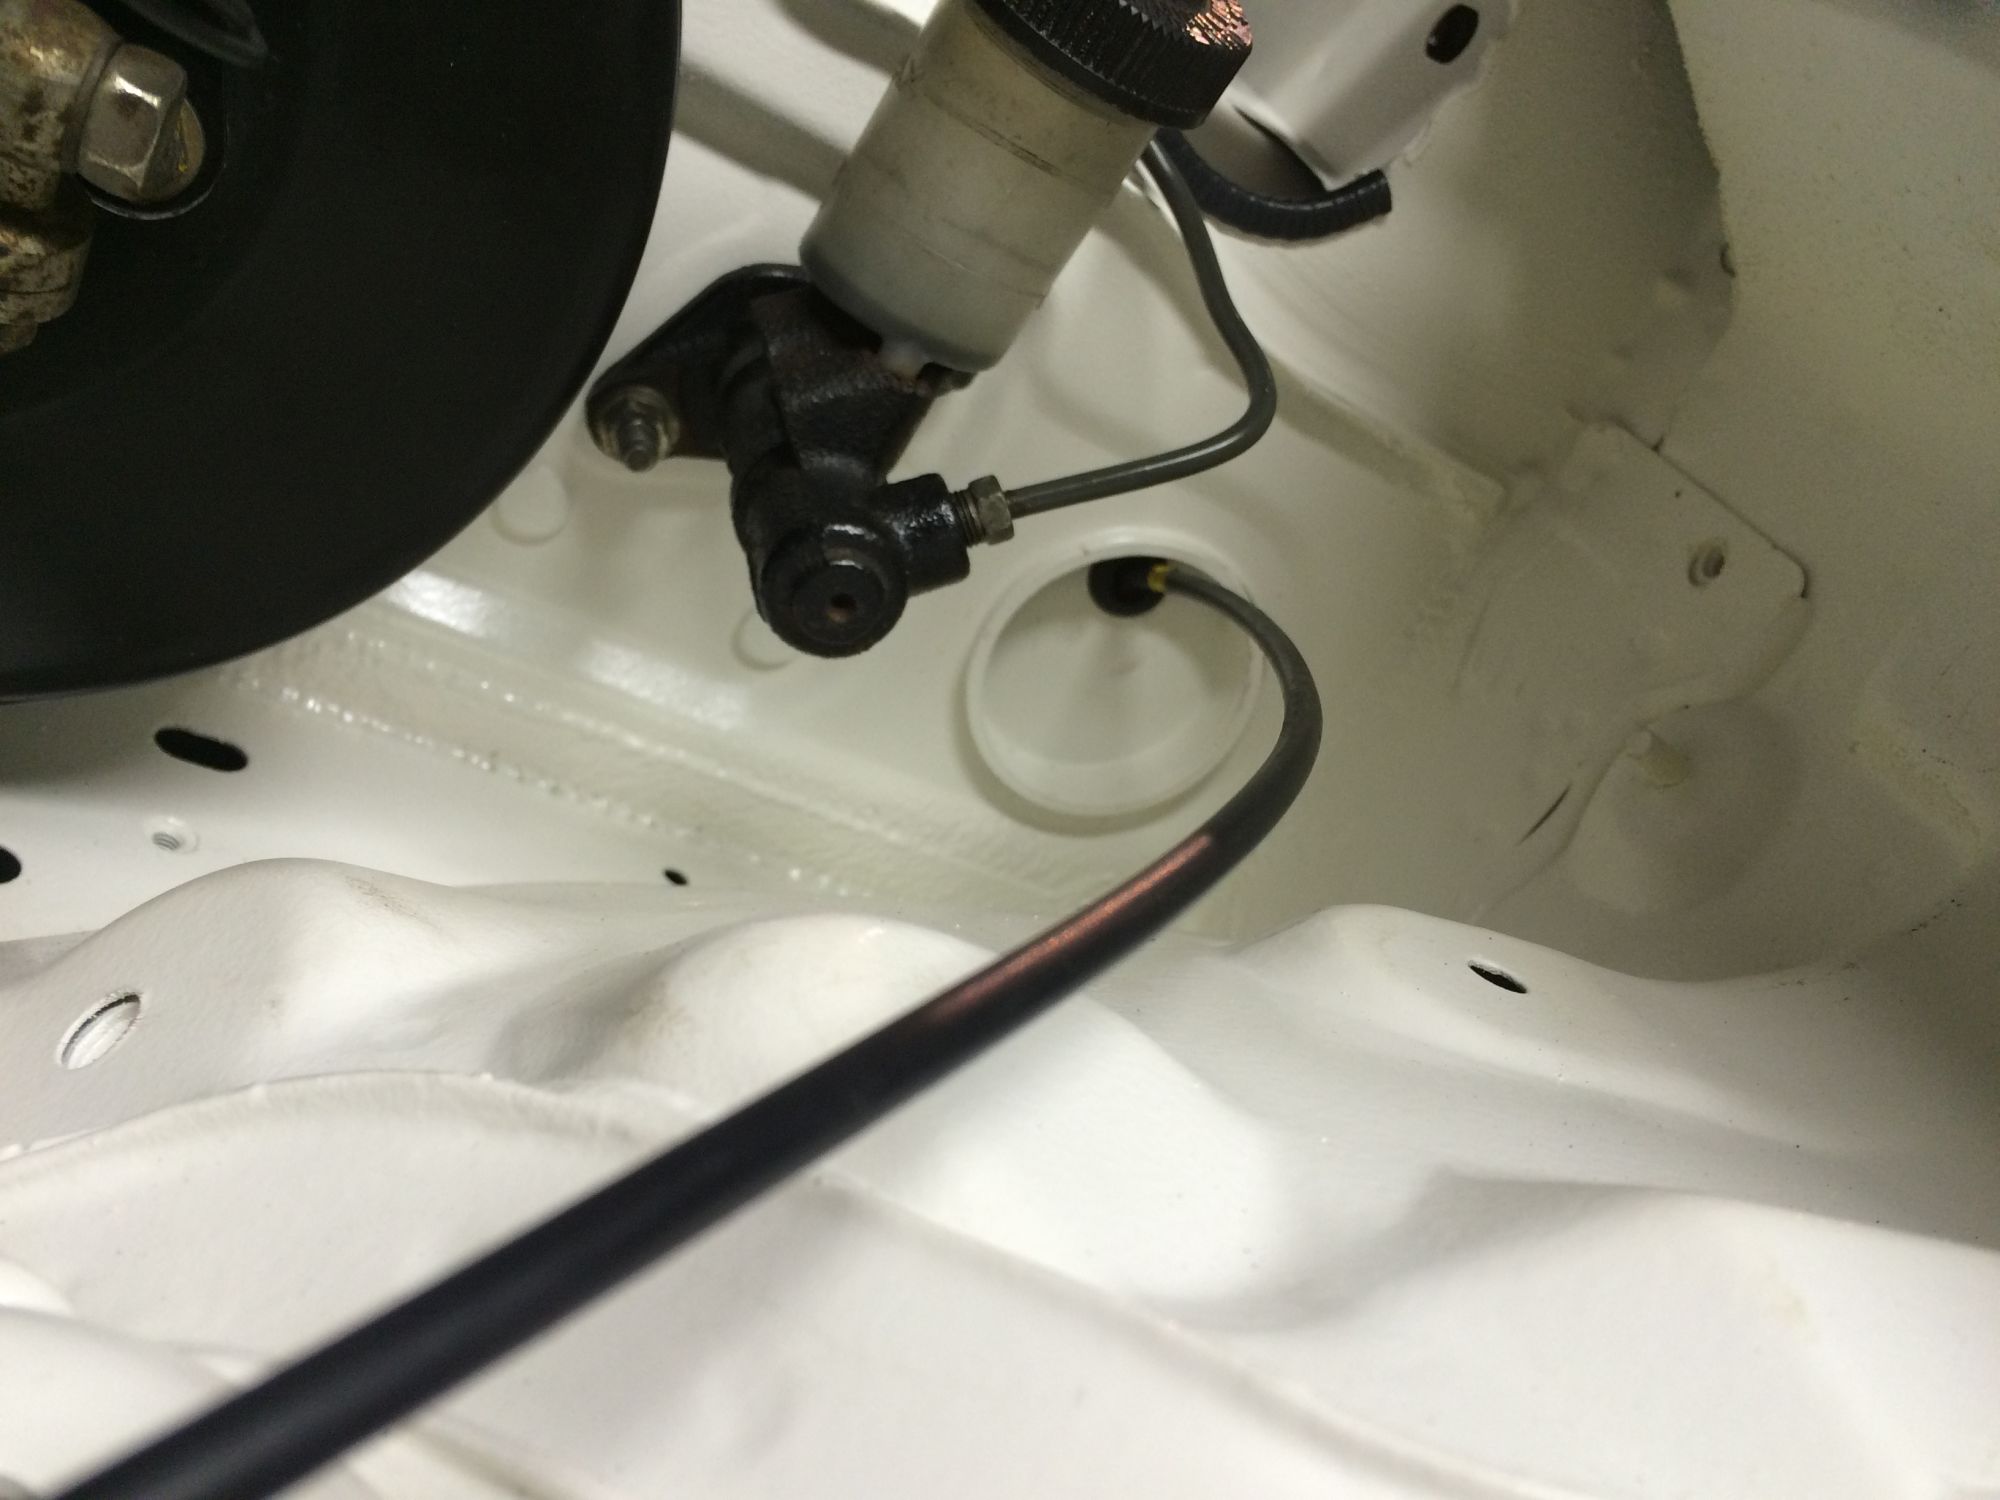
Small Coolant leek at the back of the engine block. Coolant reroute. No fun at all to fix. Really small space. I managed to replace the gasket and for reinstall with liquid gasked.
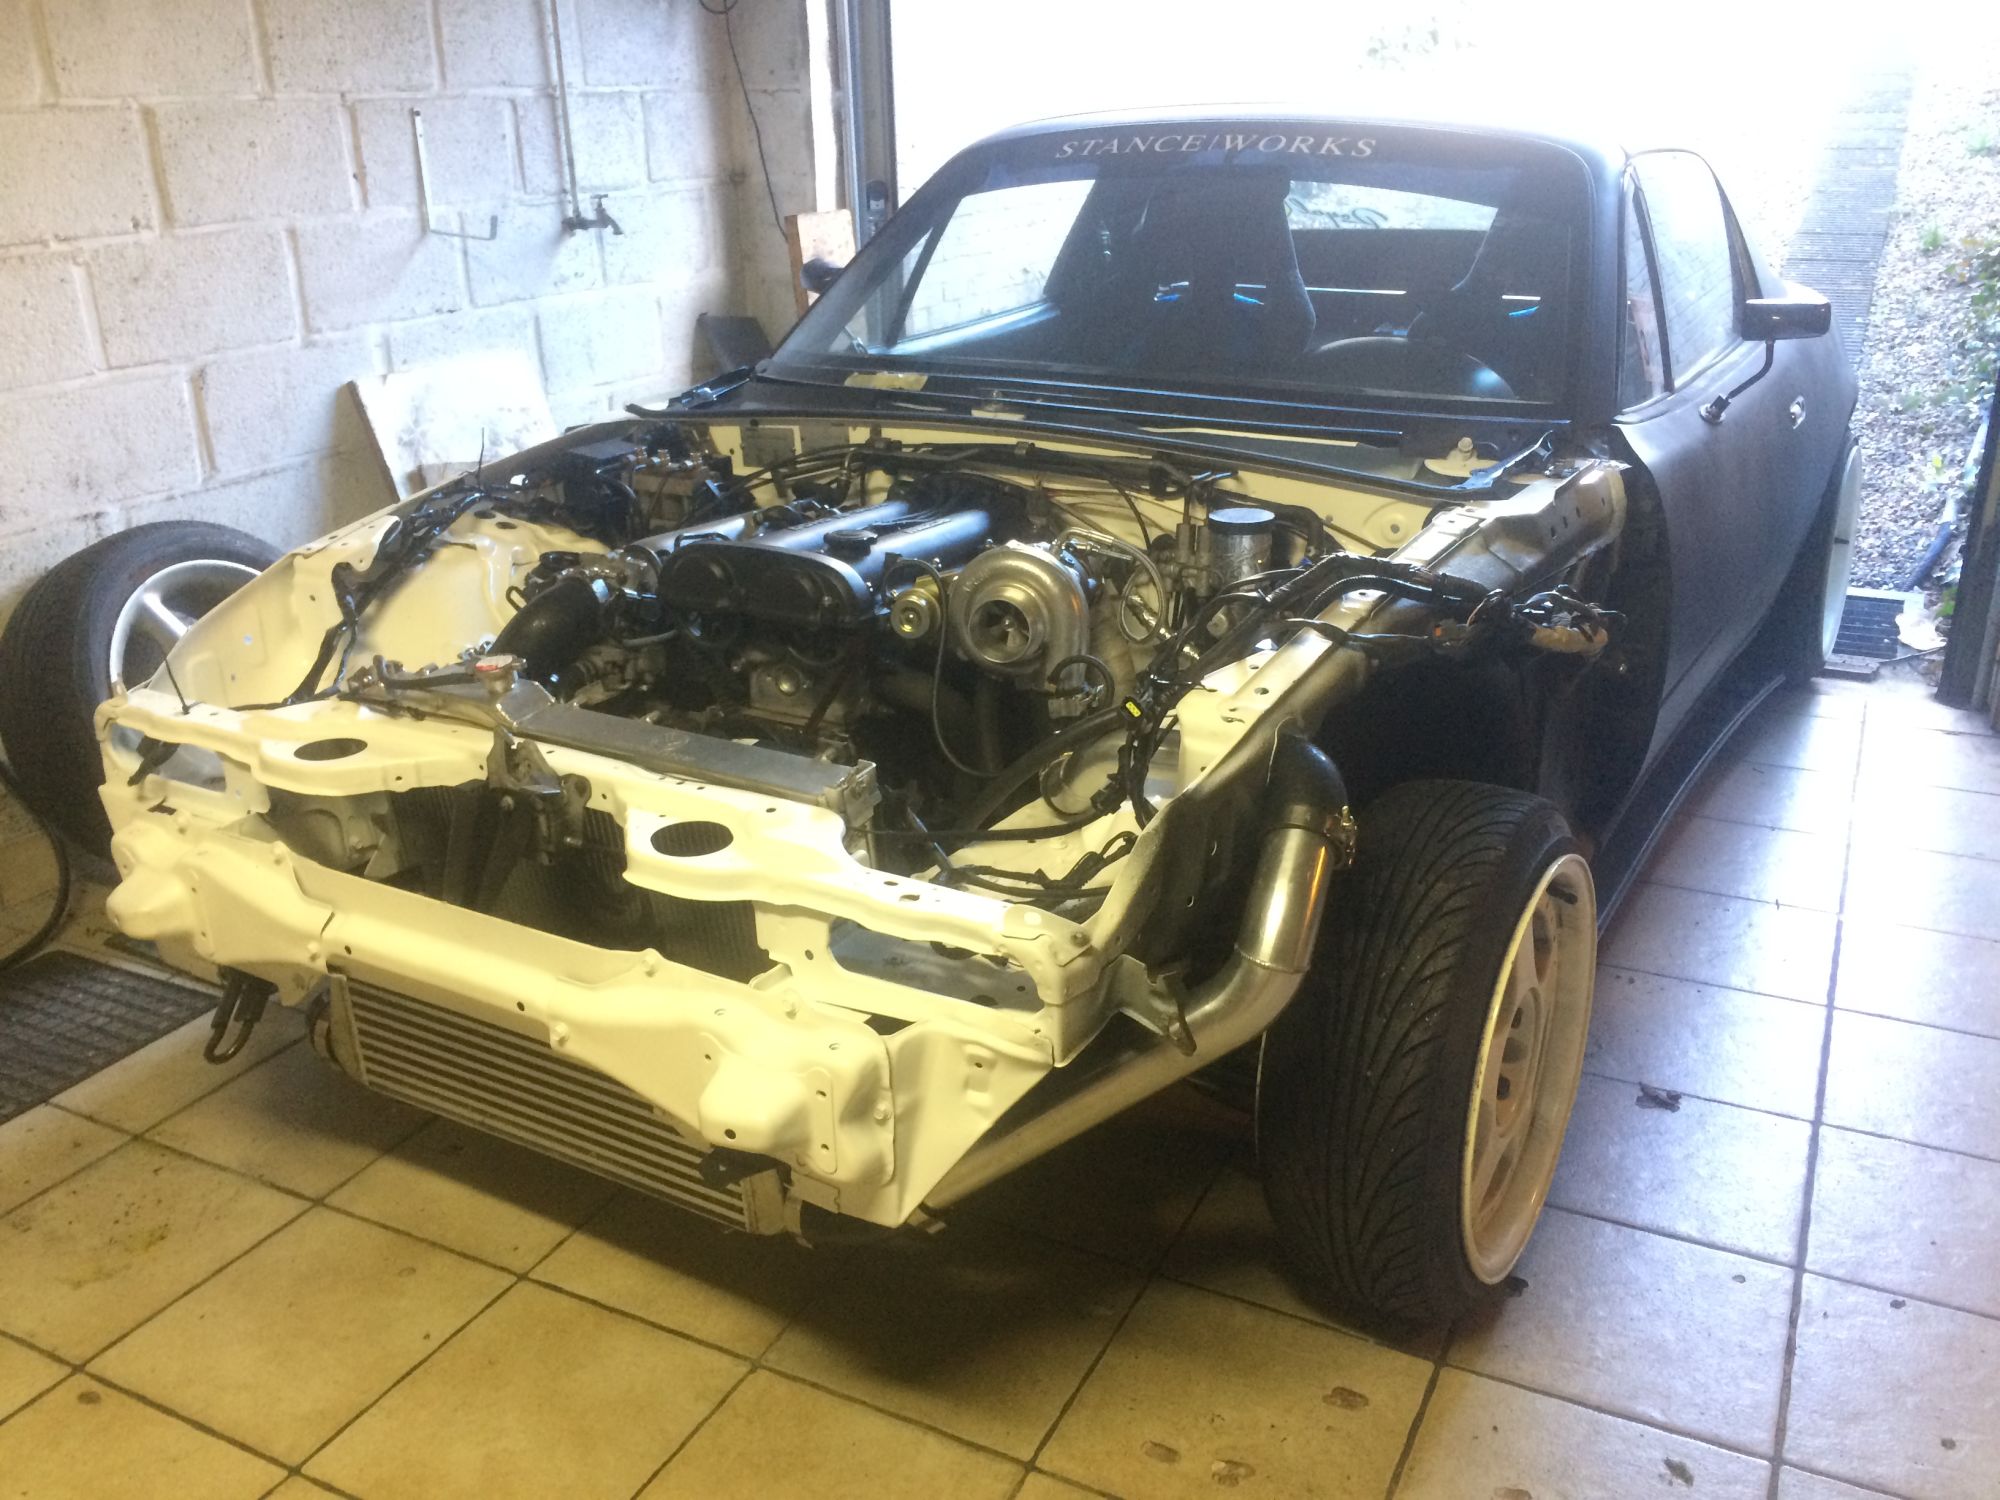
First time on wheels since 6 months.

Car is running.
I was having trouble at first but found that I switched the fuel lines in engine bay. My bad.
Small Coolant leek at the back of the engine block. Coolant reroute. No fun at all to fix. Really small space. I managed to replace the gasket and for reinstall with liquid gasked.
First time on wheels since 6 months.
Reply
2
2


