
HOUSE CAT
 02-20-2016, 01:47 PM
#142
Elite Member

Thread Starter
iTrader: (2)
Join Date: Dec 2011
Location: SoCal
Posts: 2,633
Total Cats: 494
Hood hinges are next on the list. We've "sampled" about 15 different styles, and simply decided to make our own. Mark at Bent Motorsports went a little crazy and drew these up on SolidWorks, changed, amended, added bearings, and built a few cnc machined pieces for testing. They should be perfect for the hood and trunk.
The next picture shows the swirl pot with the threaded bung on the bottom stopped up with the water temp sensor for the gauge. Since I'm running Megasquirt only one sensor is needed for the ecu and one for the SpeedHut gauges, I think. I've got an access hole at the front of the engine in case a fan switch needs to live there. The sensor for the ECU will go in right before the thermostat at the back of the engine, and the swirl pot will see temperatures just after it. Since it's a coolant reroute, all the hot water dumps out the back of the engine.

Closed. The mounts are U channels, and their size and length can be adjusted as needed.
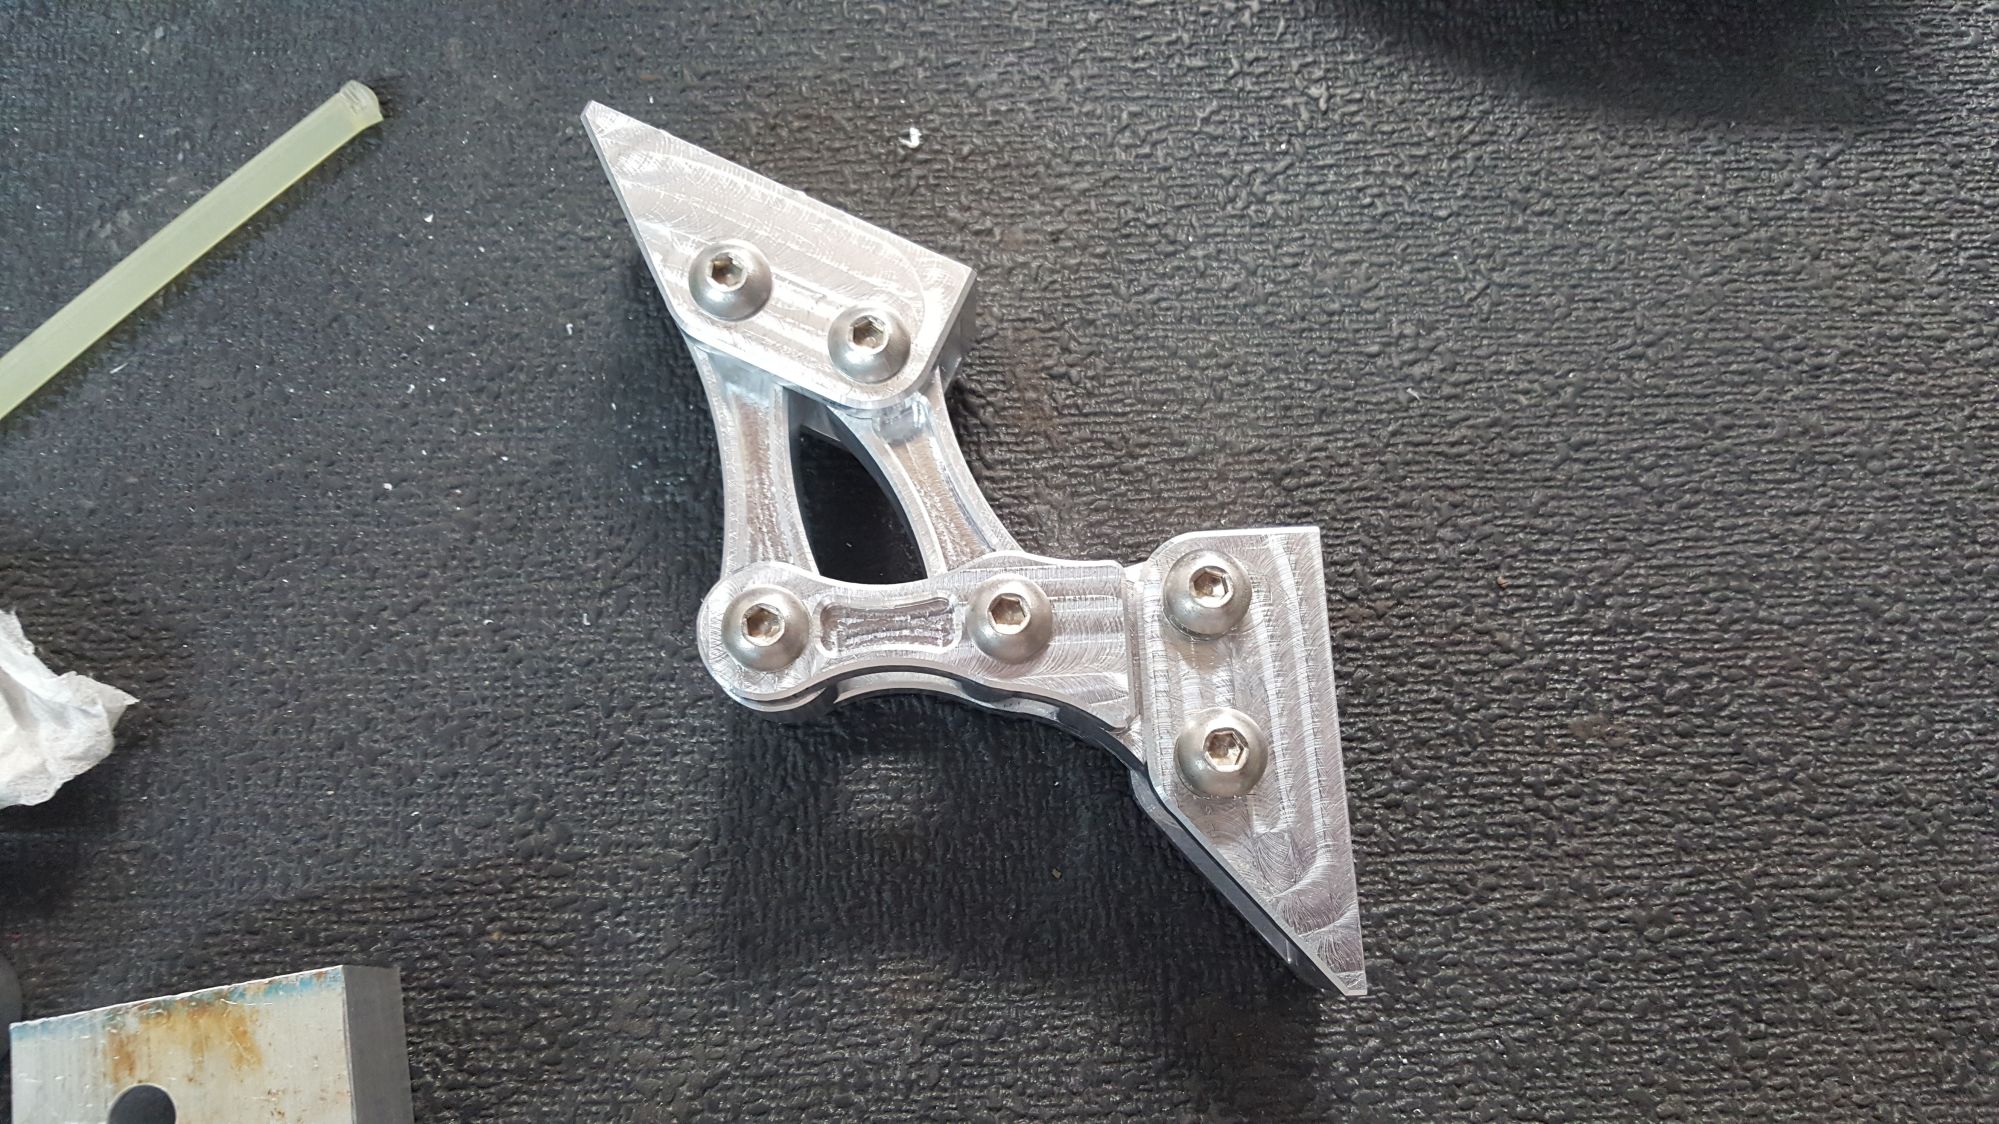
The hood will lift up and out. Alternately, the hinge can also lift back and out which is what is needed for the trunk.
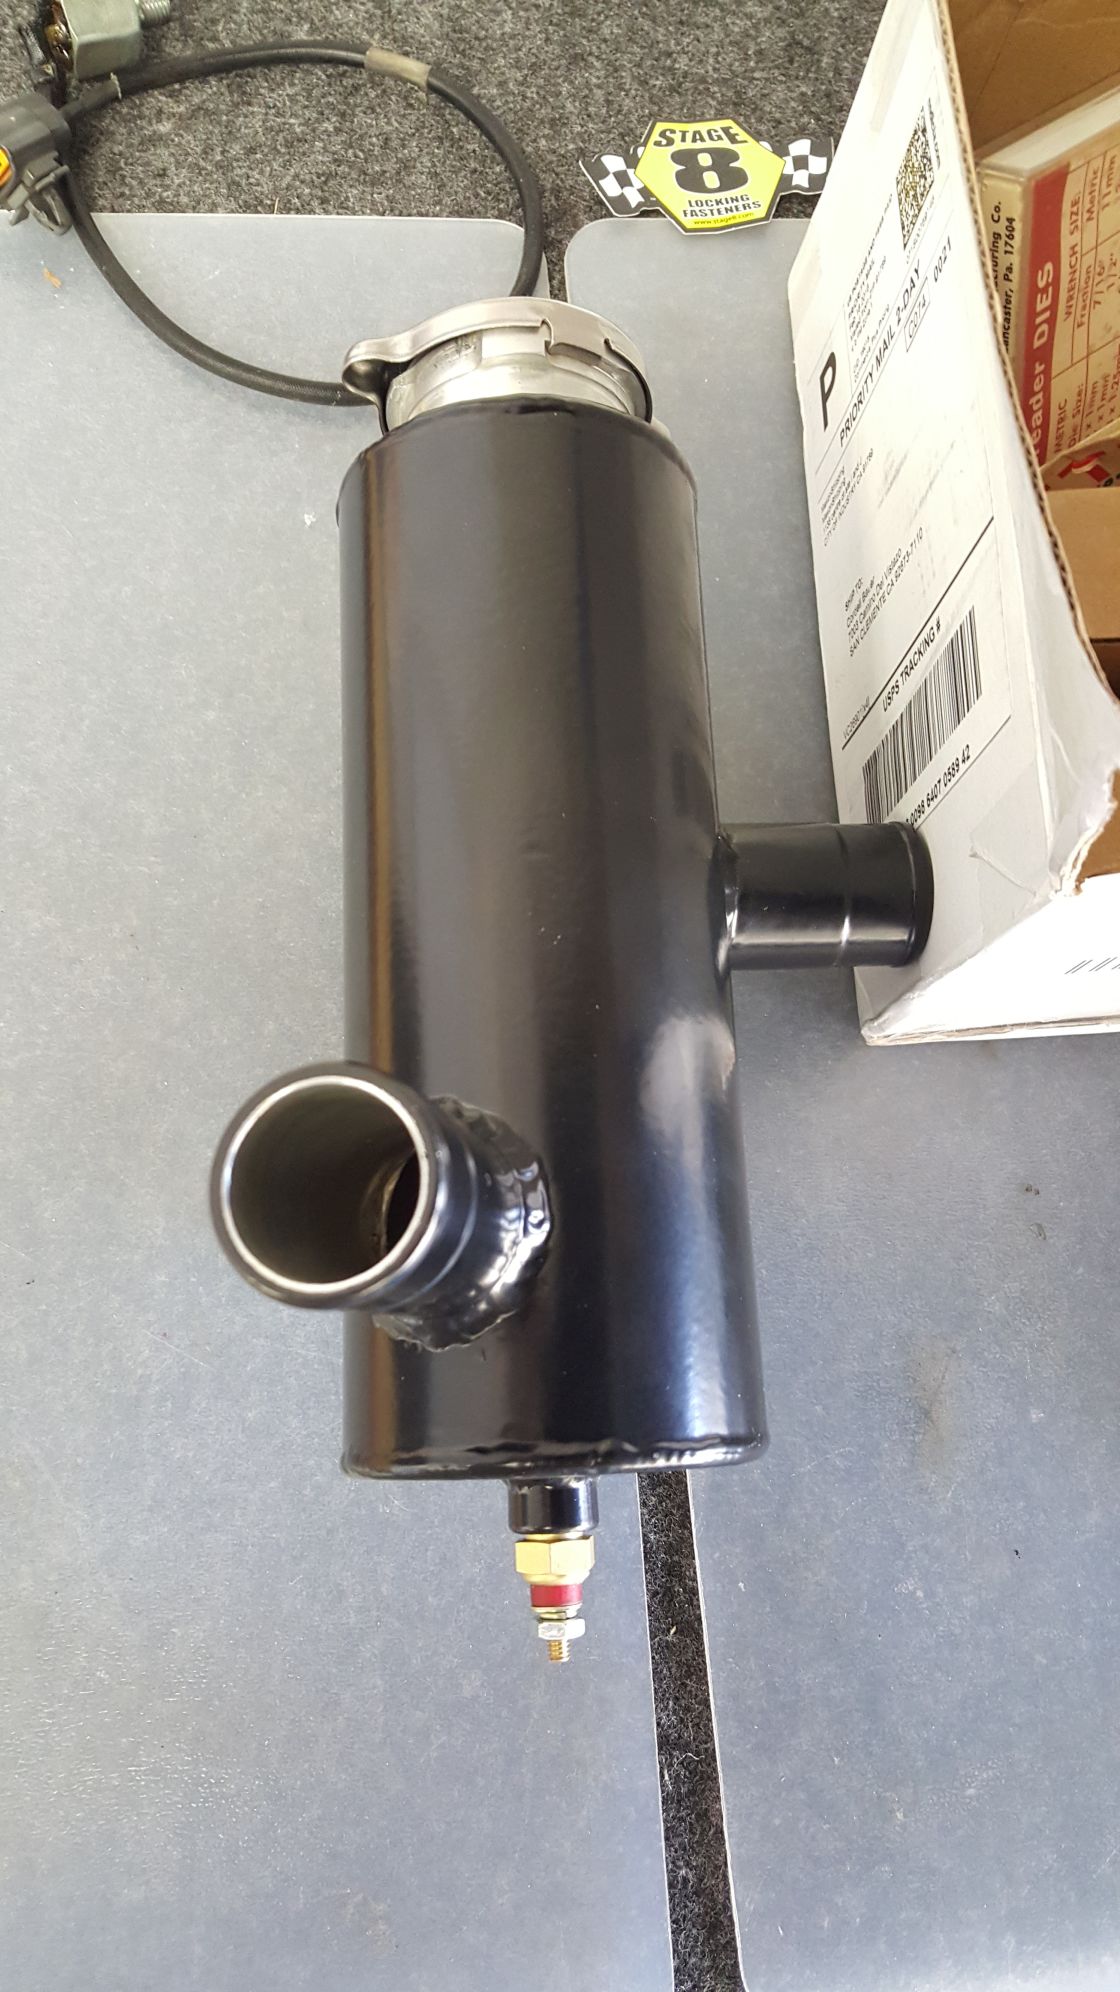
Water temp sensor screws to the bottom.
The next picture shows the swirl pot with the threaded bung on the bottom stopped up with the water temp sensor for the gauge. Since I'm running Megasquirt only one sensor is needed for the ecu and one for the SpeedHut gauges, I think. I've got an access hole at the front of the engine in case a fan switch needs to live there. The sensor for the ECU will go in right before the thermostat at the back of the engine, and the swirl pot will see temperatures just after it. Since it's a coolant reroute, all the hot water dumps out the back of the engine.
Closed. The mounts are U channels, and their size and length can be adjusted as needed.
The hood will lift up and out. Alternately, the hinge can also lift back and out which is what is needed for the trunk.
Water temp sensor screws to the bottom.

Reply
 0
0

0

 03-01-2016, 11:03 PM
#146
Elite Member
Thread Starter
iTrader: (2)
Join Date: Dec 2011
Location: SoCal
Posts: 2,633
Total Cats: 494
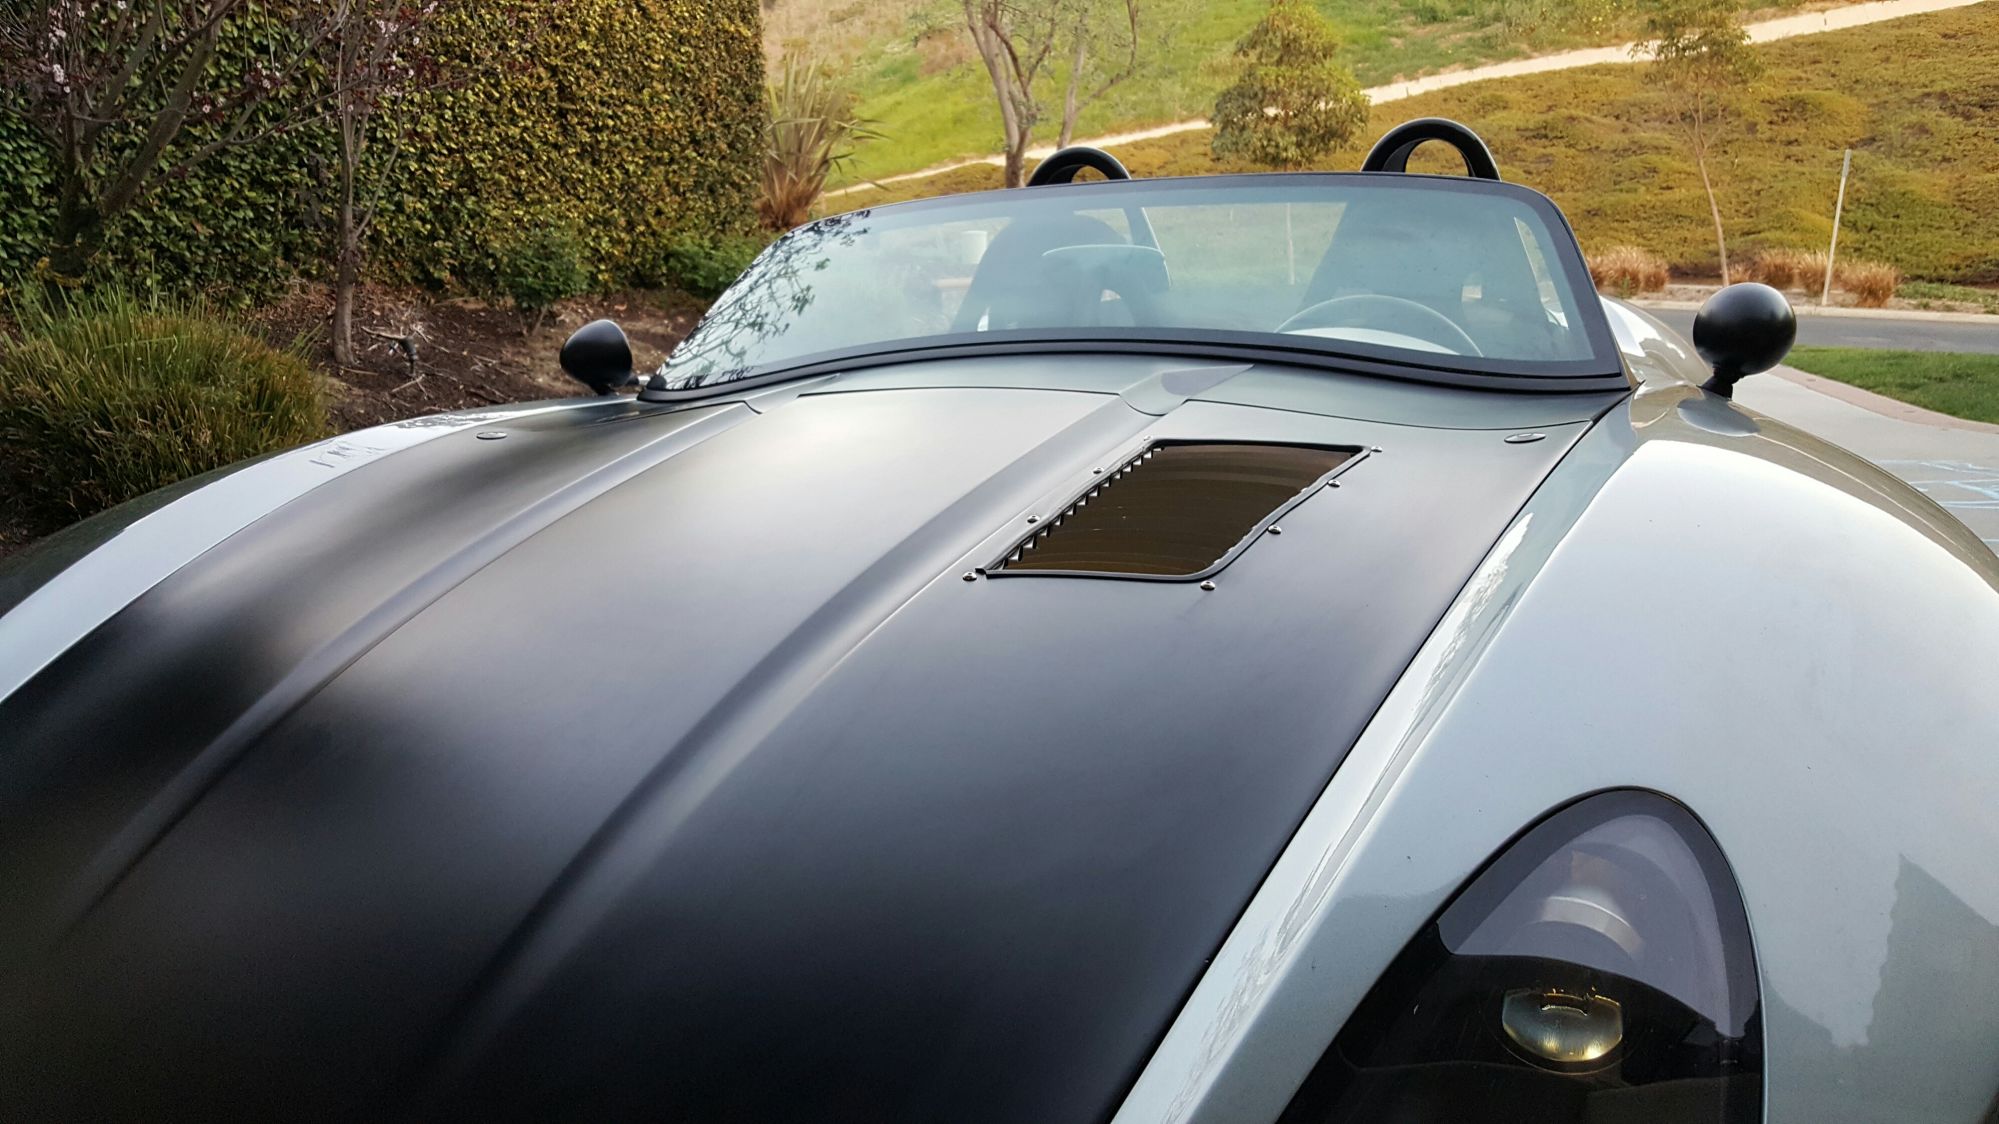
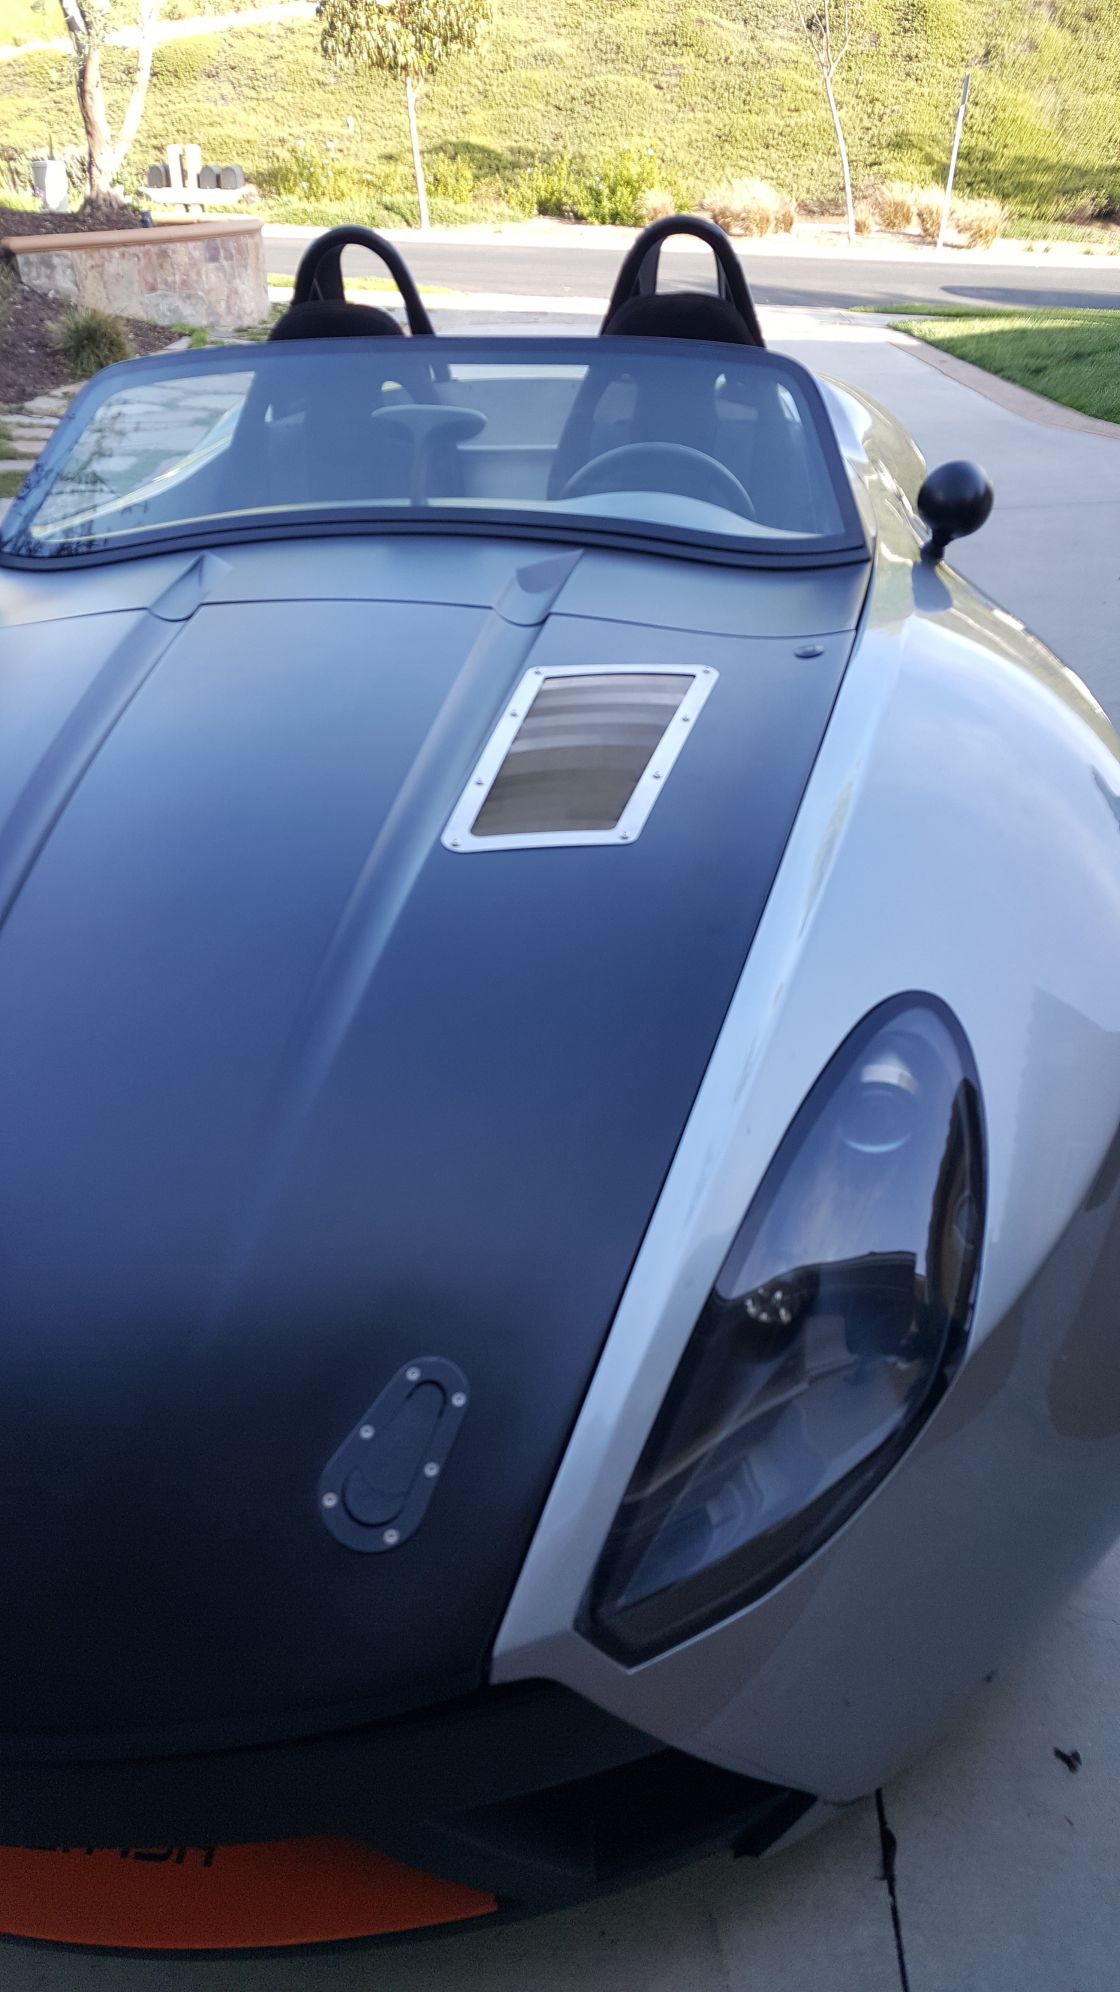
It's not the House Cat, but it is testing for where I'll be putting vents in the hood. This one is over the turbo and at a point on the hood that sees a lot of negative pressure that will help with hot air extraction. I could already tell that it was working as the hood "flutter" at the back was decreased, which is a sign of less built-up pressure under the hood.
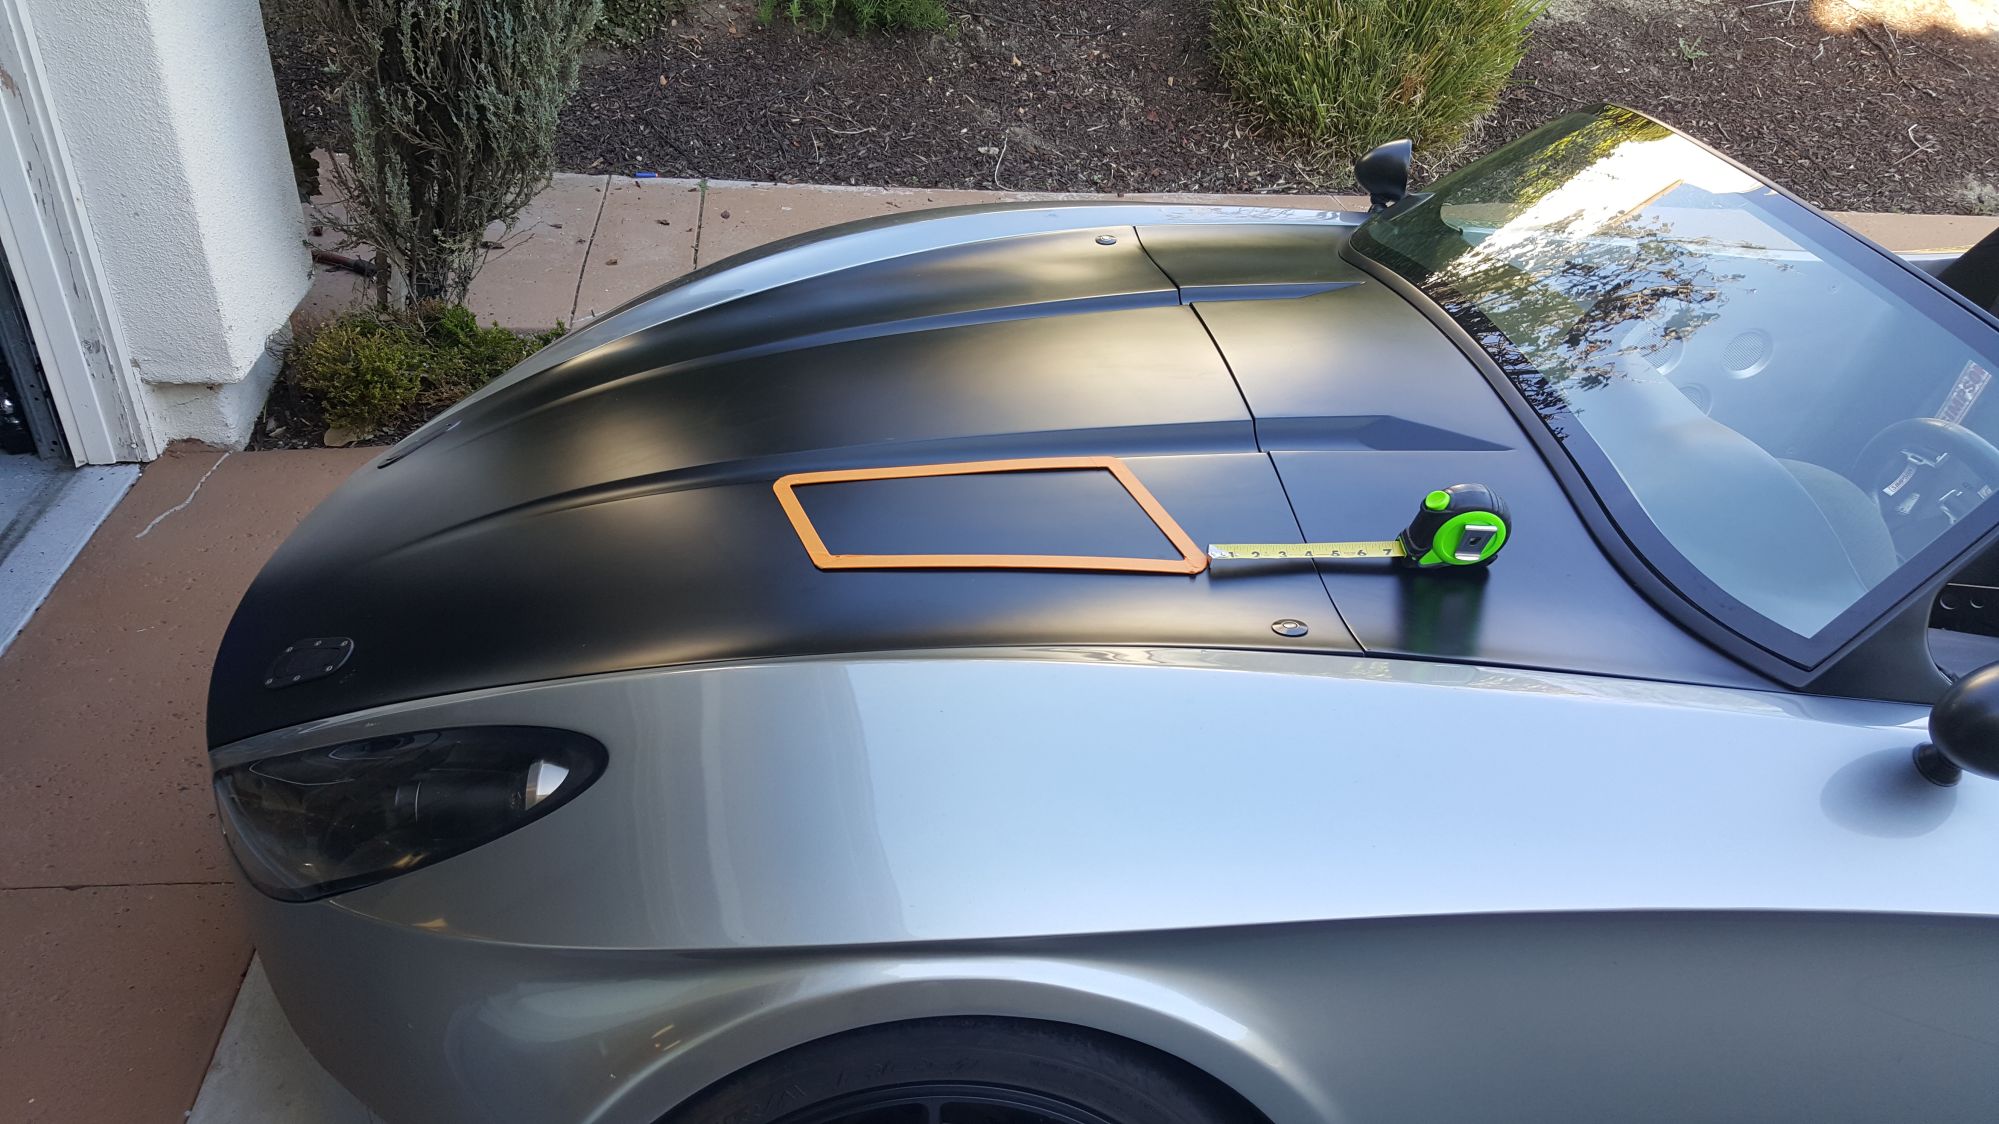
trim ring. Trying to find out the best location.
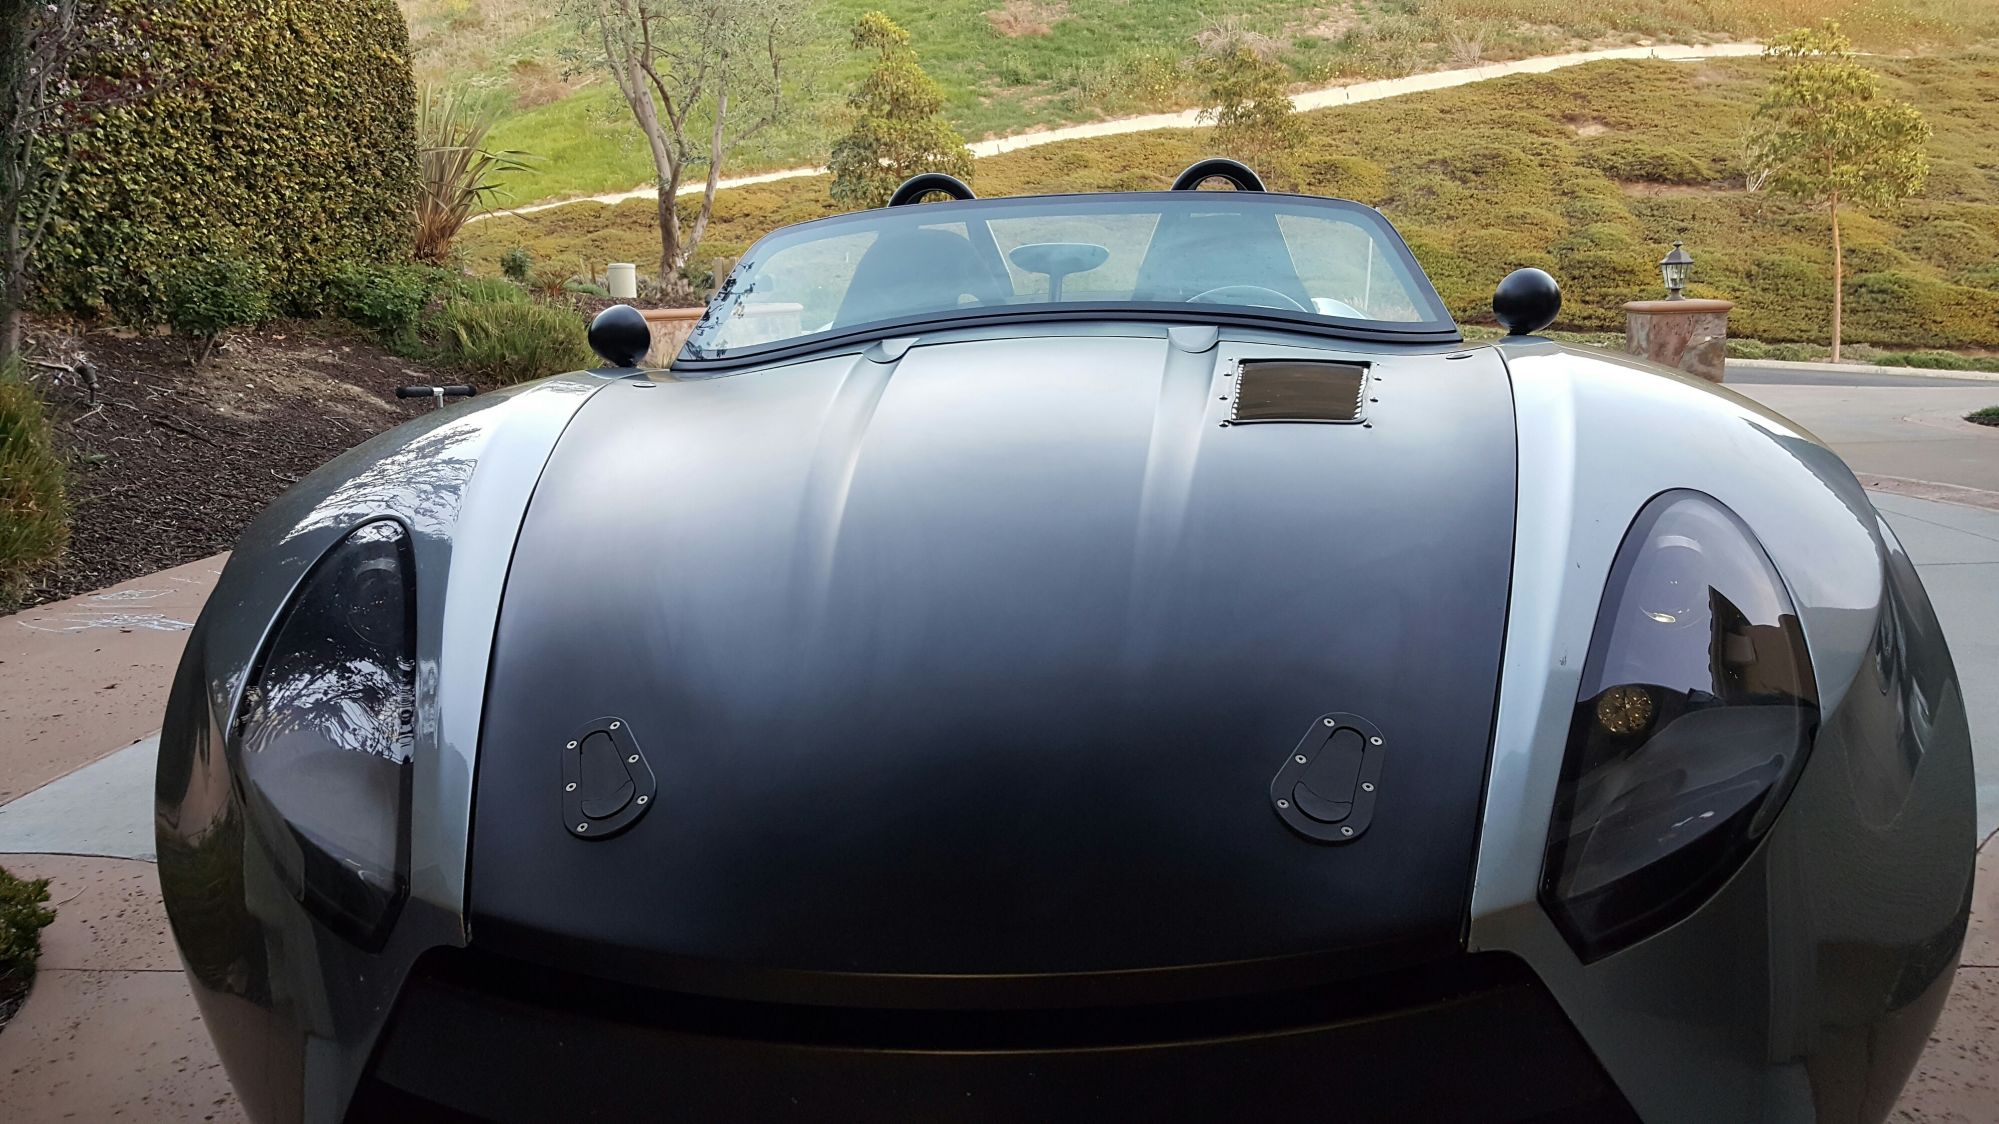
Hood vent in action. Well not quite.
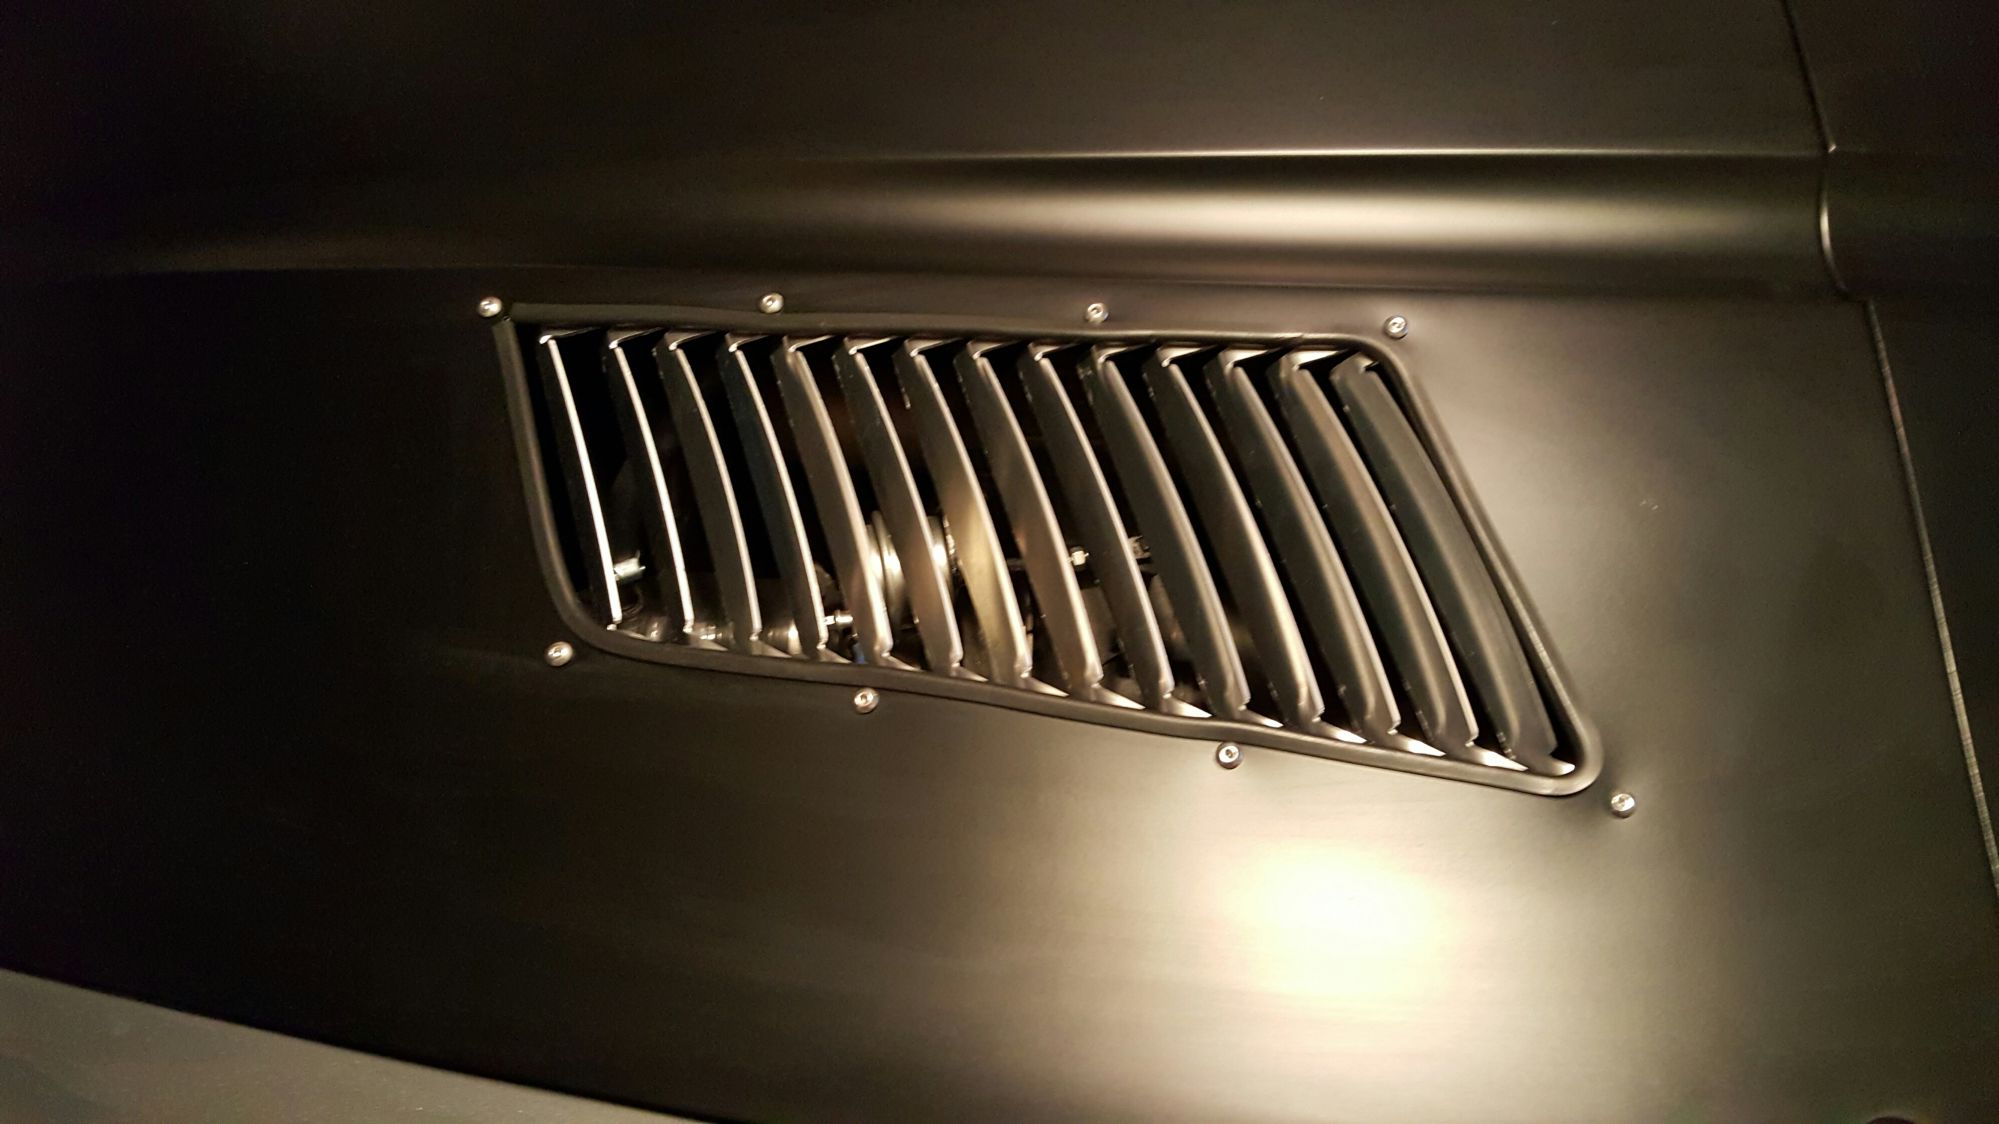
I can see the turbo through the vents. They may end up powder coated black. Right now they're just raw laser-cut aluminum.
.083" is fairly tough to bend by hand. A couple of the vents need some fine tuning. All in all, a good add.
trim ring. Trying to find out the best location.
Hood vent in action. Well not quite.
I can see the turbo through the vents. They may end up powder coated black. Right now they're just raw laser-cut aluminum.
.083" is fairly tough to bend by hand. A couple of the vents need some fine tuning. All in all, a good add.
Reply
1
1

 03-02-2016, 11:29 PM
#153
Elite Member
Thread Starter
iTrader: (2)
Join Date: Dec 2011
Location: SoCal
Posts: 2,633
Total Cats: 494
The next step will be to close off the side nose holes and redirect the air to the brakes. Not that they need it, but mainly because the engine bay doesn't need all that extra air.
Reply
0
0
03-11-2016, 11:22 PM
#154
Elite Member
Thread Starter
iTrader: (2)
Join Date: Dec 2011
Location: SoCal
Posts: 2,633
Total Cats: 494
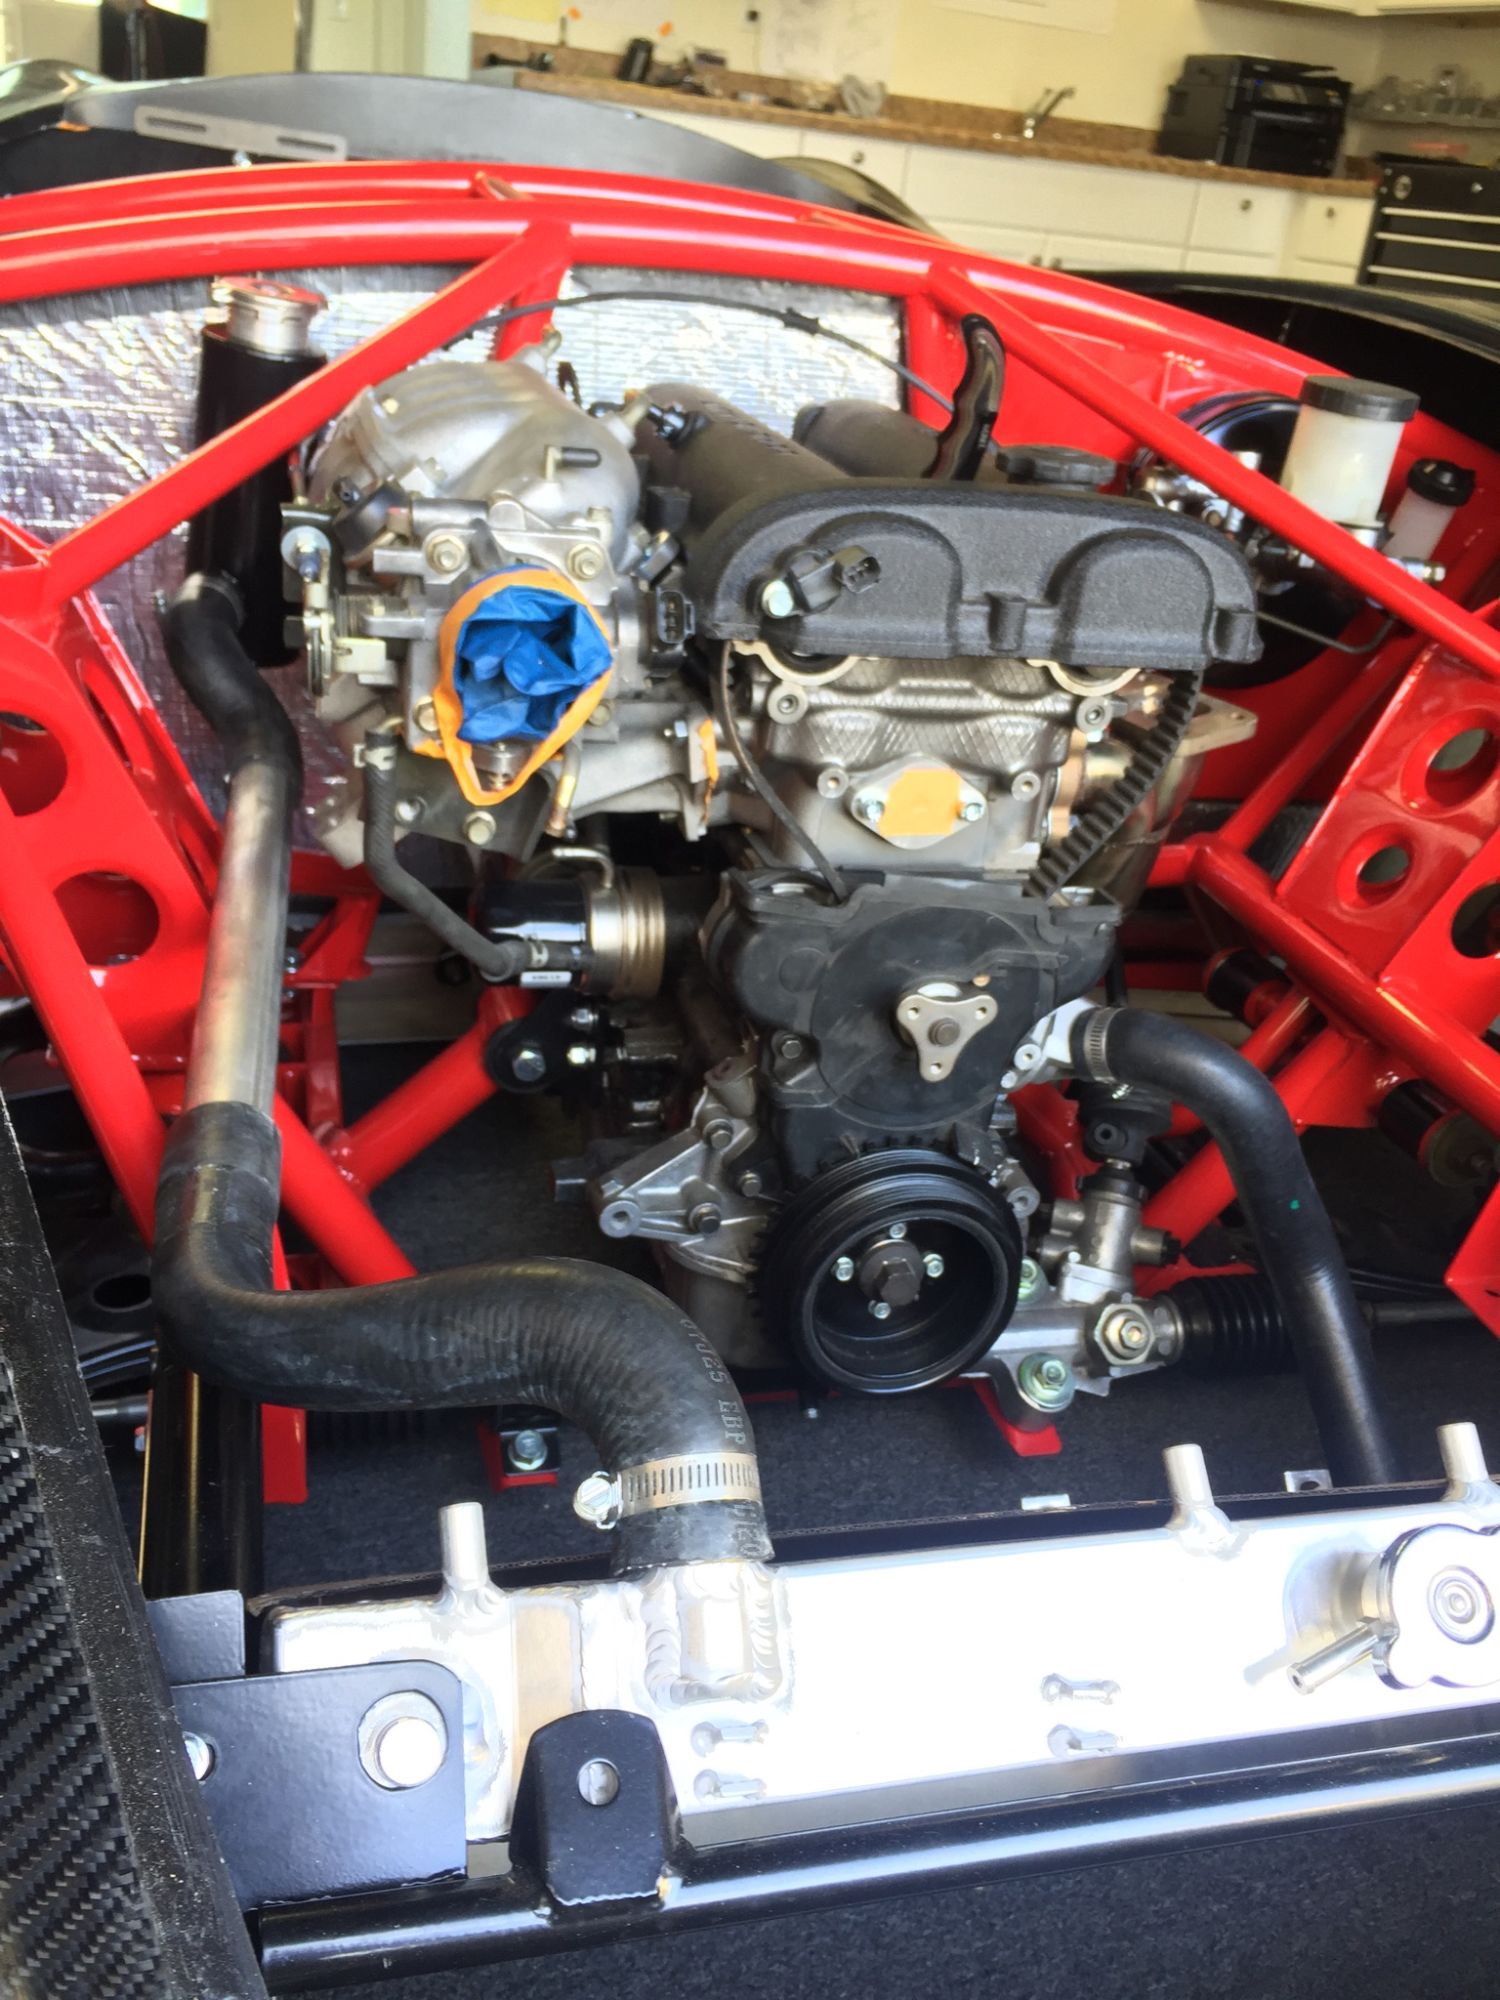
Work happens on the house cat when life doesn't get in the way. The water reroute is generally in place, including the swirl pot that includes a water temp gauge at the bottom. It sits on the firewall at the highest point for the coolant.
The pedals are being dialed in, and we're test-fitting the new wider tunnel that will accommodate larger transmissions for the LFX and LS3 engines. It's not going in the house cat, just being test-fit.
The CXRacing exhaust manifold also had a couple expansion slots cut in the base, and had the T3 mount connected to the manifold base to hopefully help reduce the possibility of stress cracks. We'll see--maybe it could have done without, and maybe it will crack because of what we've done.
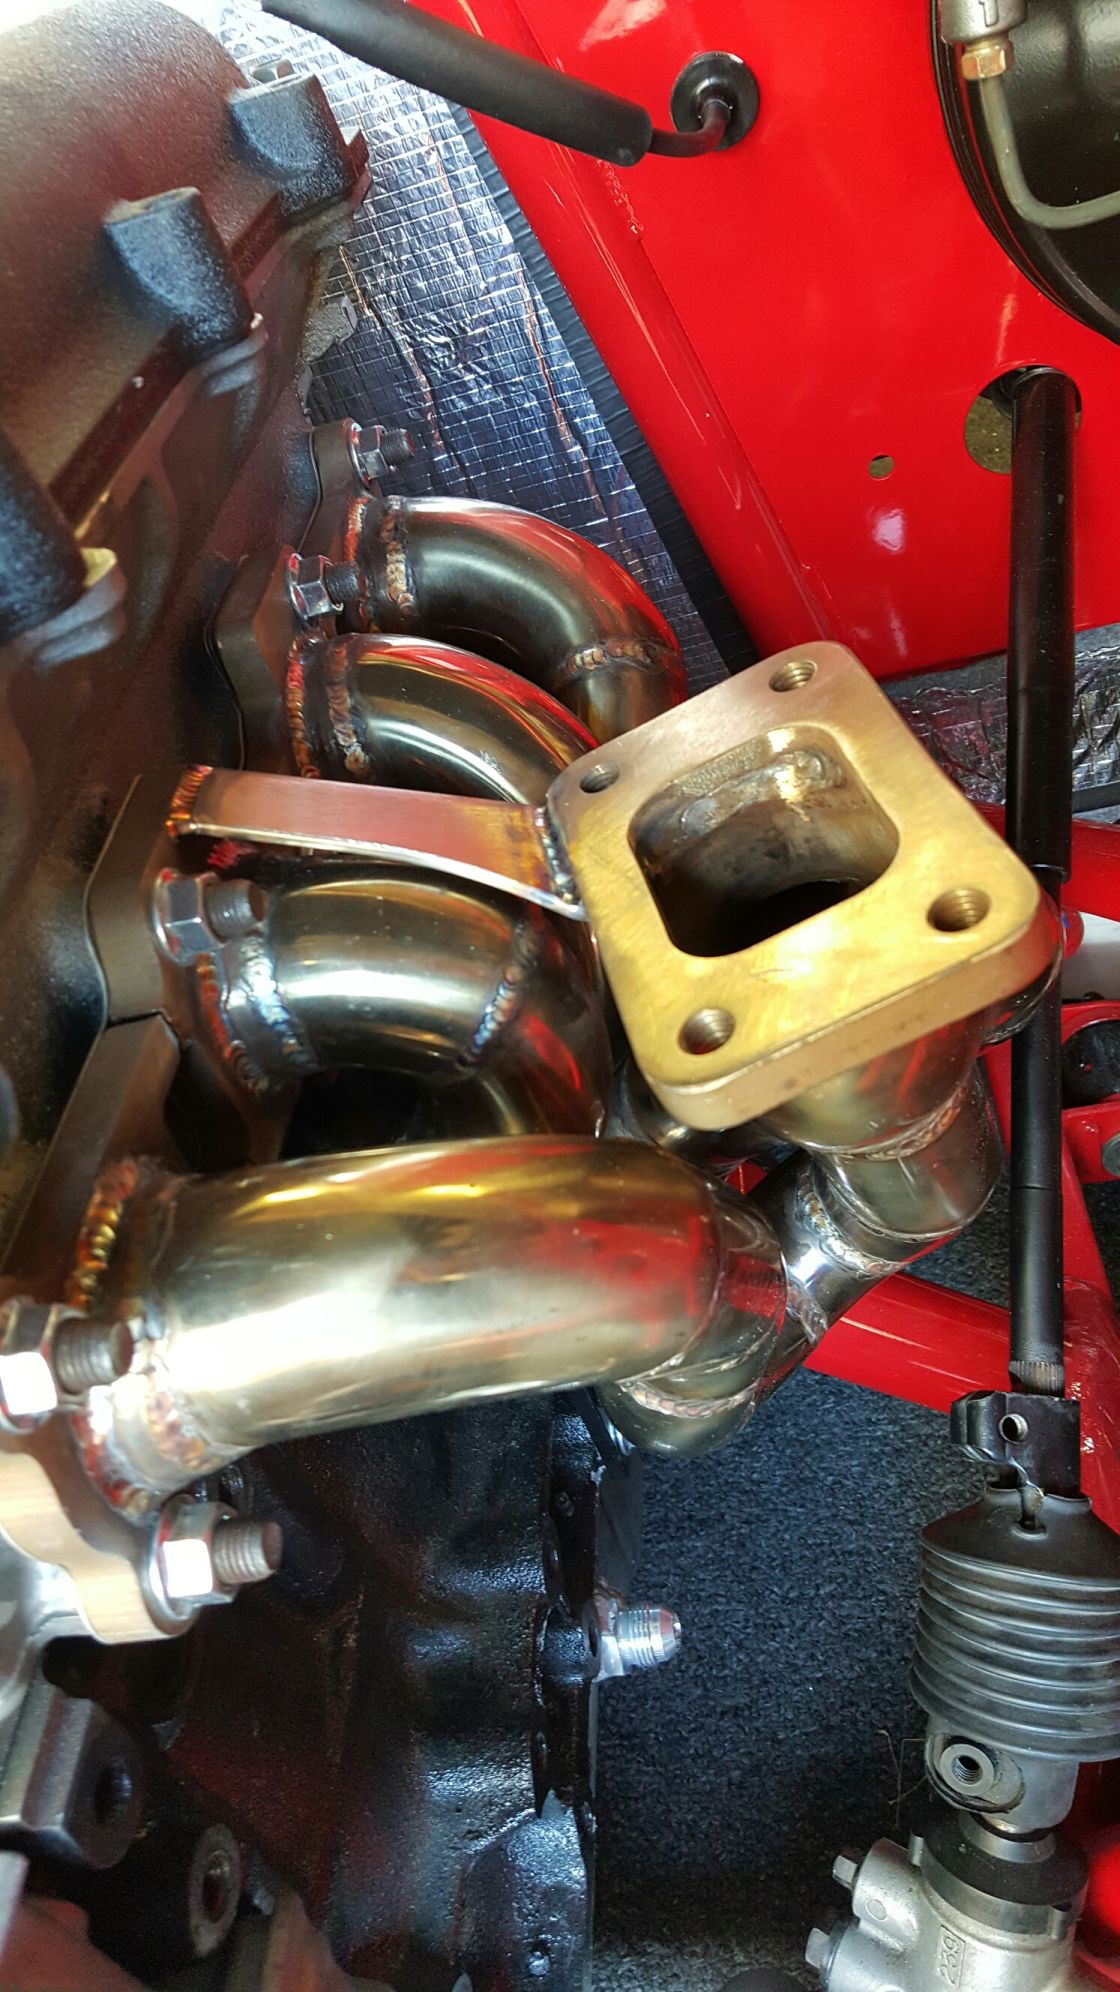
expansion relief cuts and a flying buttress.
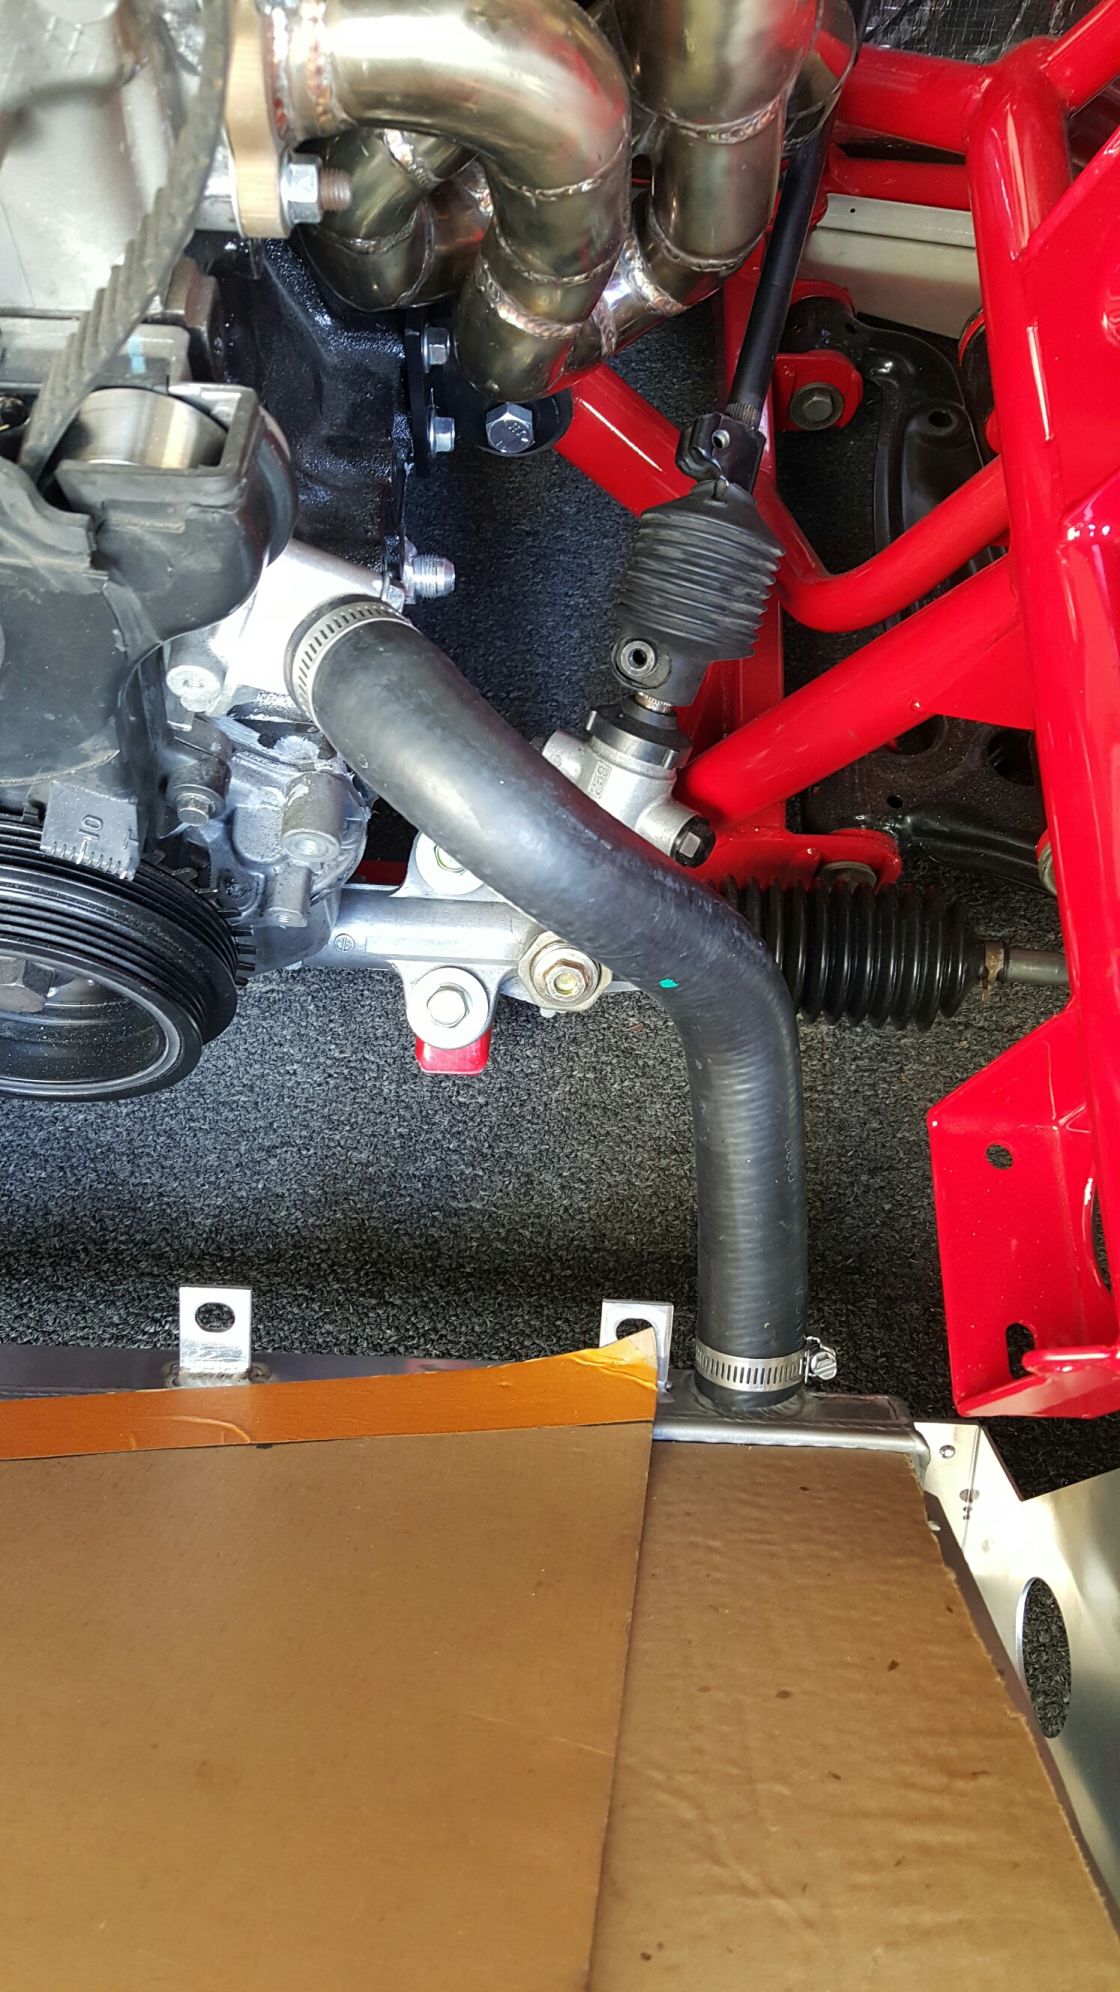
Water in.
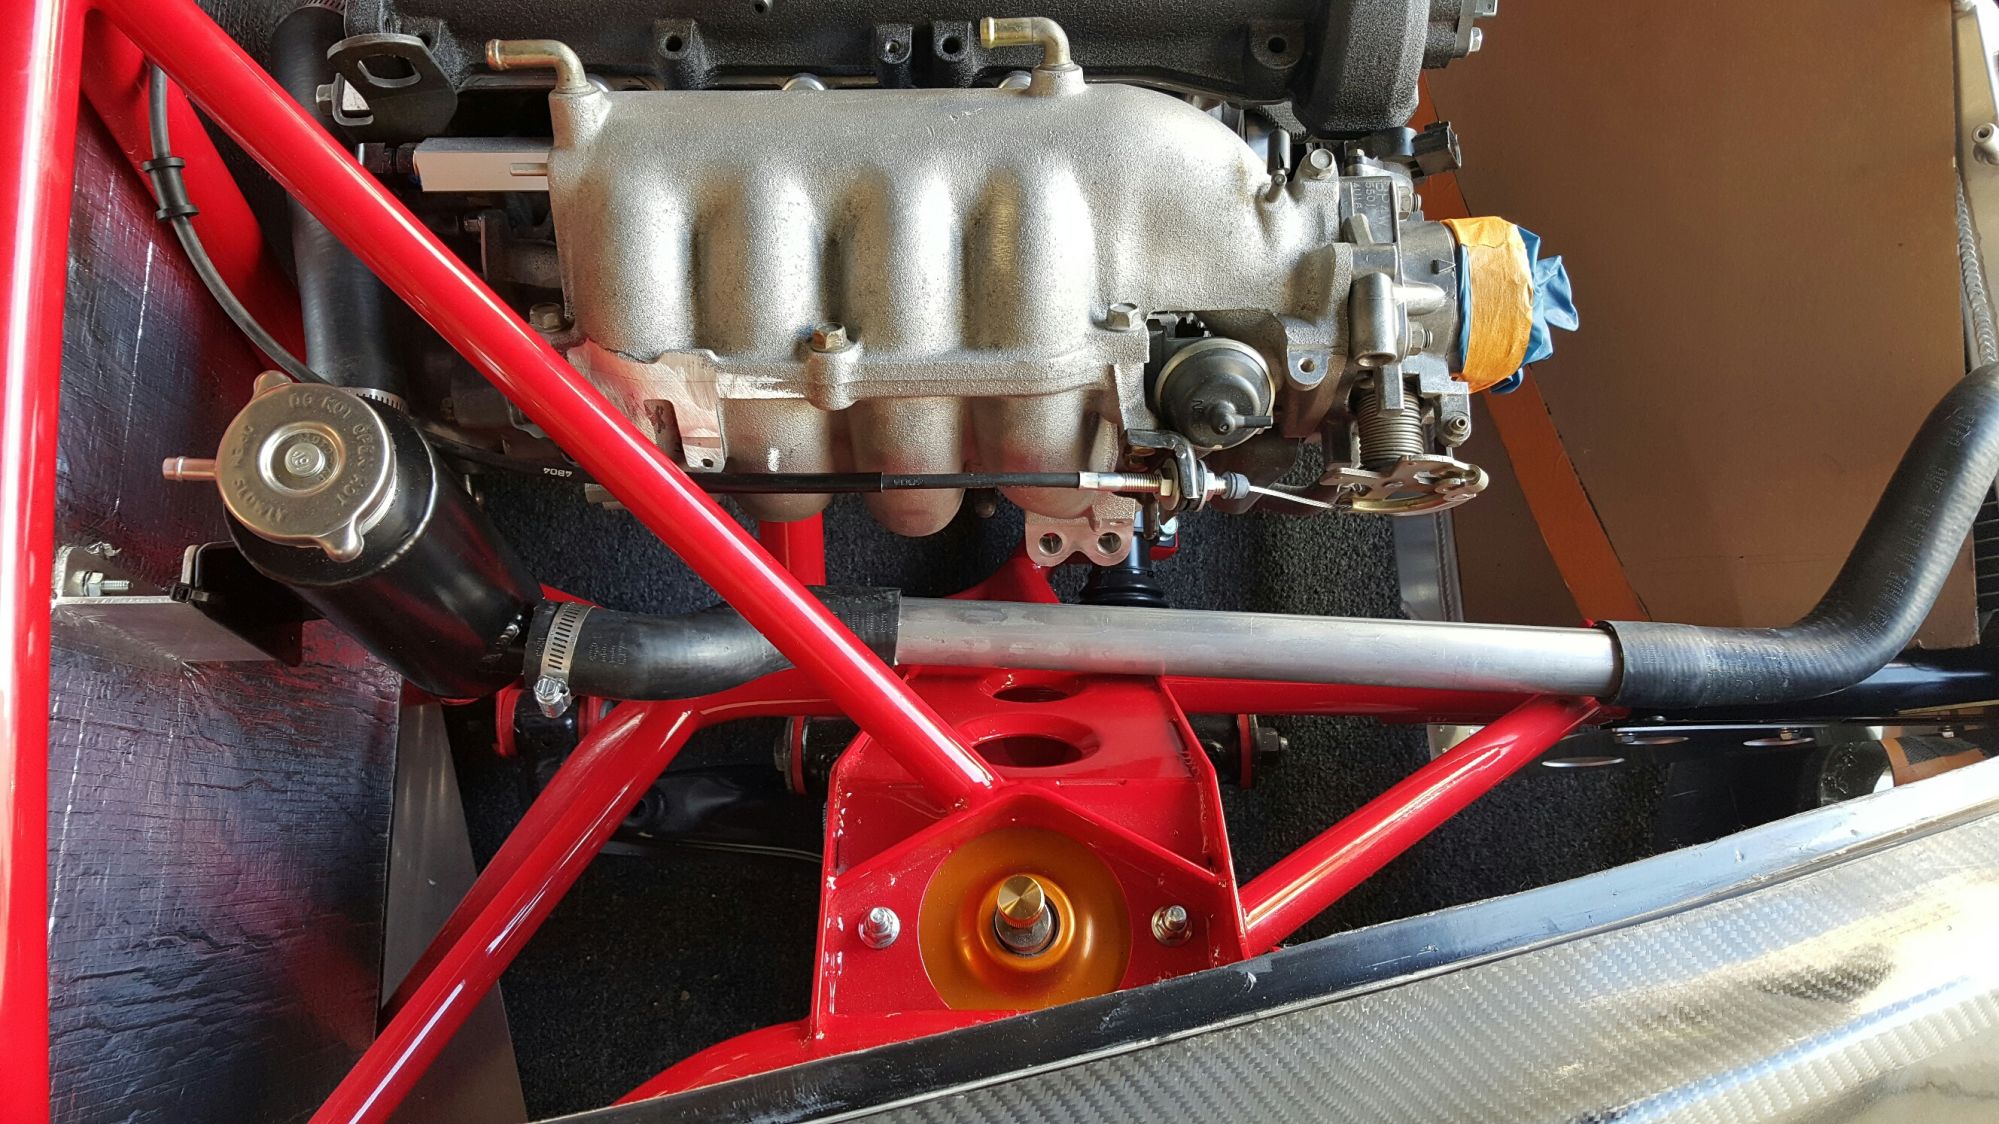
Hot water exits the back of the block and straight into a swirl pot. Note the shave job on the intake. The support bar has since moved spots.
Lots of room for the water line. The aluminum connector will be p-clipped to the shock tower.
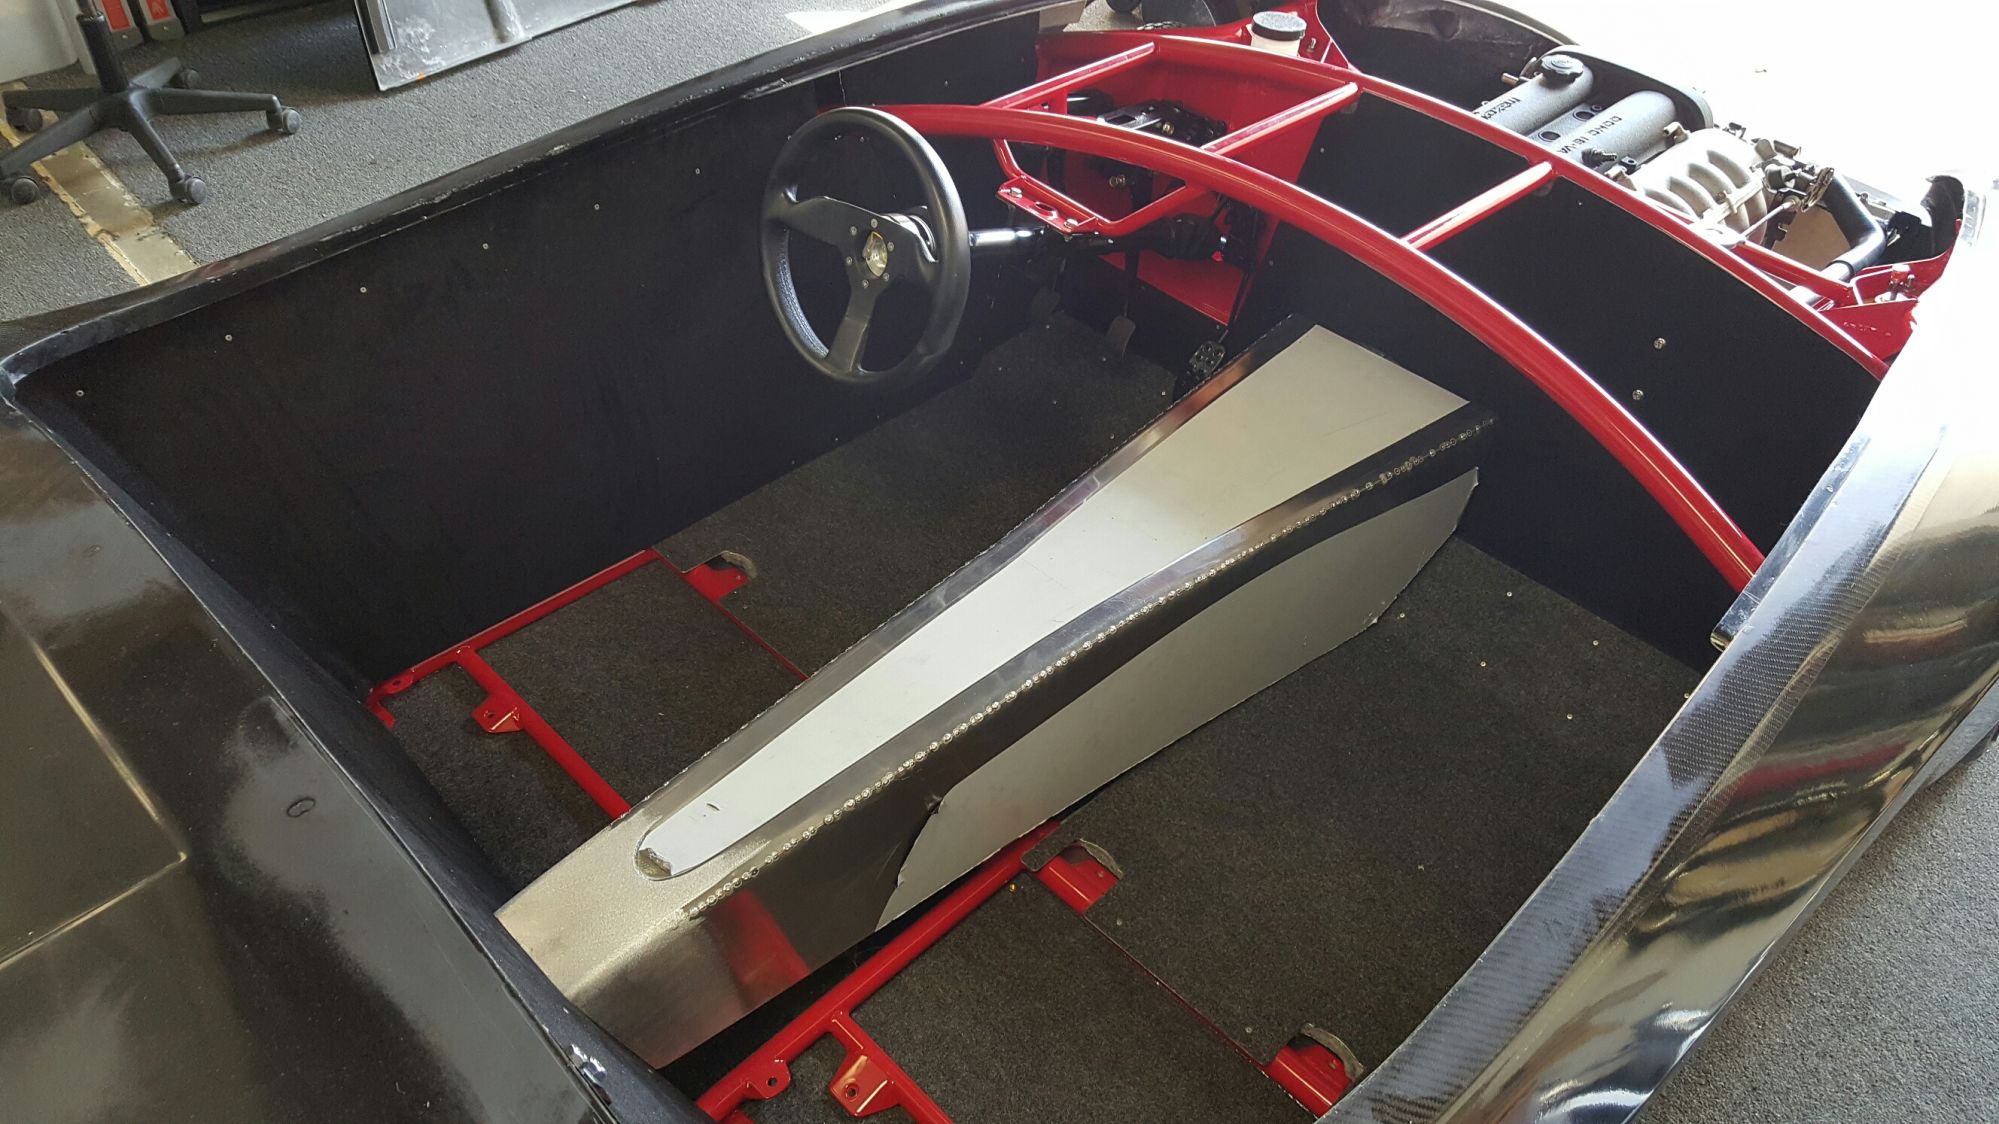
The wider aluminum tunnel still needs trimming and flanges.
The pedals are being dialed in, and we're test-fitting the new wider tunnel that will accommodate larger transmissions for the LFX and LS3 engines. It's not going in the house cat, just being test-fit.
The CXRacing exhaust manifold also had a couple expansion slots cut in the base, and had the T3 mount connected to the manifold base to hopefully help reduce the possibility of stress cracks. We'll see--maybe it could have done without, and maybe it will crack because of what we've done.
expansion relief cuts and a flying buttress.
Water in.
Hot water exits the back of the block and straight into a swirl pot. Note the shave job on the intake. The support bar has since moved spots.
Lots of room for the water line. The aluminum connector will be p-clipped to the shock tower.
The wider aluminum tunnel still needs trimming and flanges.
Reply
0
0
03-15-2016, 02:29 AM
#157
Newb

Join Date: Mar 2016
Posts: 17
Total Cats: 2
Very impressive!! Love the CF body.
Have you considered ditching the Miata pedal setup for a Willwood one? Something like this where the front and rear brakes get their own cylinder and the proportioning is adjustable.
Wilwood 340-12410, Wilwood Brake & Clutch Pedal Assemblies | Wilwood
For the LFX setup, it would free space in the engine bay and since that motor is DBW, the gas pedal needs to be replaced anyway.. Floor mounting because race car.
Reply
0
0
03-15-2016, 02:35 AM
#158
Elite Member
Thread Starter
iTrader: (2)
Join Date: Dec 2011
Location: SoCal
Posts: 2,633
Total Cats: 494
Very impressive!! Love the CF body.
Have you considered ditching the Miata pedal setup for a Willwood one? Something like this where the front and rear brakes get their own cylinder and the proportioning is adjustable.
Wilwood 340-12410, Wilwood Brake & Clutch Pedal Assemblies | Wilwood
For the LFX setup, it would free space in the engine bay and since that motor is DBW, the gas pedal needs to be replaced anyway.. Floor mounting because race car.
Have you considered ditching the Miata pedal setup for a Willwood one? Something like this where the front and rear brakes get their own cylinder and the proportioning is adjustable.
Wilwood 340-12410, Wilwood Brake & Clutch Pedal Assemblies | Wilwood
For the LFX setup, it would free space in the engine bay and since that motor is DBW, the gas pedal needs to be replaced anyway.. Floor mounting because race car.
Reply
0
0
03-19-2016, 09:27 PM
#160
Elite Member
Thread Starter
iTrader: (2)
Join Date: Dec 2011
Location: SoCal
Posts: 2,633
Total Cats: 494
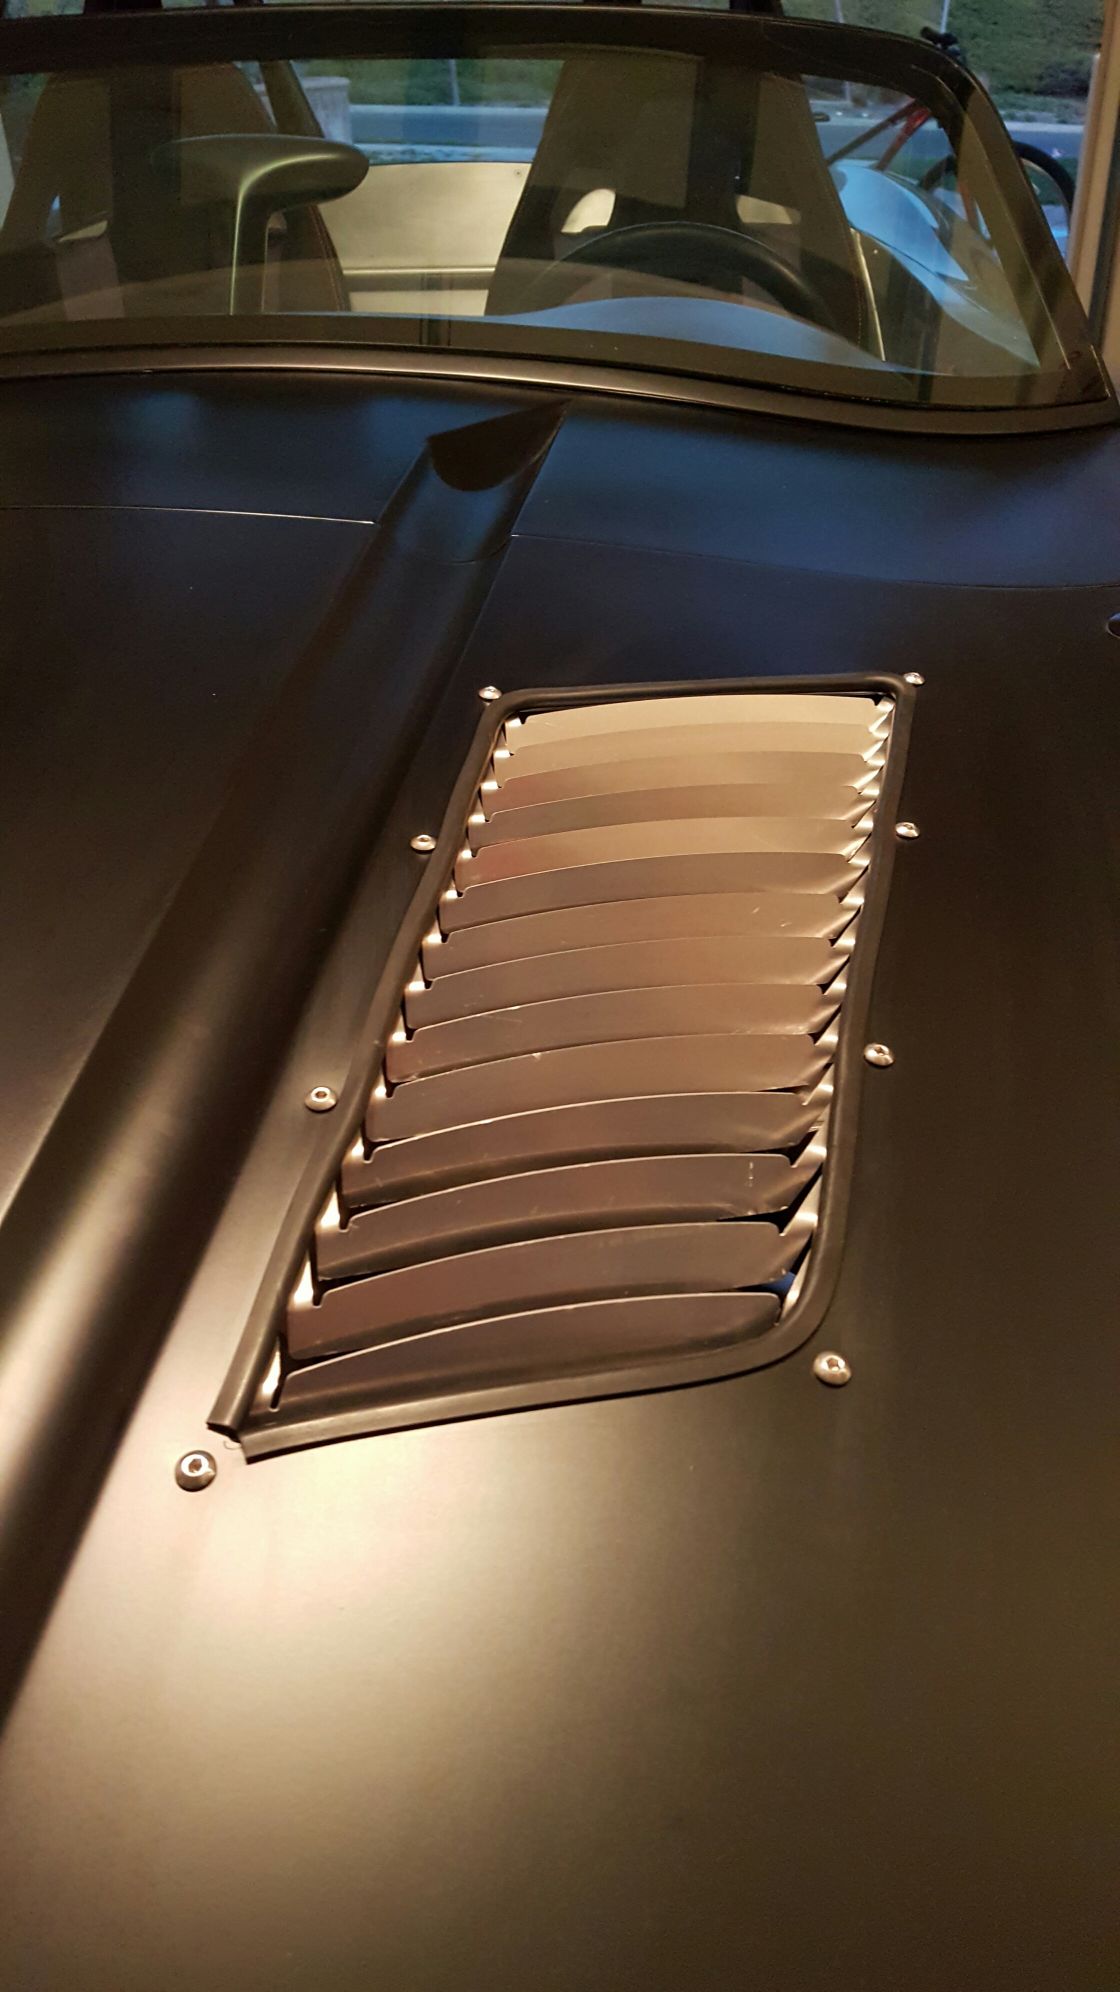
Round two of the hood vent netted some good results. We laser cut stainless steel instead of aluminum and the finish is very nice. A trim ring was added. It doubles as the cut template for the vent, so it can be used or left off. I like it now in raw stainless, but could see painting the trim ring or even not using it at all.
The LFX pedal bracket came back from the laser cutter too. It's how we're going to mount the drive-by-wire gas pedal to the stock Miata setup. If you notice there's a slot on one side of the bracket. That slot is there to adjust the height of the gas pedal so it can match the brake.
The engine splash guards are going to look and work great.

There's a low pressure zone at the back of the hood that will draw a lot of air from the engine.
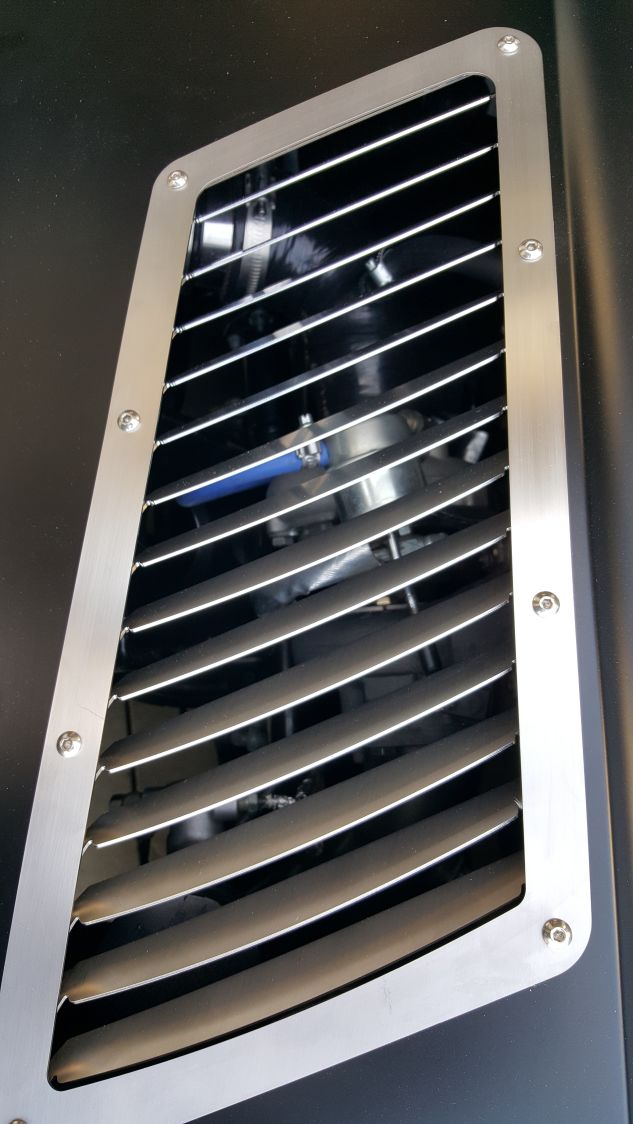
Right over the turbo...
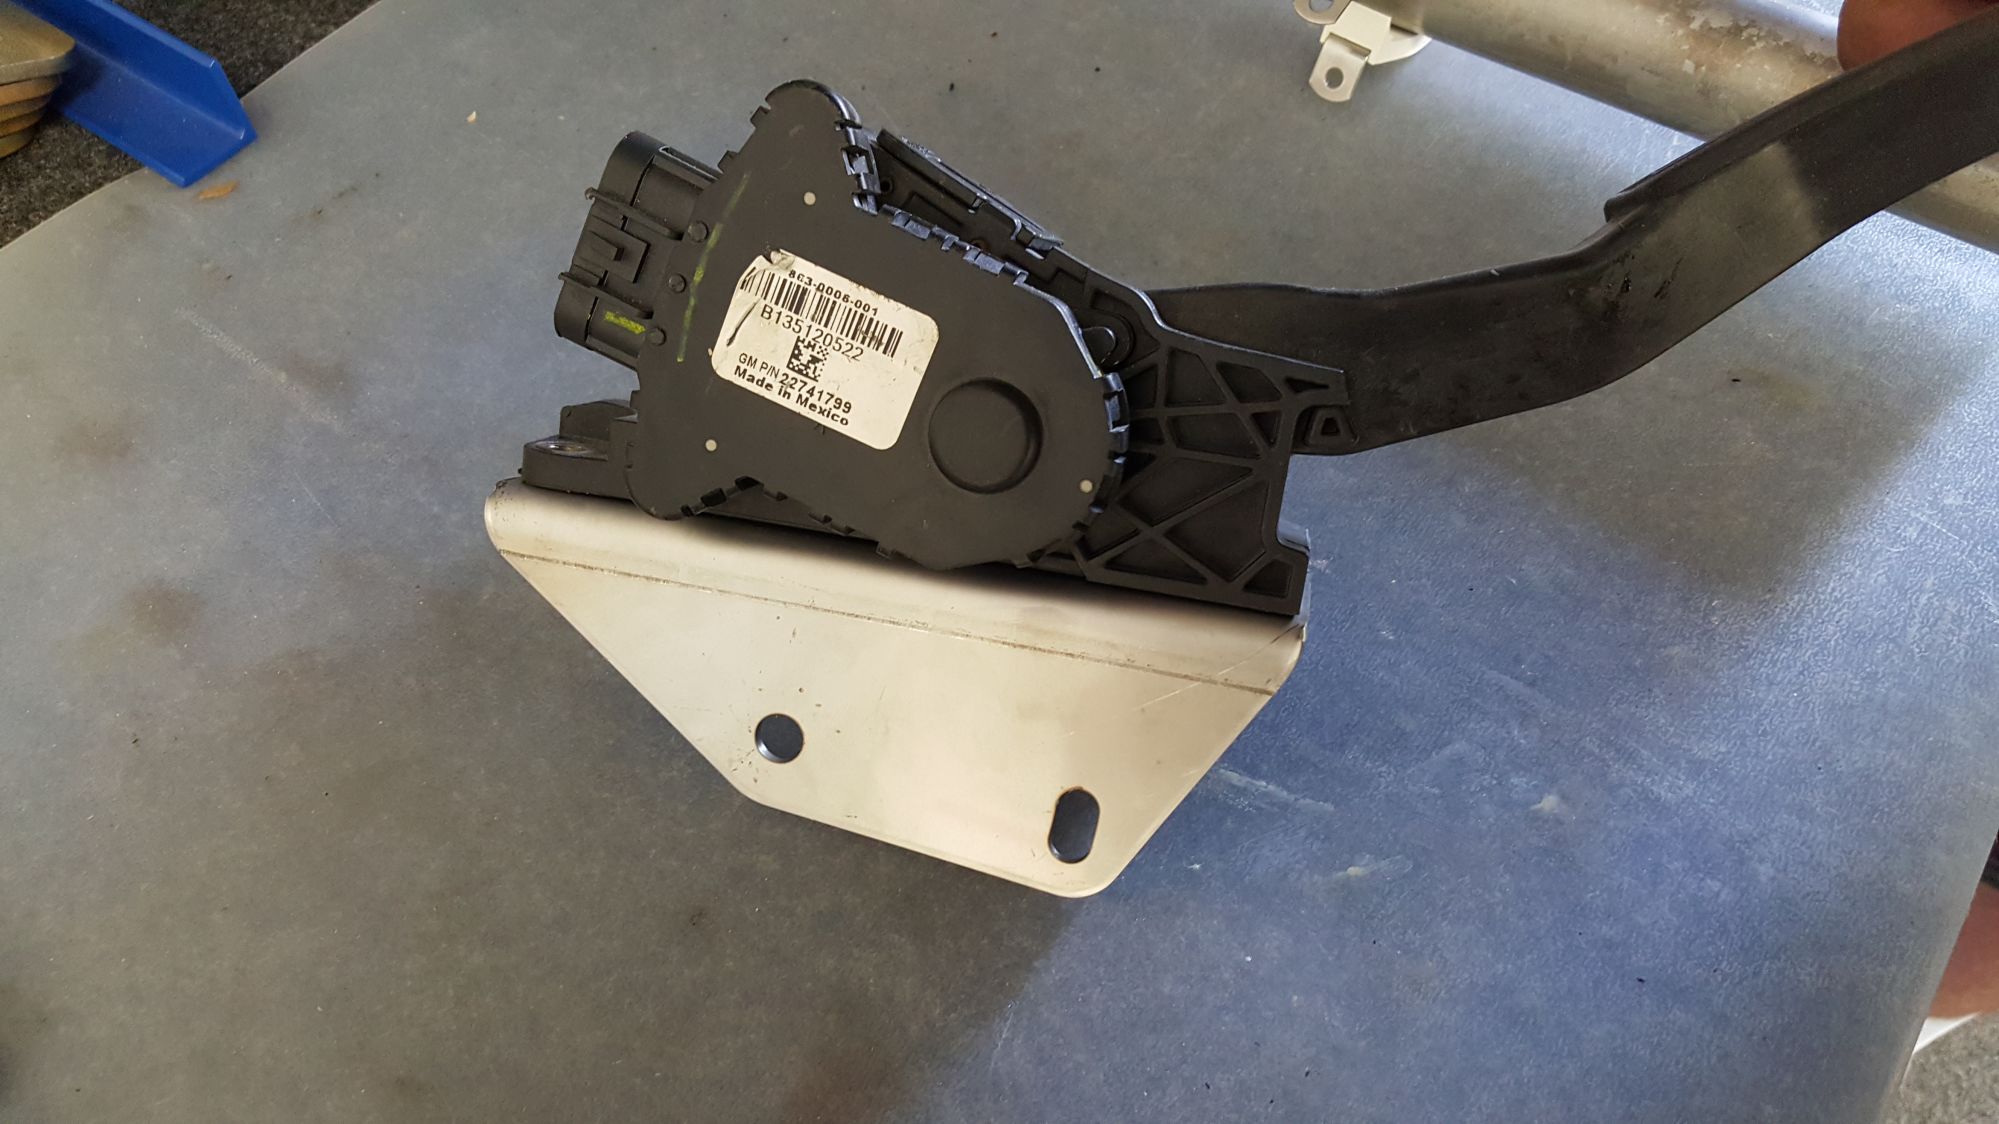
The LFX pedal bracket came back from the laser cutter too. It's how we're going to mount the drive-by-wire gas pedal to the stock Miata setup. If you notice there's a slot on one side of the bracket. That slot is there to adjust the height of the gas pedal so it can match the brake.
The engine splash guards are going to look and work great.
There's a low pressure zone at the back of the hood that will draw a lot of air from the engine.
Right over the turbo...
Reply
1
1


