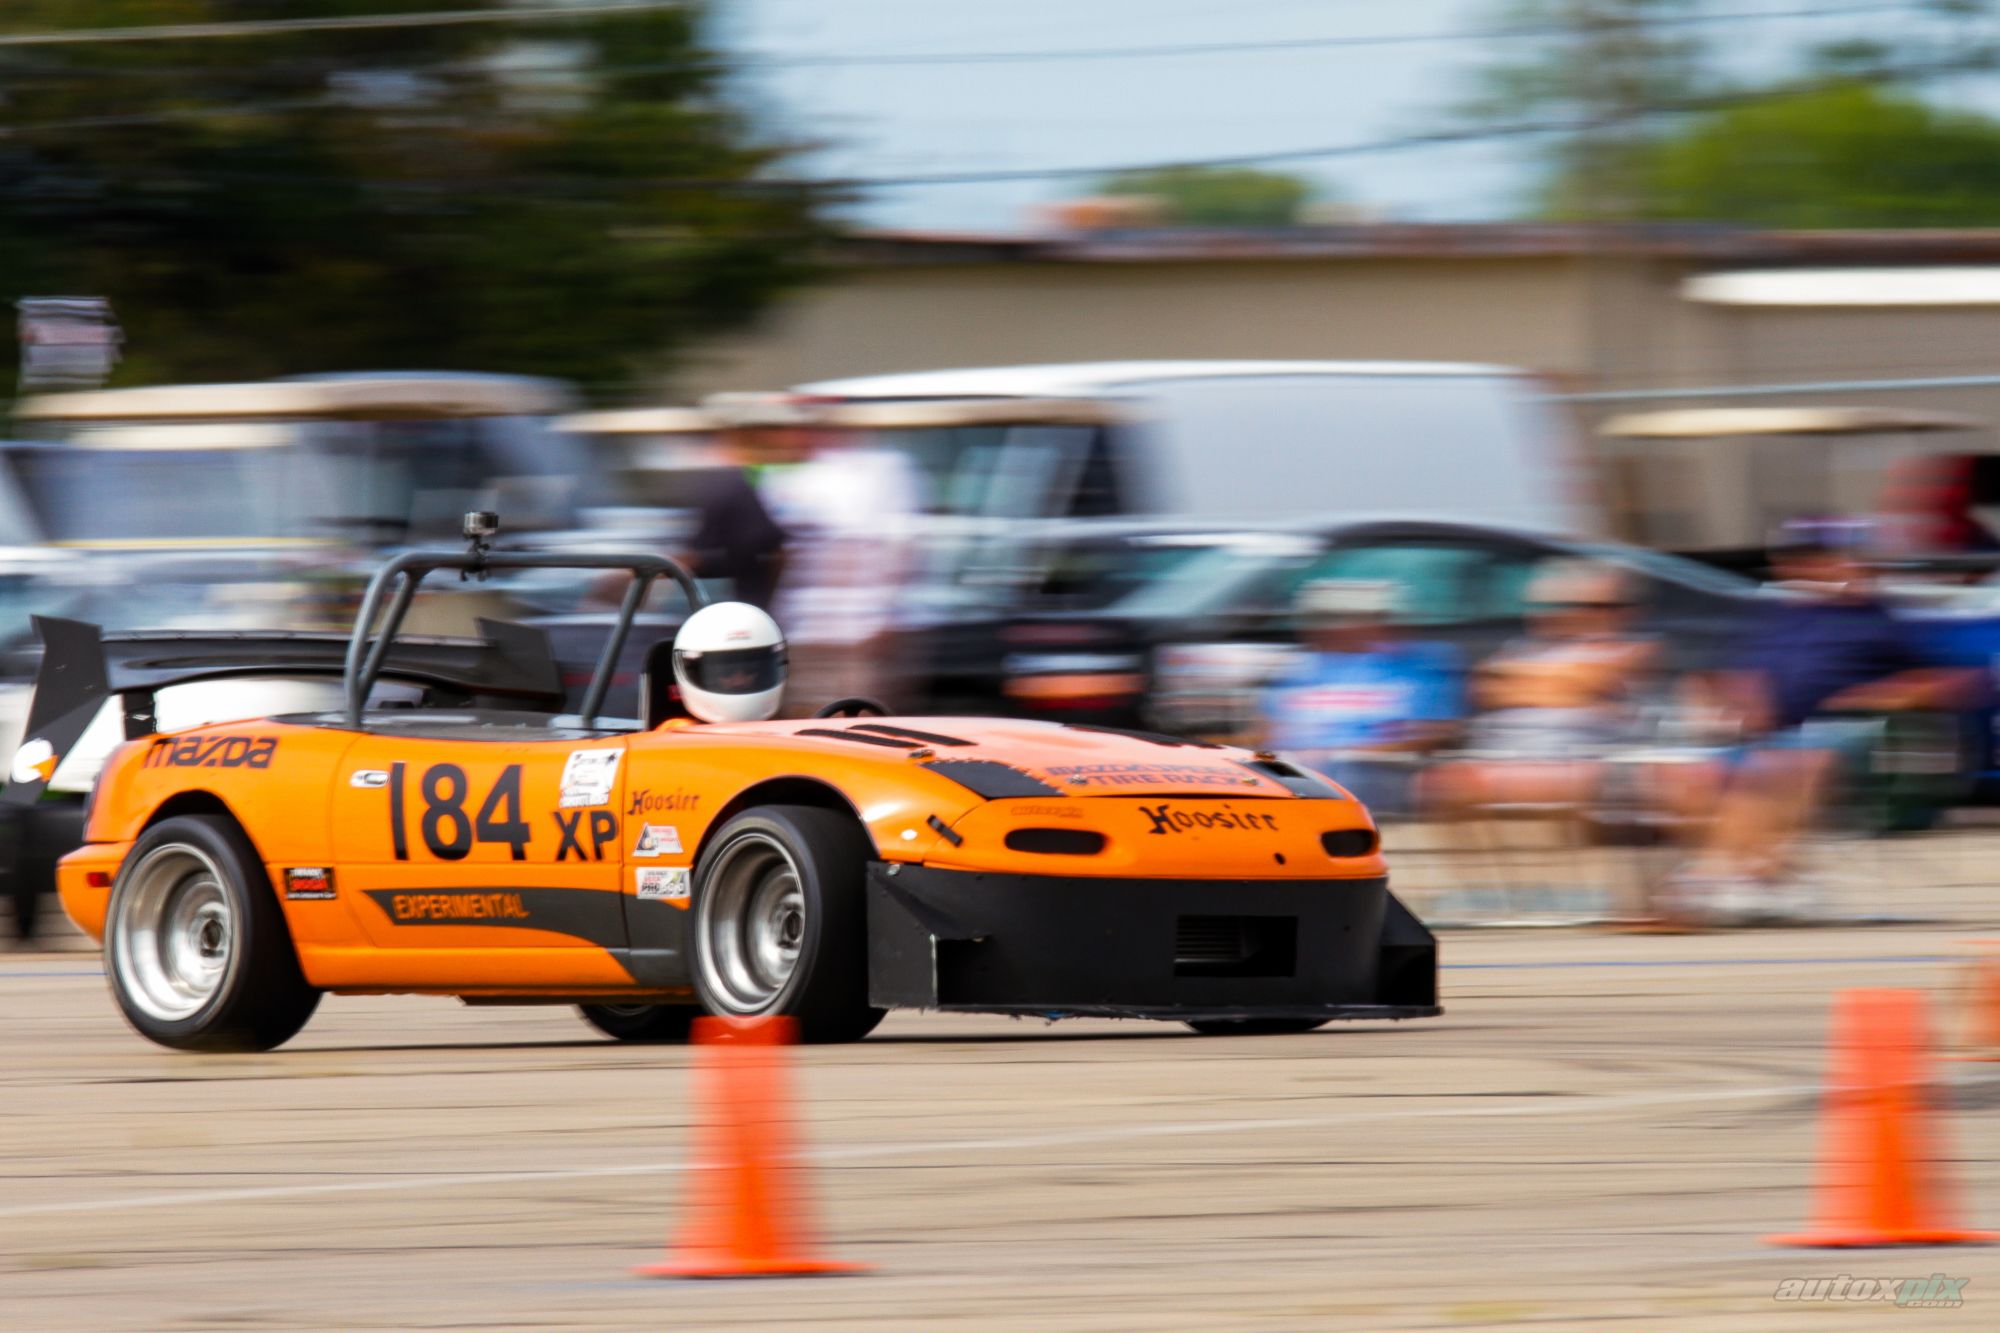
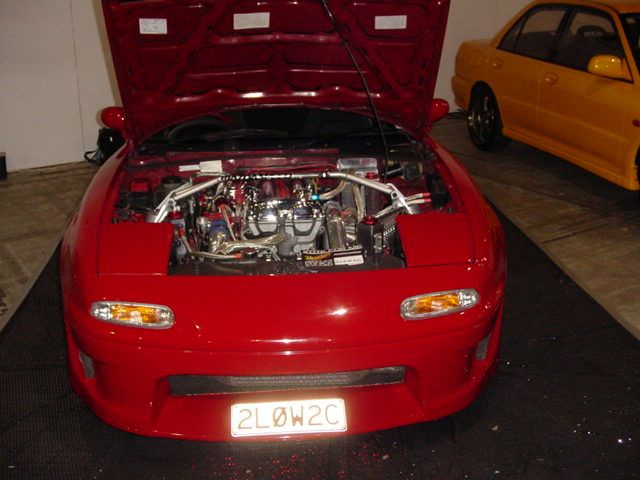
Sources for one piece race nose?
#1
As I have accumulated a spare 6 speed, diff, engine/turbo, wheels etc I have decided this years project is a new race only "lightweight" chassis to supplement the current, fully road legal, 960kg race car.
I have already sourced glass guards, boot and race roof and found Carbon Miata for light doors (though I may just trim some OEM ones down...).
http://www.carbonmiata.com/index.php...product_id=111
Only thing I am having trouble with is a nice one piece nose.
I am not sure of the Carbon Miata one (in a kit they dont actually make themselves but presume they could do nose only)...
Looking for alternative suggestions.......
#3
Keep ease of use and service in mind when considering this. A full front shell can be a real pain sometimes, there is no more 'popping the hood' to check something quickly. Every time you need to check fluids, etc. means pulling the entire front off the car. If I was having something made custom, I'd do front bumper and fenders as one, leave the hood separate and put the hood skin on four pins.
#5
Oh, well that's just an aftermarket front bumper. Aero for that one isn't as good as the "Production" style ABS add-ons, and nobody AFAIK makes a full replacement bumper with a lower portion that mimicks the production airdams. Can't tell from the pic, are the headlight lids part of the bumper on that one? I'd prefer to have the lids attached to the hood so they lift away.
#12
You should be a little skeptical of the weights carbon miata quotes. Their parts look nice, but they have a habit of quoting stock part weights wrong.
Hood:
"against 9 Kg (19.5 Pounds) for the OEM one."
I weighed my OEM NA hood at: 7260g (with fasteners, no hinges).
Fender:
"compared to the 3.3 kg/side for the metal fenders"
I weighed mine at 2960g
Also, contrary to popular opinion, there is significant weight to be saved in a well made carbon hood. I am planning to do one for my car and it breaks down like this:
https://i.imgur.com/wsSrcsr.png
If I have to add a fourth ply of carbon that will add about 1 lb.
Lastly, the stock bumper is pretty heavy, even after removing all of the bumper support foam and brackets, it comes out to 14.2lb.
Last edited by asmasm; 02-26-2016 at 01:58 PM.
#13
Cheap busted OEM bumper. Sawsall. 1/8" ABS sheet. Your choice of splitter material.
Can't find a good pic of the splitter support. Used 1/2" steel square tube, some aluminum angle riveted to the splitter and hitch pins to tie it all together. Note this is autox only. I'd do it different for real speeds.

Can't find a good pic of the splitter support. Used 1/2" steel square tube, some aluminum angle riveted to the splitter and hitch pins to tie it all together. Note this is autox only. I'd do it different for real speeds.

#17
Start the front edge of the dive plane on the splitter and curve upwards steeply to about where that existing one's top/rear point is. Voila, tire spat. At autox speeds you're not really focusing on creating vortices along the body, which is the primary purpose of small canards/dive planes. What you do want is to direct air up and over the single largest cause of drag (front tire extending past bumper).
Digging the fun endplates that remind me of an F-117 Nighthawk though
Digging the fun endplates that remind me of an F-117 Nighthawk though

#18
Version 1 had no where for the air to go (closed at the rear). This seemed to work just as well. Constraints are the limited area for the canards and end plates. Main focus was on strength for version 2. It is all getting rebuilt again this year.... after I get finished jamming the LNF motor in.
Rear endplates were inspired by winglets and trying to force as much air under the wing as possible.
Rear endplates were inspired by winglets and trying to force as much air under the wing as possible.
#20
You have to have some airflow under the wing for it to work. Given I'm only allowed to have the wing be 12" off the mount surface, that is pretty limited. Get air under, let airfoil do its fairy dust magic thing.
Another source for the idea is the endplate testing others I know have done. The found grabbing air from along the body side helped. At least from the strings taped to the body standpoint.
*thread drift! I guess I should open a thread for the car. Or at least stop cluttering this one.
Another source for the idea is the endplate testing others I know have done. The found grabbing air from along the body side helped. At least from the strings taped to the body standpoint.
*thread drift! I guess I should open a thread for the car. Or at least stop cluttering this one.


