

Post your DIY aero pics
 10-02-2013, 04:32 PM
#561
Supporting Vendor

iTrader: (3)

Join Date: Jul 2006
Location: San Diego
Posts: 3,304
Total Cats: 1,222
Needs to be slightly smaller than duct behind so that the air dam butts up against the edges of the duct. For the opening to be the exact same size as the aluminum duct and still have them seal properly, especially since the air dam shifts around a bit at speed, the duct would have to be mounted to the air dam. This I didn't want so that the air dam is still removable in the shortest amount of time.
The tubing running to the brakes is 2" diameter, so any opening larger than the surface area of a 2" circle isn't very necessary. The openings in the bumper skin are still a larger area than the area of a 2" circle, so no need in making them larger.
-Ryan
The tubing running to the brakes is 2" diameter, so any opening larger than the surface area of a 2" circle isn't very necessary. The openings in the bumper skin are still a larger area than the area of a 2" circle, so no need in making them larger.
-Ryan


Reply
 0
0

0
10-02-2013, 10:36 PM
#562

I used those for my first undertray. They held up fine under aero loads but bent back/down and failed in an impact.
My second iteration (for a splitter) used a round bar bolted on with the front bolts of the steering rack bracket, then hooks attached to the splitter for a quick disconnect setup. The heaviest hooks I could find were still pretty light duty and bent when I dropped two tires on corner exit and the splitter caught dirt.
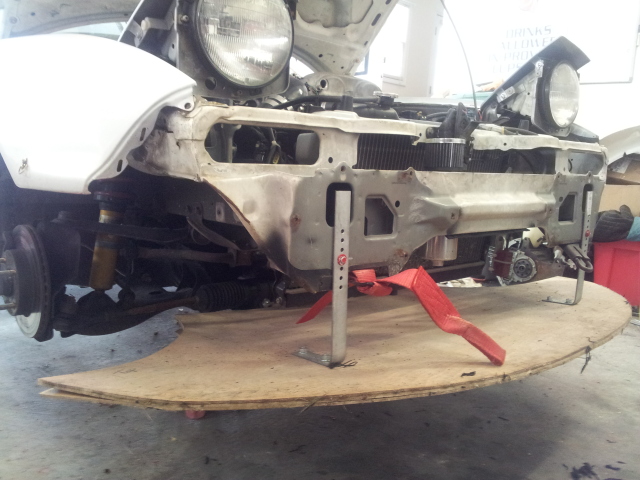
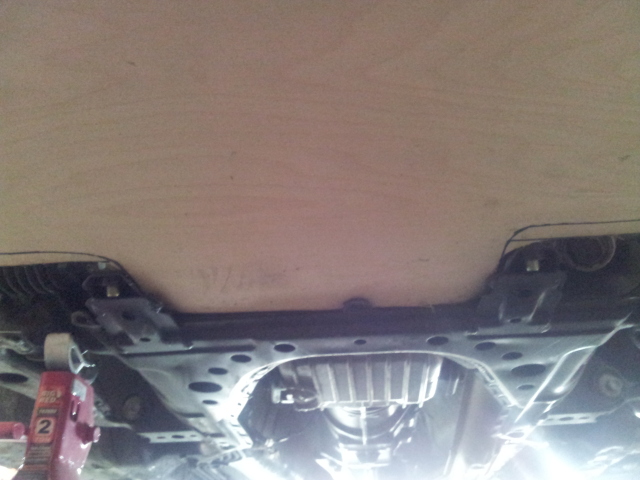
Current setup that I'm testing this weekend is what emilio alluded to a page or two ago with a "tongue" cut into the splitter that then gets wedged into the area between the steering rack mounting points and rests on that pinch weld on the subframe. It goes under the rack and over the pinch welds. It's a tight fit and has very little vertical play with the front hard mounted. (I'm not a fan of cables for the front.) All of the metal subframe/steering components in that region are pretty beefy, so the expectation/hope is that the wood will just splinter and buckle on impact. My only concern with this setup is that it could buckle upward enough to take out the radiator, but I'd probably have bigger problems than the radiator at that point.
Haven't taken any pics yet since I'm reusing my old cracked and splintered but still functional splitter to test this setup. I can snap a pic or two tonight if anyone can't picture what I'm talking about.
My second iteration (for a splitter) used a round bar bolted on with the front bolts of the steering rack bracket, then hooks attached to the splitter for a quick disconnect setup. The heaviest hooks I could find were still pretty light duty and bent when I dropped two tires on corner exit and the splitter caught dirt.
Current setup that I'm testing this weekend is what emilio alluded to a page or two ago with a "tongue" cut into the splitter that then gets wedged into the area between the steering rack mounting points and rests on that pinch weld on the subframe. It goes under the rack and over the pinch welds. It's a tight fit and has very little vertical play with the front hard mounted. (I'm not a fan of cables for the front.) All of the metal subframe/steering components in that region are pretty beefy, so the expectation/hope is that the wood will just splinter and buckle on impact. My only concern with this setup is that it could buckle upward enough to take out the radiator, but I'd probably have bigger problems than the radiator at that point.
Haven't taken any pics yet since I'm reusing my old cracked and splintered but still functional splitter to test this setup. I can snap a pic or two tonight if anyone can't picture what I'm talking about.
Reply
0
0


 10-09-2013, 02:52 PM
#565
Thanks for posting the pics. It's hard for some guys that have never fabricated anything to grasp it when I explain it.
__________________

Reply
0
0


 10-10-2013, 10:13 AM
#571

If it's has a splitter function worth the price of plywood it should be pulled down at any speed.
Would "safety" straps for the rear edge be a good idea to keep it hanging on when it gets trashed (rather than hanging loose and bounce around)?
Taking the checkered flag with lower risk of terminal damage has some value.
Reply
0
0
 10-10-2013, 04:25 PM
#574
What is the preferred Home Depot Motorsports material and fasteners for the cables? I toyed around with it in my early design and didn't find anything I really liked. I ended up with a rigid aluminum rod threaded into LH and RH rod ends but I like the idea of upward deflection on curbs, loading and mowing the lawn.
Reply
0
0
10-10-2013, 04:26 PM
#575
What is the preferred Home Depot Motorsports material and fasteners for the cables? I toyed around with it in my early design and didn't find anything I really liked. I ended up with a rigid aluminum rod threaded into LH and RH rod ends but I like the idea of upward deflection on curbs, loading and mowing the lawn.
Reply
0
0
 10-10-2013, 05:04 PM
#577

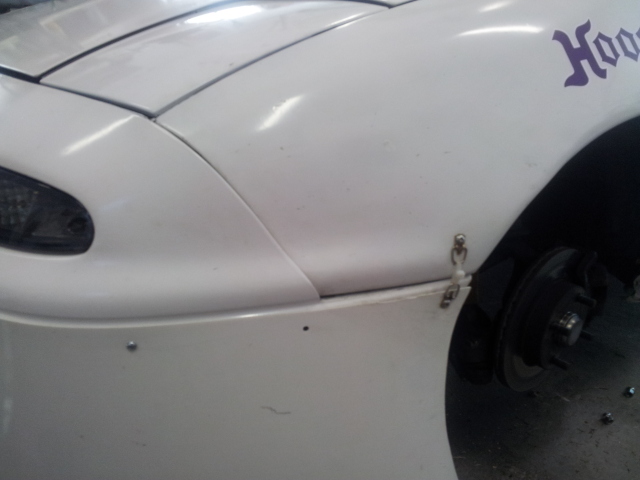
Finding cable at Home Depot Race Supply is trivial. If you want to increase the strength of a small eye bolt, welding up the gap at the end of the loop does nicely.
Mine are adjustable from the eye bolts themselves. They're threaded, of course, so I simply run them in/out to the desired length and then use a jam nut to lock them. Obviously the cables need to be close to the correct length first.
Mine are adjustable from the eye bolts themselves. They're threaded, of course, so I simply run them in/out to the desired length and then use a jam nut to lock them. Obviously the cables need to be close to the correct length first.
Reply
0
0
10-10-2013, 05:53 PM
#578
Senior Member

Join Date: Dec 2012
Location: Charlotte, NC
Posts: 571
Total Cats: 72
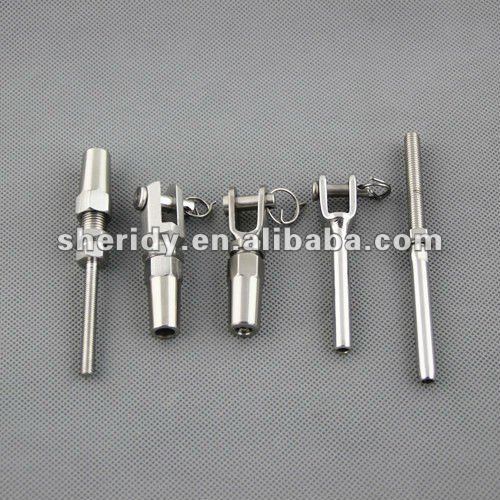
I used aluminum turnbuckles on the car side to take up cable tension, and I used cable and clevises from Harbor Freight, along with eye hooks on the splitter.
Fork Terminal for 3mm Wire
Fork Terminal for 3mm Wire
Reply
0
0
10-10-2013, 08:32 PM
#579
I used aluminum turnbuckles on the car side to take up cable tension, and I used cable and clevises from Harbor Freight, along with eye hooks on the splitter.
Fork Terminal for 3mm Wire
Fork Terminal for 3mm Wire
Google "swageless terminal" and click images tab
__________________
Reply
0
0
10-11-2013, 12:36 PM
#580
Senior Member
Join Date: Dec 2012
Location: Charlotte, NC
Posts: 571
Total Cats: 72
They worked very well, were about $5 a piece (cheapest I could find anywhere), and easy to assemble. I just used some aluminum ferrules and a vice to crimp the other end in an eye loop that went to the turnbuckles. Bad pic, but this was the end result.
Reply
0
0


