Having a terrible time starting the car on MSX3
#1
I have a brain built MS3x. Got all things connected, but it just cranks bad. Timing was jumping between T and 10 on the timing piece. By adjusting the tirgger angle to -16 and cranking advance to 16 I managed to start it by pressing the accelerator down. RPM started/shot up to 3K, AFR was changing slowly (around 14.3) and it misfired when it did, just softly, nothing compared to before where I was cranking and just went plop plop. Possible detonation. Heck even my timing watcher said the crank spun the other direction (once).
Once fired it ran at 25degreees of ignition timing. Also when I let go of the accelerator it very slugishly went down to 2500 it took about 3 seconds.
Any advice? I'm getting quite worked up as I expected an easy install, not a hell no I'm not starting tune.
Once fired it ran at 25degreees of ignition timing. Also when I let go of the accelerator it very slugishly went down to 2500 it took about 3 seconds.
Any advice? I'm getting quite worked up as I expected an easy install, not a hell no I'm not starting tune.
#3
In tunerstudio - basic settings->More Ignition Options-> switch fixed advance from "use table" to "fixed timing" - the default is 10 degrees I think. Then it's up to you to adjust the crank position sensor (wiggle room only) next to your crankshaft pulley until a timing light reads 10* on your pulley. Oem spacing between the trigger wheel and the sensor is a "credit card". Once the car matches tunerstudio you can change the fixed advance setting back to "use table" and move forward tuning. Calibrate your afr table to your wbo2 and calibrate thermistor tables if you didn't already.
#4
Got it close to 10* then tried to start it with the accelerator pedal. Shot up to 3K again, let it live this time around. I feared engine damage last time. It slowed to 2200, then let it warm up. Eventually, still warming up it stuck around 1500-2000. My air temp was jumping, so I took a look at it. It had one lose wire. After this was corrected it idled better but its still jumping between 14-16. I'll recheck my O2 wires tomorrow. Hoping to tune idle and eventually drive it 
Now I have to review if I used the right mark to time it. White or yelllow. HM....I'll look at my FSM.

Now I have to review if I used the right mark to time it. White or yelllow. HM....I'll look at my FSM.
#13
John, sorry for the late reply. I'll email you back tonight when im home. The 3K cut is probably the crank/cam pots needing adjustment. Seems the 99+ sensors like them turned differently from the 90-97 that I tend to set them up for. I'll write you up steps to go about readjusting them.
email me your current msq and I can review that too and possibly rework the idle parameters for improvement.
email me your current msq and I can review that too and possibly rework the idle parameters for improvement.
#14
This is faster than email.
It's most likely the cam sensor adjustable pot, so try this:
It's most likely the cam sensor adjustable pot, so try this:
First you'll need to slide the mainboard out of the case. Remove the two serial port studs from the USB side of the case. IIRC they are 3/16".
Then remove the 4 screws on the opposite end-plate of the case and you can now slide it out from the two db37 side.
You should be looking at a green expander board and a white daughter-board connected by two ribbons.
On the green board, if you lift the large ribbon out of the way you'll see two white rectangular cube with tiny screws on them. Turn them both back 7-8 times counter-clockwise, then turn the top one, r11, clockwise 3 full turns.
This should stop the 3K cut but we might as well go back in and adjust the crank sensor pot just in case. So remove the two studs from the top db37 holding the green expander in place, then fold it up out of the way for access.
There should be two similar, but larger, pots to adjust on the mainboard under the green expander. Turn them both back 12 full turns coutner clockwise, then turn the bottom one, near the(c) 2005, back 7 full turns clock-wise.
reassemble; dont overtighten the studs on the connectors, they will snap easily.
#16
Those pots can turn CCW endlessly without worry. They need at least 7 turns CCW on the expander and 12 CCW on the mainboard to "reset."
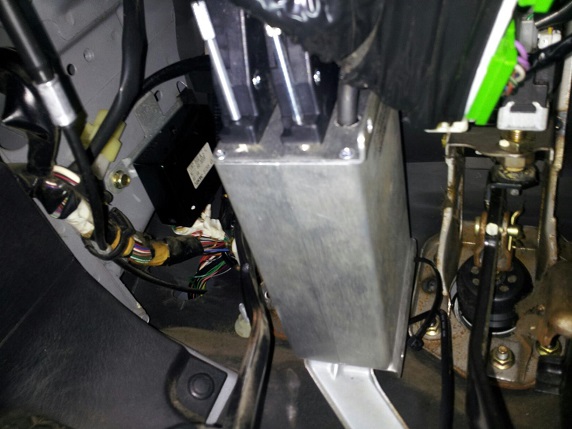
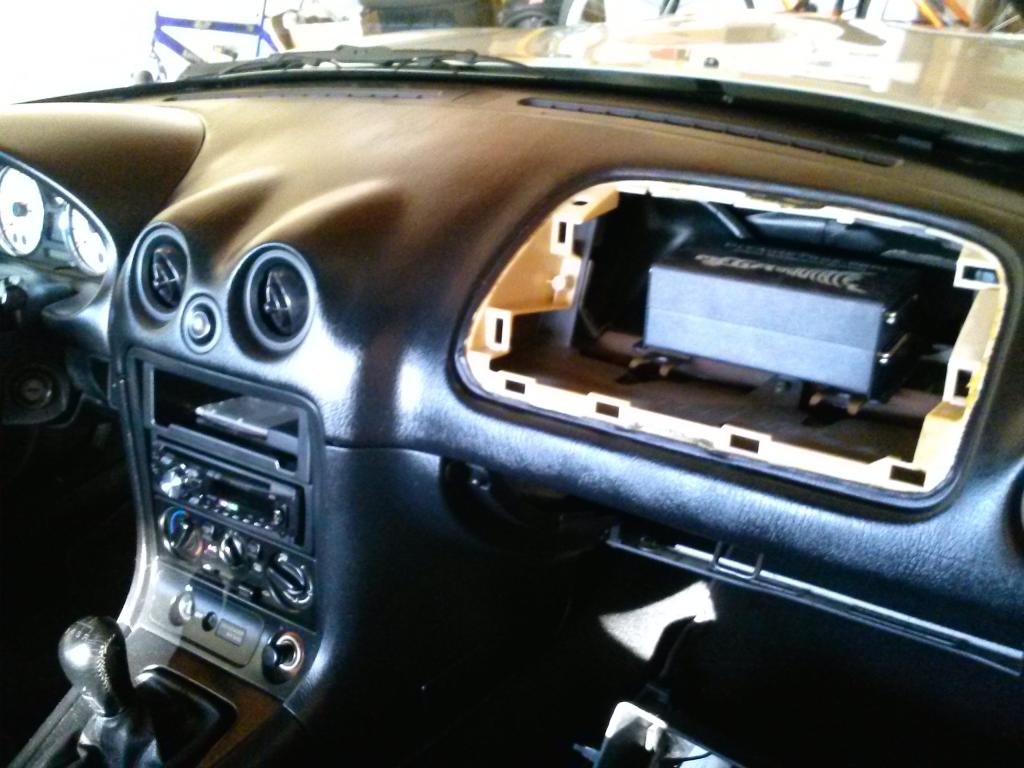
I've seen zipties and custom bracketry or even extending the harnesses 4 feet and mounting on passenger footwell. the NB location for the ECU is just plain silly.
I've seen zipties and custom bracketry or even extending the harnesses 4 feet and mounting on passenger footwell. the NB location for the ECU is just plain silly.


