A/C Control for NB 01-05
#1
Thread Starter
Junior Member
iTrader: (2)
Joined: Oct 2012
Posts: 47
Total Cats: 0
From: Southfield, MI
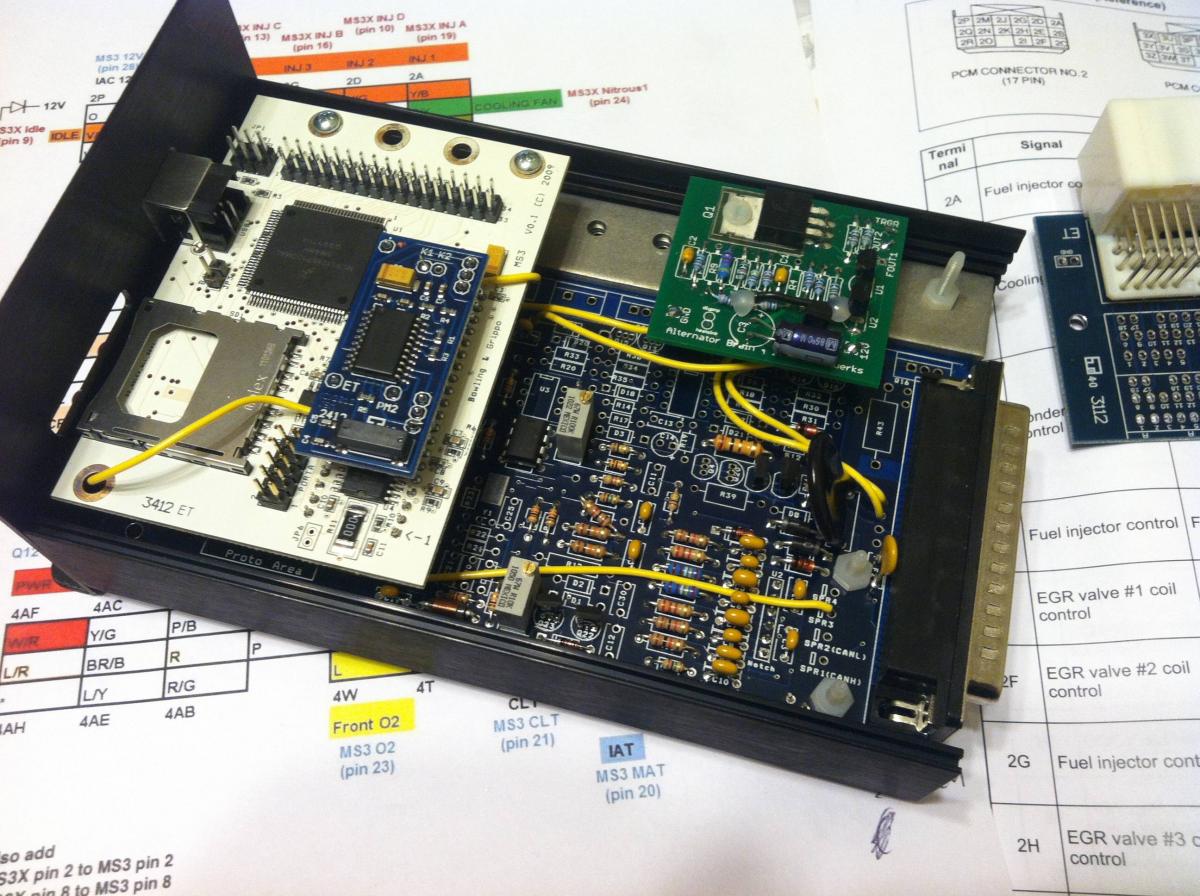
Hey everyone. I'm currently in the middle of finishing up the build of my MS3x which will be installed in my 2001 SE. I've been following Frank's instructions (99-05 MS3 with MS3X | My Westfield MX5 99-05 MS3 with MS3X | & Megasquirt site). I also purchased an alternator control circuit from Braineack to keep things neat inside the Megasquirt box, which has worked out quite well. Everything appears to be working great (according my testing with a JimStim) and I'm just about done wiring up my harness. My only question at this point is the proper connections for A/C control. Doing a search, I found information for everything except 01-05 and Frank's pinouts on his site only have the ac fan labelled on the 01-05 pinout chart. Looking over the schematic (https://lh4.googleusercontent.com/-O...pg?imgmax=1024) and a pinout chart, here's what I've come up with:
ECU - Description - Megasquirt
2C - condenser fan - Extra injector output
2B - main fan - MS3X Nitrous 1 (pin 24)
2K - a/c switch relay - Extra injector output
4F - thermoswitch / pressure switch - MS3X Tableswitch (pin 28)
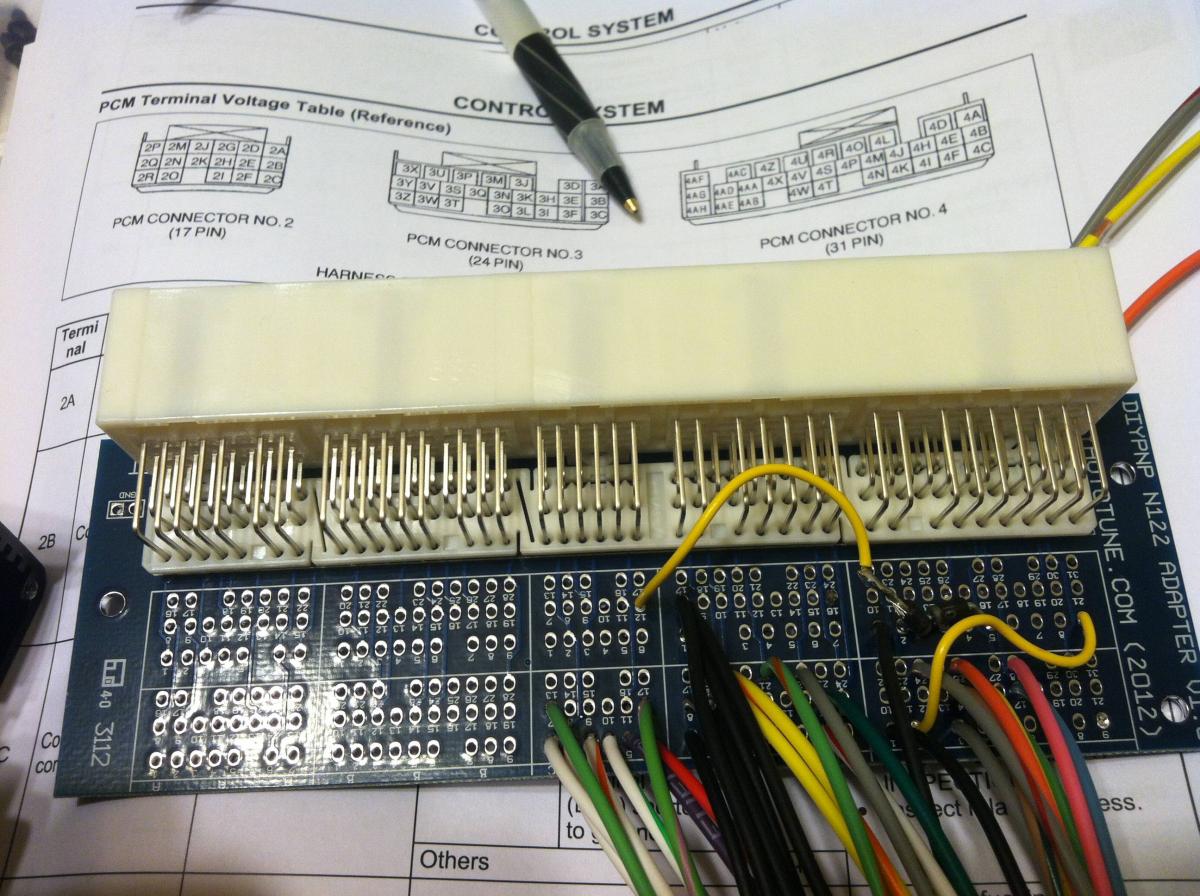
Just for kicks, here's a few pictures of my build:


DIYAutoTune's new NipponDenso 122 pin DIYBOB is REALLY nice. I love the fact that they put in two rows of pin connectors, which helped tremendously when wiring up the 1N4001s flyback diodes for the IAC and VVT circuits.
Any help to confirm the above would be greatly appreciated. Thanks in advance!
ECU - Description - Megasquirt
2C - condenser fan - Extra injector output
2B - main fan - MS3X Nitrous 1 (pin 24)
2K - a/c switch relay - Extra injector output
4F - thermoswitch / pressure switch - MS3X Tableswitch (pin 28)
Just for kicks, here's a few pictures of my build:


DIYAutoTune's new NipponDenso 122 pin DIYBOB is REALLY nice. I love the fact that they put in two rows of pin connectors, which helped tremendously when wiring up the 1N4001s flyback diodes for the IAC and VVT circuits.
Any help to confirm the above would be greatly appreciated. Thanks in advance!
#3
Joined: Jun 2005
Posts: 19,338
Total Cats: 574
From: Fake Virginia
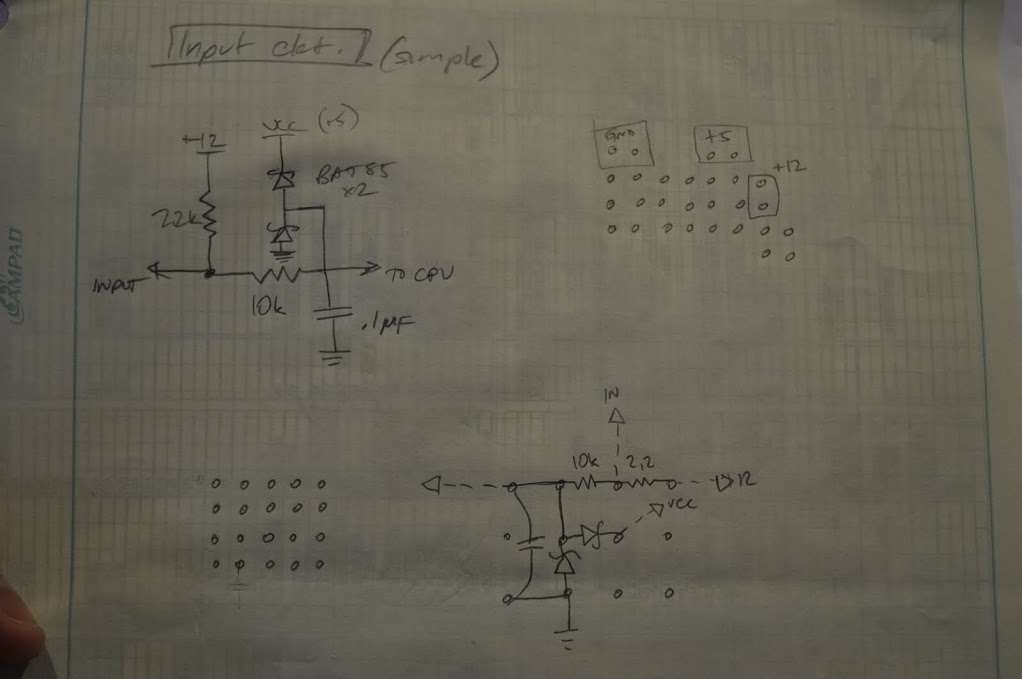
Big note and warning. You NEED a simple input circuit and output circuit to make this work or you'll blow your **** up. BLOW YOUR **** UP. That means $100 repair to start.
Here's a way to do it in the proto area:

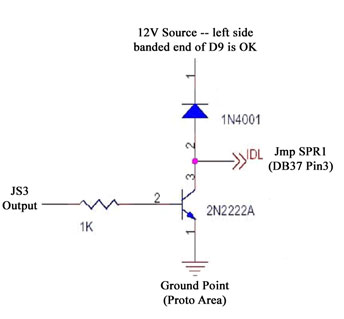
The output you can do like any other grounding output or relay control.
Courtesy of DIYAutotune:

Here's a way to do it in the proto area:

The output you can do like any other grounding output or relay control.
Courtesy of DIYAutotune:

#4
Thread Starter
Junior Member
iTrader: (2)
Joined: Oct 2012
Posts: 47
Total Cats: 0
From: Southfield, MI
Sorry it's been so long since I first put up this post, but thanks for the info! I definitely appreciate the warning on the input/output circuits. Just so that I'm clear, both JS2 and INJ2 in your first picture need output circuits right?
Thanks again for your help.
Thanks again for your help.
#6
Dont even build circuits.
USE THE ******* EXPANDER BOARD THAT HAS:
Datalog In
Tableswitch In
Nitrous In
Launch In
already built to bring in the a/c switch.
AND:
INJ E
INJ F
INJ G
INJ H
Nitrous 1
Nitrous 2
Boost
Tacho
VVT
To activate the a/c compressor and a/c fan.
I mean, that's the reason you pay the $90 to buy the epxander board...so you don't have to build circuits.
Thread
Thread Starter
Forum
Replies
Last Post
Zaphod
MEGAsquirt
47
10-27-2018 12:00 AM
StratoBlue1109
Miata parts for sale/trade
21
09-30-2018 02:09 PM
russian
Miata parts for sale/trade
6
10-08-2015 04:01 PM


