Meet and Greet Say Hi. De-noob yourself.

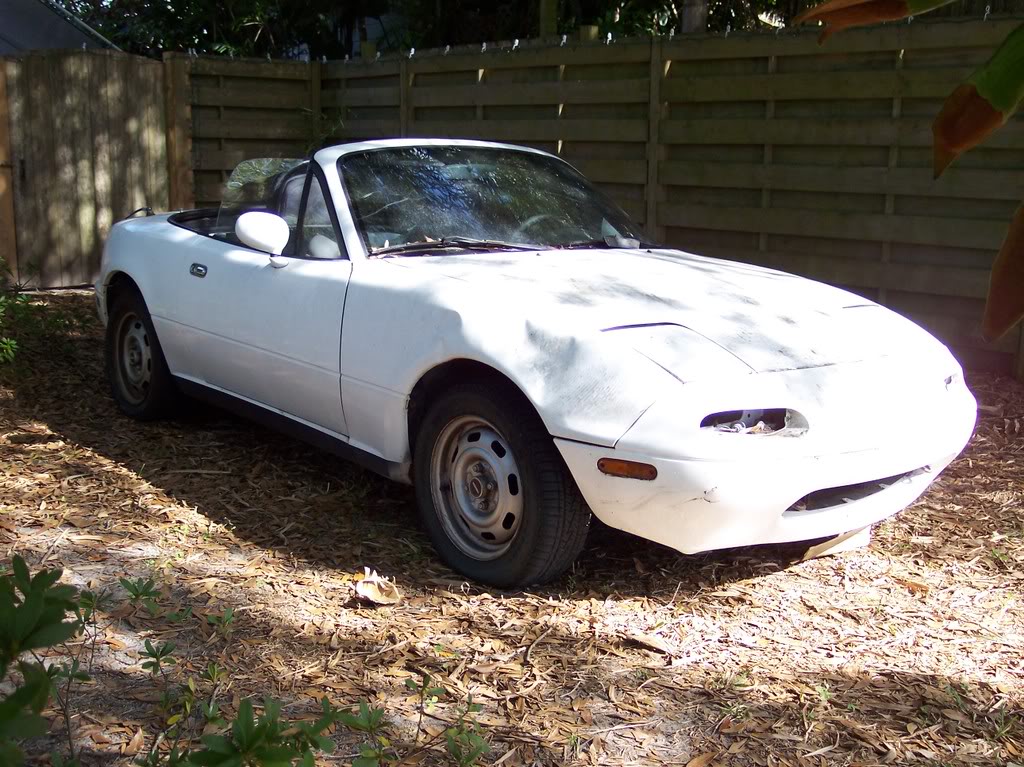
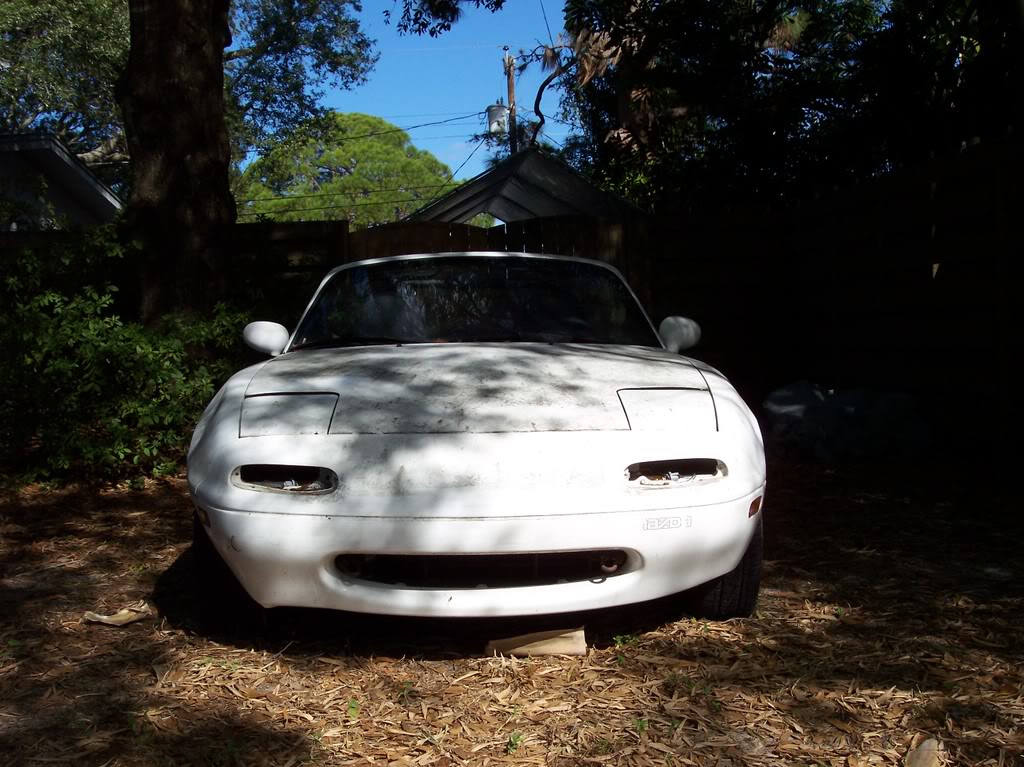
I guess you could say I brought it back from the dead... Pic intensive!

Thread Tools
 
Search this Thread
 
Old 05-05-2010 | 10:23 PM
  #1  
Sokool's Avatar
Thread Starter
Junior Member
iTrader: (1)
 
Joined: Jan 2009
Posts: 290
Total Cats: 5
From: Bradenton, FL
Default I guess you could say I brought it back from the dead... Pic intensive!

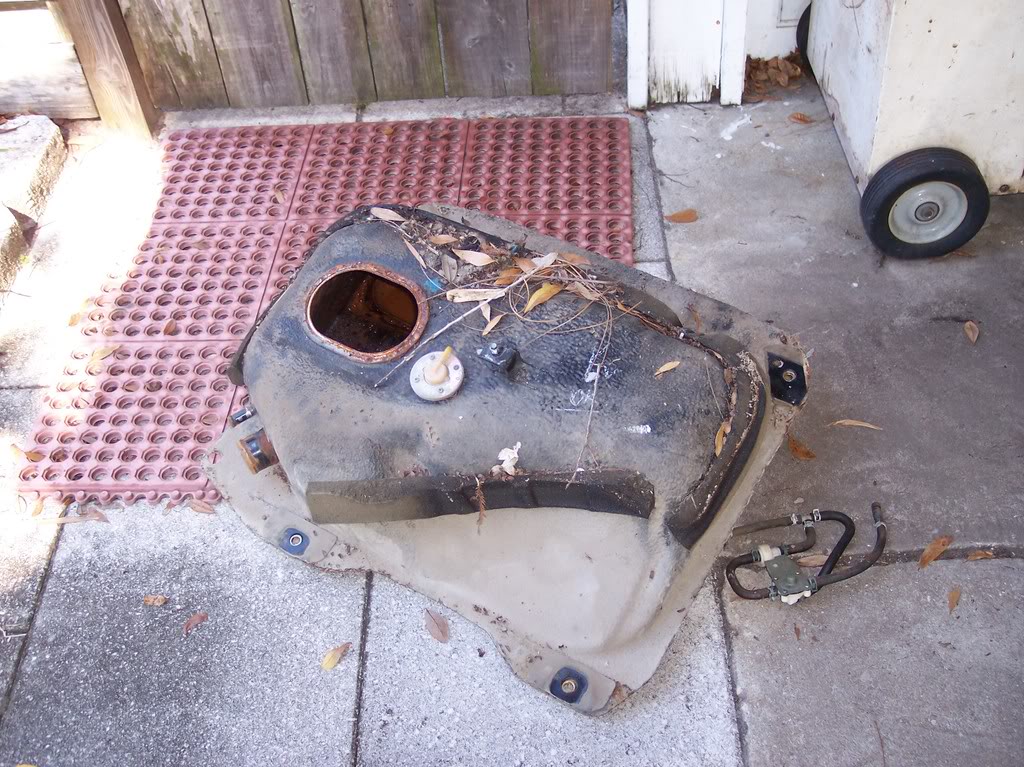
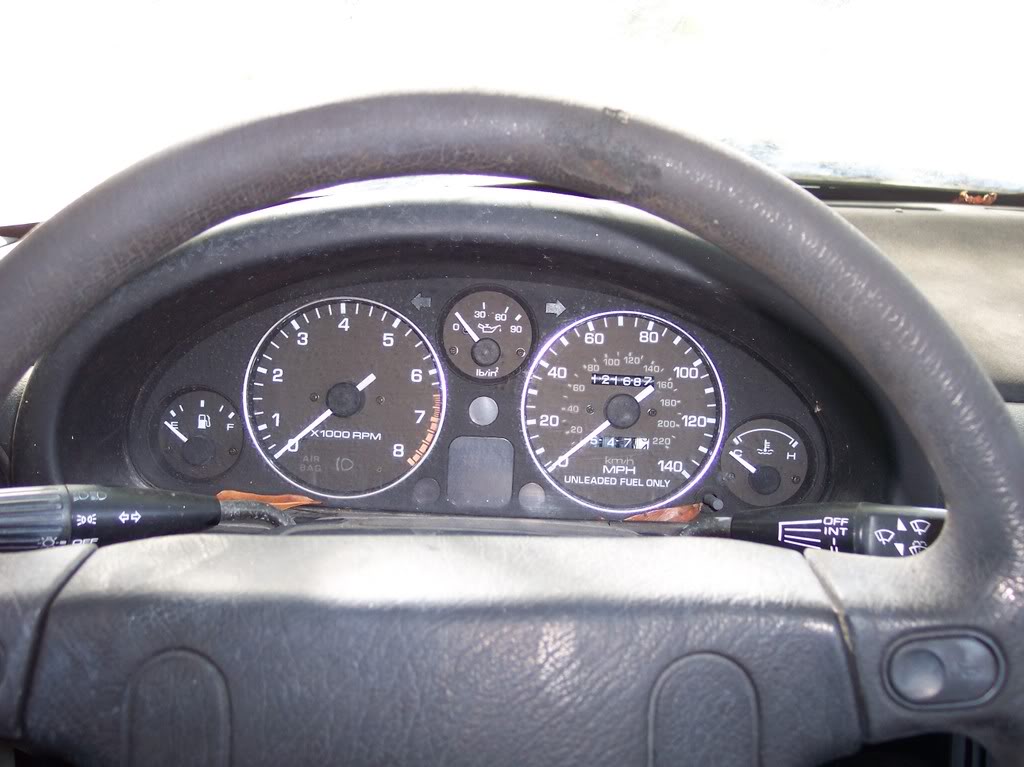
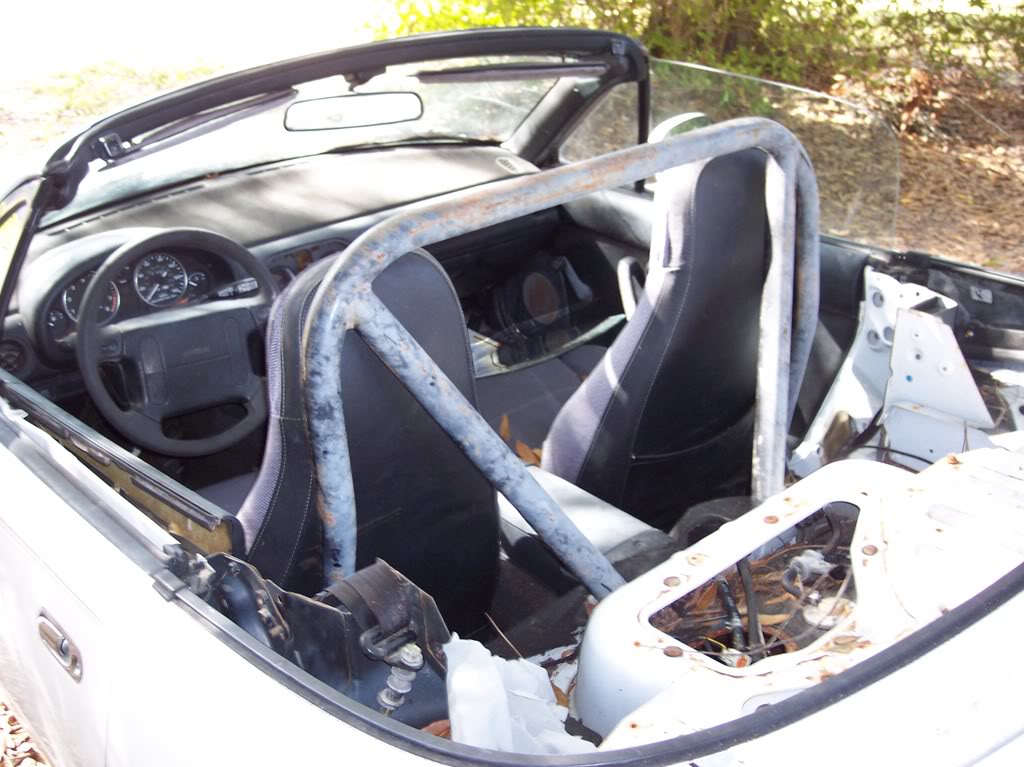
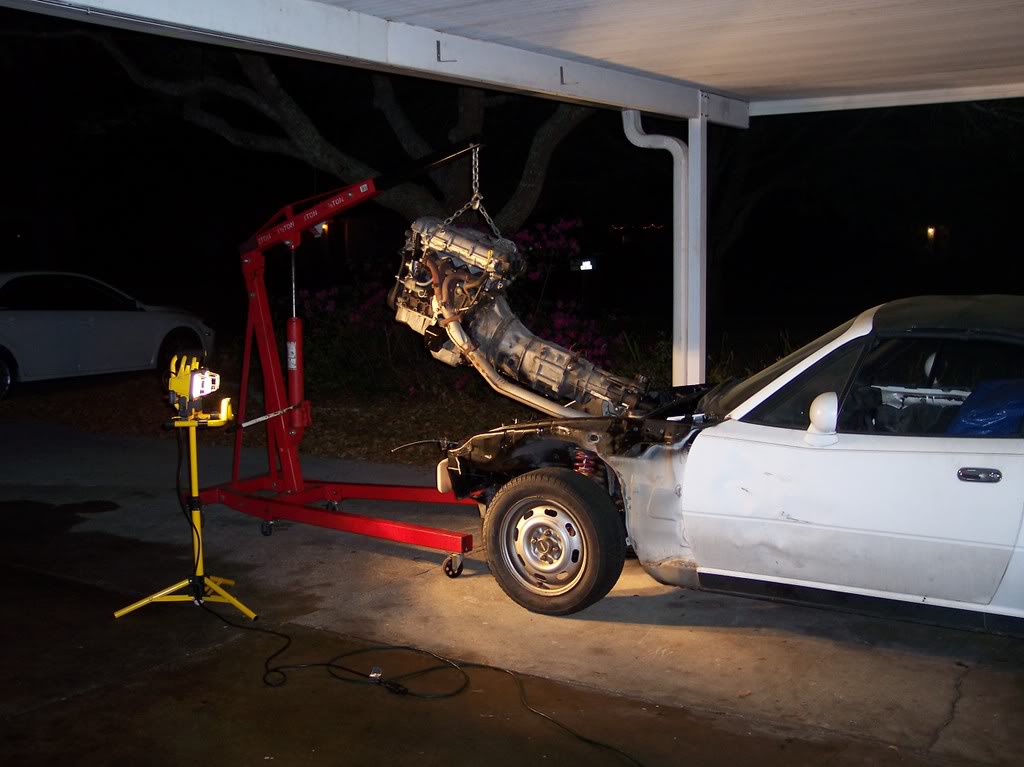
My name is Kyle, I'm an ASE certified tech that loves to wrench on something in my spare time. I'v been lurking here and there and figured it was time to man up. This will be the condensed version I'll try and make a full build thread when I get a chance. I got into Miatas by receiving a very run down '91 as payment for some work I did. If I recall he bought the car for $100 for a parts car and let it sit for around 5 years. He said it ran when he parked it, but somewhere down the line he pulled the fuel pump and the tank was full of rust so I had to take his word. I saw potential so I took it. After I got her home:
Name:  100_2483.jpg
Views: 174
Size:  192.1 KB

Name:  100_2482.jpg
Views: 173
Size:  157.3 KB

Name:  100_2487.jpg
Views: 162
Size:  94.3 KB

Name:  100_2486.jpg
Views: 170
Size:  120.3 KB


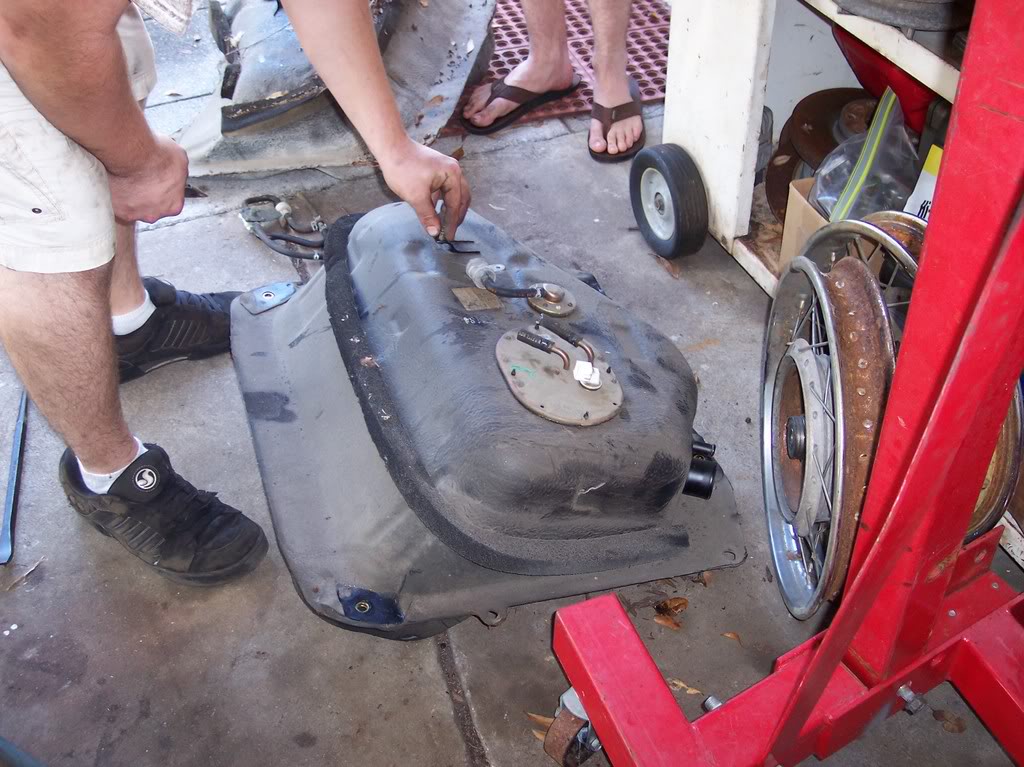
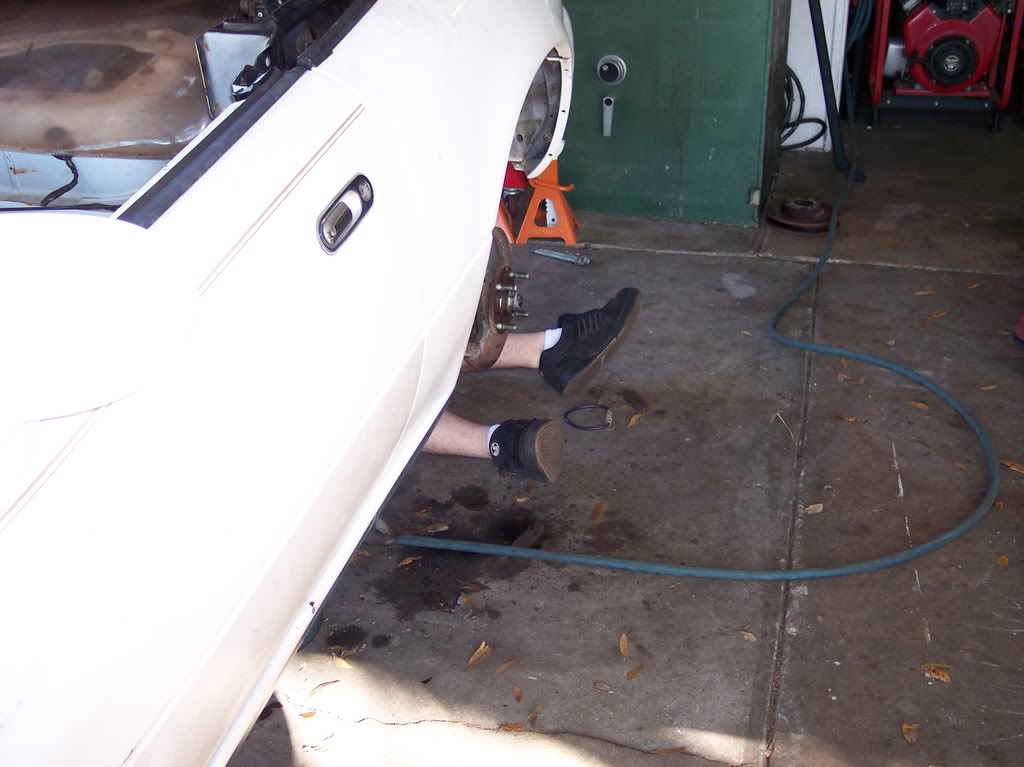
First order of business was to swap tanks and see if it runs.


Name:  100_2494.jpg
Views: 172
Size:  86.8 KB

Name:  100_2499.jpg
Views: 165
Size:  122.4 KB

Name:  100_2500.jpg
Views: 158
Size:  138.7 KB

Name:  100_2515.jpg
Views: 161
Size:  210.3 KB

Name:  100_2504.jpg
Views: 171
Size:  146.0 KB


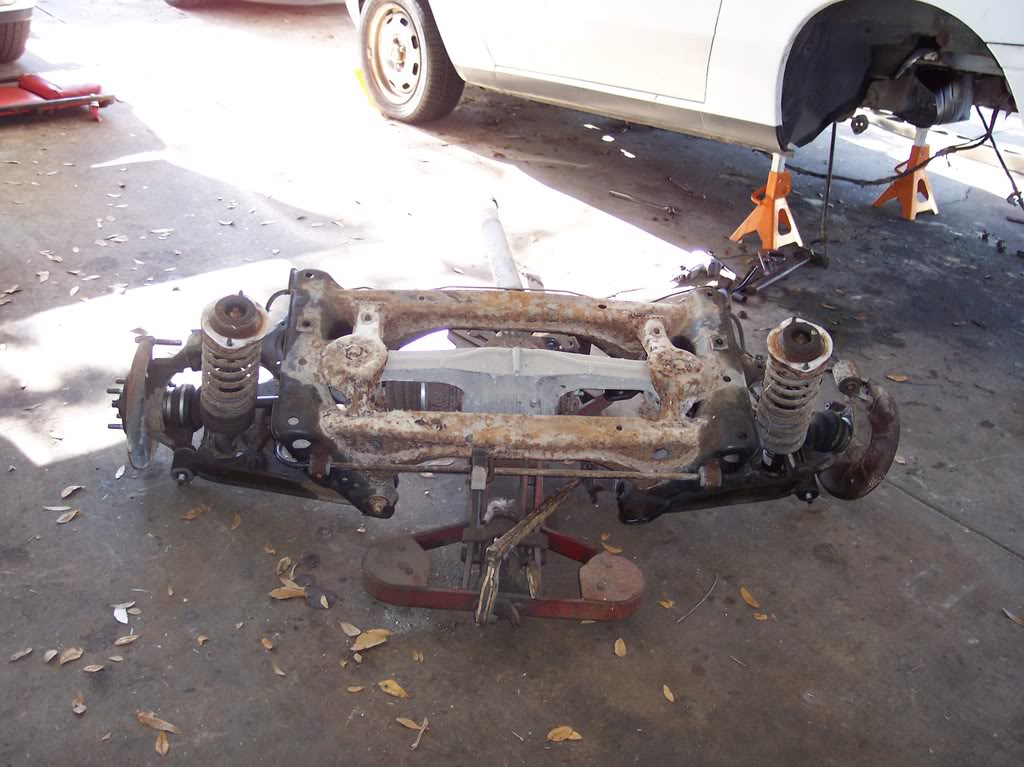
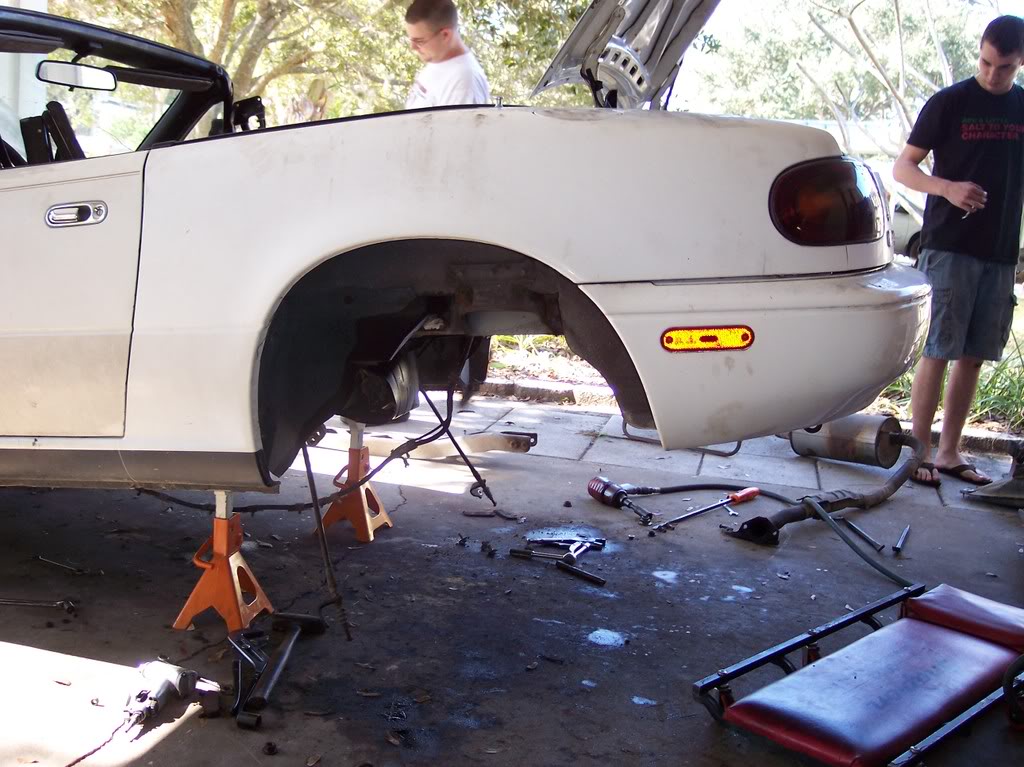
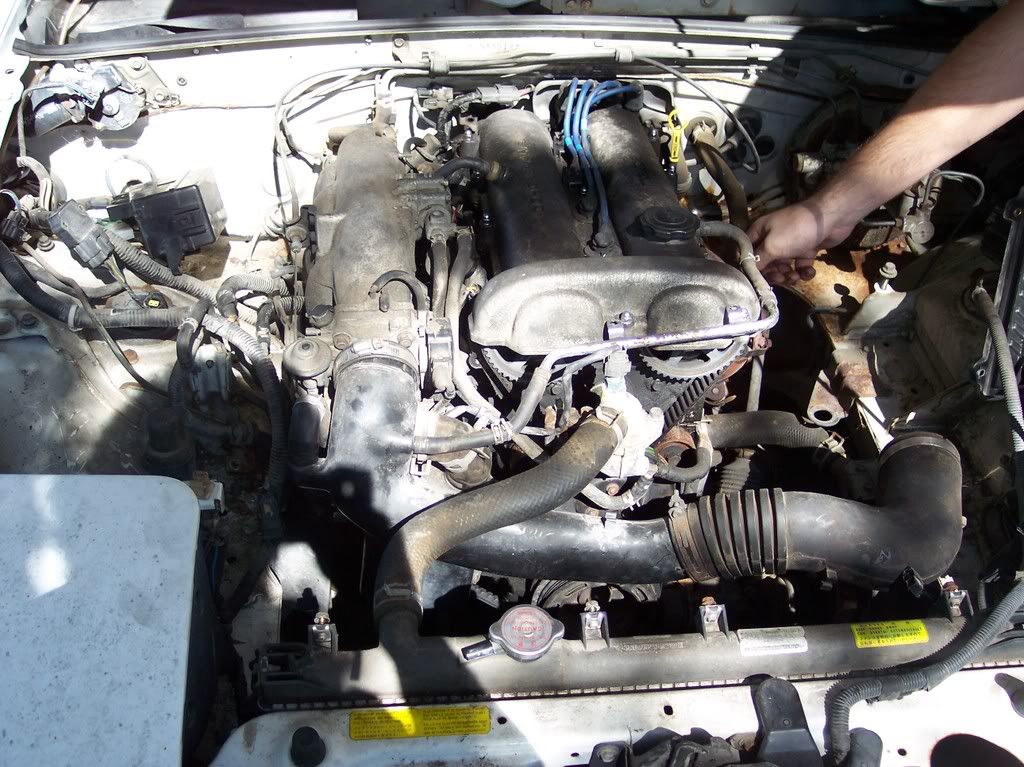
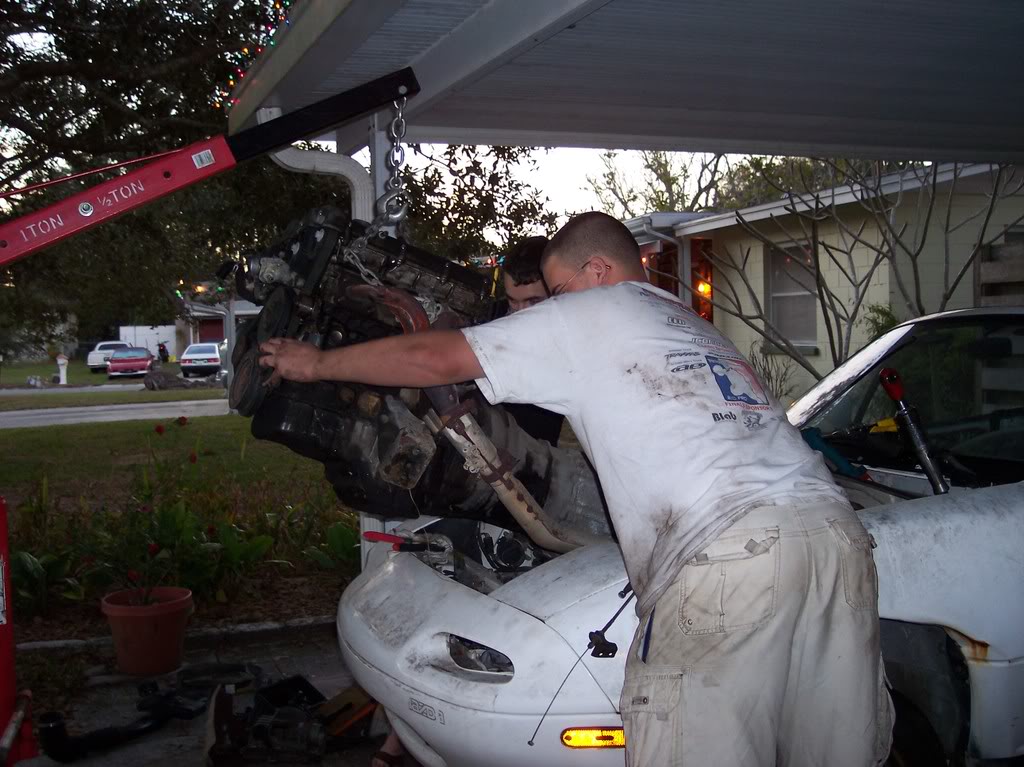
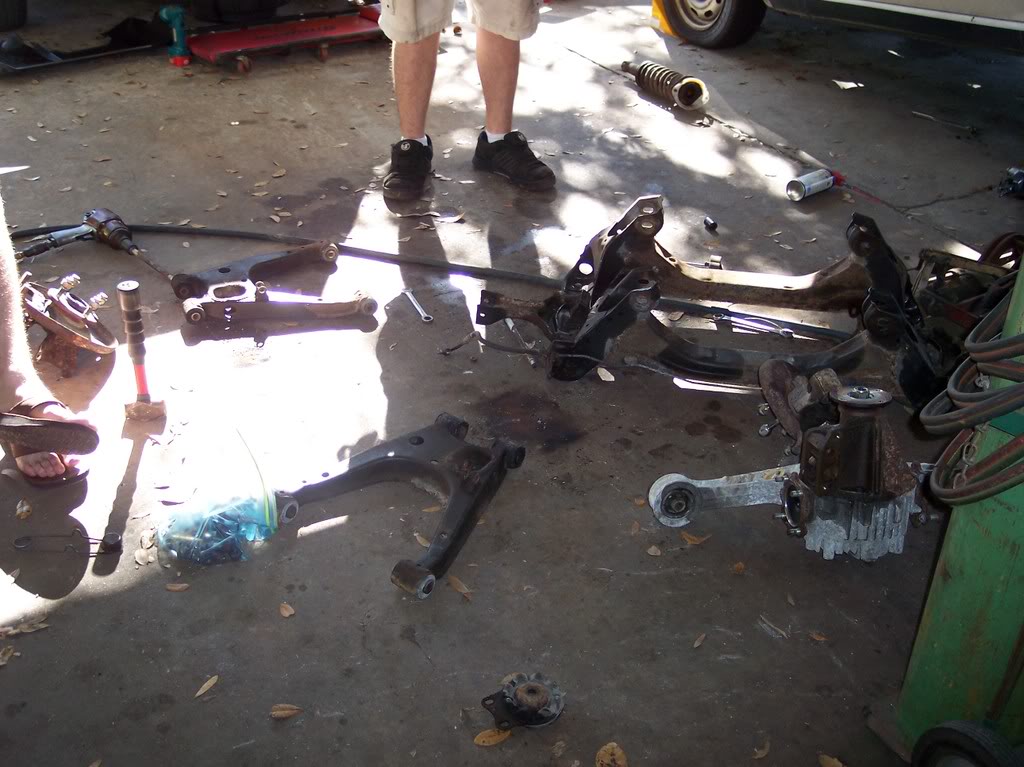
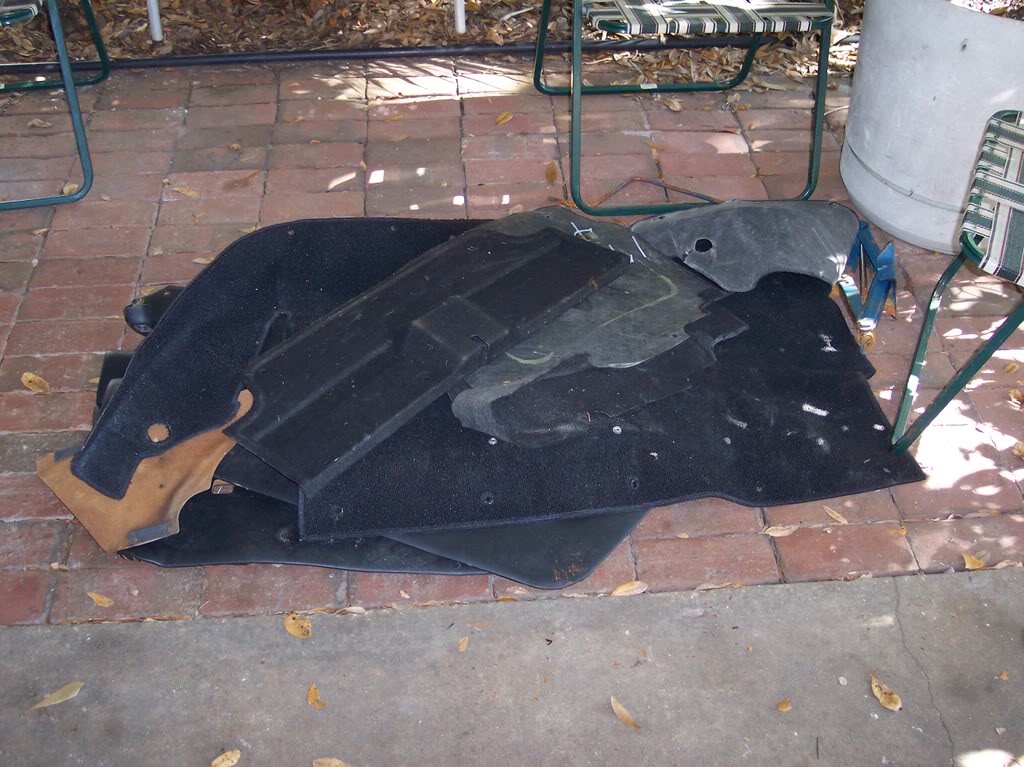
Threw in some gas and it fired right up after a quick prime... I was amazed. So... out came the motor, all the suspension and most of the interior.


Name:  100_2534.jpg
Views: 161
Size:  133.9 KB

Name:  100_2520.jpg
Views: 174
Size:  119.3 KB

Name:  100_2516.jpg
Views: 169
Size:  148.4 KB


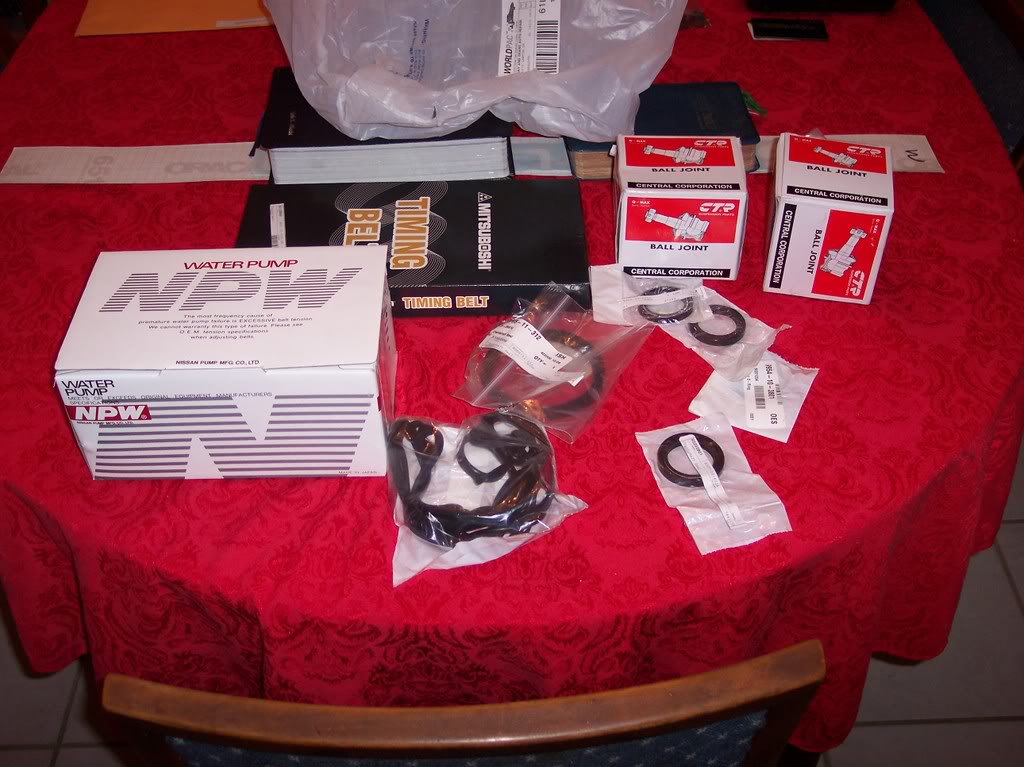
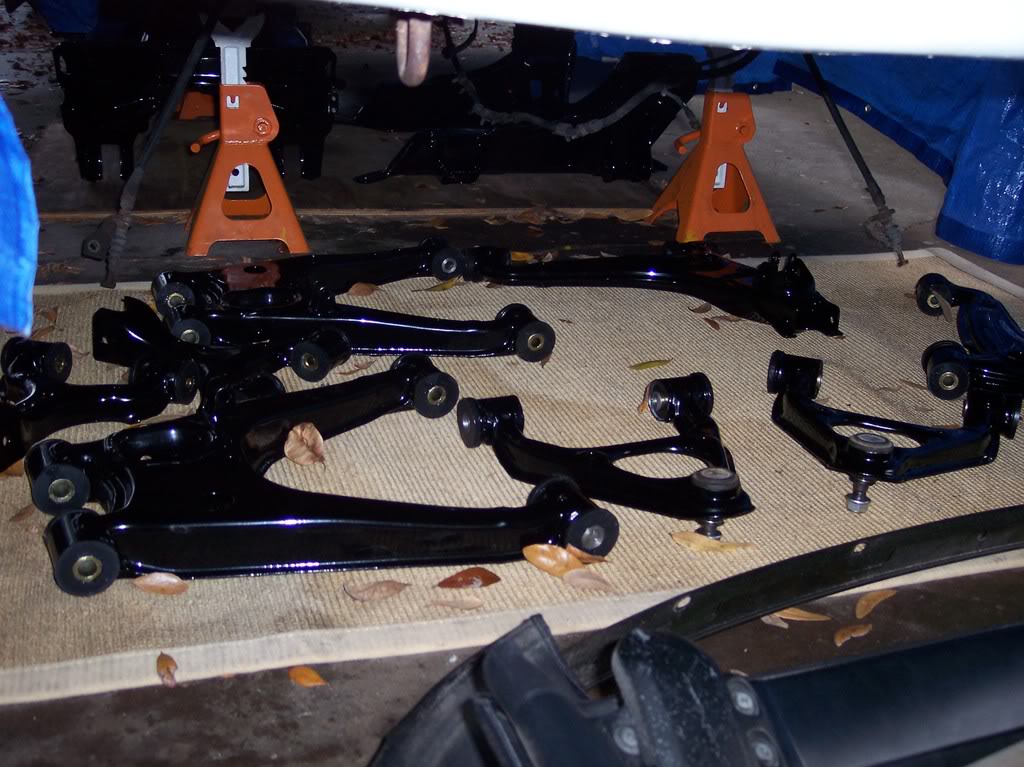
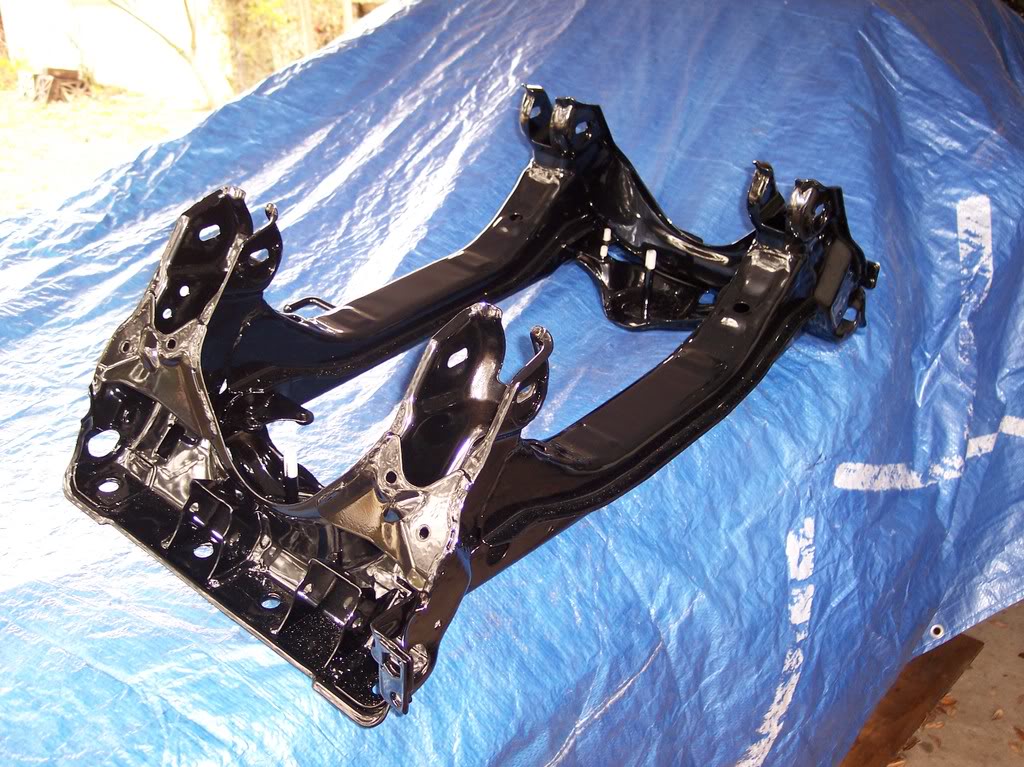
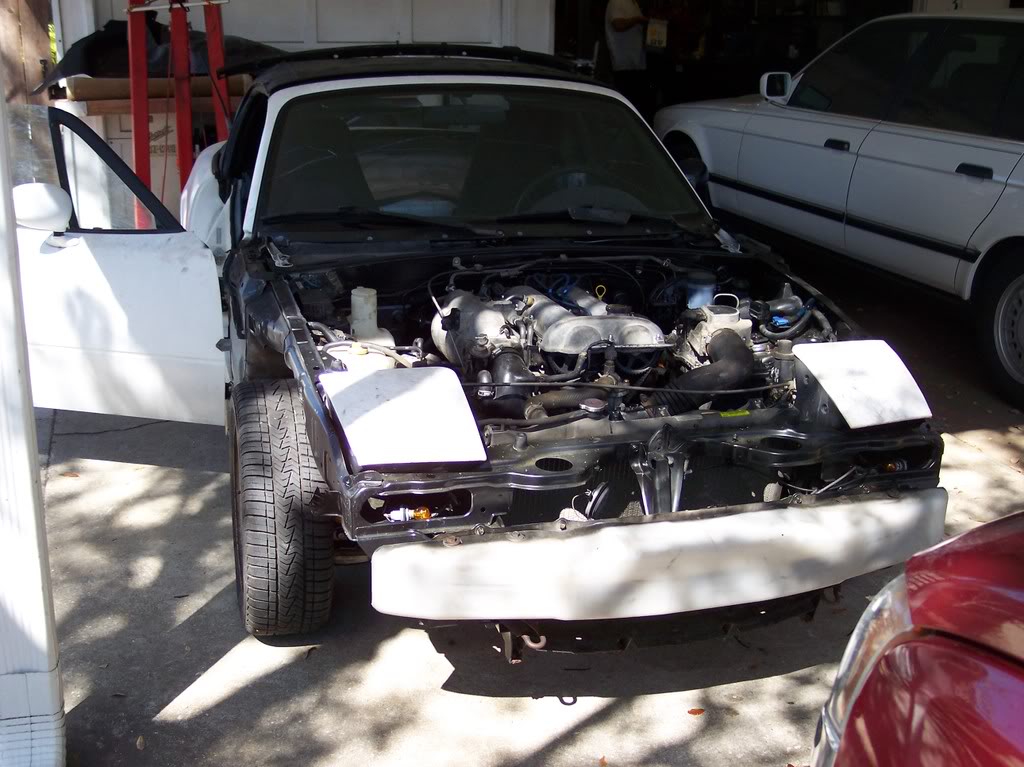
Motor was cleaned, semi tore down, and resealed. Suspension was blasted, powdercoated and urethane bushings installed. Engine bay painted, and suspension reinstalled with 1.8 brakes, '94 torsen, and GC/Koni combo.
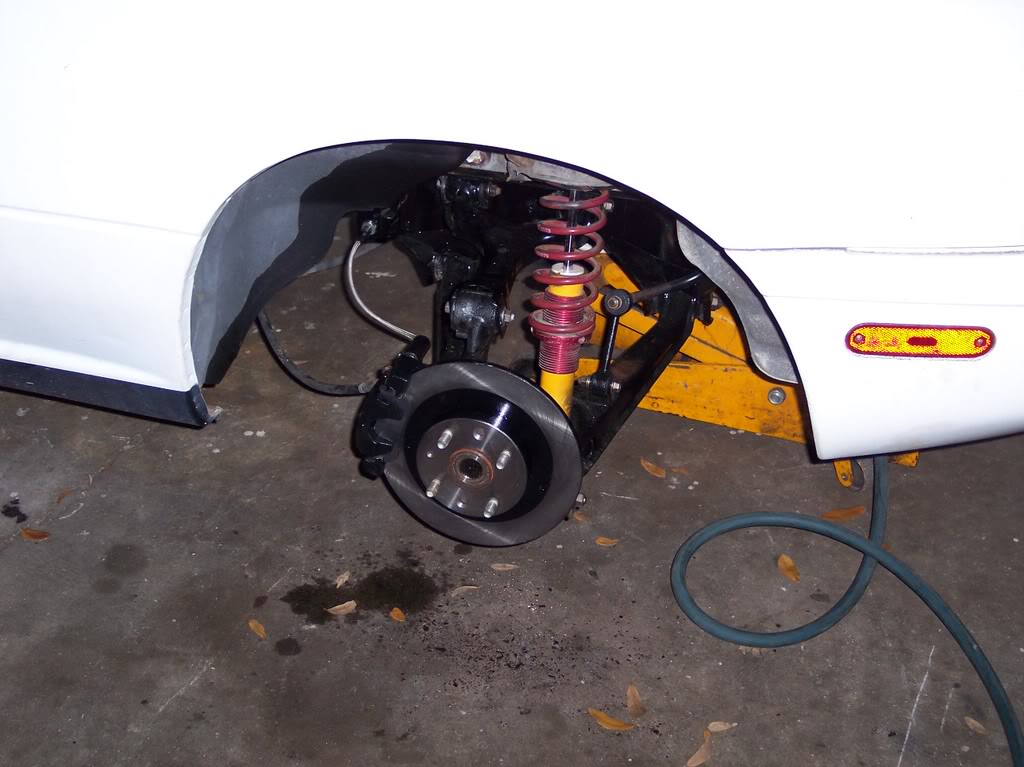
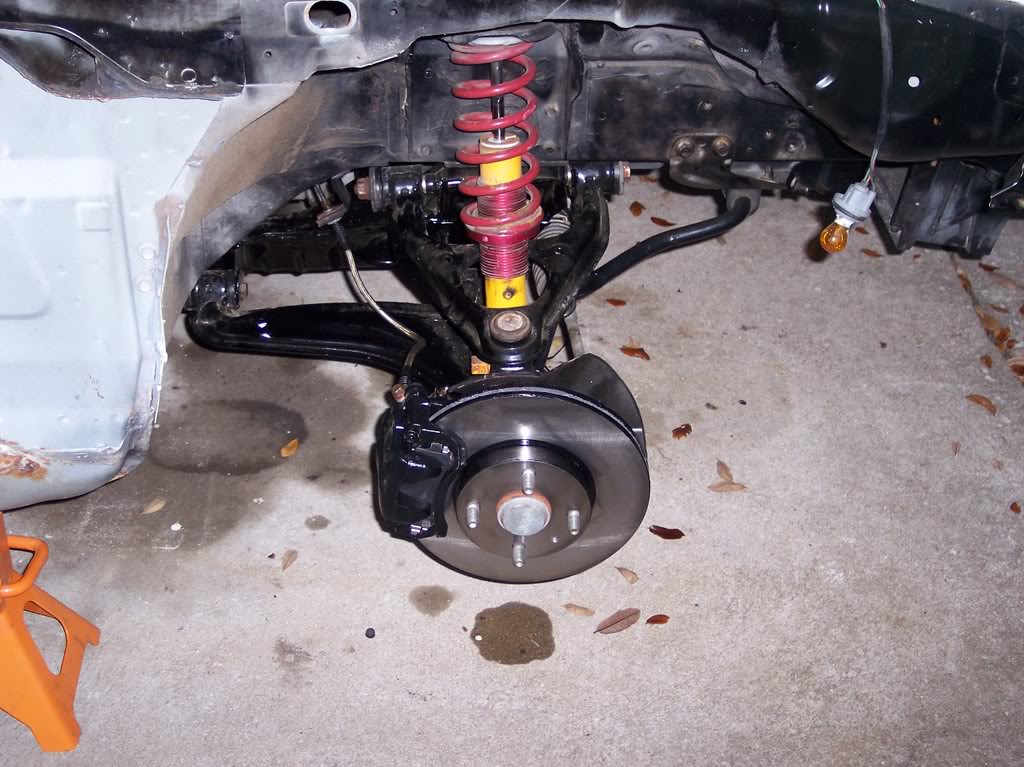
Name:  100_2589.jpg
Views: 151
Size:  123.8 KB

Name:  100_2587.jpg
Views: 161
Size:  137.5 KB

Name:  100_2585.jpg
Views: 160
Size:  180.0 KB

Name:  100_2643.jpg
Views: 197
Size:  100.9 KB

Name:  100_2644.jpg
Views: 169
Size:  157.6 KB


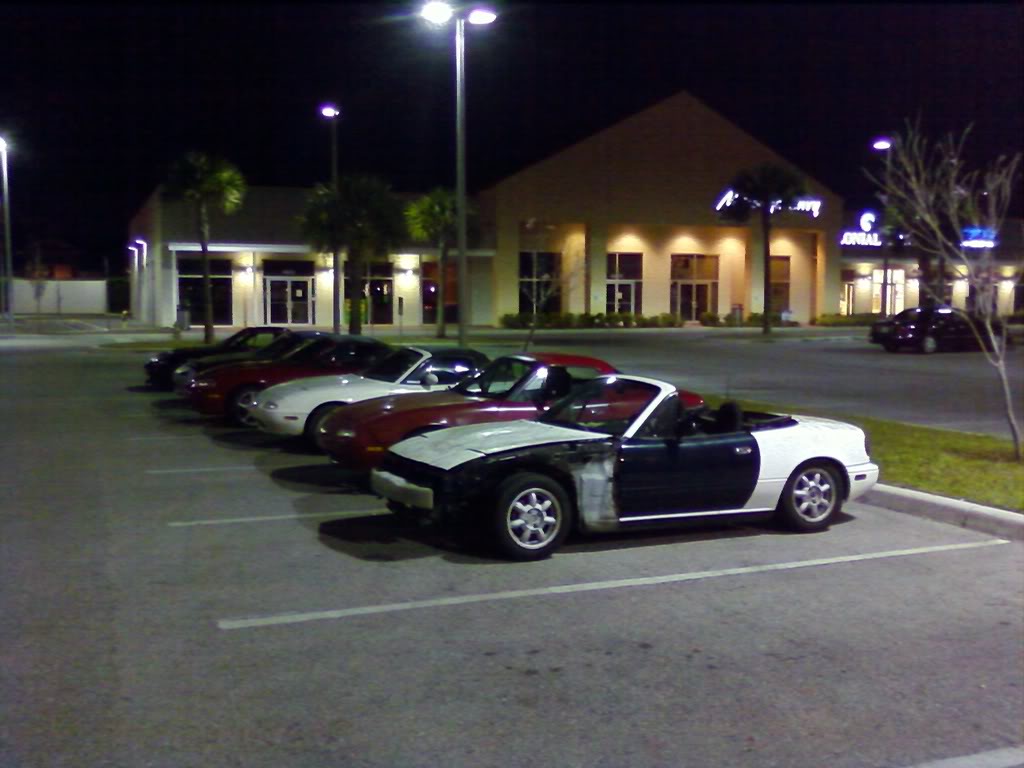
FM Happy Meal goes in then the motor. Its all reinstalled as stock for now. Streetable wheels and tires are sourced and I make it to a local miata meet.
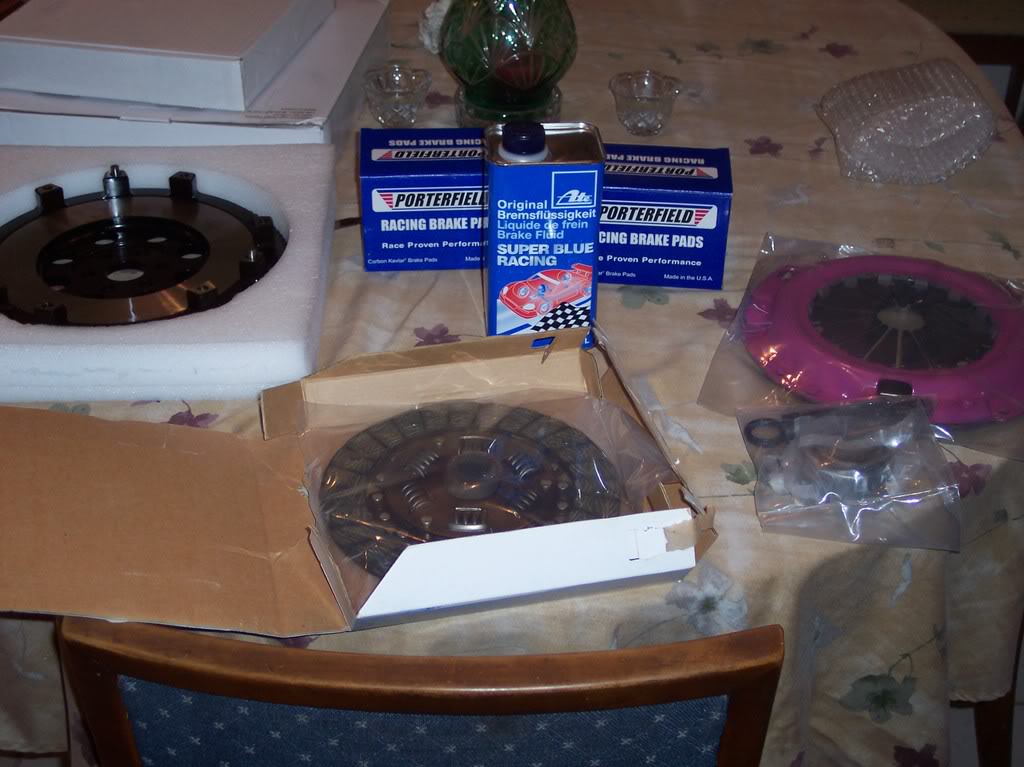
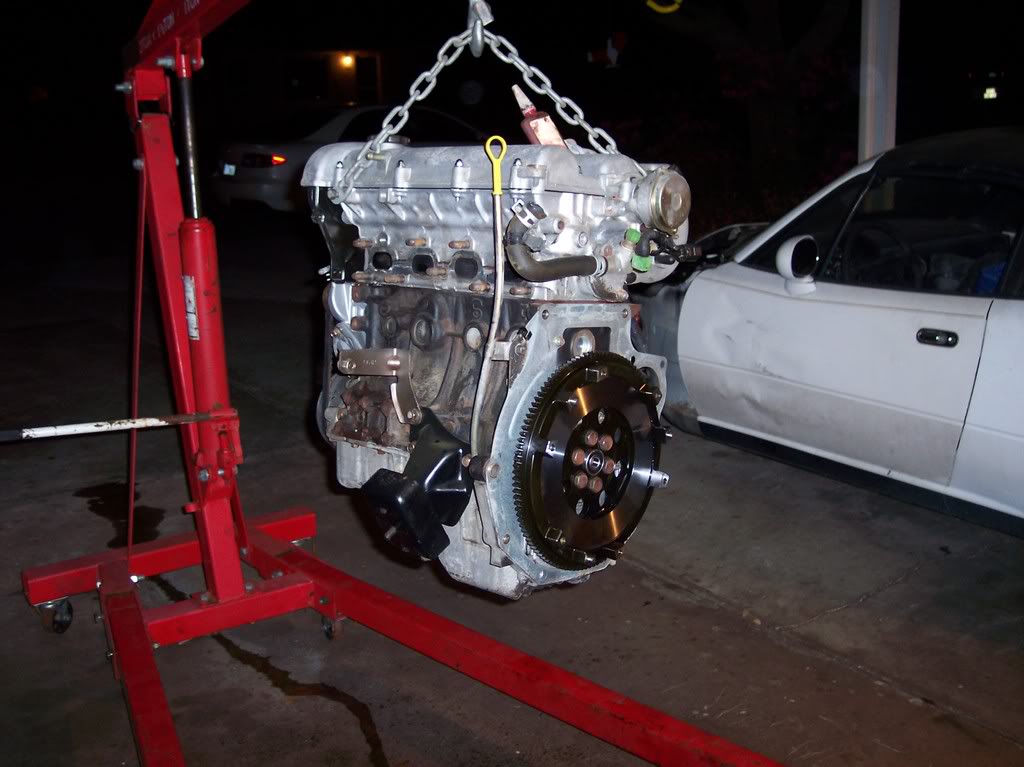
Name:  100_2630.jpg
Views: 166
Size:  101.0 KB

Name:  100_2633.jpg
Views: 173
Size:  93.7 KB

Name:  100_2641.jpg
Views: 162
Size:  88.6 KB

Name:  100_2658.jpg
Views: 155
Size:  127.2 KB

Name:  miata1.jpg
Views: 179
Size:  80.0 KB


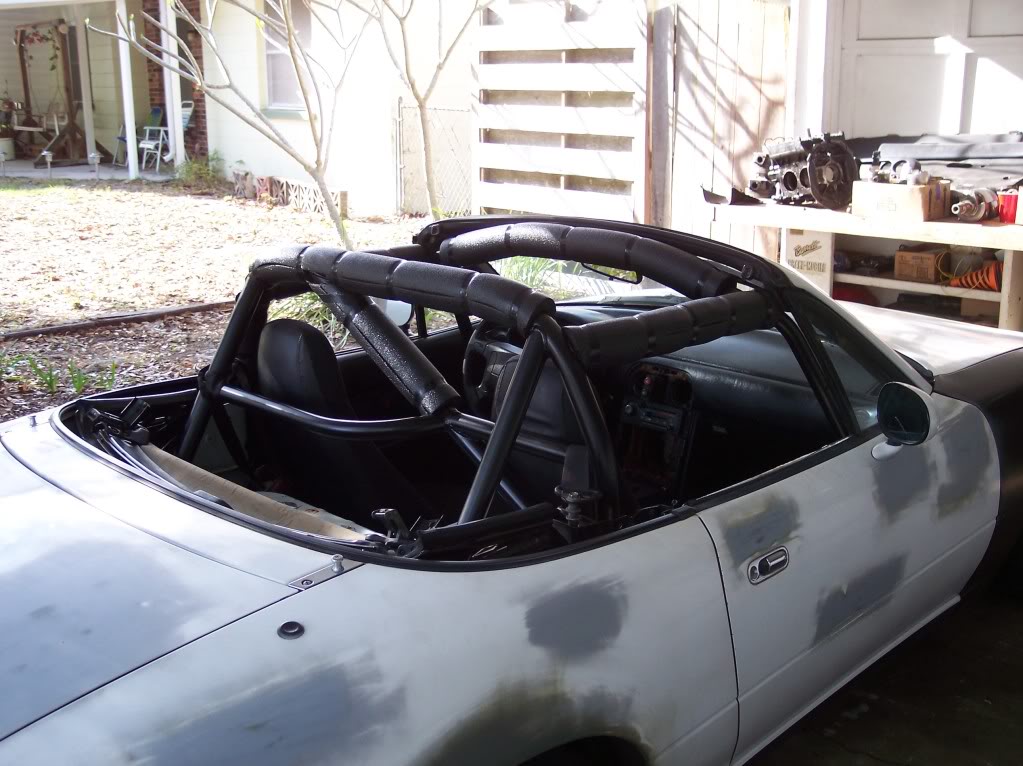
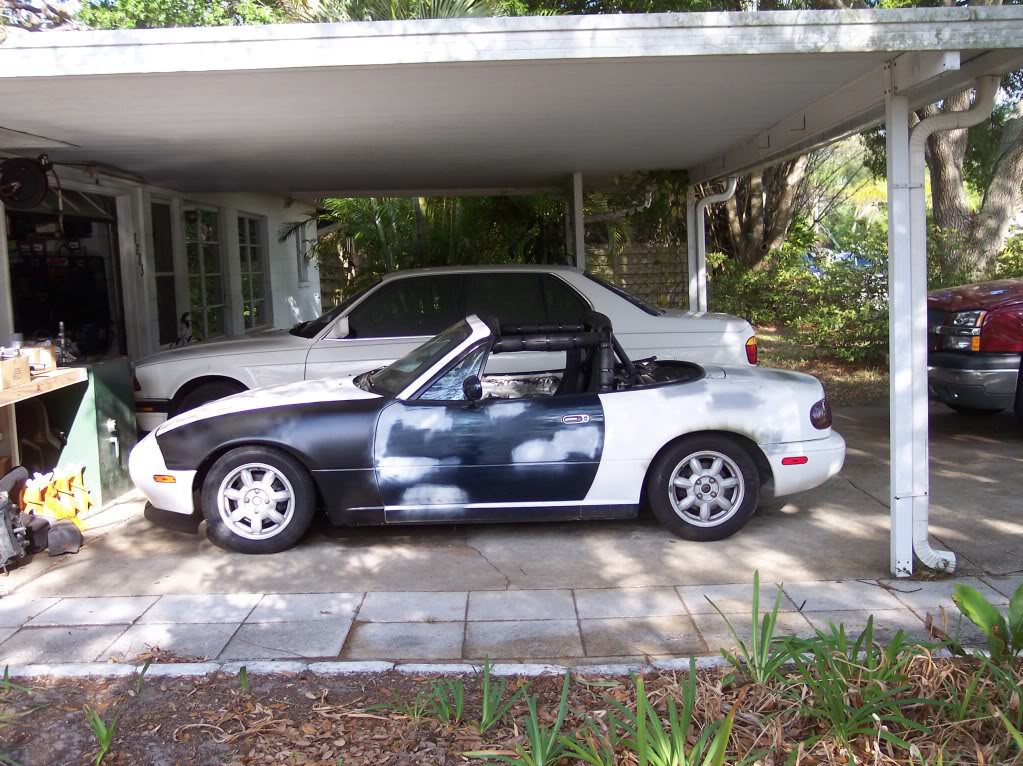
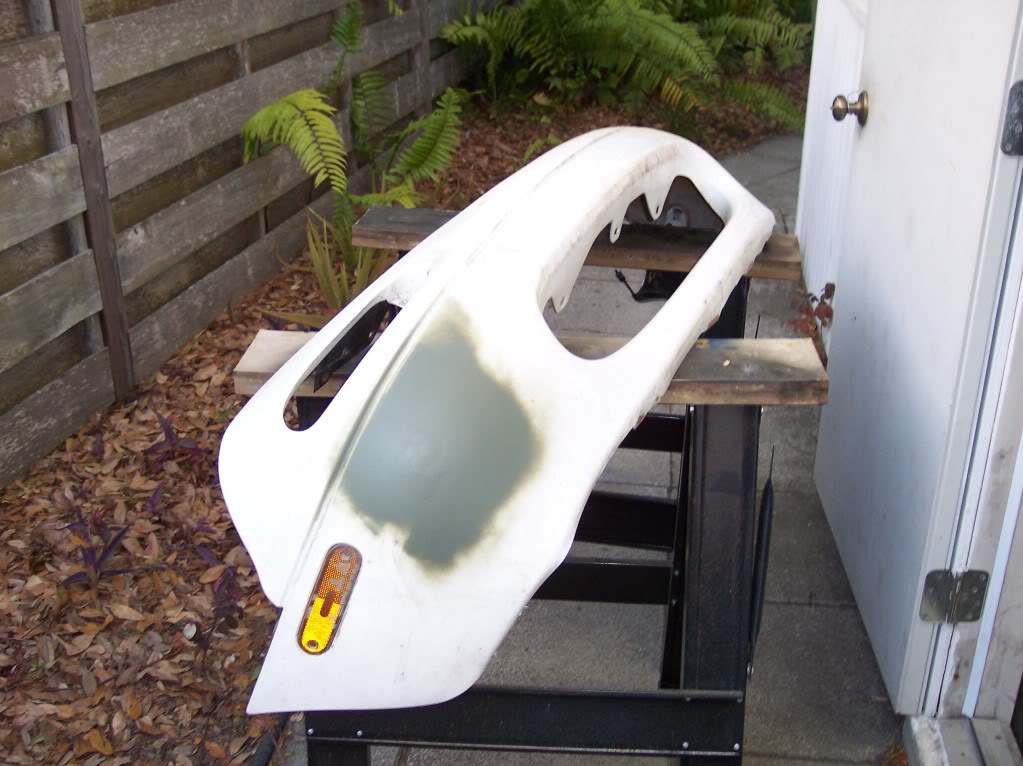
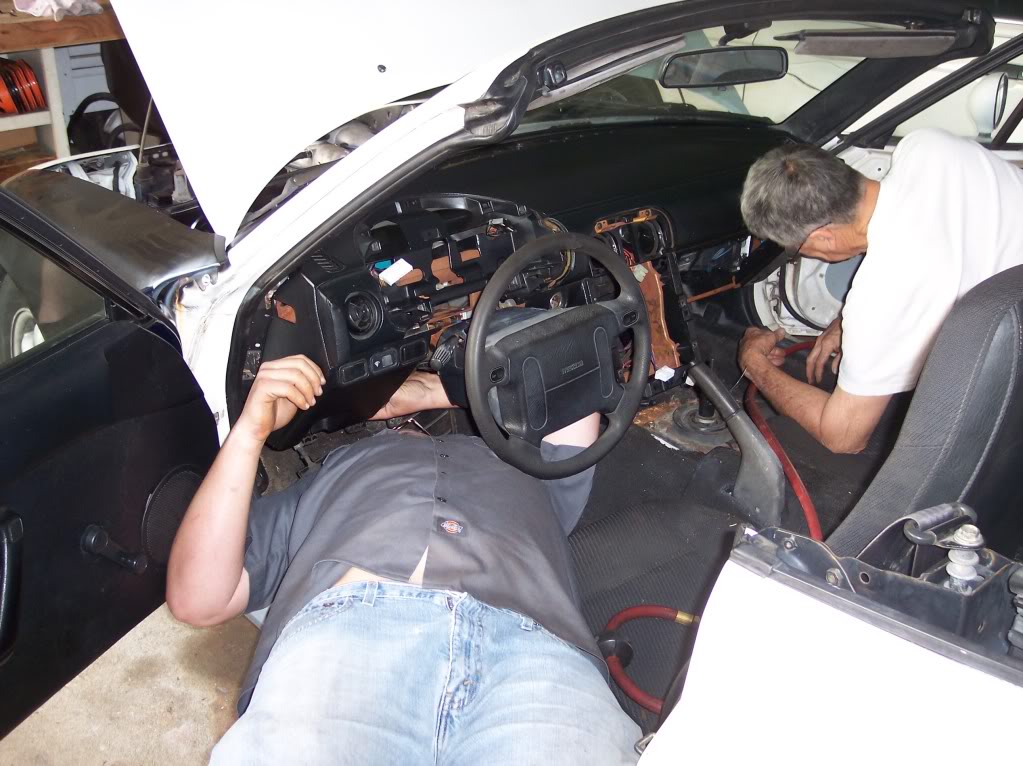
Source new front fenders. Install "new" dash and cage. Fix front bumper. Lots 'o body work. Roll fenders and prep for paint.
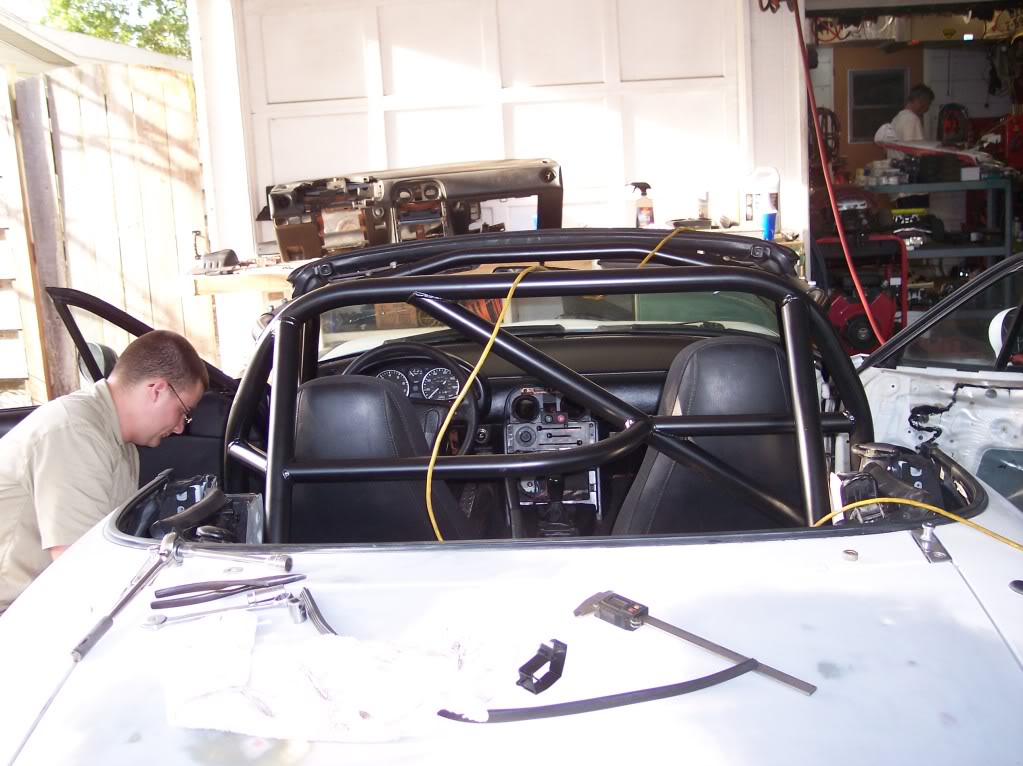
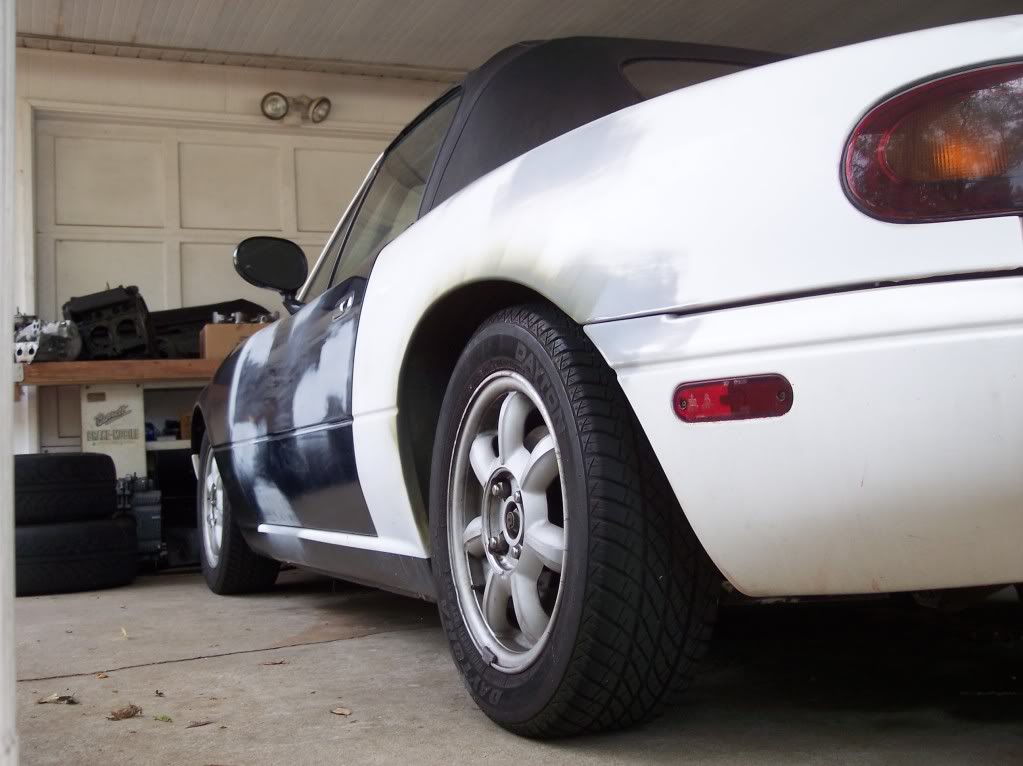
Name:  100_2681.jpg
Views: 156
Size:  109.2 KB

Name:  100_2736.jpg
Views: 163
Size:  127.0 KB

Name:  100_2743.jpg
Views: 157
Size:  117.2 KB

Name:  100_2753.jpg
Views: 176
Size:  82.7 KB

Name:  100_2765.jpg
Views: 170
Size:  125.7 KB

Name:  100_2768.jpg
Views: 166
Size:  183.6 KB

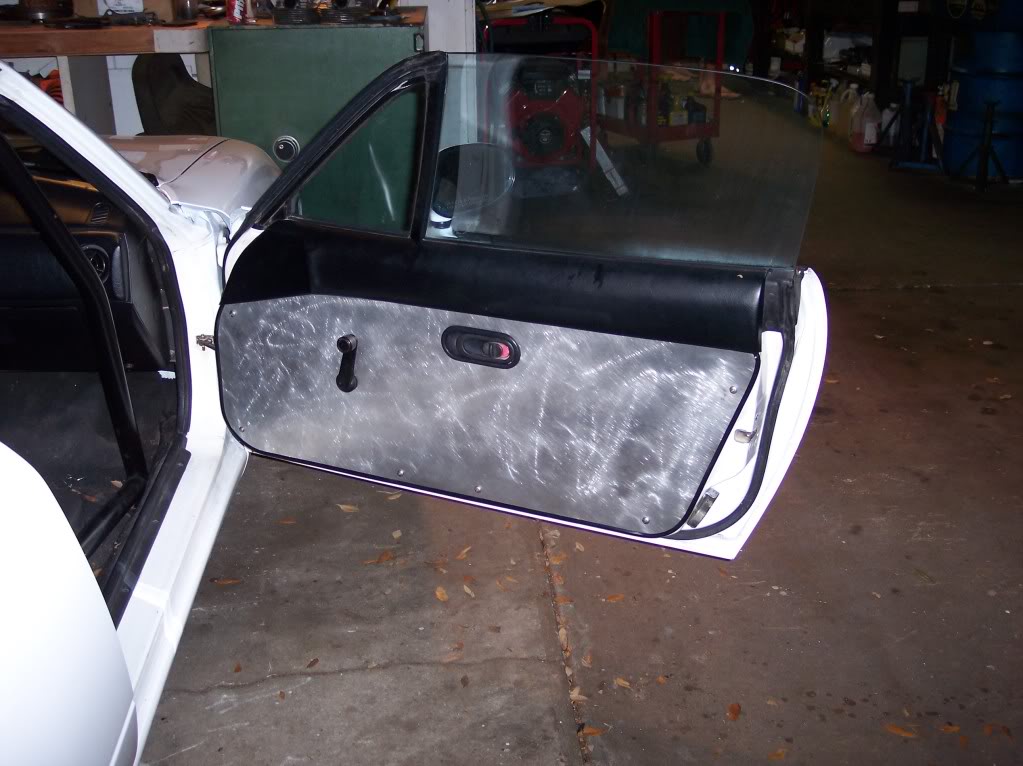
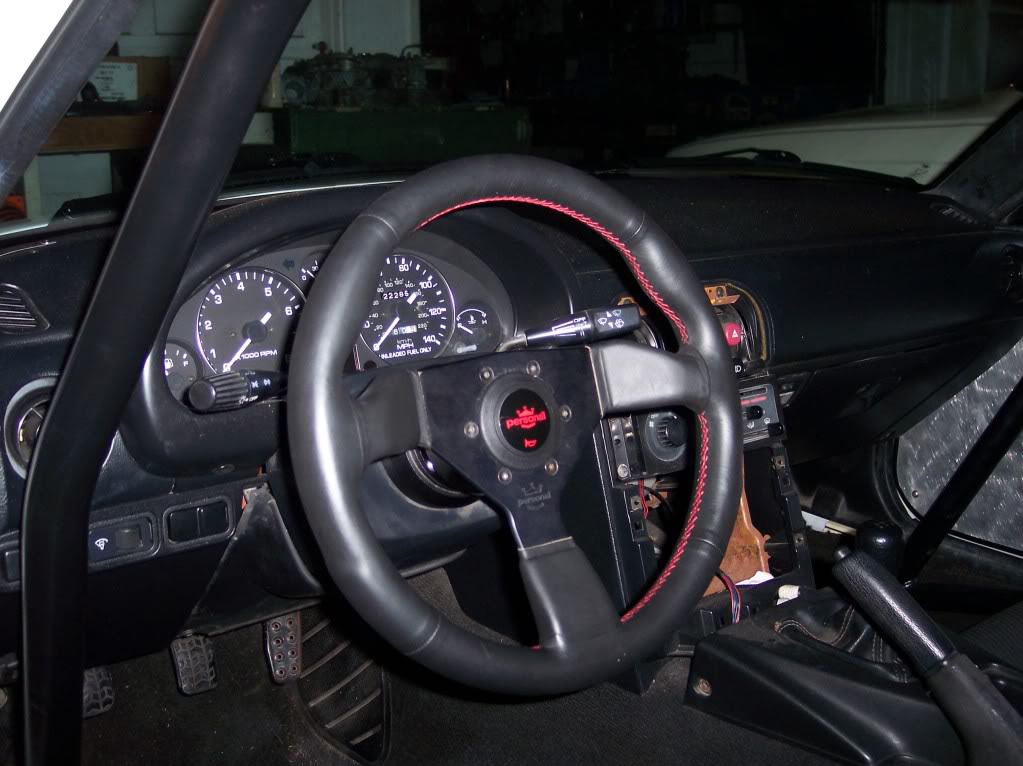
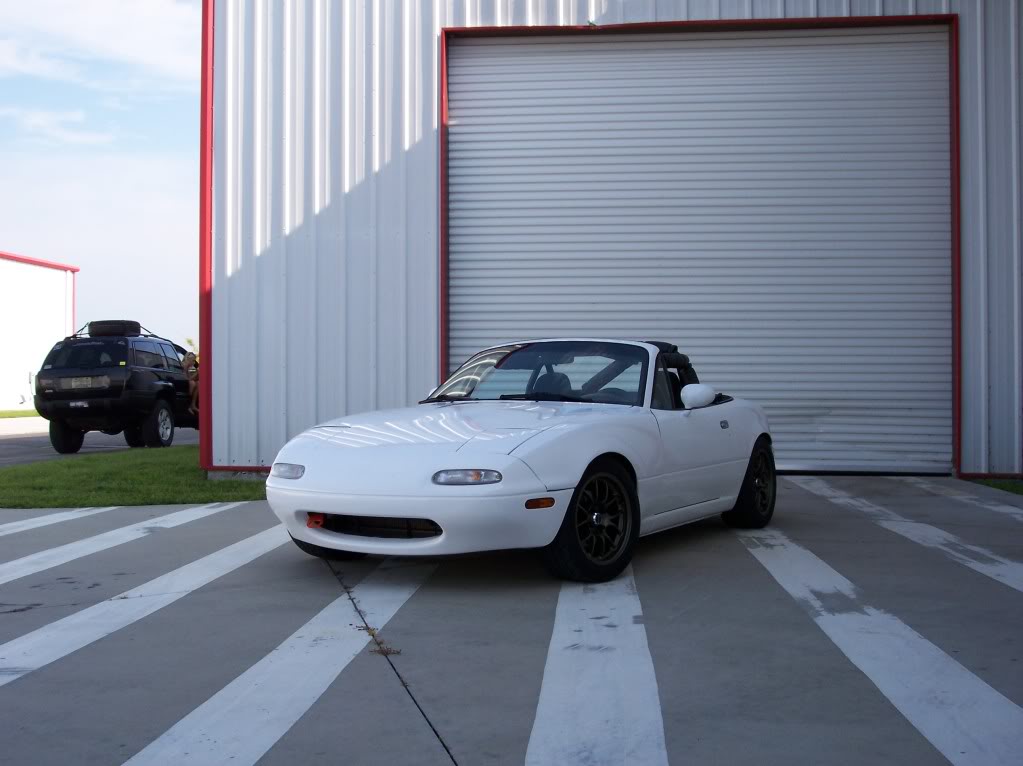
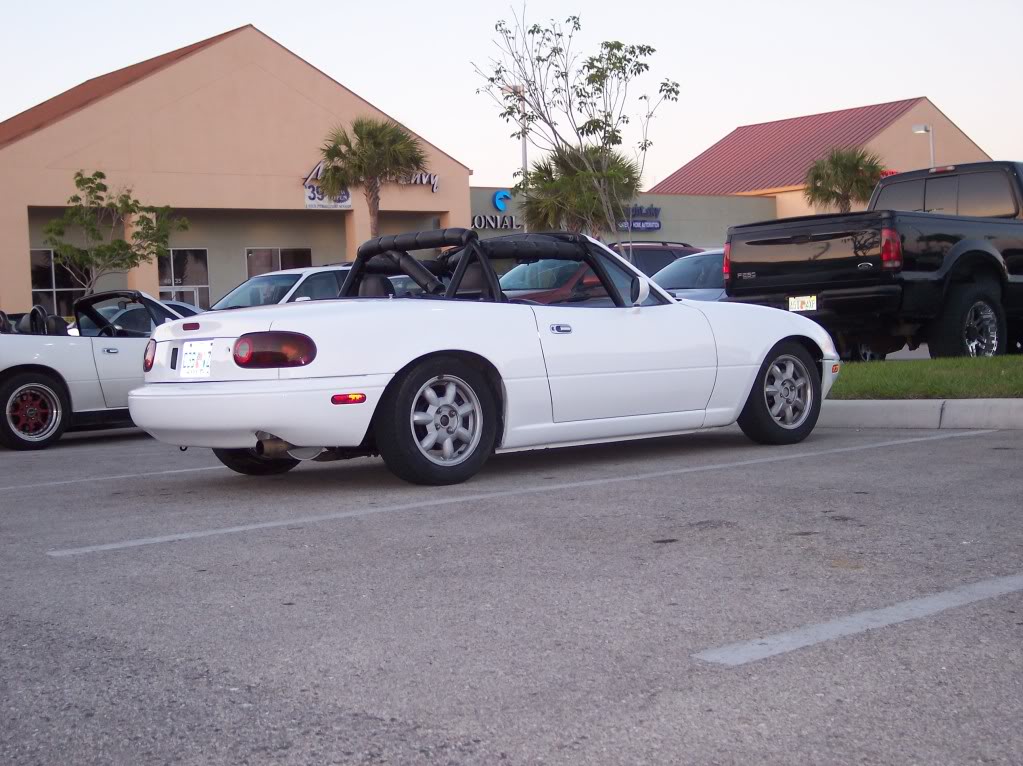
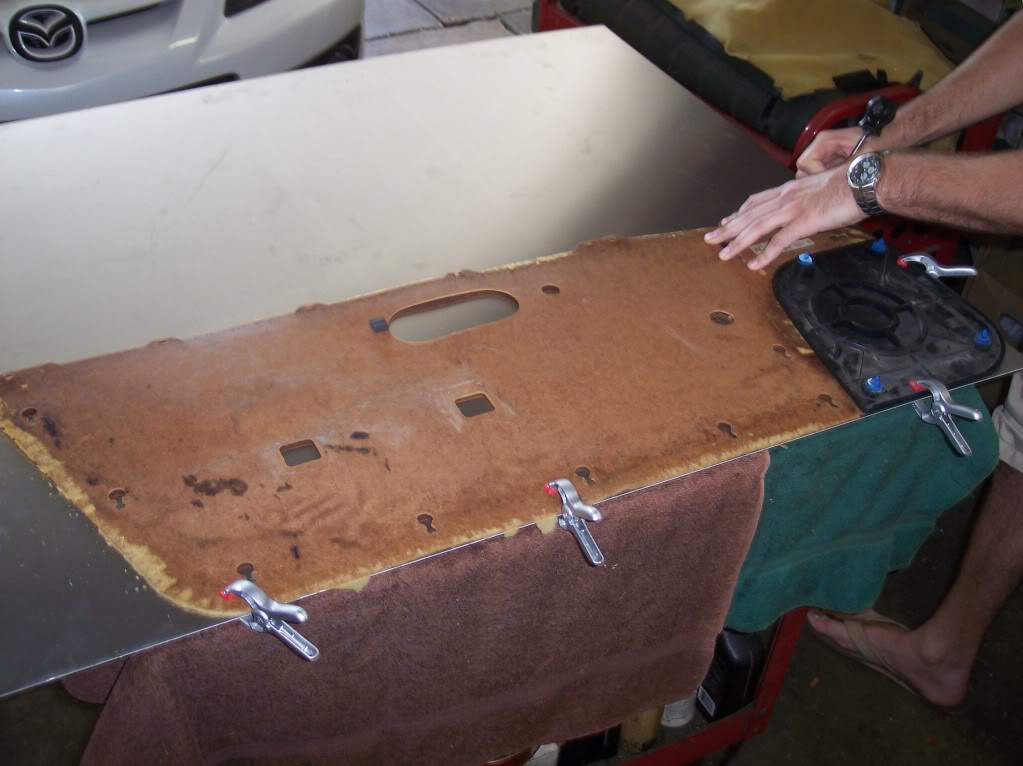
Get it painted. Make some door panels to delete the door handles. Install Personal Neo Grinta with Quick release. And finaly receive 6ul's and mount some 225/45 rubber.
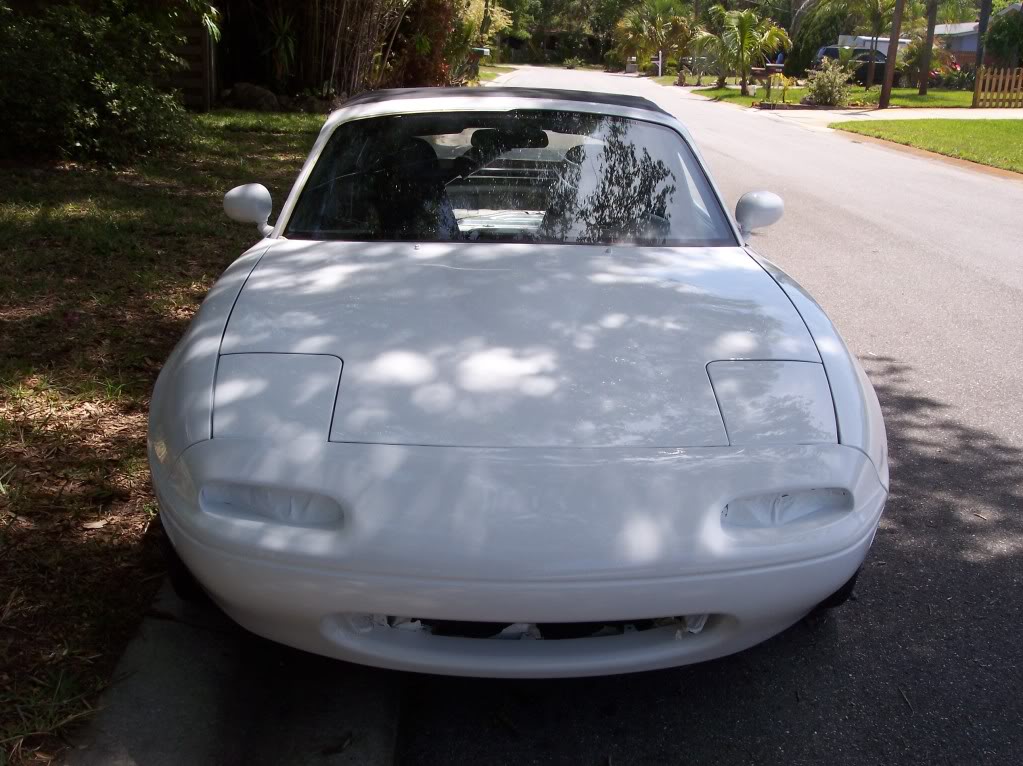
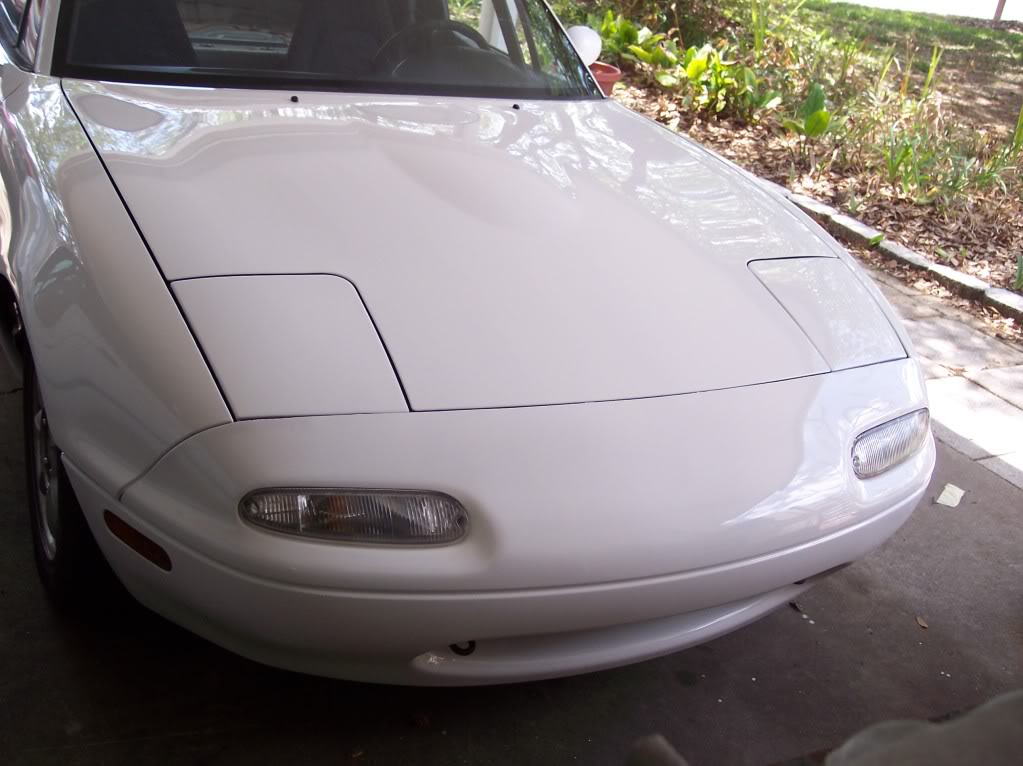
Name:  100_2779.jpg
Views: 198
Size:  133.3 KB

Name:  100_2783.jpg
Views: 154
Size:  97.0 KB

Name:  100_2796.jpg
Views: 163
Size:  137.3 KB

Name:  100_2820.jpg
Views: 146
Size:  78.2 KB

Name:  100_2848.jpg
Views: 164
Size:  103.3 KB

Name:  100_2863.jpg
Views: 183
Size:  99.8 KB

Name:  100_2937.jpg
Views: 163
Size:  153.8 KB

Name:  100_2944.jpg
Views: 211
Size:  82.2 KB


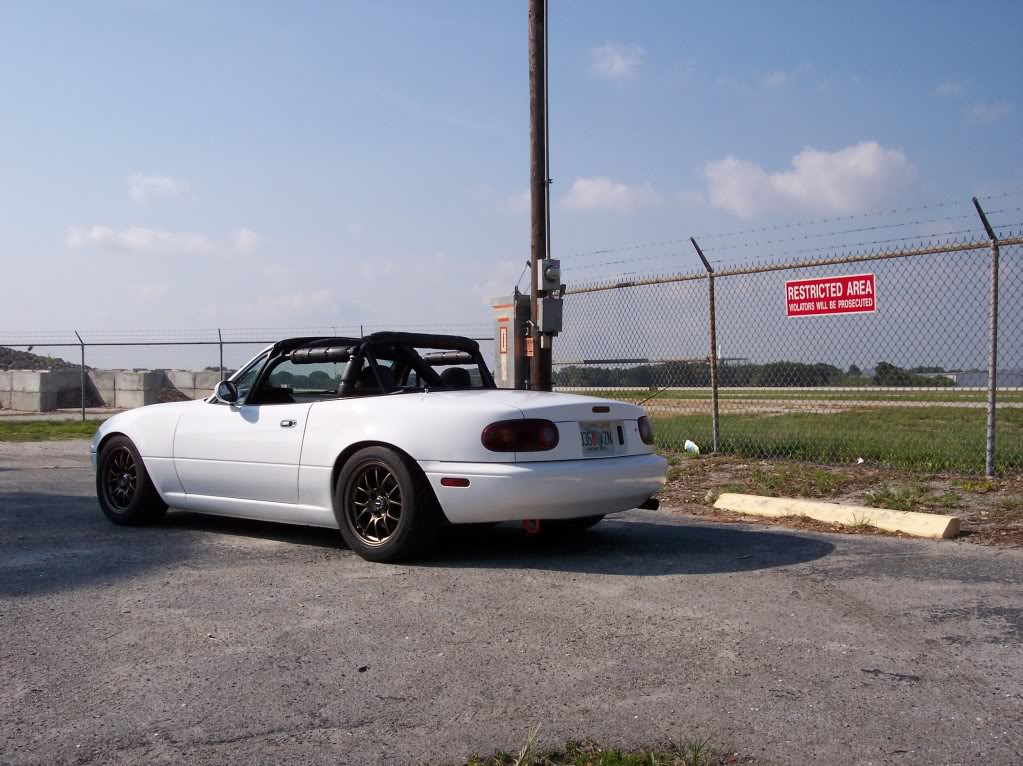
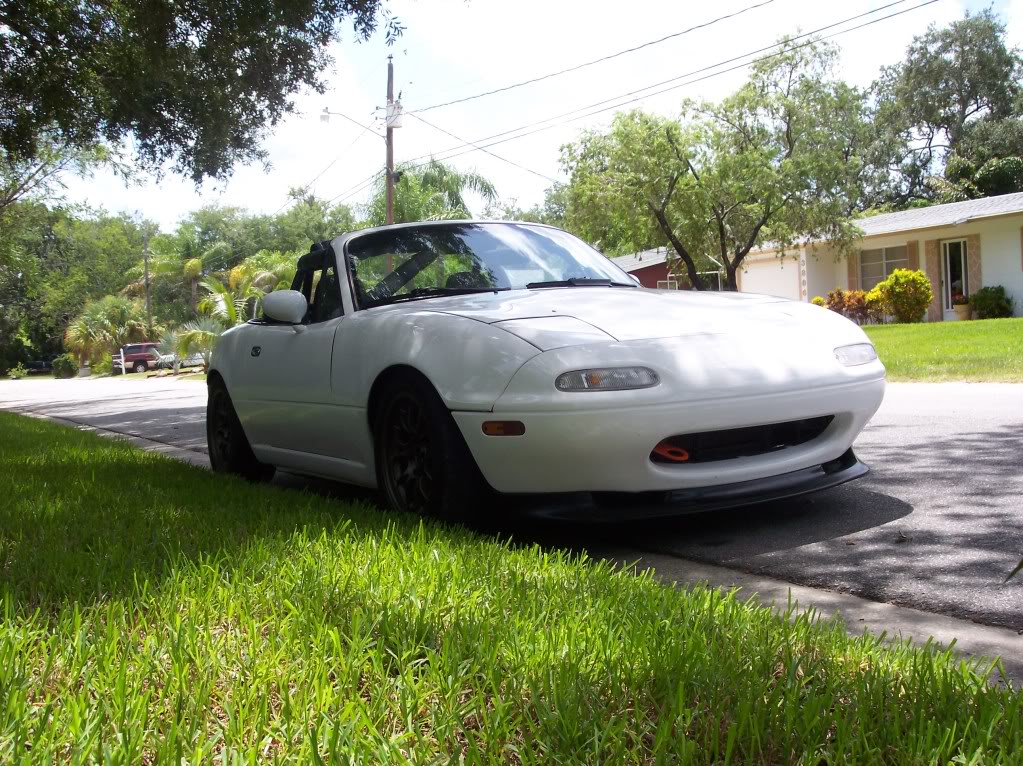
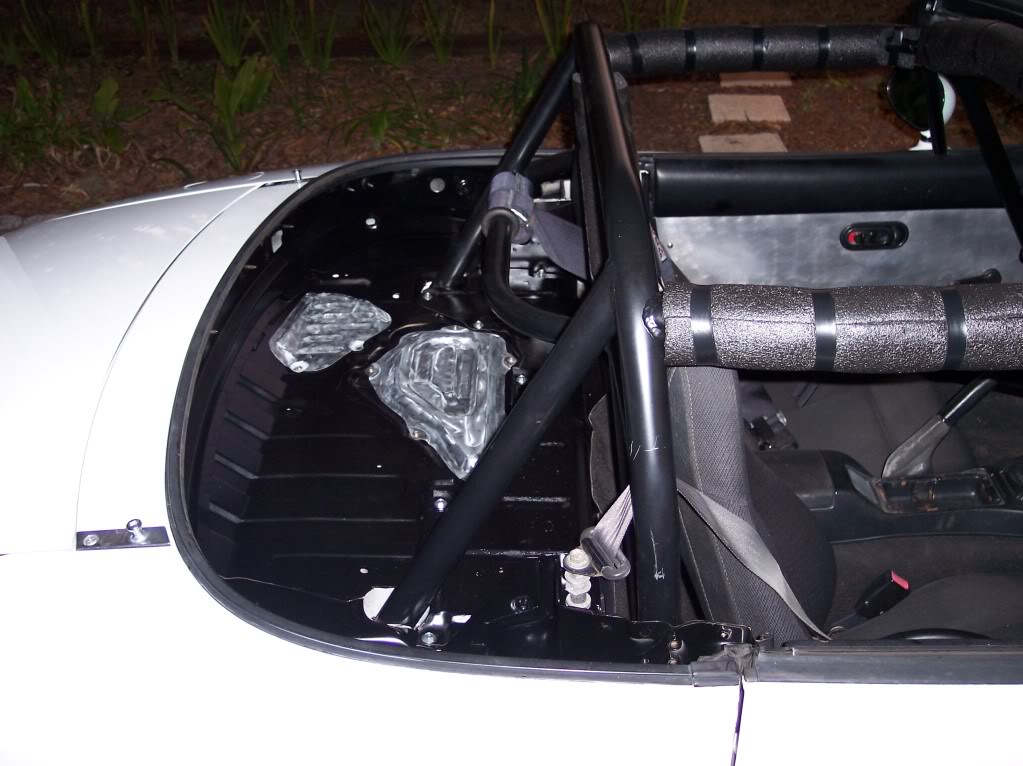
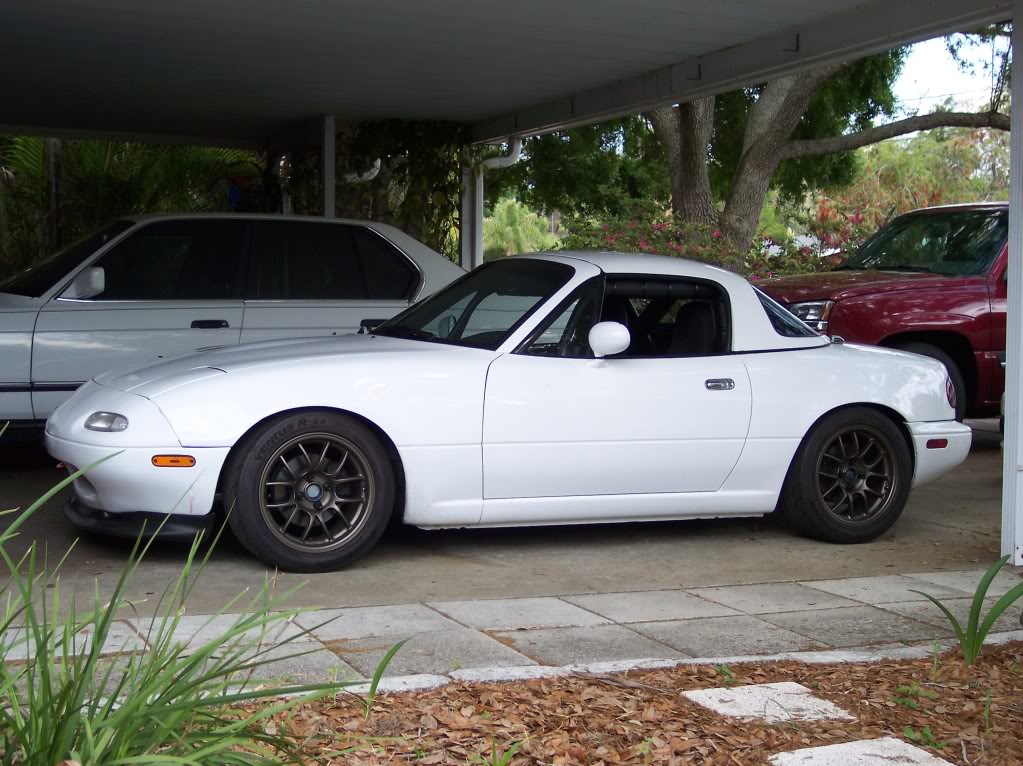
Sourced a Hartop and a authentic GV lip. Deleted Softtop perm-mounted hardtop and painted rear deck.
Name:  100_3006.jpg
Views: 181
Size:  232.0 KB

Name:  100_3222.jpg
Views: 172
Size:  102.6 KB

Name:  100_3290.jpg
Views: 167
Size:  152.7 KB


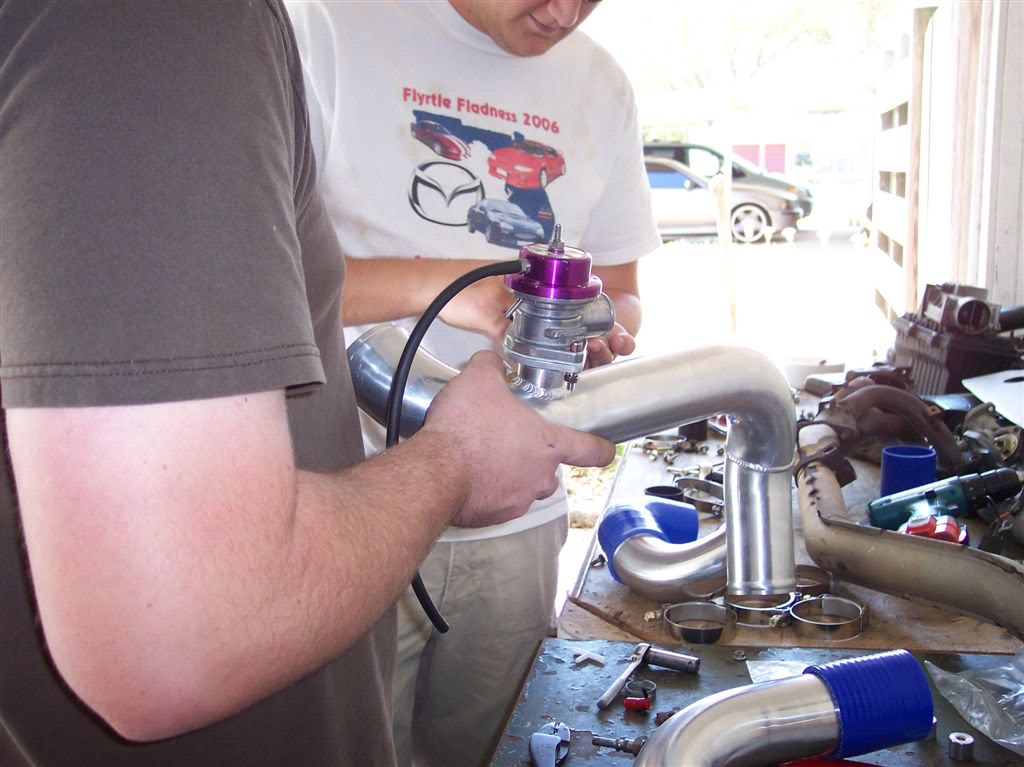
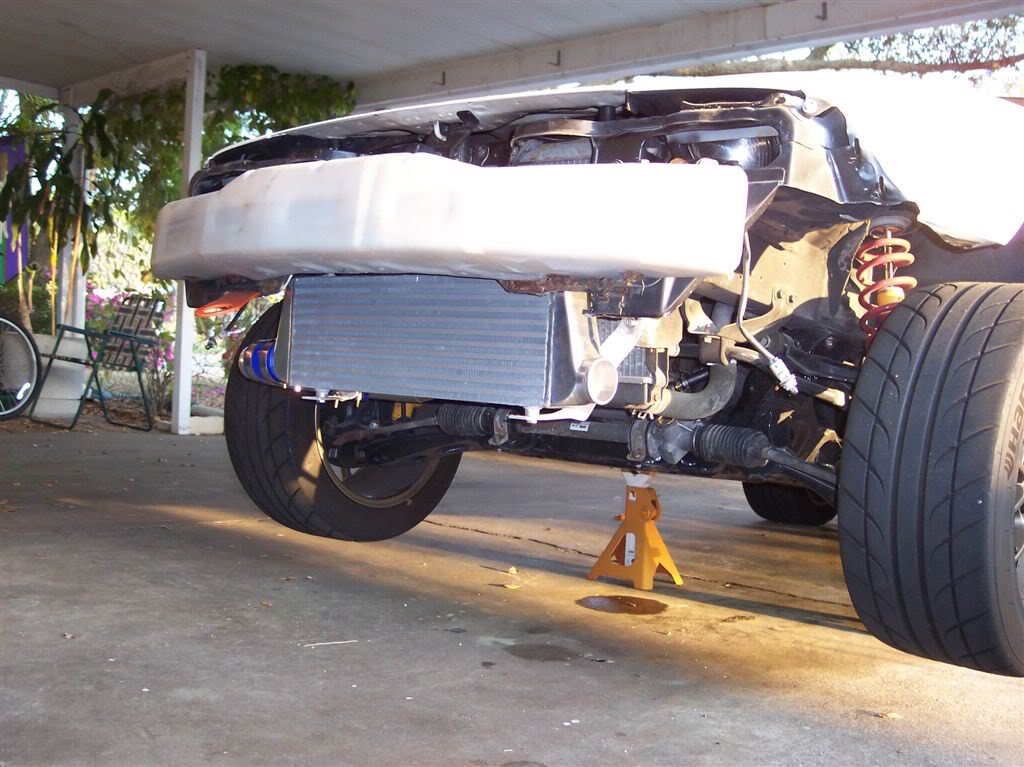
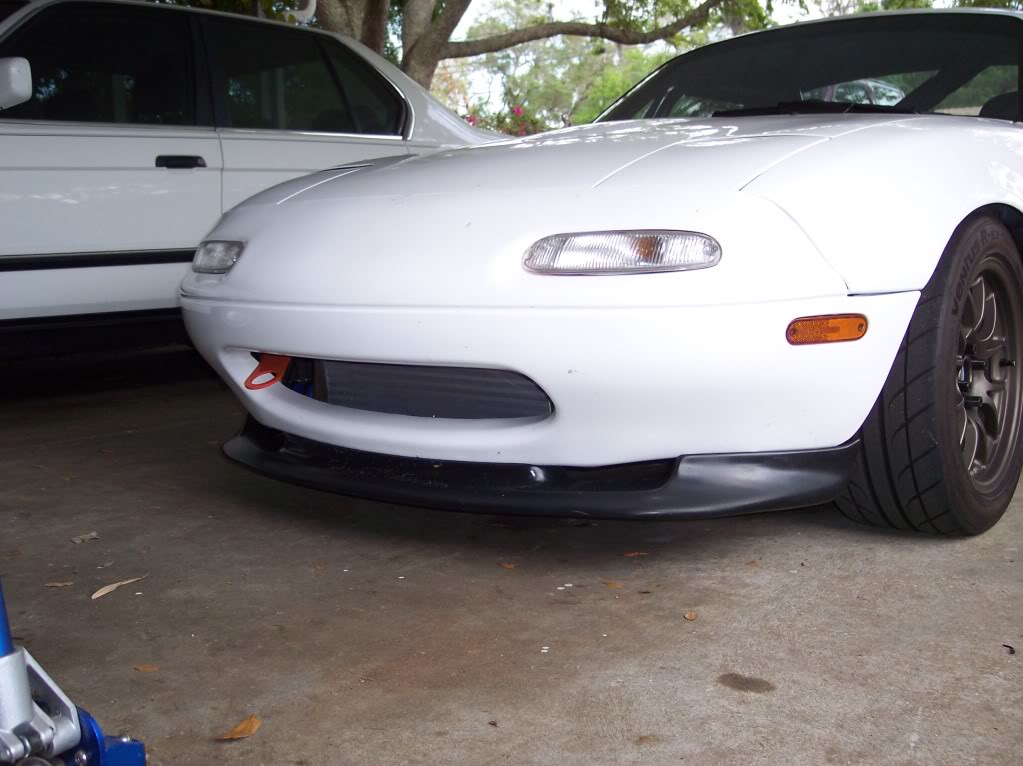
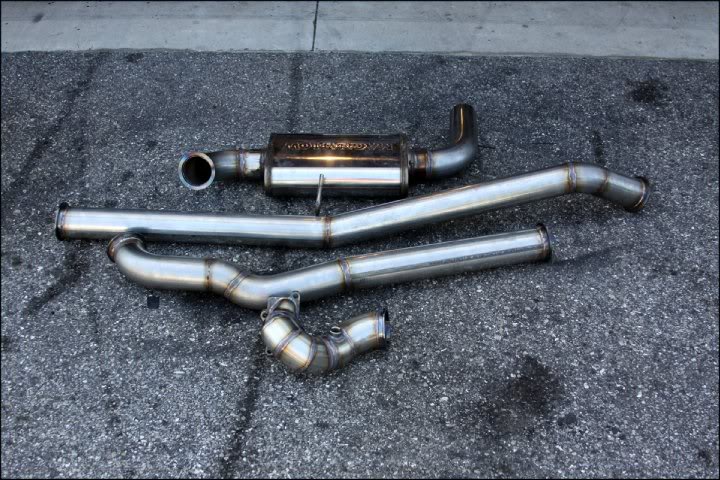
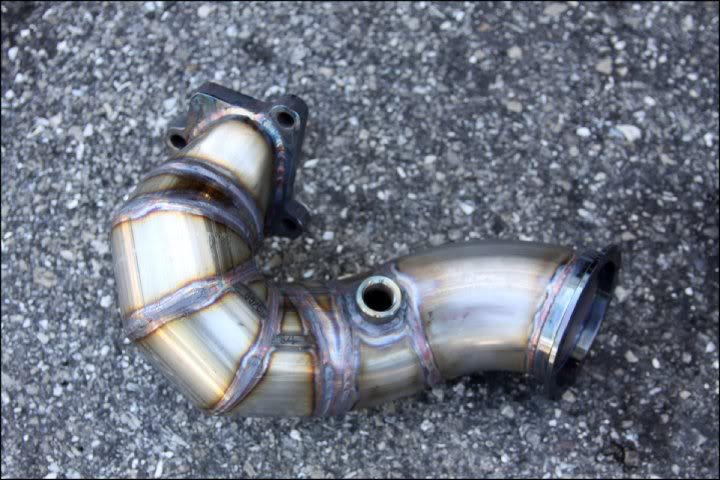
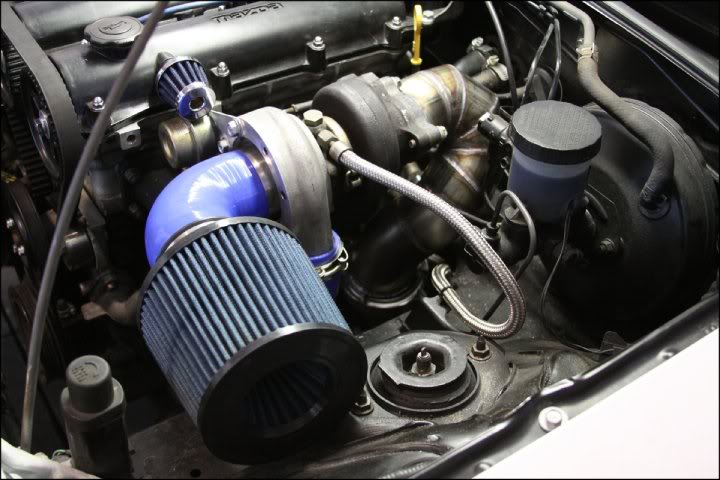
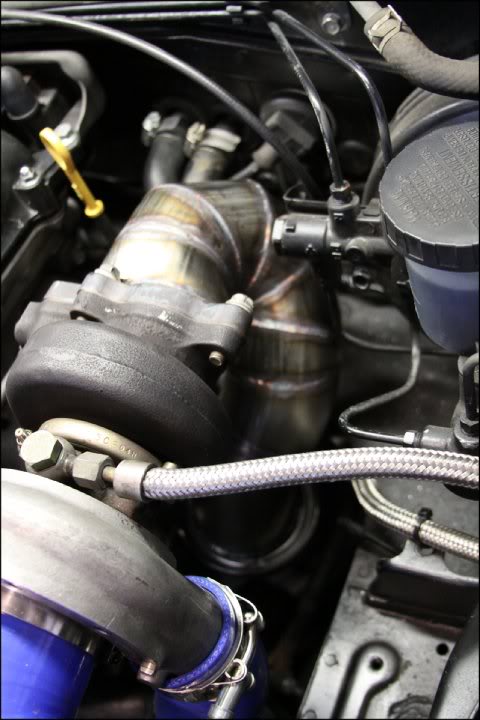
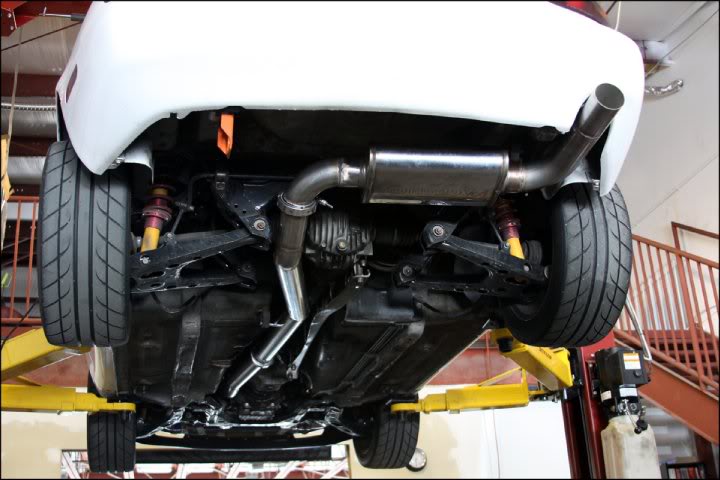
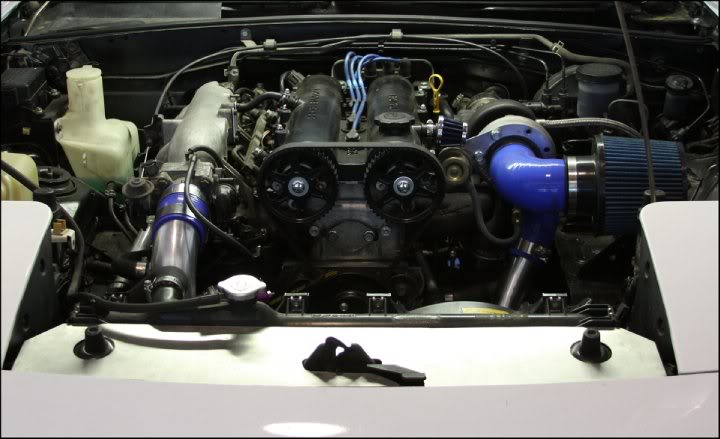
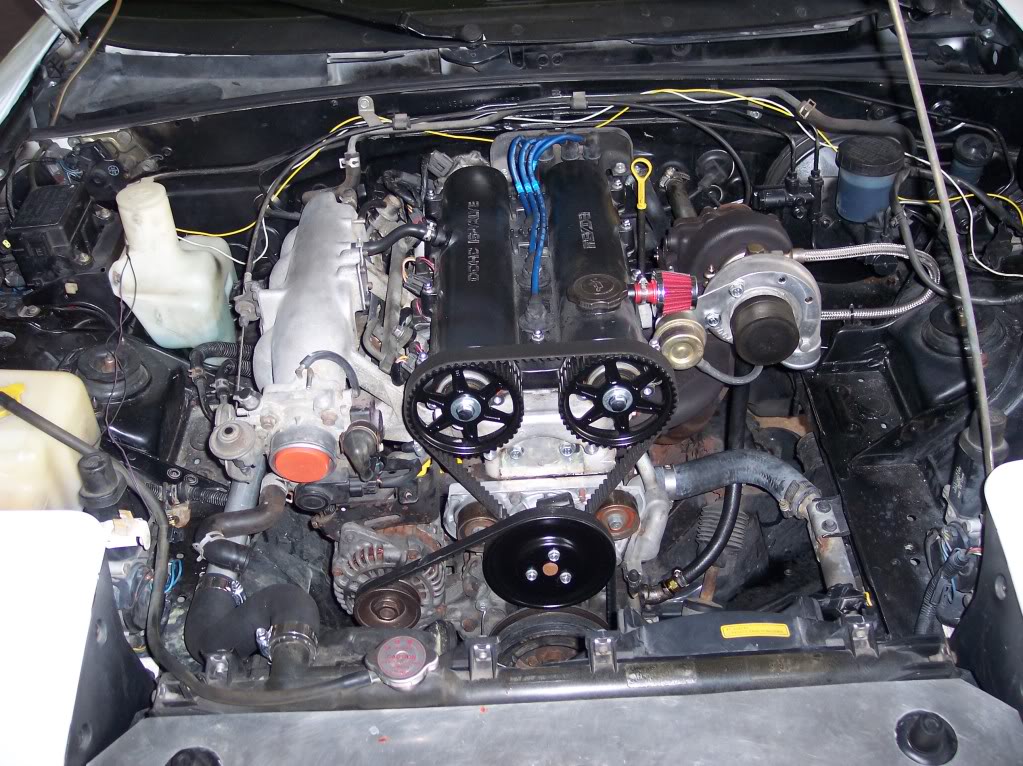
Now the fun begins.... Nabbed a Greddy "kit", MSPNP, and RC550 injectors. Prepped the car by doing a DIY Reroute. Bought a CX Racing FMIC kit (No that's a real Greddy Type-S) . And had Fifteen52 fab a 3" stainless turboback for me. That's where the car sits now...


Name:  100_3271.jpg
Views: 198
Size:  183.0 KB

Name:  100_3278.jpg
Views: 155
Size:  95.4 KB

Name:  100_3286.jpg
Views: 203
Size:  120.1 KB

Name:  100_3293.jpg
Views: 145
Size:  96.5 KB

Name:  exhaust4.jpg
Views: 197
Size:  106.3 KB

Name:  exhaust5.jpg
Views: 165
Size:  73.9 KB

Name:  exhaust2.jpg
Views: 202
Size:  66.1 KB

Name:  exhaust3.jpg
Views: 160
Size:  57.7 KB

Name:  exhaust1.jpg
Views: 168
Size:  59.9 KB

Name:  engineturbo.jpg
Views: 171
Size:  53.5 KB
Old 05-05-2010 | 10:35 PM
  #2  
curly's Avatar
Cpt. Slow
iTrader: (25)
 
Joined: Oct 2005
Posts: 14,497
Total Cats: 1,236
From: Oregon City, OR
Default


I dunno why but a roll cage/bar with thick padding on it gives me a hard one. Amazing revival work, great looking car, enjoy the powah.

Cannot get over the amount of detail work, especially with the suspension, good job, very good job.
Old 05-05-2010 | 10:43 PM
  #3  
kotomile's Avatar
Elite Member
iTrader: (24)
 
Joined: Oct 2006
Posts: 7,537
Total Cats: 42
From: Monterey, CA
Default

Wow dude, you've been busy, that's a helluva transformation!
Old 05-05-2010 | 10:45 PM
  #4  
Sokool's Avatar
Thread Starter
Junior Member
iTrader: (1)
 
Joined: Jan 2009
Posts: 290
Total Cats: 5
From: Bradenton, FL
Default

Yeah, I'm a tad ---- about the finer details. LOL But I could have gone way crazier.

It's been just over a year since I turned the first wrench. Money held me back or it would have been sooner. So yeah I was busy but not busy enough...
Old 05-05-2010 | 10:46 PM
  #5  
FRT_Fun's Avatar
I'm a terrible person
iTrader: (19)
 
Joined: Apr 2009
Posts: 7,174
Total Cats: 180
From: Arizona
Default

Always nice to see a miata near the edge of death be brought back to a beast of a car. Nice job everything looks good! Got me motivated to keep collecting parts for this falls complete tear down! Love the cage... I want.
Old 05-05-2010 | 10:53 PM
  #6  
m2cupcar's Avatar
Elite Member
iTrader: (5)
 
Joined: Jan 2005
Posts: 7,486
Total Cats: 372
From: Atlanta
Default

this thread powered by:
[IMG][/IMG]
Old 05-05-2010 | 11:12 PM
  #7  
ecko's Avatar
Junior Member
iTrader: (1)
 
Joined: Oct 2009
Posts: 105
Total Cats: 0
From: Los Angeles
Default

impressive, I ain't got none of dem skillz
Old 05-05-2010 | 11:19 PM
  #8  
slutz4's Avatar
Senior Member
iTrader: (3)
 
Joined: Mar 2007
Posts: 566
Total Cats: 2
Default

I like the powdercoated suspension pieces, nice knowing that crap wont rust anymore. Welcome to the site, your car seems well put together.
Old 05-05-2010 | 11:24 PM
  #9  
tyson87's Avatar
Senior Member
iTrader: (6)
 
Joined: Aug 2008
Posts: 1,020
Total Cats: 1
From: West Palm Beach, FL
Default

where in florida?
Old 05-05-2010 | 11:29 PM
  #10  
Splitime's Avatar
Miotta FTW!
iTrader: (24)
 
Joined: Jun 2006
Posts: 4,290
Total Cats: 31
From: Chicagoland, IL
Default

So much work put in. Awesome.
Old 05-05-2010 | 11:33 PM
  #11  
Sokool's Avatar
Thread Starter
Junior Member
iTrader: (1)
 
Joined: Jan 2009
Posts: 290
Total Cats: 5
From: Bradenton, FL
Default

Originally Posted by tyson87
where in florida?
Sarasota/Bradenton
Old 05-05-2010 | 11:57 PM
  #12  
aznDragonX's Avatar
Junior Member
iTrader: (5)
 
Joined: May 2006
Posts: 351
Total Cats: -1
From: San Francisco Bay area
Default

fawk...That's awsome!! Almost reminded me my car when I first got it (in bad shape). I never thought about powdercoat suspension parts. I love the transformation from ugly duckling to Fresh Prince!!! Who made the roll bar/cage ??
Old 05-05-2010 | 11:58 PM
  #13  
aznDragonX's Avatar
Junior Member
iTrader: (5)
 
Joined: May 2006
Posts: 351
Total Cats: -1
From: San Francisco Bay area
Default

also..love your choice on the steering wheel! 350mm??
Old 05-06-2010 | 12:20 AM
  #14  
Sokool's Avatar
Thread Starter
Junior Member
iTrader: (1)
 
Joined: Jan 2009
Posts: 290
Total Cats: 5
From: Bradenton, FL
Default

The cage is a bolt in Harddog I got second hand and then powdercoated.

No, I went with the 330mm.
Old 05-06-2010 | 12:35 AM
  #15  
turotufas's Avatar
Elite Member
iTrader: (7)
 
Joined: Jul 2009
Posts: 3,304
Total Cats: 7
From: Gainesville,Fl
Default

I've been inspired! Hallelujah.
Old 05-06-2010 | 02:07 AM
  #16  
dustinb's Avatar
Elite Member
 
Joined: Feb 2008
Posts: 2,321
Total Cats: 14
From: Victoria, BC
Default

Great work. Put a heat shield around that brake reservoir
Old 05-06-2010 | 02:11 AM
  #17  
RotorNutFD3S's Avatar
Elite Member
iTrader: (33)
 
Joined: Jan 2007
Posts: 2,518
Total Cats: 30
From: Newnan, GA
Default

Great work! Would not believe it was the same car once upon a time!
Old 05-06-2010 | 03:19 AM
  #18  
curly's Avatar
Cpt. Slow
iTrader: (25)
 
Joined: Oct 2005
Posts: 14,497
Total Cats: 1,236
From: Oregon City, OR
Default

I agree, you need a heat shield. Little advice from a fellow greddy owner though, don't get the FM/Bowser heat shield, it won't fit well with anything but the stock down pipe. Mine popped a spot weld or two, and you have to extend the lower bracket over. Simple, but if you have some fabrication skills, I'd go ahead and make your own, just copy the basic design.
Old 05-06-2010 | 03:35 AM
  #19  
bmxfuel007's Avatar
Senior Member
iTrader: (21)
 
Joined: Apr 2010
Posts: 518
Total Cats: 19
From: Redmond, WA
Default

wow, you seriously brought it back from the dead. phenomenal job
Old 05-06-2010 | 07:34 AM
  #20  
Fireindc's Avatar
Elite Member
iTrader: (13)
 
Joined: Dec 2006
Posts: 6,841
Total Cats: 668
From: Taos, New mexico
Default

Amazing job. Going to get it on the dyno after the install?


All times are GMT -4. The time now is 10:25 AM.