When you click on links to various merchants on this site and make a purchase, this can result in this site earning a commission. Affiliate programs and affiliations include, but are not limited to, the eBay Partner Network.
Hello everyone,
This is a message to the forum veterans out there. I don't know if any of you remember, but several years ago there was a certain 2000 Miata that was favored here. It was originally built by 18psi, then sold to Snowboardinwny, then to turbofan, then to birdzofprey, then to me
I've been meaning to bring you guys up to speed on how the car is doing, the mods added and challenges faced. I've finally got it where I want it. Let's start with a familiar list. It's up to speed. I've added comments too. It's worth the read.
Comments in Pale Red are from me.
Parts/mods in Dark Violet installed by me
Parts/mods in Strong Blue installed by birdzofprey
UNDERHOOD:
Honed block
9.1:1 OEM pistons
M-tuned forged rods
Chrom-moly rings
Custom coolant re-route FM Crossflow radiator with stage 2 shroud and fans FM Oil Cooler
Master/Slave cylinder (replaced 2x in the past 2yrs, curse you FM and your lvl 2 clutch) Flexible stainless coated Slave cylinder clutch line OE Ignition Coils(Had Fab9 CoP kit installed. The kit failed, went back to OE. Runs great.) NGK plug wires NGK V-power 4554 R5671A-8 Racing Plugs (heat range 8) Innovative Mounts 75A (rated 250-400hp)
BEGi log manifold M10 grade 8.8 Alloy Steel heat treated manifold studs, 42mm, overall length
Godspeed 3076 .86 a/r 4", 60mm inducer
Stainless turbo feed line
Custom welded oil return into oilpan (about that...)
Custom 3" downpipe, now wrapped
Custom heat shield
Off brand strut tower bar
Custom 3" mandrel exhaust with 6x18 cannister and 2 big resonators
Custom 2.5" aluminum front mount intercooler kit (its a little beat up at this point)
GM ait sensor Improvised/custom catch can. 323GTX PCV valve
Forge blow off valve Forge manual boost controller
Injector Dynamics 1000cc injectors
Walbro 255LPH fuel pump Rear main seal replaced 02/23 Oil pan resealed with Mopar black RTV MS-GF-44-B and new channel gaskets, 02/23 Oil pan bell housing bolt threads repaired/reinforced with keyed inserts. ACT Lightweight Flywheel, Streetlight 60290
ACT Heavy Duty 6-puck clutch, ZM2-HDG6 6spd transmission from a 2002 SE Poly rear diff bushings 3.6 rear end Was Dyno Tuned by Bell Tuning on a DynoJet Recently Dyno Tuned by H-Car on a DynPak.
Currently tuned on 93 octane, 251HP, 241lbft Torque, 17psi
ROLLERS: Tien Flex Z Coilovers, VSM40-C1SS1
TRMotorsport 15x9 +36 wheels Rear: Kumho Ecsta V720 SL, 225/45/R15
Front: Kumho Ecsta PS31 SL, 205/50/R15 ~.5 deg negative camber in the rear.(It corners very well)
From Original post: "BFGoodrich G-Force (could use something more sticky for better traction)" (It did, I gave it something)
Brake Best Ceramic pads
From Original post: "Porterfield RS3 front brake pads" (They're in the brake best box on my front porch )
INSIDE:
Megasquirt DIYPNP with ms2-extra firmware (still kickin)
Internal MAP sensor
Hardwired tuning cable (removable)
Autometer boost gauge
AEM uego wideband o2 kit (hardwired into MS)
MOMO JDM rx7 fd3s steering wheel
Pioneer head unit (lights up same color as speedometer)
NB2 center console
OUTSIDE: OEM Hard Top(currently repainting )
Kee soft top with glass window (has tear, needs replaced) (Yes, yes it does) Spec-D Projector Headlights, Black
From Original post:"Blacked out 03 Miata projector headlight" (Got tired of buffing the headlights, so I replaced them)
Xentec HID kit 6000k (ballasts in car but not hooked up and no bulbs) (Yep, they're still in there, wasting space )
OE taillights
From Original post: "Red out tail lights"(What happened to these? I got this car with OE rear lights :( ) R-Theory Aluminum hood vents, powder coated, top mount, 5 vents, 3 vent, 2 ram.
03 Miata front bumper (Had to add more epoxy where the OE mounting bracket met with the 03 bumper cover. Has held up well though)
Optional equipment Front lip
Optional side skirts
OEM rear mud flaps
smoked emblems (they should be redone)
OEM 01+ Mazda Miata "crisp white" paint job (also needs to be redone)
I couldn't find the original classified ad 18psi posted. Assuming it was sold here.
I bought the car from birdzofprey privately.
Some notes, complaints, and friendly jabs.
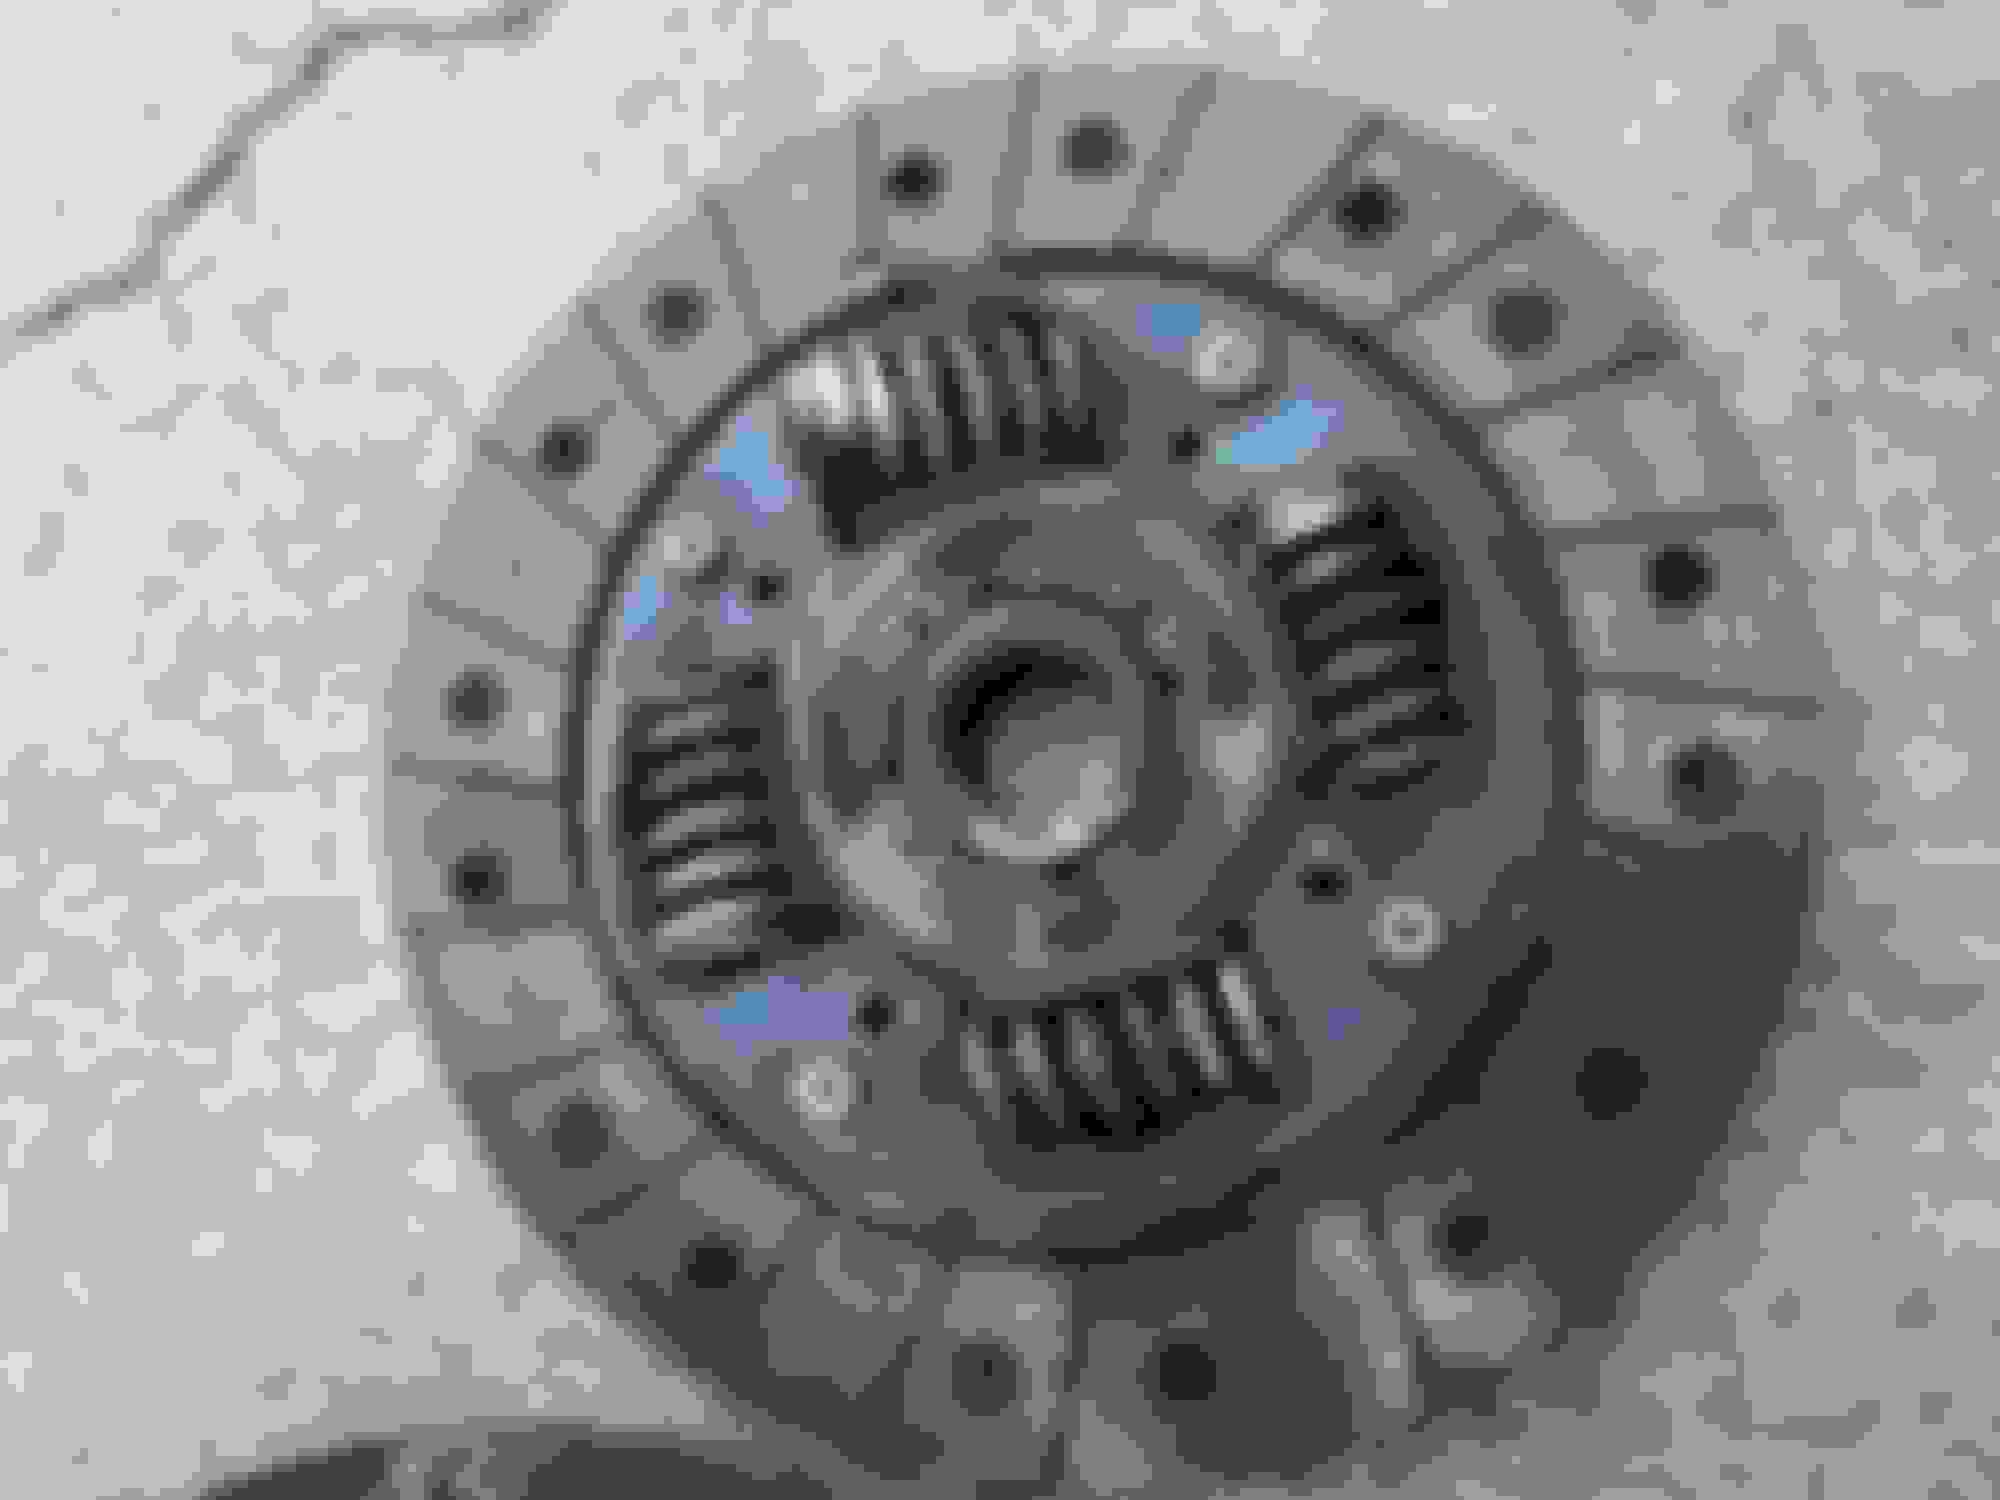
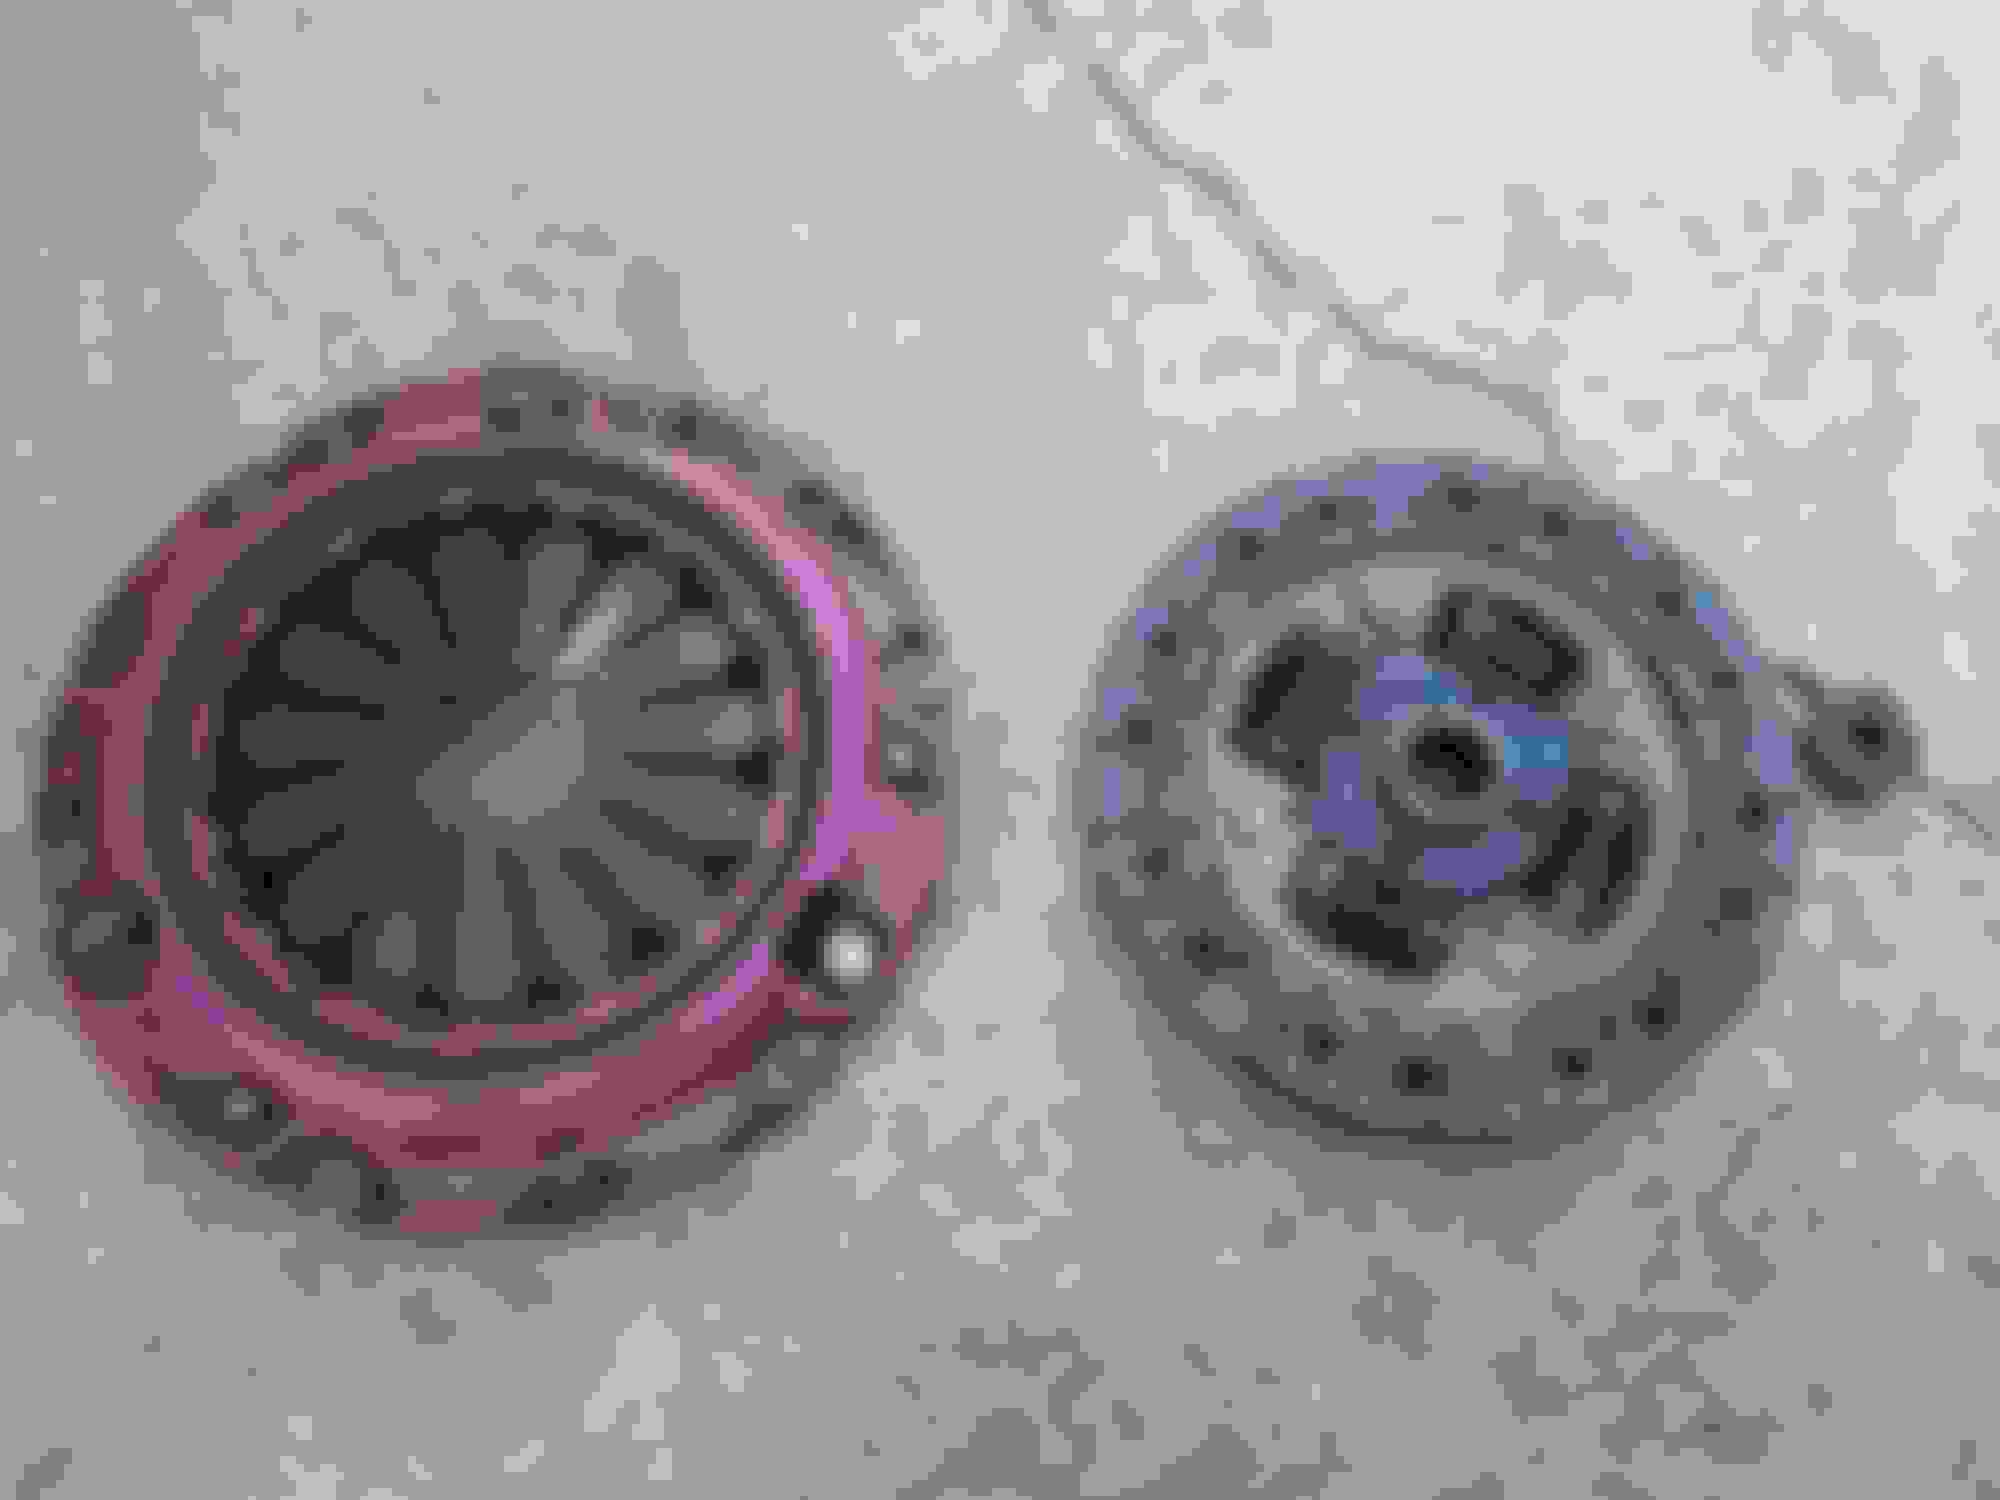
To whoever put the FM lvl2 "happy meal" on that thing... *sigh*. The clutch died. The subplate spring frame failed on 2 springs. This car has been running on 93 octane for several years now. At best, it's been running at 260whp. FM boasts about how much power it can take. I'm not convinced. In short, I replaced it with an ACT. I left an informative review on the FM website. I offered to send them the damaged clutch to inspect and give to R&D for evaluation and redesign. I doubt I'll hear from them though.
To whoever got the engine resealed. What kind of a newb sealed this engine!? Good lord. I've never seen such a sloppy job. There was RTV everywhere. The front oil pan seal started leaking because whoever sealed it after dropping in the forged rods reused the OE gasket. The pan was stuck so much that I bent the **** out of the oil... baffle? (best description I could come up with) getting the pan off. Anyway, with the help of a razor blade scraper, a drill, a circular wirebrush, and a vice, I managed to make it good as new again . I also replaced the rear main seal while I was replacing the flywheel. I thought I was going to crack the seal housing pulling it off. To the last mechanic's credit, this car passed 3 hands before the engine started leaking oil. I just think RTV everywhere, reused gaskets, and remaining OE RTV compound found in the new sealant job, is sloppy work.
Whoever installed the turbo oil return on the oil pan wasn't really thinking ahead. I had to remove the engine mount just to get the bolt, that sits right above it, out with a wrench. *sigh*
Other mods/repairs:
The first repair I did was replace the water pump again. I don't know if it was a bad bearing on the pump, or just a POS. Either way, I replaced the timing belt while I was at it.
The oil cooler AN fittings came loose and started leaking everywhere. I did an oil trace and found the issue pretty quick. Easy fix.
I also replaced the passenger window regulator. I kept the same motor, so that was fun getting back together.
I moved the boost reference vacuum line from a T-junction shared with the BOV that was tied into the brake booster vacuum line. The boost reference vacuum line now runs to the upper portion of the charge pipe, close to the TB silicon elbow. It's about the same height as the AIT sensor.
I reinforced the driver door panel arm rest and tried to sew up the gaping tear. It looks ok, nothing fancy.
The OEM hardtop passenger latch had really loose bolts/screws. Someone used red lock-tight to keep them in place. I ended up using a helicoil on one of the holes and replaced the screws with bolts. The bolts are tight, but the latch still rattles. I'm debating trading out the latches with fixed brackets.
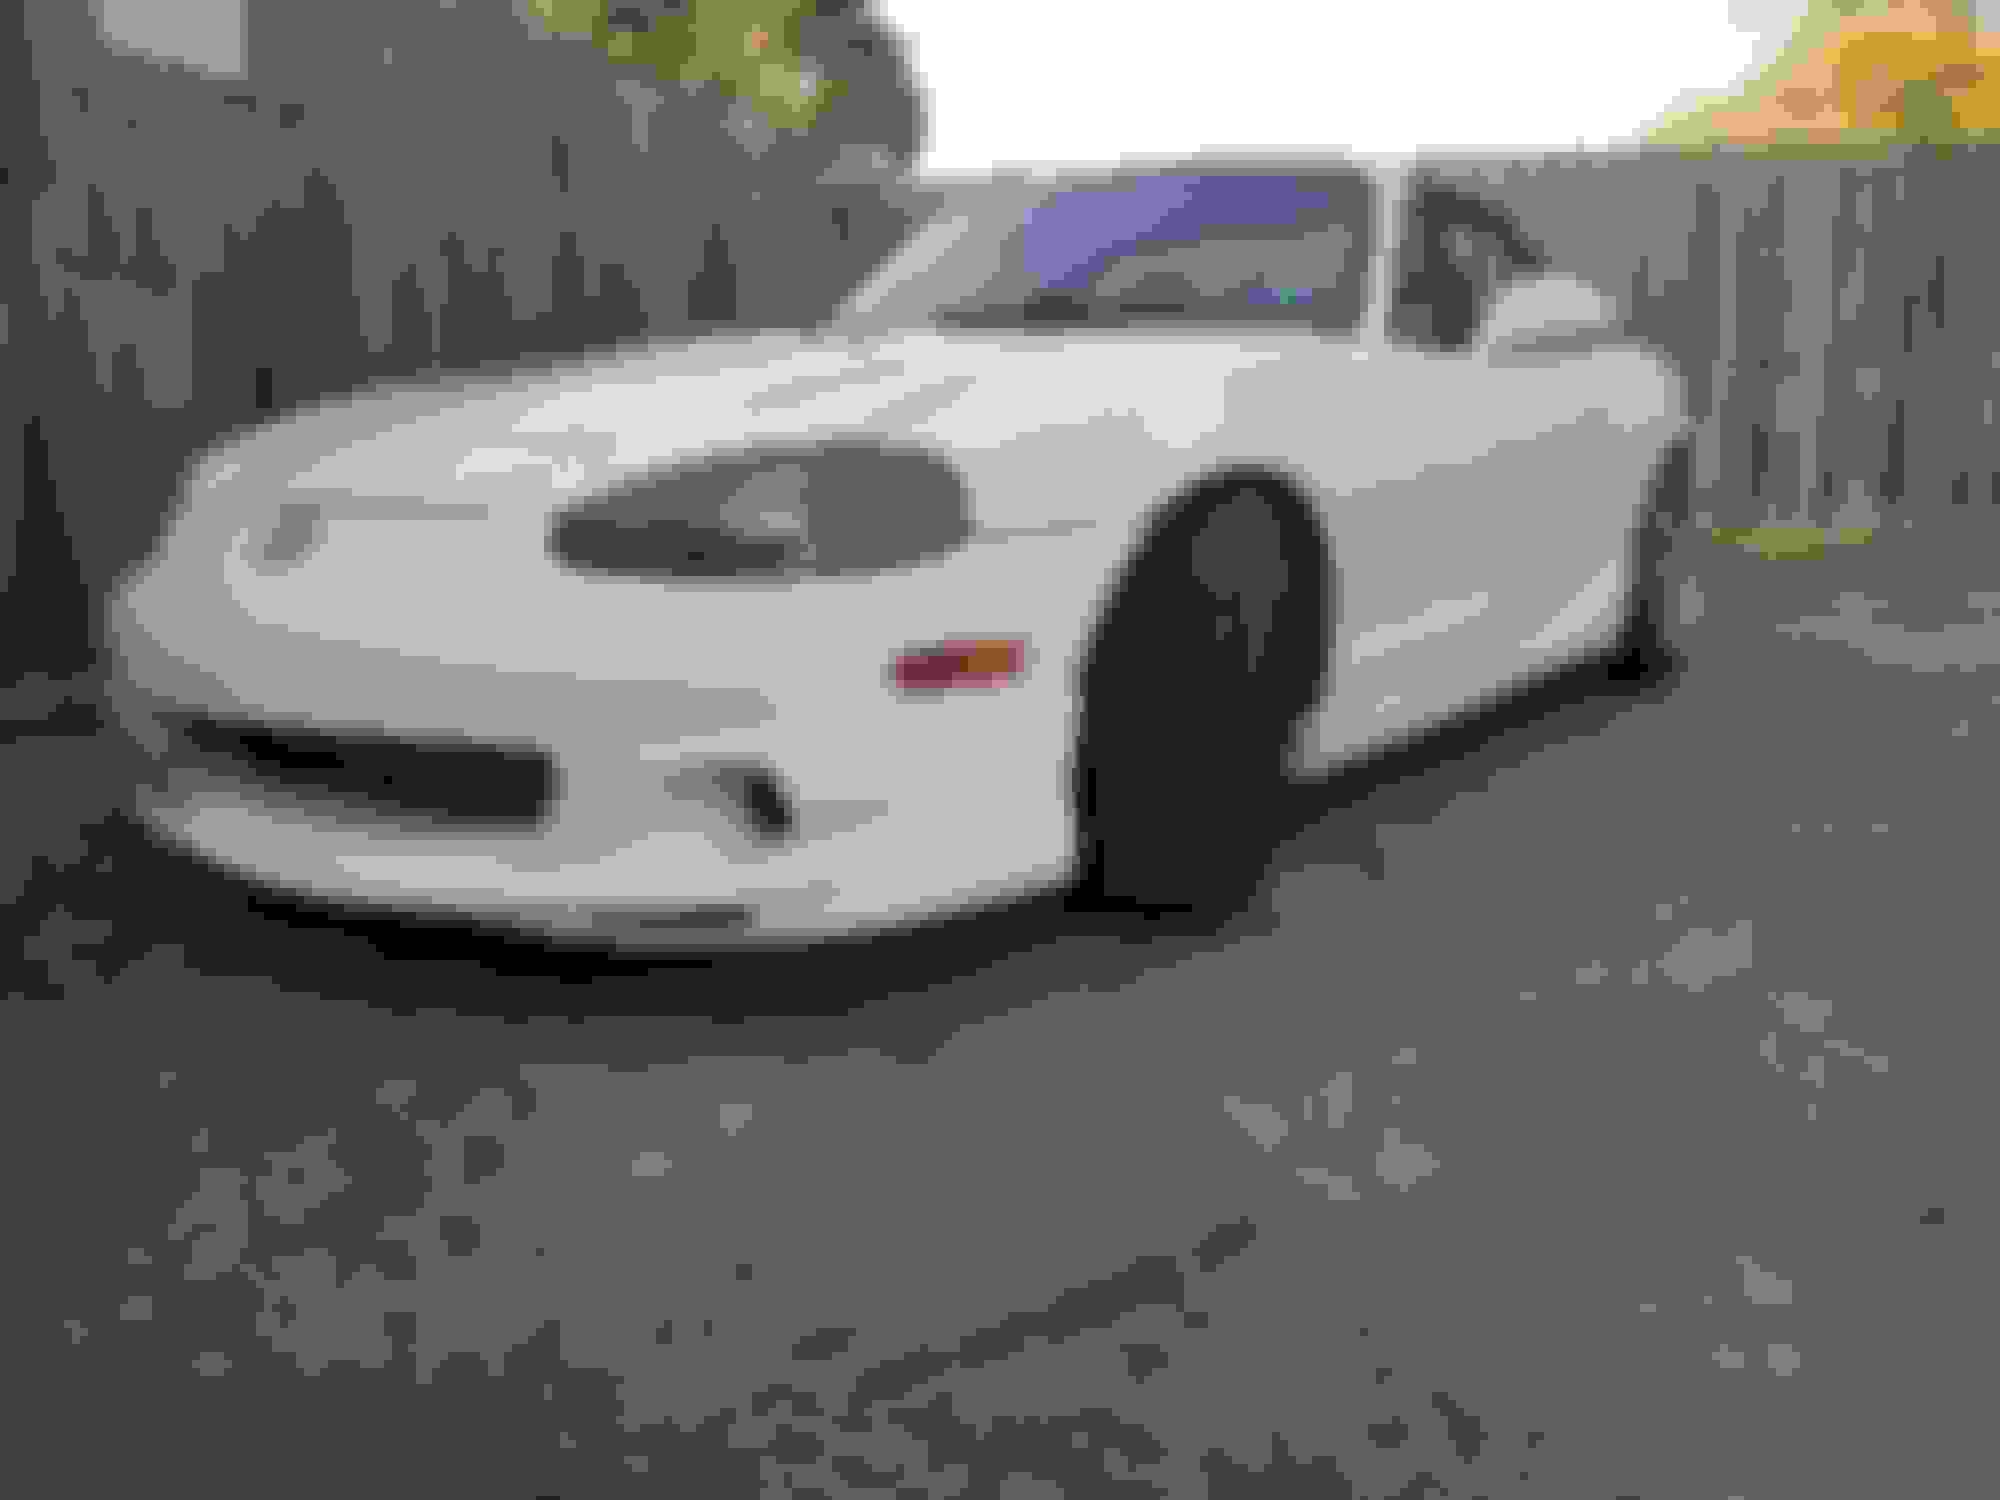
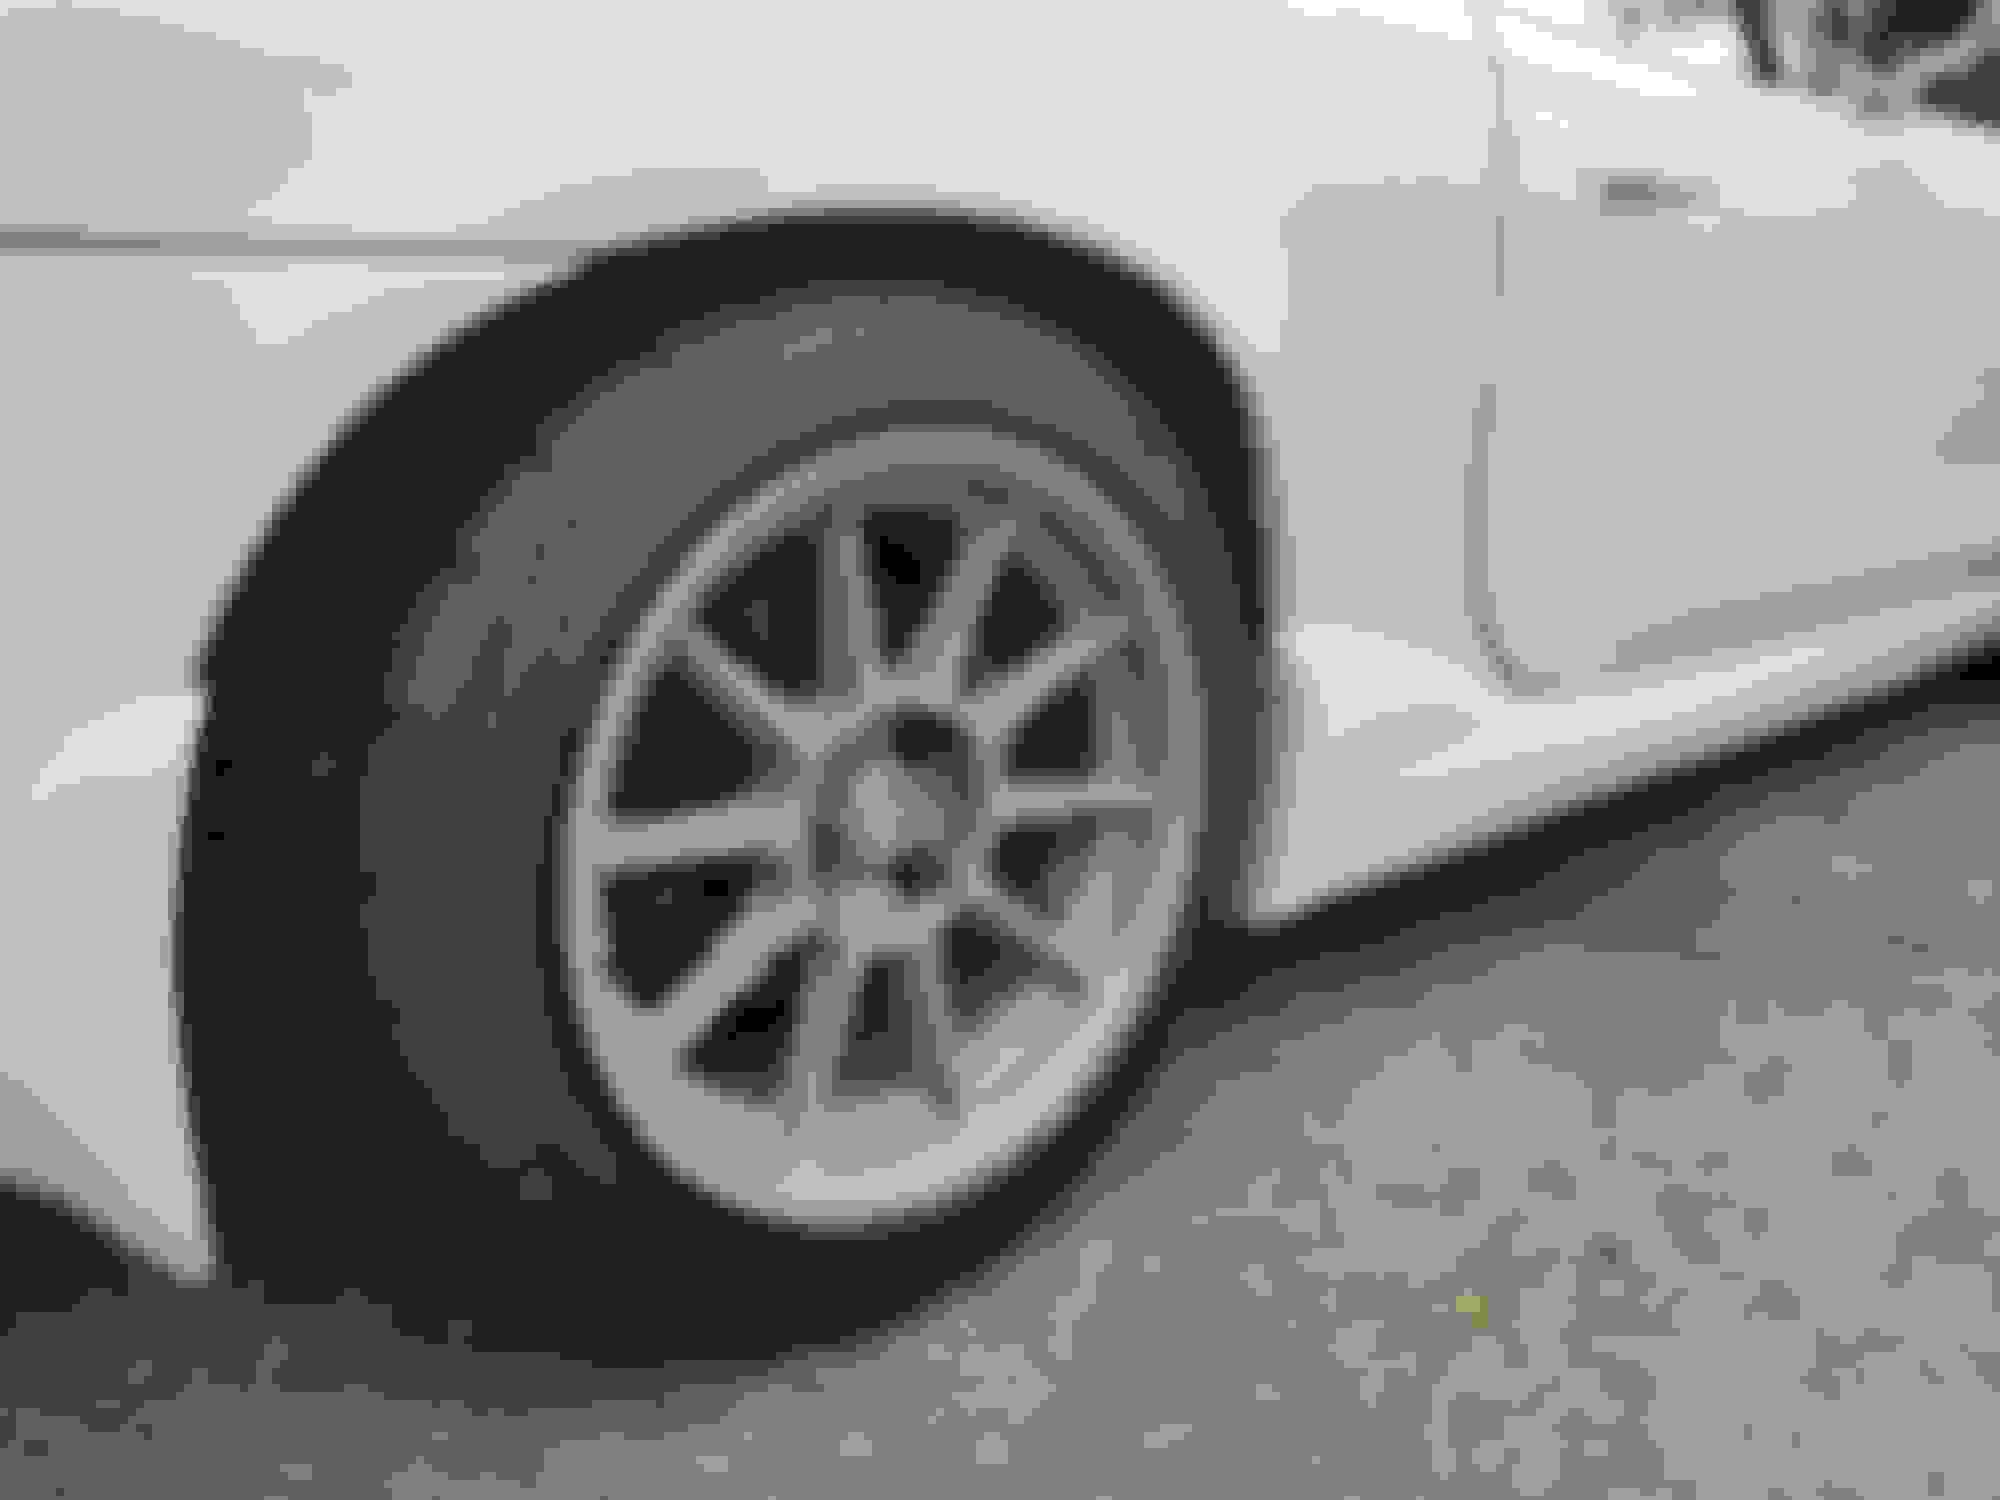
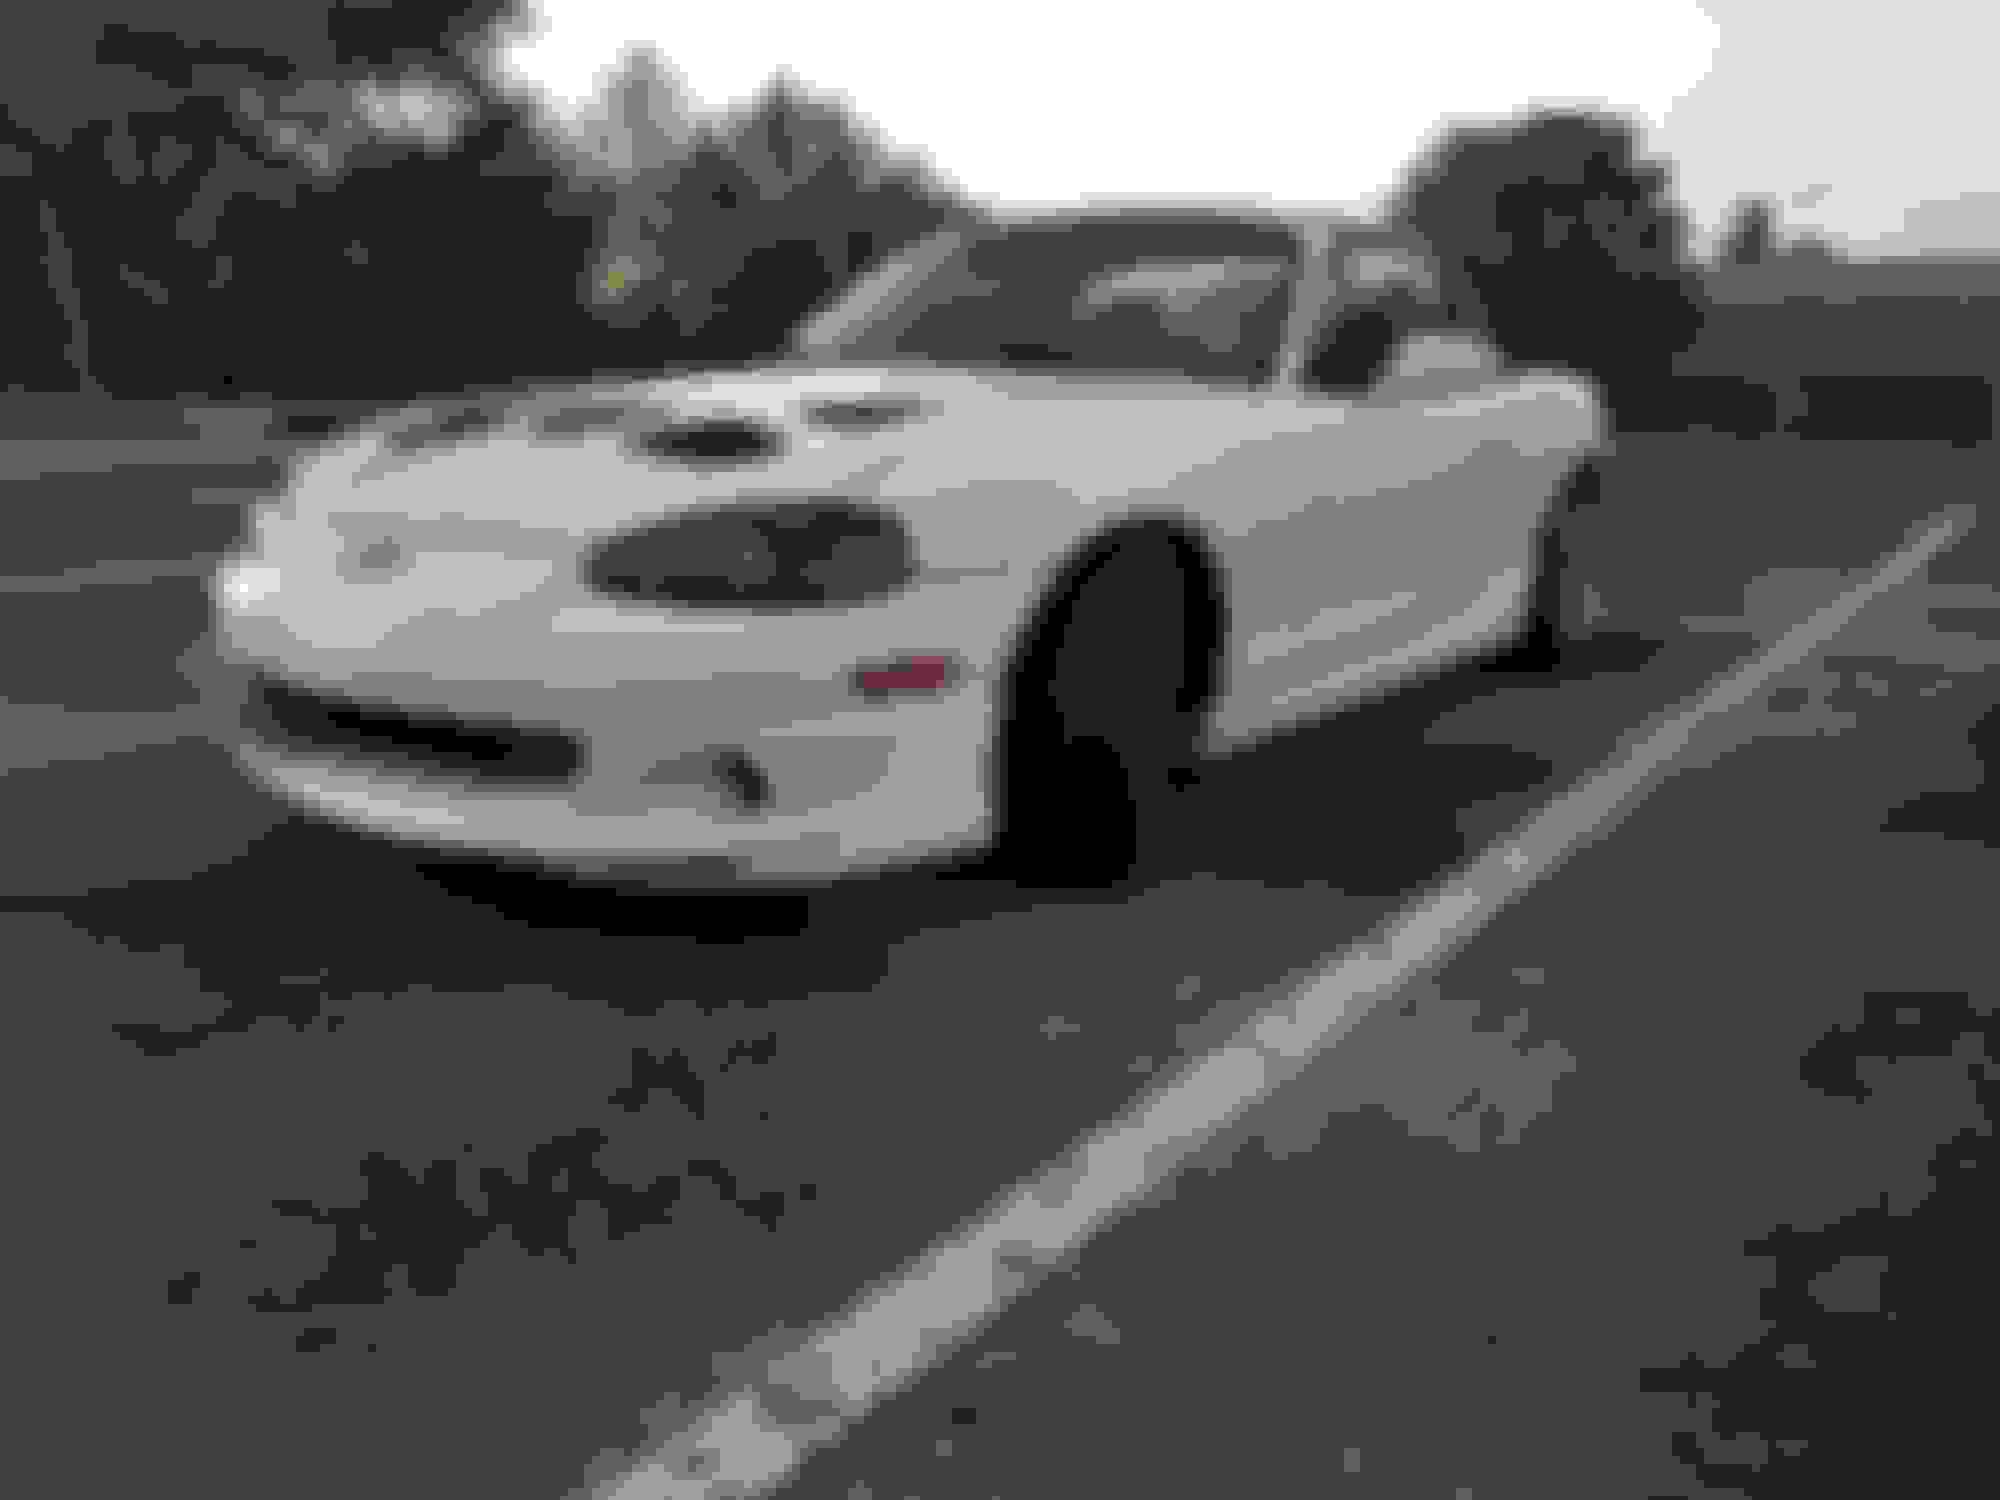
The good stuff: Front before the vents, just after a wash Before vents and lights Rear with OEM trail lights. I'm happy with this fitment I've been debating upping the tire size to 235. This is pretty close though. Pretty happy with the fitment Front after Spec-Ds and vents installed side view rear view1 I reversed the driver and pass of this vent to make them ram air scoops instead of vents. You can barely see the filter straight ahead. After the vents, before the headlights Christmas came early this year. Should be done early next week. Making it gloss black again. day 1 after coil over install. improvised catch can This was a shocker to me RIP happy meal
THE LEGEND RETURNS
Last edited by NewMember; 03-22-2023 at 10:14 PM.
Reason: add more accurate information
Not sure about forcing air under the hood through what is meant to be an outlet.
My understanding is you need to maintain low pressure in the engine bay, and all air that enters there should go through the radiator for the sake of cooling efficiency.
Those front vents are located at really high pressure zones IIRC, and using them as air rams will increase engine bay pressure considerably.
Or, I could be wrong.
No, I think you are right. I was wondering if anyone would pick that up, I think that is a recipe for overheating. The only saving feature is that is a low pressure area and the inflow will be less that if they were mounted to the rear. Actually IIRC the progression is lowest at or around the front lip of the bonnet to the cowl area where it is highest.
60mm turbo, .86 T3 housing, semi-built engine. Ramp the boost up!
Is there a dyno sheet? Wonder how fast/late this spools
The tuner was concerned about bumping up the boost much more than this due to stock pistons and 93 octane. He said that if we wanted to go much higher to switch to e85. I do want to install a flex-fuel sensor and run both, but that's another mod for another day.
At present, I can't run pure e85 due to my job requiring me to drive around a lot. I passed on filling up on 91 octane while I was out and about. I don't want to find myself 2hrs away from home without any fuel to get back.
Not sure if this is what you're looking for. This is from the last run of the day. Max HP@5627
Not sure about forcing air under the hood through what is meant to be an outlet.
My understanding is you need to maintain low pressure in the engine bay, and all air that enters there should go through the radiator for the sake of cooling efficiency.
Those front vents are located at really high pressure zones IIRC, and using them as air rams will increase engine bay pressure considerably.
Or, I could be wrong.
I have functional billeted nostrils on my 90 miata. There's vents on the back section of the hood on that car. I could install some hood risers if the pressure becomes too great. However, there are vents right behind the "scoops". Air pressure hasn't been a problem so far. I'm much more concerned about the hood flying off on my other car than on this one. I guess I could put a barometer under the hood to know for certain. I mainly want to keep the turbo cool and the air filter sucking in fresh air. These seem to serve both purposes pretty well. One of the side effects is how loud the BOV is with the top down. You can also hear the intake sucking in air. That hiss is ****. Anyway, I keep it under 90mph usually and only took it to the track once. I'll repost the under-hood air pressure if I find myself getting that barometer to test with. Its good to know either way.
No, I think you are right. I was wondering if anyone would pick that up, I think that is a recipe for overheating. The only saving feature is that is a low pressure area and the inflow will be less that if they were mounted to the rear. Actually IIRC the progression is lowest at or around the front lip of the bonnet to the cowl area where it is highest.
I remembered that I had a log capture from June of last year, before the vents were added. On that run, I had a max temp of 217.4F (103C). I ran another log capture on my way home today, post vent install. Today I had a max temp of 211.9F (99.9C). It would appear I'm running slightly cooler with the vents installed. Weather might play a role, but the ambient temp today was ~85F (29.4C)
The differences in boost pressure related to RPM has to do with the tune changing and the boost reference changing between log captures. There's also a +33hp difference between logs as well.
The overall cooling difference seems negligible, honestly.
Anyway, cool conversation. Cooling inefficiency and ram-air engine bay pressure increase weren't something I had even considered when adding the vents.
Judging by this data, there doesn't appear to be any harm in leaving them the way they are.
I am curious about downforce and drag coefficients though. I just don't think I'm ready to drop over $1K on a wind tunnel analysis just to find out though. It's not like I'm on a racing team/league. Although, if someone wanted to sponsor the trip out of curiosity, I think it would be cool to share.
"FOR SCIENCE!"
Pre-vent log capture. Max temp, 217.4F (103C) Post-vent log capture. Max temp, 211.9F (99.9C)
Ha! I always loved this car when 18psi had it. Crazy to see it's still around in such great shape!
Thanks. I think I just hit 98k on the odo. Car runs great, honestly. The wheels break loose at full boost in 3rd when cold outside. The car is fast enough to be fun, but not enough to kill you. This is practically my dream car for a daily.
Haven't had to pull the engine yet and didn't feel any play when I tried to shake the rods when the oil pan was off. The turbo also has no issues either. I'm paranoid about shaft play, but this thing just keeps spinning. I do have the practice of running the engine at idle for 30sec after I've been running it (despite having an oil cooler and running full syn). The oil I use is Shell Rotella T6 5w-30.
I just ordered a roll bar from FM, so I'll post pics of that once installed. I'm also waiting on my hardtop. Apparently there was hail damage. My body man (my brother, actually) had to do that repair first. I'm hoping to get it back in the next 2 days.
I would like to see some of the other owners say hello, especially 18psi. That would be a fun conversation.
Here's some more pics of some of the work I've done to it. Enjoy.
Timing belt replacement during water pump replacement Turbo removal to repair broken manifold stud and re-secure After the first stud was extracted by a machine shop. snapped off another stud while trying to extract it. The machine shop removed all 3 studs. Boost reference moved to the upper portion of the charge pipe. The reason for pulling the tranny. Not sure which owner installed this. newbs, I swear I thought I was going to crack the housing pulling this off. Was about to bust out the torch. Got it all cleaned up new rear main seal ah yes, a proper installation. such a beautiful sight passenger window regulator went out. Replaced it. Had to reuse the old motor though. Talk about things that make you nervous paint didn't match, but its mainly to coat the bare aluminum. The vents cover the mismatch. 3 bolt holes on the oil pan were stripped out. Had ALL the oil pan bolt holes sleeved with keys.

 03-18-2023 | 07:06 AM


 0
0


