Plastidip
 11-28-2014, 04:06 PM
#81

I think it's the dipyourcar site that sells improved flow nozzles, basically for the goal of laying thick coats like mentioned above. It's got a lot wider pattern, and a lot denser spray so you can lay it on from further back. It's faster, so you can get the next coat down before it starts to tack too much.
It's possible to get it looking uniform with the "stock" nozzles, but it's way easy to zebra-stripe between thick and thin sandpaper spots.
It's possible to get it looking uniform with the "stock" nozzles, but it's way easy to zebra-stripe between thick and thin sandpaper spots.

Reply
 0
0

0
11-28-2014, 04:19 PM
#82

Well, I can try. For this example, lets use the hardtop as a reference.
When you apply the tape to the door seals, you would want to stick the tape as far up the seal as possible ,(up meaning as close to the top), while still having the rolled edge of the top visible. Basically, you don't want to try to remove the tape if it's been plasti dipped. Even if you try to cut the transfer layer (dip spray that's adhered to both the top and your masking tape), then the whole dip is compromised. the edges will look like bacon, and the dip will peel itself as you drive.
Another word of caution, overspray that gets on any rubber seal is an absolute bitch to remove. If you are going to have a spot that gets overspray, then make sure you apply enough coats of overspray so that you can peel it all.
When removing the overspray, pull in perpendicular directions from your hardtop. So if removing overspray on the rear window, starting at the top, pull the overspray straight down, then left/right along the window edge, ect.
The biggest challenge is getting the tape off without ******* up the rest.
If you have access to a spare door, it made a great learning tool. Practice taping off the door/Window seals, and practice removal.
ALSO, and this cannot be stressed enough, make sure you lay down a MINIMUM of six layers, otherwise you will hate life when you try to remove it.
Reply
0
0
01-17-2015, 08:23 PM
#84

Here is my input to the Plasti Dip thread.
I used a few items:
1 gallon black cherry RDS (had it, just wanted to use it up) ($60)
1 gallon matte black RDS ($55)
1 gallon matte clear RDS ($60)
1 gallon glossifier RDS ($65)
100grams RL-71 pearl ($100)
I used an Earlex 3900 sprayer from Lowes ($118).
Tape and mil plastic ($20)
I already had the sprayer, mil plastic, and black cherry and matte clear RDS. The prep work took the longest. I put 2 light coats of the black cherry followed by 3 good coats of matte black. I mixed 3/4 matte clear with the whole gal of glossifier and the pearls. I put 3 medium coats of the pearl on, the first was mostly a detail coat by trying to get all the hard areas first. I'm happy with it, the whole start to finish time involved was about 6 hrs.
Reply
0
0
 01-20-2015, 11:24 AM
#87
Junior Member

Join Date: May 2014
Location: North St Paul, MN
Posts: 397
Total Cats: 25
Wow, I don't hate that color as much as I thought I would. I also feel like those colors are 90's ricer... but looking at your car I have to say nice job.
I always go back and forth on vinyl and dip. I know I won't be able to pay to paint my car for a few years (another baby on the way). So something may happen this summer.
I always go back and forth on vinyl and dip. I know I won't be able to pay to paint my car for a few years (another baby on the way). So something may happen this summer.
Reply
0
0
01-20-2015, 03:10 PM
#88
The texture is very smooth. I took my time and did it right. I'll change colors again this summer I think, I wanted a bold color flipping pearl, this is definitely bold. It's fun to do, relatively cheap and if I don't like it, I peal it off. I did mess up on the rear bumper panel, I just removed it and sprayed it again. It came off clean and easy. I'll upload a few more pics.
Reply
0
0


 02-05-2015, 10:11 AM
#94
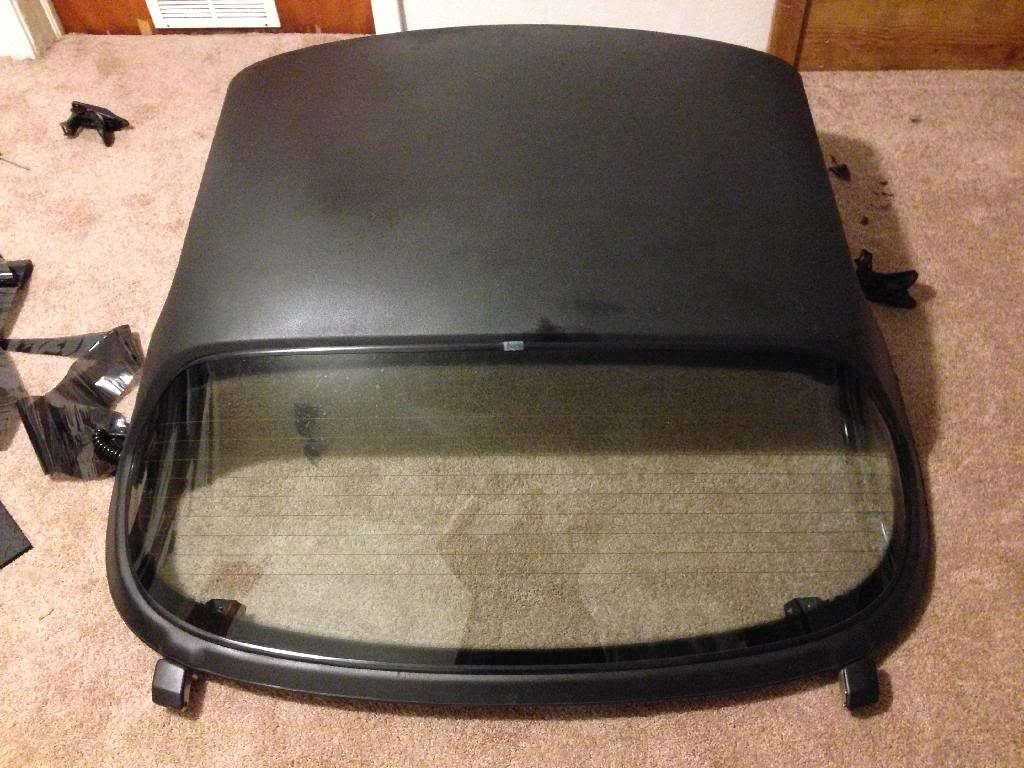
welp, my 1st try at plastidipping the hardtop with rattle cans pretty much failed lol
https://www.miataturbo.net/build-thr...9/#post1203200
learned a few things though
https://www.miataturbo.net/build-thr...9/#post1203200
learned a few things though
Reply
0
0
02-05-2015, 11:18 AM
#95
Junior Member

Join Date: Dec 2010
Location: Clermont, FL
Posts: 262
Total Cats: 39
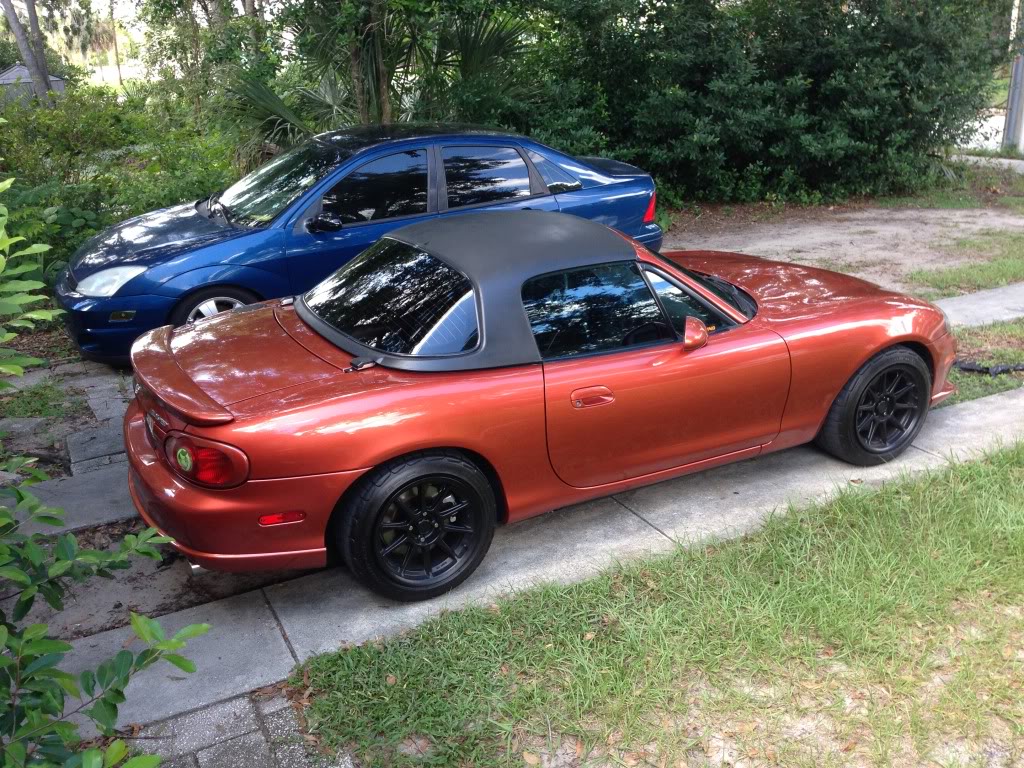
I dipped my hardtop a while back with the spray cans, and it turned out pretty well. Myself and a friend set it up on top of a large trash can so we could walk around it easily and tag-teamed it with 2 cans at once, we used a total of 6 cans on the hardtop. I pulled the masking tape off when it was still a little wet, but I had one small spot where it still pulled up at the top center of the back window. You can see where I went back and blasted it with dip again to get it to lay back down on the top. Six cans of plastidip ended up netting me a $400 profit when I went to sell the top. I paid $700 for it with faded red paint and sold it to a yoloswag kid for $1100 even after telling him it had faded red paint under the dip.


Reply
0
0
02-05-2015, 01:22 PM
#97
Junior Member

Join Date: Jan 2014
Location: Port Saint Lucie,FL
Posts: 476
Total Cats: 12
We've done a few cars, learning as we go. Seems like rattle can is more difficult to get a good spray. Nozzle gets clogged and starts spraying drips, finger/thumb gets pretty tired after a while, ambient temp/temp of the can sometimes gives different results. This is the latest one we did. The original dip on the hood was never perfect so we peeled it before doing the new color. Details are in YouTube description. Took 5 hrs or so to do. The original grey has been on there for over a year and had no signs of deterioration, it was still good to paint over. Only areas that "wear" are around the handles and under the door where your foot will sometimes hit getting in/out of the car.
The only bad experience we've had was with the matte clear over regular paint. Possible combination of not enough coats/florida sun/aftermarket paint job underneath, but it peeled like you were peeling off sunburnt skin. Small pieces, eventually used DYC's dip desolver and coated the majority of the car and used a pressure washer to assist. ClearCoat was ruined underneath, I wouldn't exactly blame the dip tho. Clearcoat was fine on the hood of the Lexus.
The only bad experience we've had was with the matte clear over regular paint. Possible combination of not enough coats/florida sun/aftermarket paint job underneath, but it peeled like you were peeling off sunburnt skin. Small pieces, eventually used DYC's dip desolver and coated the majority of the car and used a pressure washer to assist. ClearCoat was ruined underneath, I wouldn't exactly blame the dip tho. Clearcoat was fine on the hood of the Lexus.
Reply
0
0
 02-05-2015, 04:45 PM
#100
Ryan,
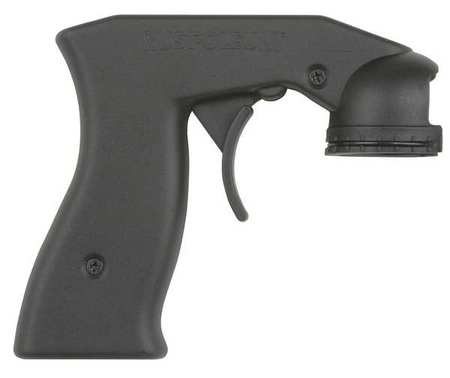
I used one of those. it takes the stress off the 1 finger, but is still a pain and when the **** clogs it drips even more with that ting cause of all the stuff around the ****
Owen,
I don't know the quality of yours obviously, but mine looks just as good as yours from that far away using a low quality camera. Up close it looks like doo-doo.
I guess my standards for this stuff were way too high. Not sure why I expected a near-paint like finish.
Reply
0
0

Thread
Thread Starter
Forum
Replies
Last Post
Dot3
Miata parts for sale/trade
3
03-27-2013 08:10 AM


