Wire Tuck Goodness, Full of pictures, I'll post noodz
#1
Alright while I have my build going on I figured I might as well post up my Full Wire Tuck and what issues I came across and perhaps I can help give pointers to those who are also interested in starting on one in theirs.
Now I have already started this with no time to spare during the week due to my work schedule, however on the weekends ive been trying to tackle this thing a best as I can.
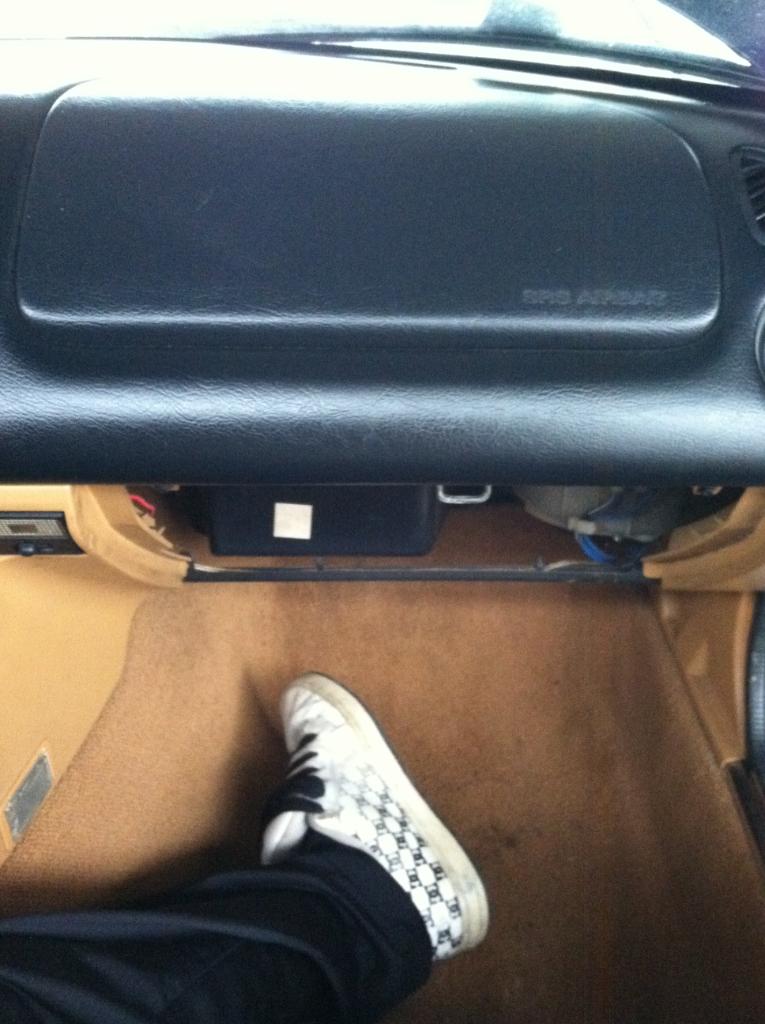
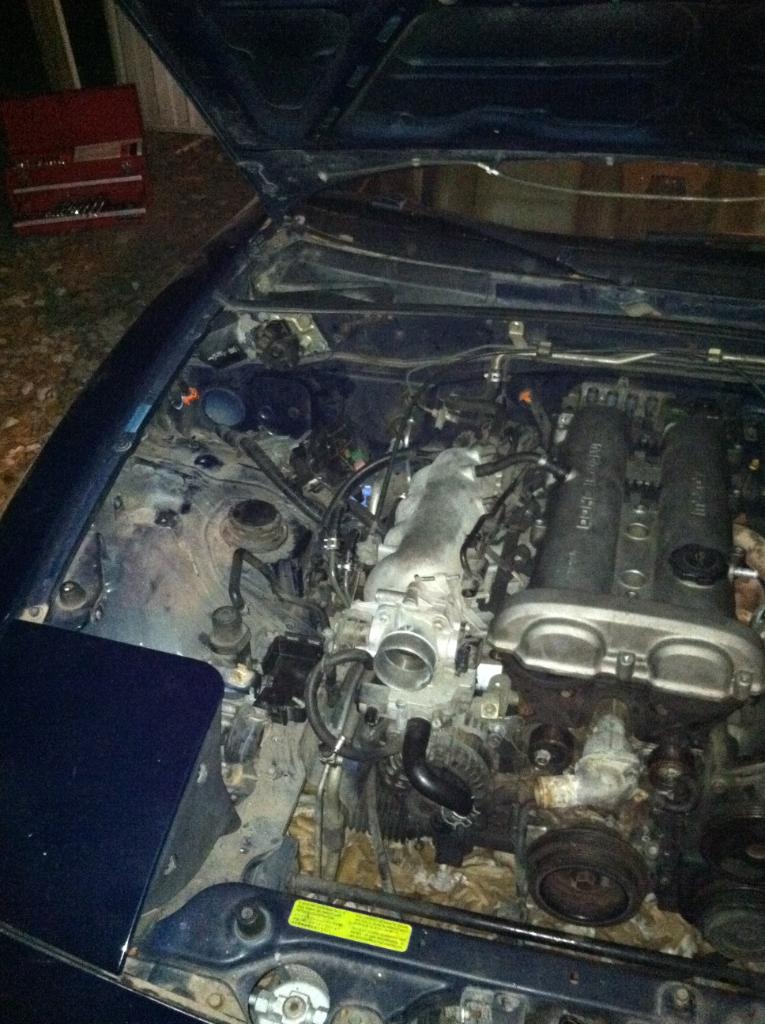
Starting Picture

Looks disgusting. Now its on to removal of the dash...
Now my cluster bezel was already broken from the previous owner, so removal was very simple, as well as the steering wheel and airbag assembly. Disconnected the positive and negative from the battery and pursed removal of the airbag with slight caution (for some reason I still felt nervous working underneath the steering wheel while my face was directly in front of the airbag)
Now keep in mind I am NOT keeping my airbag assembly...Lets move on shall we?
Now onto removal of the Instrument cluster, radio/climate control, center console, glove box, and well essentially removal of the whole dash...
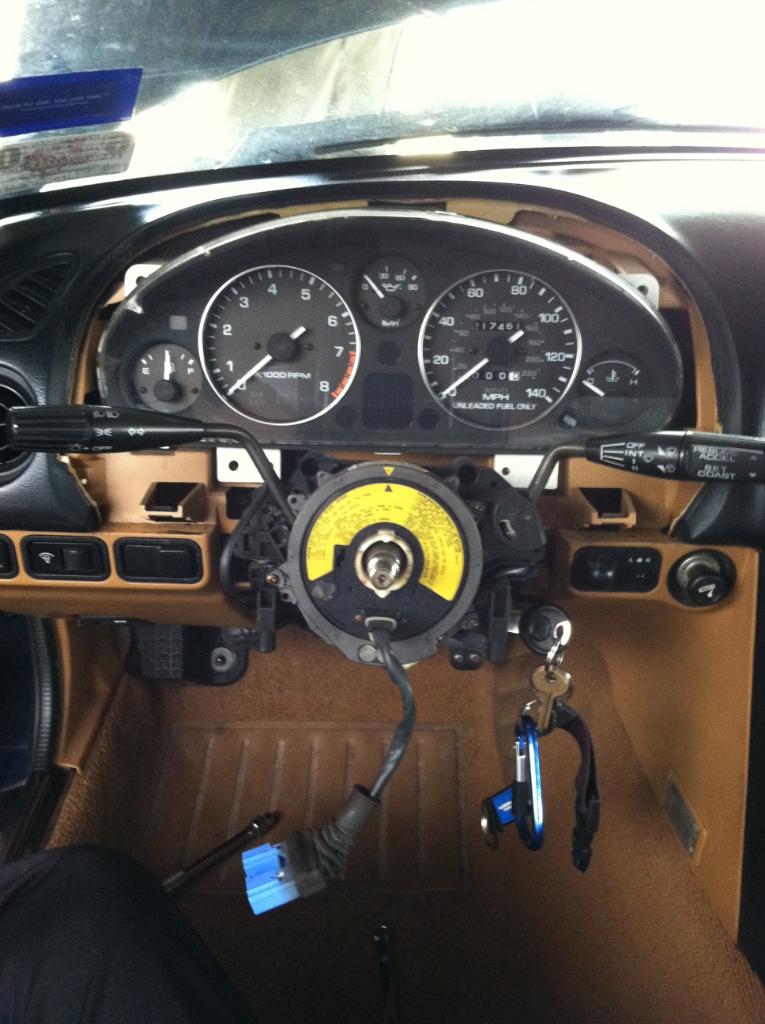
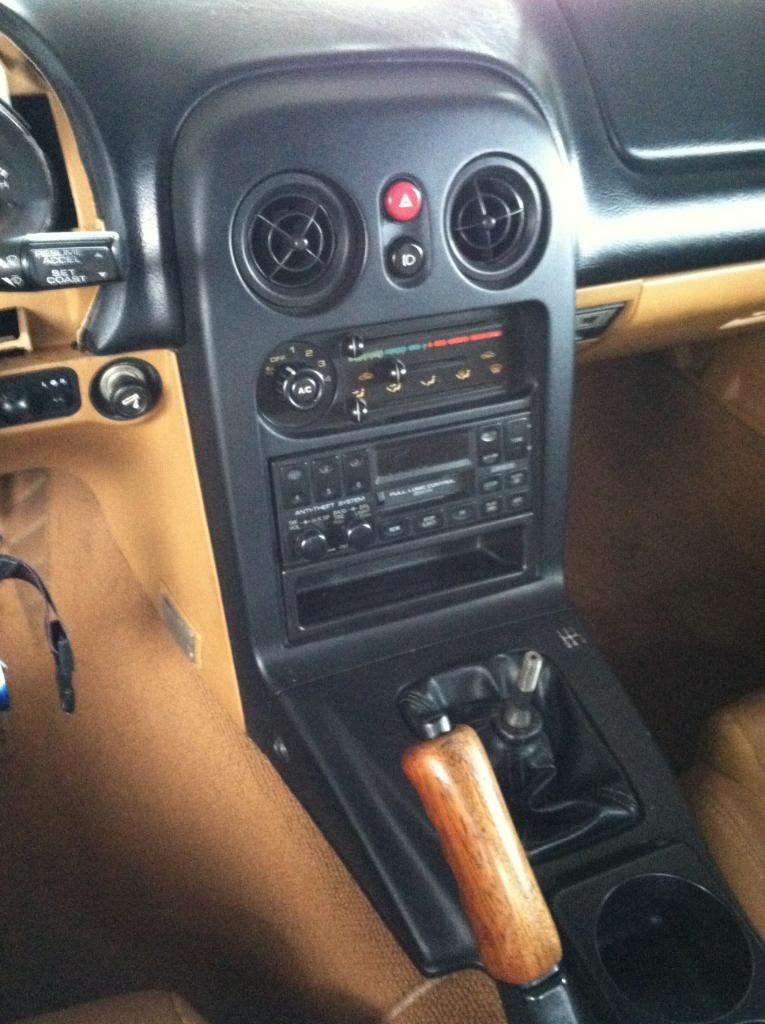
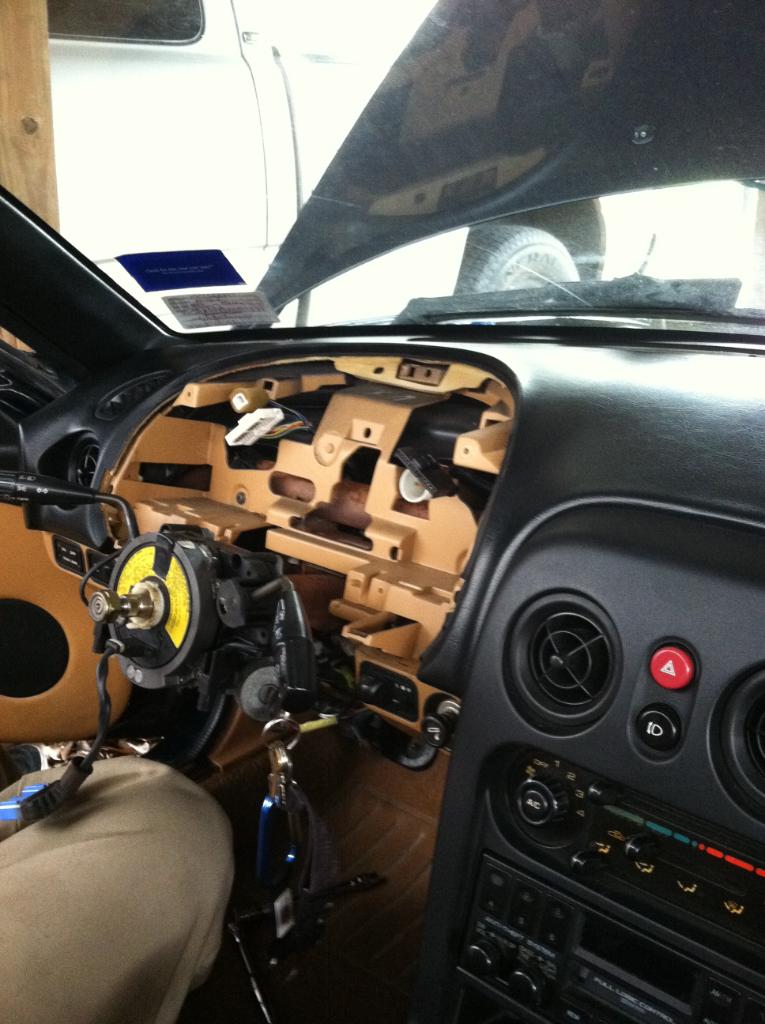
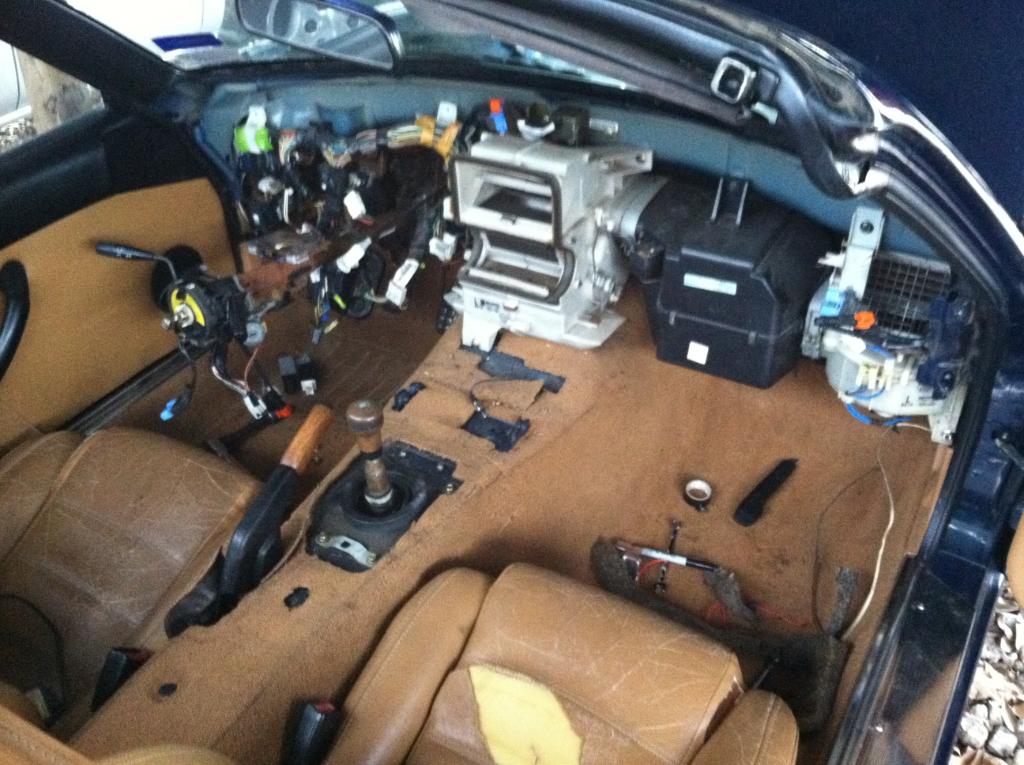
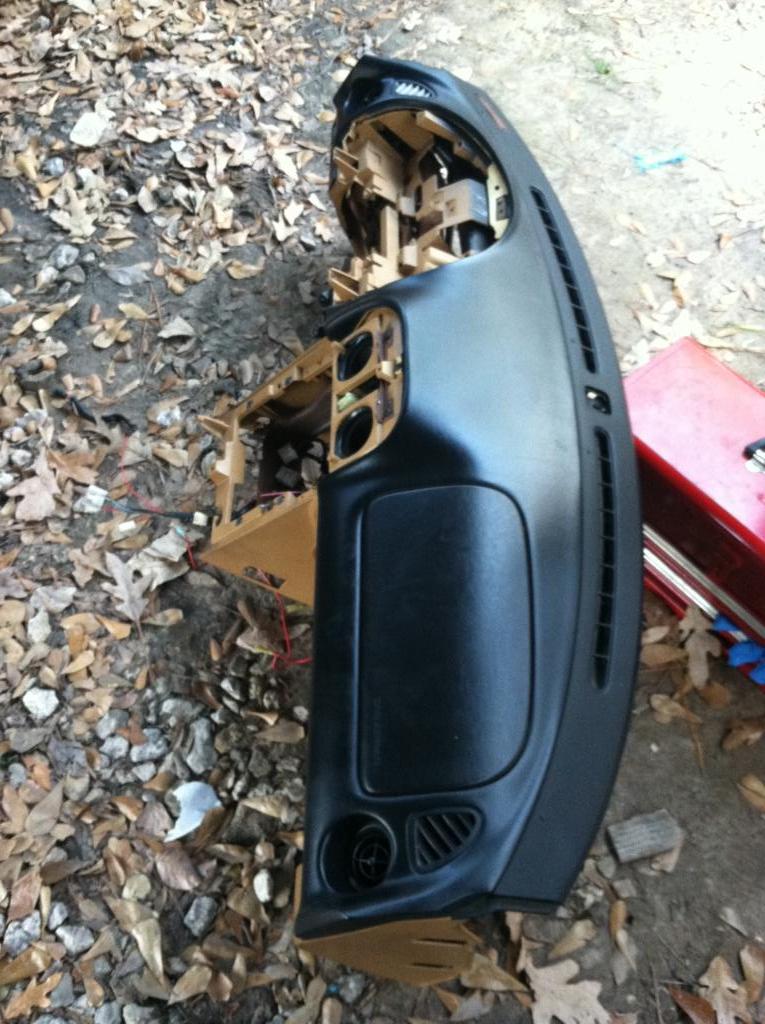
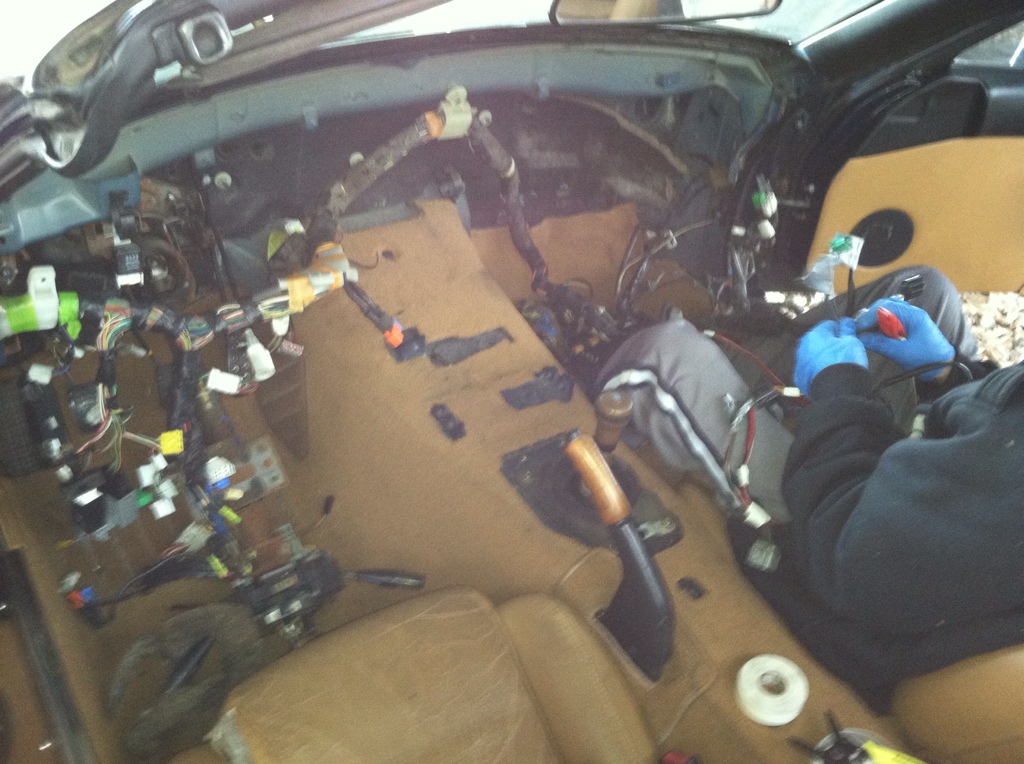
and Voila! Dash removed..
(Dash removal is much more extensive than what is shown. No magic here)
Ok now here is where i disconnected all of the sensors on passenger side and front end of the engine. The headlight was a PITA, I removed the plastic headlight cover that surrounds the headlight and the connector was very easy to reach then.
After disconnecting all the sensors I also decided to remove my Charcoal Canister, Coolent overflow, and Washer fluid reservoir.
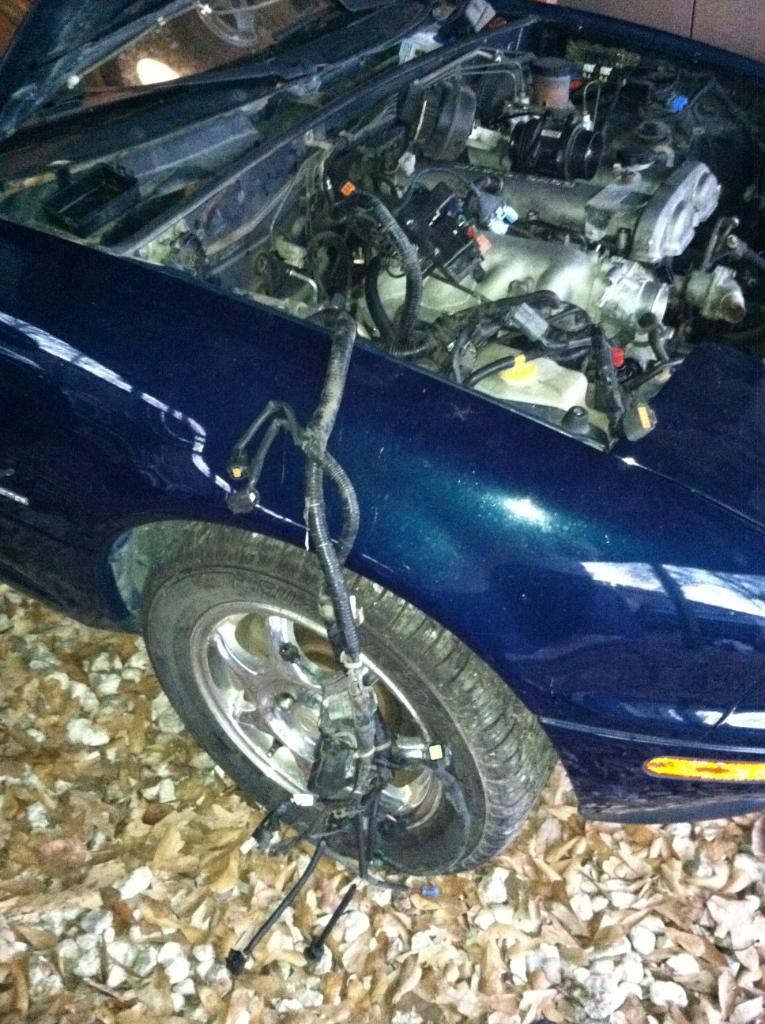
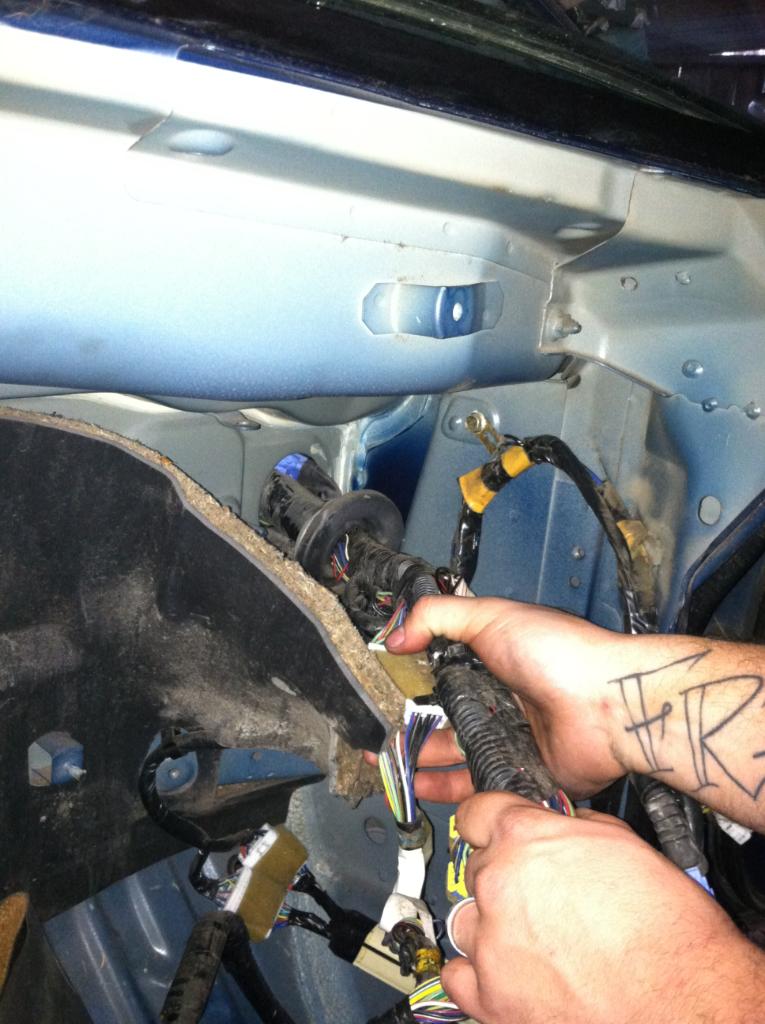
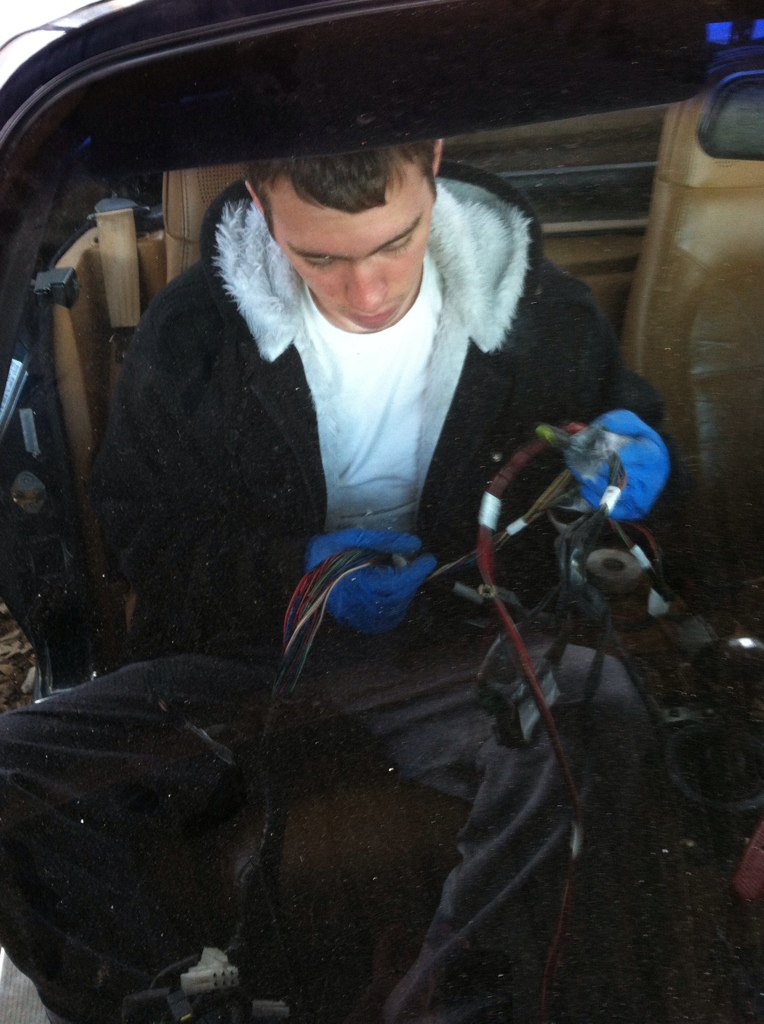
Heres a picture of my buddy pulling the harness through the fire wall
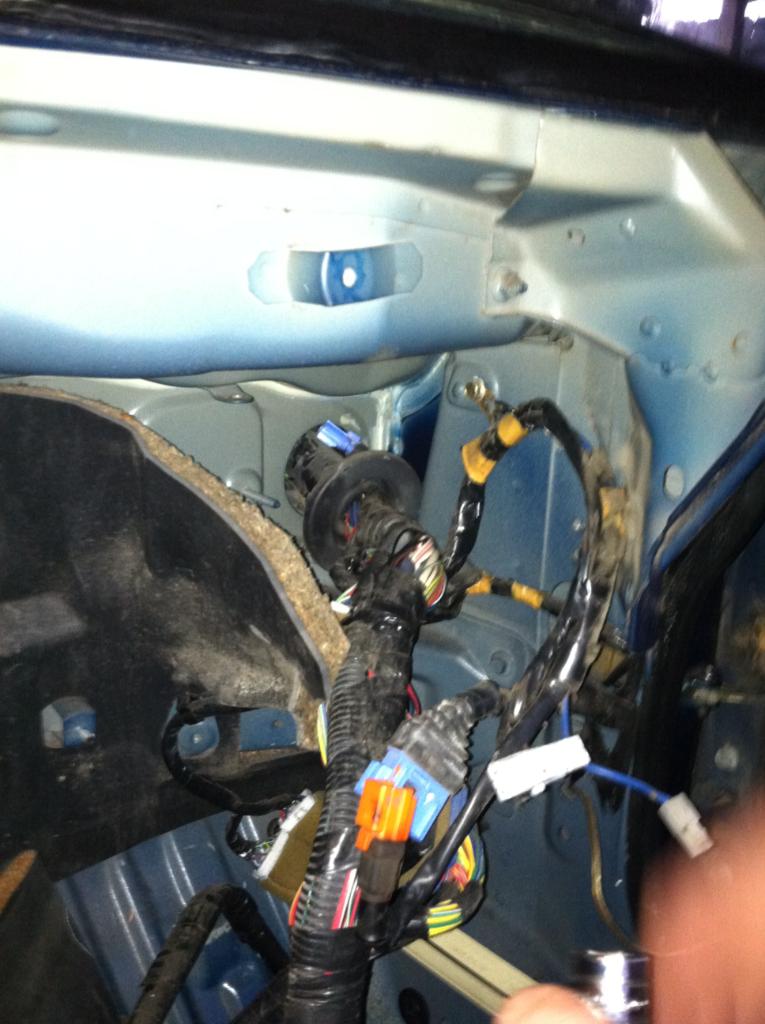
Steering column dropped
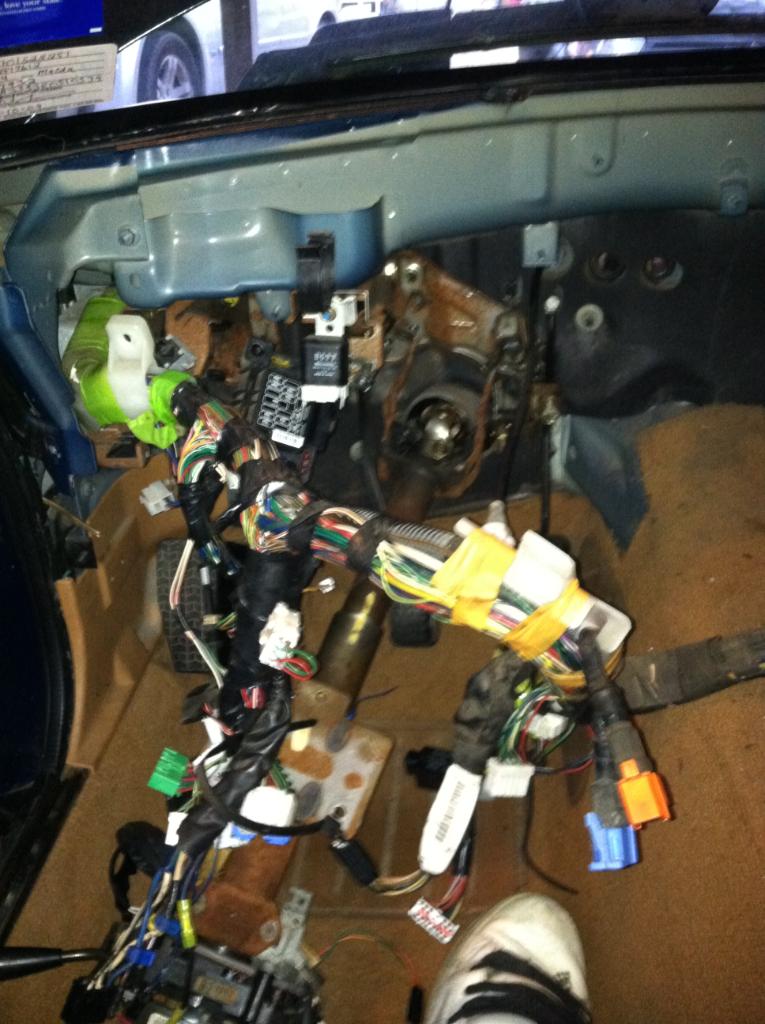
BLEECGHGH!! DISGUSTING!!
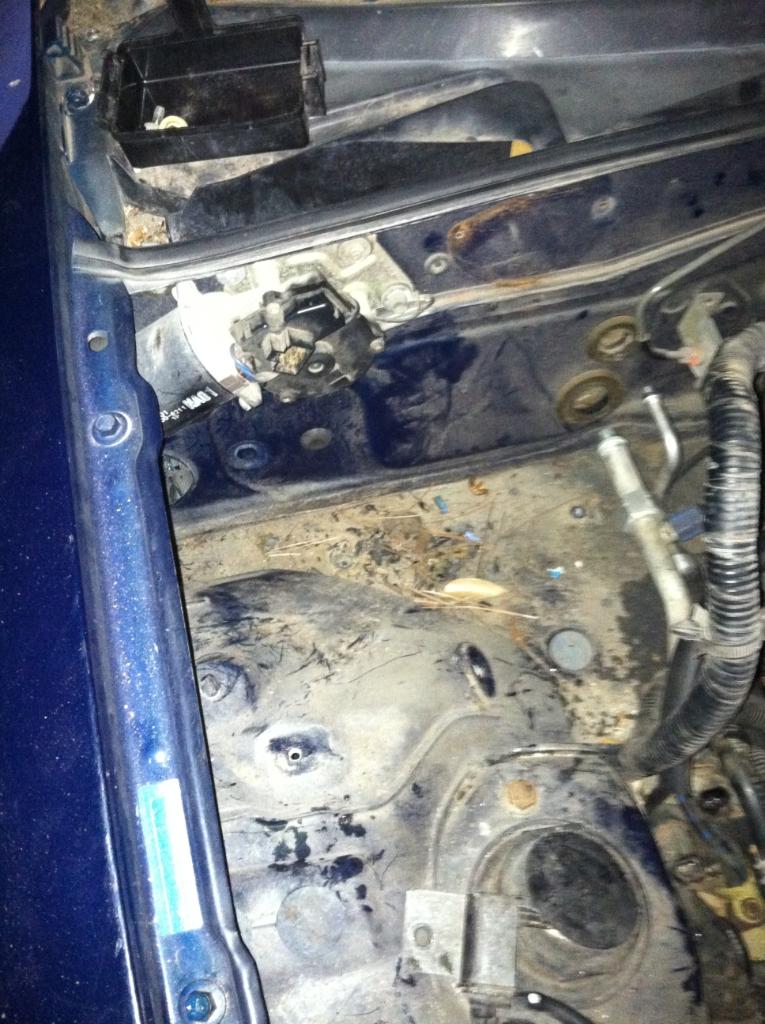
At The end of the day:
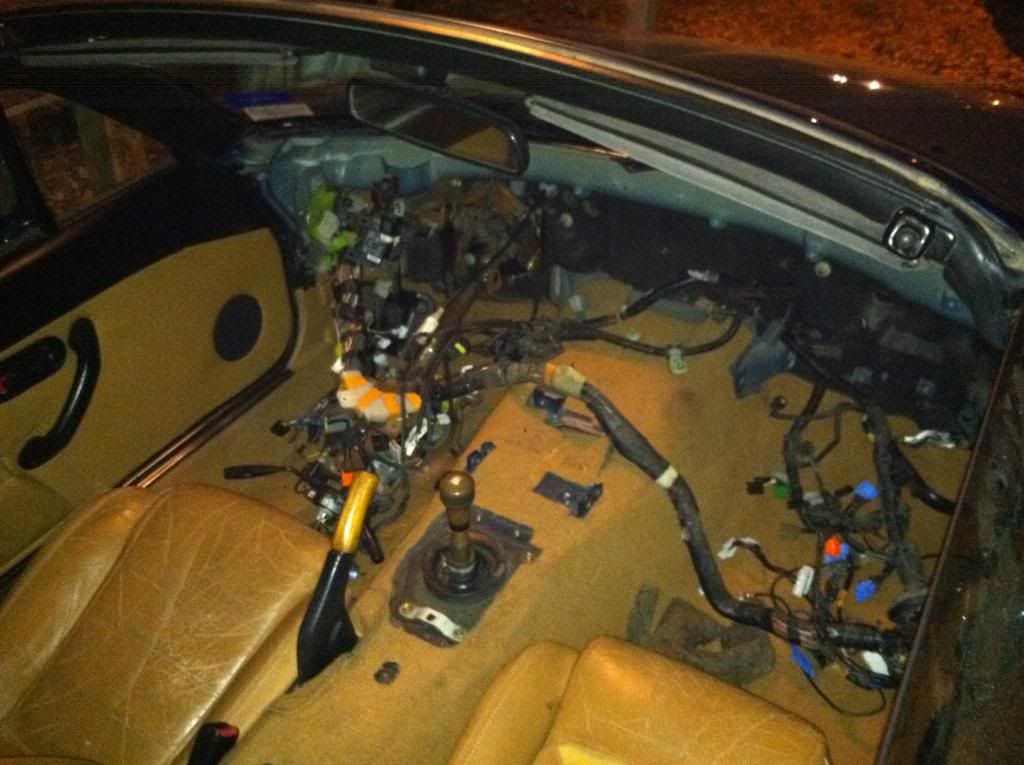
Now I have already started this with no time to spare during the week due to my work schedule, however on the weekends ive been trying to tackle this thing a best as I can.
Starting Picture

Looks disgusting. Now its on to removal of the dash...
Now my cluster bezel was already broken from the previous owner, so removal was very simple, as well as the steering wheel and airbag assembly. Disconnected the positive and negative from the battery and pursed removal of the airbag with slight caution (for some reason I still felt nervous working underneath the steering wheel while my face was directly in front of the airbag)

Now keep in mind I am NOT keeping my airbag assembly...Lets move on shall we?
Now onto removal of the Instrument cluster, radio/climate control, center console, glove box, and well essentially removal of the whole dash...


and Voila! Dash removed..
(Dash removal is much more extensive than what is shown. No magic here)


Ok now here is where i disconnected all of the sensors on passenger side and front end of the engine. The headlight was a PITA, I removed the plastic headlight cover that surrounds the headlight and the connector was very easy to reach then.
After disconnecting all the sensors I also decided to remove my Charcoal Canister, Coolent overflow, and Washer fluid reservoir.


Heres a picture of my buddy pulling the harness through the fire wall


Steering column dropped

BLEECGHGH!! DISGUSTING!!

At The end of the day:

#2
Wiretuck underway!
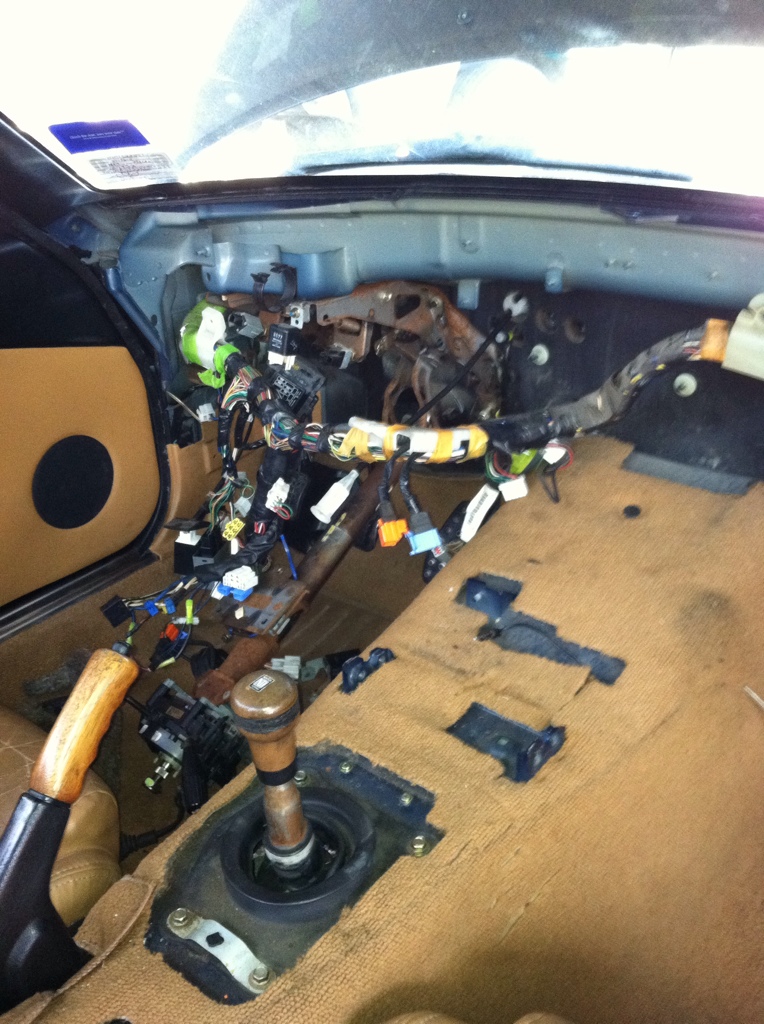
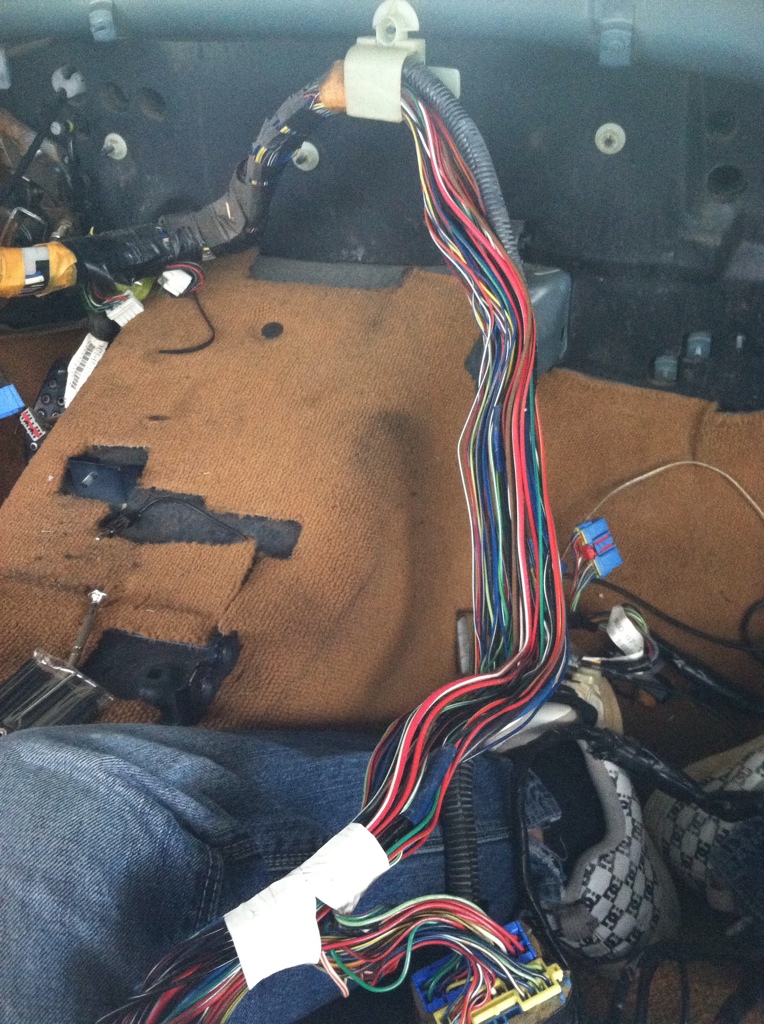
OK now STOP...Mistakes were already made, as you can see in the picture below the harness was pulled BACK through the firewall..
WHY?
Because I simply was not paying attention and using common sense. When I removed the harness from all of the sensors and such, It IS a wise idea to label each plug on the harness where it connects to..."EGR sensors, TPS, etc."
So I matched them all back up and labeled all of them..
Time to move forward
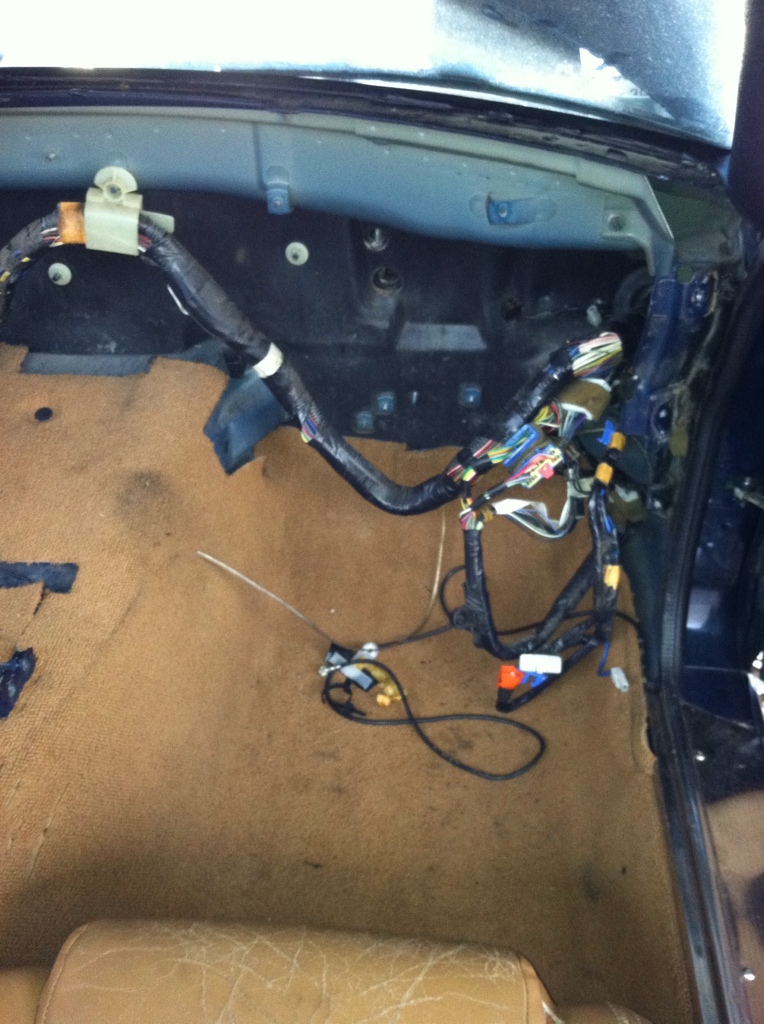
Removing all the harness insulation to make this tuck easier and inspecting for any damage while I cut it all open

OK now STOP...Mistakes were already made, as you can see in the picture below the harness was pulled BACK through the firewall..
WHY?
Because I simply was not paying attention and using common sense. When I removed the harness from all of the sensors and such, It IS a wise idea to label each plug on the harness where it connects to..."EGR sensors, TPS, etc."
So I matched them all back up and labeled all of them..
Time to move forward

Removing all the harness insulation to make this tuck easier and inspecting for any damage while I cut it all open


#3
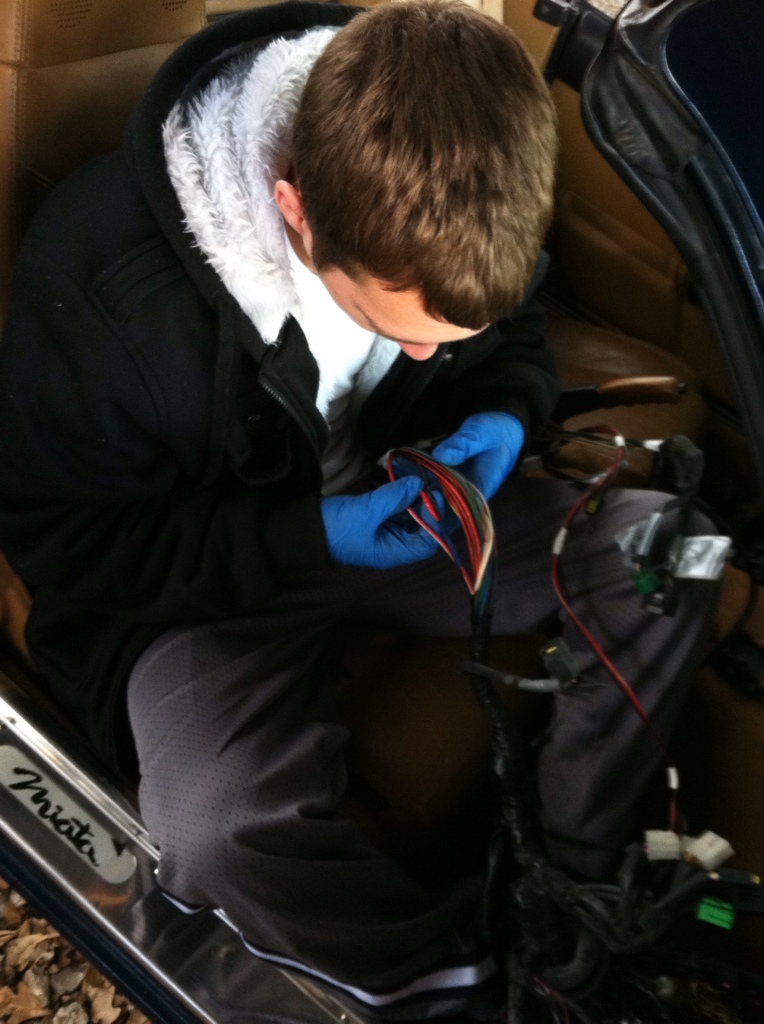
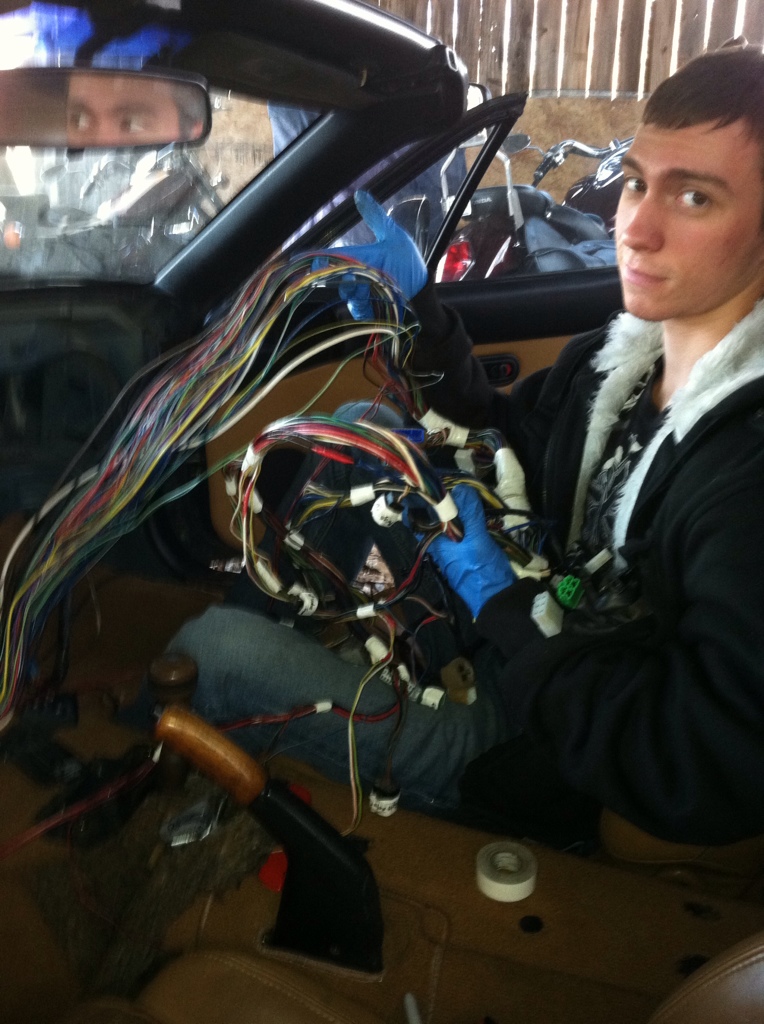
Now on to removing the airbag harness, labeling all the connectors, and arranging the wires for the re-route. I used white electrical tape because well... i asked my fiance to pick some up at the store when she was grocery shopping and thats what she brought back. I will be removing the white and replacing it with black (still gotta love her )
)
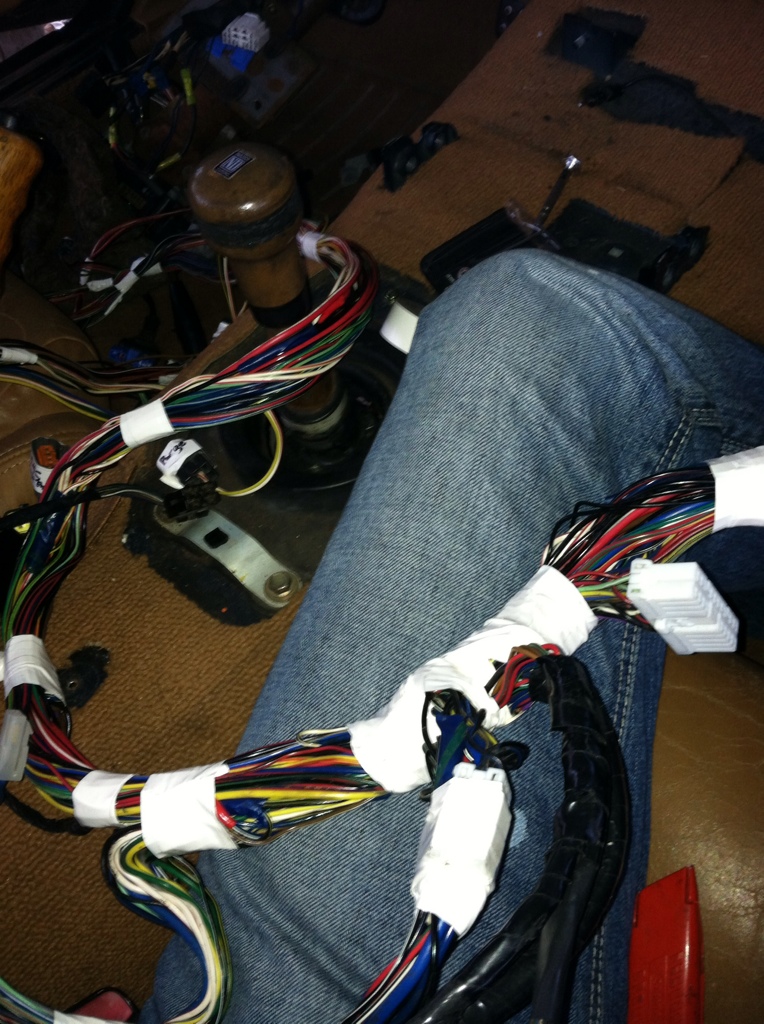
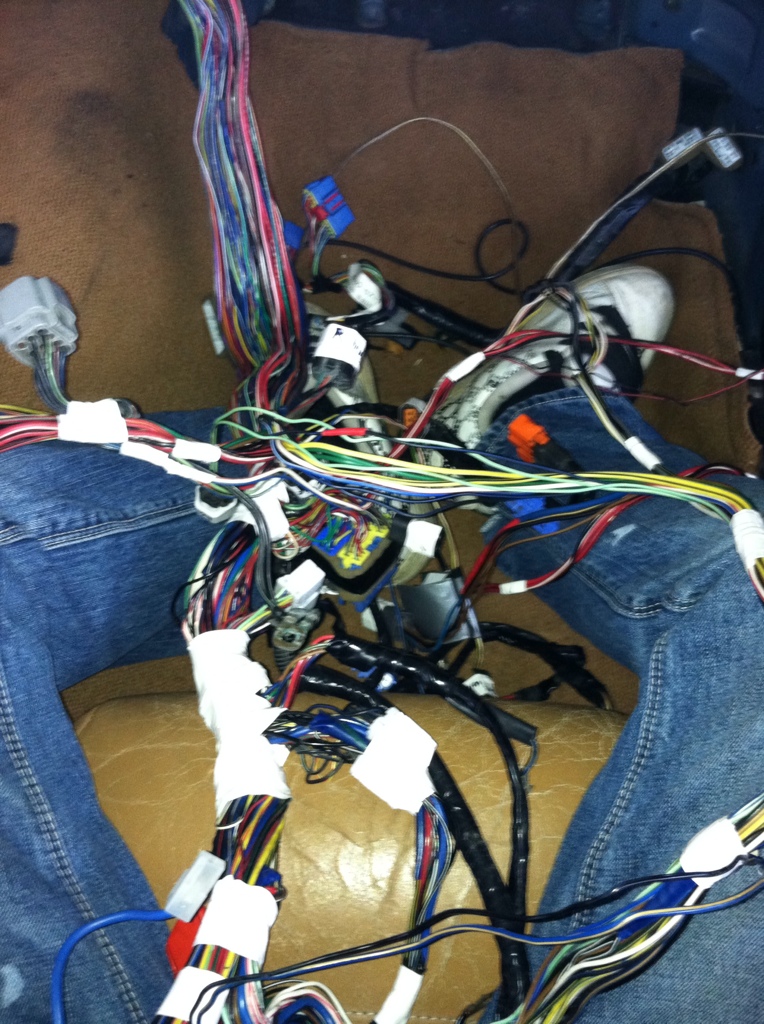
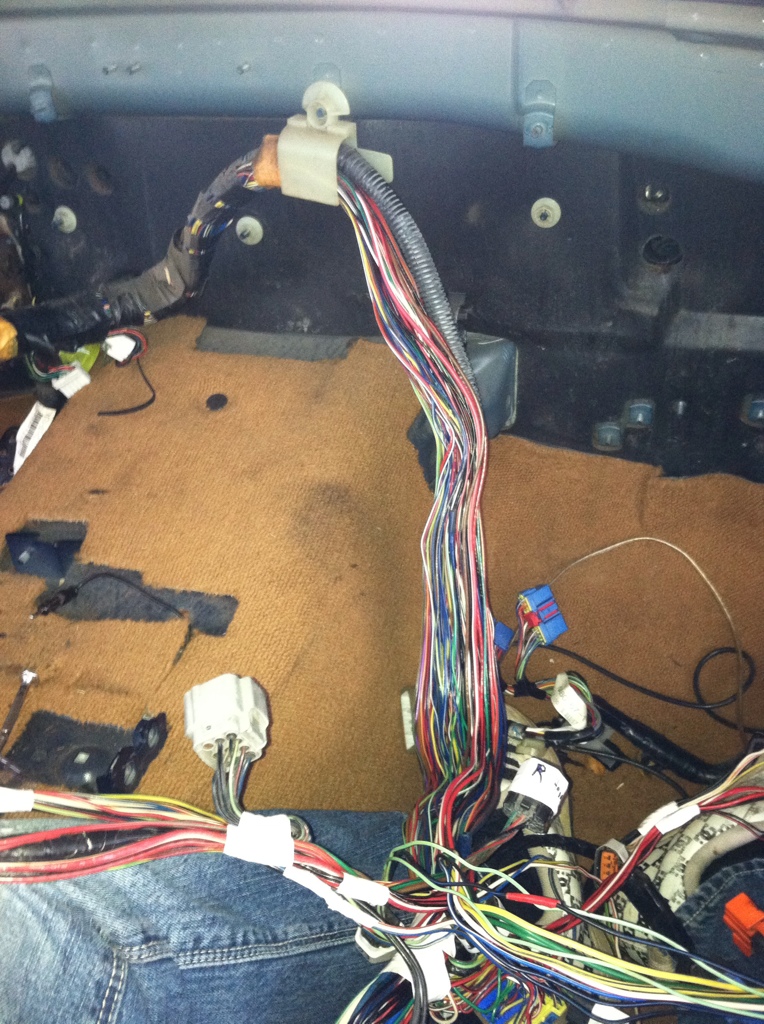
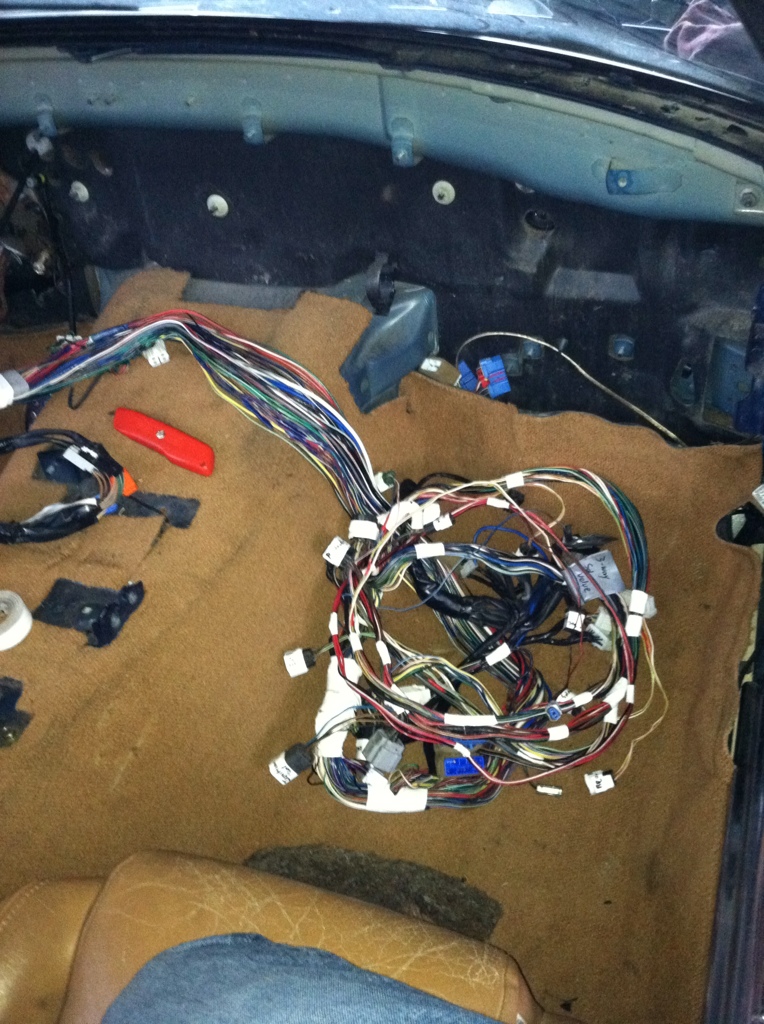
^^^^^^
(OH...and gloves are a good idea cause the harness has fairly sticky insides )
)
 )
)


^^^^^^
(OH...and gloves are a good idea cause the harness has fairly sticky insides
 )
)
#11
As time presses on my mind will be made up.
UPDATE:
When I removed the injection harness. From the top and rear of the motor, the fuel injector clips all broke due to high temps and well "Baking" the plugs.
So I hit up Tom at the Parts Group for a good set of FI plugs, and Ignition coil plugs, should be coming in any day now


