Trips HIDS (H1 Minis)
 12-14-2013, 12:31 AM
#1
Elite Member
Thread Starter
iTrader: (2)
Join Date: Apr 2006
Location: Chicago, IL
Posts: 10,470
Total Cats: 1,812
Howdy folks. Ordered some hids a week ago, finally getting a chance to install them.
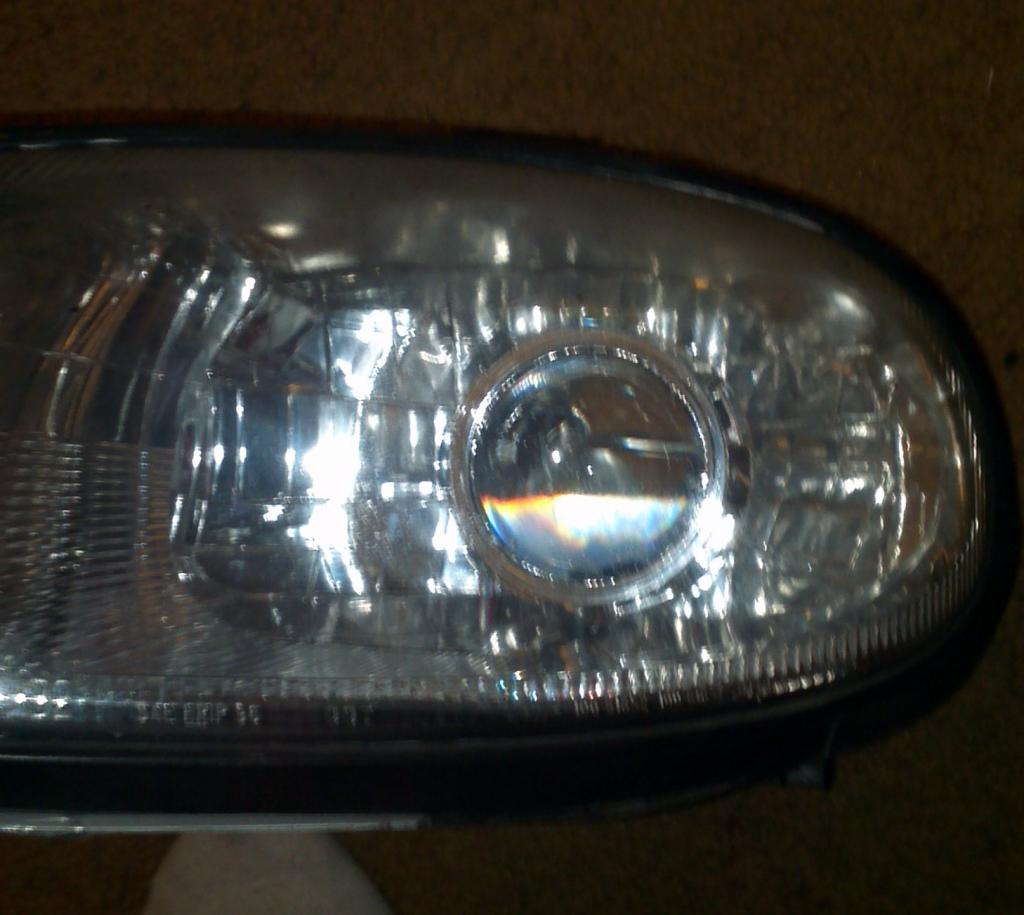
Did one of them and its looking pretty sexy.
Everything with the 270 kit
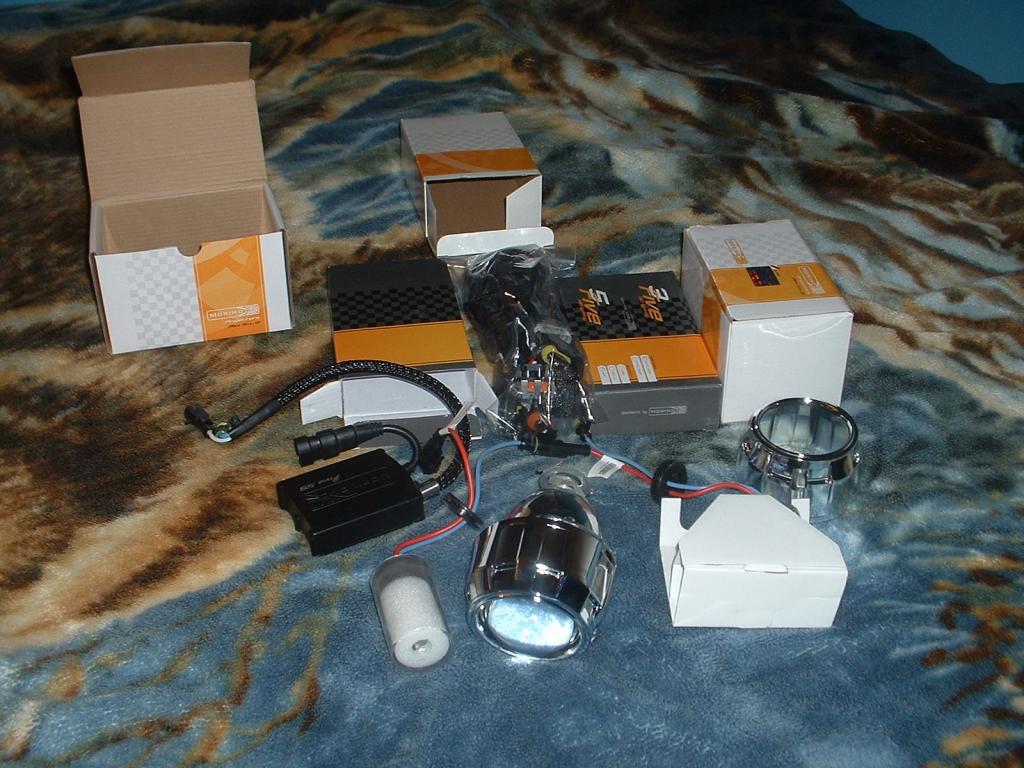
Projector

Removed cover.. as said 200-220 degrees, for 6-7 mins or so, undo little bit, toss it back in there, undo the rest of it. Start with the side by the blinker, and stick the screw driver there, then another continue to the bottom, not the top. as u dont want it looking ugly. Once the light starts to open up use ur muscles to pull the cover away from the housing.
Anyways taken apart and the metal shield inside removed.
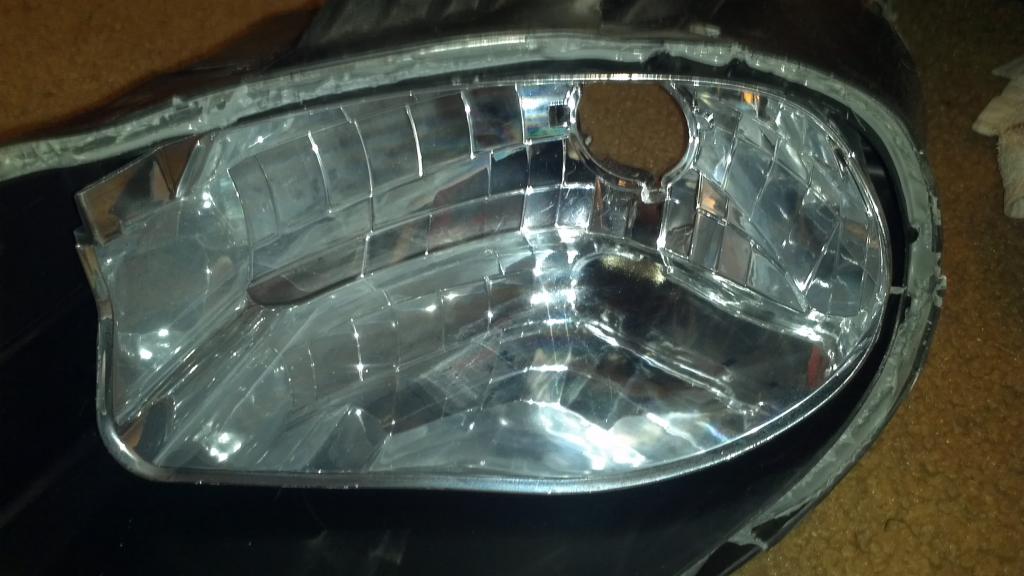
Mine came with no instructions so i1 had to look this **** up. For the H4 u use the big rubber washer they give u with the kit (toss the little one or if you're un-gifted use it as a ppring). Also they will supply little metal washer as well. Toss that too, use the big metal washer for H4.
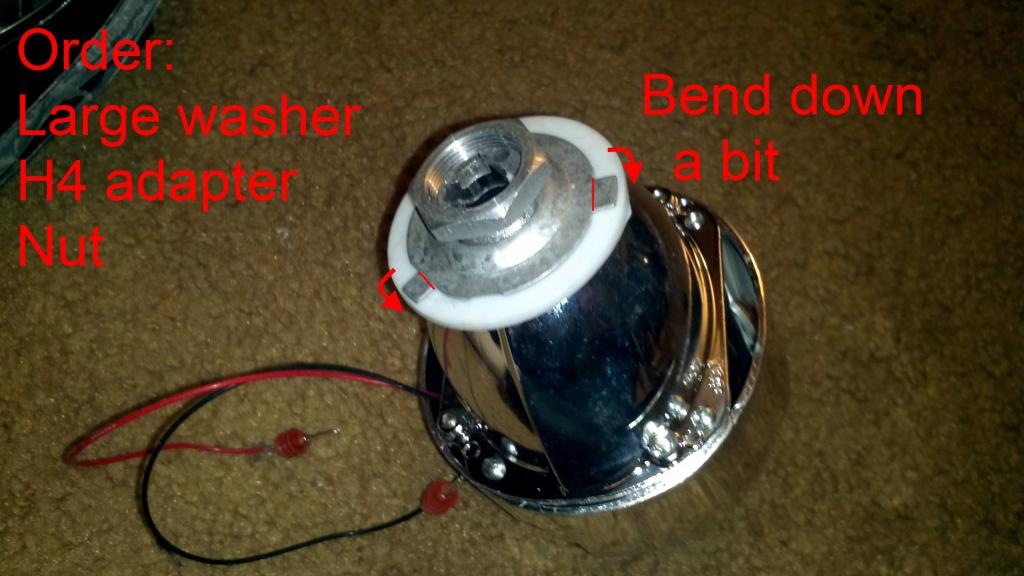

Once i put it together mine was wobbling which pissed me off.
Had to do little modding.
Driver side done. (Will buy compound once it warms up to clean up the foggy top side).
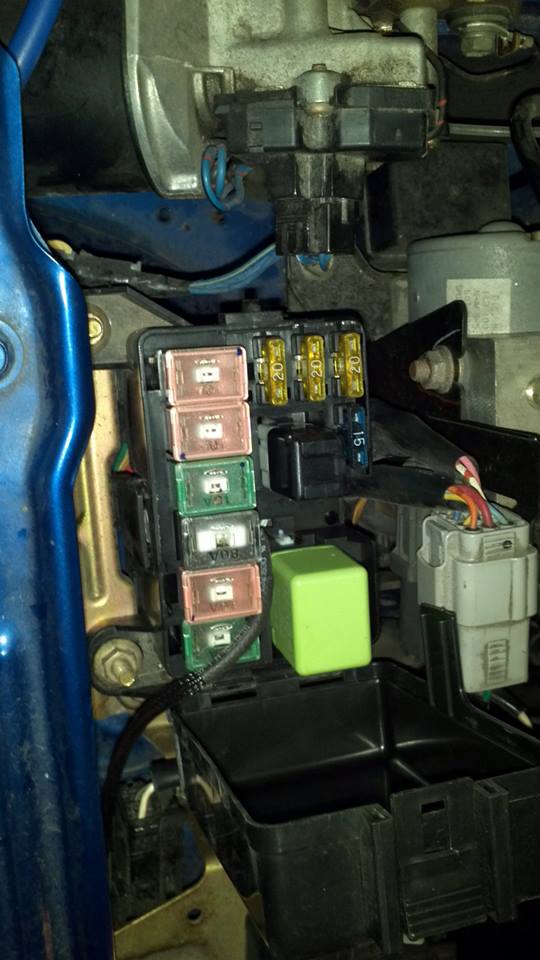
Anyhow the wiring kit sucks IMO. These are 35 watt ballasts. More than enough for the stock wiring to handle yet the wiring they supply makes u connect to a separate 12 volt directly to the battery and a separate ground. I guess if your original wiring is shitty then this is good for u but it does make the wiring a mess as u'll need to run few wires from the fuse box to the passenger head light, then few more across the radiator with the ballasts somewhere in there and also a bright yellow fairly big relay.
Tomorrow i shall add comparisons.
Did one of them and its looking pretty sexy.
Everything with the 270 kit

Projector

Removed cover.. as said 200-220 degrees, for 6-7 mins or so, undo little bit, toss it back in there, undo the rest of it. Start with the side by the blinker, and stick the screw driver there, then another continue to the bottom, not the top. as u dont want it looking ugly. Once the light starts to open up use ur muscles to pull the cover away from the housing.
Anyways taken apart and the metal shield inside removed.

Mine came with no instructions so i1 had to look this **** up. For the H4 u use the big rubber washer they give u with the kit (toss the little one or if you're un-gifted use it as a ppring). Also they will supply little metal washer as well. Toss that too, use the big metal washer for H4.


Once i put it together mine was wobbling which pissed me off.
Had to do little modding.


Driver side done. (Will buy compound once it warms up to clean up the foggy top side).

Anyhow the wiring kit sucks IMO. These are 35 watt ballasts. More than enough for the stock wiring to handle yet the wiring they supply makes u connect to a separate 12 volt directly to the battery and a separate ground. I guess if your original wiring is shitty then this is good for u but it does make the wiring a mess as u'll need to run few wires from the fuse box to the passenger head light, then few more across the radiator with the ballasts somewhere in there and also a bright yellow fairly big relay.
Tomorrow i shall add comparisons.

Reply
 0
0

0

 12-14-2013, 02:06 AM
#3
Elite Member
Thread Starter
iTrader: (2)
Join Date: Apr 2006
Location: Chicago, IL
Posts: 10,470
Total Cats: 1,812
If the D2s are the same size as the old ones then i wouldnt have gotten them even with the new model. The 2.0s didnt fit without cutting which is why i went with the H1s. I didnt know about the 3.0s though.
Reply
0
0
 12-14-2013, 02:47 AM
#5
Elite Member
Thread Starter
iTrader: (2)
Join Date: Apr 2006
Location: Chicago, IL
Posts: 10,470
Total Cats: 1,812
Few reasons: I dont want to replace the bumper + paint (cost and dont really like the way it looks anyways). The 01 lights are halogen housing that work "good enough" with hid bulbs but not as good as it would with proper HID housings. At last...money. to go with 01 lights i'll need the lights, the hids, and the bumper.
There's a cheaper way to do it than i did. Find some cheap ballasts from ebay with some cheap wiring, buy the plain projectors from TRS and u're good to go. I wanted most light on the road which is why i went with quality product. High quality 35 watt ballasts will output more light than even 55 watt low quality ballasts so...
There's a cheaper way to do it than i did. Find some cheap ballasts from ebay with some cheap wiring, buy the plain projectors from TRS and u're good to go. I wanted most light on the road which is why i went with quality product. High quality 35 watt ballasts will output more light than even 55 watt low quality ballasts so...
Reply
0
0

 12-16-2013, 12:14 AM
#9
Elite Member

Join Date: Oct 2013
Location: Cedar City, UT
Posts: 2,764
Total Cats: 951
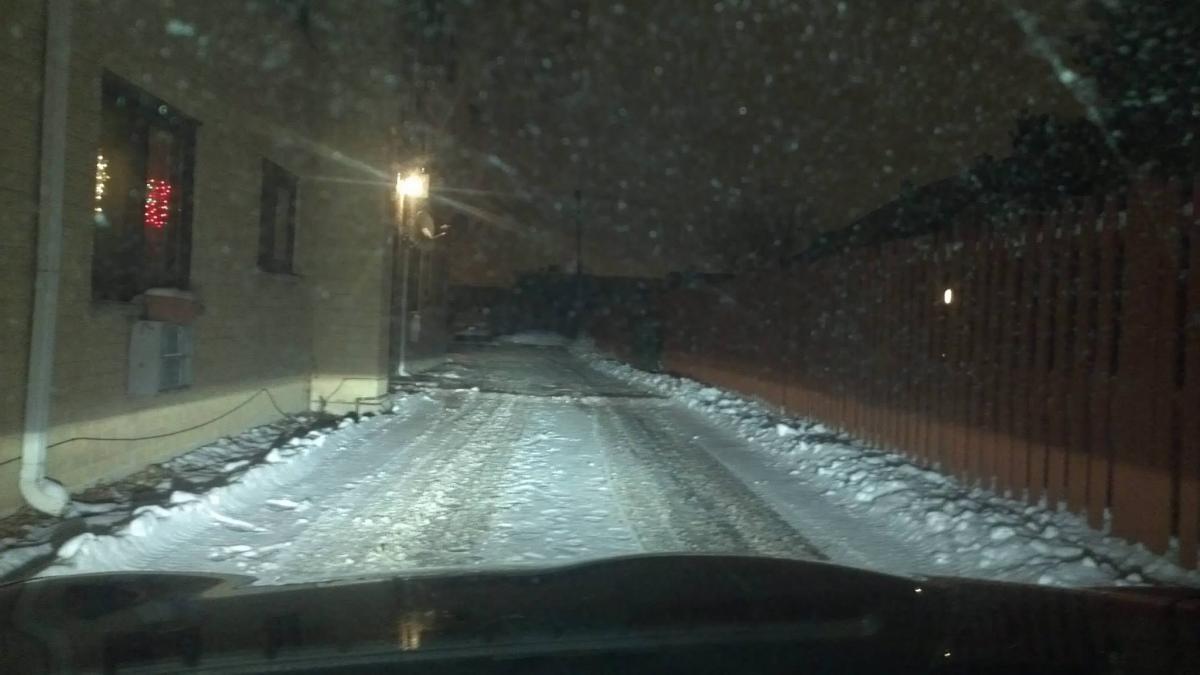
Glad to see a good cutoff on those lights. I was about to commit vehicular manslaughter on a lifted truck that had to pace me for 45 minutes 10 feet off my bumper.
I'm always glad I went with OEM VW Golf Xenons rather than a crappy aftermarket kit. I haven't gotten brighted once for blinding someone.
I'm always glad I went with OEM VW Golf Xenons rather than a crappy aftermarket kit. I haven't gotten brighted once for blinding someone.

Reply
0
0


 12-16-2013, 09:07 PM
#13
Elite Member
iTrader: (37)

Join Date: Apr 2010
Location: Very NorCal
Posts: 10,448
Total Cats: 1,900
Seriously, lets get a parts list with PN's and links up in here.
I put 01+ headlights and bumper skin on my car and then discovered it was going to cost me sections of my genatelia to get the nose color matched to my OEM metallic paint. I ******* HATE what it costs to get paintwork done in CA. I'd rather swap back to the stock skin and HID the stock NB1 headlights than pay what they want for paint.
I put 01+ headlights and bumper skin on my car and then discovered it was going to cost me sections of my genatelia to get the nose color matched to my OEM metallic paint. I ******* HATE what it costs to get paintwork done in CA. I'd rather swap back to the stock skin and HID the stock NB1 headlights than pay what they want for paint.
Reply
0
0
12-16-2013, 09:40 PM
#14
Elite Member
Thread Starter
iTrader: (2)
Join Date: Apr 2006
Location: Chicago, IL
Posts: 10,470
Total Cats: 1,812
Sure guys np.
Direct link
Bi-xenon Morimoto Mini Stage III Kit (H1) - Complete Retrofit Kits from The Retrofit Source Inc
Ballasts morimoto 3five 35watt
bulbs H1 morimoto 4five 5k (up to u what u want here)
Halos optional
Projectors LHD North american standard
Glue... optional I didnt.
Shrouds Mini gatling gun
Wire harness Relay H4/9003.
It will come with H4 Metal and rubber washers. It will also come with another metal + rubber washer.. much smaller than the h4 which u toss out.. I think that washer is the 9003 but who knows.
The kit comes with everything you need. All screws, all wires, The only thing you'll need is zip ties and maybe double sided tape. I glued my ballasts to the headlights.
They do deals here and there for some money off so keep that in mind. I missed the cyber monday 25% off deal by like a day because i hadnt made up my mind if i wanted the expensive ballasts or the ebay stuff but i'm pretty much sold. (didnt know they had a sale)
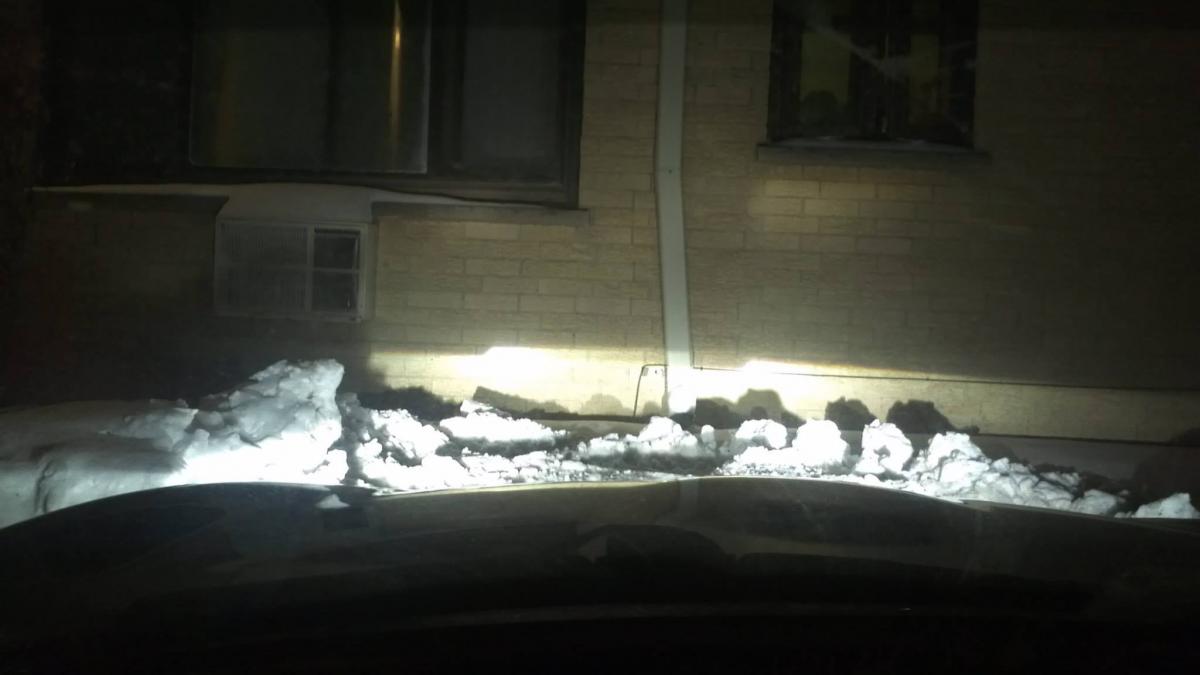
The only thing i hated on this kit was the shitty *** golden relay.. the wires coming out of it are stiff as hell and cannot be bent.. like 5-6" total. I'll take few pics of my mess over the weekend but its a mess mainly because i was working in 15 degree snowy weather and just wanted to get it installed.
Direct link
Bi-xenon Morimoto Mini Stage III Kit (H1) - Complete Retrofit Kits from The Retrofit Source Inc
Ballasts morimoto 3five 35watt
bulbs H1 morimoto 4five 5k (up to u what u want here)
Halos optional
Projectors LHD North american standard
Glue... optional I didnt.
Shrouds Mini gatling gun
Wire harness Relay H4/9003.
It will come with H4 Metal and rubber washers. It will also come with another metal + rubber washer.. much smaller than the h4 which u toss out.. I think that washer is the 9003 but who knows.
The kit comes with everything you need. All screws, all wires, The only thing you'll need is zip ties and maybe double sided tape. I glued my ballasts to the headlights.
They do deals here and there for some money off so keep that in mind. I missed the cyber monday 25% off deal by like a day because i hadnt made up my mind if i wanted the expensive ballasts or the ebay stuff but i'm pretty much sold. (didnt know they had a sale)
The only thing i hated on this kit was the shitty *** golden relay.. the wires coming out of it are stiff as hell and cannot be bent.. like 5-6" total. I'll take few pics of my mess over the weekend but its a mess mainly because i was working in 15 degree snowy weather and just wanted to get it installed.
Reply
1
1
12-16-2013, 10:26 PM
#15
Elite Member
Thread Starter
iTrader: (2)
Join Date: Apr 2006
Location: Chicago, IL
Posts: 10,470
Total Cats: 1,812
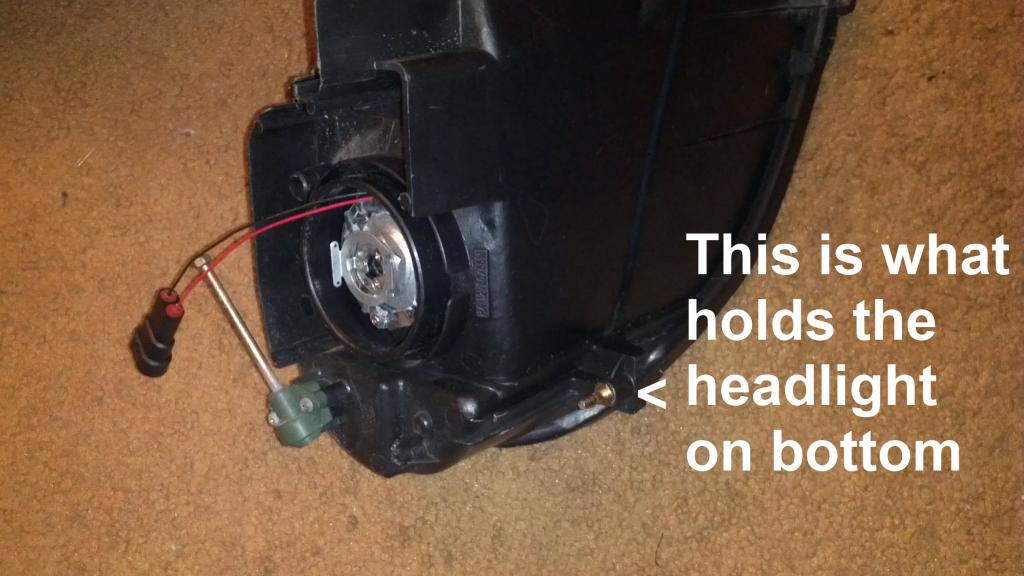
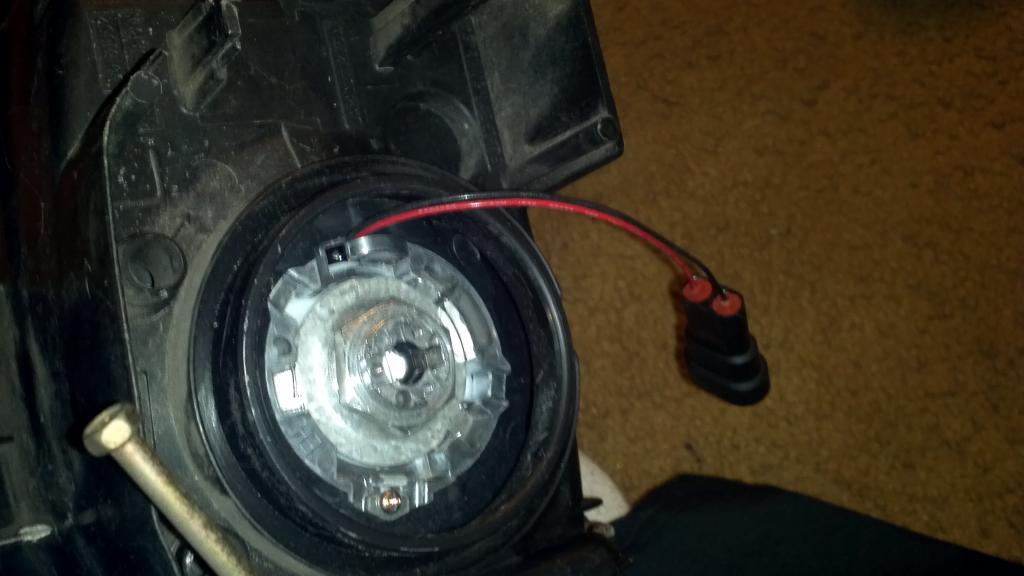
I would suggest getting shrink tubing and covering the black and red High beam lights that come off the side. They will be contacting the metal frame of the stock headlight so you dont want them to get cut.
These.

These.
Last edited by triple88a; 12-16-2013 at 10:40 PM.
Reply
0
0
12-17-2013, 07:56 AM
#17
Clear lens technology explained by The Retrofit Source Inc
CLIFF'S NOTES-
It seems that most OEM offerings aren't perfectly clear, or have pleasure-condom rings and ridges to diffuse the sharp-*** light cutoff somewhat...
Some exceptions to the rule (at least, when considering OEM options) are the Honda S2000 and Acura TSX projectors, which come with factory-installed clear lenses. Before TRS offered clear lenses as a separate accessory, these projectors were among the most popular for their above average performance. Coincidence? We think not.
Fast forward to the "puttin' that **** back together" phase- do you have to heat the assembly again? I'd think the glue would be a pain in the ***, difficult to manipulate and ensure a moisture-tight seal etc...??
Reply
0
0
12-17-2013, 09:12 AM
#18
Elite Member
Thread Starter
iTrader: (2)
Join Date: Apr 2006
Location: Chicago, IL
Posts: 10,470
Total Cats: 1,812
Putting it together is very easy. You get it in position. The glue will be stiff but sticky enough to hold teh clear cover into position. Toss it in the oven, heat it again for 5-7 mins at 210ish. Then pull it out and press the clear part in all around until the little tabs lock in. After ungluing it, this will be a walk in the park. The only thing i removed when i heated it the last time was the HID bulb from the projector.
Last edited by triple88a; 12-17-2013 at 09:23 AM.
Reply
1
1
01-13-2014, 08:48 PM
#19
Newb

Join Date: May 2012
Posts: 7
Total Cats: 3
I did the same exact thing except used the mini d2s' s. I didn't have to cut anythibg at all when I installed them. I wanted the d2s so I didn't have to use aftermarket bulbs. Ill probably pick the 3.0 bersion up. Trs claims they outperform the mh1 and it also has a new solenoid.
Reply
0
0


