Rustoleum Paint Jobs, Pics, DIY Tips, Haters
 02-12-2014, 06:23 PM
#1
Elite Member
Thread Starter

Join Date: Jul 2007
Location: Houston, TX
Posts: 3,203
Total Cats: 148
If you have painted your car with Rustoleum post up pics, tips, tricks. If your wanting to paint your car with Rustoleum and want to ask questions, post it up.
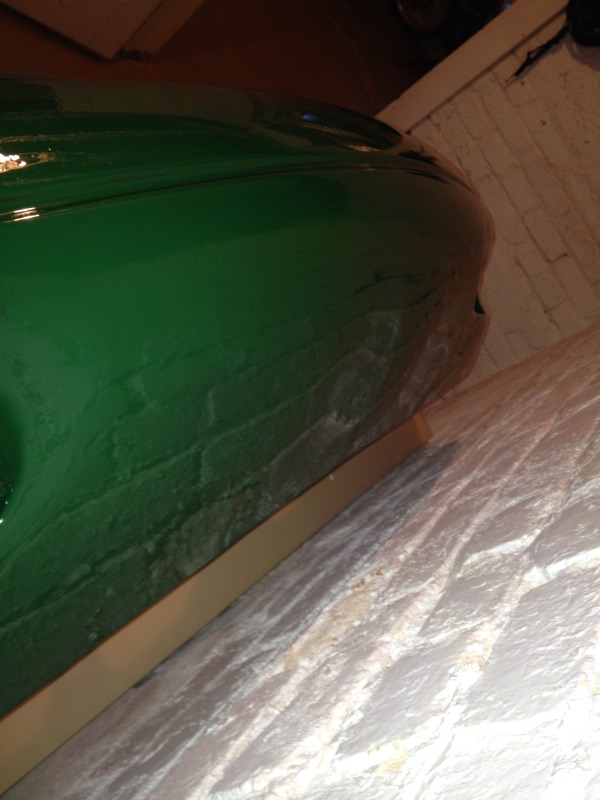
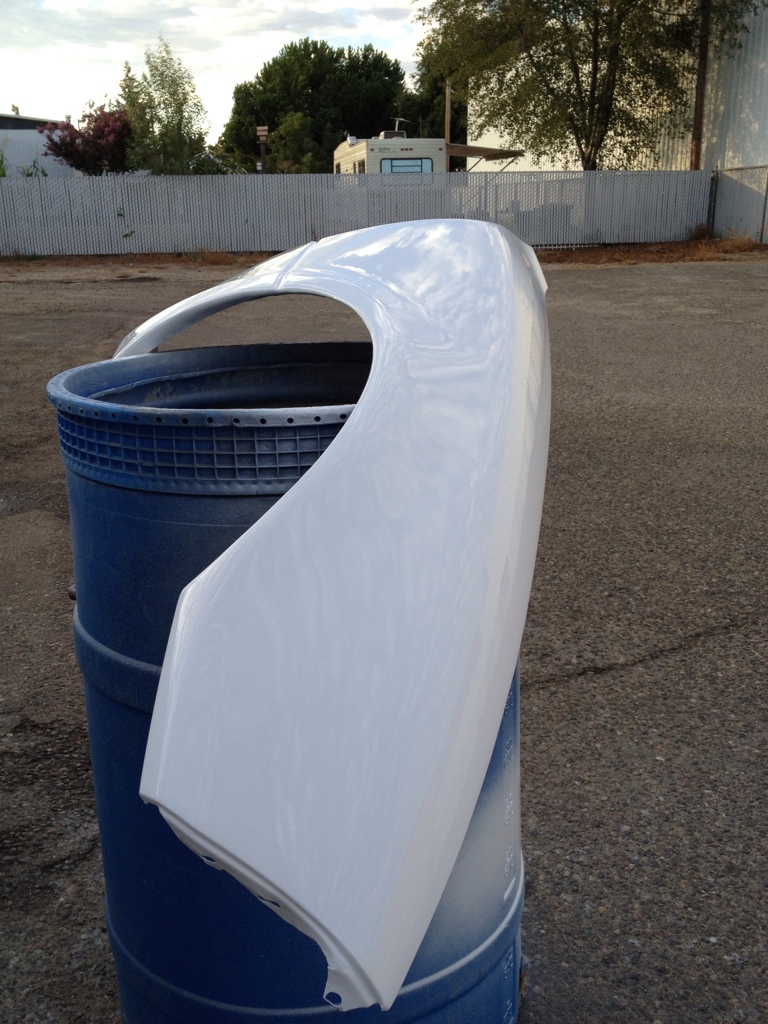
So I have a black Miata, I hate black. I really want a BRG NA Miata. I read about Rustoleum paint jobs for 8hrs. I went to Home Depot and purchased a test quart of Rustoleum Professional Hunter Green, some hardener, mineral spirits, etc. I picked the professional because google said it dried faster, also google says the hardener decreases drying time and increases shine. I mixed maybe 8 parts paint, 1 part mineral spirits, and 1 part hardener. Most people complain about running with the 50/50 ratio. I plan to lay it on thick in several coats and only wet sand once. I'm testing it on a new bumper first.
For the haters. I wanted to be able to hit a deer, drive to home depot and touch it up. Its not really a $50 paint job, probably like $100 when done. I don't have a place to spray a car, I do have a place to roll it.
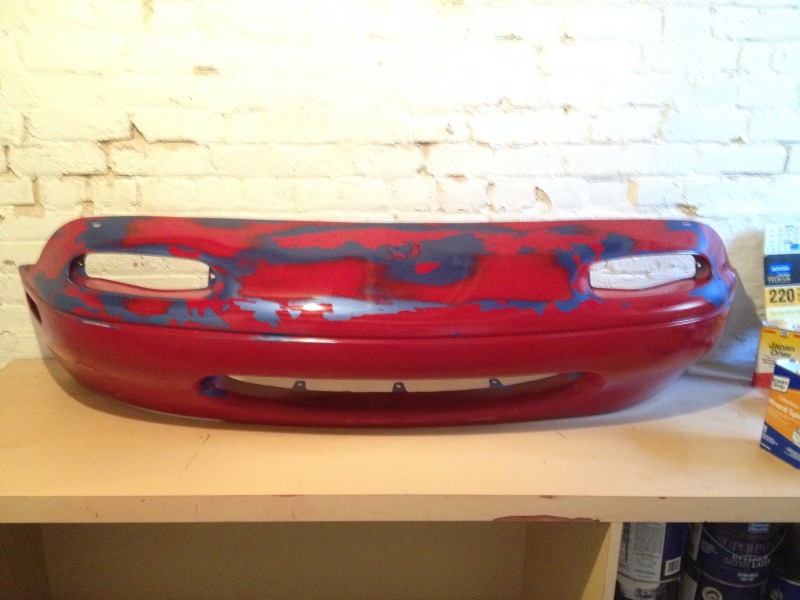
I started with a pick n pull bumper.
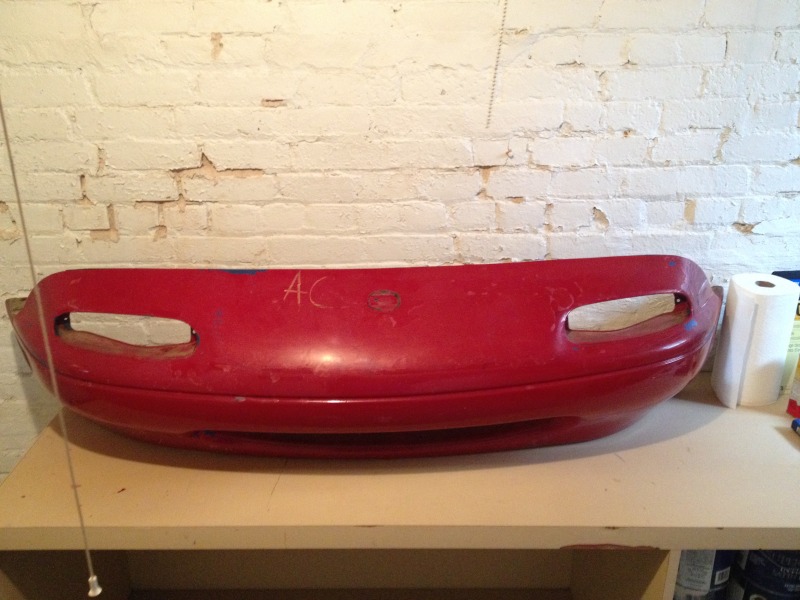
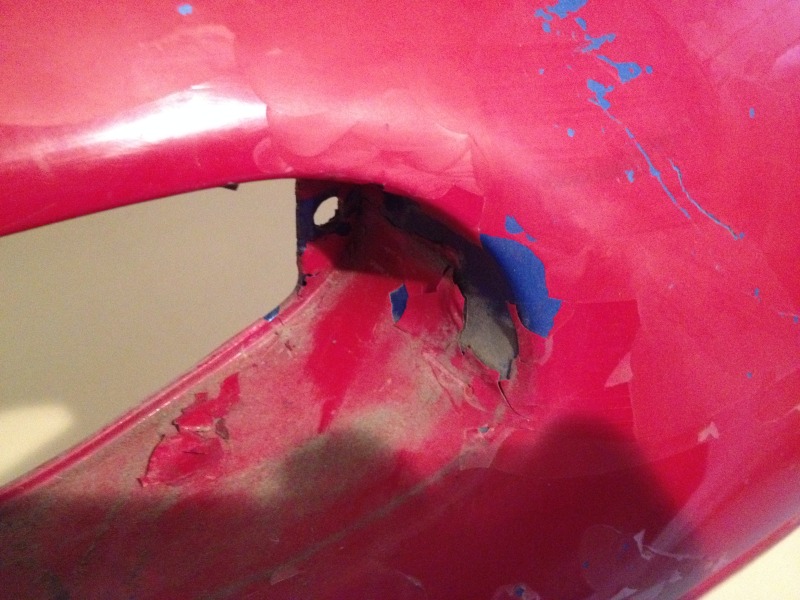
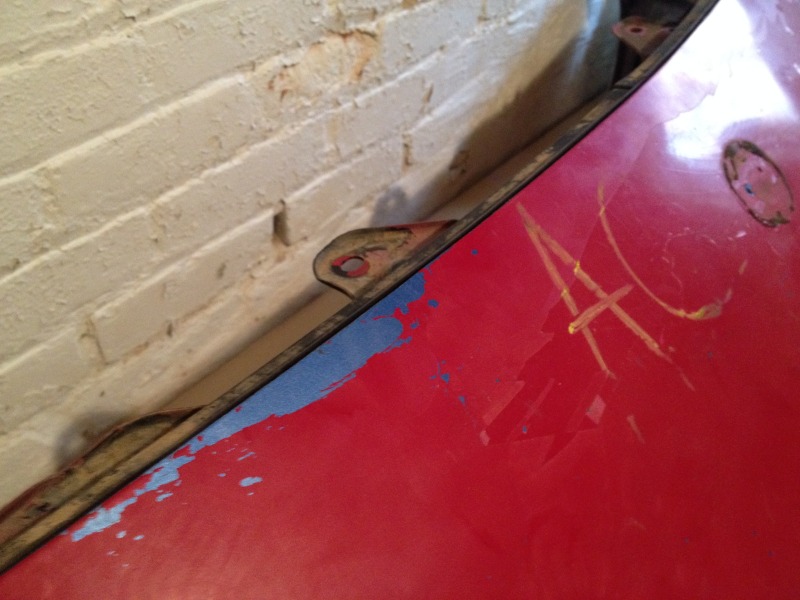
It has the original blue paint, chipped red, and chipped clear.
Now feather in all the rough stuff, I concentrated on the upper half and just scuffed the bottom. I did this by hand because I'm a man, had beer, and should have got a cheap da.
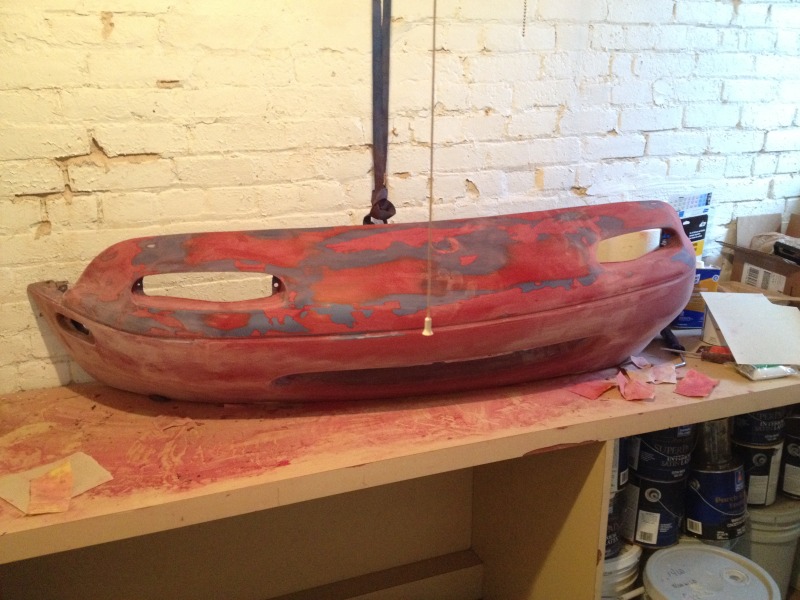
Now clean the **** out of it with mineral spirits and a tack rag, rag showing color, keep cleaning.
Now cut in all of the tough spots with your small foam brush.
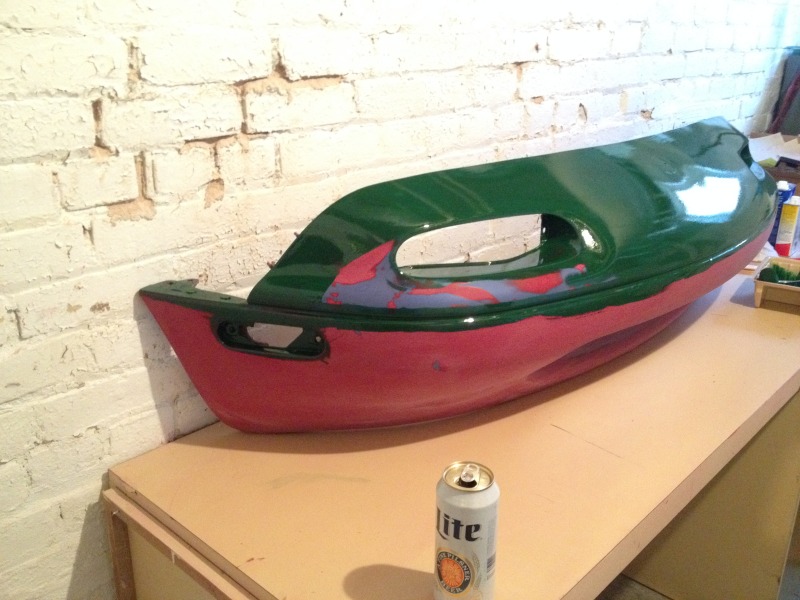
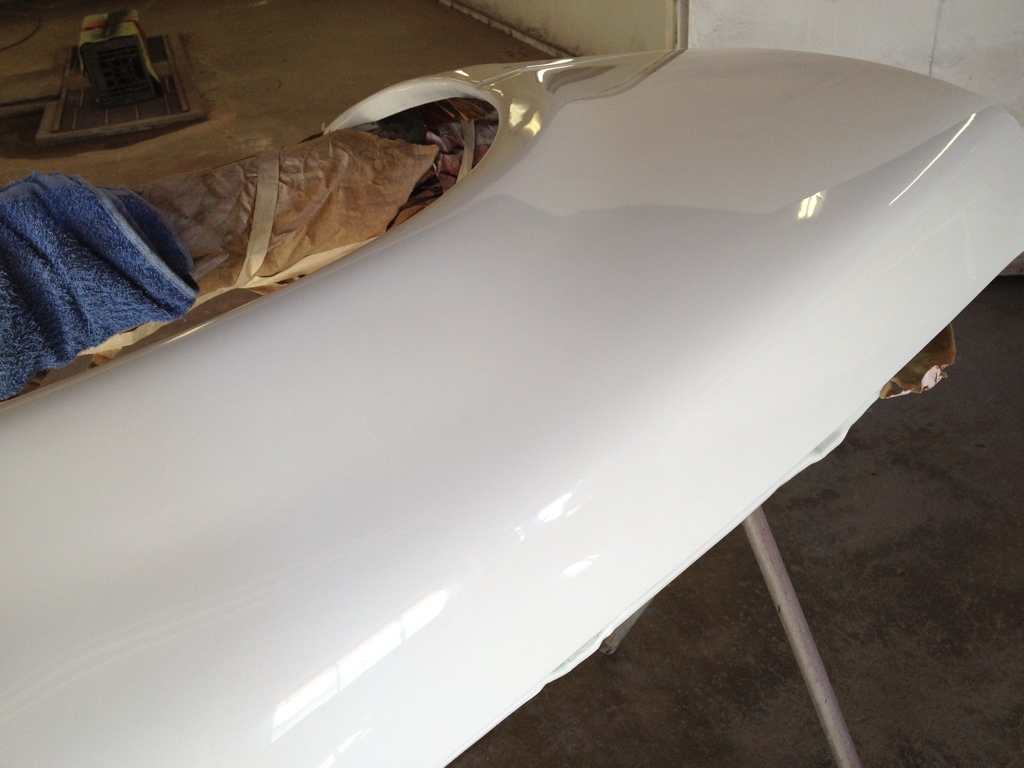
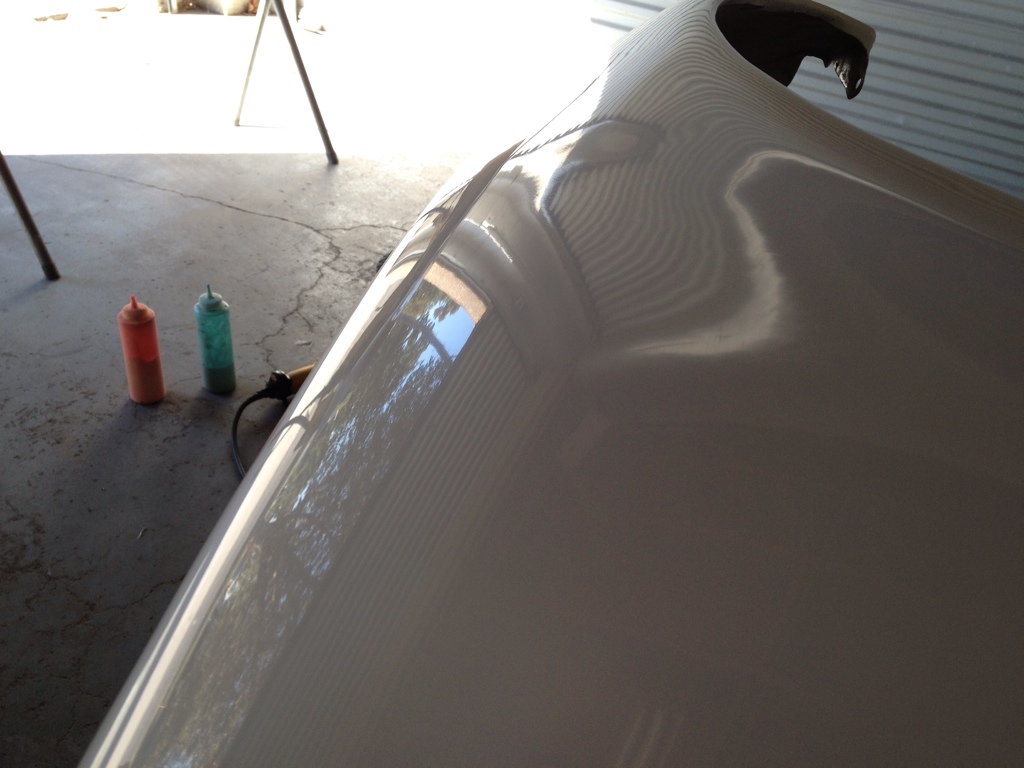
Now roll that **** on
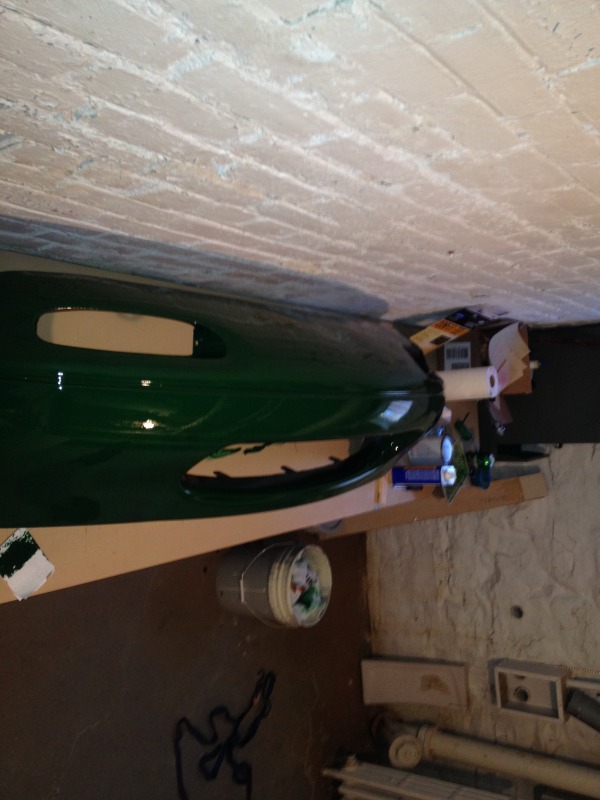
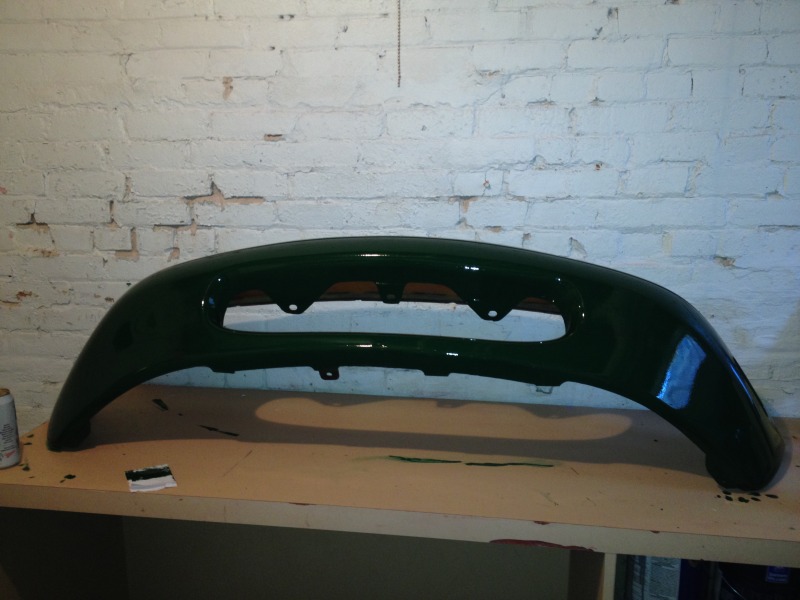
Looking good for just one heavy coat
So I have a black Miata, I hate black. I really want a BRG NA Miata. I read about Rustoleum paint jobs for 8hrs. I went to Home Depot and purchased a test quart of Rustoleum Professional Hunter Green, some hardener, mineral spirits, etc. I picked the professional because google said it dried faster, also google says the hardener decreases drying time and increases shine. I mixed maybe 8 parts paint, 1 part mineral spirits, and 1 part hardener. Most people complain about running with the 50/50 ratio. I plan to lay it on thick in several coats and only wet sand once. I'm testing it on a new bumper first.
For the haters. I wanted to be able to hit a deer, drive to home depot and touch it up. Its not really a $50 paint job, probably like $100 when done. I don't have a place to spray a car, I do have a place to roll it.
I started with a pick n pull bumper.

It has the original blue paint, chipped red, and chipped clear.


Now feather in all the rough stuff, I concentrated on the upper half and just scuffed the bottom. I did this by hand because I'm a man, had beer, and should have got a cheap da.

Now clean the **** out of it with mineral spirits and a tack rag, rag showing color, keep cleaning.

Now cut in all of the tough spots with your small foam brush.

Now roll that **** on


Looking good for just one heavy coat


Reply
 0
0

0
02-12-2014, 06:39 PM
#2

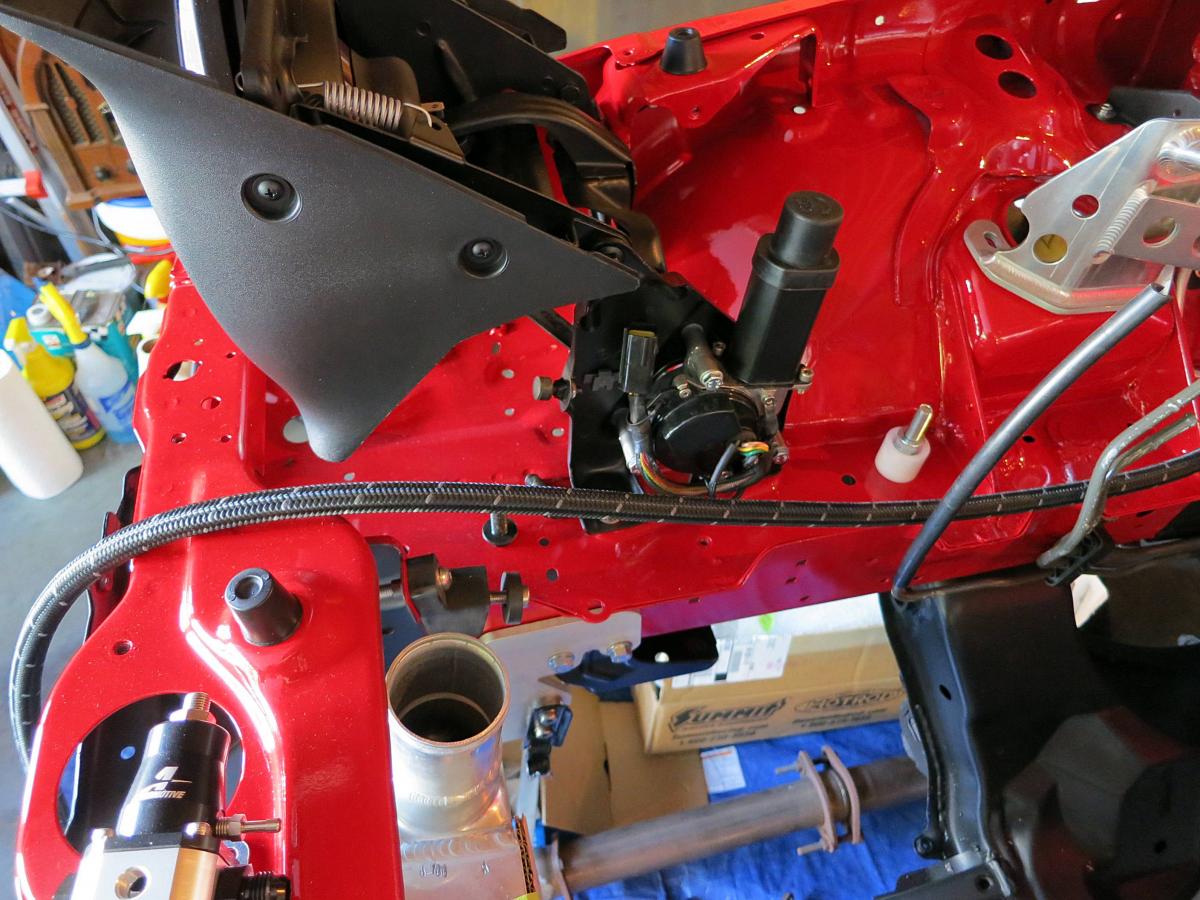
When I was doing my engine bay project, I started out using a quality primer in a can to use it as a guide to make sure places were smoothed correctly. It came out amazingly good. I eventually removed the paint and put down a 2K urethane primer. For a car built for the race track, I say why not a rattle can.
You should try wet sanding what you have done with 400 or 600 grit paper. Paint it again, and then wet sand with 1500 grit, followed by 3000 grit, followed by a polishing. It takes time, but you will not believe your eyes.
You should try wet sanding what you have done with 400 or 600 grit paper. Paint it again, and then wet sand with 1500 grit, followed by 3000 grit, followed by a polishing. It takes time, but you will not believe your eyes.
Reply
0
0

 02-12-2014, 07:52 PM
#5
Junior Member


Join Date: Jan 2014
Location: Madison
Posts: 316
Total Cats: 30
That color looks good.
I can't imagine trying to feather that down by hand, I'm a puss when it comes to sanding. Suppose it's unavoidable in the detail areas, can't really get a DA in there?
Are you doing anything special additive-wise on the (super floppy flexible) front bumper? I feel like flex agent is a myth for modern paints, but this is pretty old tech?
I've enjoyed the ease of maintaining single stage paint on my early cars. A local body shop supply place will mix up color match in aerosol. Wonder if I could use the roll on method for the color matched single stage if I opted to get it in a can? My rear bumper is ugly.
Hmm.
Reply
0
0
02-12-2014, 08:18 PM
#6
Cpt. Slow
iTrader: (25)
Join Date: Oct 2005
Location: Oregon City, OR
Posts: 14,360
Total Cats: 1,184
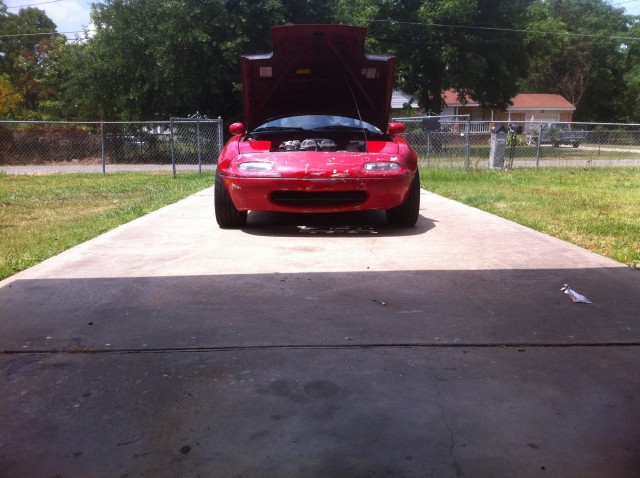
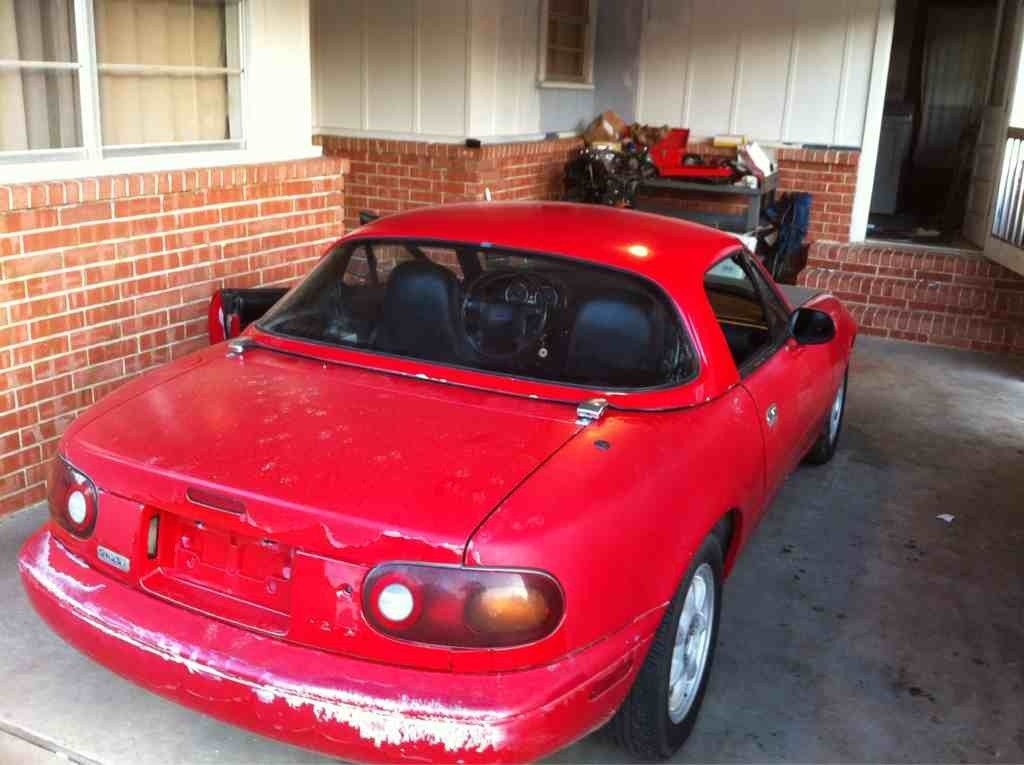
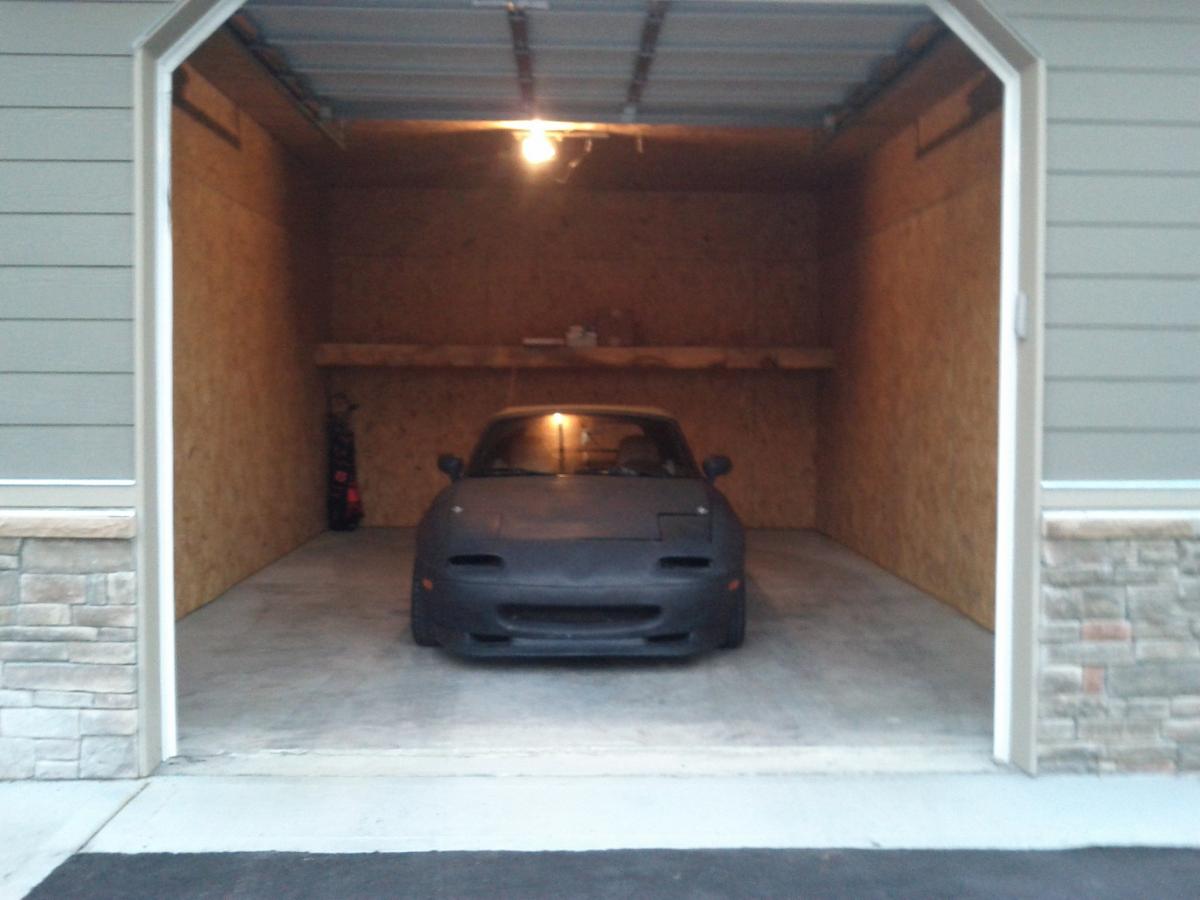
Started with this, classic white peeling on the head light lids, hood, and windshield header.
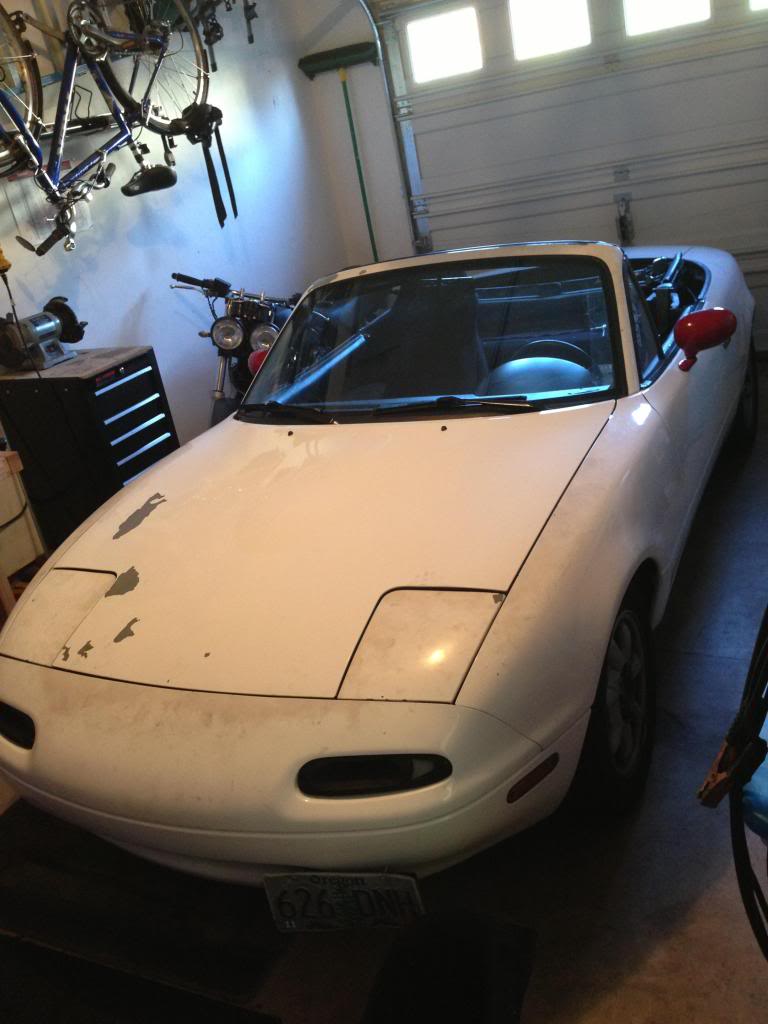
Ended with this. If I had known the next owner would buy a white hardtop I wouldn't of painted the header black, but it hid a LOT of masking mistakes along the windshield trim. I love flat black paint for this reason. Blends perfectly with rubber.
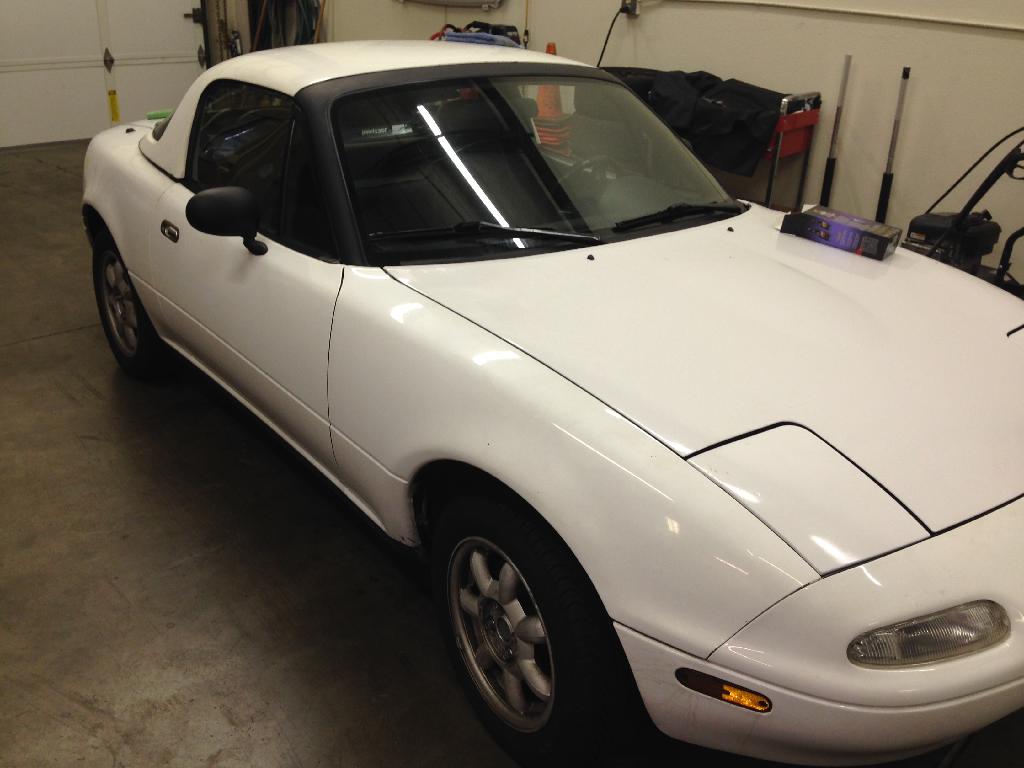
This was all done with Rustoleum rattle cans, their enamel gloss white and flat black. I also used their "filler primer" on the hood to try and blend the areas that were previously flaked off. It didn't work very well. It was better than nothing, but still easily noticeable, although not in the pictures. Should have sanded more, but I was trying to flip the car, not make it showroom perfect.
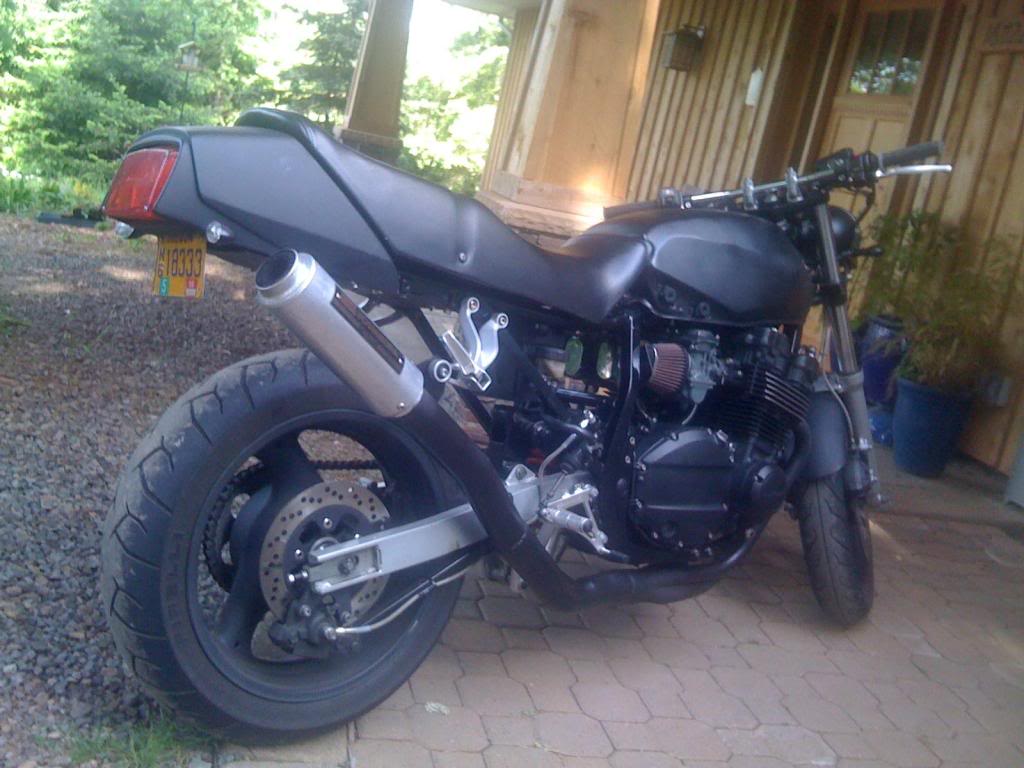
My other project. Again, all flat black enamel to hide mistakes.

Ended with this. If I had known the next owner would buy a white hardtop I wouldn't of painted the header black, but it hid a LOT of masking mistakes along the windshield trim. I love flat black paint for this reason. Blends perfectly with rubber.

This was all done with Rustoleum rattle cans, their enamel gloss white and flat black. I also used their "filler primer" on the hood to try and blend the areas that were previously flaked off. It didn't work very well. It was better than nothing, but still easily noticeable, although not in the pictures. Should have sanded more, but I was trying to flip the car, not make it showroom perfect.
My other project. Again, all flat black enamel to hide mistakes.

Reply
0
0
02-12-2014, 10:07 PM
#7

I was originally going to do a Rustoleum job but I ended up doing base coat/clear coat. However, my engine bay, chassis, and interior I did with the Rustoleum. I started painting a few of the panels, and it looked great. But it was a lot of work color sanding and buffing, plus I wanted the extra protection of the clear coat. But yours is looking good so far. I like that green.


Reply
1
1
 02-12-2014, 11:48 PM
#9
Elite Member
Thread Starter
Join Date: Jul 2007
Location: Houston, TX
Posts: 3,203
Total Cats: 148
I was originally going to do a Rustoleum job but I ended up doing base coat/clear coat. However, my engine bay, chassis, and interior I did with the Rustoleum. I started painting a few of the panels, and it looked great. But it was a lot of work color sanding and buffing, plus I wanted the extra protection of the clear coat. But yours is looking good so far. I like that green.
Looks way better than it did. Did you wet sand, cut and buff?
Reply
0
0
02-13-2014, 12:02 AM
#10

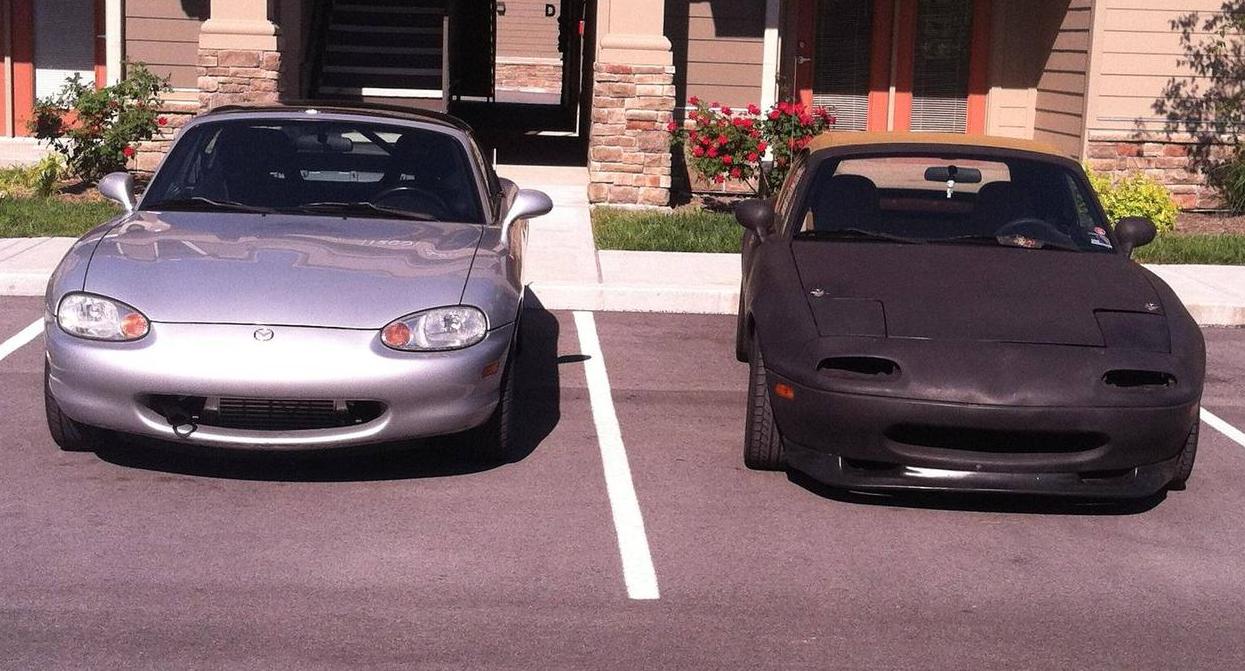
I found that heating the can helps. NOT on a burner, but drop the can in a bucket of water that is strait from the hot water faucet in the kitchen. It raises the pressure, thins the paint, and makes it easier to spray. Also swapping to Krylon style nozzles helps too. They fan better to me. I flat blacked my daily years ago. It looked good at the time. The paint is showing noticable wear now. However, I never maintained it in any way, or cared. I did mask like crazy and color sand at a stage or two. I will recommend if going flat black to light sand it before you was it in a spray booth. The plastic brush left noticble lines in my paint a week later. After a few trips through the booth it went away. Annoying for a bit, but redid a spot of two and a light wet sand mad it not do it again. Plus left a nicer flat black without thick looking spots. 5yrs later I can really tell where I painted vs. where my buddy painted helping me.
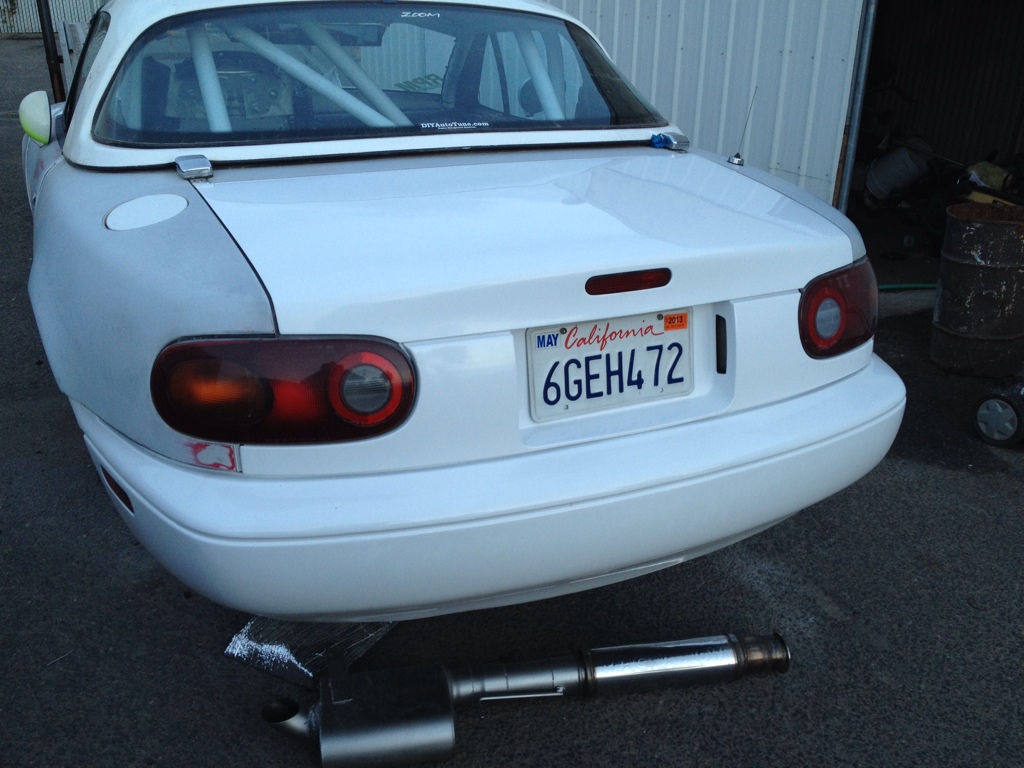
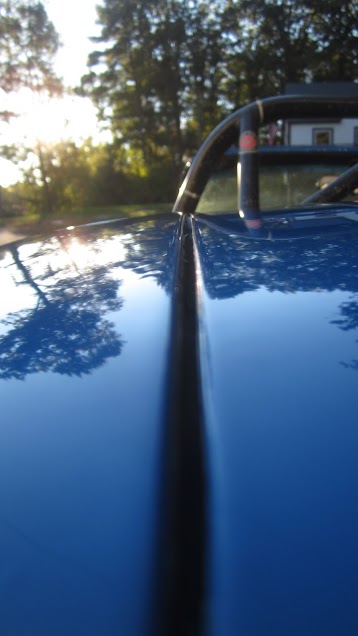
About 2 yrs ago. The body work has some issues, but he flat hides a lot. The turn signals were put back in shortly after these were taken.
and in some light
About 2 yrs ago. The body work has some issues, but he flat hides a lot. The turn signals were put back in shortly after these were taken.
and in some light
Reply
0
0
02-13-2014, 12:08 AM
#11
Use brushing liquid if using a foam brush or roller. Flows out brush marks nicely. I used it on the track plastics for my bike.
Interlux Brushing Liquid 333 Solvent
Interlux Brushing Liquid 333 Solvent
Reply
0
0
02-13-2014, 12:25 AM
#12
Thanks, I starter with 400 to knock the orange peel down, then worked up to a 1800. Then I buffed, polished, and waxed it. It looked great. One thing I will say is, I took the Rustoleum and thinned it down to spray out of a gun. I didn't roll it or brush it.
And the last thing I noticed, it (maybe I was doing it wrong, especially since I had never buffed fresh paint) seemed to be very easy to get the paint hot while buffing and have it start to discolor and blister. When I buffed on the clear coat, I never had an issue... but then again I did use like 6 layers of clear lol
And the last thing I noticed, it (maybe I was doing it wrong, especially since I had never buffed fresh paint) seemed to be very easy to get the paint hot while buffing and have it start to discolor and blister. When I buffed on the clear coat, I never had an issue... but then again I did use like 6 layers of clear lol
Reply
0
0
02-13-2014, 08:26 AM
#13
Junior Member

Join Date: Feb 2012
Location: Atlanta, Ga
Posts: 280
Total Cats: 36
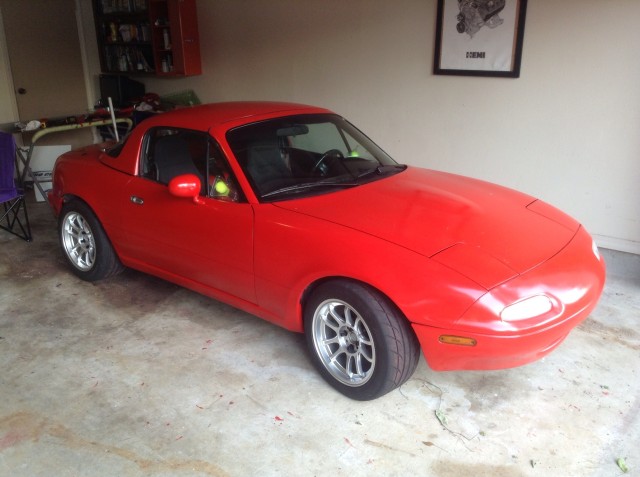
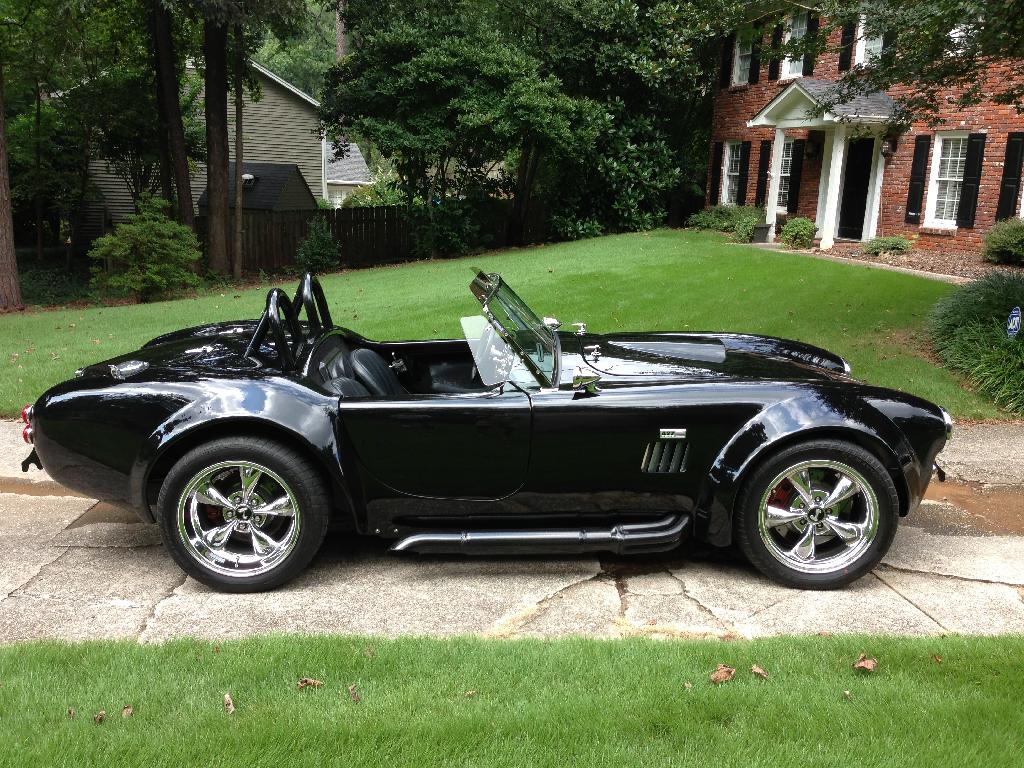
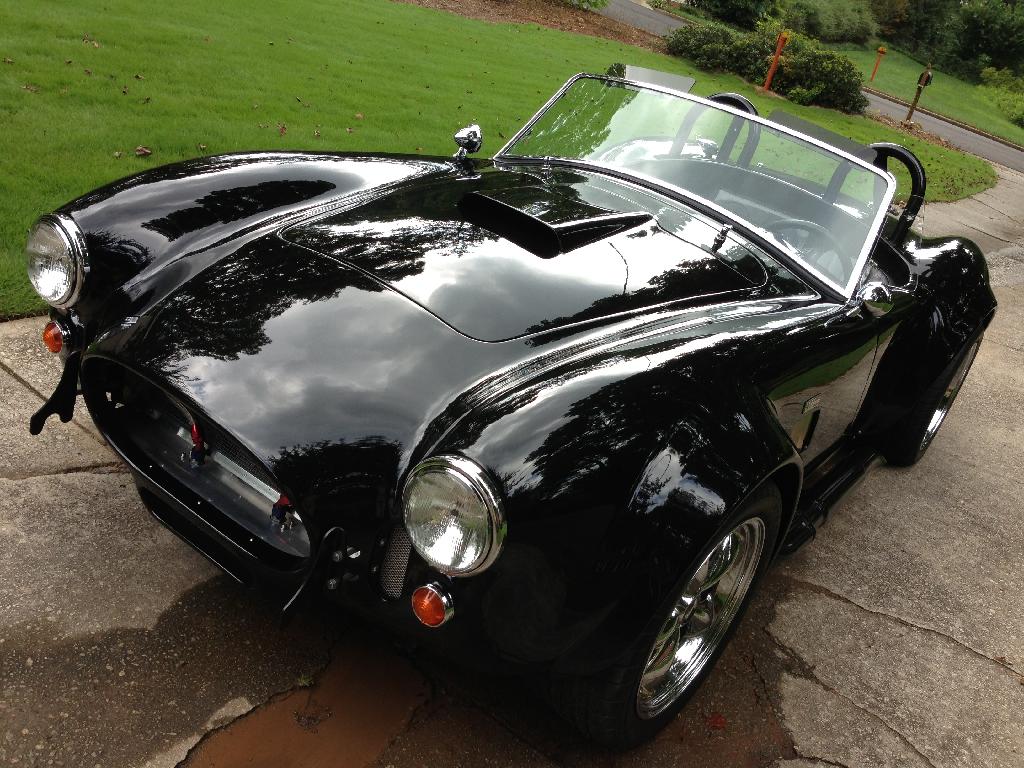
Difference between quality paint and a crap job... prep and sanding.
My buddy painted this in his garage (sanded for weeks) then too it to Maaco for the clear coat ($200), followed by lots of wet sanding and buffing.
My buddy painted this in his garage (sanded for weeks) then too it to Maaco for the clear coat ($200), followed by lots of wet sanding and buffing.
Reply
0
0
02-13-2014, 08:12 PM
#14
Newb

Join Date: Mar 2012
Posts: 38
Total Cats: 0
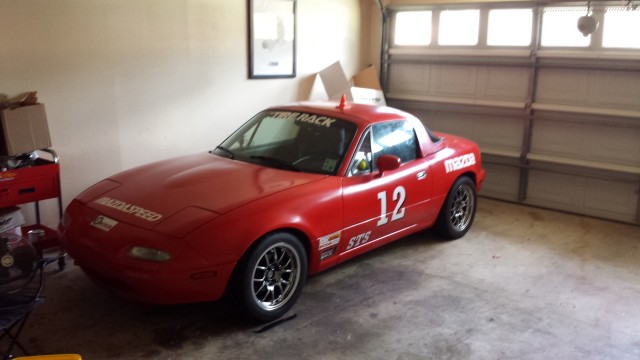
Yes I did . It's all about the body prep before you paint . Plus the first 3 coats are straight from the can and then wet sanded . Final 2 to 3 coats 50\50. Plus I recommend to apply adhesion promoter on the plastic bumpers . Took me 23 days for the entire car. The reason I choose this paint job is 1. Durable *** hell. It can take a rock head on. 2. Why pay 2,3,4 grand for a paint job when the car is worth 4 grand. I don't have to worry about track damage . 3 I can fix if I want
Reply
0
0
02-14-2014, 07:42 AM
#15

I don't get it.
Half you guys have compressors which means you can buy a decent use spray gun on the cheap.
PPGs econo brand is dirt cheap yet still a proper urethane base/clear. I bought a gallon of classic red and a gallon of urethane clear for 300 bucks. Any color other then red should be quite a bit less.
How much are these Rusto jobs costing?
Reply
0
0
02-14-2014, 08:53 AM
#16

I don't get it.
Half you guys have compressors which means you can buy a decent use spray gun on the cheap.
PPGs econo brand is dirt cheap yet still a proper urethane base/clear. I bought a gallon of classic red and a gallon of urethane clear for 300 bucks. Any color other then red should be quite a bit less.
How much are these Rusto jobs costing?
Half you guys have compressors which means you can buy a decent use spray gun on the cheap.
PPGs econo brand is dirt cheap yet still a proper urethane base/clear. I bought a gallon of classic red and a gallon of urethane clear for 300 bucks. Any color other then red should be quite a bit less.
How much are these Rusto jobs costing?
And I still had to sand the **** out of it.
Reply
0
0
02-14-2014, 10:29 AM
#17
I painted my '90 in my garage with a $100 Home Depot compressor, $30 Horror Freight HVLP gun, and Nason single stage urethane in Mariner Blue. The paint itself cost $200, maybe. Paying for the paint was the least of my concerns.
And I still had to sand the **** out of it.
And I still had to sand the **** out of it.
My father and I sprayed my engine bay, fenders, bumpers, and hardtop in the driveway on a 70 degree summer morning. No wind, driveway spray down with water. I got some solvent pop on the HT because the sun broke through the clouds and caused the clear to kick too quick; however, the everything else came out flat and glossy. Aside from a few small flies which need sanding, the paint lays flatter than a lot of OEM jobs. I don't have any good shots but this is the bay simply sprayed and unmasked - no sanding/buffing.
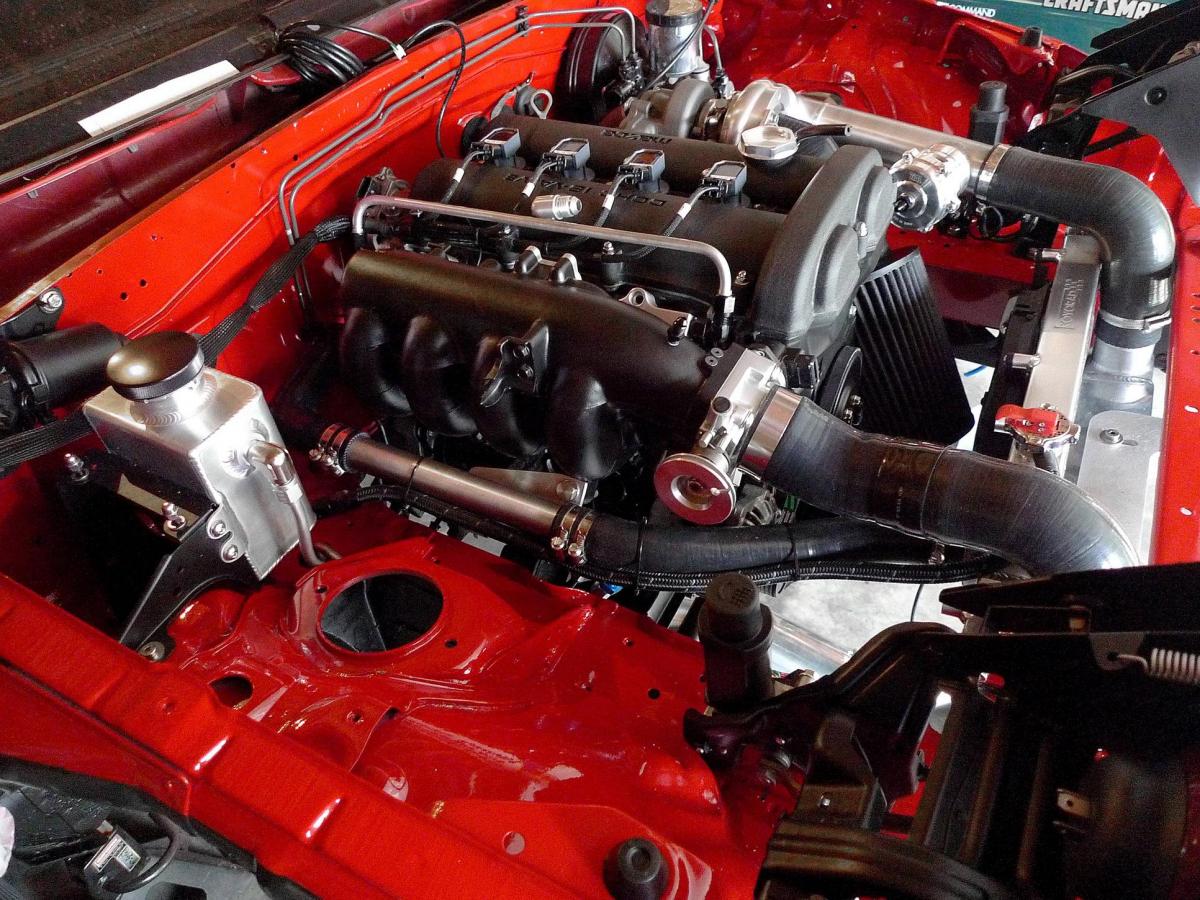
In short, the moderate cost of a gun and filter seems worth it when the alternative is sanding for ******* days.
-Zach
Reply
0
0

 02-14-2014, 12:03 PM
#20
Elite Member
iTrader: (13)

Join Date: Dec 2006
Location: Taos, New mexico
Posts: 6,760
Total Cats: 631
Always seemed like a ton of work for a shitty paint job in the end, but a few of you guys are proving me wrong on that thought in this thread.
My miata is staying ratty until I get a proper garage or at least a carport at home. The sun here eats cars alive. I just protect the interior for now with a reflective screen in the front/back windows.
In for BRG results.
My miata is staying ratty until I get a proper garage or at least a carport at home. The sun here eats cars alive. I just protect the interior for now with a reflective screen in the front/back windows.
In for BRG results.
Reply
0
0


