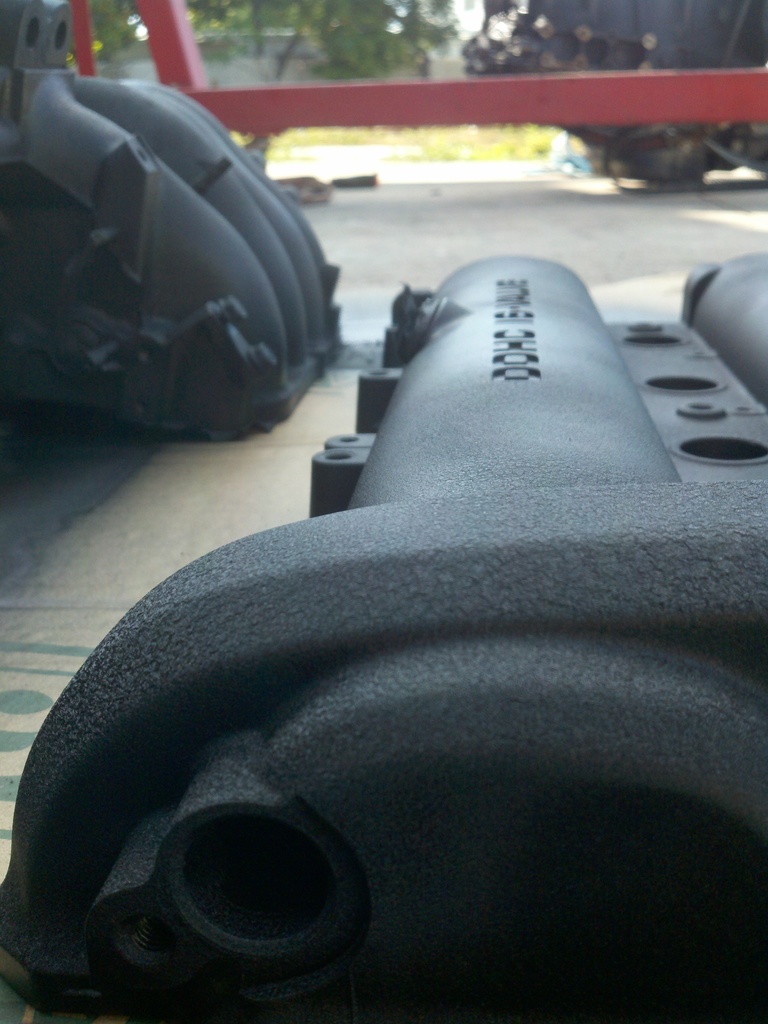
How to give your valve cover a durable wrinkle finish
#1
Thread Starter
Senior Member
iTrader: (7)
Joined: Sep 2009
Posts: 754
Total Cats: 68
From: Royal Oak Michigan
I decided to wrinkle black my valve cover. This is not my first time using the product so I figured I'd share my expertise with you guys.
Tools you'll need:
I started out with a parts cleaner spray or brake cleaner to remove all of the oil, then pressure washed it, scuffed it and I primed it with self etching primer.
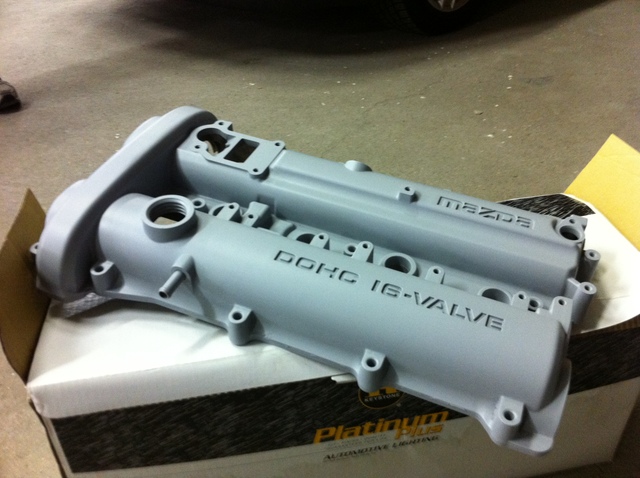
The deal with Wrinkle black is to do thick, multiple coats and very evenly. Spray your first coat on nice and thick. Let this coat sit 8-10 minutes. You're looking for the surface to dry up just a bit. I used to paint professionally so an aerosol can is hard to mess up.

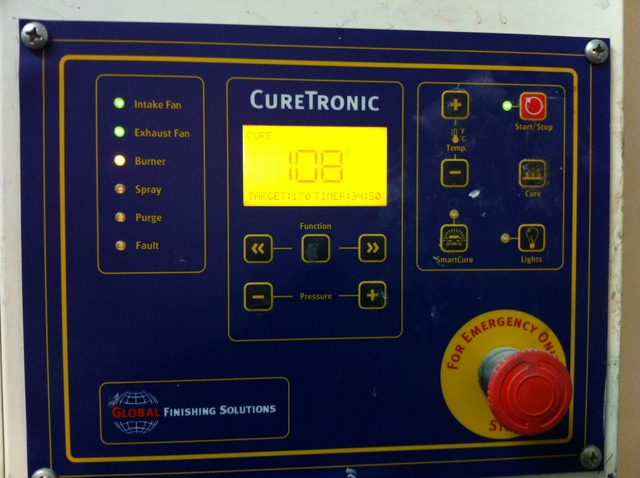
Throw on a second coat and give it another few minutes minutes between this and the third coat and then baked it at about 110-120 for 20 minutes or so.
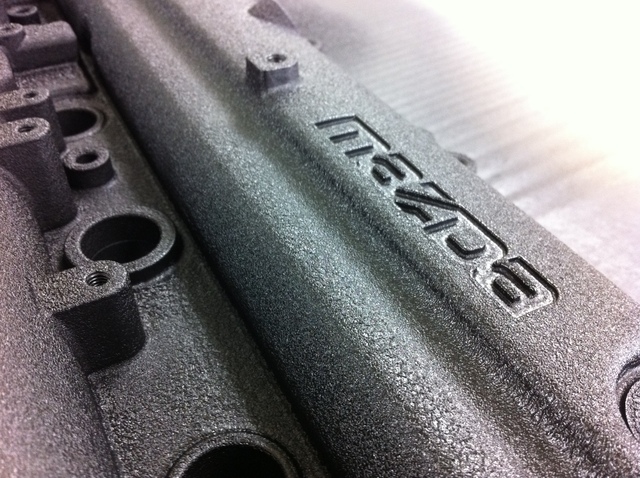
She came out perfect. If you've found that your wrinkle effect is patchy or you've missed an area, just touch up the areas with a light coat while the valve cover is still warm, it's like magic when the paint is still hot. You'll see an instant wrinkle fill in.

Tools you'll need:
- Red Scotch Scuff Pad
- Self-etching primer
- VHT Wrinkle Black Paint
- Parts cleaner (Brake cleaner)
- Oven
I started out with a parts cleaner spray or brake cleaner to remove all of the oil, then pressure washed it, scuffed it and I primed it with self etching primer.

The deal with Wrinkle black is to do thick, multiple coats and very evenly. Spray your first coat on nice and thick. Let this coat sit 8-10 minutes. You're looking for the surface to dry up just a bit. I used to paint professionally so an aerosol can is hard to mess up.

Throw on a second coat and give it another few minutes minutes between this and the third coat and then baked it at about 110-120 for 20 minutes or so.

She came out perfect. If you've found that your wrinkle effect is patchy or you've missed an area, just touch up the areas with a light coat while the valve cover is still warm, it's like magic when the paint is still hot. You'll see an instant wrinkle fill in.


#5
A friend of mine did my valvecover as he is a painter by profession. I asked him to do it in red. It is finished now, but I haven't seen it yet. He said he could "steer" the wrinckle effect by using a heat-gun. I'll post some pics when I have it on the car. Next up is the manifold in wrinckle black...
Yours looks very nice! I also like the fillercap!
Yours looks very nice! I also like the fillercap!
#7
I did mine with Rustoleum Wrinkle black, in the dark in 5 minutes , little prep work (scrubbed with brass brush) and tossed it on the car wet. It came out perfect with a nice tight wrinkle...but now the very front of the VC area is starting to peel. Time to pick up a spare and get it painted.
#9
Looks good OP. If you have not already, you'll probably need to take the oil cap sealing surface back to bare metal so it doesn't leak.
Did the same with mine but ran it through a parts washer first. Hand washed following that, then sprayed on the front porch, "cured" it in the dining room for a few days.
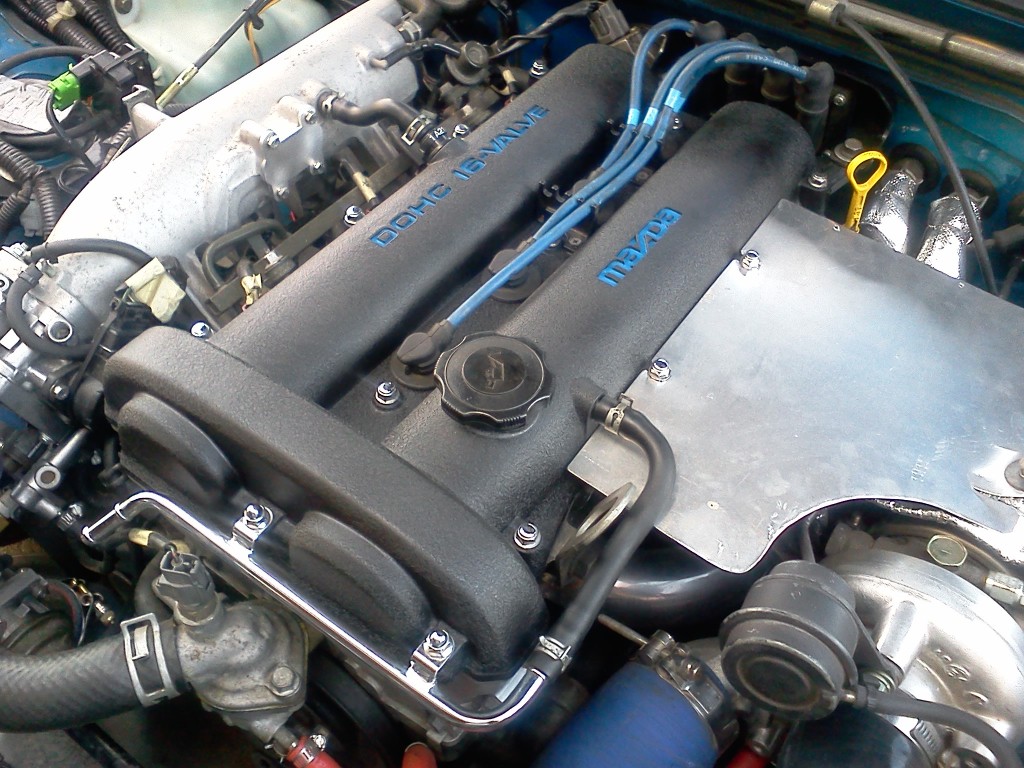
Did the same with mine but ran it through a parts washer first. Hand washed following that, then sprayed on the front porch, "cured" it in the dining room for a few days.

#17
Thread Starter
Senior Member
iTrader: (7)
Joined: Sep 2009
Posts: 754
Total Cats: 68
From: Royal Oak Michigan
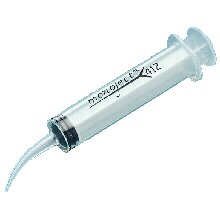
Also a tip I've used in the past. If you have access to a syringe, remove the needle part of the tip. You'll be left with a plastic opening that you'll be able to suck up enamel paint with. Then just fill each letter and let it dry.
Or just get something like this from a hobby or craft store:
Thread
Thread Starter
Forum
Replies
Last Post
bigmackloud
Miata parts for sale/trade
19
01-08-2021 12:24 PM
stoves
Suspension, Brakes, Drivetrain
5
04-21-2016 04:00 PM


