$120 Ebay Radiator Install & Review (picture heavy)
#1
Thread Starter
Joined: Feb 2011
Posts: 743
Total Cats: 42
From: Crest Hill, IL
OK, so after the coolant reroute, I thought, what the hell, how bad can it be?
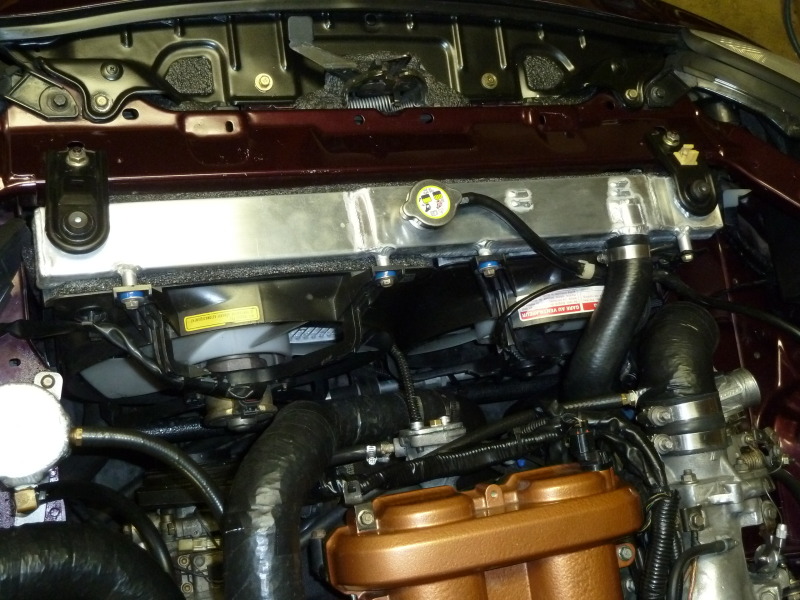
I chose the one from Speed-Daddy, but they all looked the same. It was $120 shipped. It arrived very well packaged, reasonably quick.
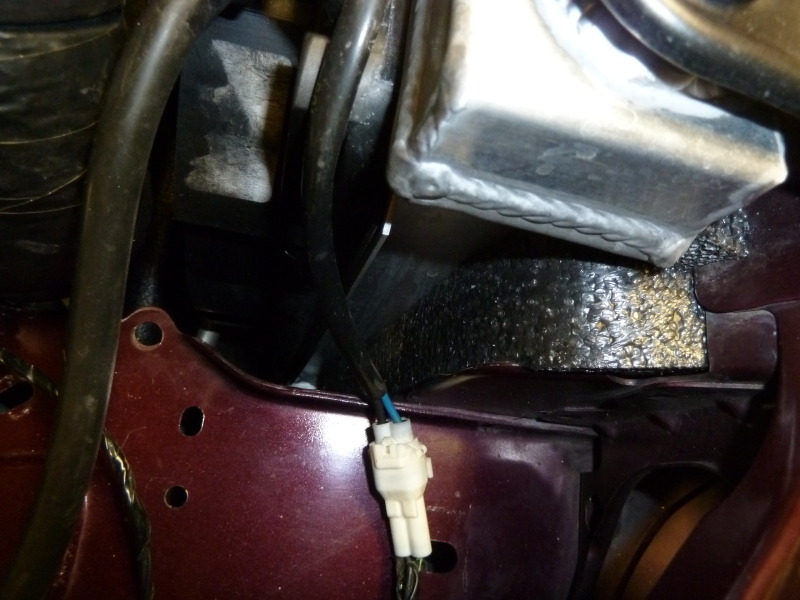
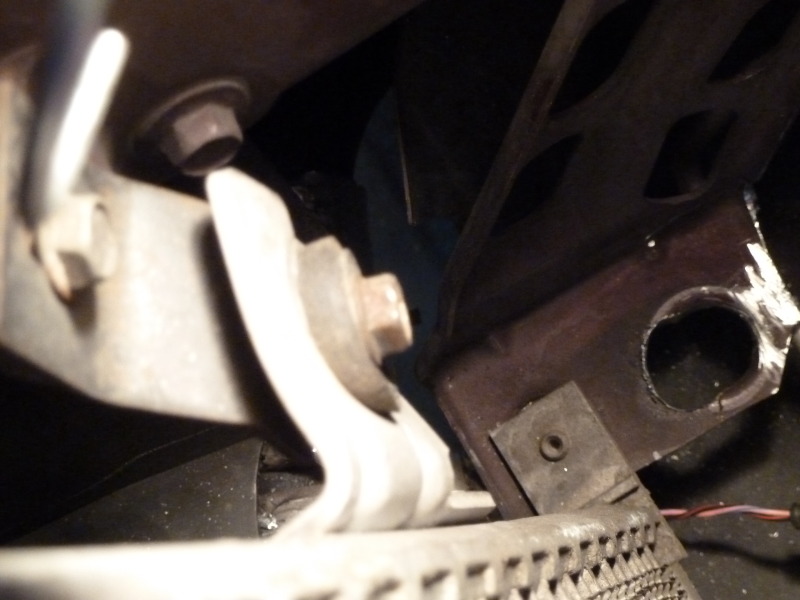
I had to bend the AC mounts a little to make sure the radiator fit as close as possible. The radiator mounting hole on the bottom had to be slotted to also move the radiator as close to the front as possible to clear the stock fans.
In and out a few times to adjust clearances, then its on to install the fans.
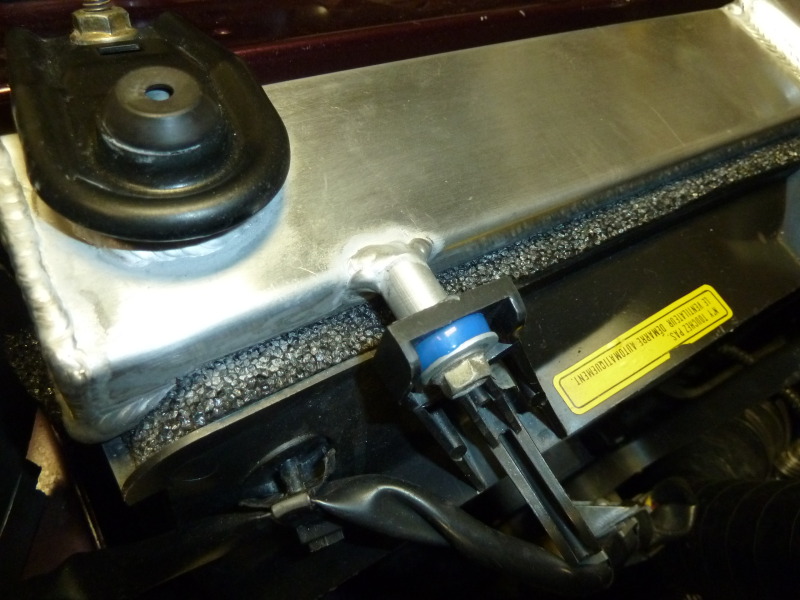
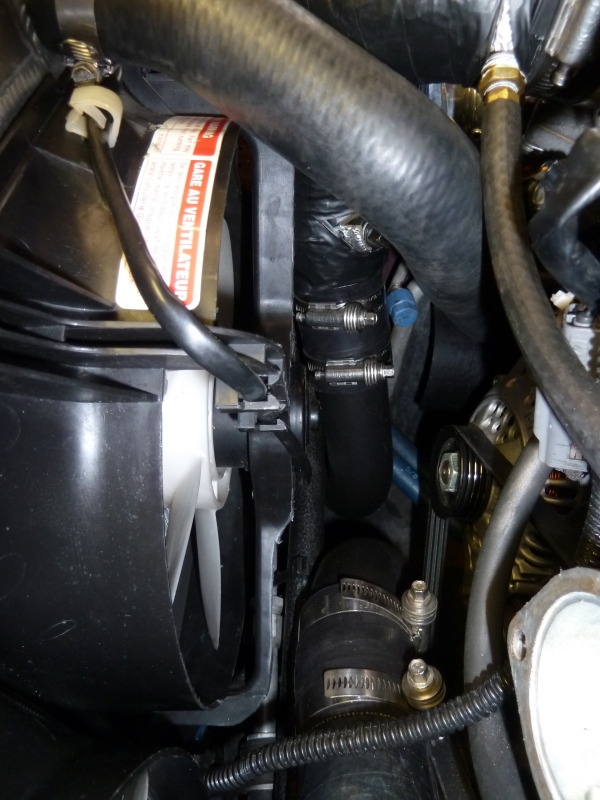
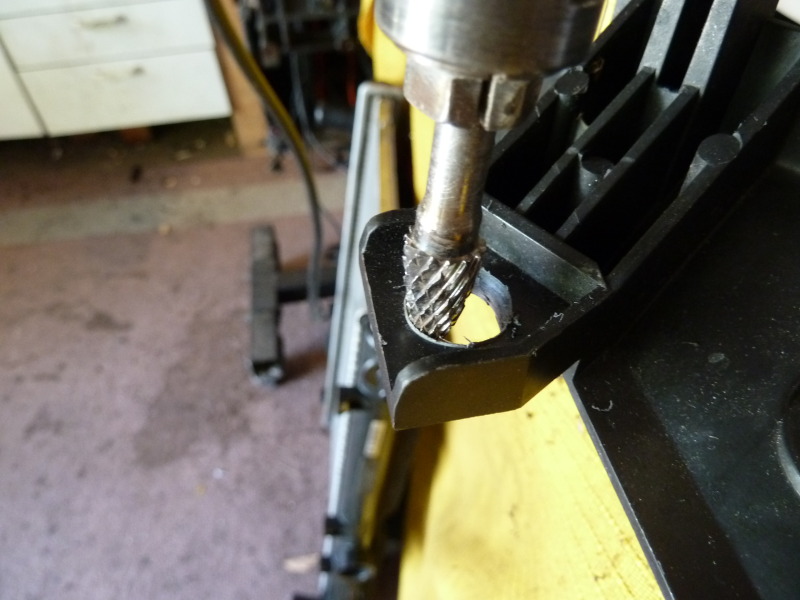
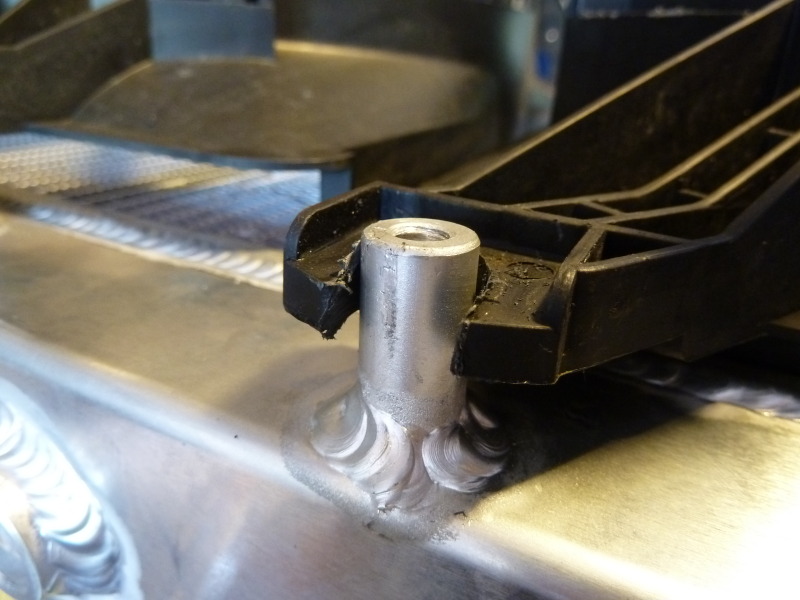
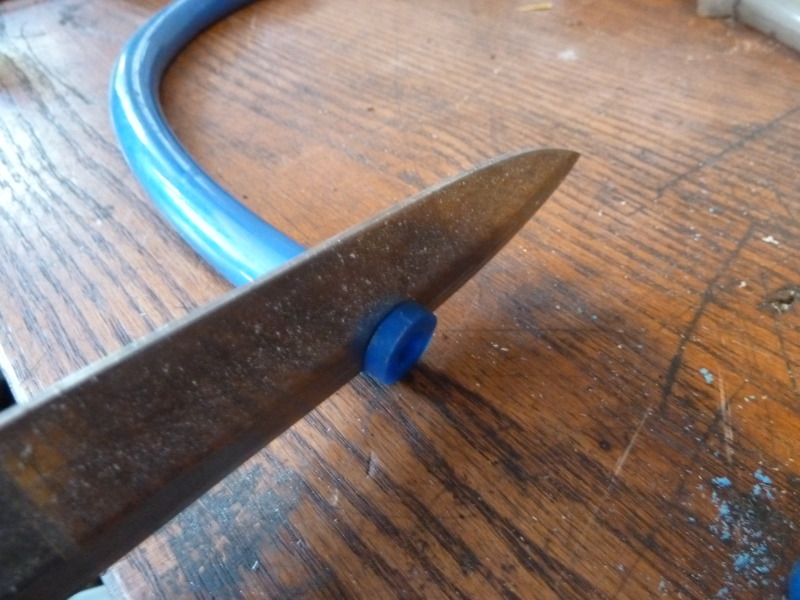
I had to modify the stock mounting points of the fans to achieve as tight a fit as possible. By enlarging the holes to fit over the mounting points on the radiator I was able to adjust how close the fan was against the radiator. Using the blue silicone hose as spacers it was easy to get a tight seal for good air flow.
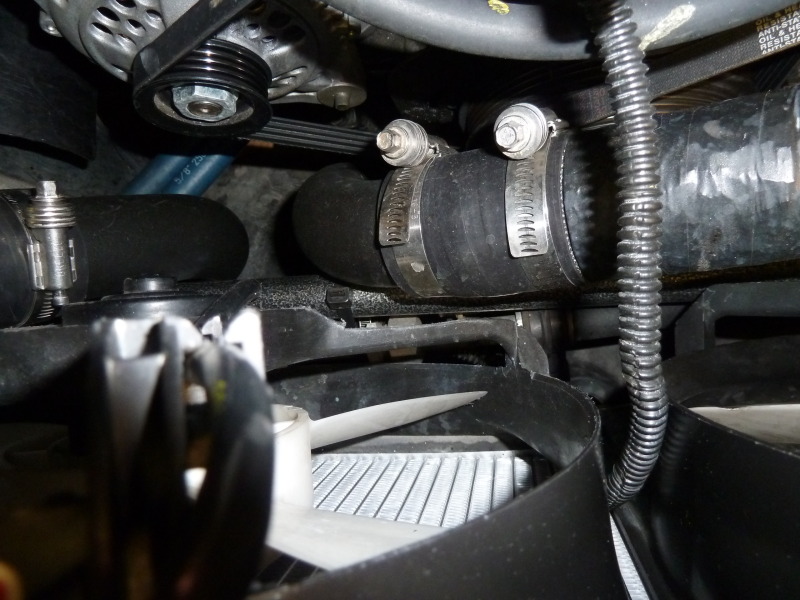
I also ended up trimming some of the fan support to allow for more clearance.
So was it plug and play? Not too bad. I think with any of this stuff at this price point you should expect a little custom work, not bad.
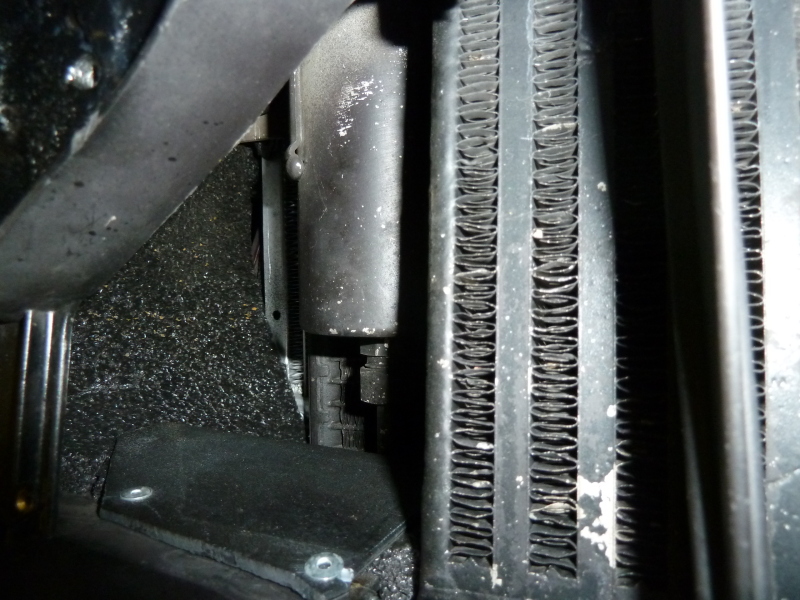
So's how's it work? I've got about a 120 miles on this now. Highway cruze at 75 mph with an ambient temp of 100F gives me a coolant temp of about 186F and with the AC on we were looking at about 192F. Get up on it and the temp will increase with boost but comes down quickly with the larger capacity and cooling available. I must also stress that with any radiator swap it is extremely important that extra effort be made to seal completely around the radiator so that all air going in the front actually goes THROUGH the radiator. This could take awhile, but it will be worth the extra time.
I'm happy with how this went for me and would recommend this purchase.
Cheers,
-JB


Thread
Thread Starter
Forum
Replies
Last Post
db84drteg
Prefabbed Turbo Kits
6
08-01-2007 11:26 PM


