When you click on links to various merchants on this site and make a purchase, this can result in this site earning a commission. Affiliate programs and affiliations include, but are not limited to, the eBay Partner Network.
I have been working with composites since HS about (20 years ago). Been in and out of the career field for many years not, from everything from boats, Theme parks ride moulds to build Military contract Aircraft parts.
I would like people to bring up projects that they have built or failed at making. Making composite parts are not easy and fraught with failure. I want it easier for people to have the confidence to make their own parts. Have a general discussion
Here is a CF trunk lid for a NA Miata I made about 10 years ago
This was made with 2 layers of 10.7oz twill 2x2 and a 1/4" foam core
The inner flange has to be made due to the exhaust smoke coming to the cabin. Something has to hit the weather seal.
The whole Trunk Lid finished was 2lbs 6 oz
I made this mould shortly after building making the trunk lid. I tried 2 times making a good part but failed both times and could be fixed.
The first try was a total of 5 layers and it consisted of a layer of Textreme, -45/+45, foam core, -45/+45 and another layer of Textreme. I put 2 pieces of .020 anodized primed aluminum backing plate built into the middle layer of carbon fiber. I also put a few layers quadaxial carbon in the areas of the hood vents to add thickness for mounting.
1st Attempt failure was because I didn’t put holes in the foam core so the resin couldn’t get through the thin layers carbon between the mould and the foam. (to correct this would to poke 1/8” holes every inch of the foam core)
Awesome work, that trunk lid looks great. The hod too, psyched to see the finished product.
I never finished the hood after the second attempt, I ended up selling the car after someone ran a Red arrow and smacking the drivers front.
This try failed in my opinion due to not using flow mesh. The flow mesh would have caused print through and would have shown on the final product. But this came out a lot better.
I used the hood to help compress the layers of carbon, to help conform them to the corners of the mould. Then the steel hood was removed before vacuum infusion.
^ I like the big spread tow carbon, I see it all over on WRC and F1 cars now
not miata related, but I recently started playing with composites myself, and one of my early projects was some side covers for an old 73 CB500. Inner and outer layers of carbon Kevlar, with just carbon for the inside layer.
Awesome, how was trimming the excess kevlar vs carbon? I've read that the kevlar is more difficult to clean up as far as the stray strands, any truth to this?
Awesome, how was trimming the excess kevlar vs carbon? I've read that the kevlar is more difficult to clean up as far as the stray strands, any truth to this?
I know plain kevlar is a bitch to work with if you don't have the correct scissors. Plus even with the fibers soaked in resin, it is a pain in the *** to sand. The resin will typically sand away faster than the fibers, leaving every edge with fuzziness.
But if anyone else has a better experience with Arimid fibers than me and how to work with it, please comment. I usually stay away from Kevlar unless I'm putting it inside the part.
Last edited by 1993ka24det; 10-01-2024 at 05:33 PM.
When I was growing up I would build things that I wanted and couldn't afford. Then it turned into if no else has what you or how you want it, Then Make It.
So for my Sim Racing seat, I wanted a LMP style seat fitted to me with A/C.
I used 6" of memory foam. Bagged up 4 layers of 24 ounce carbon and sat in it for 4 hours while it cured
Cleaned up alot and getting the wrinkles out of the cured part
Making a wax channel for the air to running down my back
Melting out the wax in the sun
Trying to make the top pretty layer
Cutting in the holes for the air to come out
Finished product for now and my butt keeps the seat polished lol
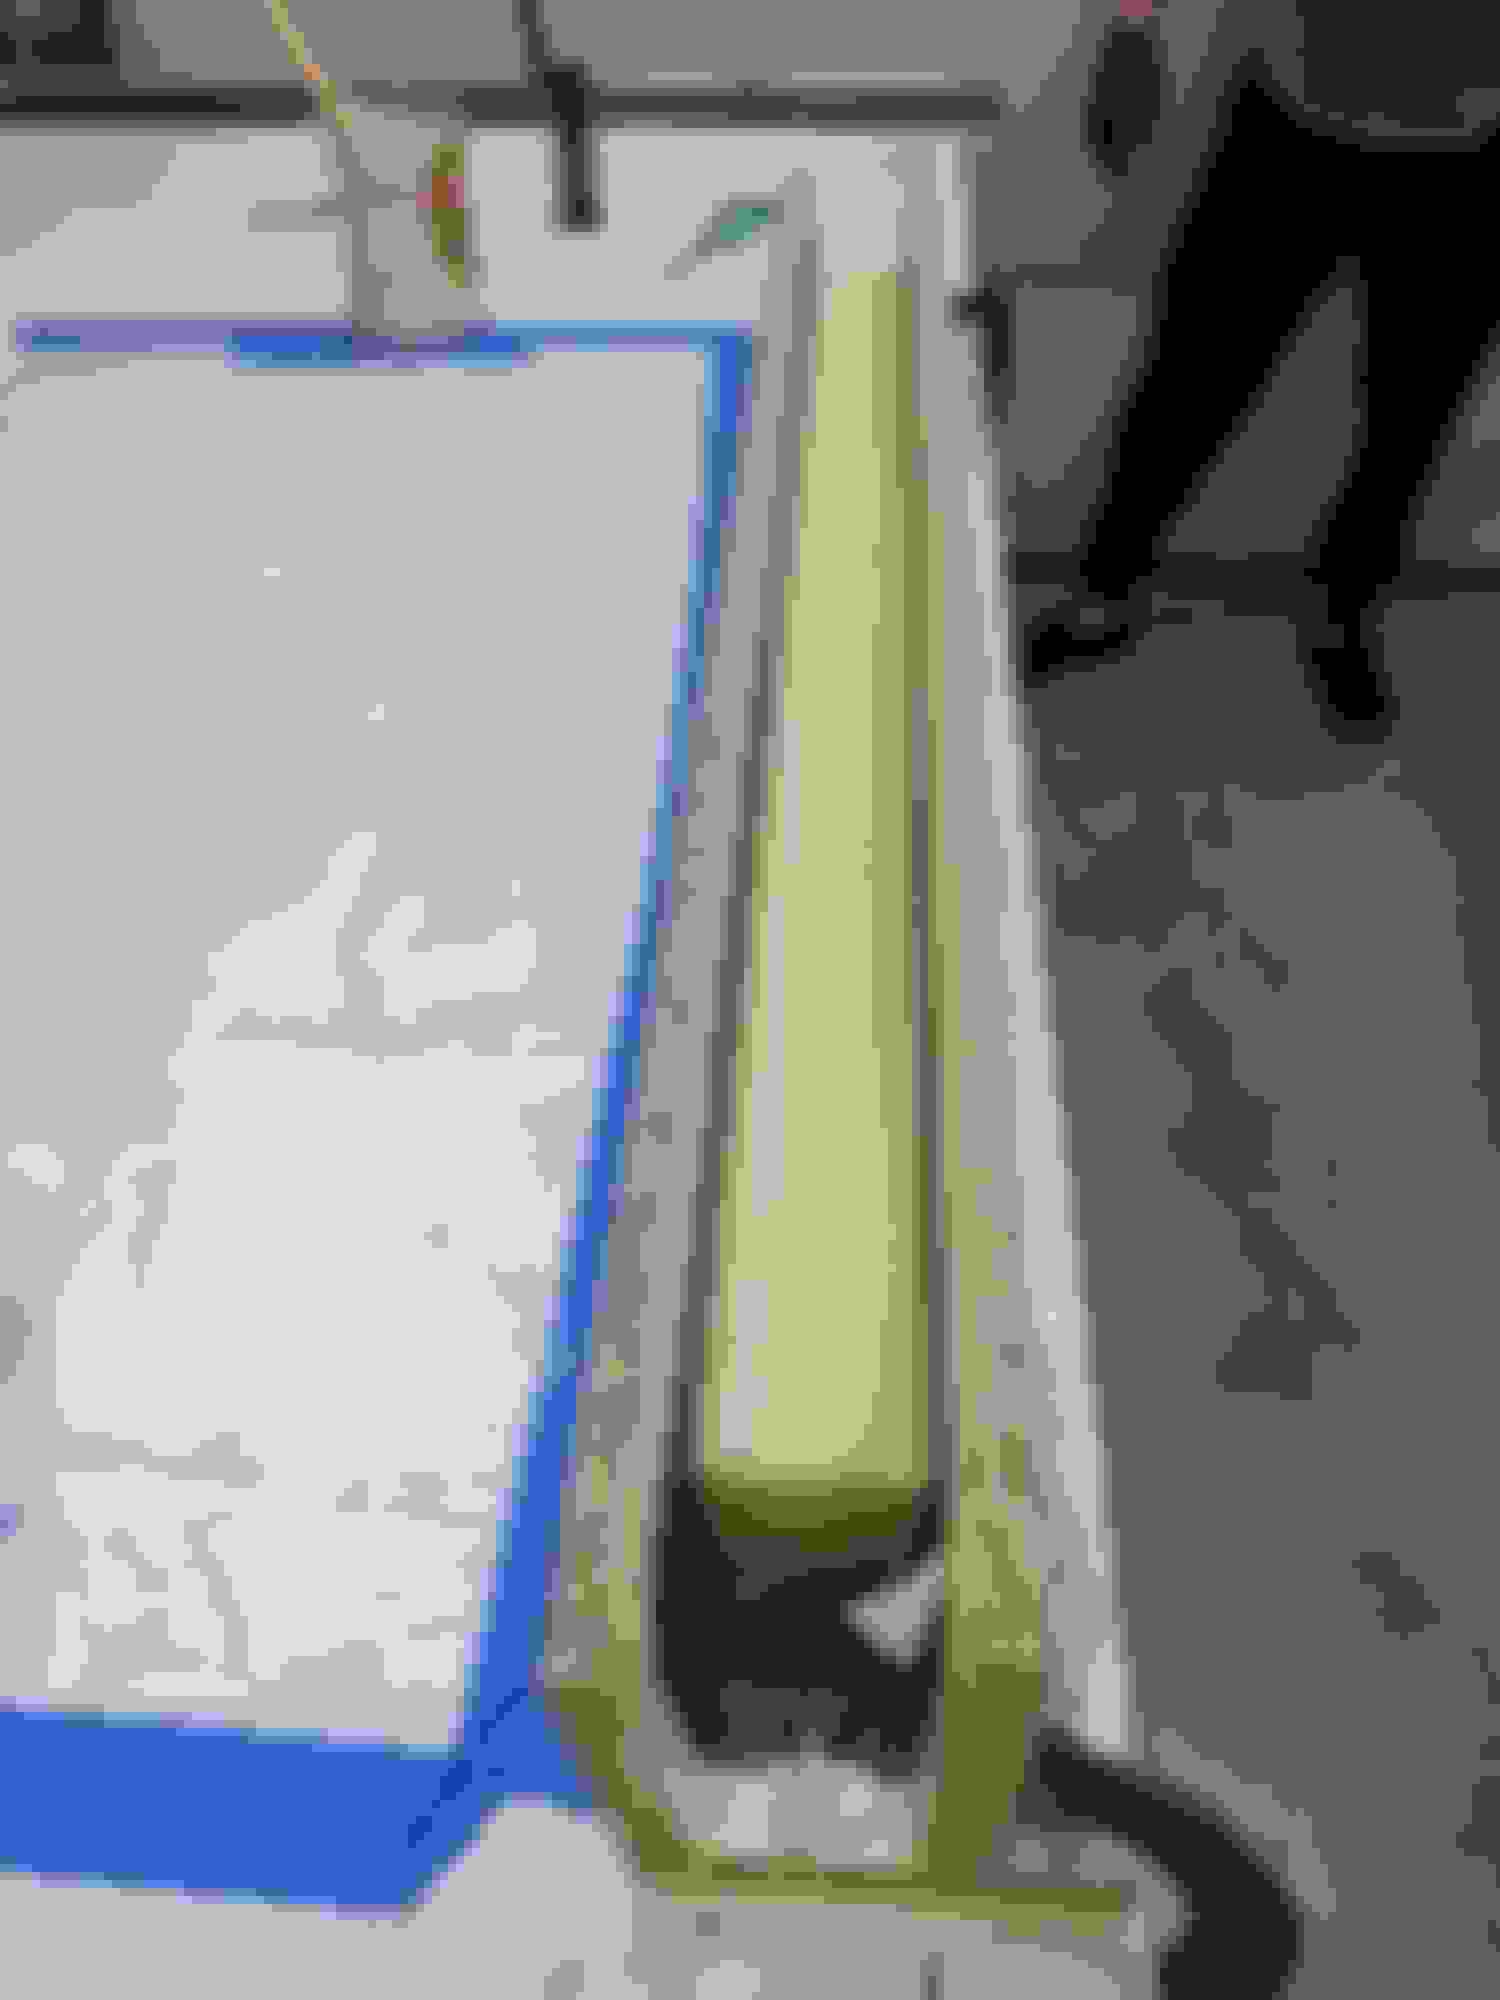
With the boat being made out of carbon & fiberglass, i'm doing layups almost every other weekend. It seems like the dang vacuum pump is always running.
I have a bazillion pictures i could dump. None of them are really "cool". Lots of meaningless pieces put together to make something.
Here are some pictures of the decks. It's impressive because of the size.
I made new spars. The old spars were 1"x1" wood that didn't even go all the way to the cell. It's amazing the sponsons hung on as long as they did.
1656531[/url]]I know plain kevlar is a bitch to work with if you don't have the correct scissors. Plus even with the fibers soaked in resin, it is a pain in the *** to sand. The resin will typically sand away faster than the fibers, leaving every edge with fuzziness.
But if anyone else has a better experience with Arimid fibers than me and how to work with it, please comment. I usually stay away from Kevlar unless I'm putting it inside the part.
I just use some $25 composite shears off Amazon. The finished product cuts the same with an air rotary cutter, but it does leave a miserable, serrated edge that I�ve had minimal luck touching up. I don�t bother to sand it, I just cover it with clear coat
With the boat being made out of carbon & fiberglass, I'm doing layups almost every other weekend. It seems like the dang vacuum pump is always running.
I have a bazillion pictures i could dump. None of them are really "cool". Lots of meaningless pieces put together to make something.
Here are some pictures of the decks. It's impressive because of the size.
I made new spars. The old spars were 1"x1" wood that didn't even go all the way to the cell. It's amazing the sponsons hung on as long as they did.
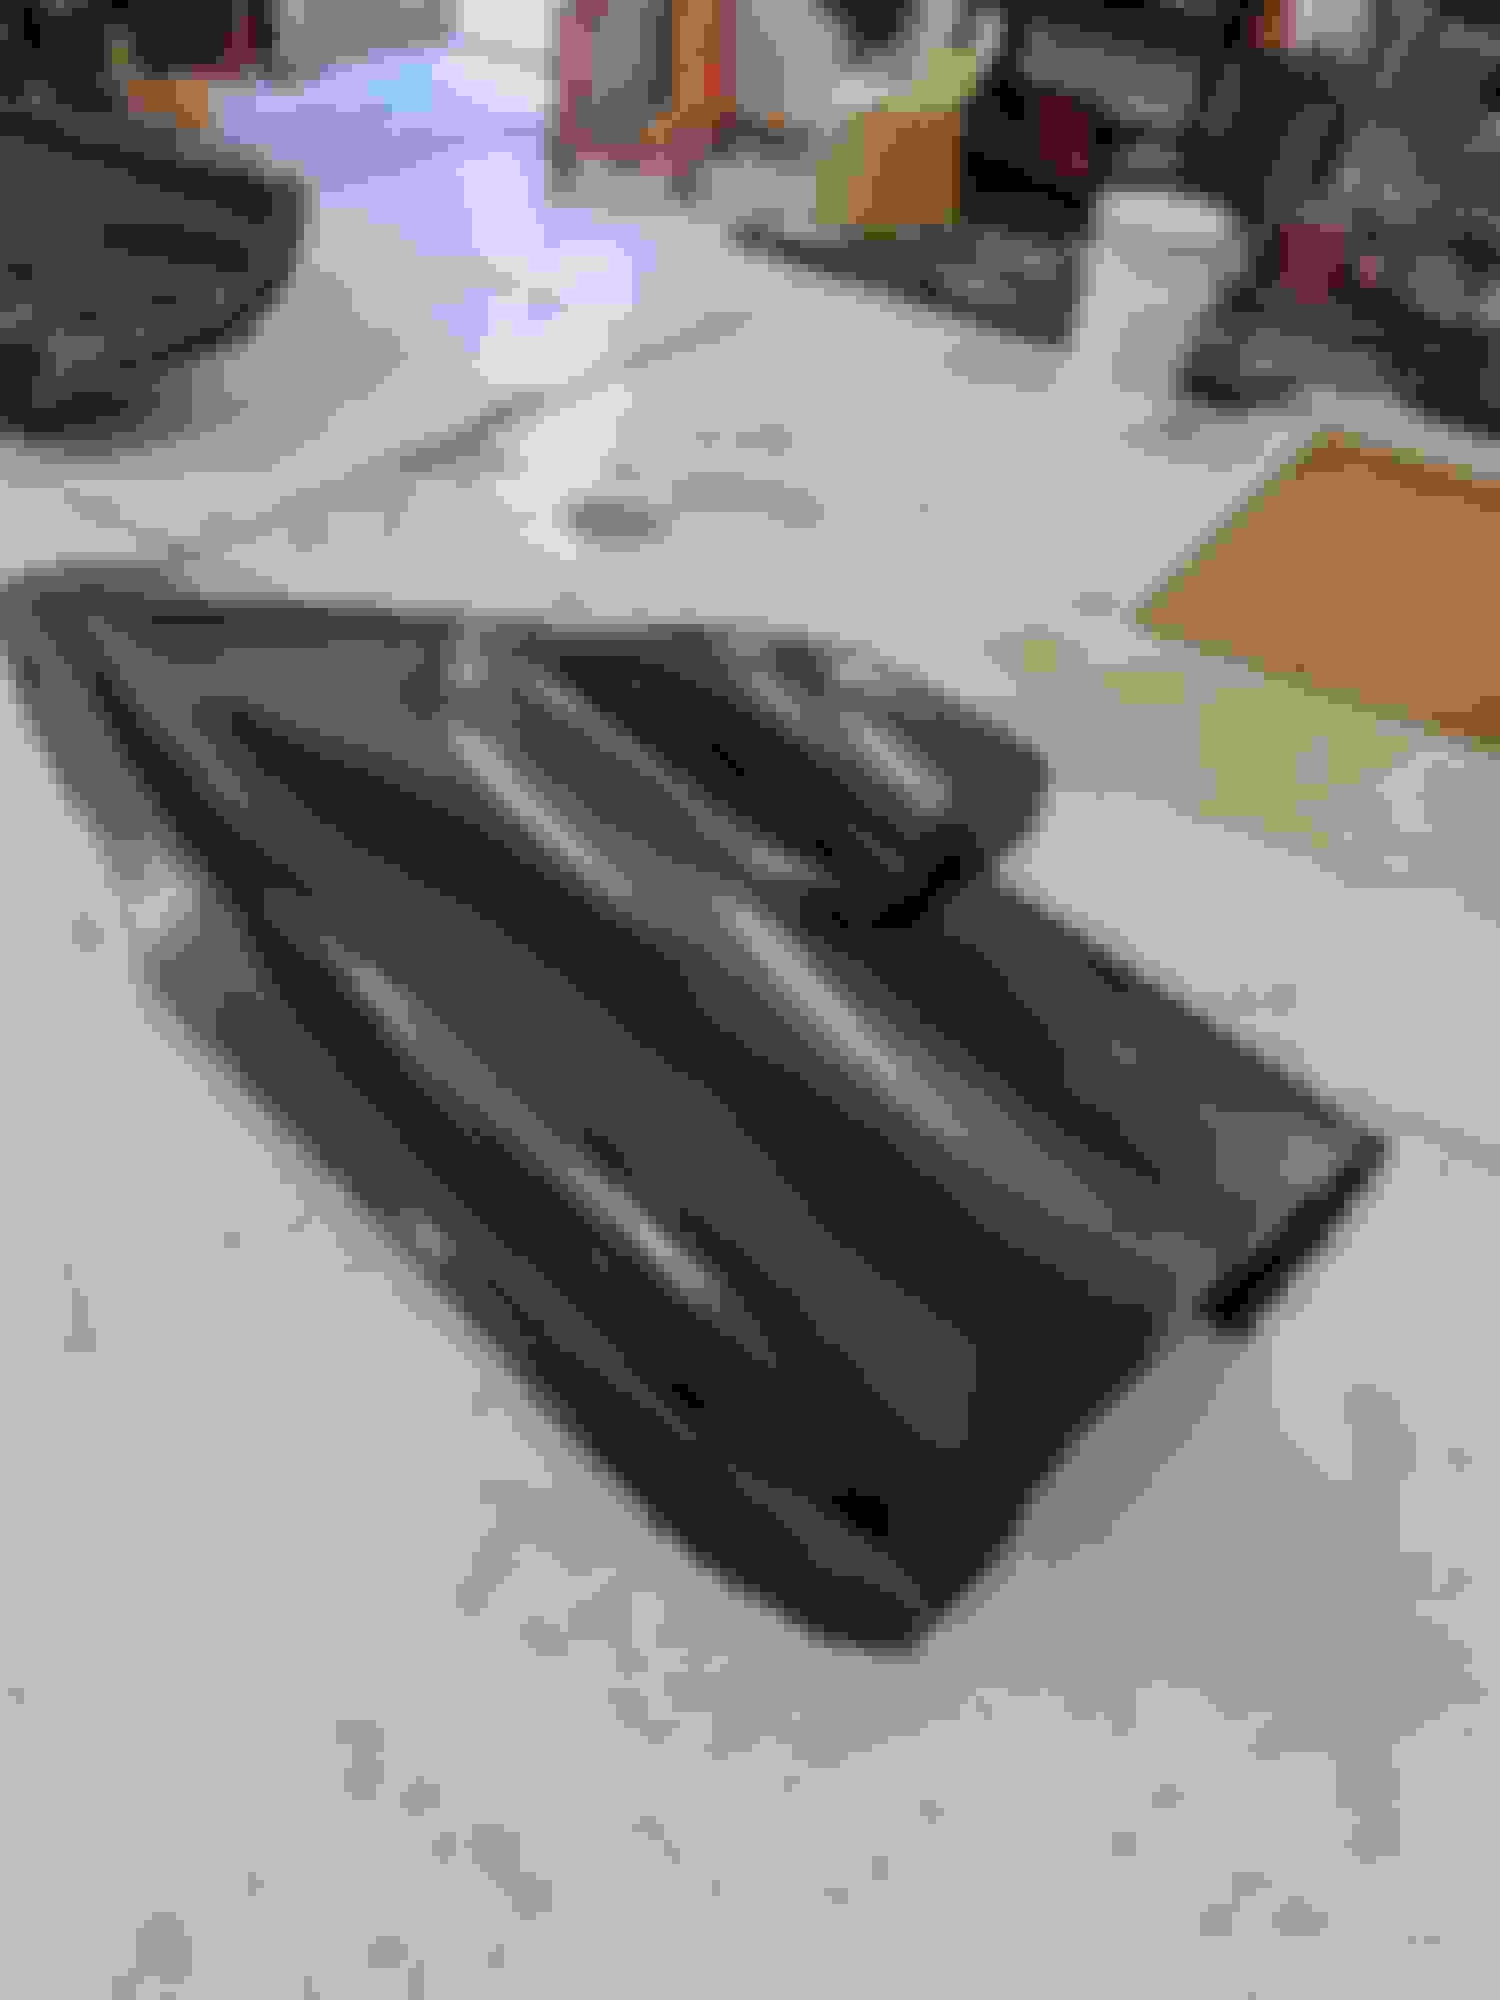
Do you chamfer the foam edge or do you fill the edge with filler?
Yes and no.
Yes where the deck hatches are (there's also 3 more layers in the layup) but no on the outer edge because it's trimmed up square to fit as a butt joint, glued together and glued to frames beneath. The joints are then "taped" as seen here.


 10-01-2024 | 09:41 AM


 0
0