When you click on links to various merchants on this site and make a purchase, this can result in this site earning a commission. Affiliate programs and affiliations include, but are not limited to, the eBay Partner Network.
Sometimes, the simplest little **** makes all the difference.
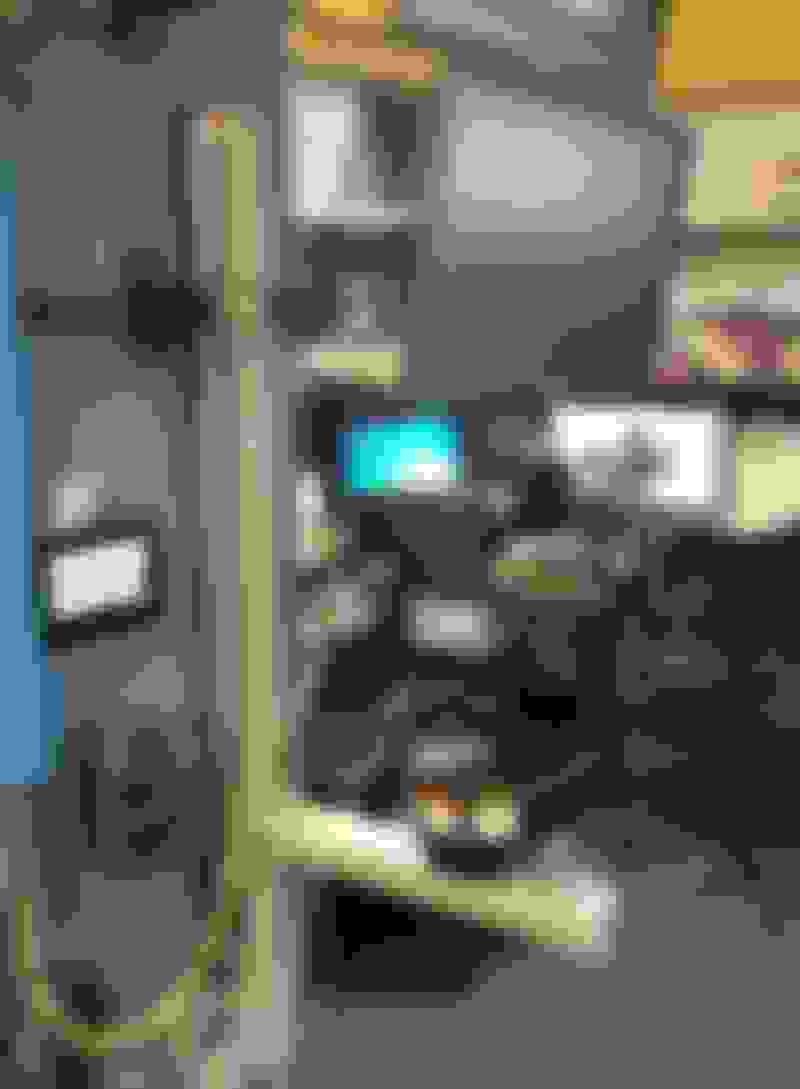
Shims. That's literally all I fabricated today. Just a few thin little strips of 24ga aluminum, and as a result, the news department is no longer freaking out about Camera 14 (which was recently rebuilt) being slightly off-level.
Total money spent replacing a 15 year old camera (and supporting equipment) which was on its last legs and has failed multiple times: $35,000
Total money spent compensating for the fact that the new robot is a heck of a lot heavier than the old one, which was causing the televator to flex: $0.00. (Sheet metal was already lying around.)
I should add to the above: yet another win for eMachineshop. I draw a thing, they make a thing.
The bigger item here is the 1/2" thick aluminum plate under the robot, which adapts its industry-standard mounting pattern (four 3/8" bolts on a 4.375" circle) to the very nonstandard 90s vintage Telemetrics arm which was already in place, and too convenient not to re-use.
Already made the aluminium bracket about 2 years ago, and now with the shaved bay i decided to take an other route. But could still use it, And now with my 3D printer i could print anything i want. Its printed with ABS
A bit random since so much time has passed, but did you already run the car with this bracket? I have had some trouble at work with warping of 3D printed ABS plastic when re-heated. Mainly when I tried to be clever and heat up a printed part to around 60Celsius-degrees to couple it with a aluminum shaft. Just saying that maybe you want to test that out before you go for some serious driving.
Though printer might make a difference, I was using a basic Ultimaker 2 extended for that trial, never tried again with anything else.


 06-13-2019, 09:33 PM


 0
0