New ID725CC injectors - fuel rail not sitting flush... WTF? SOLVED!
#1
Thread Starter
Elite Member
Joined: Mar 2006
Posts: 1,559
Total Cats: 105
From: Schwarzenberg, Germany
Hi,
it's days like these that make me sometimes wish I would have a non-DIY car...
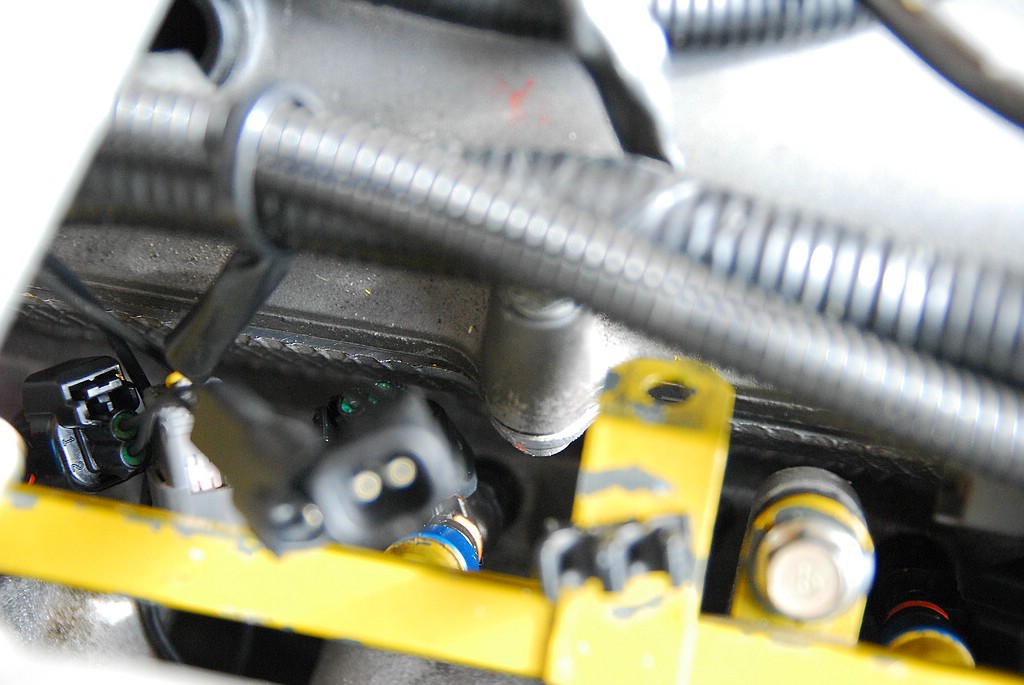
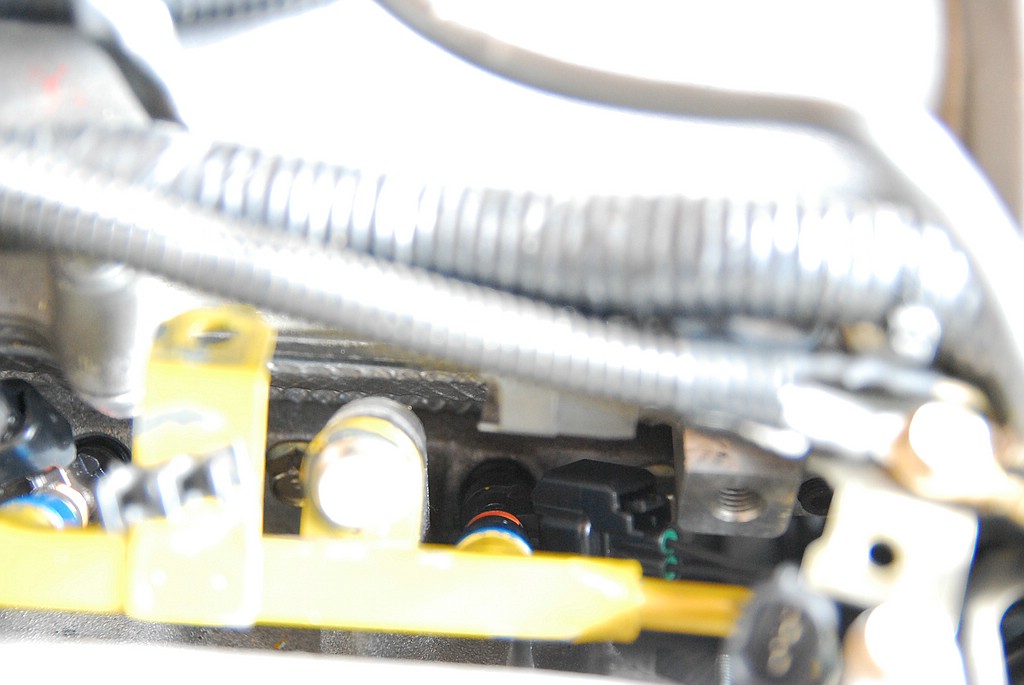
I installed my new ID 725CC injectors today, but my fuel rail is not sitting flush on the "bosses" (?) when I install it. See attached pictures...
I installed the spacers at the fuel rail - but when I tighten the rail, the rail just goes flush on the top of the holding boss, not at the bottom, there are ~2mm missing... WTF? All the injectors are properly seated...
Please help me out - what could I possibly be doing wrong?
Did anyone else have this problem?
Car is a B6 with DIY Dual-feed fuel rail...
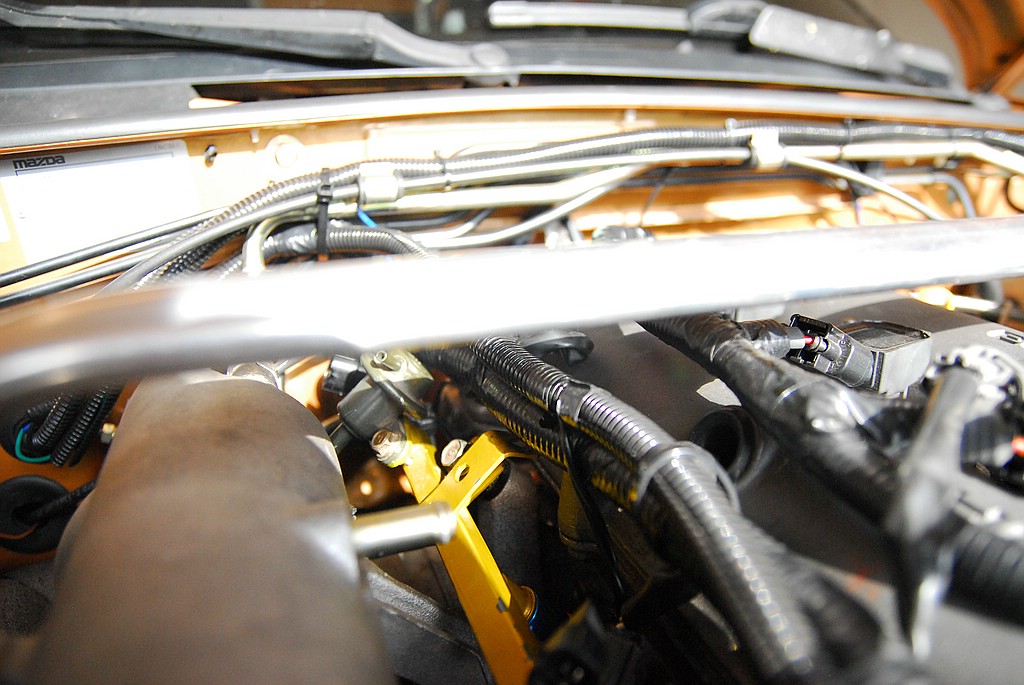
See the angle at which the fuel rail is sitting:
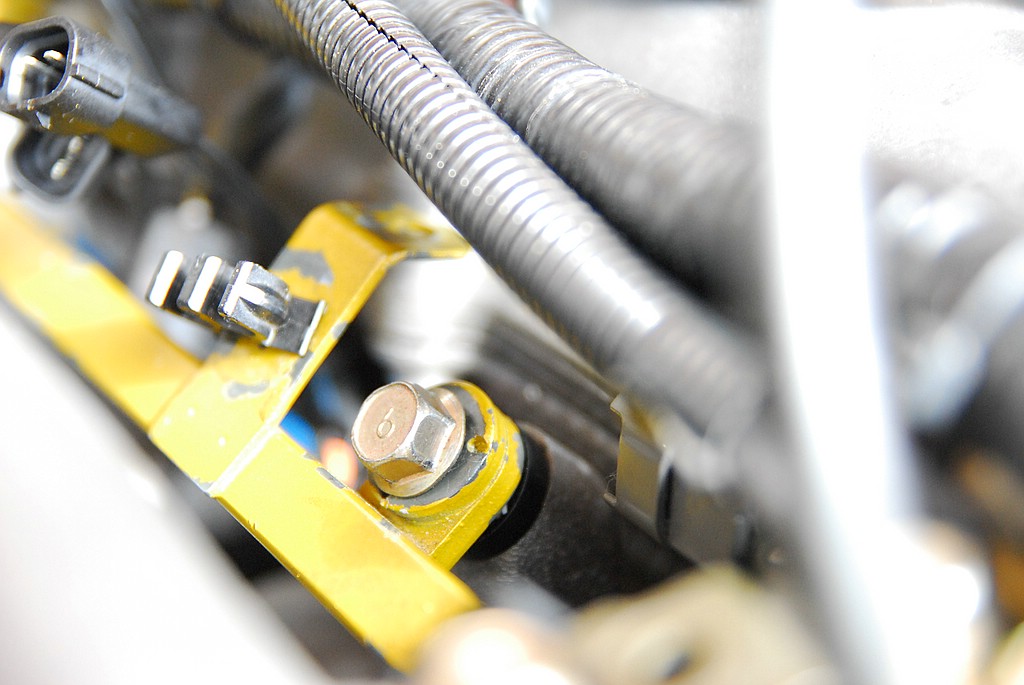
Injectors:
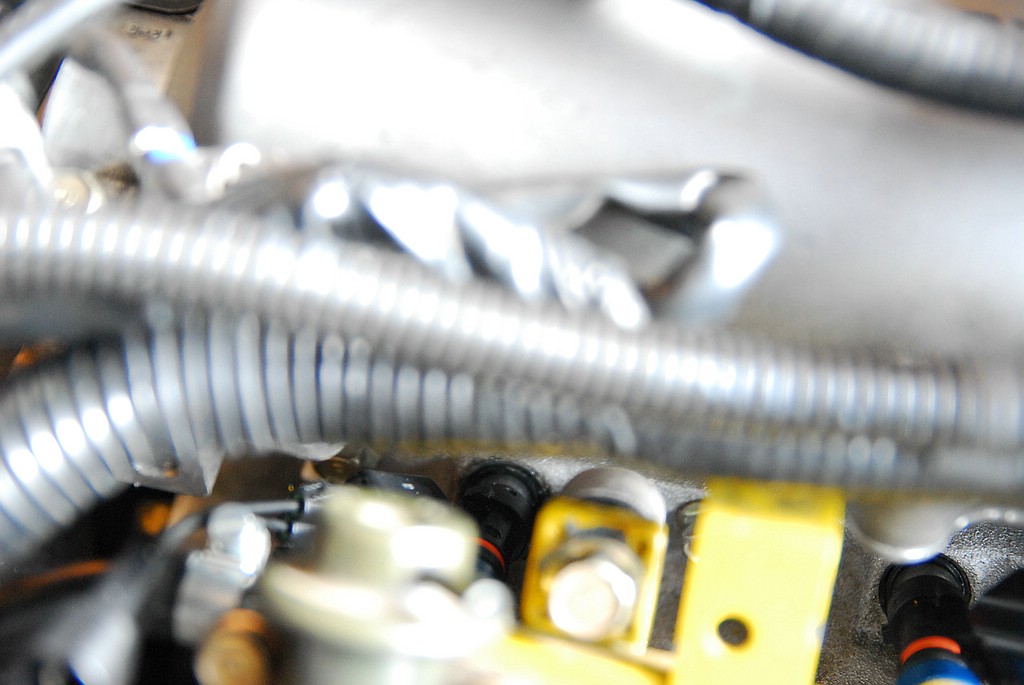
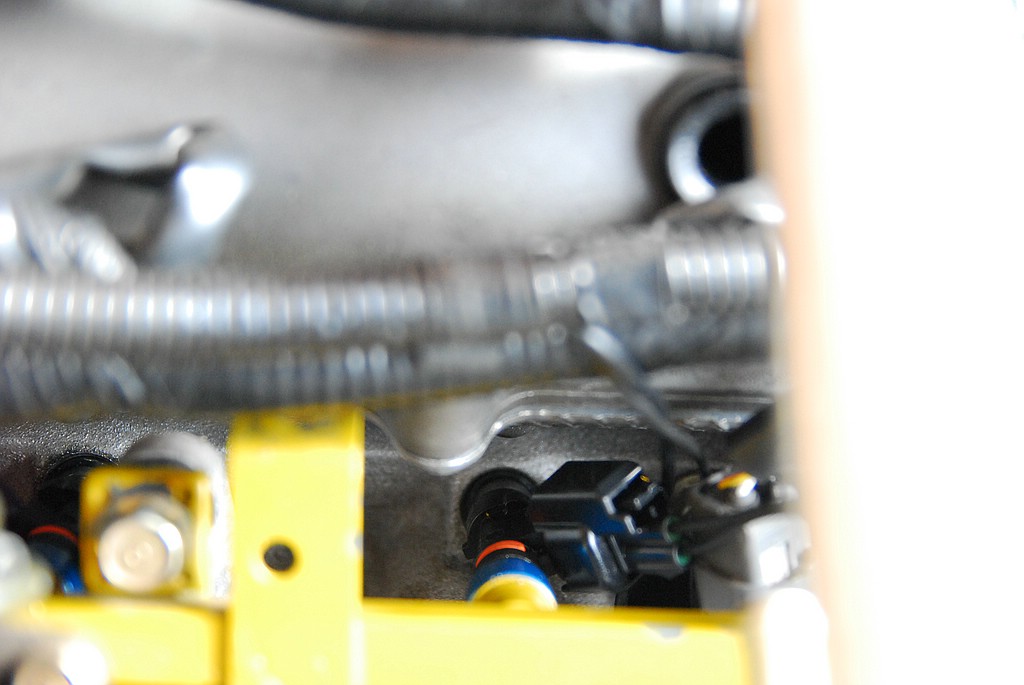


it's days like these that make me sometimes wish I would have a non-DIY car...
I installed my new ID 725CC injectors today, but my fuel rail is not sitting flush on the "bosses" (?) when I install it. See attached pictures...
I installed the spacers at the fuel rail - but when I tighten the rail, the rail just goes flush on the top of the holding boss, not at the bottom, there are ~2mm missing... WTF? All the injectors are properly seated...
Please help me out - what could I possibly be doing wrong?
Did anyone else have this problem?
Car is a B6 with DIY Dual-feed fuel rail...

See the angle at which the fuel rail is sitting:

Injectors:


Last edited by Zaphod; 09-23-2012 at 12:50 PM.
#6
Thread Starter
Elite Member
Joined: Mar 2006
Posts: 1,559
Total Cats: 105
From: Schwarzenberg, Germany
Just checked at ILMotorsport - they are the same for all Miatas, NA, NB, NBFL.
I checked them by eye with my old 460cc RX-7 injectors and they seem to match.
#11
Thread Starter
Elite Member
Joined: Mar 2006
Posts: 1,559
Total Cats: 105
From: Schwarzenberg, Germany
I already took pictures of the injectors, but don't have them at hand atm.
But I think this could be it. There are little rubber gromets, about half the size of the rubber isolators above them. The gromets have a conical shape. I post the pics asap.
How would one get the gromets of the pintle ends? Just pull? They do look fixed on the metall...?
Thanks
But I think this could be it. There are little rubber gromets, about half the size of the rubber isolators above them. The gromets have a conical shape. I post the pics asap.
How would one get the gromets of the pintle ends? Just pull? They do look fixed on the metall...?
Thanks
#13
What method did you use to install the injectors/rail? I just installed a set yesterday on mine, I did the following:
Removed old injectors, all 3 seals came out with each of my factory injectors.
Cleaned out the manifold area where the injectors seat, there was some dust/grime buildup in each of the holes.
Put on all 3 new seals on each injector and applied liberal amounts of clean oil to each.
Slid the new injectors into the fuel rail.
Installed the fuel rail with new injectors as a unit into the manifold.
Once installed, I inspected the bottom grommet of each to insure it properly seated without pinching the rubber seal.
Rotated each injector to make sure none were binding in any manner.
Finally I snugged down the bolts to hold it in.
This is probably worthless info, but it's what I did and things are working great for me with no leaks.
I was a little surprised how obnoxious the install was. Easy, but annoying. I kept thinking to myself how many curse words I'm going to use next year when I have to change back to stock for emissions inspection, then change back again once it's over.

#14
Thread Starter
Elite Member
Joined: Mar 2006
Posts: 1,559
Total Cats: 105
From: Schwarzenberg, Germany
O.k. Injectors are in, the rubber gromets were the solution. I removed the gromets with a plier and the injectors went in as supposed...
I am going to post some pictures for future reference tomorrow.
I am going to post some pictures for future reference tomorrow.
#15
Thread Starter
Elite Member
Joined: Mar 2006
Posts: 1,559
Total Cats: 105
From: Schwarzenberg, Germany
Here are the pictures for future reference:
That is how the injectors came:
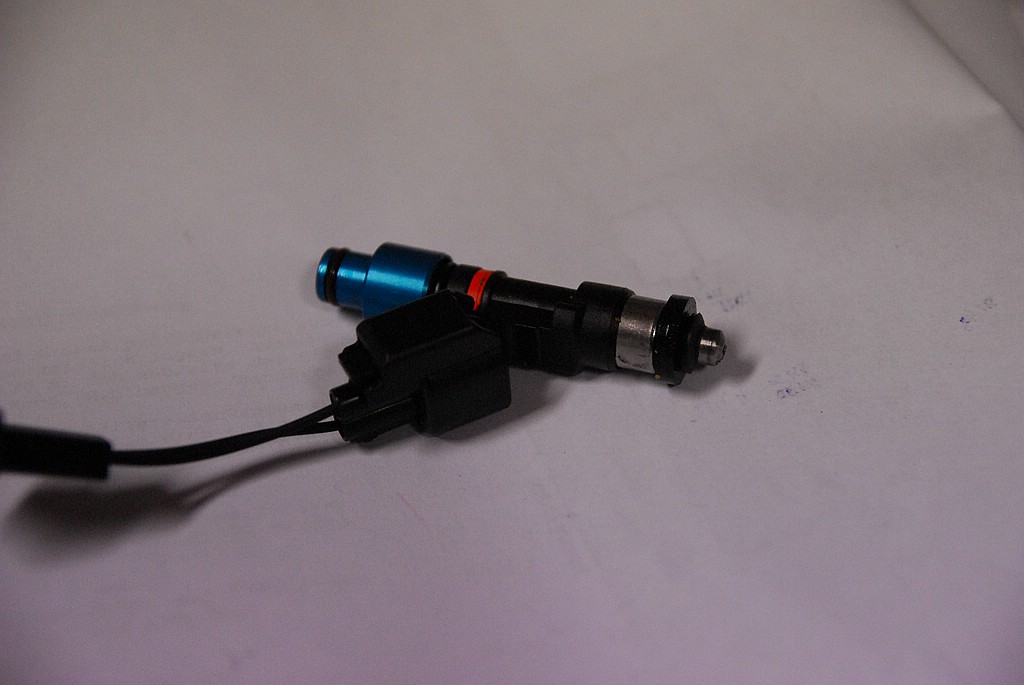
That is with the rubber gromets removed - you still need to wiggle them a bit around to make them sit properly.
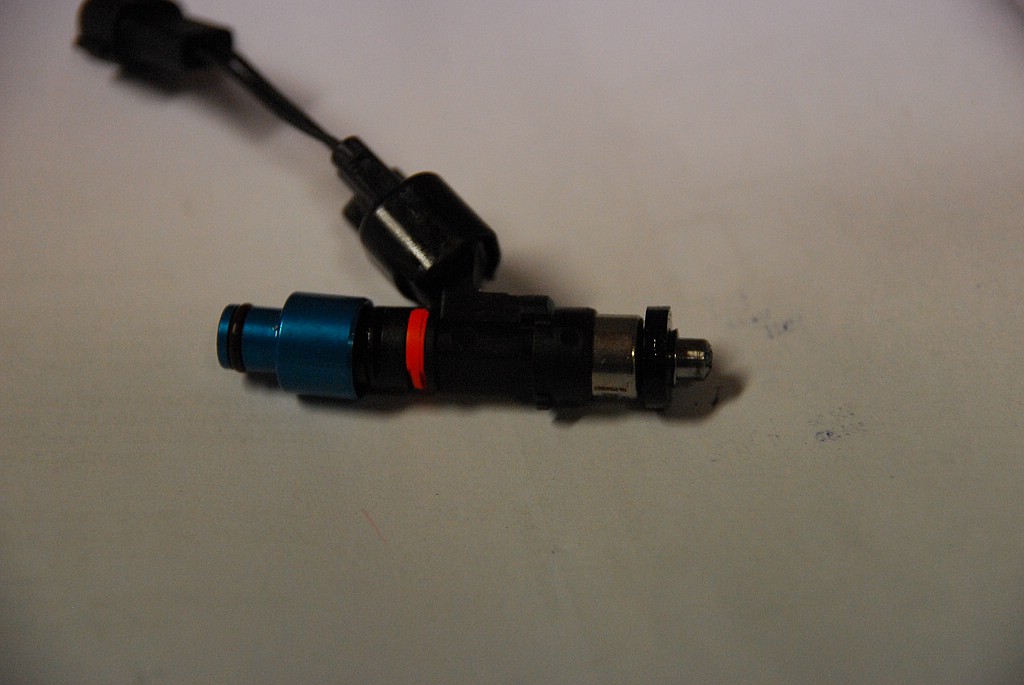
In case somebody else has this problem...
That is how the injectors came:

That is with the rubber gromets removed - you still need to wiggle them a bit around to make them sit properly.

In case somebody else has this problem...


