When you click on links to various merchants on this site and make a purchase, this can result in this site earning a commission. Affiliate programs and affiliations include, but are not limited to, the eBay Partner Network.
Skuse: You're still going to run up to 2 bar of boost from inlet manifold to catch can to PCV at all times on boost. It doesn't seem a great idea and I'd expect it will make a fair mess if something pops off or fails. Doubt the catch can wants to be at 2 bar.
i would completely separate the oil form the manifold, if you really need those gases back, install a line to before the turbo.
you gonna have a bad time, PVC valves are not designed for that amount of boost!
Thanks guys, I'll switch it up - you're right sending boost into the catch can doesn't seem right. Maybe with a small amount of boost you could get away with it.
I love what's going on in your engine bay Alejo
Did a few things over the weekend
- 3 inch intake
- Properly de-powered steering rack
- Wheel alignment
- Ordered some wrap
The intake is a small thing that's really made the car that much more enjoyable to drive. At first I installed a 2.5 inch 90 degree aluminium intake and the sound was hilarious; a little too much for me. It sounded like a VL Commodore Dosing. Decided to change it to a shorter 3 inch intake and now the sound way nicer. I'll get a sound clip when I take it out on the road next time.
I de-powered the steering rack - I originally just looped the lines on an NB power steering rack but it always felt unnecessarily heavy, like another 300kg got added to the car. It was something I knew I cut corners on so I got back in there, plugged up the ports and cut the ring off the shaft. I saw a lot of debate online about welding the pinion or not, I decided to weld it (beginner welder, just took my time and feels fine).
My alignment was way out of whack after putting it together so I got an alignment. I'm waiting to hear back from a guy who is selling DIY rear camber plates for $100, so I can have more tire on the road so if they come through I will probably have to go to the alignment shop again.
Lastly yep I bought some wrap, it could be the best or worst decision I've made we'll have to wait and see. I went with CYS Soul Red, I wanted to get something half decent but wasn't prepared to fork out the money for Avery. The wrap cost me about $600 USD for 1.5m x 18m (5ft x 60ft). I spent ~ $150 on wrap supplies (magnets, blades, heat gun etc.)
Thanks guys, I'll switch it up - you're right sending boost into the catch can doesn't seem right. Maybe with a small amount of boost you could get away with it.
Looks like you're using the Mishimoto catch can? If so it is sealed and designed to handle boost. If you're concerned you could just add a good quality check valve before it so no boost reaches it if you wanted to keep the PCV operation.
Haha love me a good VL turbo dose. Needs more mullet though
Re: catch can and boost. Just put a 1/2“ check valve between the manifold and the catch can and you're good to go. Pcv is safe and idle crankcase vacuum is preserved.
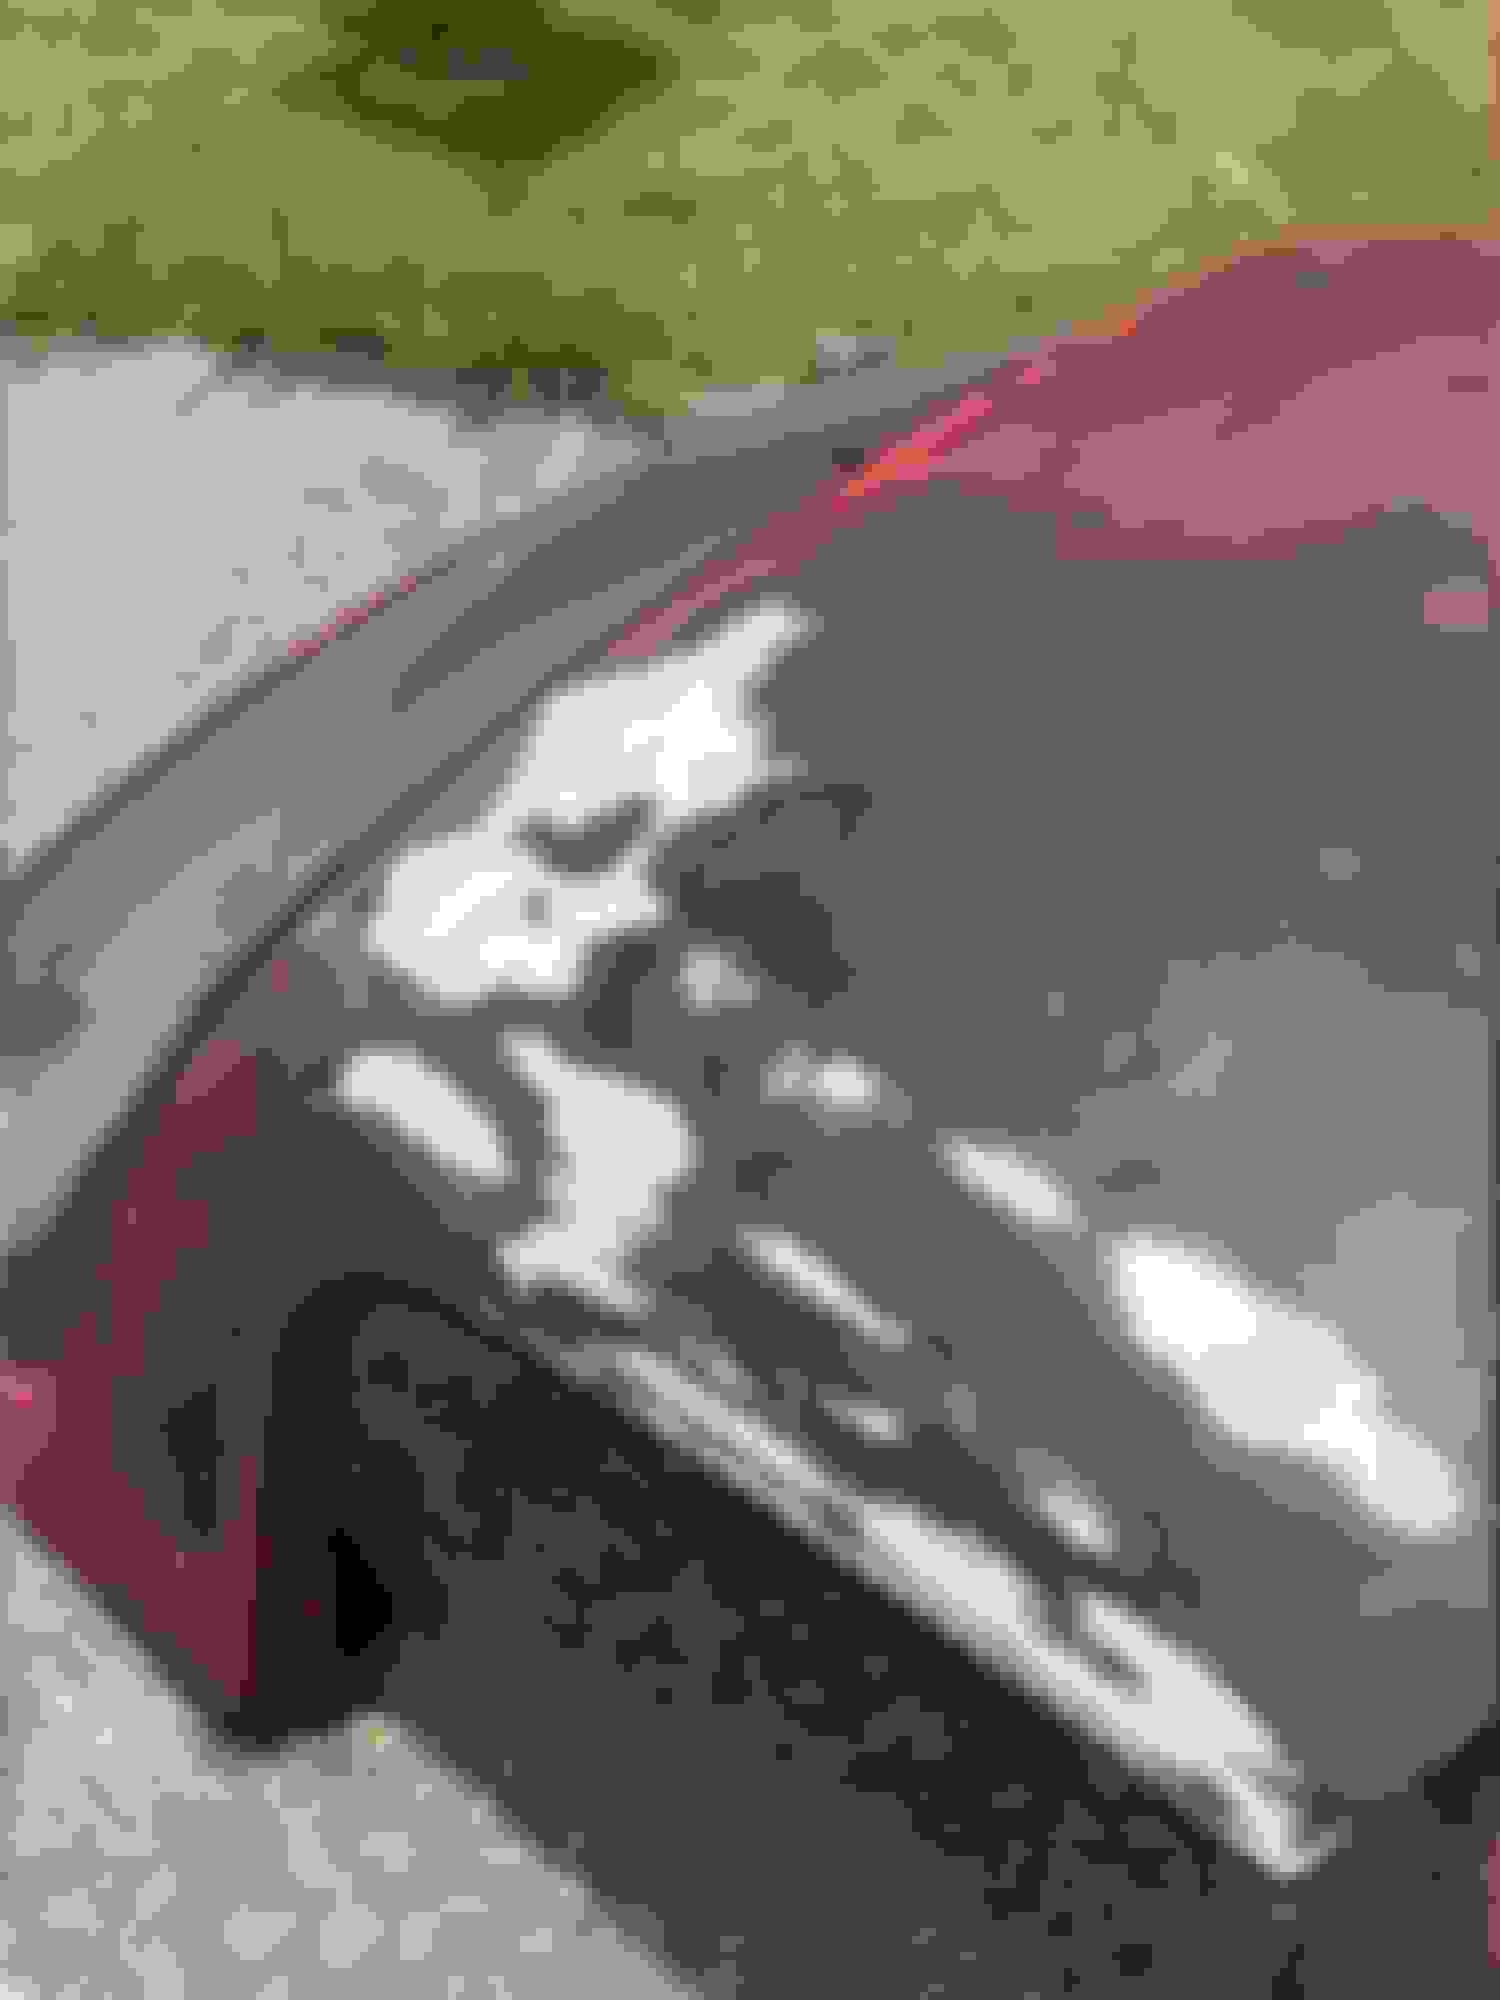
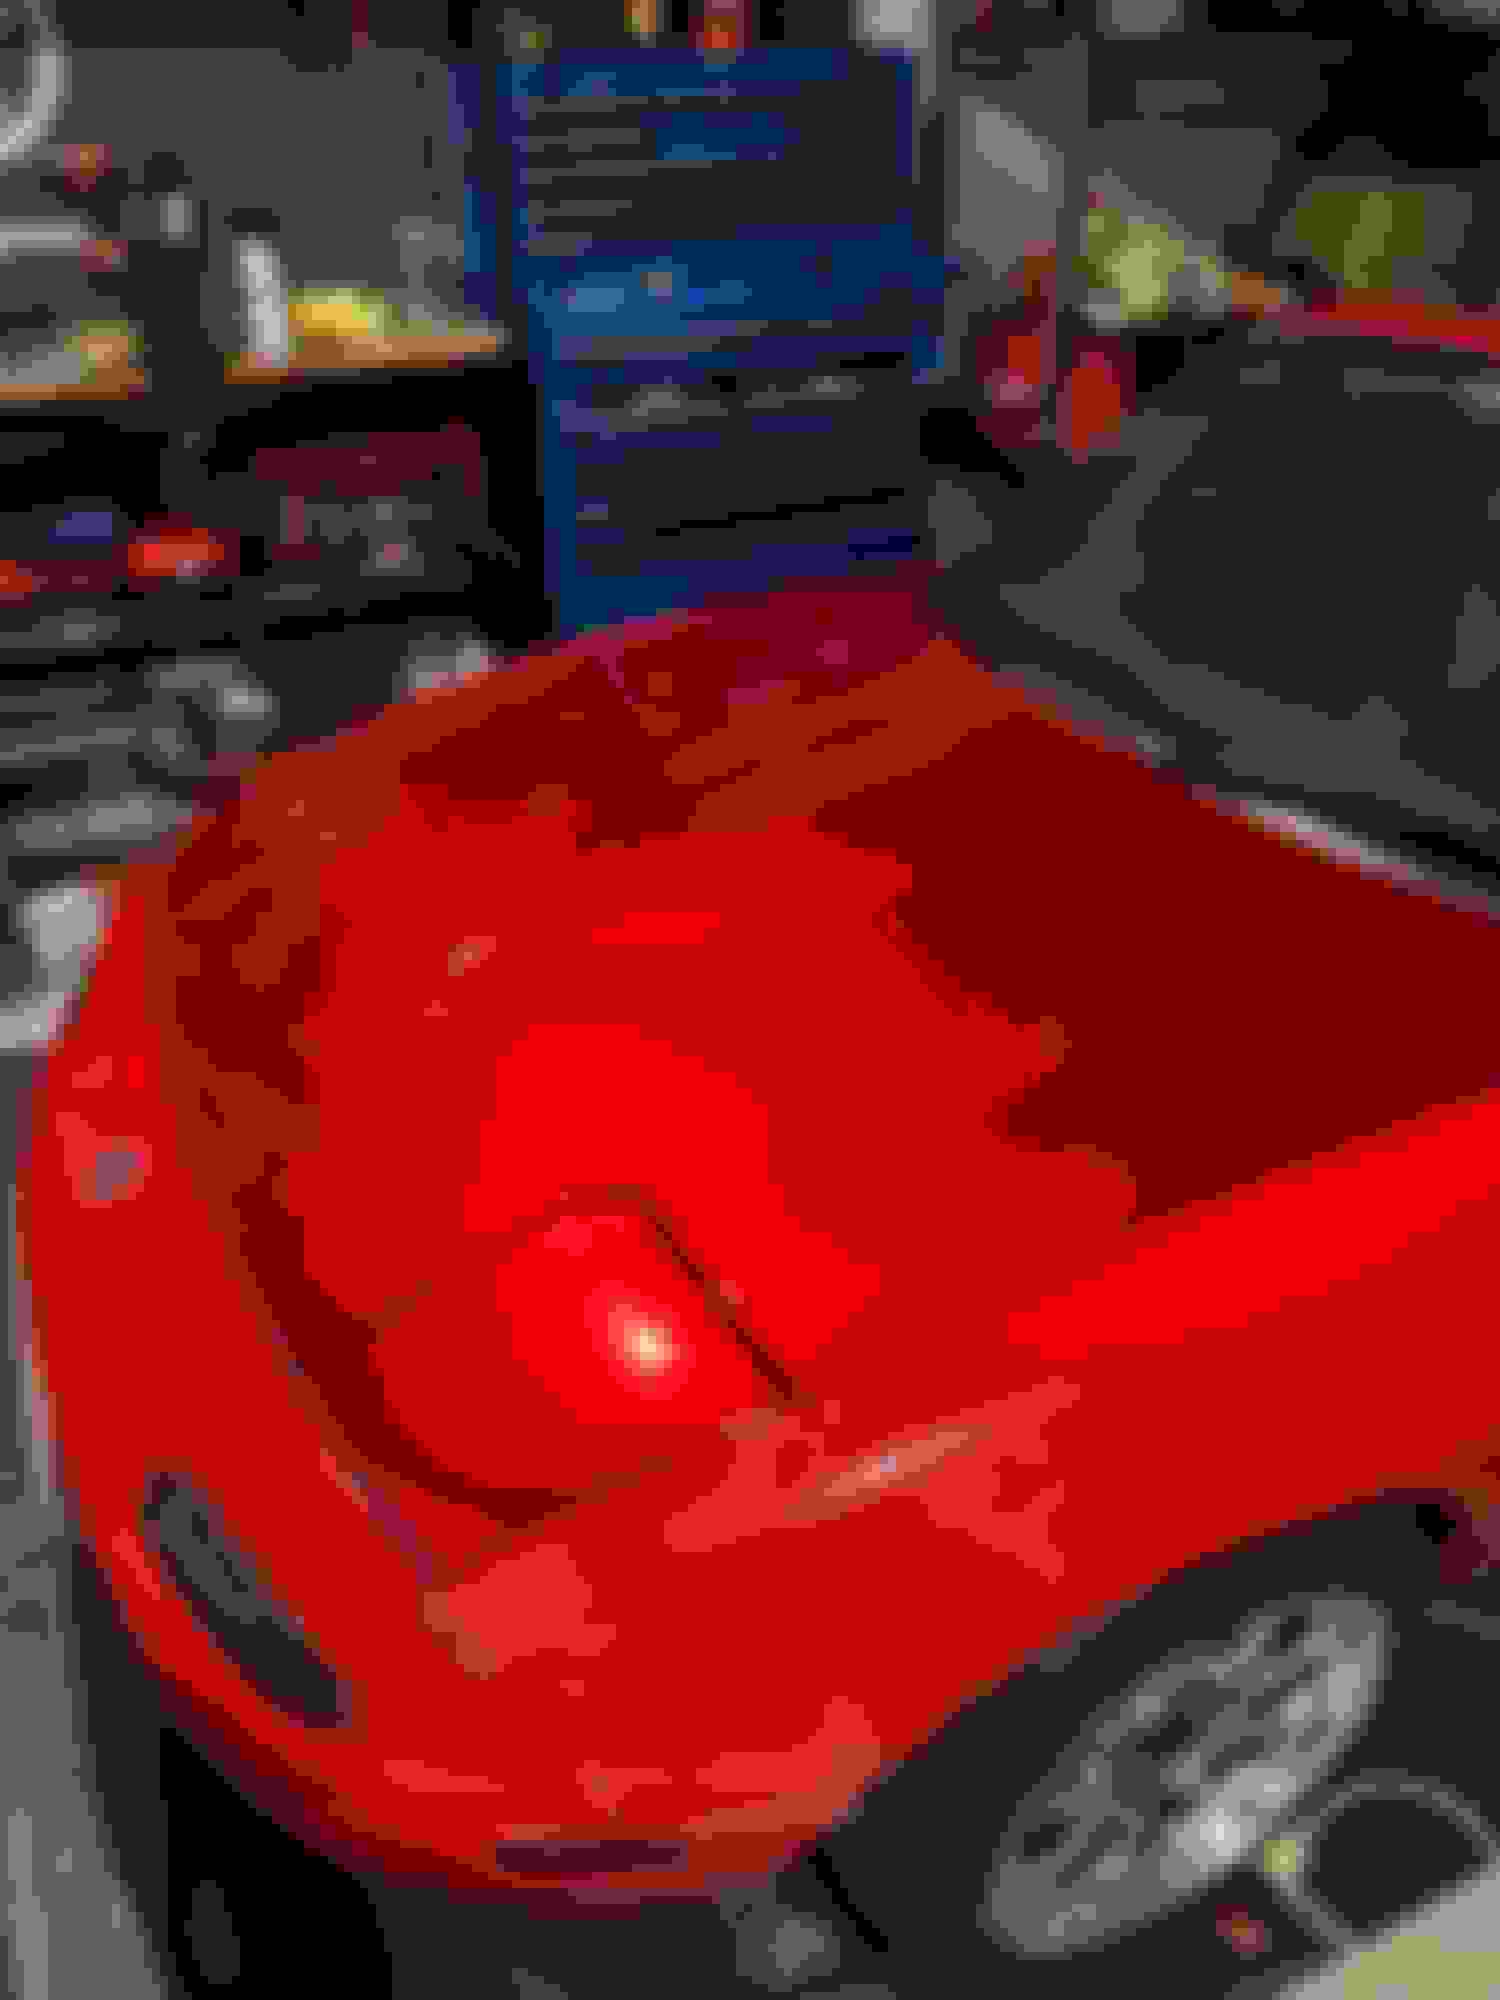
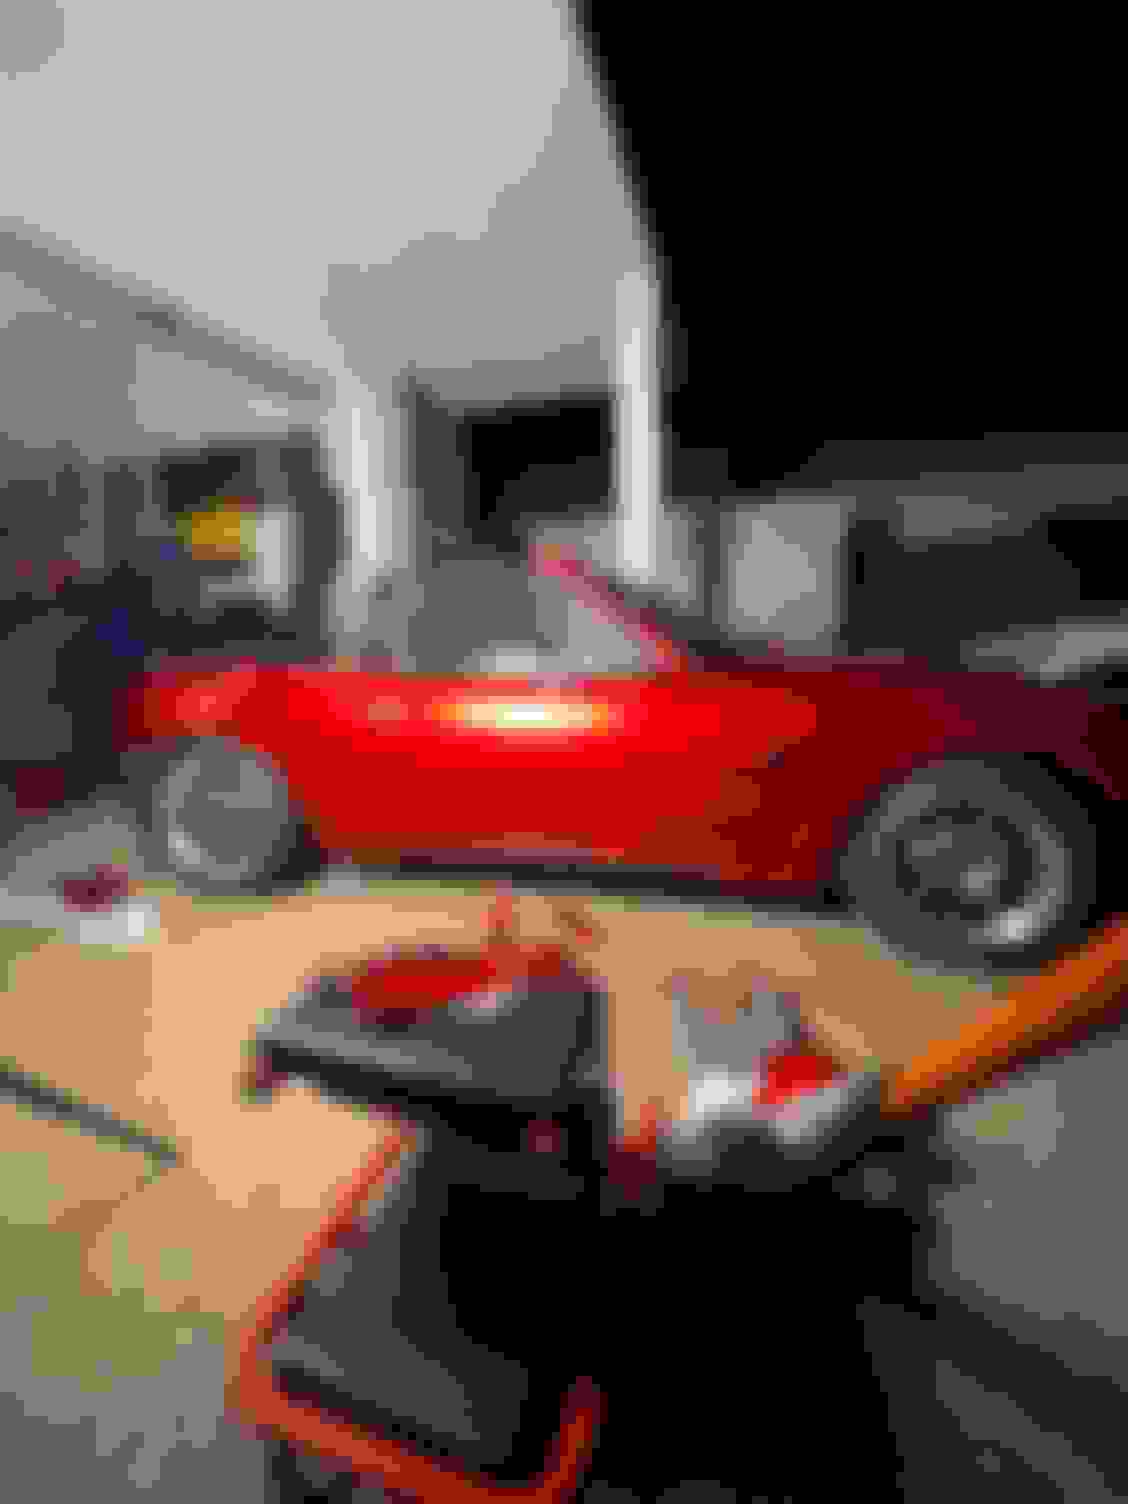
Wrap arrived a few days ago and I was super eager to get started. I bought a hardtop second hand (when they cost a finger instead of a leg) and the paint has always been terrible... to say the least. It's almost embarrassing to drive with this travesty on my car so I'm both relieved and excited no one has to witness it anymore! Spent the best part of 8 hours sanding back the 'paint'. Sometimes it would loosen back into liquid form and I'd have to replace the sandpaper, but rather therapeutically I got it done. If the science behind those weight loss vibration machines backed up their claims, my right hand should be a lot lighter now (I have serious doubts though). Anyways lol, I'm very happy with how easy the wrap is to work with. It wont stretch unless you hit it with the heatgun, it doesn't show small imperfections in the paint, and I haven't been able to tear it yet, and i've been really pulling on it. Really happy with the color too.
Time it took to wrap bonnet:
30 mins prep: wipe off dust, clean with instant detail + claybar, finish with solvent
4hrs to wrap
It isn't perfect, but unless you really look for the imperfections they don't catch your eye. That's good enough for me
I'll keep you guys posted with wrap updates, I really just want to button this thing up before resuming with the performance upgrades.
Hardtop paint was absolutely f**ked, looked like it was painted with a shower head Bought a cheap random orbital sander and went to work with 120 grit Finished sanding with 240 grit Wrapped bonnet and headlight covers
Really? Thats amazing! The guy was using the same technique with the adjustment washer
Do you know how many degrees adjustment it gives you?
Was that Q directed to me re the RUCA-O solution?
The answer is I don't know, but it is additive, you can set up both to max the neg camber. I normally use the RUCA adjustment because it is one button rather than two, unless toe needs a tweak when the inners are used, and have never experimented to see what is possible at the extreme end.
Nice build I want to do something very similar with using stock pistons. You say you used 99 stock pistons? How many miles were on those? Did you swap the oil pump gears if so was that a difficult task?
This thing still on?
I tend to get these motivating periods to work on the car every few months, I thought this time I should document what I'm up to!
Updates:
The wrap has been at about 80% complete for a couple months, some panels are definitely better than others, the hardest part to wrap has easily been the GV panel. If you can get a friend to help with the big panels (rear quarters, hood) do it. But its not impossible to do by yourself.
New Parts
I splashed out on some parts recently...
I touched on the inconsistent tune on my car, sometimes it would idle hunt and change with the outside temperature. I put this down to two things: Lack of sensors to calculate proper fuel in megasquirt and bad injector data for DW700 (mostly dead times). To remedy these issues, the obvious thing to do would be fix the exhaust leak and reach out to deatschwerks for some better injector data.
So naturally I got rid of the megasquirt and injectors 😬
I upgraded to a Link G4X with 1000cc injectors and complimented the setup with a canbus lambda sensor 🤠.
It is a little scary jumping out of the megasquirt eco system, but it makes sense given Link is a local brand and their ECU is very capable and somewhat affordable.
I also upgraded the flex fuel sensor to a link sensor, I dont think this will make a difference but it should be more reliable than the ebay unit I was using.
(I have to say though, the ebay unit gave me consistent readings over the 3+ years and I will definitely be keeping it as a spare).
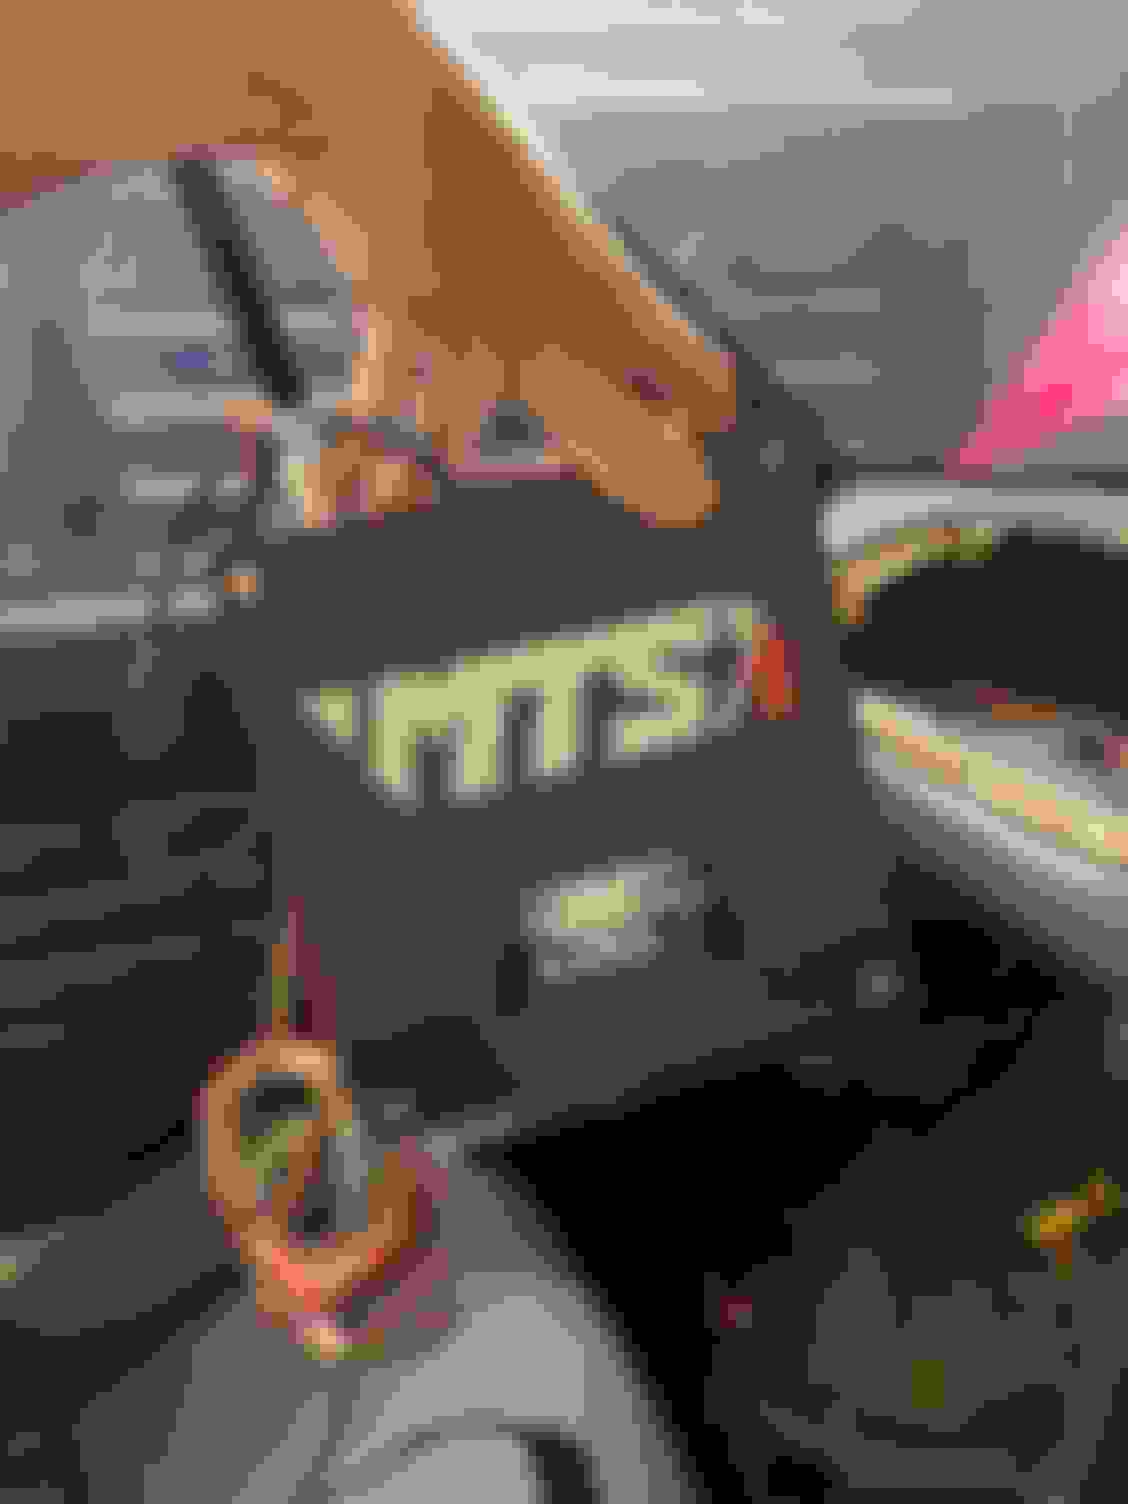
Mounted it under the fuse box
A local shop called MotorsportTuningSolutions 3D prints these enclosures for G4Xs (and probably any other ecu that fits the stock enclosure) for a really reasonable price too at $100 aud ($65 usd). He has an online store too and if the mx5 enclosure isnt on the website, reach out to him and tell him I sent you! I've been toying with the idea of mounting it in the unused airbag compartment for stealthy and easy access. Side note: I actually had a lot of trouble finding an ECU enclosure because I threw mine out when I got the megasquirt. People were giving them away for free back then. Now the cheapest stock ecu I could find was $200 aud 🤯.
The link and megasquirt calculate fuel in pretty much the same way, and a big part of the equation is the fuel pressure and fuel temperature. Flex fuel sensors have a fuel temp sensor built in, so provided you mount it somewhere close to the fuel rail you dont need to buy an extra temp sensor. Installing the pressure sensor should be pretty straight forward; I plan on intercepting a fuel line close to the rail with a T fitting. The injectors I got are raceworks INJ-505-11 1000cc, they have decent injector data and were a bit more affordable than the ID1050x's. They're also an aussie brand and are pretty popular here. They need a USCAR adapter to be plug and play. So with those changes, I'm hoping for a really consistent idle no matter the outside temperature. Oh and I got a dog, this is bear 🐻
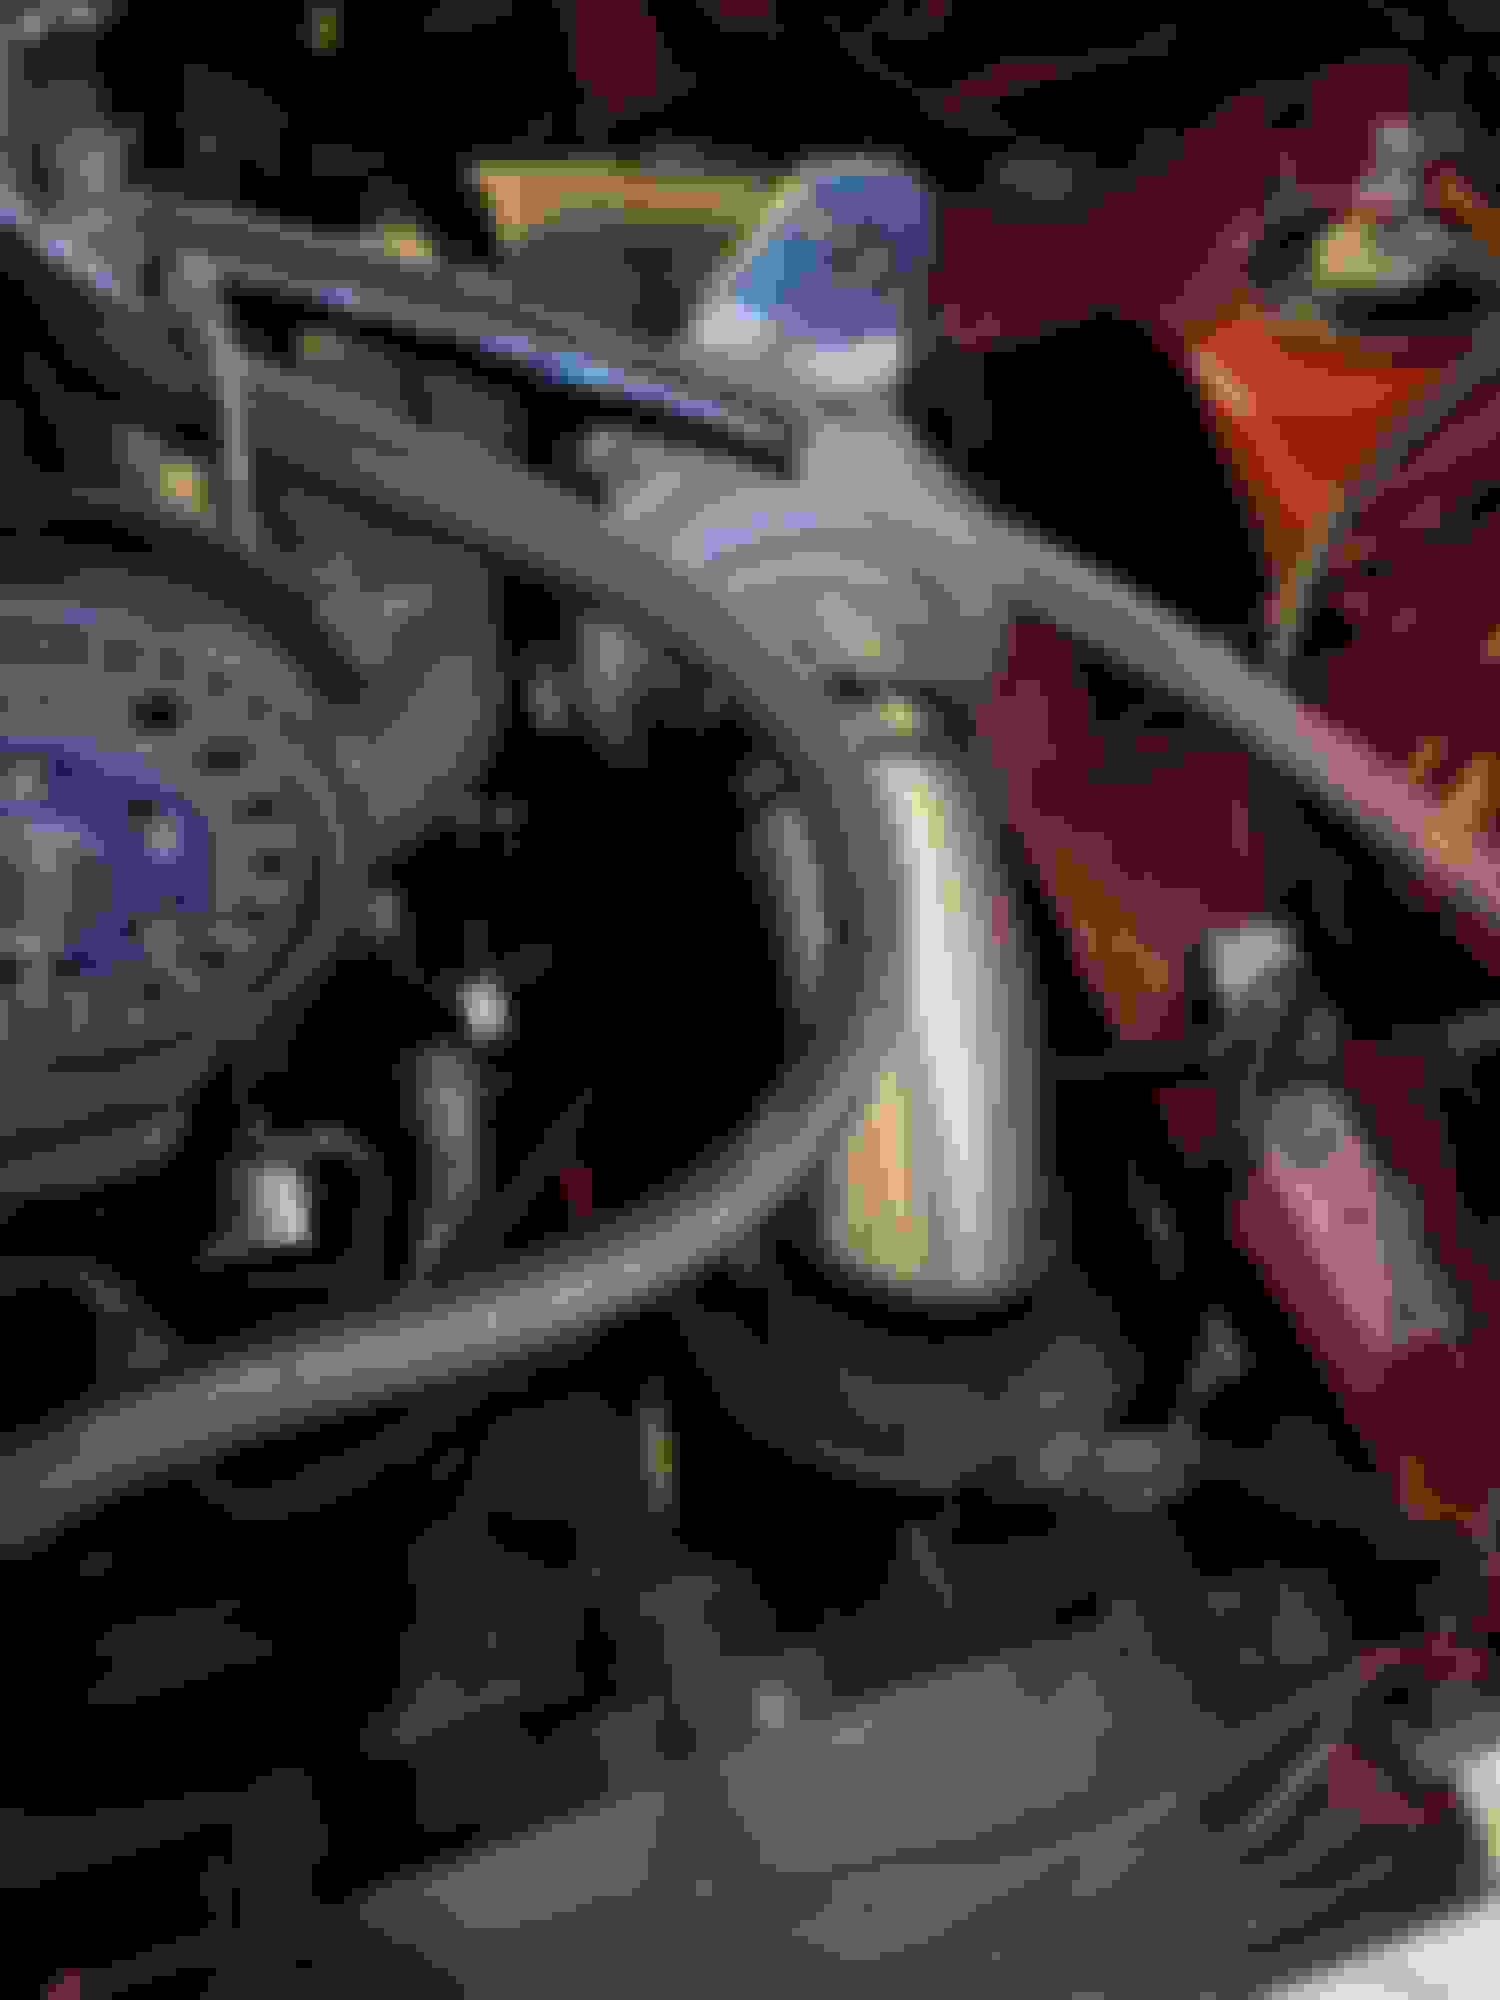
Engine bay cleanup
I deleted the adjustable FPR to clean up the engine bay, I'm actually a little confused since I was running the stock FPR along with the adjustable one, was the AFPR actually doing anything? Usually you would delete the stock FPR right? Don't know how I skipped over that detail 😂
I did a little wire tuck on the cold side, this involved cutting out a couple slots in the fender to route the harness through and extending the wiring for TPS and IAC valves. I might do the same to the hot-side as it really does make the engine bay a lot cleaner.
Currently re-routing the fuel hoses so they dont go over the intake manifold like in the previous setup. And bought a black 3 inch to 2.5 90 degree silicon coupler to replace the blue one I currently have. Going to probably re-route the catch can to a stealthier place too. I feel like I kinda neglected the appearance of the engine bay when I installed things the first time. Should be done in the next update I post, but here's where things stand at the moment! Looking ugly as at the moment but trust the process 😌
Whats next?
Once the ecu is installed and the wrap is complete, I want to take it to the dyno. I'll be getting it tuned by the same guy I got the ECU enclosure from. In the meantime, I imagine I'll need to spend a bit of time getting familiar with the link ecu software and there are some small electronic things I want to fix up like hardwiring the fuel pump, but this car will move! I'll post some updates as a complete some tasks! Sorry to leave you hanging
i thought link was a UK ecu? whats the price for one in AUS? alot more than my speeduino i bet...
i picked mine up for $1400 AUD on sale just the ECU though. I got the CAN lambda kit, ethanol sensor and 2 expansion looms for a total of $950 aud. You could totally get away with just getting 1 expansion loom so you can connect a serial wideband.
Originally Posted by zanky
Hey man build seems to be going great. Any more pics of your car with the wrap? I've been thinking about wrapping my car in a similar color.
i don’t have any good ones yet! I’ll be sure to take some next time it’s out of the garage. It’s similar to soul red but isn’t as deep as a red.
Update
“Wire tuck” is pretty much done, I just have to figure out the catch can routing and temporarily re install the washer bottle. I saw a nice setup using an eBay washer bottle I’ll post it up when I find it again
here’s the before vs after, huge different and very much recommend doing it
ethanol sensor and fuel pressure sensor are tucked in under the fuse box, rerouted the fuel hoses to go behind the intake manifold and got a new connector for the throttle body
I’ll probably end up mounting the catch can on the hot side of the firewall to keep those big hoses out the way
You have to be a masochist to use MegaSquirt.
Welcome to the Link family and modeled fueling. I tried megasquirt and didn't even make it all the way through setup before I gave up on it.


 11-02-2022, 03:05 AM


 0
0