2000 Miata DIY turbo "build" thread with pics and so on
#1
Thread Starter
Junior Member
iTrader: (1)
Joined: Feb 2011
Posts: 255
Total Cats: 21
From: Minot, ND
Time to start on this and edits will be taken place time to time, so rought draft:
I have a 2000 miata that I purchased bone stock back in February. After a lot of research(and more), I decided I wanted to go the turbo route. Not my first rodeo getting a kit together.
Purpose of thread: Educate some potential turbo miata owner from my mistakes.
I'll try to keep it organized.
Kit consists of:
-Garret t3 turbo .60 compressor .63 exhaust (used from a friend) $150
-Flyin' Miata cast turbo manifold $421 (could go a cheaper route here)
-Exhaust manifold gaskets $10
-2.5 in" downpipe (friend) $75
-2.5 in 5bolt V-band Swing Valve $35
-Vband clamp with flange $25
-Internal wastegate actuator $42
-NGR Type S BOV $155
-BOV flange $17
-BEGI vacuum block $43
-I/C and Piping (CX Racing) $164 (still to be fab'd)
-Oil Feed: Sandwich plate from glowshift, fittings and line from summit. $77
-Oil pan fitting $6
-Flyin miata boost gauge $66
-AEM digital uego wideband $173
-Rx7 460cc injectors $100
-Brain Built MegaSqurit $650
-Penzoil ultra synthetic oil w/ filter $31
-NGK plugs $11
-Flyin Miata Level 1 Clutch $365
total of $2,616 And like I was saying, I could have went cheaper on things but I feel like, for what parts I used, this is a solid price compared to what pre-fab'd kits have to offer. I cut my i/c piping and for now just had tabs(nipples) welded on. I'm running too many couplers but it's temporary. $60 spent there. and $50 for down pipe modifications. Grand total of $2,726
roadster:
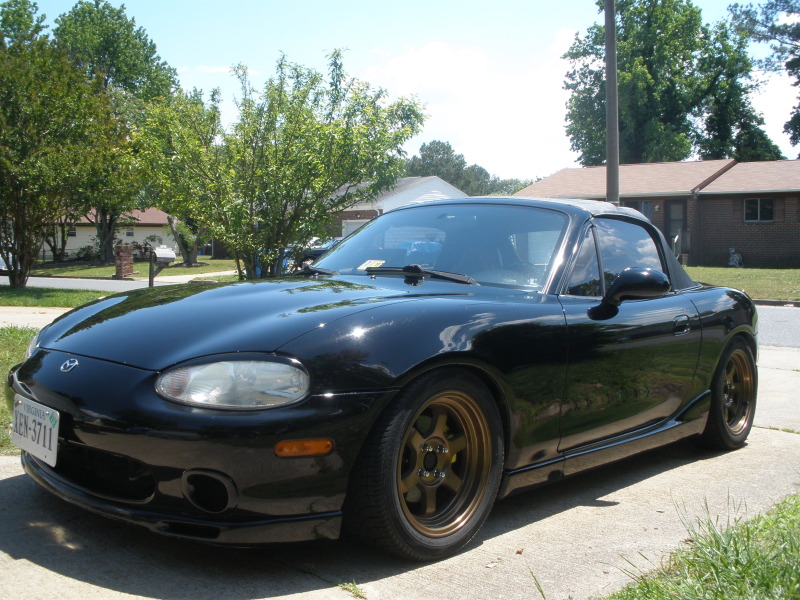
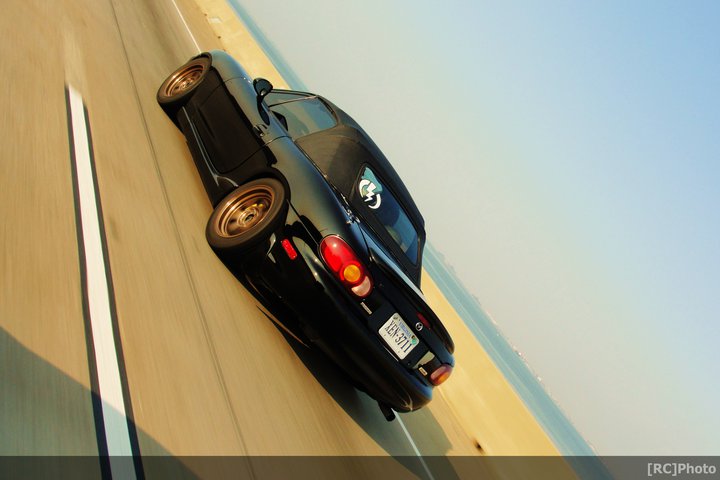
As she sits right now 9/19/11 -yes, still have a few things to clean up and I need to look into a better coolant line setup.
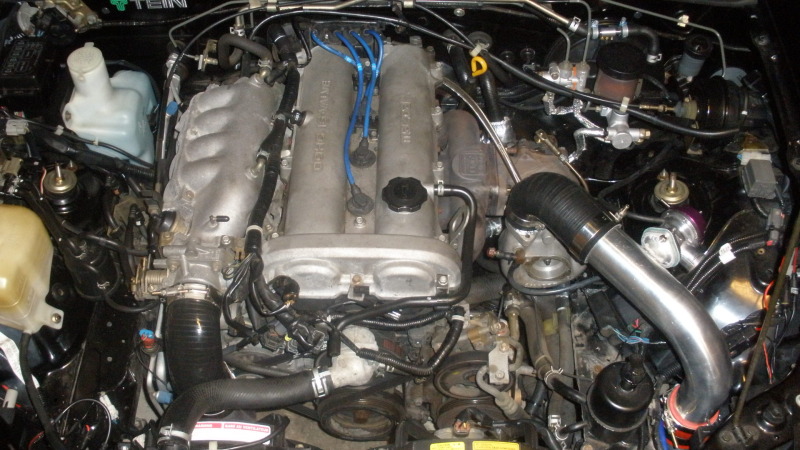
I have a 2000 miata that I purchased bone stock back in February. After a lot of research(and more), I decided I wanted to go the turbo route. Not my first rodeo getting a kit together.
Purpose of thread: Educate some potential turbo miata owner from my mistakes.
I'll try to keep it organized.
Kit consists of:
-Garret t3 turbo .60 compressor .63 exhaust (used from a friend) $150
-Flyin' Miata cast turbo manifold $421 (could go a cheaper route here)
-Exhaust manifold gaskets $10
-2.5 in" downpipe (friend) $75
-2.5 in 5bolt V-band Swing Valve $35
-Vband clamp with flange $25
-Internal wastegate actuator $42
-NGR Type S BOV $155
-BOV flange $17
-BEGI vacuum block $43
-I/C and Piping (CX Racing) $164 (still to be fab'd)
-Oil Feed: Sandwich plate from glowshift, fittings and line from summit. $77
-Oil pan fitting $6
-Flyin miata boost gauge $66
-AEM digital uego wideband $173
-Rx7 460cc injectors $100
-Brain Built MegaSqurit $650
-Penzoil ultra synthetic oil w/ filter $31
-NGK plugs $11
-Flyin Miata Level 1 Clutch $365
total of $2,616 And like I was saying, I could have went cheaper on things but I feel like, for what parts I used, this is a solid price compared to what pre-fab'd kits have to offer. I cut my i/c piping and for now just had tabs(nipples) welded on. I'm running too many couplers but it's temporary. $60 spent there. and $50 for down pipe modifications. Grand total of $2,726
roadster:


As she sits right now 9/19/11 -yes, still have a few things to clean up and I need to look into a better coolant line setup.

Last edited by sickmiatabra; 09-21-2011 at 06:29 PM.
#2
Thread Starter
Junior Member
iTrader: (1)
Joined: Feb 2011
Posts: 255
Total Cats: 21
From: Minot, ND
Tapping the pan:
Purchased and returned (after use) a Unitbit piece from lowe's for $40.
Purchased and returned a tap for the 3/8 NPT for $10
I used a 3/8 hose barb for the fitting. onto pics
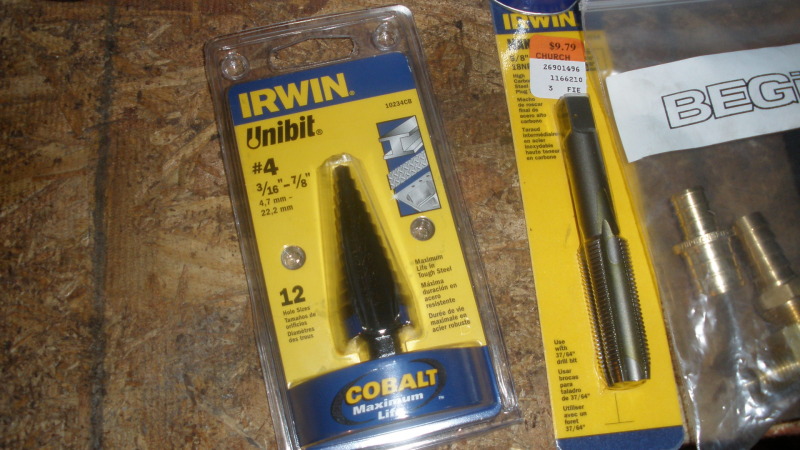
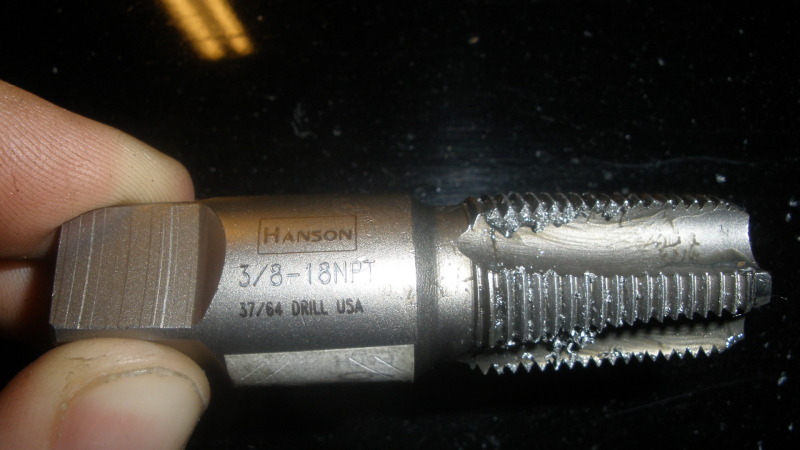
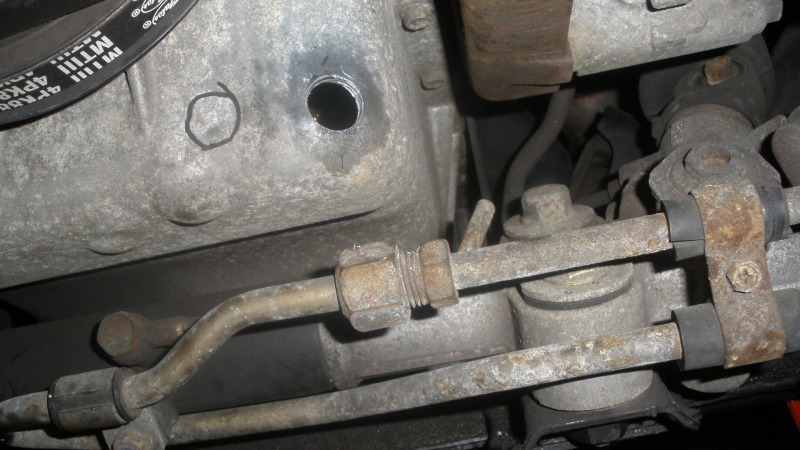
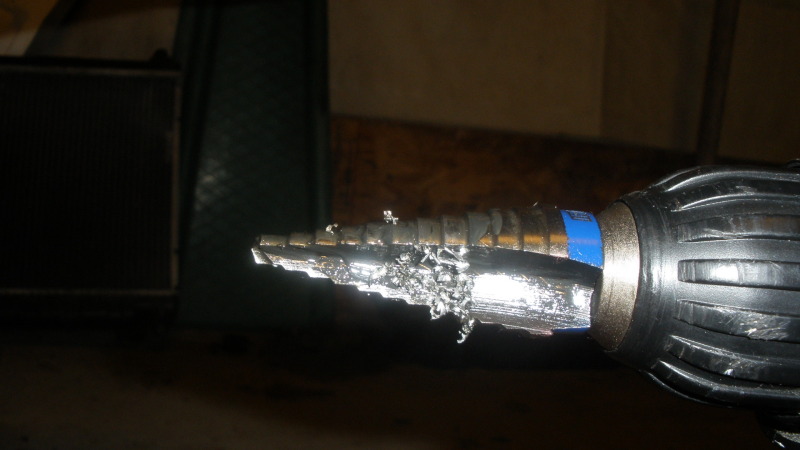
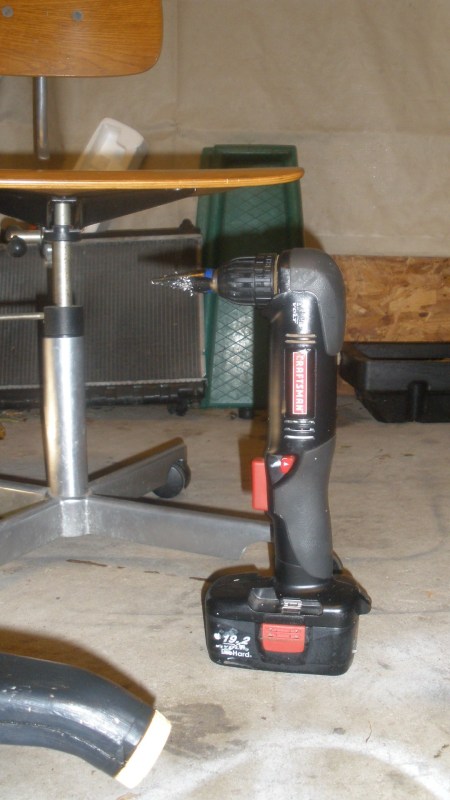
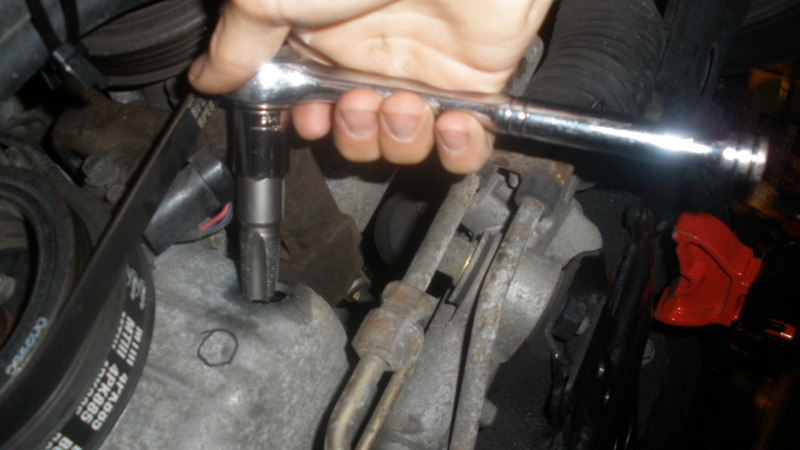
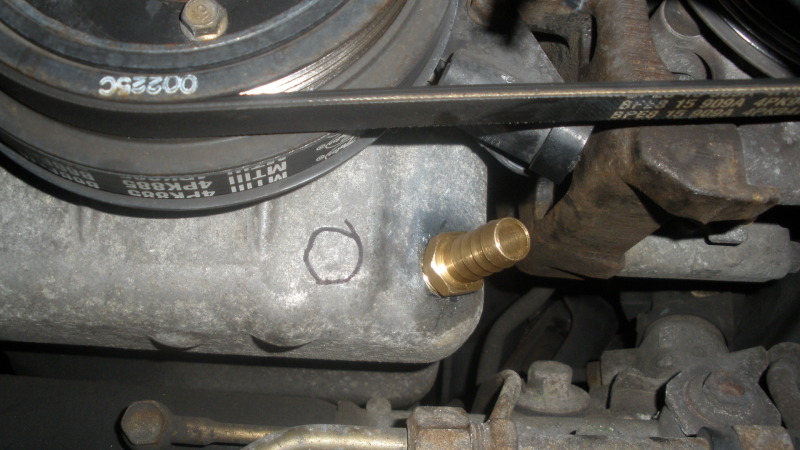
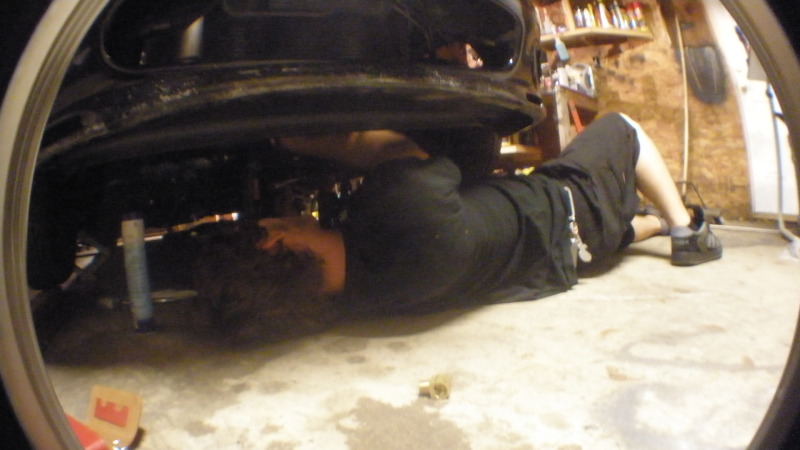
Once the hole is drilled, you can use your pinky to reach in and remove any filing. I kept the bit greased at all times, and would clean it off and regrease it again every so often and that did not catch all of them. The tap works great and jb weld was used on a few of the last threads to seal it off (Does not leak at all promise)
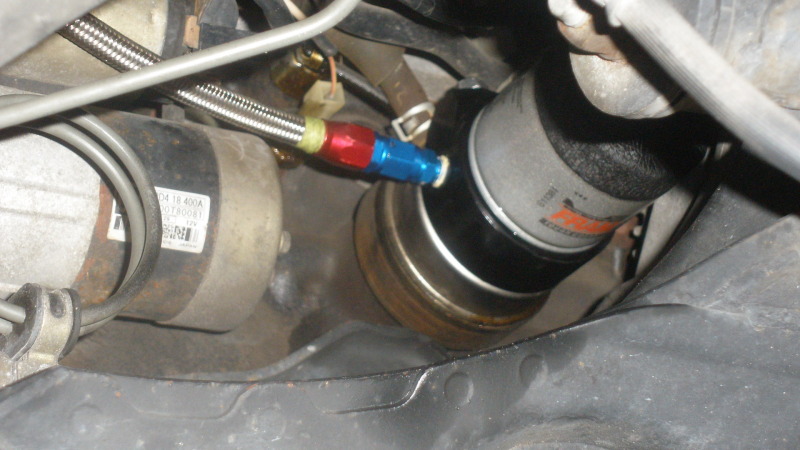
Oil feed time: Glowshift sandwich plate, -4 line with restrictor at the turbo.
pics: this picture was taken after the car had been running some and as you can see, it is dry, not dripping.
Purchased and returned (after use) a Unitbit piece from lowe's for $40.
Purchased and returned a tap for the 3/8 NPT for $10
I used a 3/8 hose barb for the fitting. onto pics


Once the hole is drilled, you can use your pinky to reach in and remove any filing. I kept the bit greased at all times, and would clean it off and regrease it again every so often and that did not catch all of them. The tap works great and jb weld was used on a few of the last threads to seal it off (Does not leak at all promise)
Oil feed time: Glowshift sandwich plate, -4 line with restrictor at the turbo.
pics: this picture was taken after the car had been running some and as you can see, it is dry, not dripping.

#3
Thread Starter
Junior Member
iTrader: (1)
Joined: Feb 2011
Posts: 255
Total Cats: 21
From: Minot, ND
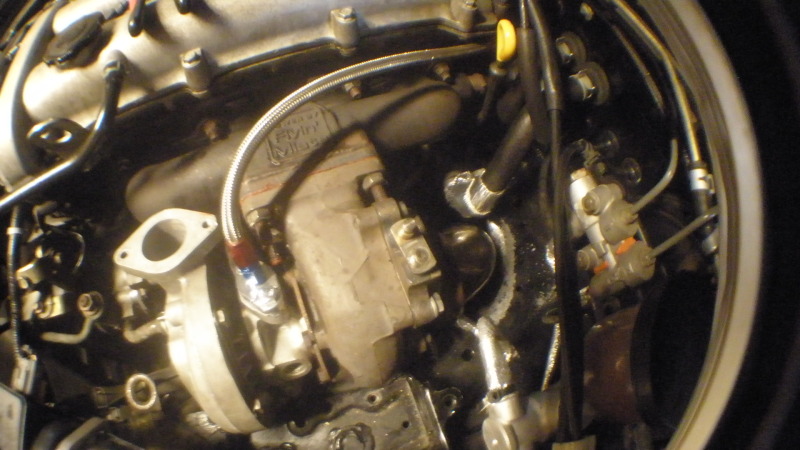
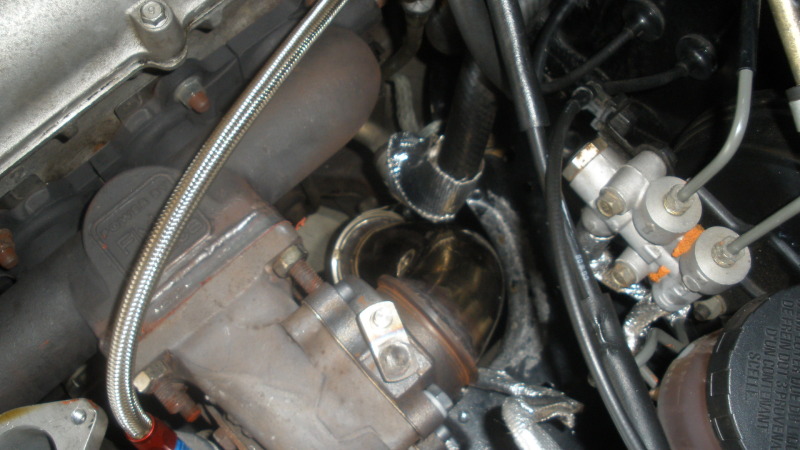
Oil feed and return knocked out so onto the turbo mess.
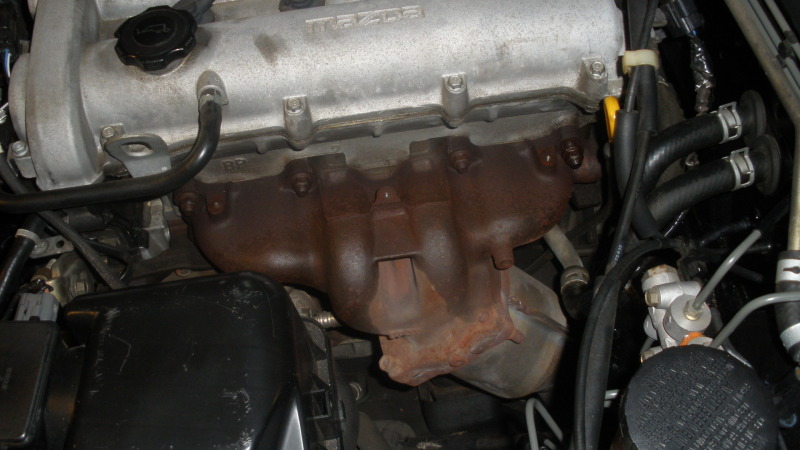
Getting off the stock manifold is a real pain. You will need extensions and room under the car to get leverage.
For the egr, break that sucker loose, then unbolt it from the intake mani, metal hammer it and break into 3 pieces; the biggest piece being the tube. Then channel lock the ends shut, hammer and bend/fold over to know they're sealed (this was the quickest way at blocking the egr for me)
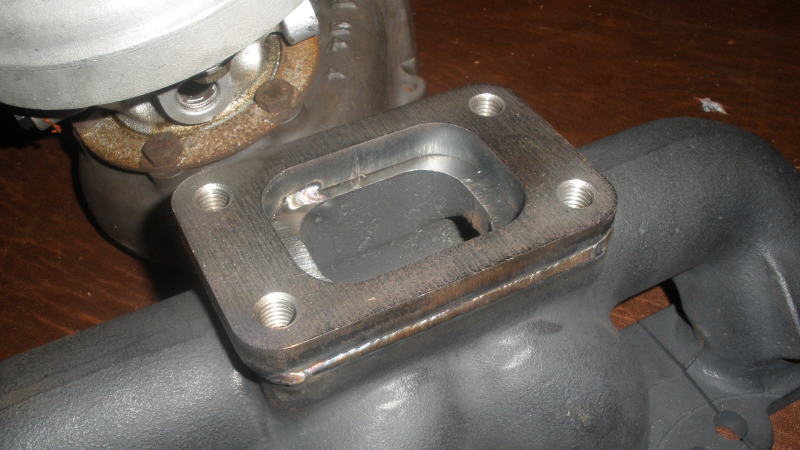
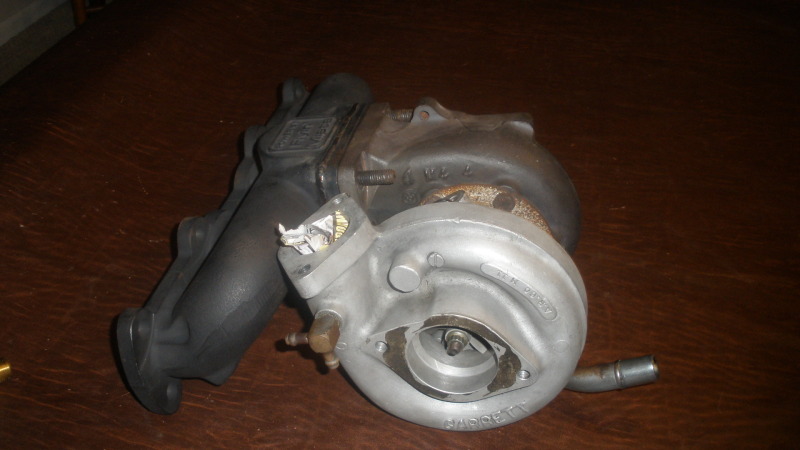
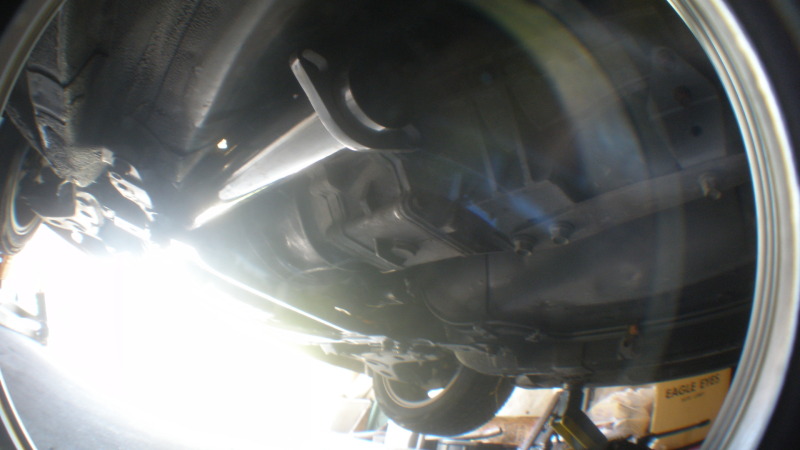
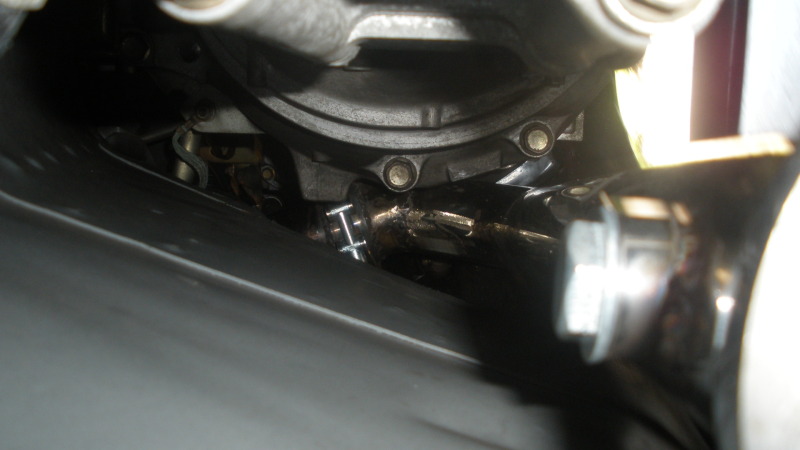
I purchased the flyin miata manifold knowing it was a t2 flange and I had a t3. I love making things complicated. I had a tapped t3 flange tigg'd onto the mani and studded. Came out great. A slight bit of the frame rail lip was hammered out for compressor and downpipe area. The downpipe was a pain as the vband adapter left us little space.
Ended up welding the pipe onto the adapter and vbanding the on the straight; real easy access from the wheel well and the adapter just slides right off on removal.
Of course you could just get a sr20 t25 (one of my favs) or whatever you'd like for your mani/turbo setup.
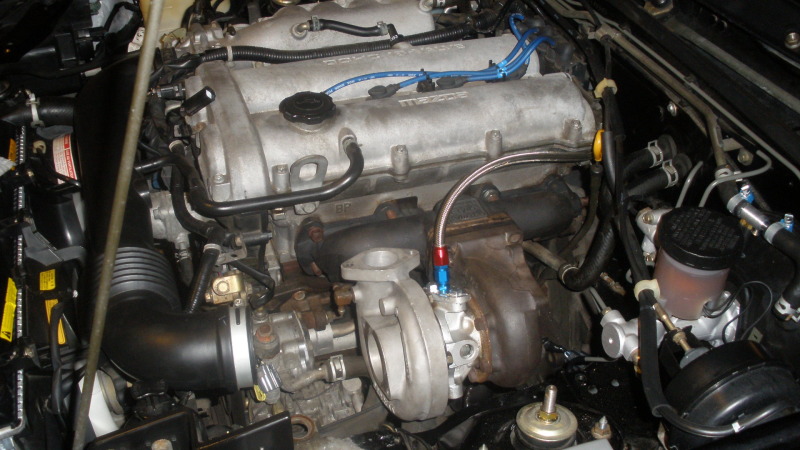
I clocked the turbo up for reasons to be known later. Onto pics:


#4
Thread Starter
Junior Member
iTrader: (1)
Joined: Feb 2011
Posts: 255
Total Cats: 21
From: Minot, ND
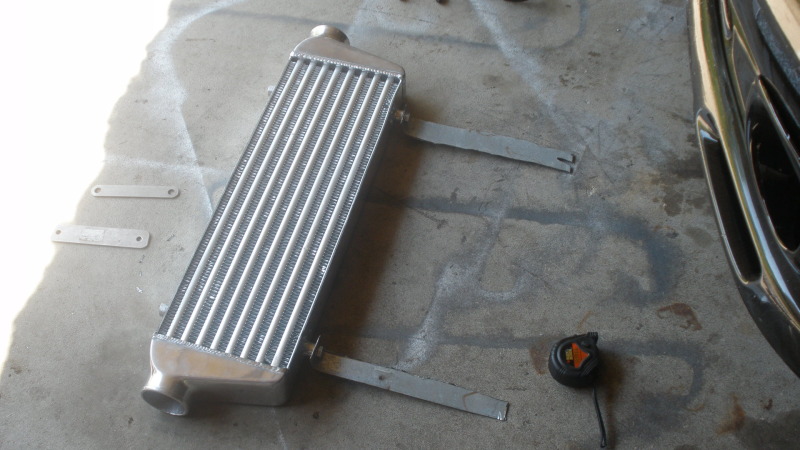
Turbo's on: Intercooler mounting time.
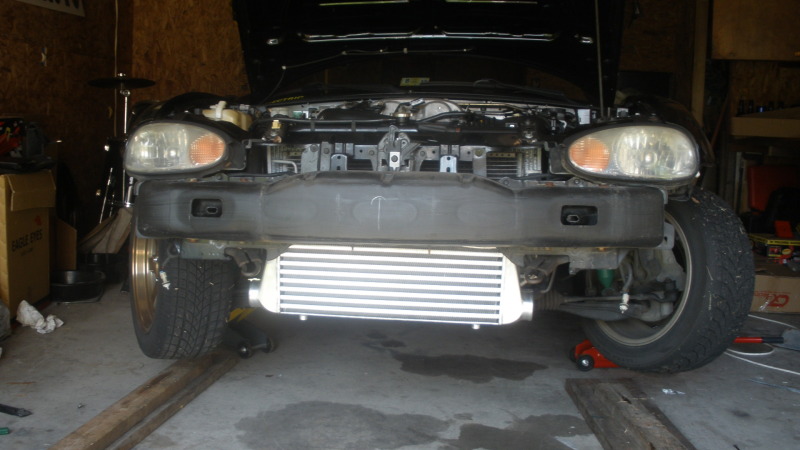
I made some tabs out of angle iron after making some measurements. I go the idea from flyin miata but didn't use the hood latch bolts. I just drilled my own haah
haah
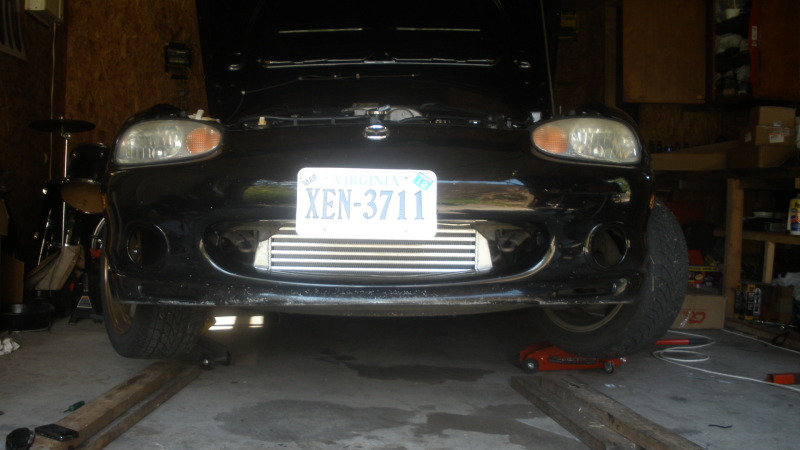
Mounting was pretty straight forward and I drilled two holes in the bottom of the bumper so i could bolt the i/c right in from the bottom as well. Does not move at all. I'll get pics of that soon to come.
Pics:
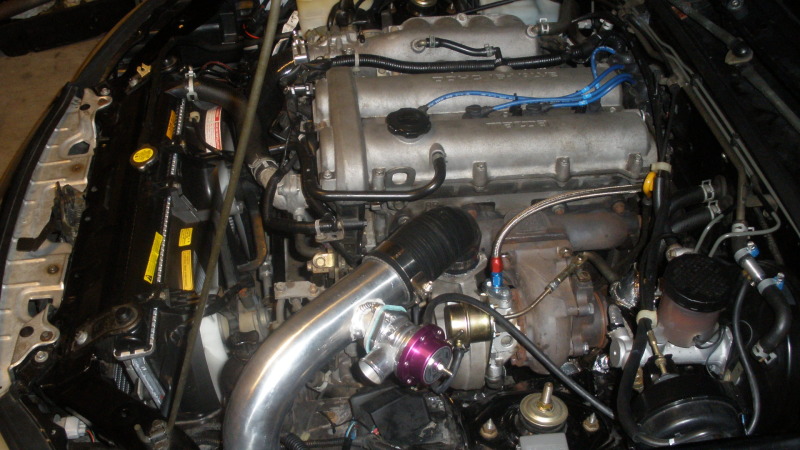
For the pipe routing I used 18psi's idea for the over approached. This required some cutting right behind the driver headlight. And a little modification the trim on the back of the headlight but nothing that affects function. Everything else is pretty straight forward. Had 2 in aluminum welded to the compressor outlet because I hate flanged anything and it's easier. Do not mind the couplers....it's temporary.
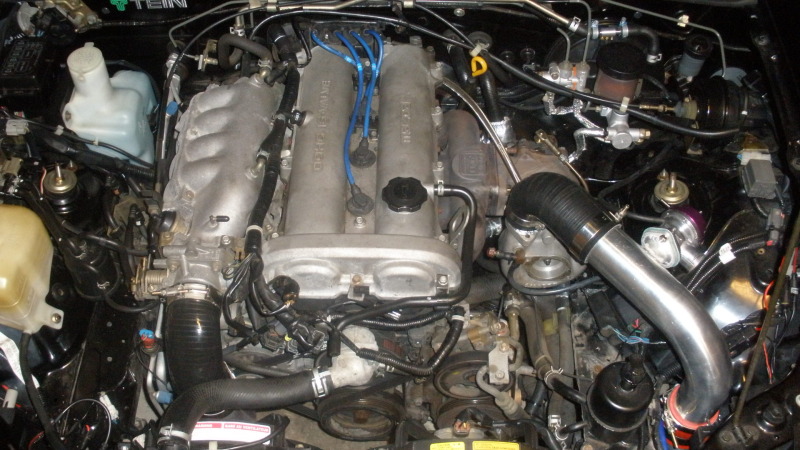
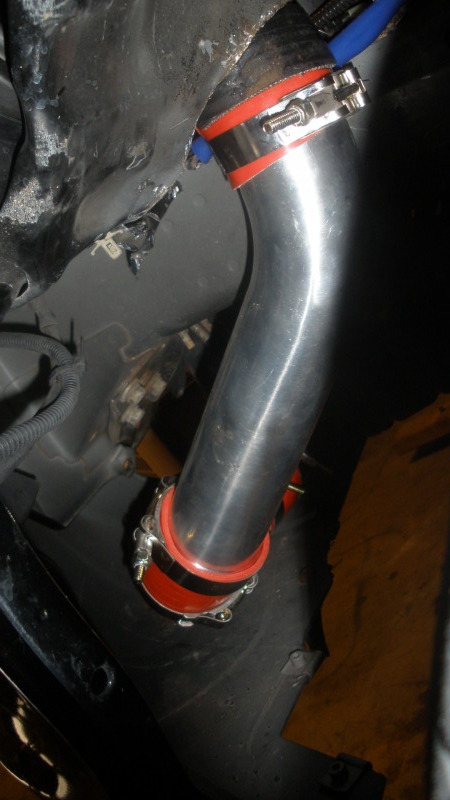
cold side where the IAT sensor was located. (for MS)
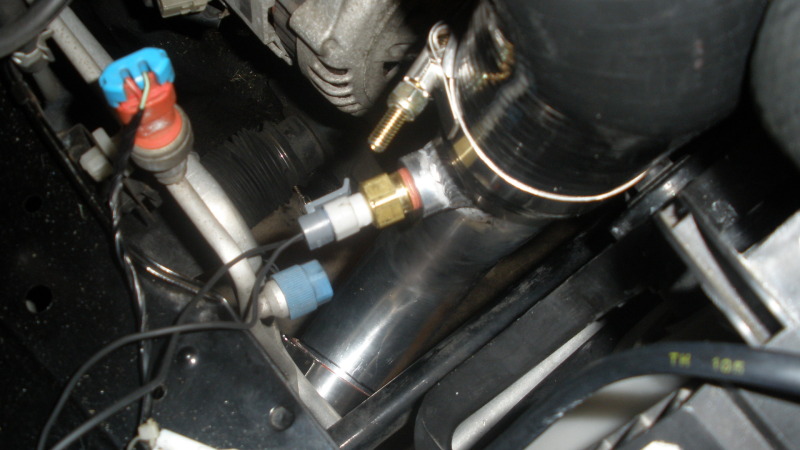
I need to fix this little mess right here.
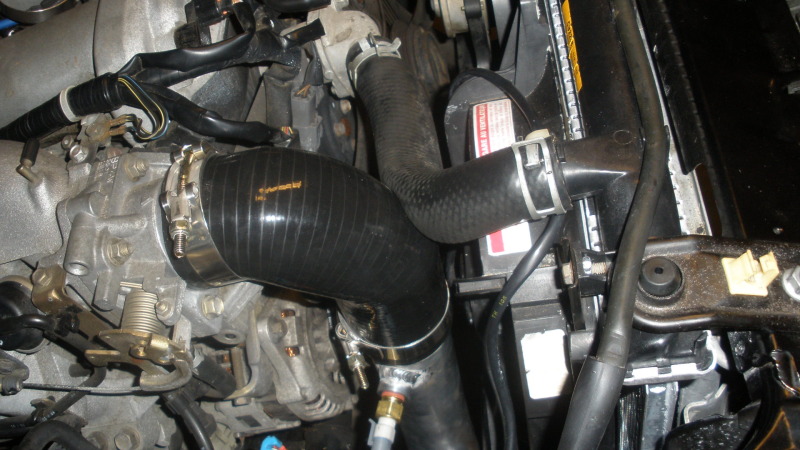
before:

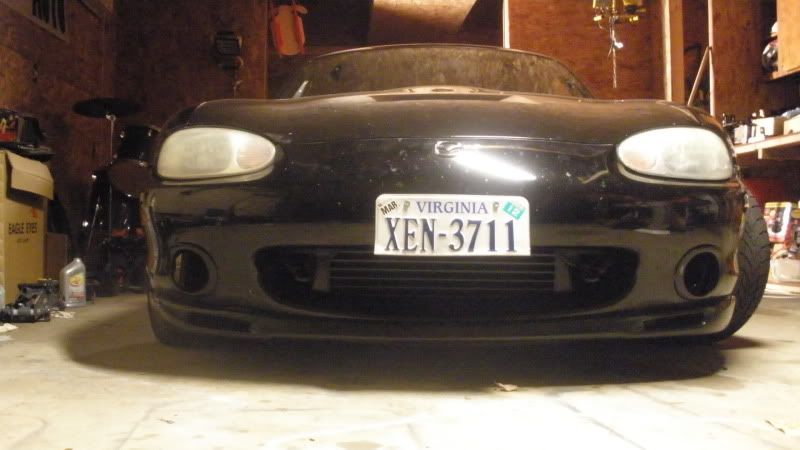
After: Painted I/C and front lip. Folded plate FO MO FLOOWWWWW lol
I made some tabs out of angle iron after making some measurements. I go the idea from flyin miata but didn't use the hood latch bolts. I just drilled my own
 haah
haahMounting was pretty straight forward and I drilled two holes in the bottom of the bumper so i could bolt the i/c right in from the bottom as well. Does not move at all. I'll get pics of that soon to come.
Pics:


For the pipe routing I used 18psi's idea for the over approached. This required some cutting right behind the driver headlight. And a little modification the trim on the back of the headlight but nothing that affects function. Everything else is pretty straight forward. Had 2 in aluminum welded to the compressor outlet because I hate flanged anything and it's easier. Do not mind the couplers....it's temporary.


cold side where the IAT sensor was located. (for MS)

I need to fix this little mess right here.

before:

After: Painted I/C and front lip. Folded plate FO MO FLOOWWWWW lol

Last edited by sickmiatabra; 09-22-2011 at 09:27 PM.
#5
Thread Starter
Junior Member
iTrader: (1)
Joined: Feb 2011
Posts: 255
Total Cats: 21
From: Minot, ND
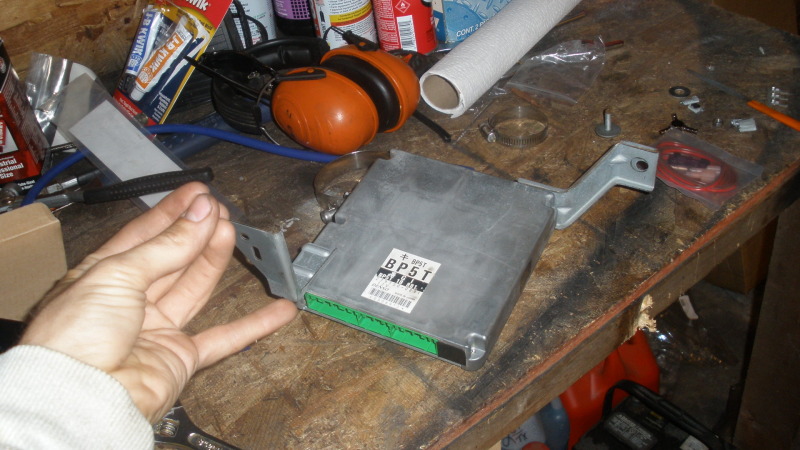
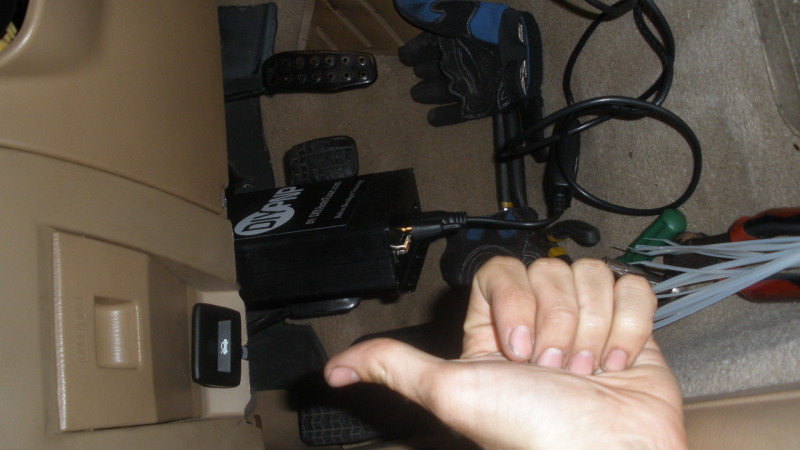
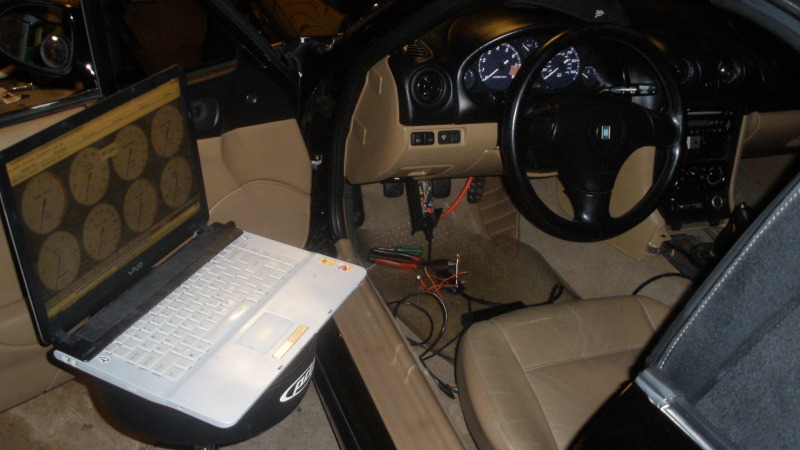
ready for action. This passed Friday (16th) I installed MS. I am in the process of working on the tune and all, but here are some of the last pics I have. So far so good.
ANY CRITICISM AND HATE IS WELCOME. I'm ready for it, it's not pretty. I'm aware. If I could do it all over again (or will do in due time) I'd put a 90 on the manifold and run an external gate dumped right into the downpipe or below. I messed up there for sure.
I have not installed the injectors or clutch yet. Planning to tune on very low boost and go from there.


#7
Thread Starter
Junior Member
iTrader: (1)
Joined: Feb 2011
Posts: 255
Total Cats: 21
From: Minot, ND
Yeah it bothers me also, I can't decide if I want to cut it shorter and maybe throw one of those kink preventing springs in there or what. But i'll pay close attention to my temp and also see what kind of damage it's doing when rubbing after a day or two of driving and going from there. Right now, i know it'll still flow but it's sketch.
#15
MSPNP no, DIYPNP, yes. You still have to assemble the connector.
http://www.diyautotune.com/catalog/d...kit-p-384.html
http://www.diyautotune.com/catalog/d...kit-p-384.html
#16
Thread Starter
Junior Member
iTrader: (1)
Joined: Feb 2011
Posts: 255
Total Cats: 21
From: Minot, ND
the spot i tapped is perfect. And it came out flat with some really awesome measurements. Yeah they have the DIY PNP for the NB. I'm excited to tweak out a tune.
Rota Grid V's 15x7 +20
195 50 15 tires all around. Stance came out great and thanks
Rota Grid V's 15x7 +20
195 50 15 tires all around. Stance came out great and thanks

Last edited by sickmiatabra; 09-21-2011 at 03:21 PM.
#18
Thread Starter
Junior Member
iTrader: (1)
Joined: Feb 2011
Posts: 255
Total Cats: 21
From: Minot, ND
I knew about the pressurizing of the pan to get filings out, but I know for a face we got removed every filing with our fingers/bit with grease/ tap with grease. I was driving the car open open downpipe with no i/c piping on it for close to a week. I know it's not going to have any of the mishaps that take place with metal filings. And I put in a Magnetic drain plug for a lil protection.
Right now, I just want function. There is a lot I want to do to clean up the bay. But all that can wait till I'm tuned and satisfied with this setup. Thanks for the advice guys.
Right now, I just want function. There is a lot I want to do to clean up the bay. But all that can wait till I'm tuned and satisfied with this setup. Thanks for the advice guys.
#19
It is nice to see someone actually type in semi-coherent sentences with photos.
Welcome to a very elite club of people who actually realize their goal of DIY turbo. Looks to be a well thought out setup. Room for improvement but that is always the way when you work on a budget.
*insert obligatory miataturbo.net photo of tiny man in a dress riding a dog and extraneous swearing
Welcome to a very elite club of people who actually realize their goal of DIY turbo. Looks to be a well thought out setup. Room for improvement but that is always the way when you work on a budget.
*insert obligatory miataturbo.net photo of tiny man in a dress riding a dog and extraneous swearing


