1.6L intercooler, pipe, size, routing
#1
Just about to put the motor back in the car and intercooler routing has really been on my mind.
ARTech manifold/downpipe
SR20 T25
clocked going towards the bottom of the car (this was Curly's old setup)
I plan to tap the intercooler for the AIT sensor.
I want to keep the pipe size as small as I can, mostly for fitment and maybe less overall volume to pressurize (although this is minuscule at best).
I just did a DIY coolant reroute so I have some room to play with. Here is what I am thinking, and I would love some feedback from those that have done this or those that have found flaws when routing theirs.
2.75" to 2.0" 90* reducing elbow. (throttle body)
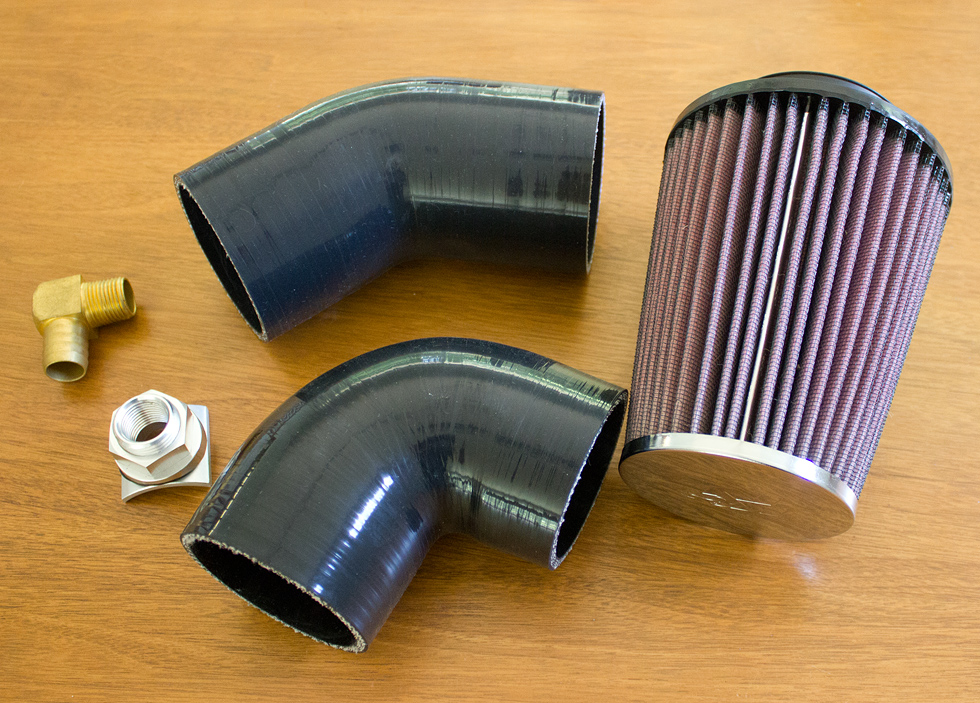
Silicon port system with 90* bend 1/2" NPT to 3/4" barb
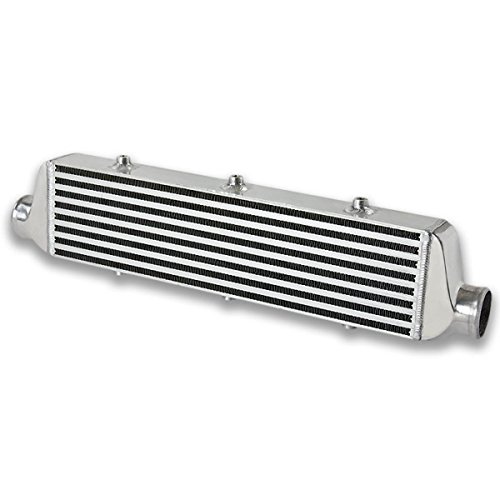
27" x 5.5" x 2.5" intercooler
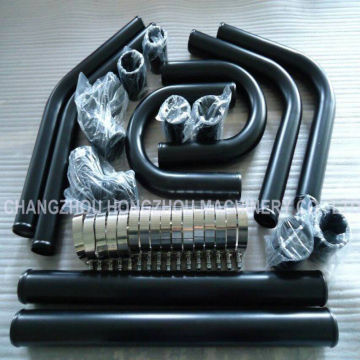
Universal 2" Intercooler piping kit
Two 2" to 2.5" couplers for intercooler
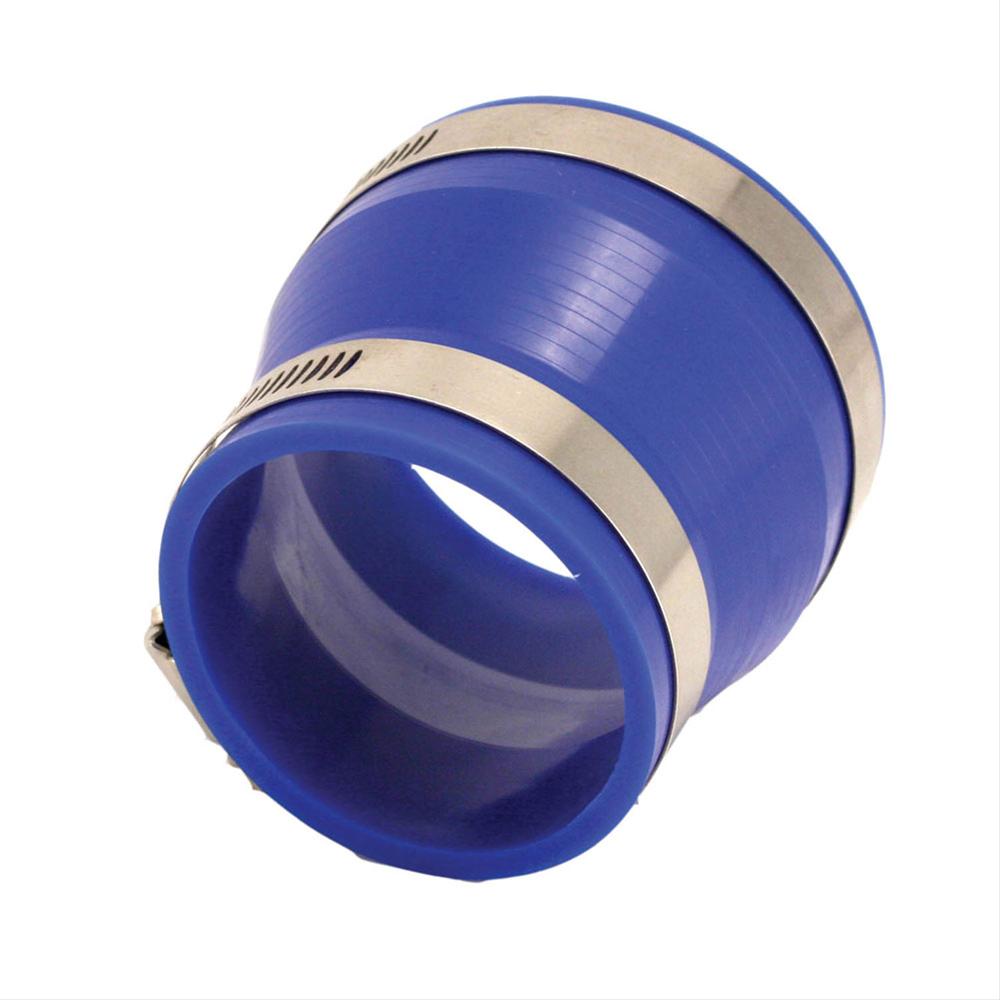
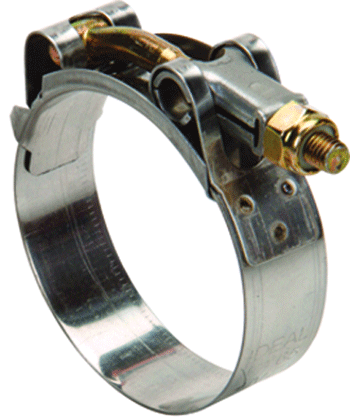
Various sized T-bolt clamps.
Any down sides to this list? This is a pretty budget build and I plan on doing a build thread on it once I have all everything in and running. I just put this video together on how to depower your NA steering rack and I have a small blip near the end about my turbo install.
ARTech manifold/downpipe
SR20 T25
clocked going towards the bottom of the car (this was Curly's old setup)
I plan to tap the intercooler for the AIT sensor.
I want to keep the pipe size as small as I can, mostly for fitment and maybe less overall volume to pressurize (although this is minuscule at best).
I just did a DIY coolant reroute so I have some room to play with. Here is what I am thinking, and I would love some feedback from those that have done this or those that have found flaws when routing theirs.
2.75" to 2.0" 90* reducing elbow. (throttle body)
Silicon port system with 90* bend 1/2" NPT to 3/4" barb

27" x 5.5" x 2.5" intercooler

Universal 2" Intercooler piping kit

Two 2" to 2.5" couplers for intercooler

Various sized T-bolt clamps.

Any down sides to this list? This is a pretty budget build and I plan on doing a build thread on it once I have all everything in and running. I just put this video together on how to depower your NA steering rack and I have a small blip near the end about my turbo install.
#2
Joined: Apr 2014
Posts: 18,642
Total Cats: 1,866
From: Beaverton, USA
https://www.miataturbo.net/diy-turbo...tercool-83180/
Video of my routing.
hi_im_sean has good pictures too.
Don't buy a kit. Buy individual pieces.
2x45* pipe
2x90* silicon coupler
This will drop the end of your pipe right under the throttle body inlet and right around the steering rack on the hotside.
Then a 90* coupler on the coldside and a straight piece up to the throttle body, with another 90* coupler.
The hotside depends on where your turbo is mounted.
Your video link is wrong.
Edit: build a bead roller. http://www.d-series.org/forums/diy-f...ad-roller.html
#3
Yeah, I am sub'd to Sean's build and I have seen your video before. The only thing I don't like about your IC routing is how many couplers you have. I was wanting to use 4 total if I can.
I also don't really like that way of bead rolling. It's not bad, but it's really inconsistent. Here is how I will end up rolling any pipe I cut. Thanks for the other links though.
I also don't really like that way of bead rolling. It's not bad, but it's really inconsistent. Here is how I will end up rolling any pipe I cut. Thanks for the other links though.
#5
No, but I have a local radiator shop that said they could run a few beads for me. They rewelded my mixing manifold after clocking it 45* to clear the compressor inlet and drain line.
I feel like couplers introduce a point of failure and/or boost leaks.
I have tried the one you posted before on a friends Civic build. We got inconsistent amounts of bending since the radius of the washer would make a much tighter bend in the aluminum, it gave us a weird shape on the tube opening as well. The one I linked doesn't "shrink" the metal around it so you get a straight line from the opening and past the bead you press in, but it is time consuming. They both probably accomplish the same thing but the one I linked looks much cleaner on the finished product.
Edit: I see they used an exhaust clamp on the bottom to keep the sides from bending too much. We did not do that which is why ours shrank the metal in at the ends. If I get rushed for time I will probably use this method.
#6
Joined: Apr 2014
Posts: 18,642
Total Cats: 1,866
From: Beaverton, USA
Ahh, well if you can do that then swap my 2 90 degree couplers for 90* pipe and you are good to go.
I like couplers because they allow the engine to move and not stress any pipes. A properly bead rolled pipe with coupler will not blow off.
I used a washer that was almost the size of the pipe, so that probably helped. My tubes are perfectly round afterwards though, pick your poison. To me those beads don't look big enough.
We borrowed a real bead roller last time I bead rolled something, it was so much better.
#7
Joined: Sep 2012
Posts: 4,560
Total Cats: 1,142
From: your mom's house phoenix, AZ
I don't think it can get any simpler and cleaner than the aidan/sean routing, especially when your compressor outlet points in the same direction as mine. And, like aidan said, don't buy the tubing kit, youll toss 80% of it. All I needed was x2 45's, and maybe a foot of straight section along with the BOV adapter pipe. I think your concern with the sili couplers is unfounded, but if you want to cut down on them, you can do the "hornetball" couplers. Have you seen his build, I think the newer one, not the red car? very clean, nice way of eliminating sili couplers.
#8
Joined: Apr 2014
Posts: 18,642
Total Cats: 1,866
From: Beaverton, USA
Now that I can "weld aluminum" I have considered buying some 90's and swapping to more welded joints, but I can't be bothered because the couplers seem to work so well.
I have gotten rid of one of my straight couplers, and will be getting rid of the other soon.
I have gotten rid of one of my straight couplers, and will be getting rid of the other soon.
#9
Joined: Sep 2012
Posts: 4,560
Total Cats: 1,142
From: your mom's house phoenix, AZ
here ya go
https://www.miataturbo.net/build-thr...0/#post1252415
one can also, and has used, epoxy instead of brazing with similar success
edit- better linky
https://www.miataturbo.net/build-thr...0/#post1252415
one can also, and has used, epoxy instead of brazing with similar success
edit- better linky
#14
He had some leaks with smelting the metal together. I have smelted copper before but nothing close to ~2" ID.
aidandj, did you find a longer pipe with a BOV flange on it anywhere? I would like to do a 90* off the throttle body into a straight pipe with BOV/BPV flange then run a 90* into the 45* pipe on the cold side.
aidandj, did you find a longer pipe with a BOV flange on it anywhere? I would like to do a 90* off the throttle body into a straight pipe with BOV/BPV flange then run a 90* into the 45* pipe on the cold side.
#20
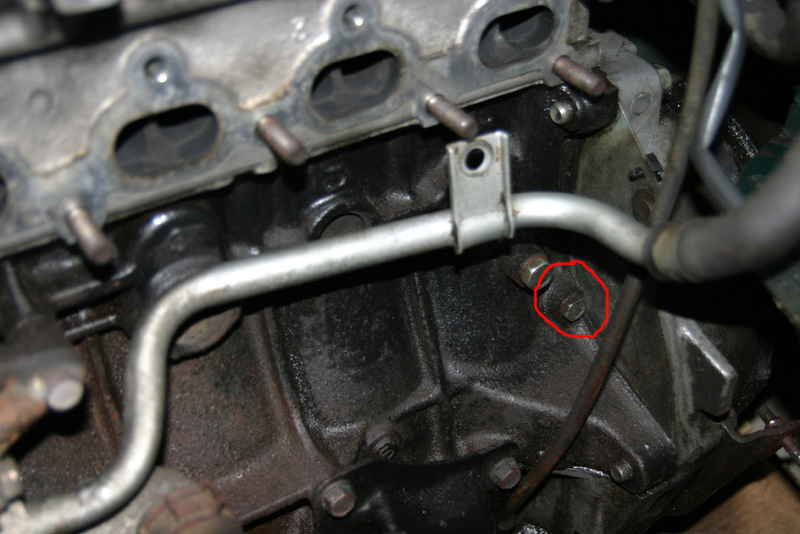
Since I already have this thread going I want to ask about water routing. I am doing a reroute and put a freeze plug up front. I want to use the dreaded water plug in the rear to run off my IAC and then run the ISCV to the exit port of my turbo. The inlet water port to the turbo is where I am having some thoughts. There is a water plug right next to the oil plug on the block, but I never see anyone using it. Why does noone utilize this port? The one in red is oil, but right next to it is the one I mention
