When you click on links to various merchants on this site and make a purchase, this can result in this site earning a commission. Affiliate programs and affiliations include, but are not limited to, the eBay Partner Network.
The easy answer to "why no accusump" is... Well... I don't know. I think my mind jumped right from wet sump to dry sump without even considering an accusump.
If the tiny baffle I added doesn't improve things(and I honestly don't expect it to), then yeah, accusump time. Not looking forward to buying 20+ ft of -10 AN lines...
IIRC Bronson has his Accusump mounted in the engine compartment. Cuts down on the plumbing losses, but probably not the best for weight distribution. You could also mount it down in the passenger floor pan.
You only need a single line to the Accusump, a 'T' piece and tap. On a racecar I have seen them mounted in the passenger seat area. Mine was in the boot.
Like Midtenn I turned it on immediately before start to pump some oil into the bearings etc but then left it on, turned it off just before shut down usually, but could do this any time from the start of the cool-down lap.
You have a PDM, yes? I get yours and Rota's build confused, but I think I see PDM plugs in the previous photos. Weld some base plates to the trans tunnel or floorboard with M8 captured weld nuts to bolt the Accusump to. Get the Canton electronic valve, ground it, and wire the other lead to a dedicated PDM output. Set it turn on when ignition is on AND RPM is less than 500 AND oil PSI is less than 25 OR when ignition is on AND GPS speed is greater than 10mph. That'll pre-oil the engine for start up, and keep it on while on track. Usually the 1-2qts is kept in the Accusump with oil pressure, but when that drops, the air pressure you've built behind the Accusump's piston will push it into the engine to keep oil pressure up.
In the kit below, you don't need any of the eyelets/switch, just the valve, NPT plug, and 1/2 NPT male/male union. Run it -10 to the firewall to a BULKHEAD, then to a T in your oil cooler line that returns oil to the engine. You also want to install a check valve before that T (in the cooler line, not Accusump feed line), to keep the Accusump oil from going through the cooler.
No PDM, but I can do the same thing though my ECU, just telling it to trigger a relay driving the valve when RPM/oil pressure are outside of limits.
After talking with a few people, and the feedback here, I'll definitely do an Accusump, but not soon. Just don't have the time.
When this motor was N/A, I didn't have much of an issue keeping it cool. It could fairly easily do a 30min session in 110* heat with only a lap or so of off pace cooldown.
With the turbo, this changed big time. Even after moving to a larger NC radiator, temps would climb in excess of 235* after just a lap or two in hot conditions. If it was cool out(50-60*) I would get maybe an additional two laps before the same would happen.
So with this revision and the knowledge I would be running a LOT more boost(and cylinder pressure) than last year, I went nuclear on cooling.
I said that motor went into the car EXACTLY as shown... missing the entire water pump housing. And it did. I chucked the OE honda water pump into the trash and redesigned the entire cooling system from scratch. Behold, the almighty CWA400 water pump.
I wanna pause for a second and give a large thank you to @Padlock , who was nothing short of a godsend for planning this entire setup, especially when it came to mounting and plumbing the waterpump itself. And... he may have caught me trying to plumb the coolant flow backwards through the motor... yeah don't do that. Cold coolant goes INTO the side of the block, hot coolant comes OUT the rear of the head. Not the other way. Whoops.
The CWA400 is an aftermarket electric waterpump produced by Pierburg. It's a crazy strong, fairly reliable, PWM controlled pump that can move a freakish amount of fluid. Like, empty a 5gal bucket in a few seconds scary. To quote Padlock... "It is funny to see how little the cwa400's **** around. You want flow? Here you go. **** you"
The downside is that as of March 2024, the CWA400 design was changed from PWM controlled, to LIN controlled, which is not a commonly available control method. As in, I'd never heard of LIN, and had absolutely no idea what it was, and my ECU definitely didn't support it. So if you wanted a legitimate CWA400... you were fucked.
However, Pierburg also OEM's the pumps for the BMW versions of the CWA400's that found their way onto several roadgoing cars, and, to the best of my knowledge, these pumps remain, and will remain, PWM controlled.
So I did some digging, hopped on Rockauto, and ordered a waterpump for a 2007 BMW 335I, 3.0, L6 turbocharged, P/N 707223020. The housing and bolt pattern is shaped a little differently then a CWA400, but the flow characteristics and electrical plug are the exact same.
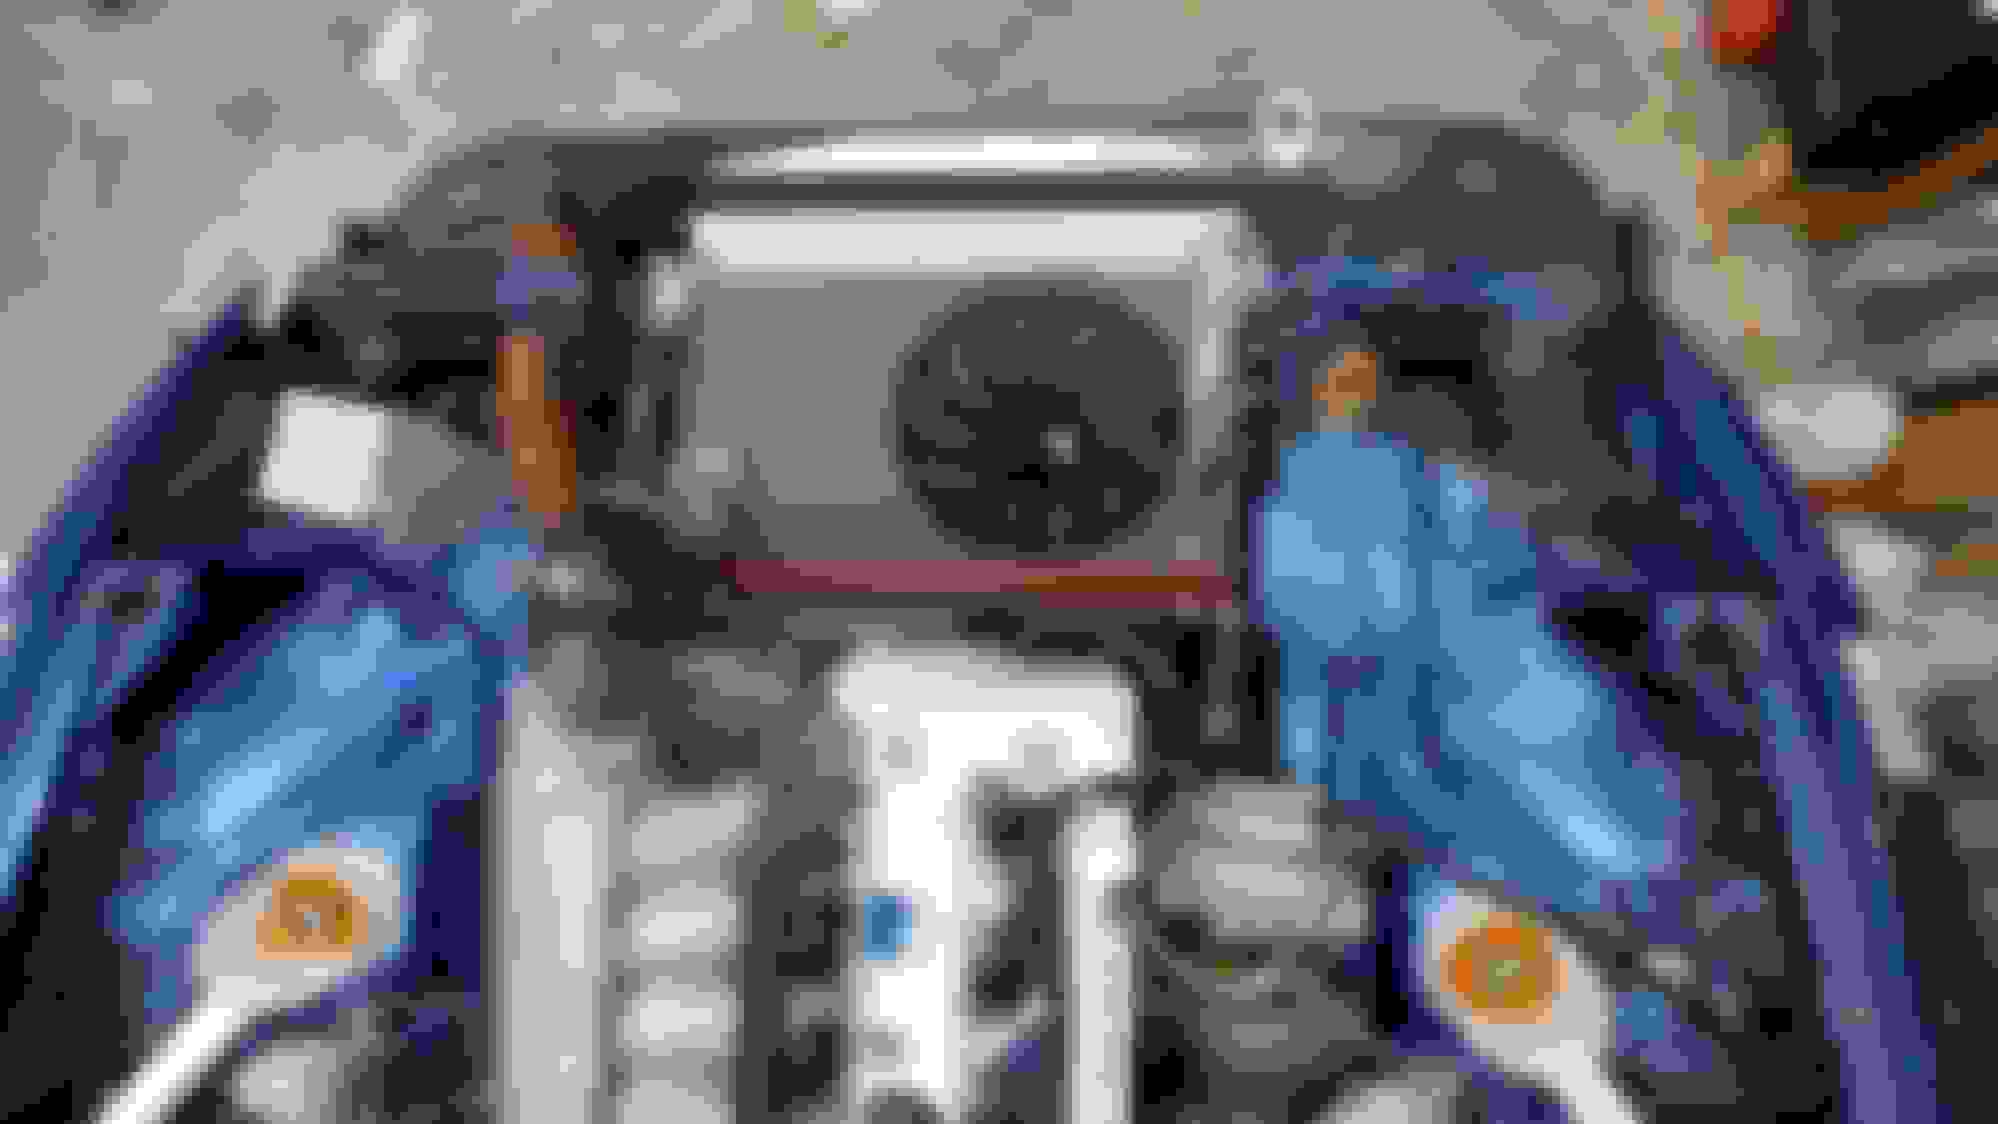
Actually finding somewhere to mount the pump was a little tricky. While it's fairly compact, there are certain orientation restrictions, and needs to be at a "low" spot in the cooling system to avoid getting airlocked. I eventually settled on the spot shown above on the drivers side, nestled down between the starter and frame rail. To mount it, I welded some brackets to said frame rail, keeping as low as possible while still just clearing the steering shaft.
To then replaced the waterpump housing I had deleted, I grabbed a thick sheet of aluminum out of the scrap bin... and realized it was the partner to the wing mount I had bent in half at Road Atlanta last year when I did a little wall tappage. It would continue to serve, just in a very different way now.
I boogerwelded a 1.5" inlet tube to it, as well as a bracket to hold the alternator.
Since the waterpump housing I had removed also holds the alternator mounts and tensioner in the OE setup, I needed to build something to replace that. A quick and dirty mount to the block, the smallest 7 rib belt Gates makes, and a crude tensioner later, and I had a setup that would still accept the OE alternator(photo taken before the waterpump plate was done, the eyelet on the elevator bolt just bolts to the plate).
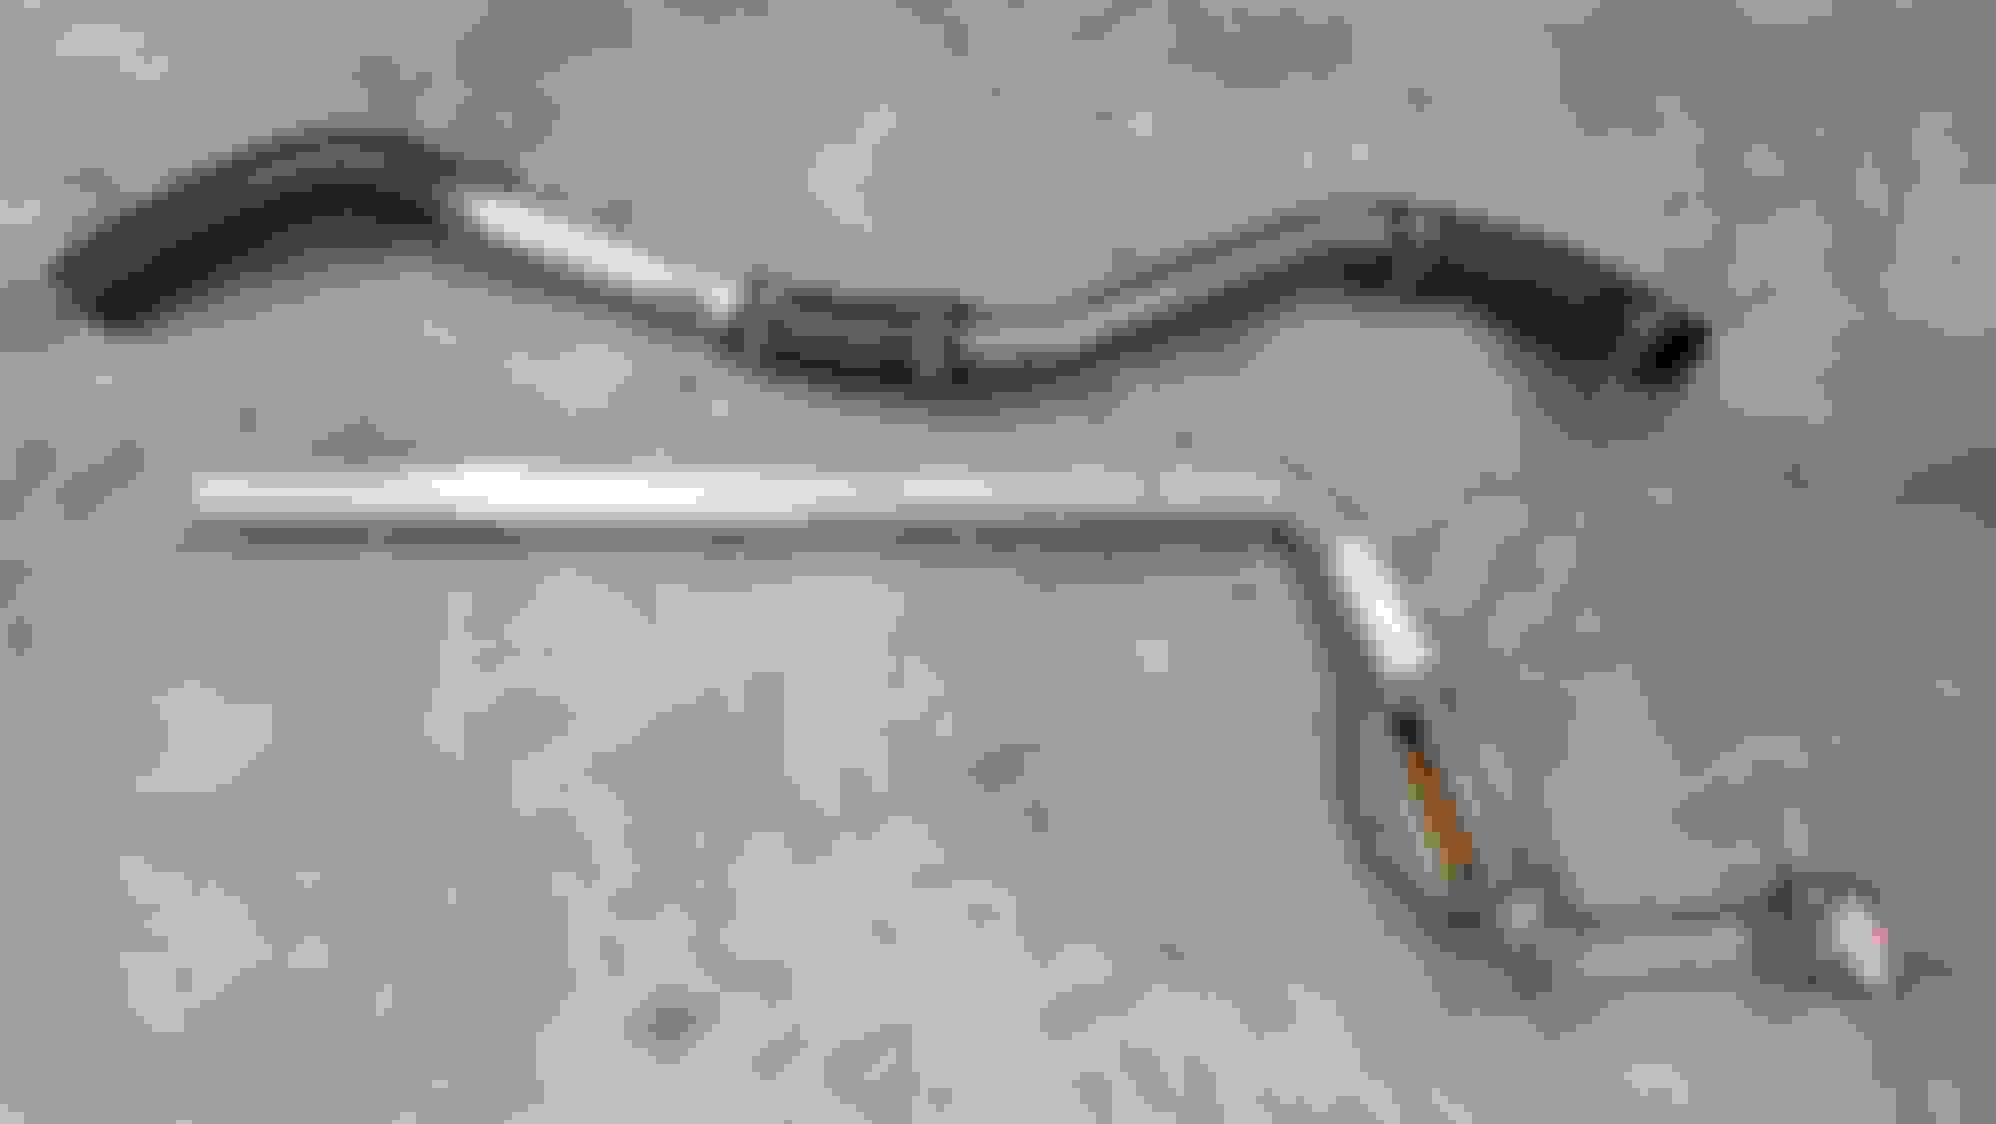
On the hot side of things, I previously had a pretty jank setup with way to many connections. The Kpower water neck went to a rubber line, that went to a stainless line next to the downpipe, that went to another rubber line, that fed into a short run of aluminum tube, that went to ANOTHER rubber line before finally hitting the radiator.
I threw all of that mess out and welded an aluminum tube directly to the Kpower neck, going from 6 potential leak points to two. As long as you don't count my welds as leak points, as I had to do a fair bit of pinhole filling once I actually got around to filling it with coolant. I also added a bung on this side to dump the hot coolant coming out of the turbo directly into the hot coolant coming out of the block, so it ALL goes through the radiator and gets cooled, no bypassing possible.
Old crusty vs freshly welded. **** welding aluminum, I got tired of it. Steel is so much easier and more forgiving to work with.
For the radiator, I went big. Triple pass frame rail to frame rail big. I couldn't find anything with both the sizing I needed and the correct inlet/outlet locations/sizes, so I ordered the biggest radiator I could fit, chopped off all the ports, and welded on my own. Which, after adding mounting tabs, left me with this:
With both the radiator and the intercooler mounted, I could mount the splitter, and build some airtight ducting. Tight enough that the radiator fan pulls a suction on the inlet plenum if the mouth is mostly blocked off. The splitter remains removable, just takes a little more care to line the ductwork up during installation.
Judging from how it behaves while idling in the garage, this setup seems very powerful, and with a ton of thermal capacity as well. Lacking a Tstat, it's definitely going to be a little tricky to figure out how to tune the pump to get the motor to operating temp quickly, but then keep it in that 180-210 realm in all conditions.
Currently I have the pump set to its lowest duty cycle(10%) until 180*, then from 180-210 it ramps to 40%. Anything hotter and it ramps towards 70%. Faster then that and the waterpump sucks so much water it pulls a vacuum on the thick wall 1.5" inlet hose, and starts to collapse it. Scary.
As the most I've done so far is idle and rev the car in the garage, I haven't been able to fully test it, but fingers crossed either the sheer amount of coolant the CWA can move, the triple pass radiator, or just the sheer amount of thermal capacity this system should have(I think it took 3gal to fill and bleed?) can keep this motor cool even charging at full bore for multiple laps.
I had no idea that electric coolant pumps were either LIN OR PWM controlled. I just figured they could be controlled either way. I've got a surplus of electric coolant pumps at work from various newer Fords. I figured if I ever wanted to, I could use one for a personal project on my car. All our cars control their coolant pumps via the LIN, though. So much for that idea.
I had no idea that electric coolant pumps were either LIN OR PWM controlled. I just figured they could be controlled either way. I've got a surplus of electric coolant pumps at work from various newer Fords. I figured if I ever wanted to, I could use one for a personal project on my car. All our cars control their coolant pumps via the LIN, though. So much for that idea.
I still don't really know what LIN is. Once I figured out that no aftermarket ECU I could find would do it, I lost interest. PWM is pretty common for every aftermarket pump I looked at though.
With the motor in the car and an assembled cooling system, it was getting down to the small details. I pulled my Walbro 255 out of the tank and replaced it with a 350. I also finally moved from rubber fuel lines in the engine bay to full braided 6AN lines, and moved from a dead head fuel rail to a return style, should be better for fuel heat soak and flow when allofit is demanded. Plus, AN is just cleaner looking.
Obviously no off the shelf driveshaft exists for CD009 --> Cadillac, so I had to get a local shop to build me one. I told them I would need something that wouldn't sweat at 600whp, and they told me this shaft would be fine getting launched at 1000whp on the strip. Music to my ears. 3" diameter aluminum body, big 'ol u-joints, solid aluminum flange with no guibo. Wasn't cheap($1200), but hopefully it's the only one I ever need.
Only one thing remained undone for the interior. An ECU.
I sold my MS3 EVO months ago. It pained me a little to part with it, as that exact ECU had come off of Supermiata's Vegas and had some history in Miataverse, but I had frankly outgrown it. I was out of digital I/O ports, MS offers zero DBW support(something I might want in the future), and the CAN functionality was nearly non-existent. I bounced around a couple options, but eventually settled on a Maxx Race ECU.
Full DBW support, more I/O ports, table sizing up to 32x32, OEM CAN emulation, onboard trigger oscilloscope, custom tables, built in EGT ports, 4D tuning tables, and an incredible amount of flexibility and control for pretty much anything. The only annoying thing about it was the connectors. If you don't have a super high end die/crimp, the pins will warp ever so slightly. The pin itself will seem to insert just fine into the connector, but then the locking tab will refuse to seat. Or it will seat, but it's then jammed in place so tightly you can't remove it. After spending a full day of cursing whatever German engineer overcomplicated a damn connector, and getting so mad I broke one connector, I threw in the towel and bought a flying lead.
I had to reference my own posts waaay back from the original K swap for trigger and offset settings, but after about an hour of learning how the new tuning software worked, the car fired, ran for about 5 seconds, and died. I was ecstatic. A day of adjustment later and she fires up, idles smoothly, and maintains temp perfectly. I did have to up the idle to around 1200RPM to keep it somewhat smooth with the ID 1700cc injectors- those did NOT want to idle down at 8/900 RPM.
And that's it, fully caught up. That's where she sits as of this exact moment. The only two items I need to be able to take it from just "running" to "running and driving" are a windshield and axles.
Safelight comes Monday to install new glass since my old one... wasn't exactly reusable.
Axles should be here sometime next week. I didn't get V8R ones.
So by this time next week... this car should move under its own power for the first time since January. Which is going to give me a little under a month to test, tune, work out the bugs, and have a car do the Dragon Hillclimb in at the end of July.
Crunch time.
**** just remembered I needed to order and install cage padding
Happy to help and share my piles of cooling experience with electric pumps in the OEM world.
Just to add detail here because "why not", Pierburg has been moving to LIN (Local Interconnect Network) control on pumps as it is more of an industry standard for controlling automotive electronic components. Think of it as a simplified canbus type of language... a lot of interior component control modules (like BCMs) utilize LIN control for power windows, steering wheel controls, HVAC, etc. It makes sense to have pumps that many times can be used for HVAC systems to follow that lead and utilize LIN as well so the BCM can control them. This type of control allows for speed control and diagnostic/error codes to be communicated through the bus line, something not all their PWM controlled pumps can do as effectively.
There are aftermarket components available that take traditional PWM signal and convert it to LIN for newer pumps if you ever want to explore that avenue with using a LIN pump. Here is one that I found via quick Google. In a similar manner, you can just simply connect the LIN signal wire to ground and the pumps will run at full speed by default. https://totalracingproducts.com/prod...-a-map-sensor/
Nice work on DIY implementation. Given the suction pressure the CWA400 is capable of at full speed, I'd probably recommend eventually tossing as long of a length of hard line as you can between the pump and radiator. While I have doubts you'd need the peak flow capacity of the CWA400, this would allow you to eventually push to 100%DC if needed and alleviate concerns around that nylon reinforced hose collapsing. The SAE J20R1 spec for that hose type is only rated for 20-30kPa vacuum on it (depending on exact OD). Pass/fail for vacuum testing is when 20% of the diameter reduces. If you get more expensive wire inserted/reinforced hose per SAE J20R2 that vacuum capability increases to 80kPa, which could be another option instead of hard line for you. Your duty cycle notes for warmup make sense for a first stab at things. It's a pretty obvious curve to dial in once you have some data on cooling performance. Running the pump as slow as necessary is the main goal. No use in running it faster (drawing more electrical power and increasing working pressure) when you don't functionally need it.
Very interesting! Makes sense in regards to relaying DTCs. I always thought of the LIN as a CAN, but for components instead of modules. At least on the vehicles we service on my work (Ford technician), which have 3 or more CANs linking multiple modules.
I often get hybrids in at work with powertrain fault codes for the electric coolant pump going out, but the issue is most often with another component on the LIN shorting to ground. Active grille shutters and their wiring harnesses being chewed by rodents are actually our most common cause of electric coolant pump �failures� lol.
To add something on topic, holy hell the driveshaft is gorgeous! I honestly thought the car was gonna be down longer, can�t believe how much you�ve got done this year.
It's strange to me that Pierburg changed their dedicated aftermarket part from CAN controls to the much less common LIN. That's popular for OEMs, but they're not your target market for aftermarket items. Especially when they seem to still be making the older CAN controlled units as OEM replacements. I gotta think most of those pumps from other suppliers on Rockauto are just private labelled Pierburg units.
I find it funny how much BMW stuff is winding up on your car. Brofab E30 hubs, Mk60E5 from an E9x, and now a E9x water pump too. No track day is complete without a BMW getting towed off track, and yet some of the best upgrades out there for a Miata are stealing from their parts bin.
Incredible stuff you're doing, thanks again for the knowledge share. Such a fantastic build thread!
The easy answer to "why no accusump" is... Well... I don't know. I think my mind jumped right from wet sump to dry sump without even considering an accusump.
If the tiny baffle I added doesn't improve things(and I honestly don't expect it to), then yeah, accusump time. Not looking forward to buying 20+ ft of -10 AN lines...
Guess I need to run more ideas by Curly first 😆
I have also been thinking of a "hybrid" type wet/dry system - shallow oil pan with a single stage dry sump scavenger pump that send sump oil to the dearation tank, and then somehow pick up the stock oil pump feed from that tank... Sounds complicated, I think i have settled on trying the accusump method first. Perhaps mount in boot as others have said - oil should be incompressable so the lines shouldnt offer much delay as long as they are not too small and wont hinder the flow. Trying to avoid the cost and complexity of many stage dry-sump here.
Your coolant solution is awesome, and glad you have found a PWM variant. And OEM (from... some OEM at least) variety as well... Cant wait for the vids!
Also, have you checked out the parts available from "Track Tuff" - I believe they make items such as the coolant blankoff and alternator bracket. Lots of little bits from that one source. I guess it isnt as fun and as much of a skill building exercise as boogering around though
Hahaha I appreciate the support, but I think I'm faaaaar from the first to throw a bunch of time, money, and power at a Miata and come out the other side with somehow less sanity then when it all began.
I'll have a proper update sometime in the next week, but for now I can quite happily say that the car is running, driving, and MOBILE. But there have been a LOT of bugs to squash, and with the Dragon hillclimb now only two weeks out, priorities firmly in the camp of "make car less broken so it's not embarrassing when you show up to an event".
As proof that, yes, the car does move under its own power, a photo that, for once, is NOT in the garage or driveway, but at one of my local late night tuning spots.
I watched all your videos last night, 10/10, great work. Love all the clips and memes you splice in, I've been thoroughly entertained so far and will keep watching! And of course following along here.
With the project winding to a close it was time to put a windshield back in it. I had smashed the old one for the lolz. It was 30 years old and had a bunch of pits from errant angle grinder sprays of molten metal. Working on a car without a windshield is sooo easy its not even funny. Need to bump the starter? Just stick your hand in and tap the button. Wiring? All the headroom in the world, and better ventilation to boot. The Safelite guy was ecstatic when he saw the old glass was already out, and 20min later I had a brand new, perfectly clean windshield in for me to smear oil all over.
And since I had just remembered it from my last post, rollbar padding was added. Lowpro, high density, expensive stuff around the head and ankles where space is tighter, cheapter dual density on the higher traffic door bars.
The passenger side got the leftover high density stuff. While the dual density driver padding seems to have the attitude of "nice and soft to coddle your delicate elbows", the high density on the passenger side leans more towards "**** you, break an arm if you hit a speedbump". I guess it is better then just a steel tube, but not by a lot.
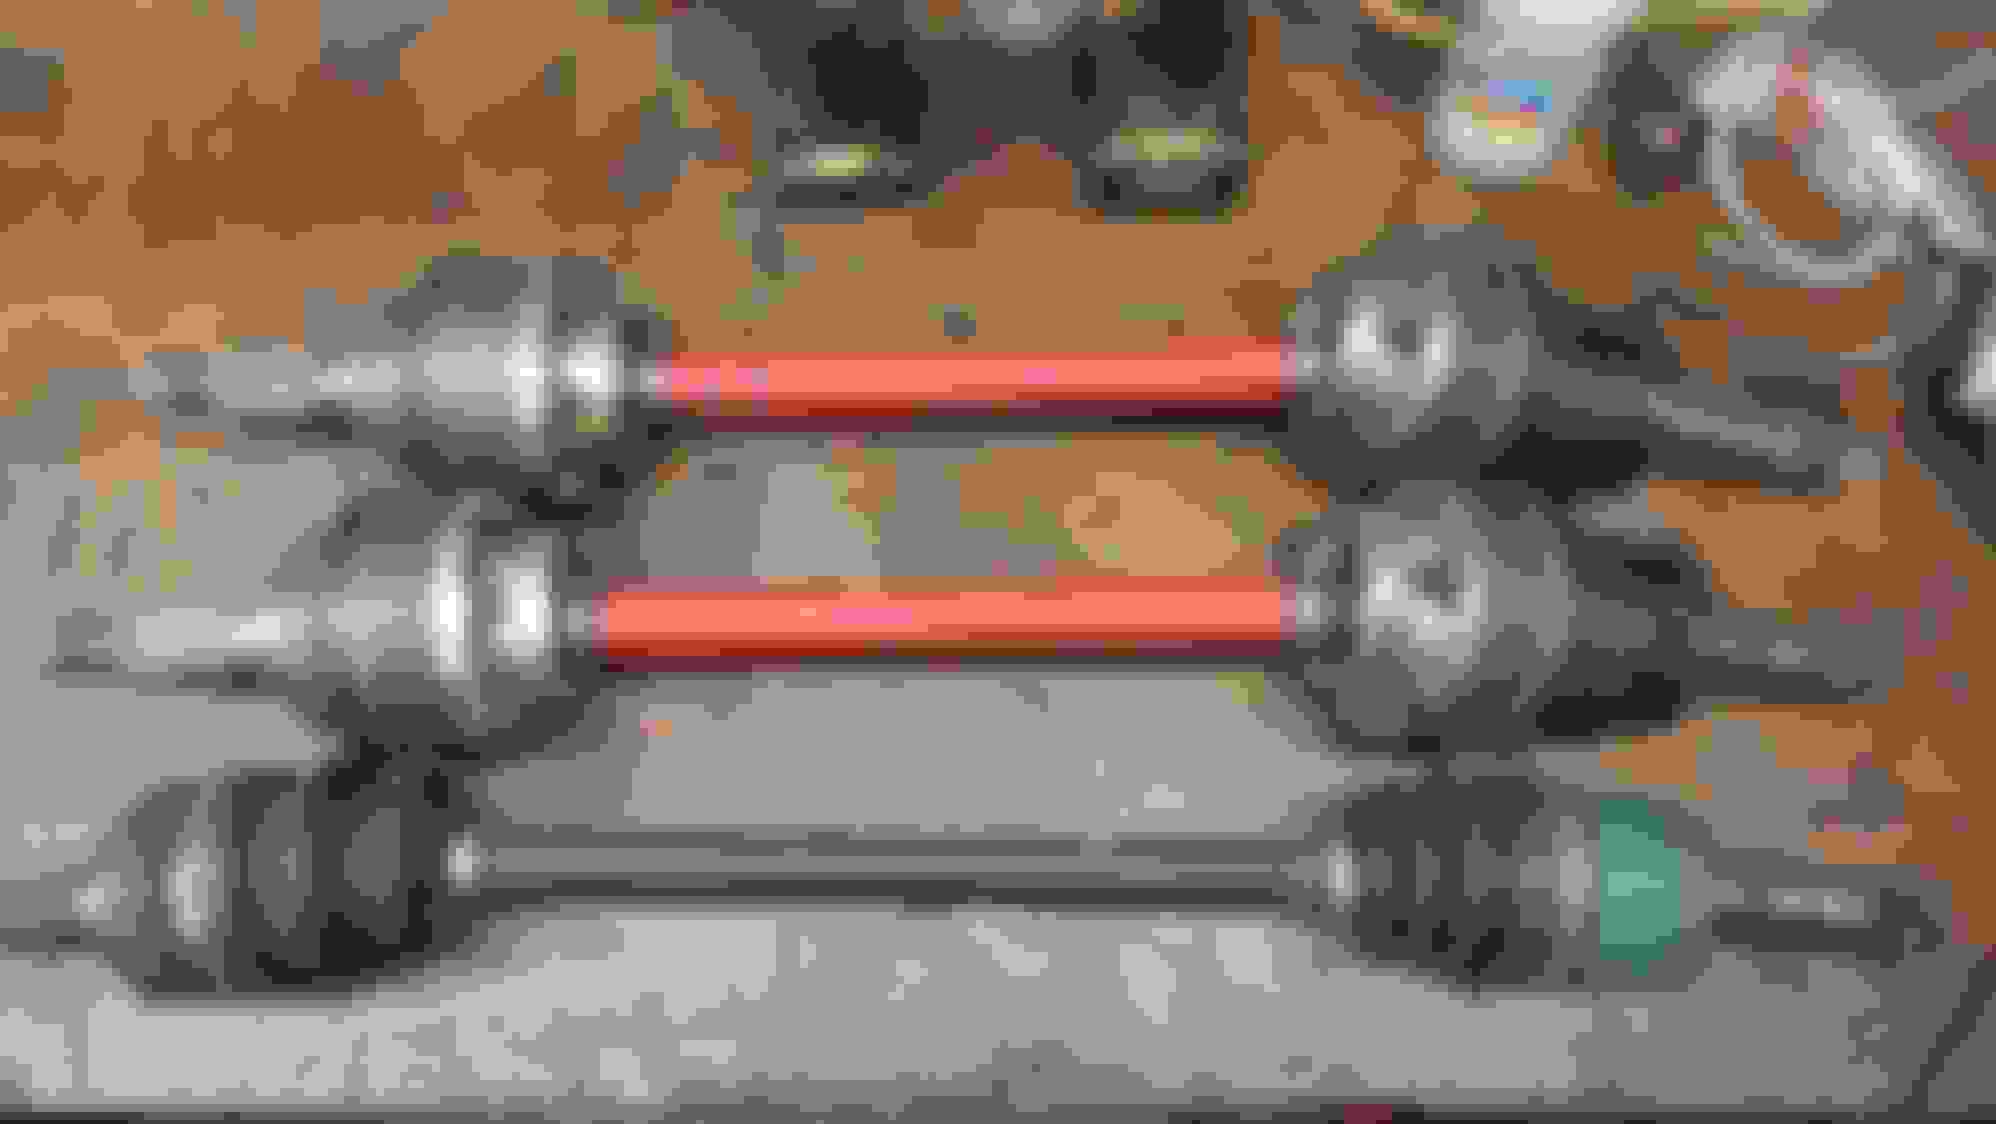
A few days later arrived the last bit of the driveline. Axles.
In the name of "overbuild everything", I didn't want to use the driveshaft shop options. I've seen them have extremely high wear and failure rates on high torque cars. Bronson resorted to servicing them every 10hrs on his V8 car to make them last. I've personally seen Johnny C explode 3 of them on his tube frame V8 car.
I had been after Michael G. to make me a set of their 100mm CV axles using swayaway axle shafts. But seems he ran into supplier issues and pulled them for the time being. In the end, I got a little lucky.
Bronson exploded his motor at Gingerman during Midwest Fest, and it would be down for awhile while he build a suitable replacement. I approached him with the idea of "renting" his custom built axles, but eventually we worked out an outright purchase arrangement for the axles currently in his car. I think he's planning to build something stronger, but what he had should be plenty for my needs.
Porsche CV joints with adaptors to off the shelf 930 based shafts, all bolted together with ARP hardware. These. Are. BEEF. I was told if I manage to break them there wouldn't be a car left.
Pathetic stock Miata axle for comparison.
I also had him machine down the ABS rings so the magnetic E5 rings could be press fit on. Came out perfectly, much better then my angle grinder job.
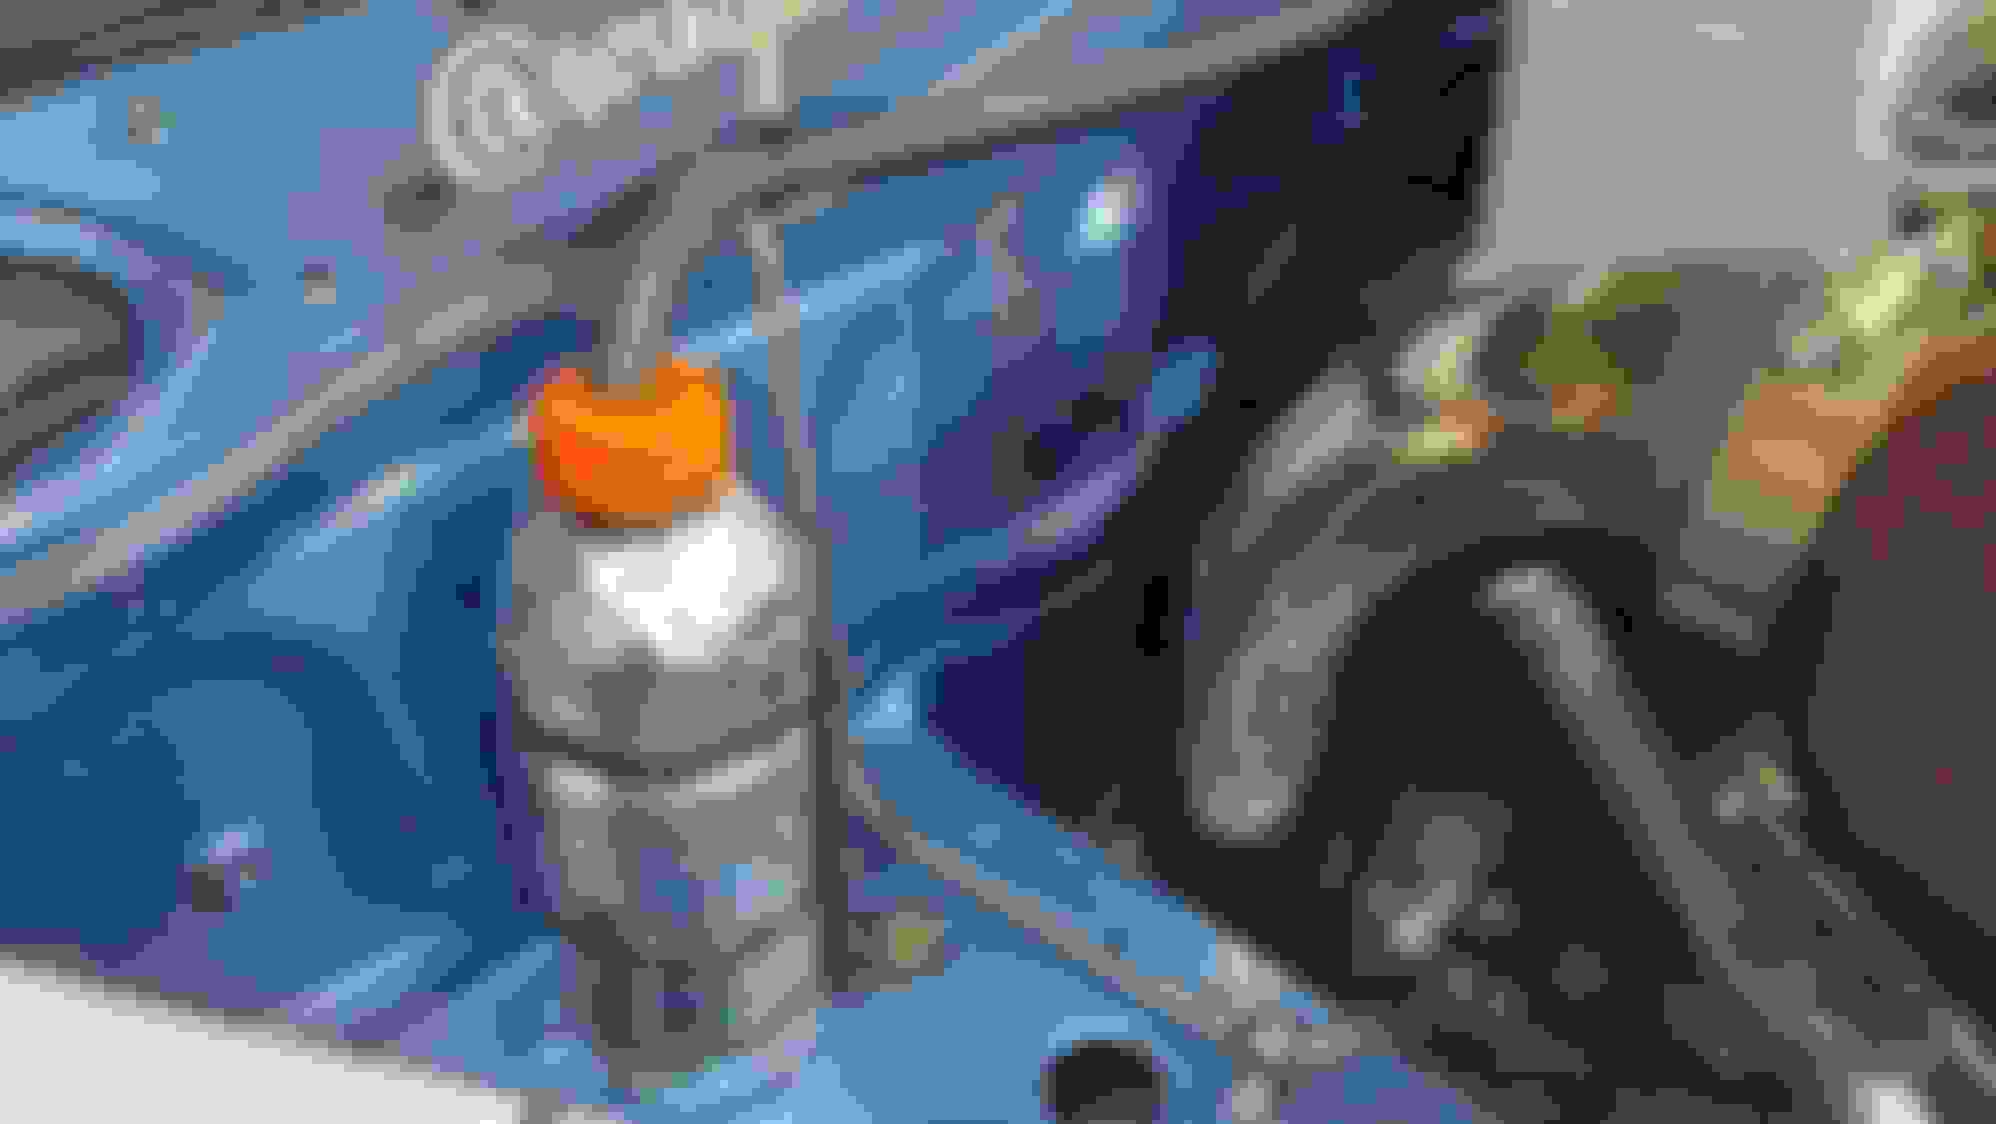
I realized last second I didn't have a coolant overflow bottle. Grabbed what I had handy and made it work. Should pass tech with flying colors right?
And just like that... she was mobile. A few short laps around the block, a quick nut and bolt, and then it was into street tuning and letting it start to stretch its legs. For the first time in over 6 months, I had a running, driving, functional car.
Spring pressure on the wastegate is around 10psi. At this point that ~320whp power level was downright boring to me, so after getting the fuel maps into "close enough" territory and with a very, very conservative spark map, I jumped into street tuning boost control, starting at 14psi, and working the closed loop and PID control higher and higher to make sure that 10psi spring in a dual port can would still hold me up to the ~30psi area.
Boy, once you start shoving more then 20psi into the motor, good GOLLY this thing will haul ***. I know last year on the dyno it made around 400whp on 14psi, but above that, horsepower is just a guessing game. All I know is, it is freaky fast and would still light the tires up though 3rd, even with some warm 245 R7's in the rear.
As I approached 28psi, I started messing with traction control as well to start dialing that in. With the wheelspeeds coming in over CAN from the E5 unit to the Maxx ECU, I can target a maximum allowable tire slip percentage and have it first retard timing, and then start cutting cylinders to bring wheelslip back down.
I started a datalog, pulled out to one of my spots, and started a pull. First gear was still spin city even with TC, but I could definitely hear the ECU franticly cutting . Second gear was more of the same, until I heard a "PHBBBBBT" felt the car kick. Threw it in third, and saw a huge smoke cloud behind me. Before I shut down the engine I knew something had gone wrong big time.
I coasted to a safish spot, uber'ed home, grabbed the trailer and retrieved the car. I didn't have time to look at it until later that night, but the unhealthy amounts of oil pooling on the splitter out told me there was a hole in the block for sure.
And yeah. Yup. Definitely a hole. Right though the block, folded the oil pan like a tin can, and bent the crap out of the thick steel alternator bracket.
With the alternator removed and the rod/piston bits pulled out, the hole can be seen to extend through the entire block. Ain't patching this one with JB weld I'm afraid.
Soo... what happened?
I'm 90% sure this was completely user error. User, of course, being me. All engine parameters, oil pressure, intake temps, fuel pressure, AFR's, ect, were completely healthy up until the event.
When setting up traction control, I told it to pull 15* of spark, then to start dropping cylinders. But as I passed the 220kpa level, I transitioned from previously dyno tuned parts of the map, into kpa levels that I hadn't previously been to. For these, I pulled a huge amount of spark out, until I was down to 5* of spark at 300kpa. Like I said, VERY conservative.
Unfortunately when I hit it with 280kpa of manifold pressure, it didn't have 15* to pull and remain positive. So at full throttle, hammering redline, 27psi being shoved into it, timing went to -9* and everything unloaded .3 of a second later.
I suspect the mixture igniting in the exhaust manifold was strong enough to deseat an exhaust valve and cause piston to valve contact. I know for a fact there isn't an entire piston left in #1, because I've already pulled chucks of #1 out the the side of the block.
At this point I haven't had time to do a full teardown and confirm this theory.
But aside from the obvious fact that this motor is now trashed and is unlikely to have anything salvageable in it, the real kicker is the rod attempting to exit also destroyed the oil pan and windage tray, and I would be SHOCKED if the pickup tube survived due to its proximity to the hole. These all all Kpower swap items with a minimum of a 30 day lead time, and are not exactly cheap. Adding to that, my pan was also pretty heavily modified, so I can't just "borrow" a pan and drop it in onto a new motor.
So at this point... the car is dead after barely a week off jackstands.
My plan and goal had been to make the Dragon Hillclimb end of July, but seeing as that's two weeks out, the parts I need are more than a month out, and I have to do fairly extensive modification to them, and source another motor... that ain't happening. Needless to say I am majorly bummed.
As for what's next... not sure. Definitely going to put another motor in the car, but the when/what/how of that is unknown.
but on the plus side (me always being optimistic), seems like your drivetrain is holding up great and you'll have some great upcoming YT meme-packed content
 06-24-2024, 02:50 PM


 0
0