When you click on links to various merchants on this site and make a purchase, this can result in this site earning a commission. Affiliate programs and affiliations include, but are not limited to, the eBay Partner Network.
Big update from last weekend, its up and running now! Wife was gone for a couple of weeks, so took care of business!!! Main task was connecting the exhaust, connecting oil/water lines, boost gauge. Thank goodness for being familiar w/ the Megasquirt previously! Best advice ever!
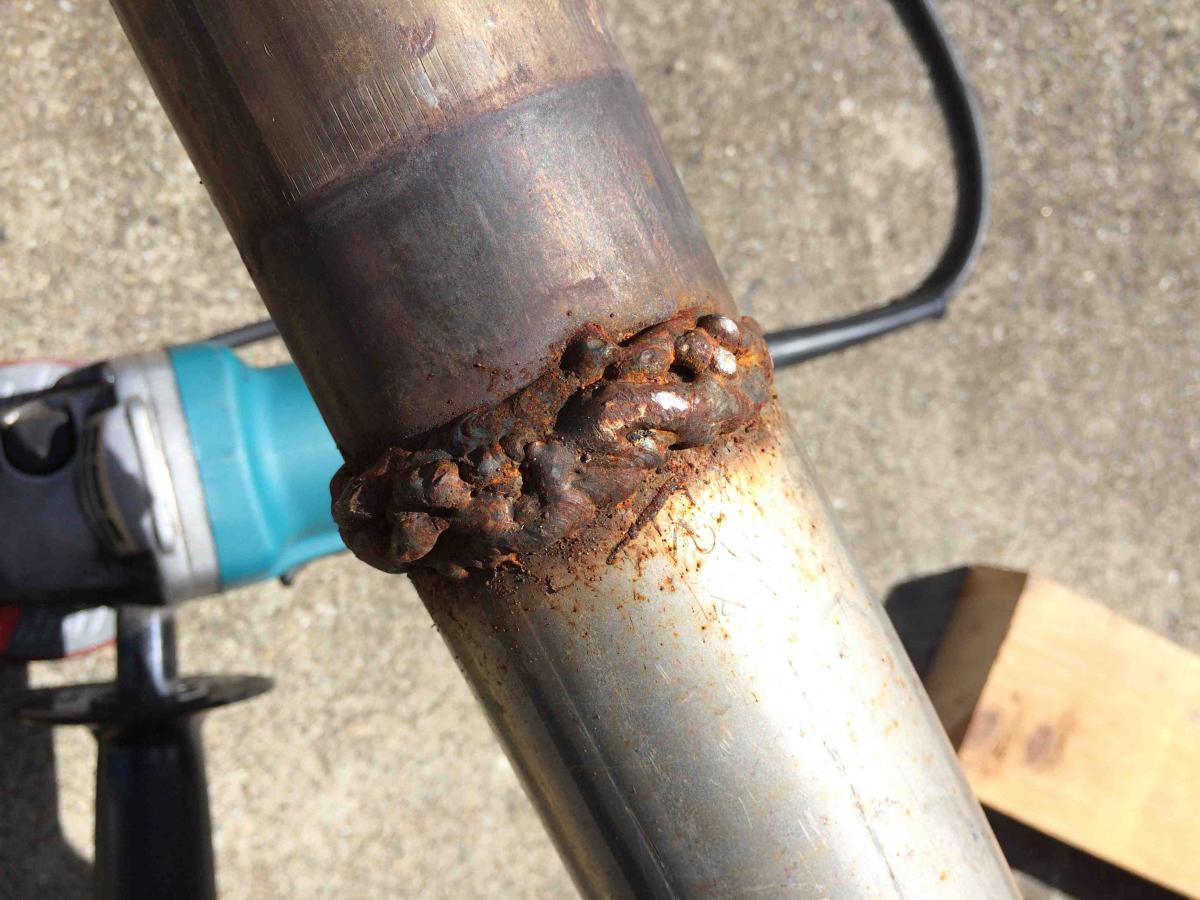
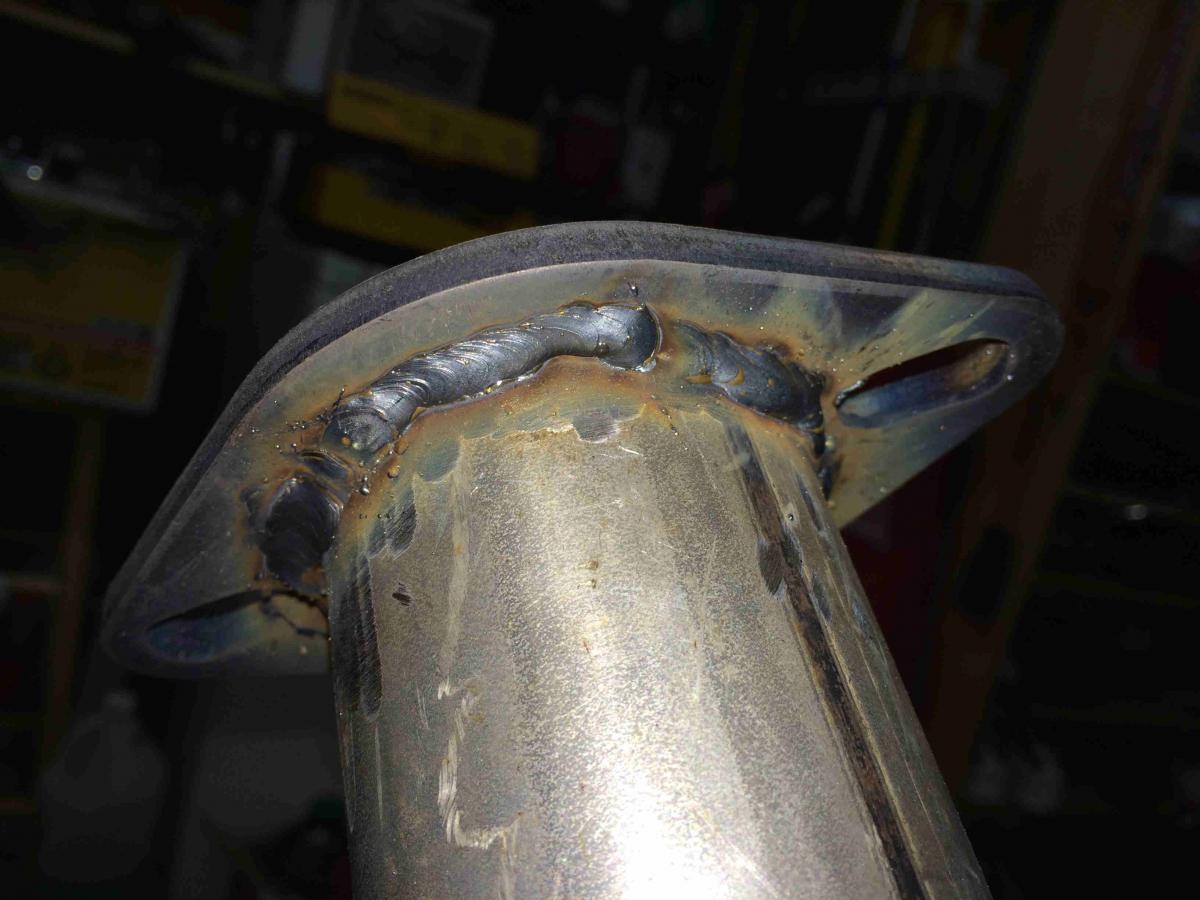
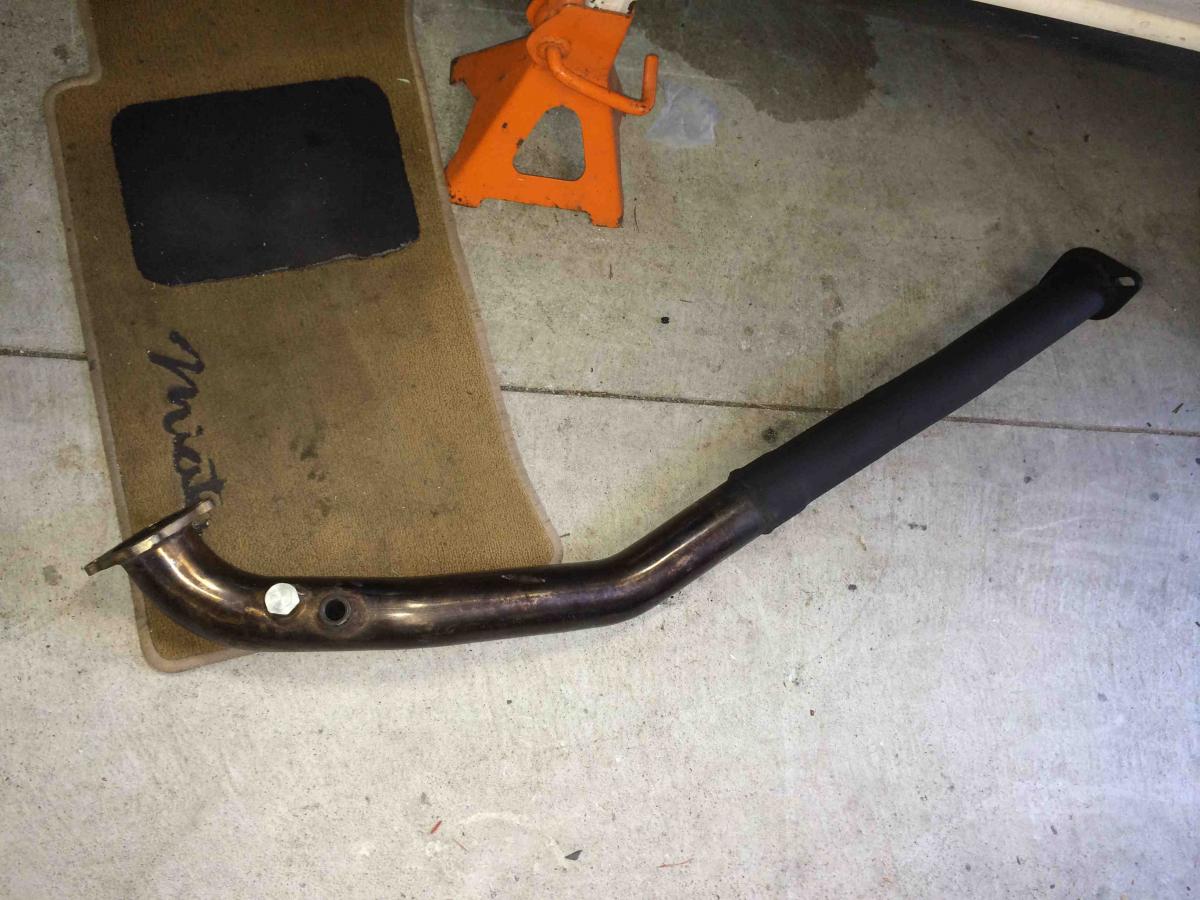
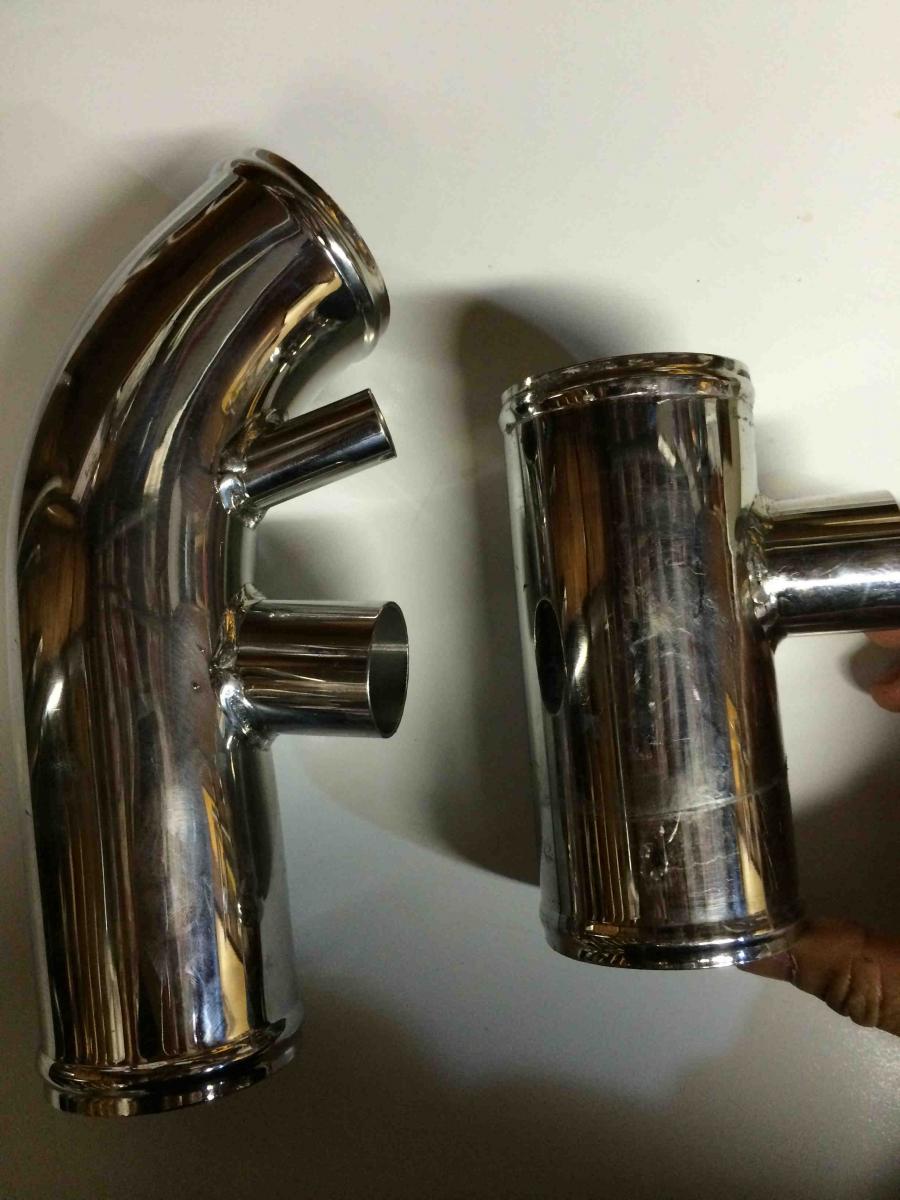
Here's some juicy welds that came with the downpipe to muffler. It was all one piece with these herculean welds. Couldn't imagine putting in a one piece exhaust since I'm not a muffler shop and not easily maintainable. So some flanges were in order...
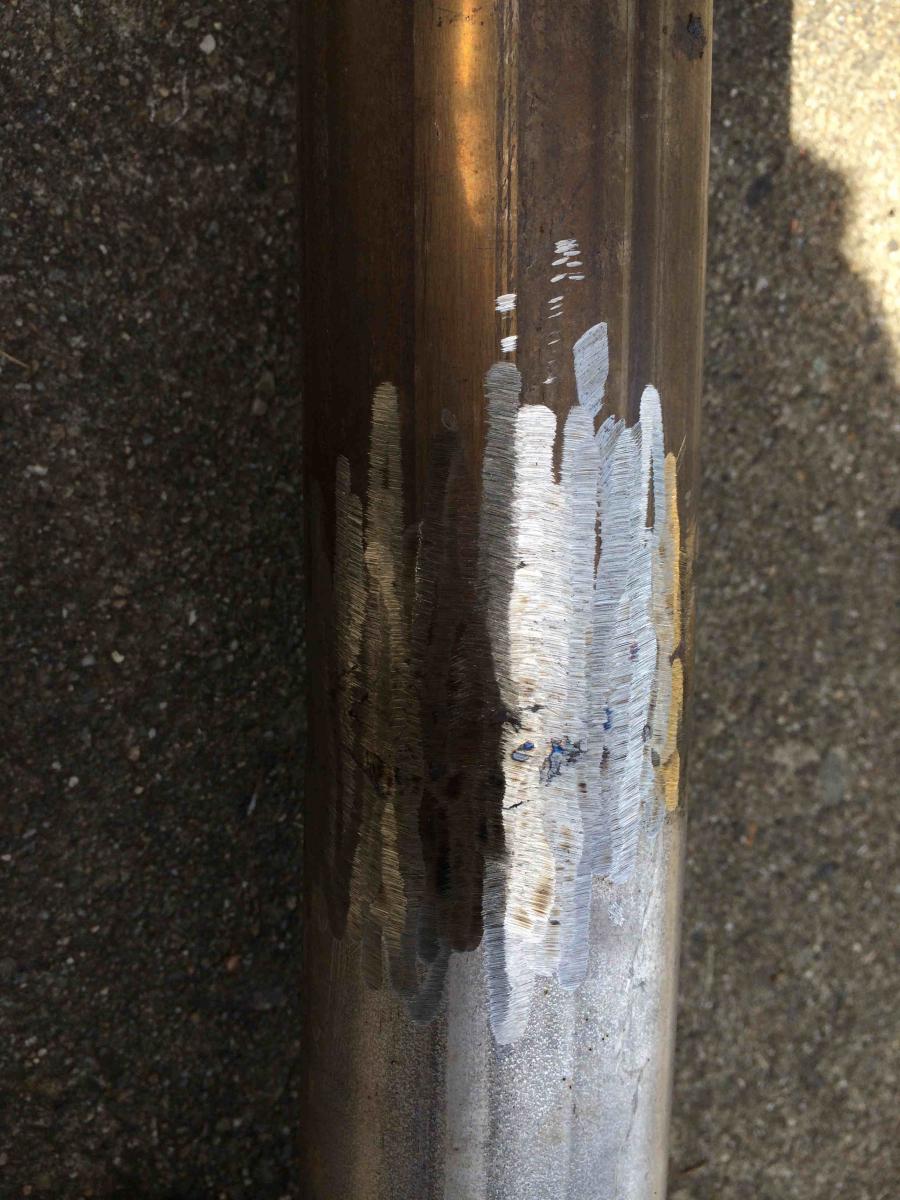
Here's one of two juicy ones which my grinder was ready for...
After grinding
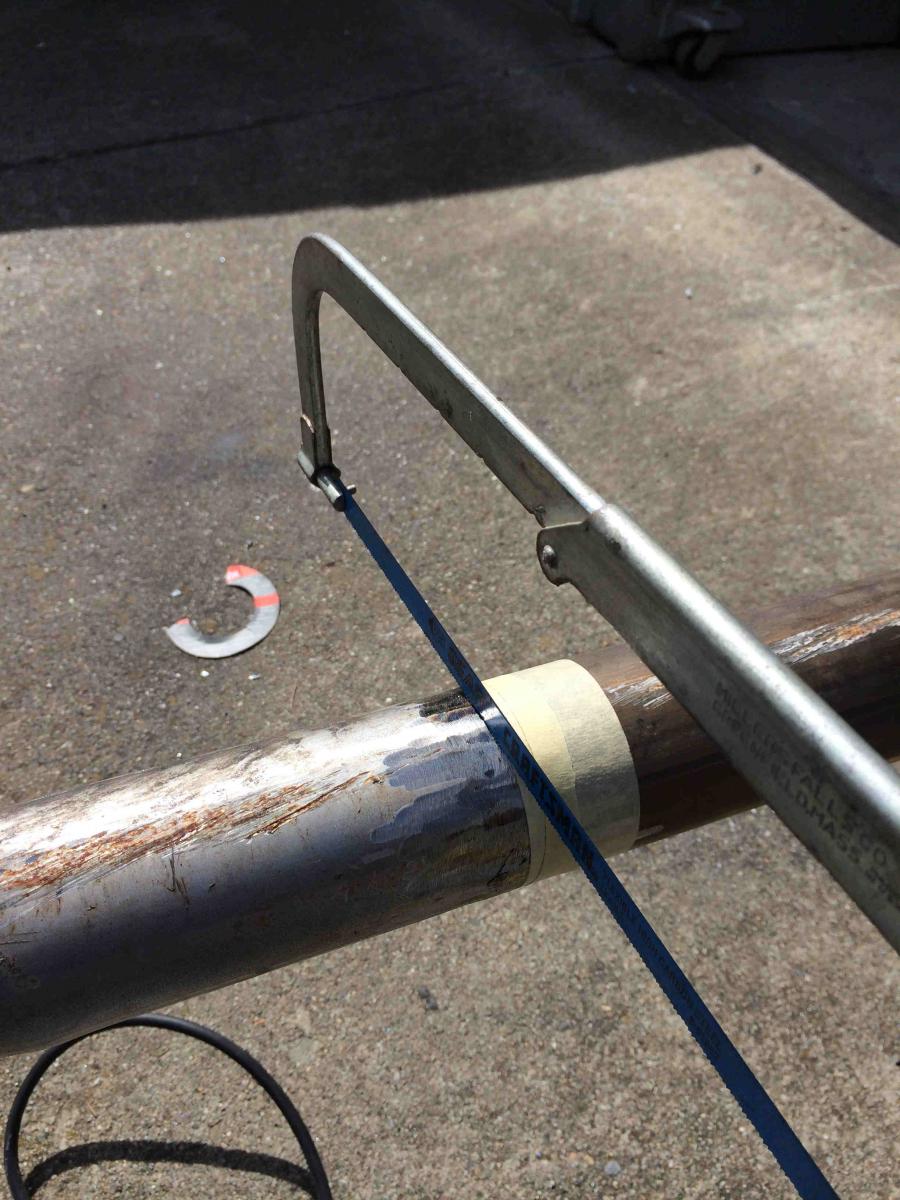
Cutting for flanges
Welded it up w/o tacking on car first was a mistake. Had to cut the weld off via the trusty Harbor Freight Saw. I love this thing! (note, the laundry basket stand... )
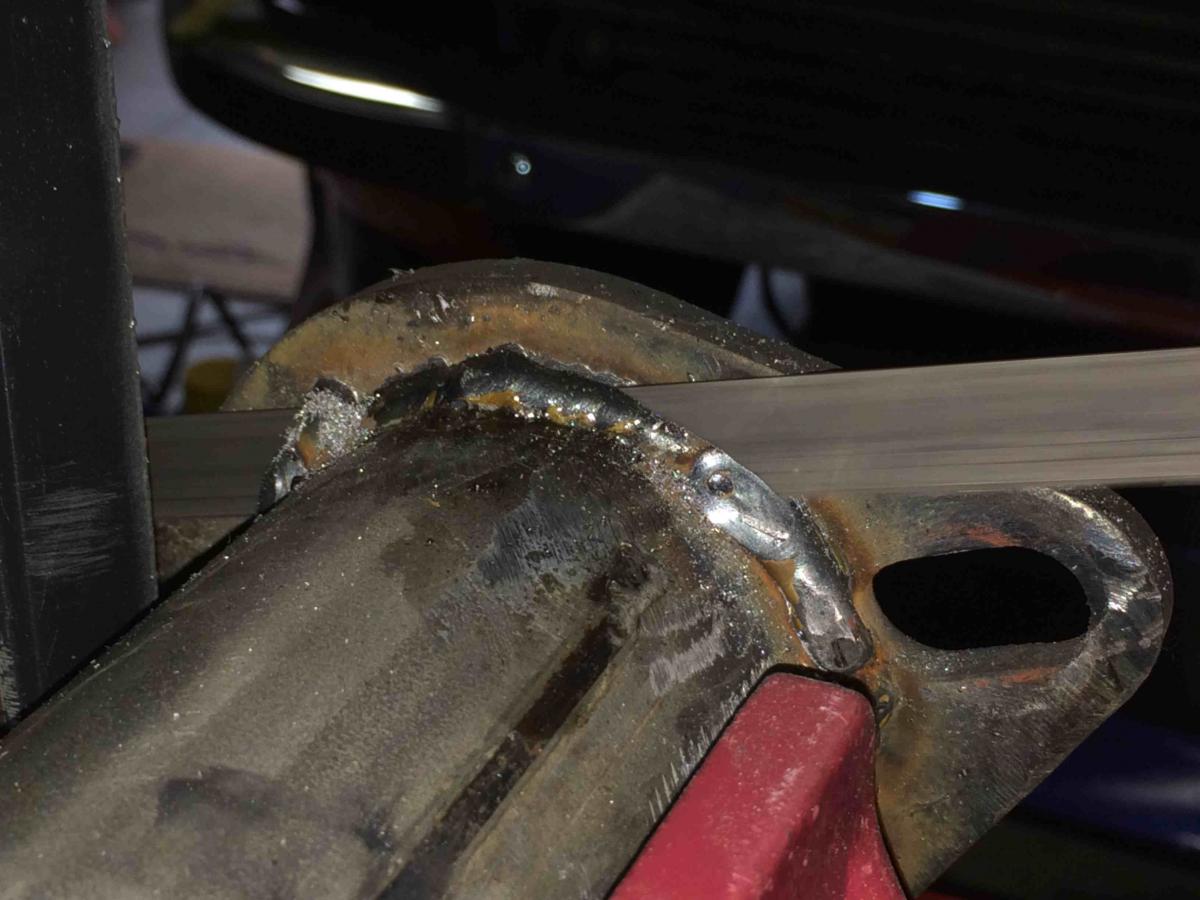
Finally, got to use my Miller 180 220V Mig Welder on something!
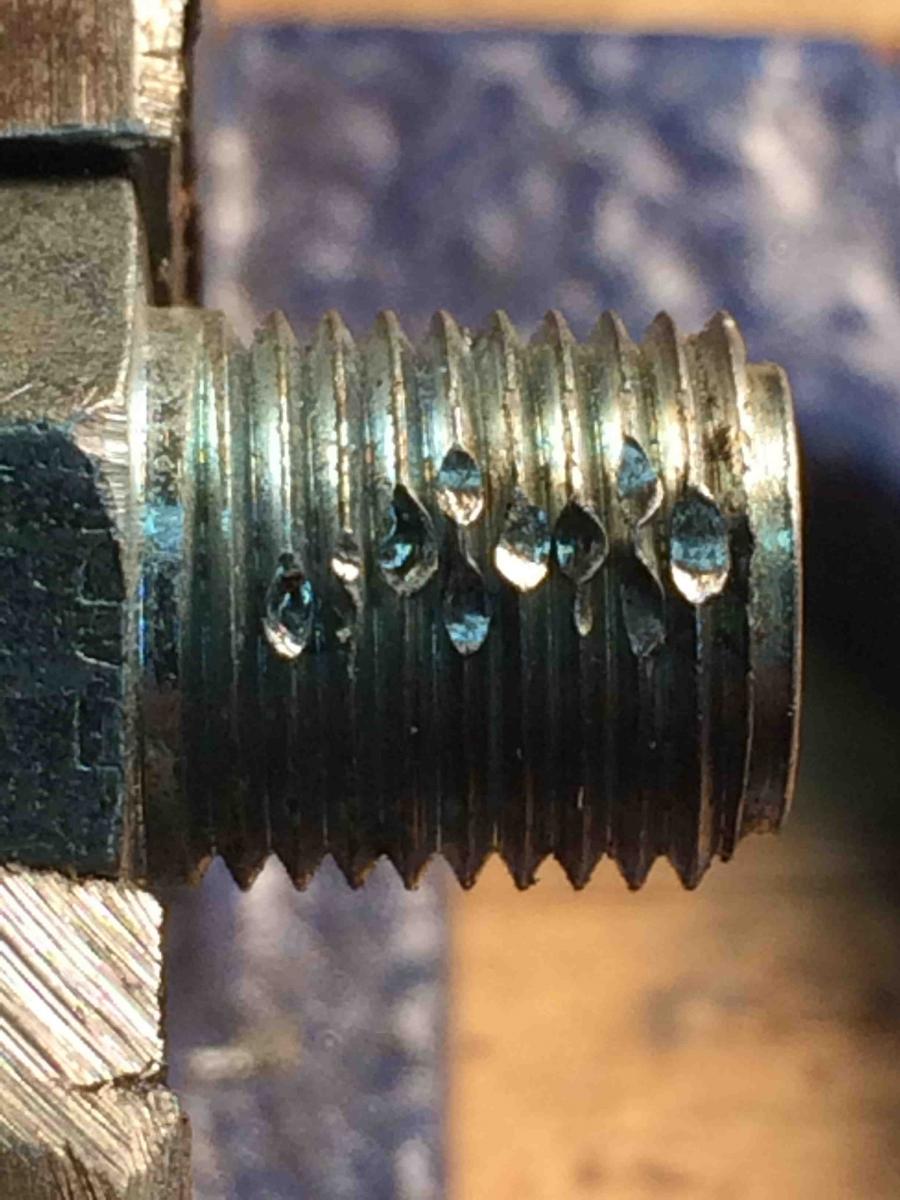
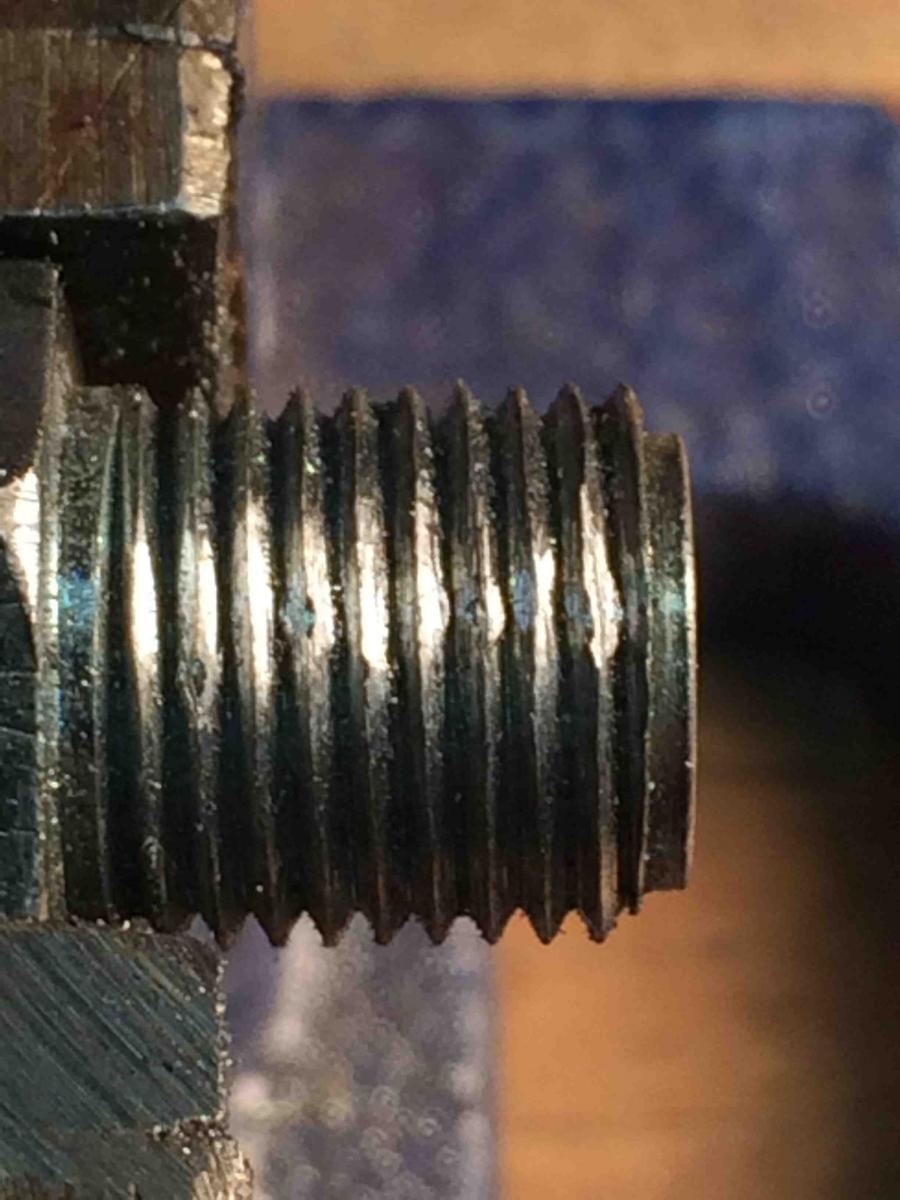
One of the big mistakes was when I removed the oil line threaded fitting I stuck it in a vice, not thinking about how'd the threads would get jacked. I went looking all around for a replacement, but this stuff you can't find but online. I couldn't even fine a die for it either. After hours wasted, decided to use a file to see if that'd do the trick. Otherwise, another part order would set me back days waiting for the part.
Last ditch attempt was a success. It screwed into the block w/o a hitch. The fact that the threads don't really seal but the inverted flare does, that was a big plus!
Before:
After:
This intake tube on the left had to be ordered as it's specific to the '94. Very slick piece from FM. Worth the $60+ bucks.
Thanks. Yeah, its up and running and boosting. Will post some logs soon. Used Al Houno's ve table, and it's been pretty responsive so far, however rich and smelly.
Making a run the other day and hit some boost, then my exhaust was 100x louder. Pulled over and found where I had welded it, I broke the pipe. All that grinding must have made the walls too thin. I know what it sounds to run a straight pipe now... yuck!
Pulled out the exhaust and welded in a flex pipe along with re-installing the Flyin Miata cat. No emissions, and lots quieter!!! Post some pics in a bit.
Ok, been slacking off on doing updates. I guess enjoying the car too much!! I find that I just like to get my daily spool fix and any excuse to run to the grocery store is a welcome one
I'm running a MBC controller now and running at about 12-14psi. Wow, what a difference from internal wastegate pressure! Car comes on pretty hard, and now just wish I could have more instrumentation than a boost gauge and wideband. Either water temp/oil temp, but would like to limit to 3 gauges in the dash.
I figure I'm at the point to getting it dyno tuned, so want to revisit the cooling system , getting a EBC in place and water temp or oil gauge before taking it to the dyno.
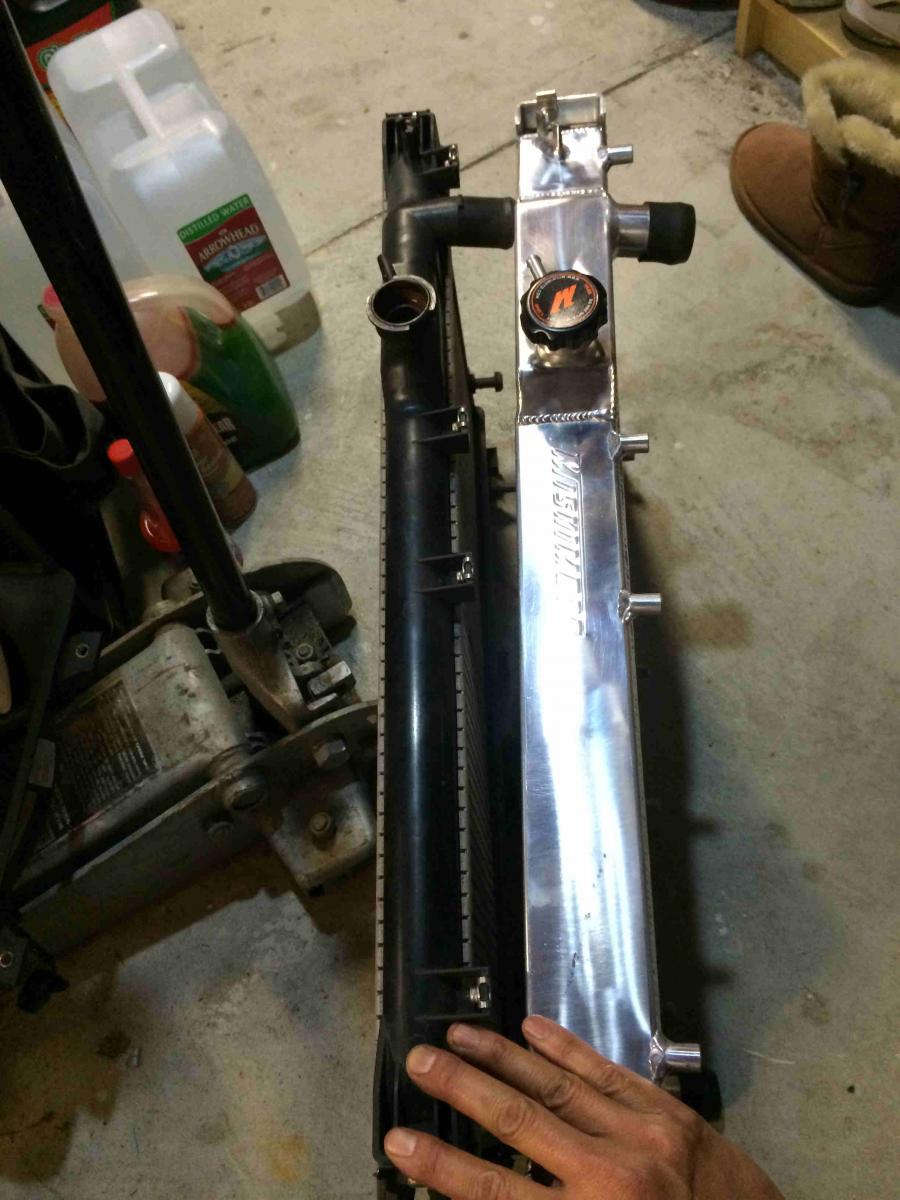
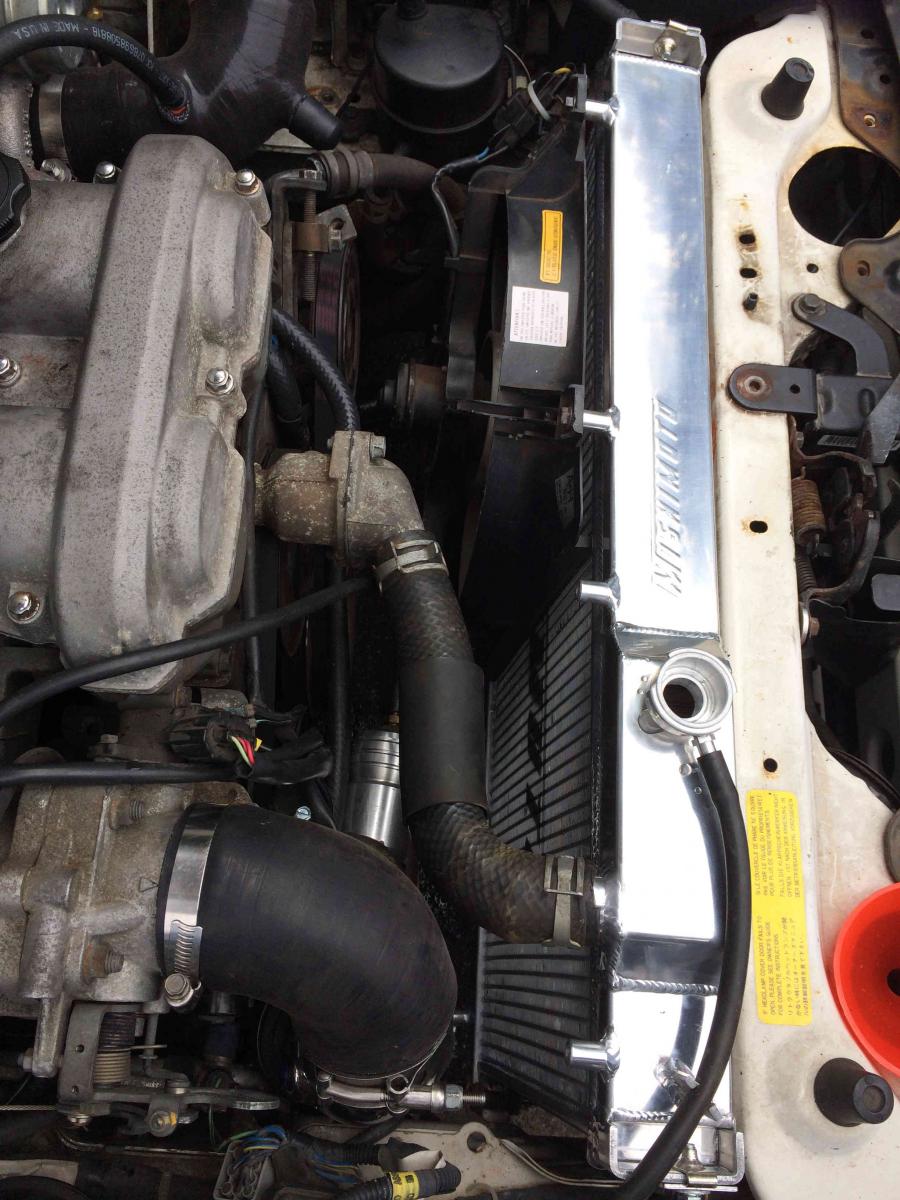
I'll probably get a Mishimoto Alum Radiator with their fan shroud which should suit the kind of driving I do, which is weekend jaunts and 1/2 dozen max trackdays a year. I'll pay special attention to ducting and not wasting airflow to the radiator as others have done here.
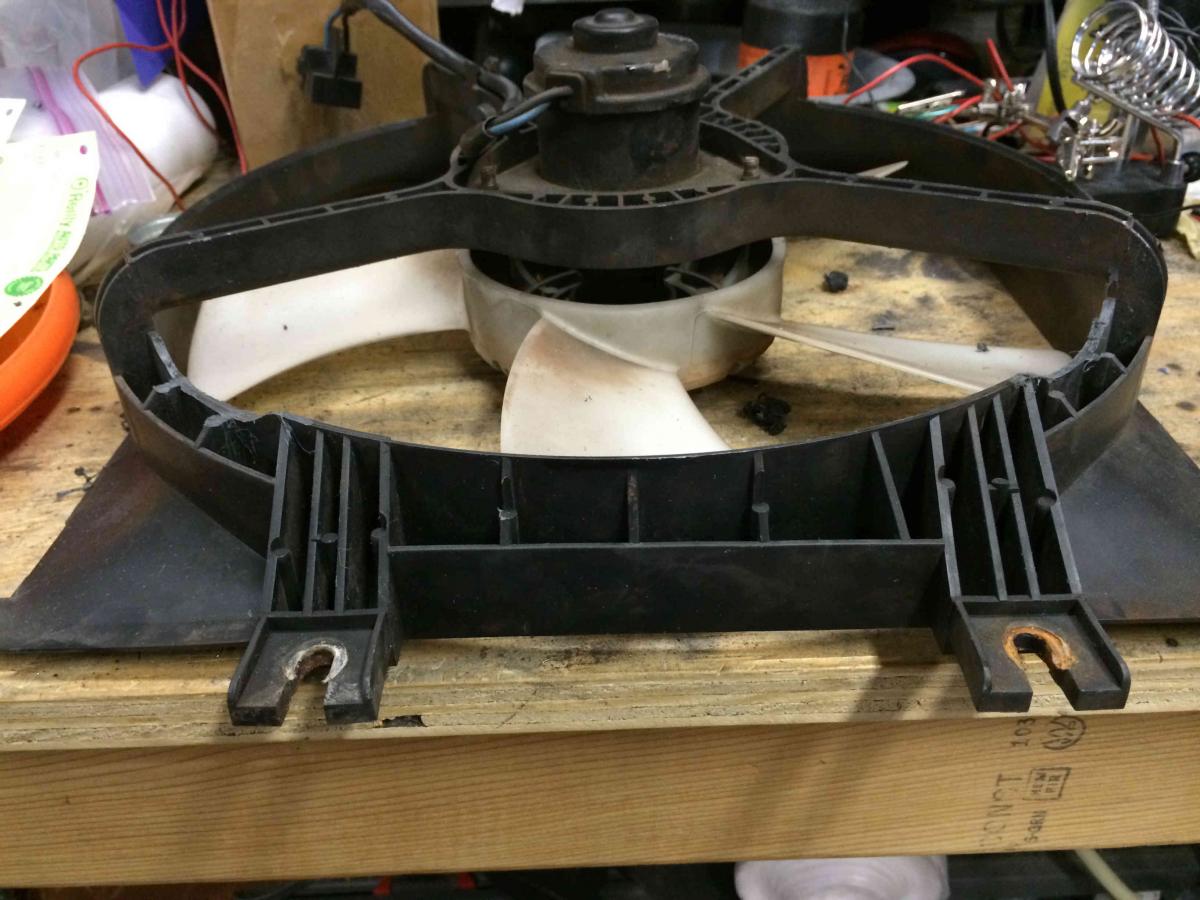
Decided to use the stock fan for now to save a few bucks.
Stock Koyo Vs Mishimoto size
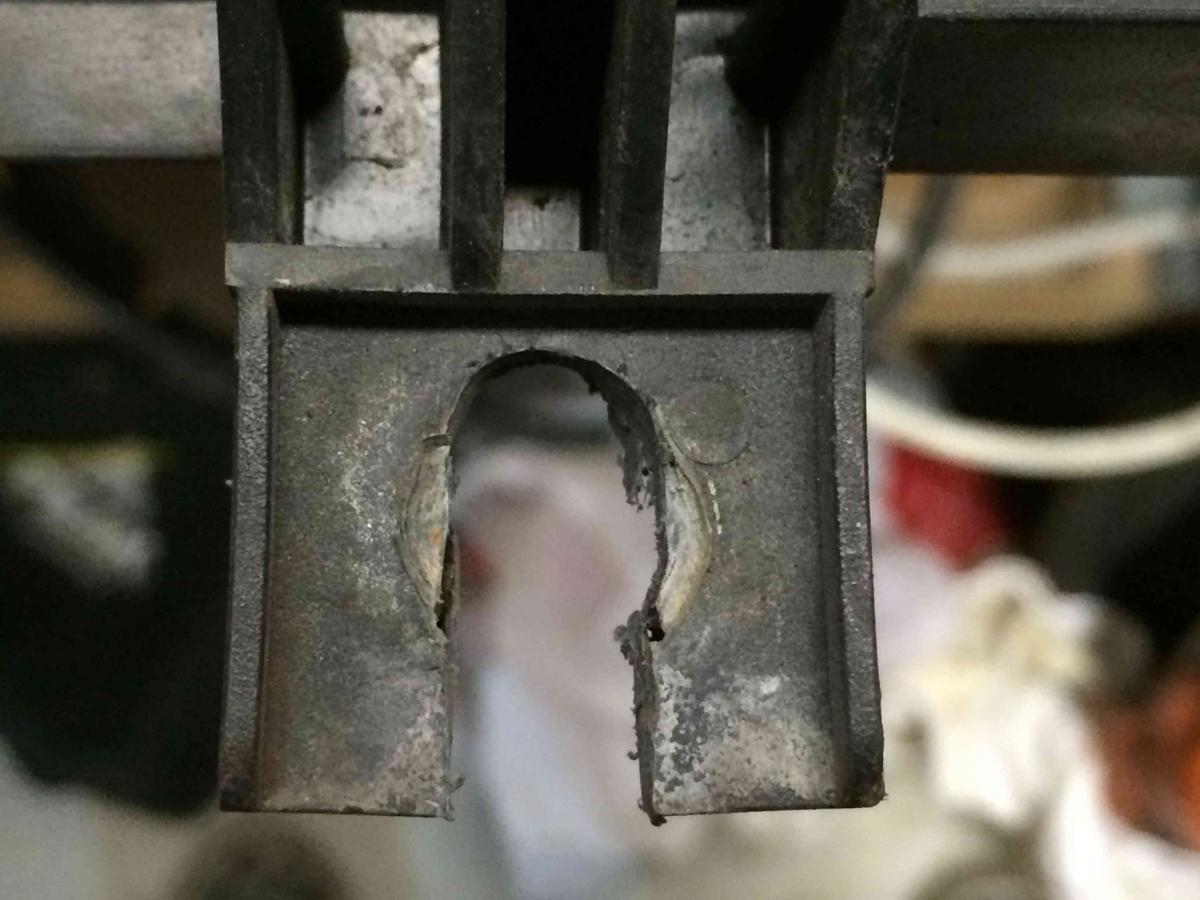
Fan trimming needed to clear the Flyin Miata front swaybar. Use a dremel for this.
Fan tab trimmed a bit since it didn't fit too well initially
There it is... temp is around 190-195F so far with stock undertray in place. Water Wetter/antifreeze combined.
Will see how it goes with some more longer spirited runs
Been a while since I last updated, but when I switched from MS1-->MS2, I couldn't get my ebc working for the longest time. I'd activate it, follow directions step by step and every time I'd just hit overboost. Long story short, I knew that when the circuit activated it would send a ground to the EBC on JS11. Ended up finding out that the FET was activated all the time.... like a short. With no voltage on the gate, source and drain were connected! Learned about FETs anyway, which is not a bad thing. Now onward to some open/closed loop EBC tuning finally.
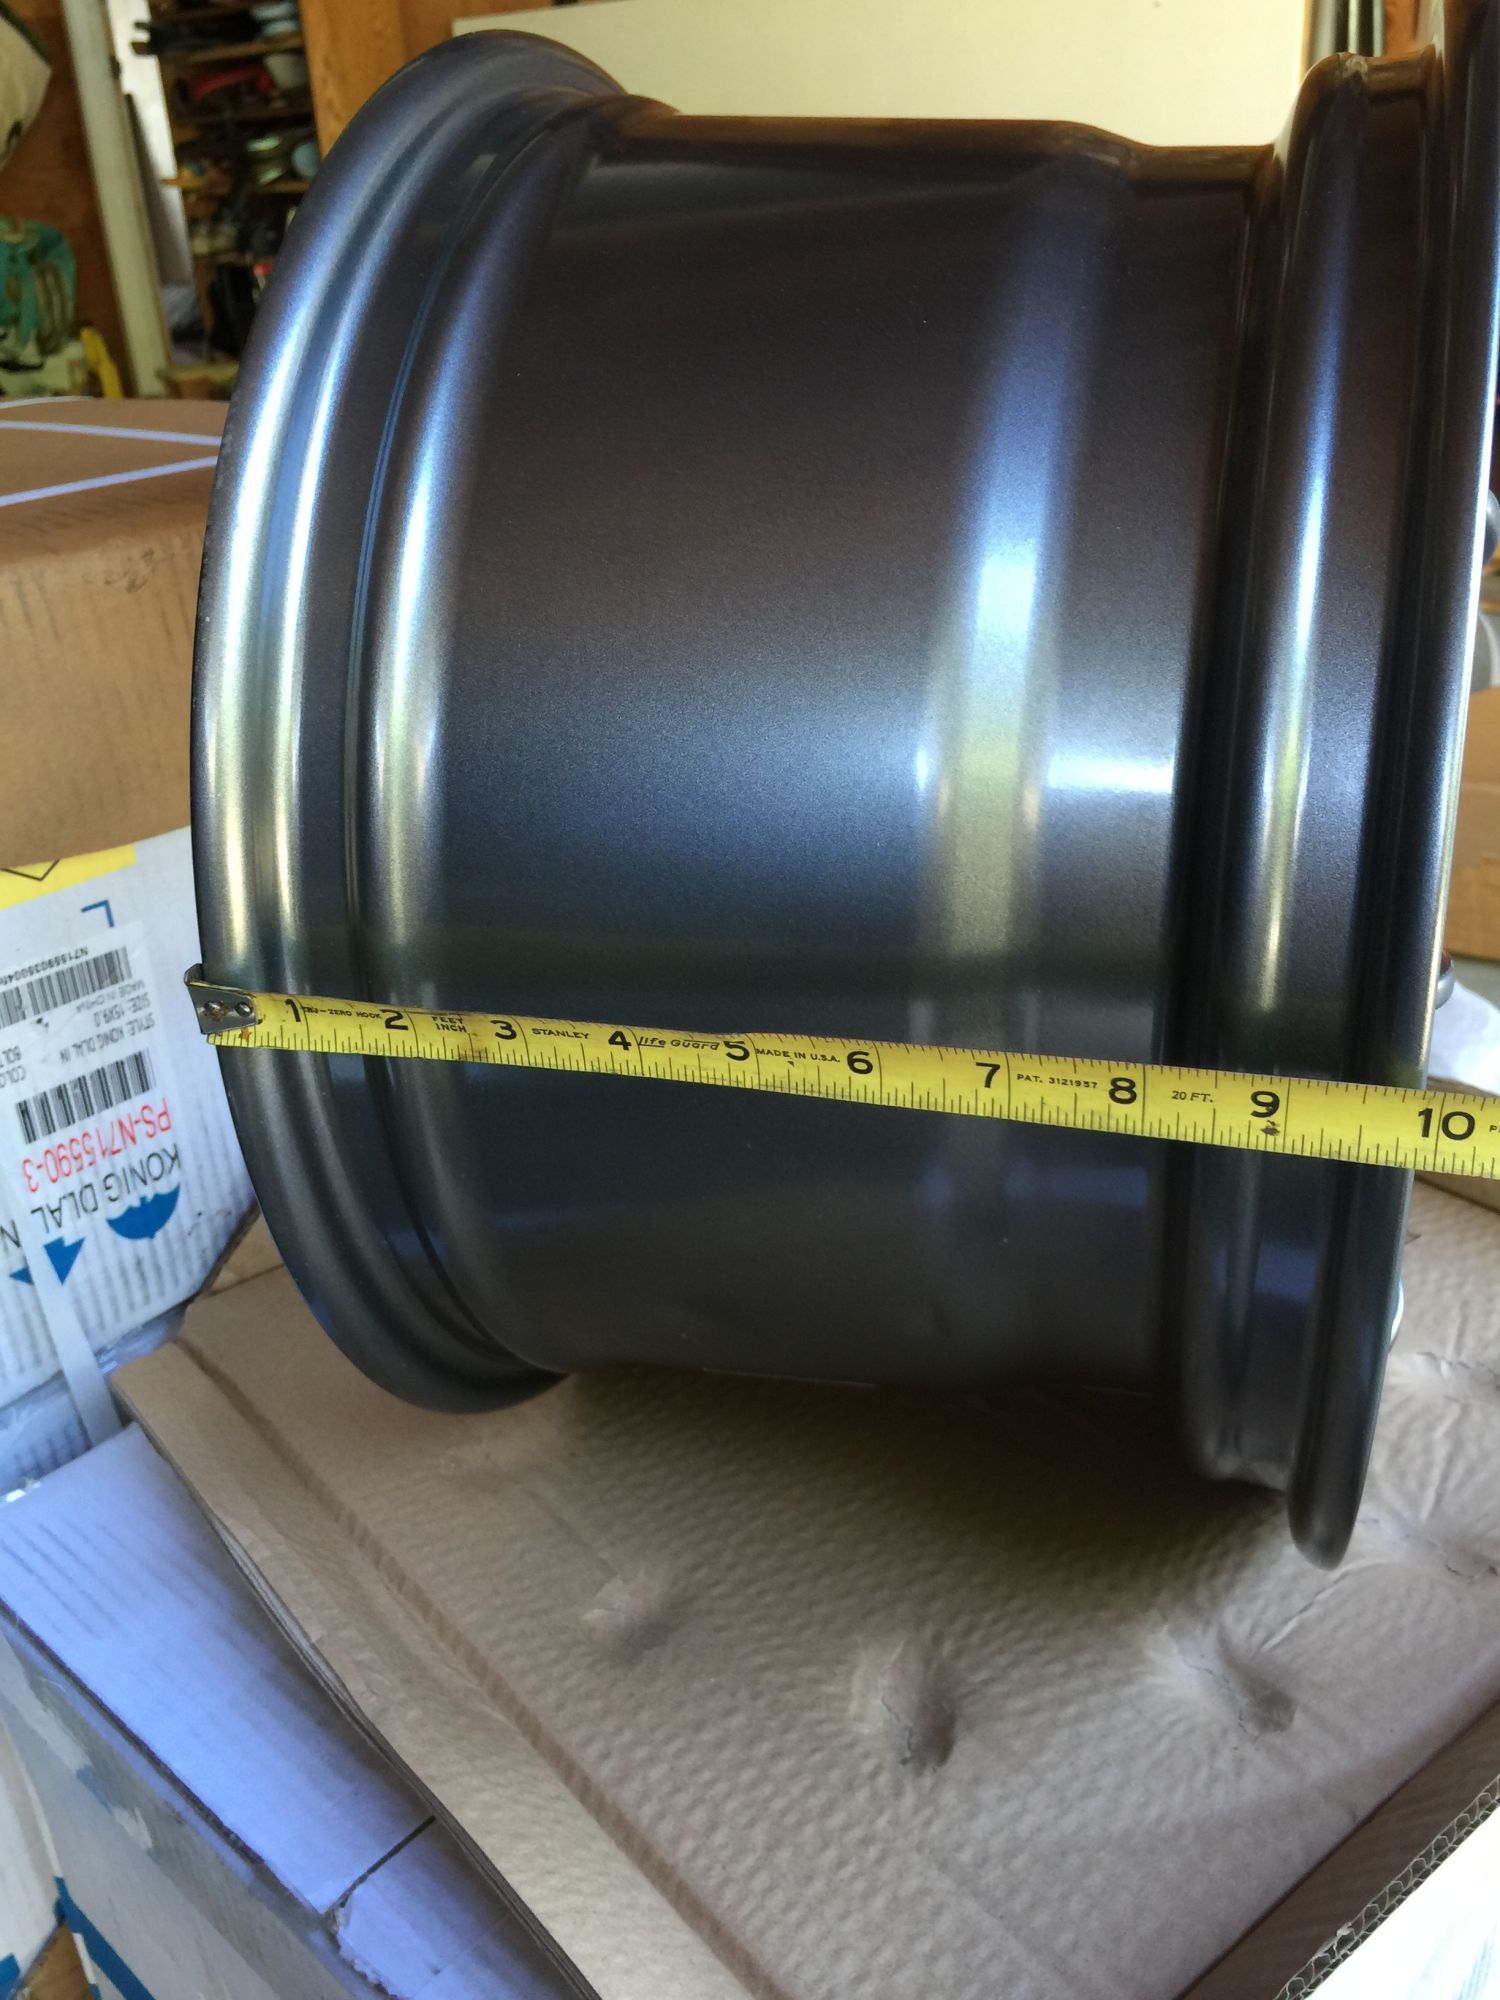
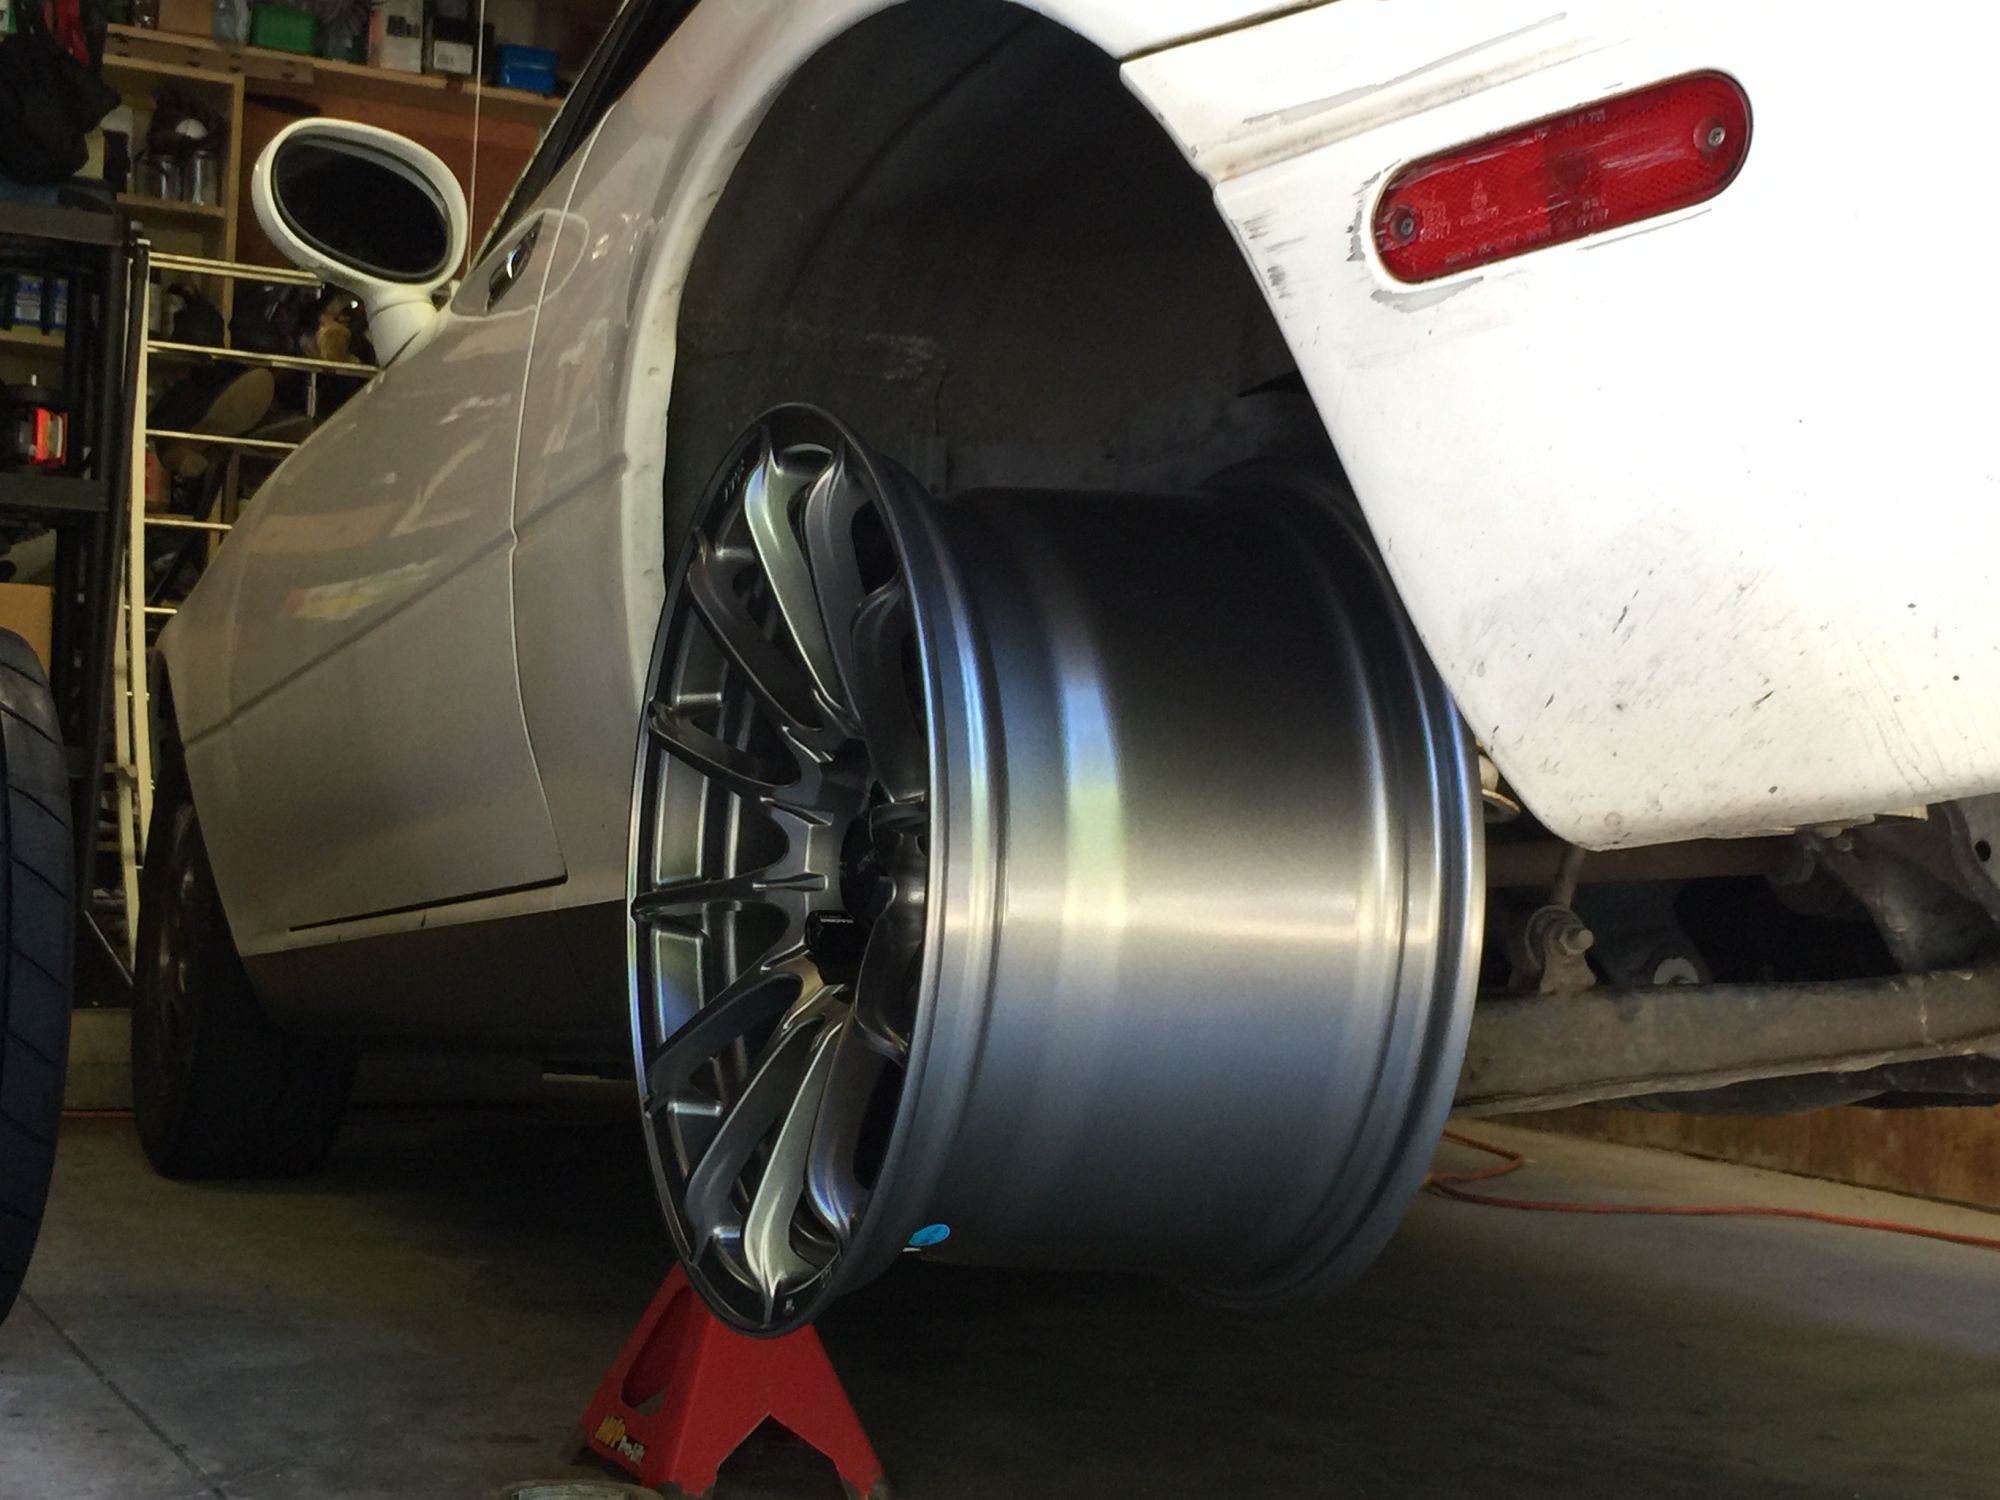
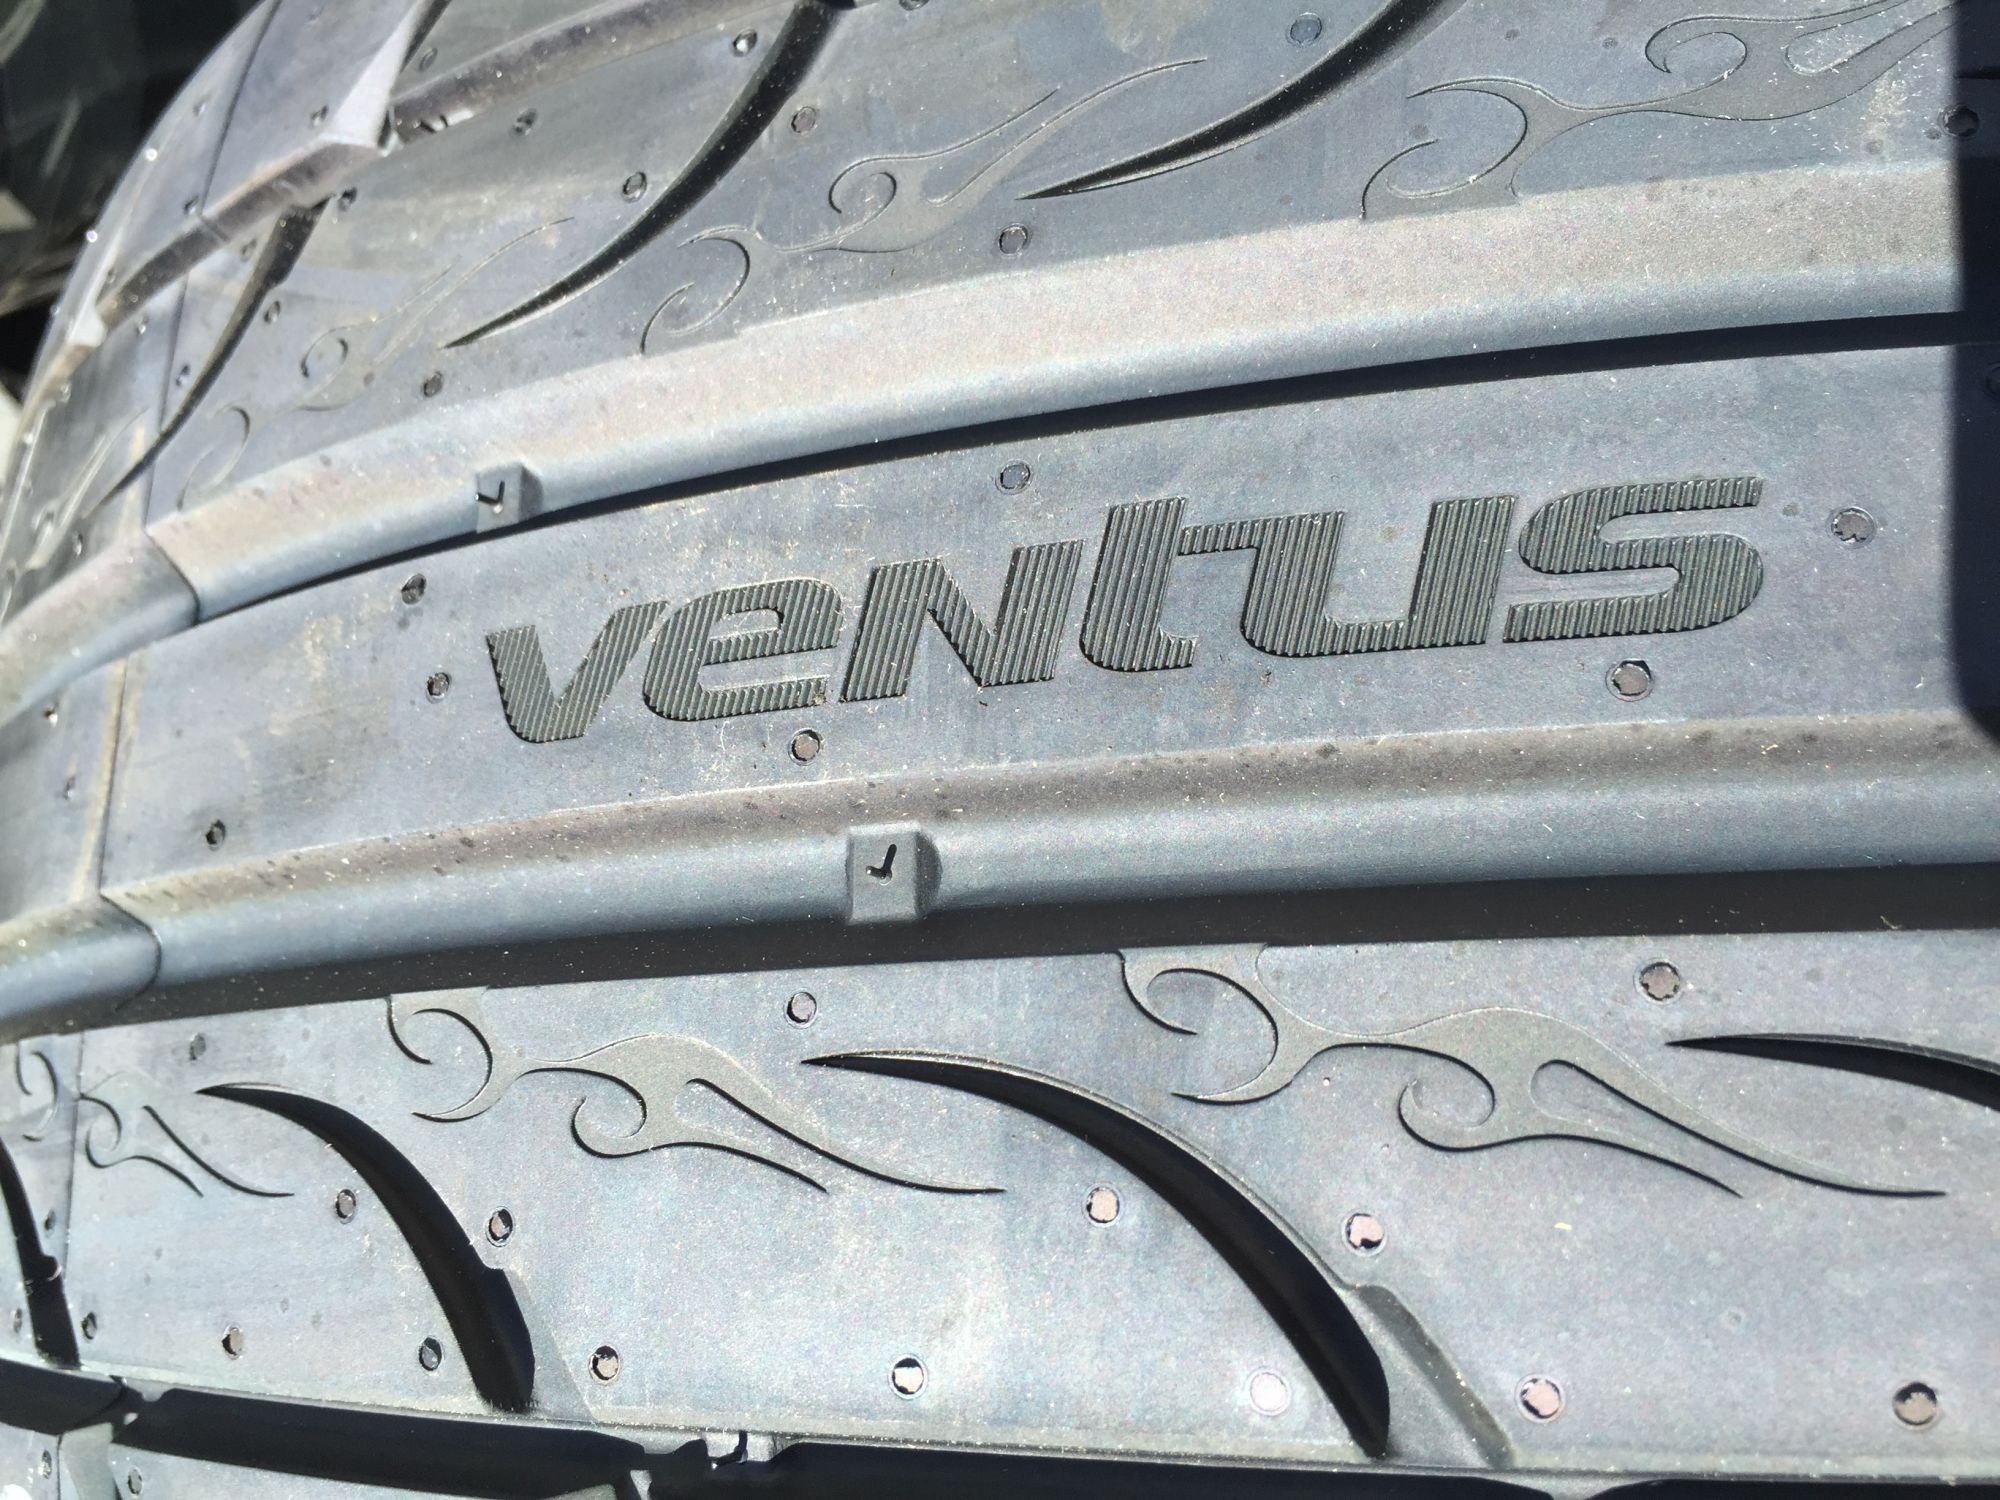
Back in March, bit the bullet and got some wheels. Figured 14 x 6 was not going to help with traction much :/. Picked these up for $404 for the set from Discount Tire Online. Very light 12.8lbs. Considering how the spokes stick out a little bit was concerned about curb rash, but it's close, but hasn't been a issue.
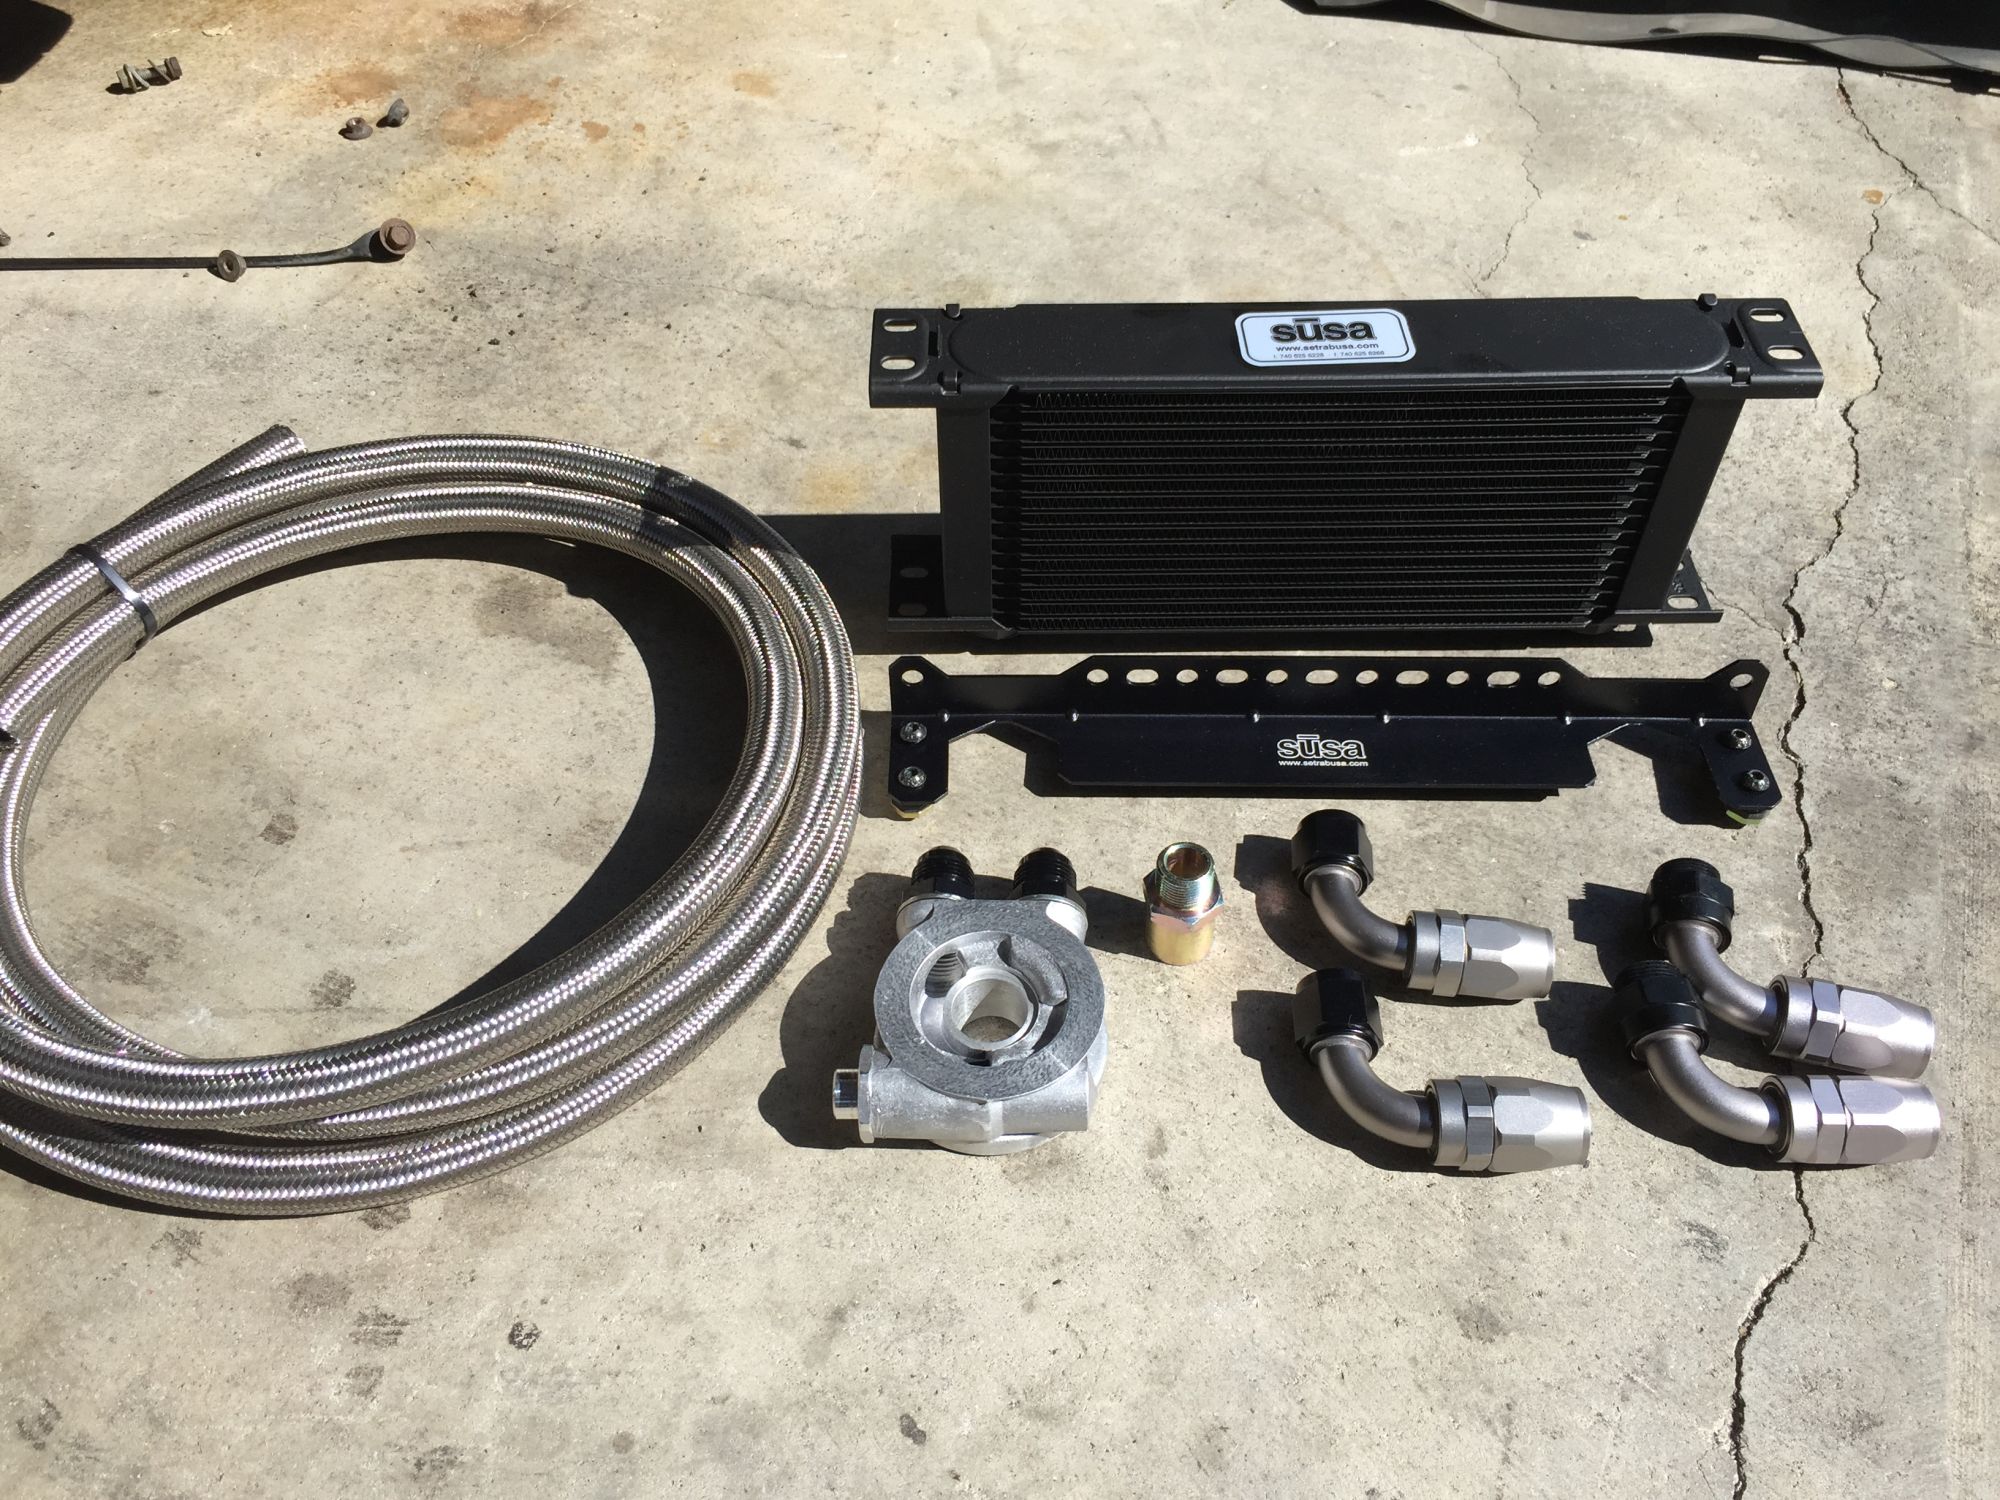
So, was getting ready for track day and as it turned out weather was getting pretty hot, and knew it was going to be in the 90's for track day. Decided to bit the bullet and get a oil cooler + m-tuned re-route.
Andrew from Track Speed hooked me up with his kit and glad he was only a hour away
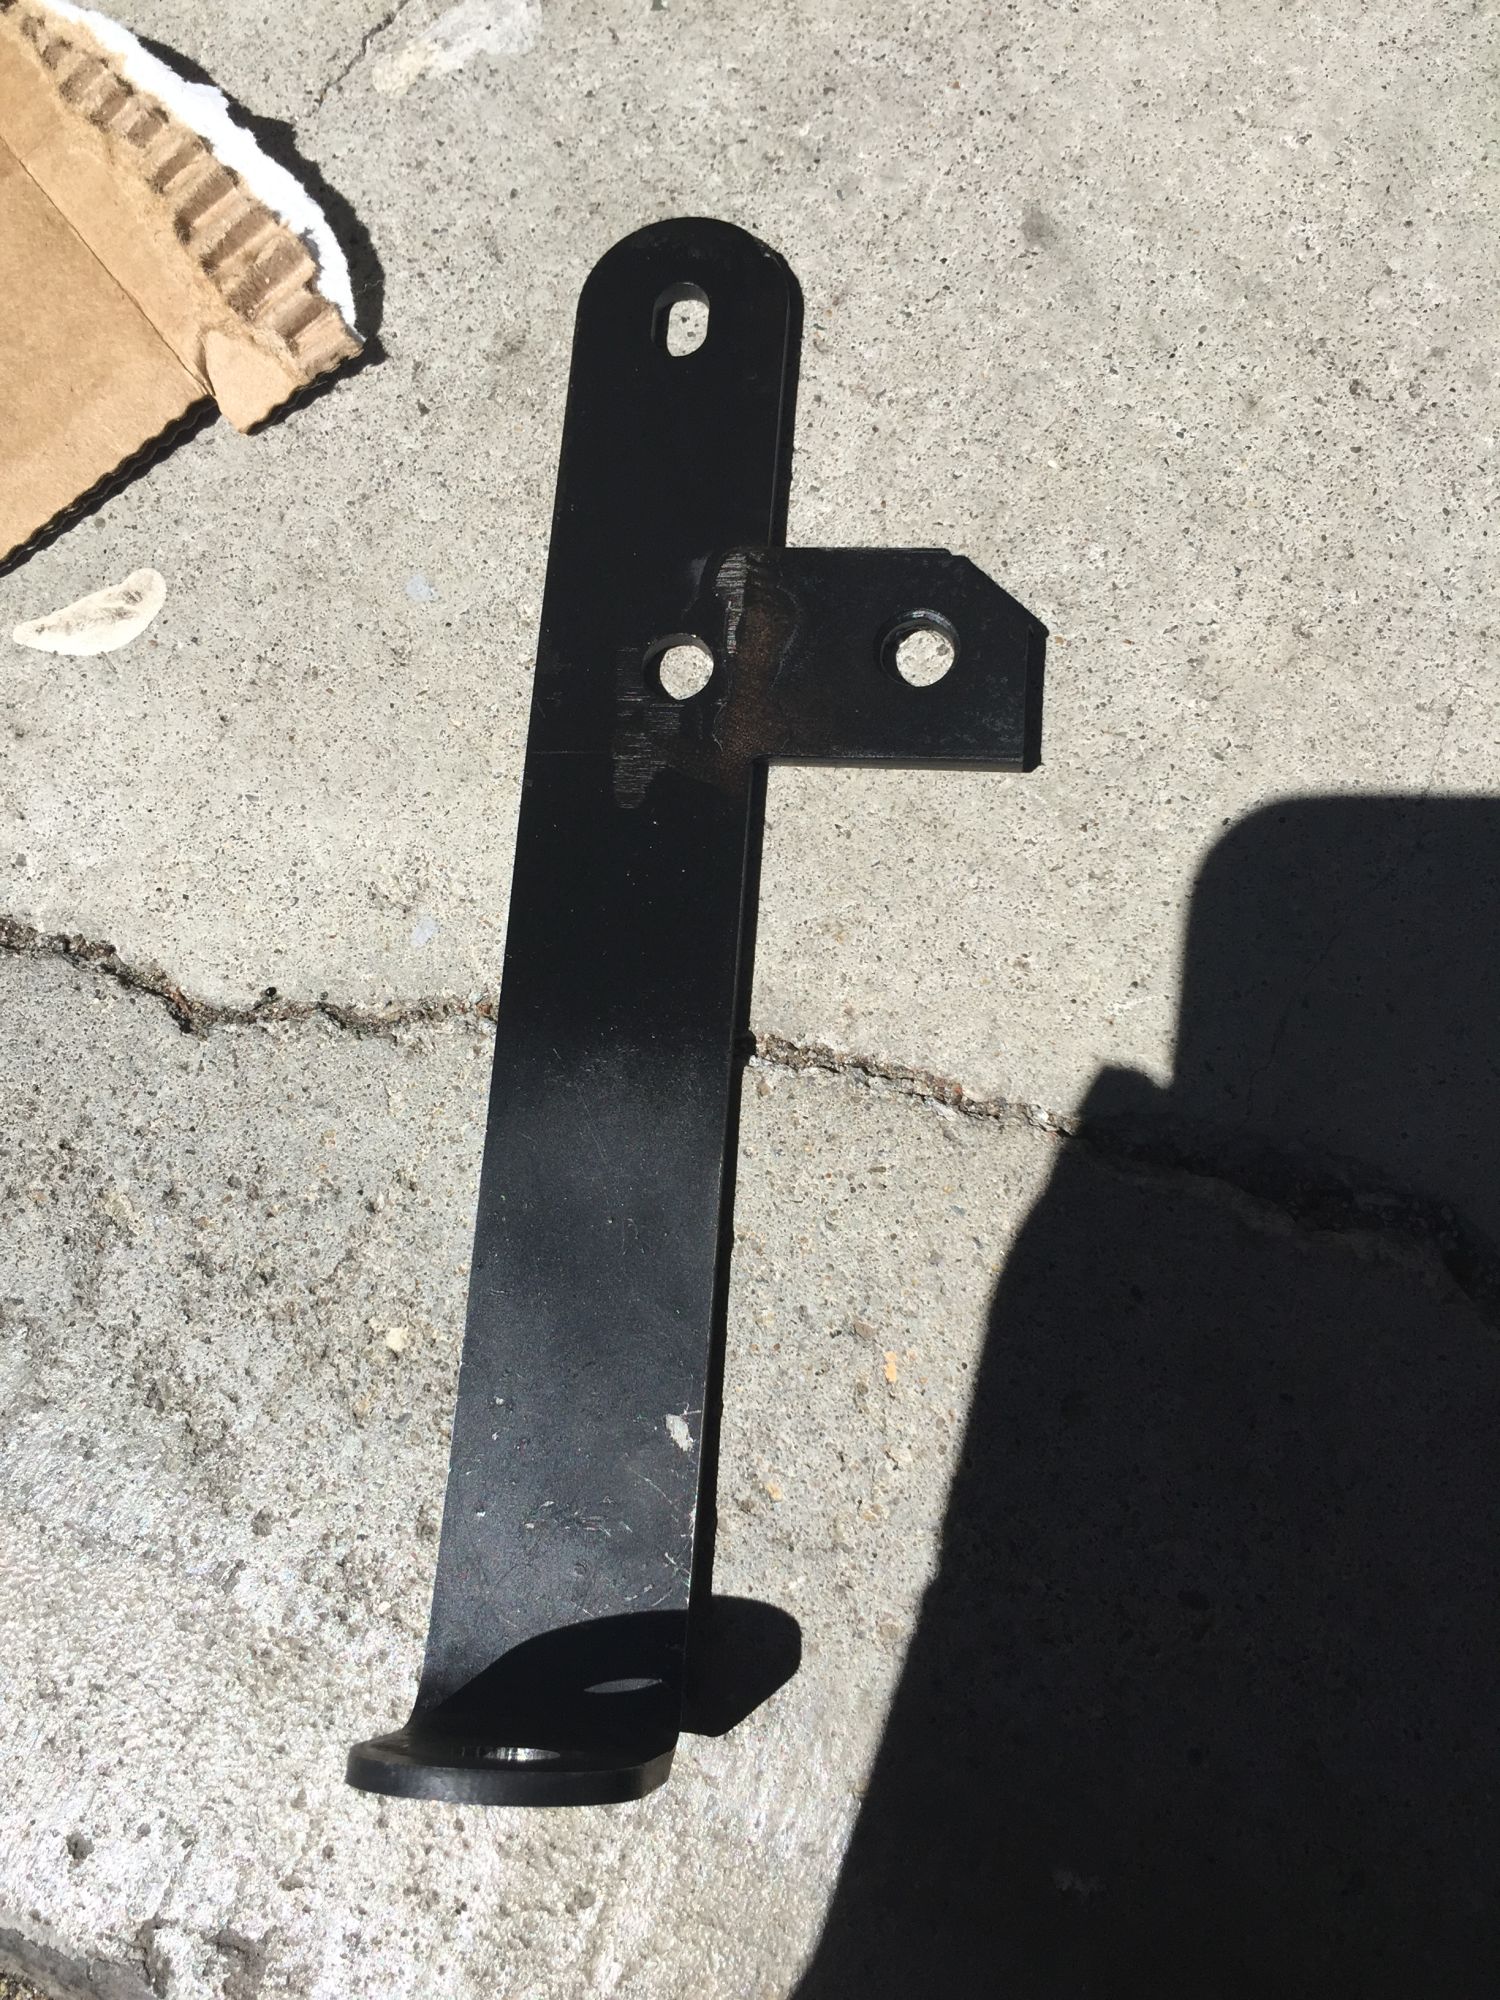
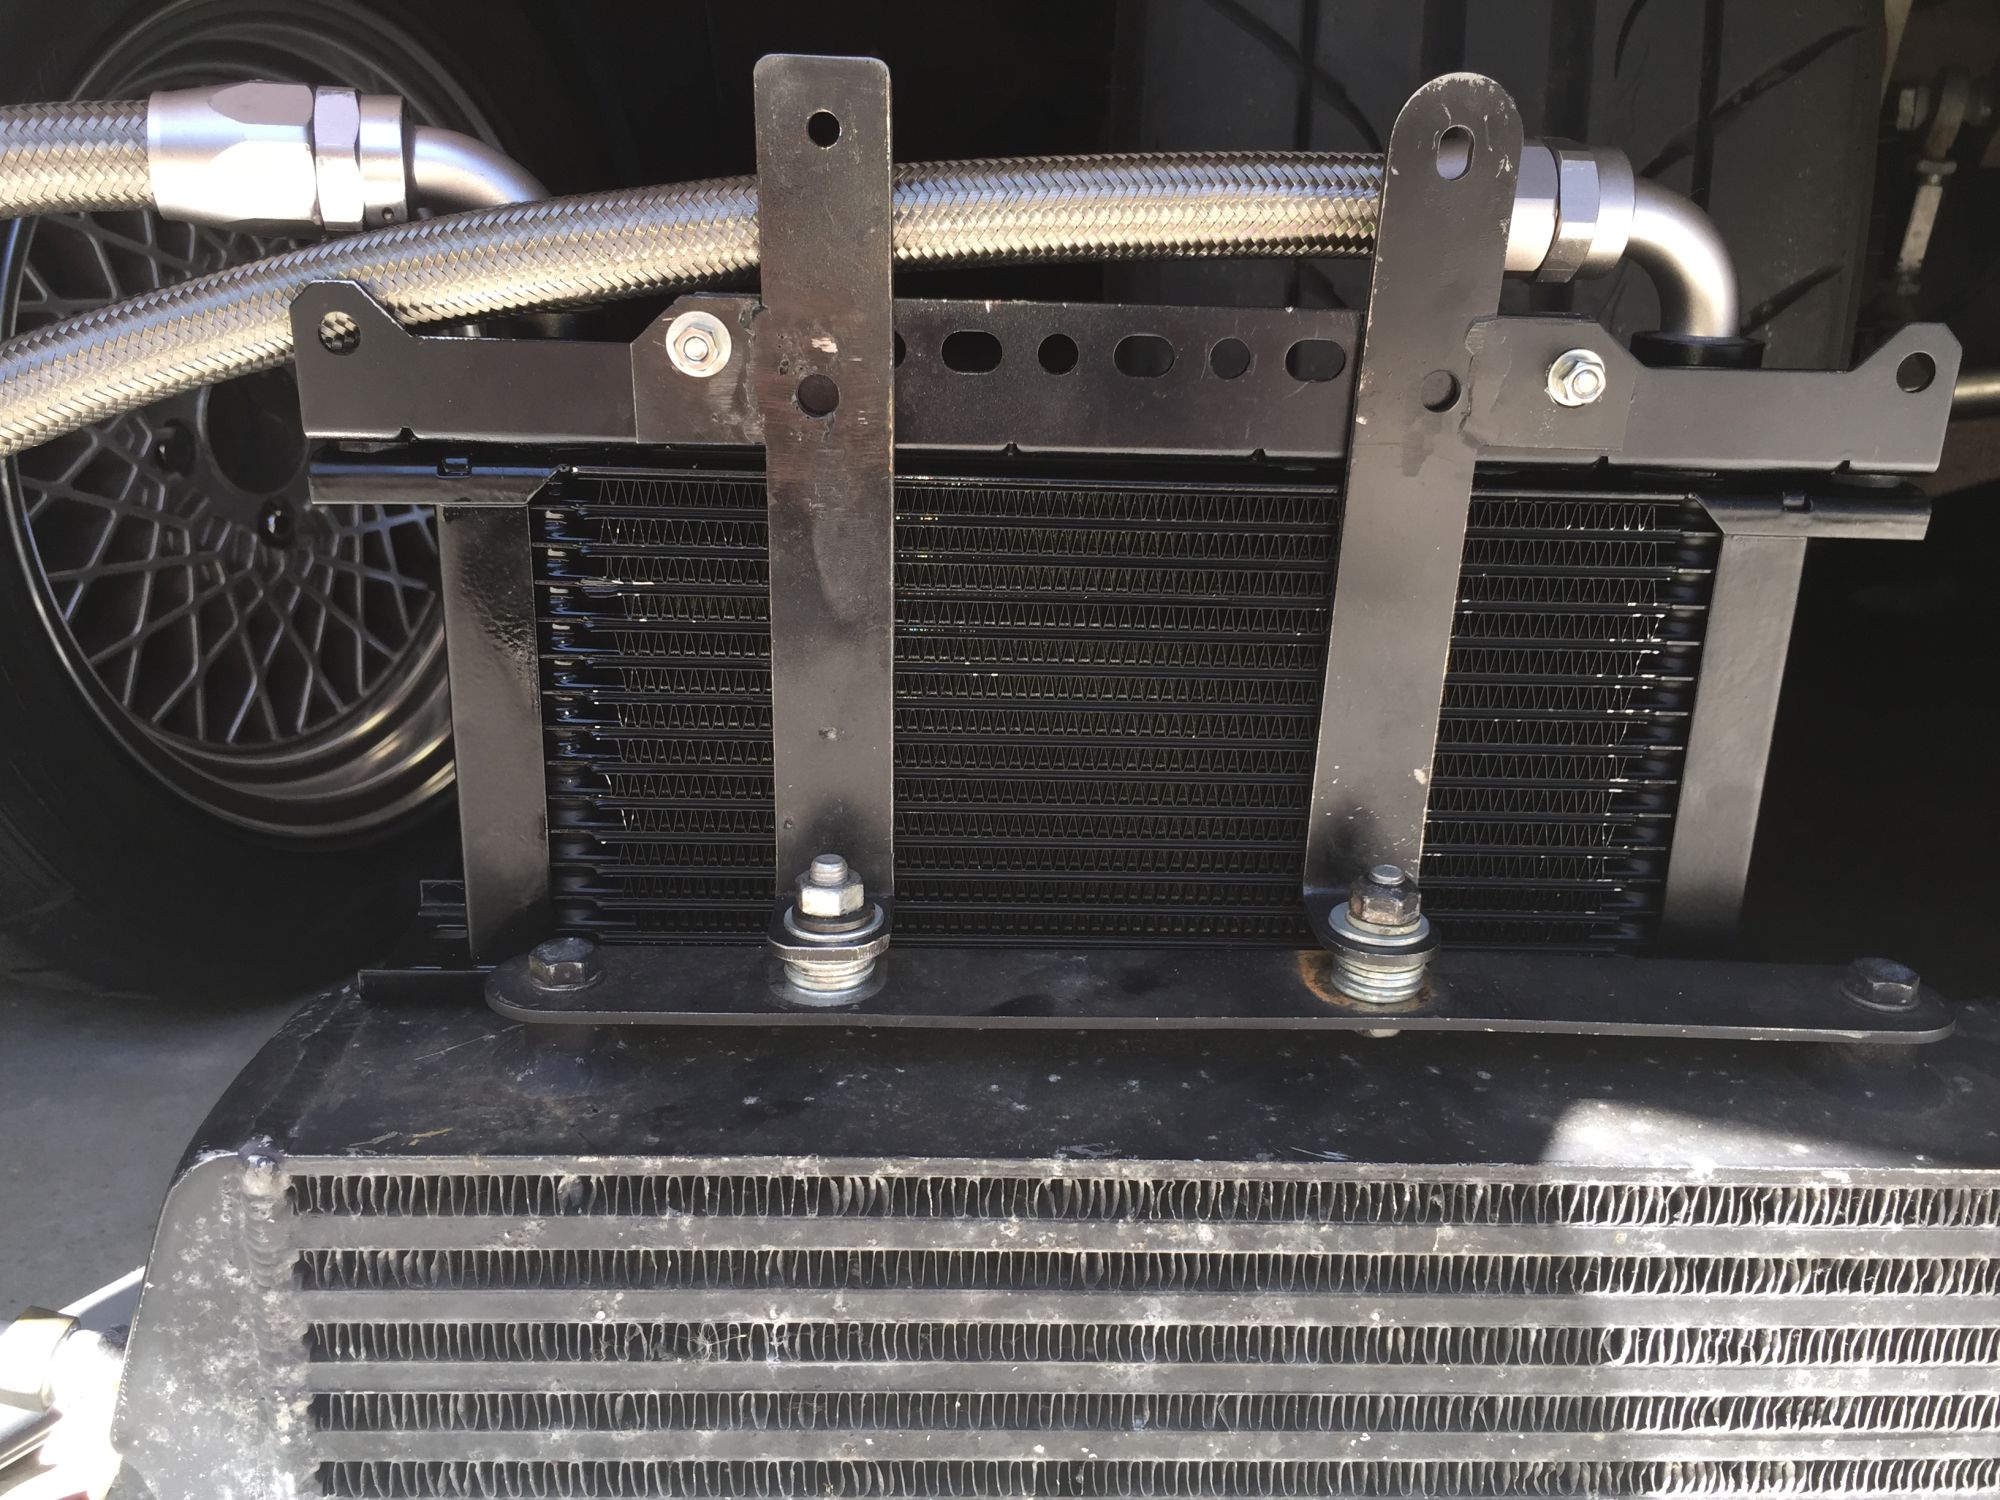
Modified existing FM bracke, added these ears for oil cooler mount
Hardest part was figuring how to find a place and just above the FM IC fit the best/
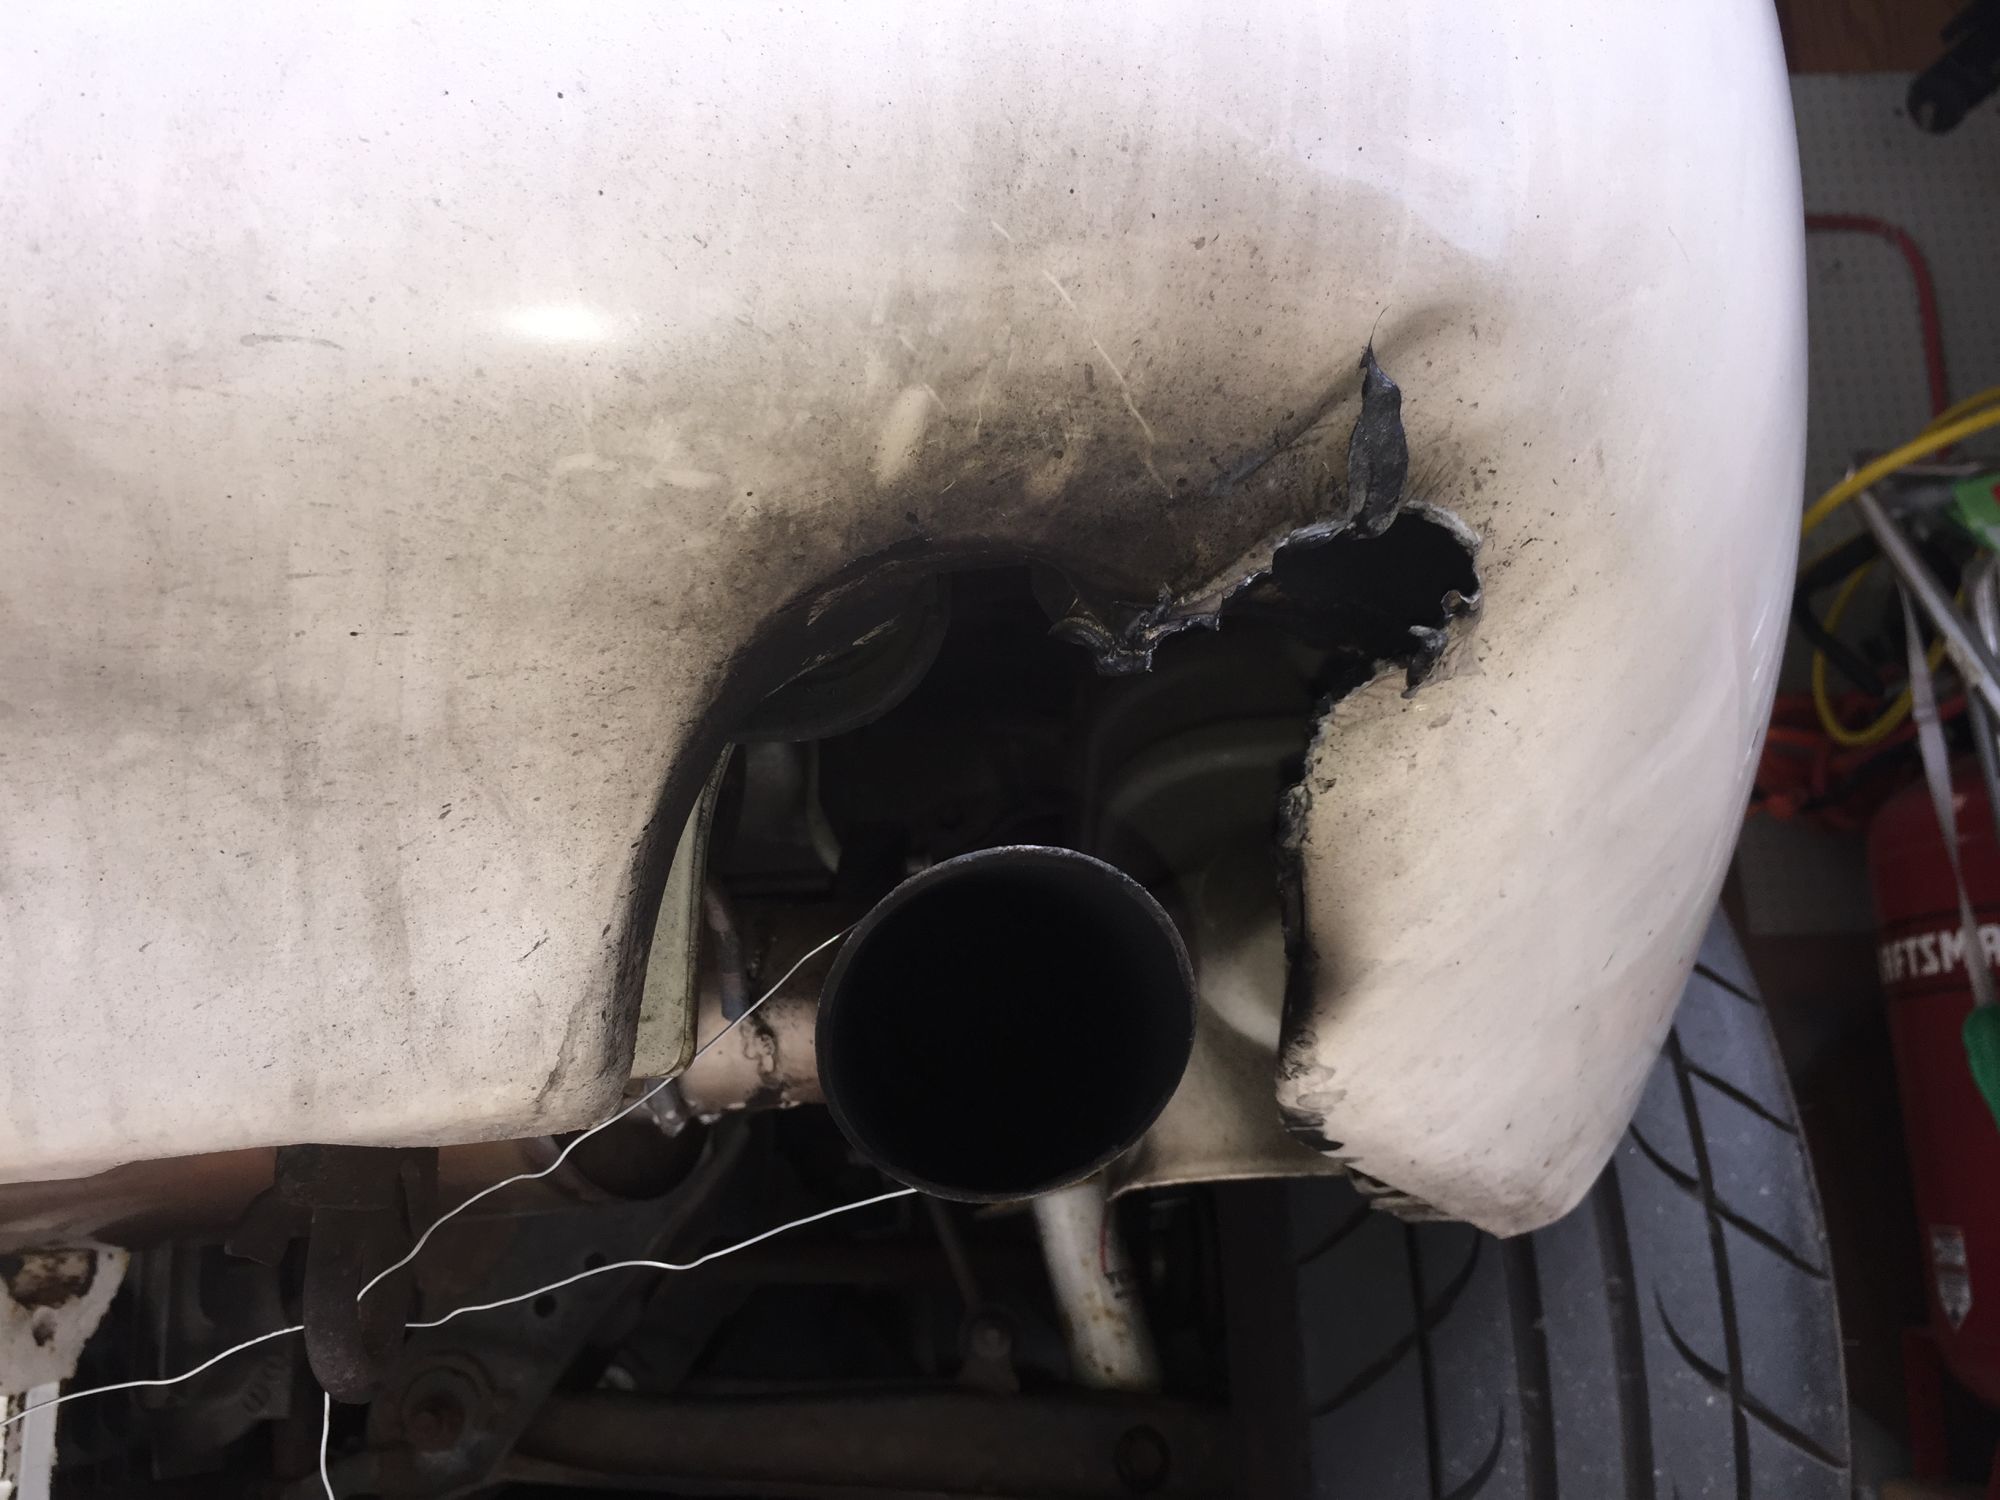
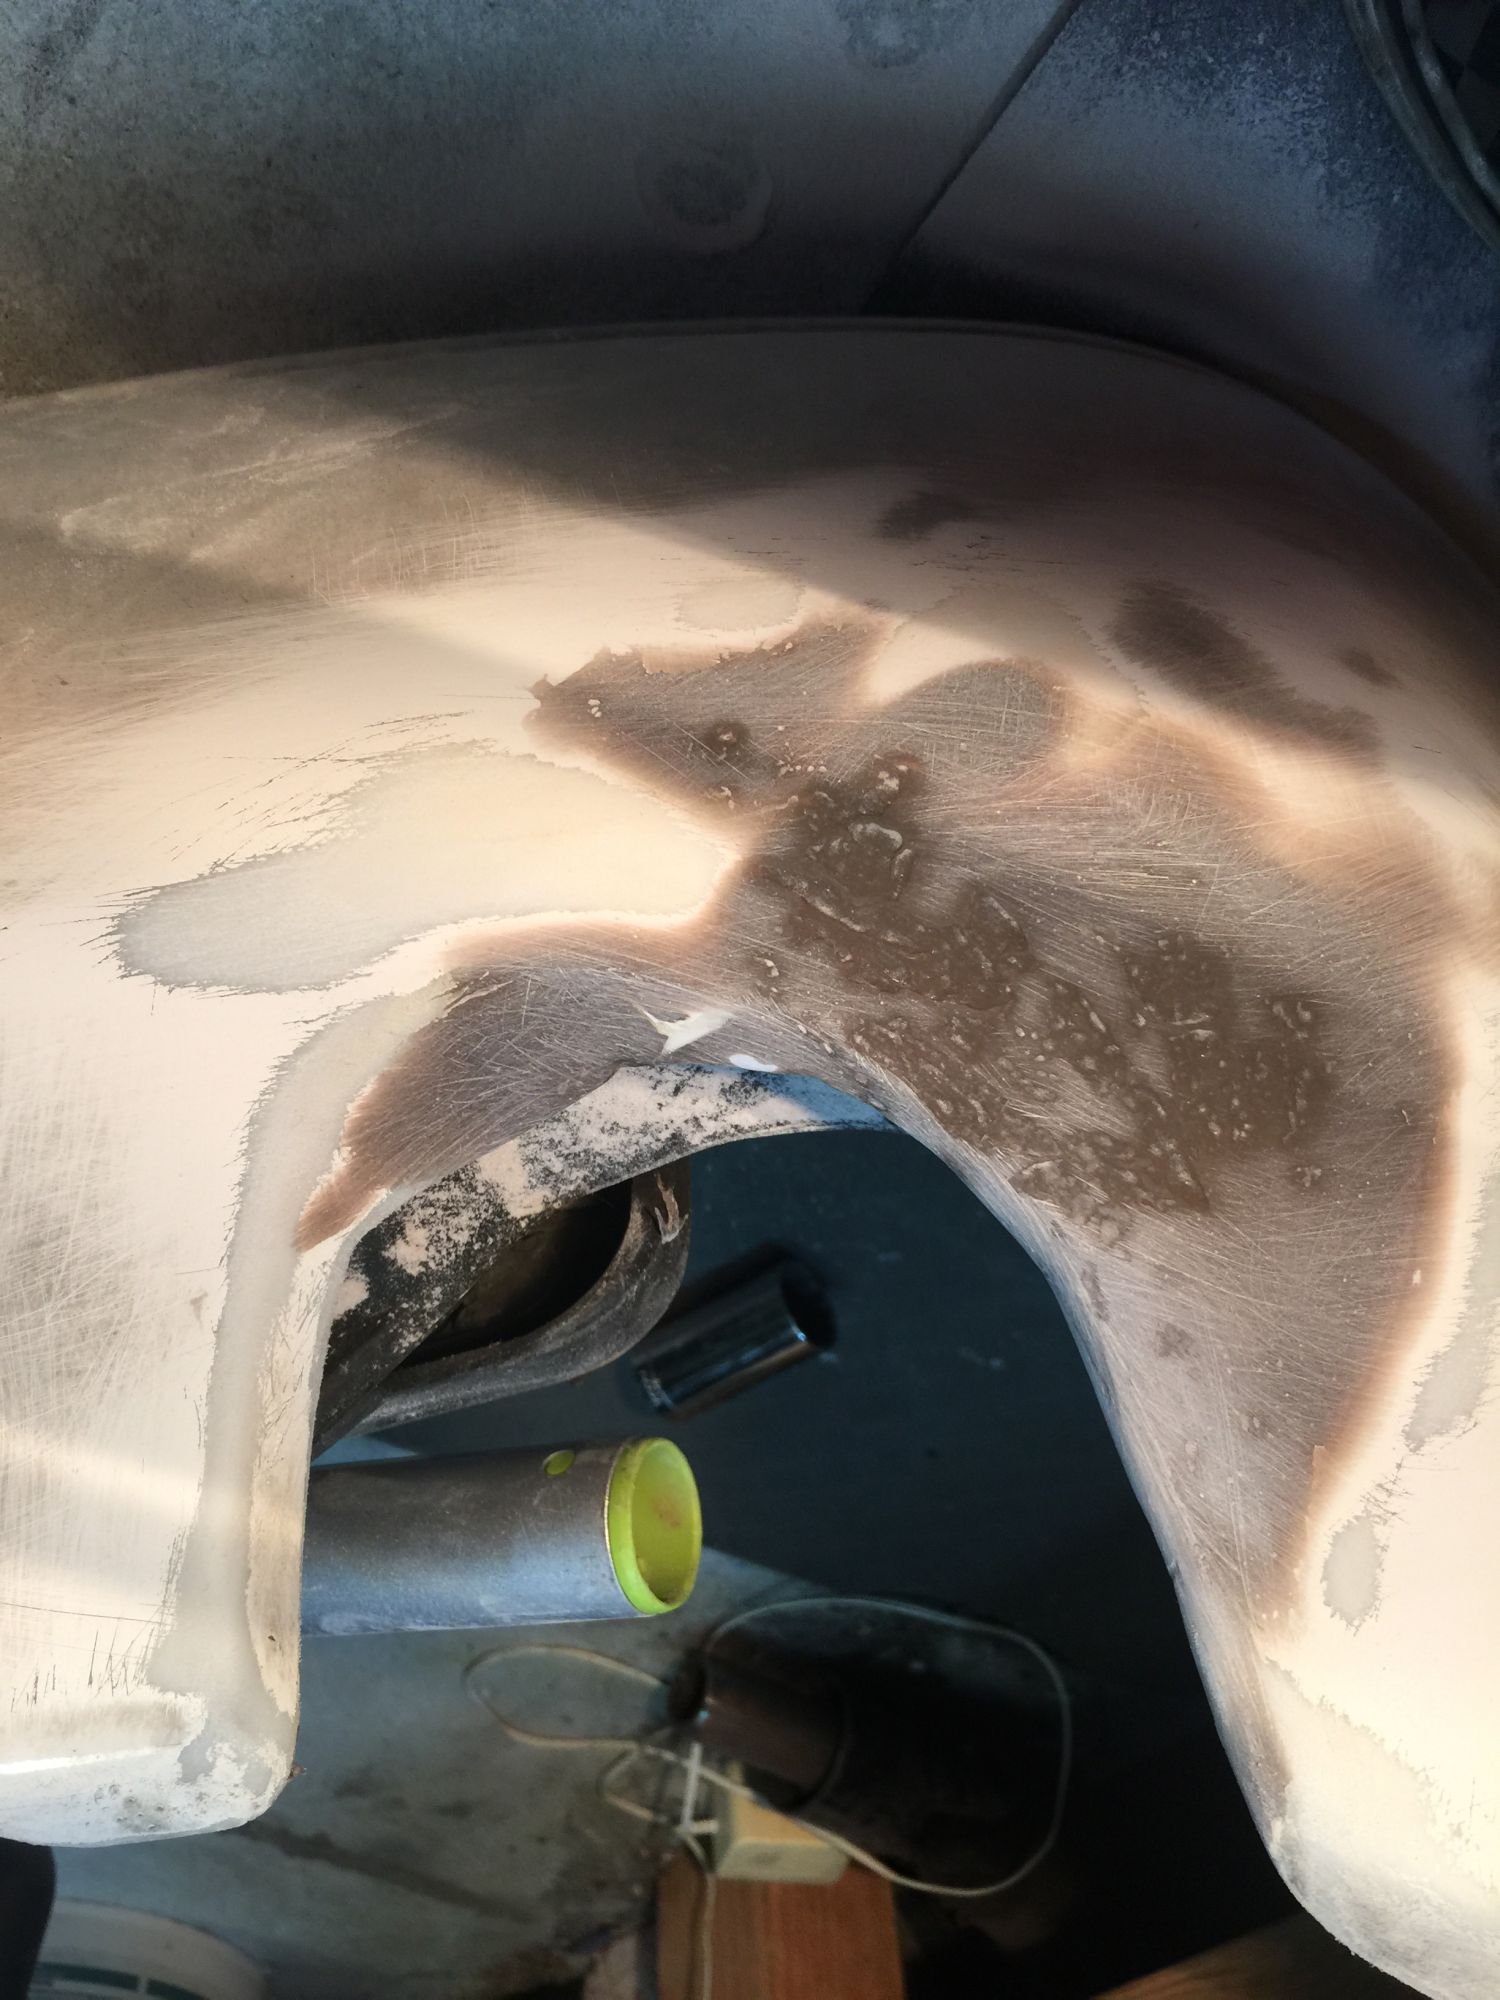
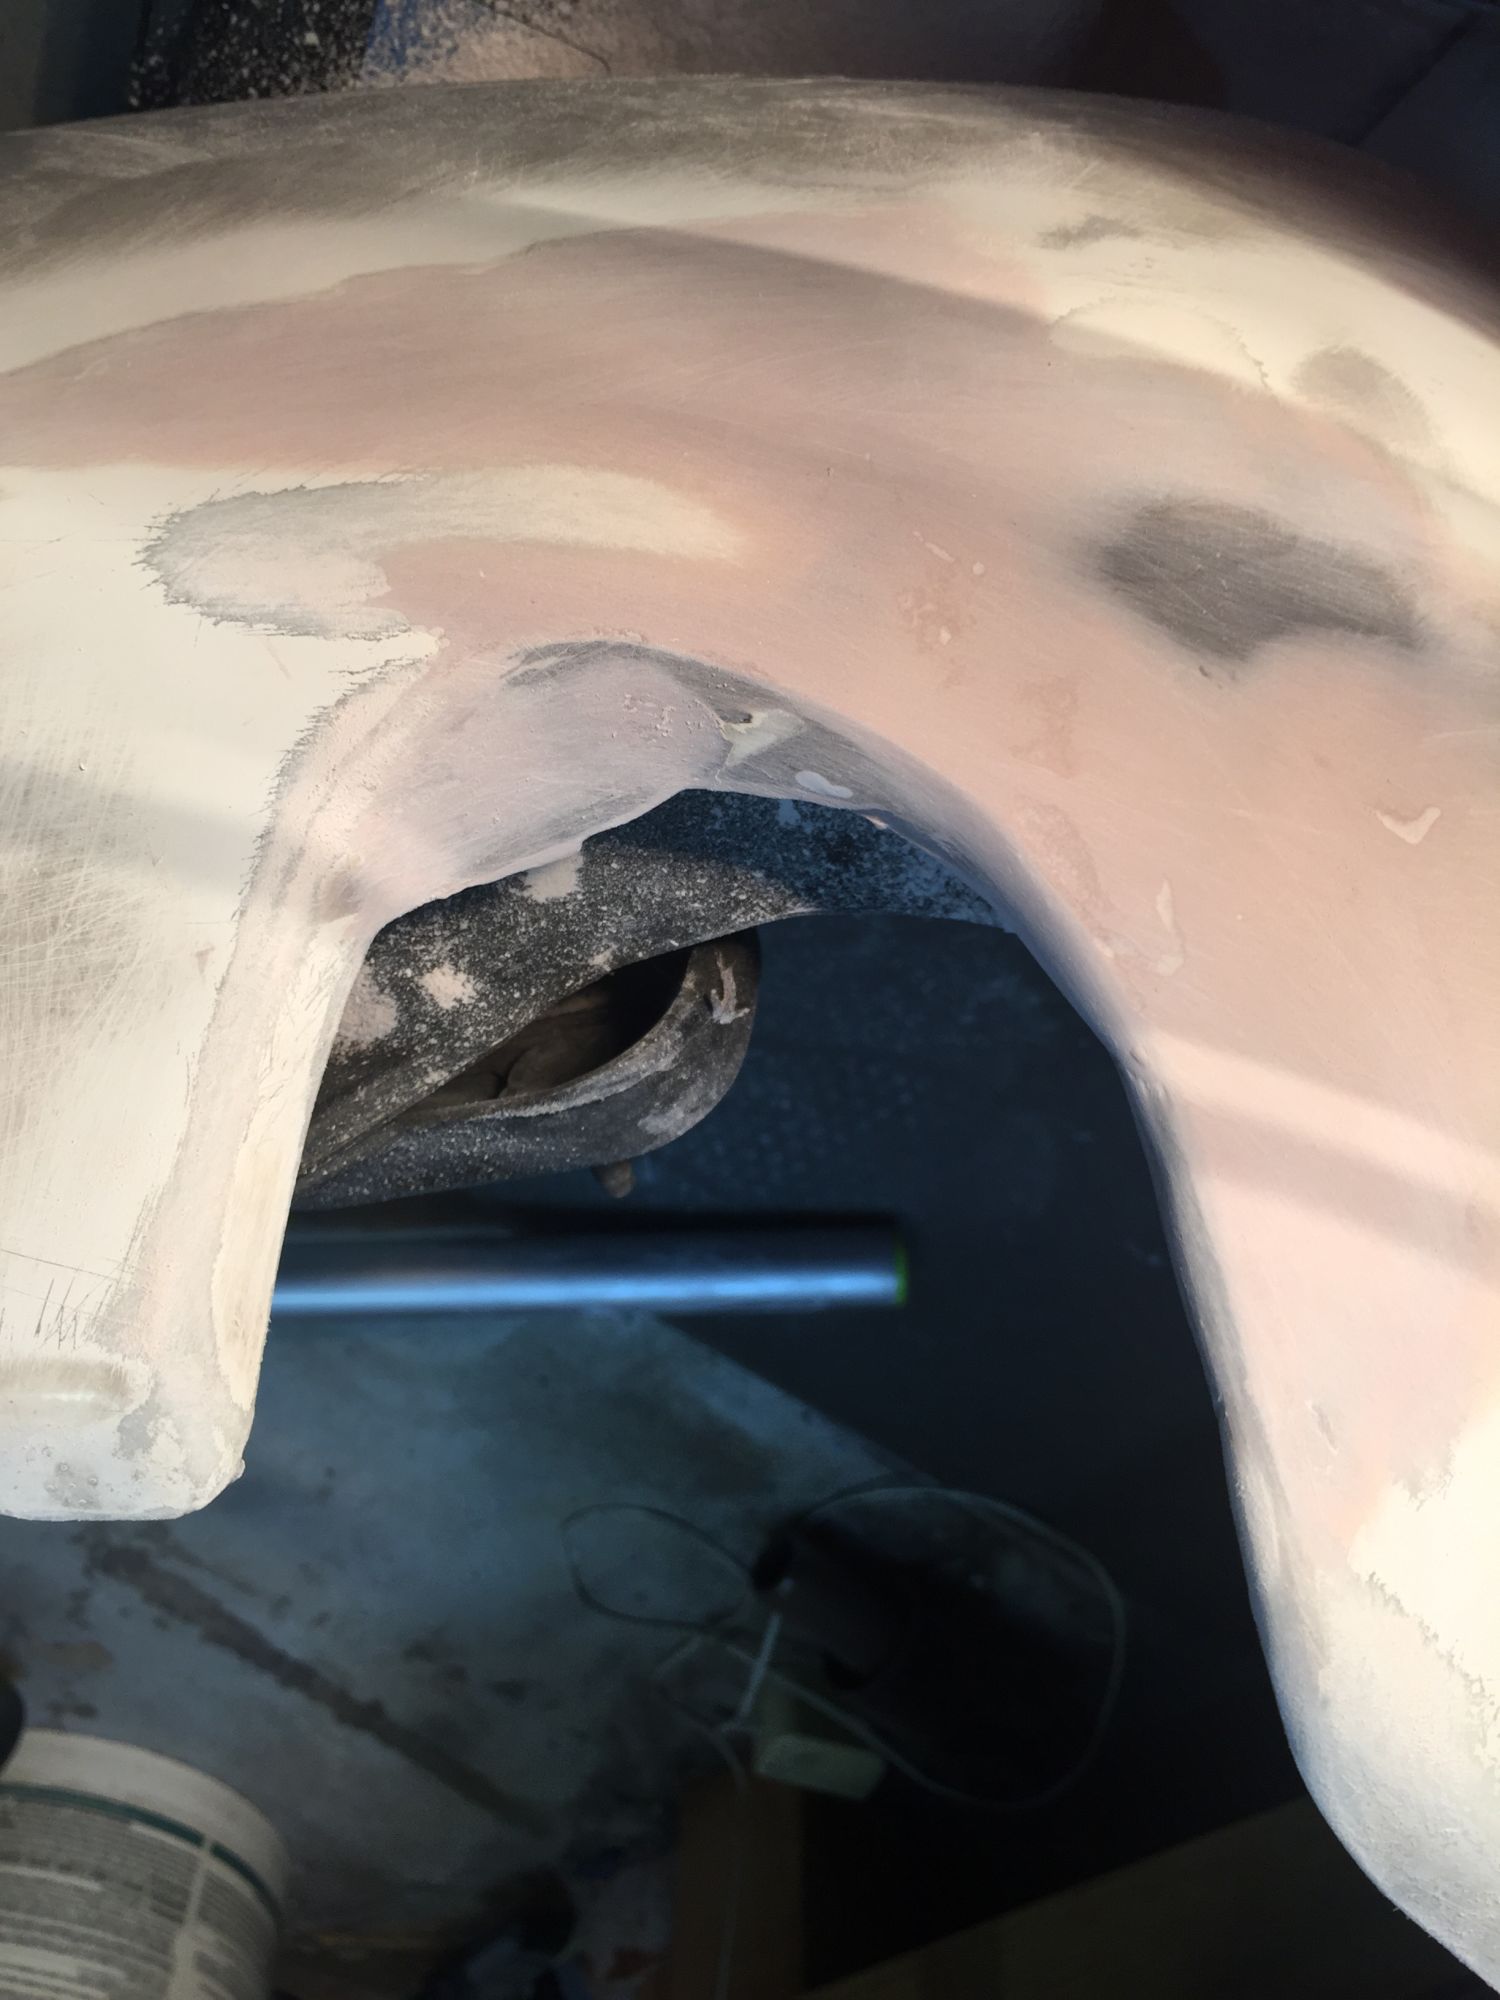
So found out exhaust was rubbing 1/2 shaft axles after track day. Did some welding and re-routing of the piping, but it was sadly out of alignment at the exhaust cutout. I ended up melting the area pretty badly.
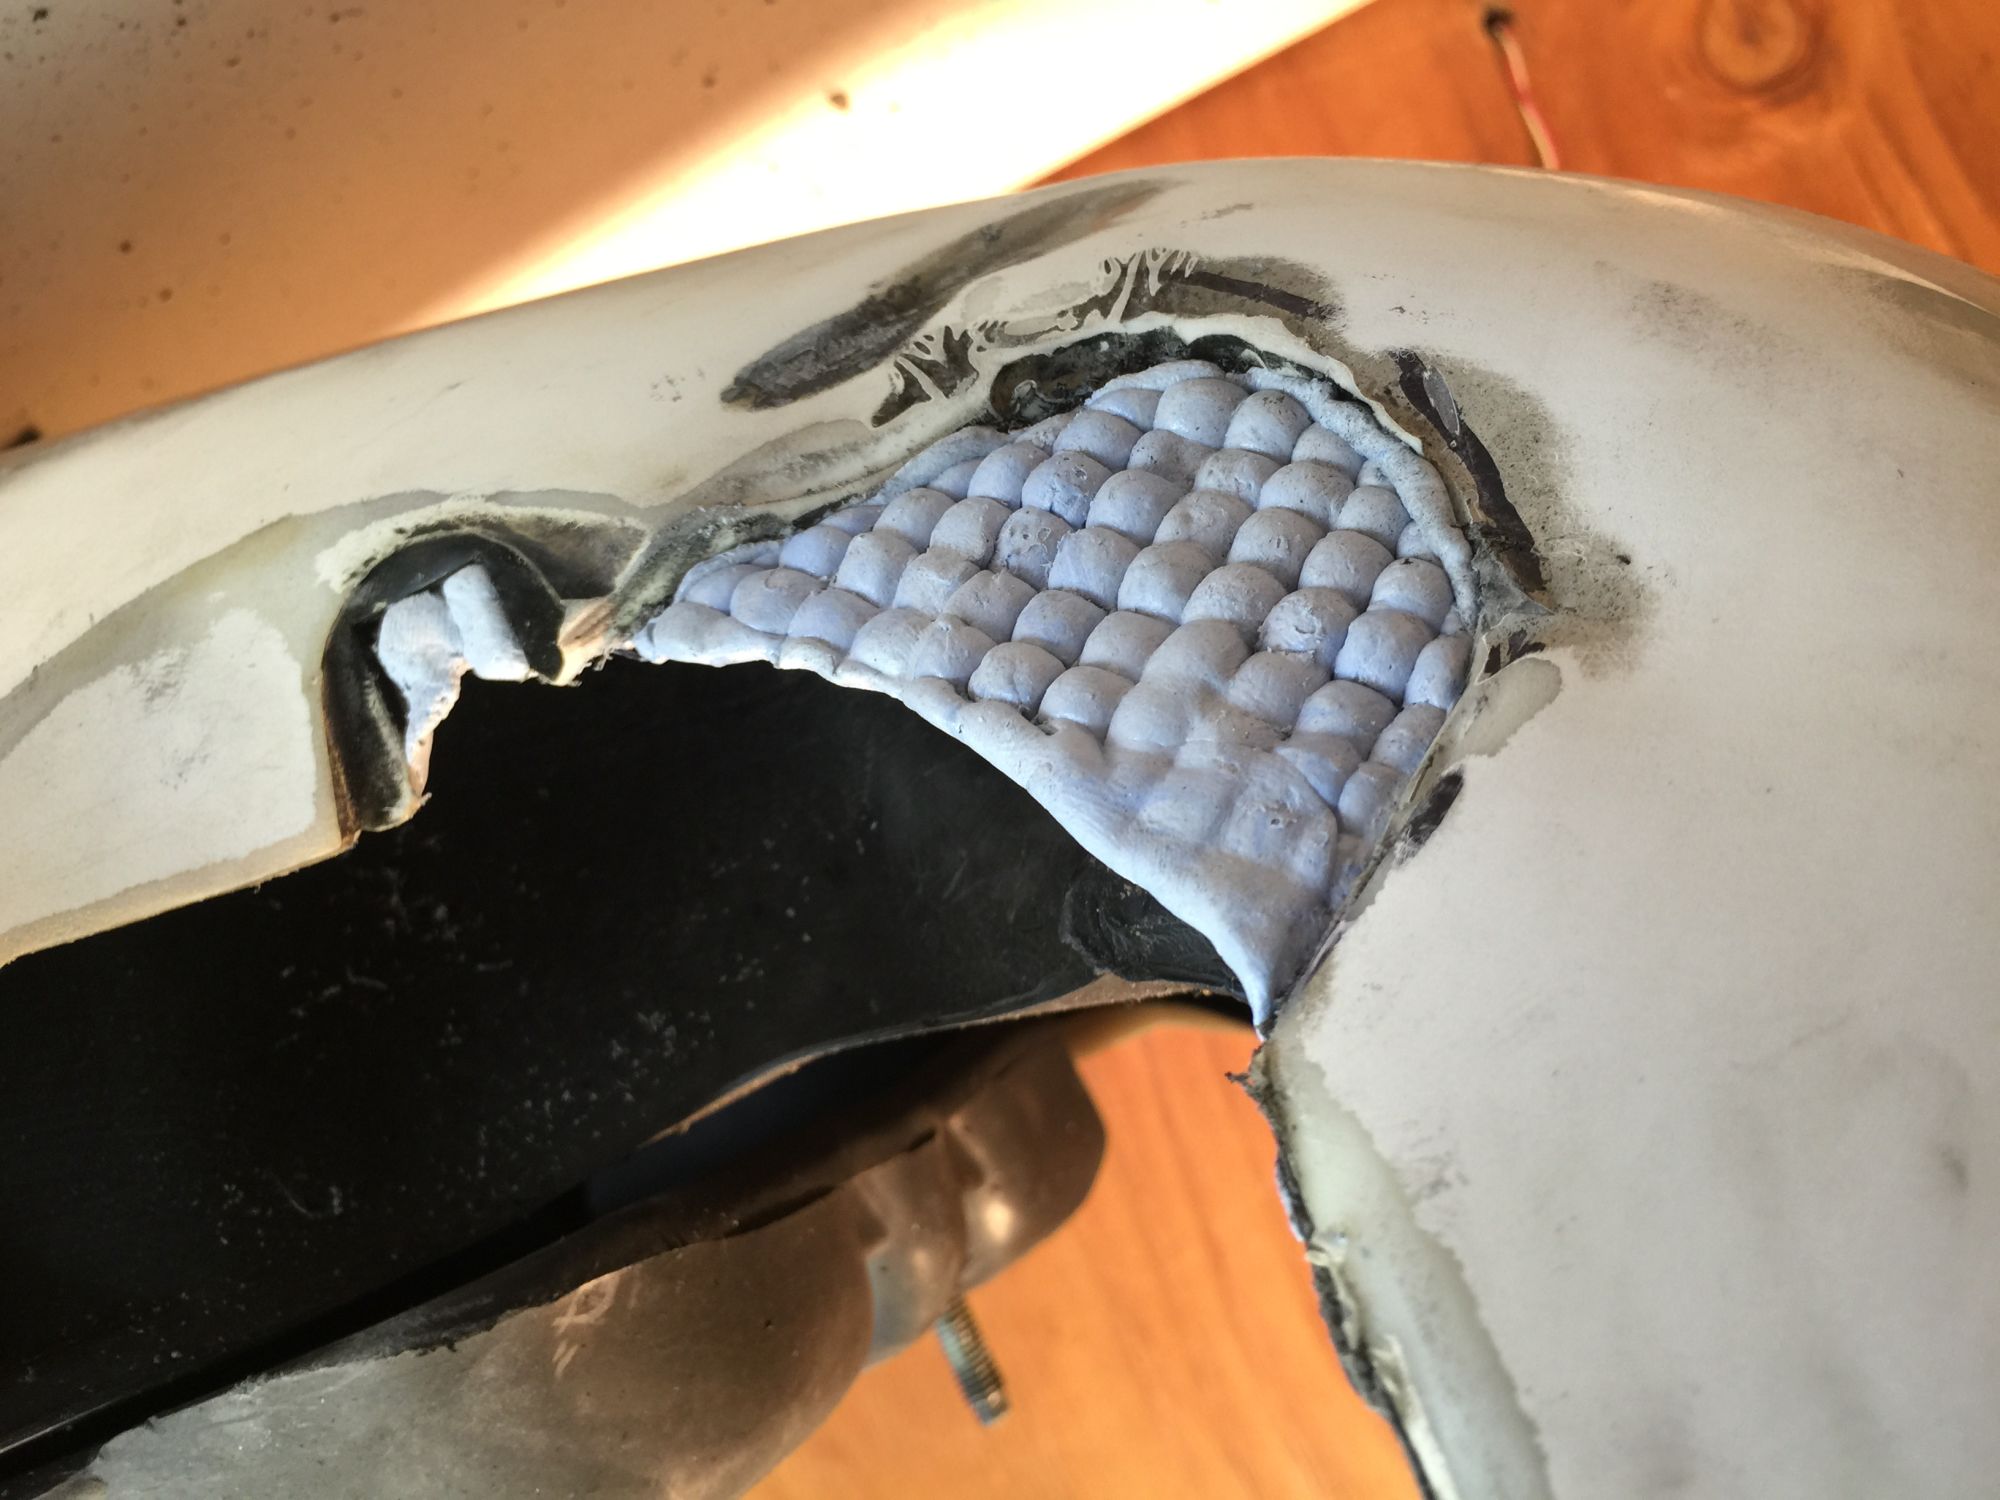
Got a piece of mesh and pressed a patch of jbweld(plastic) through the mesh for extra re-inforcement<br/>
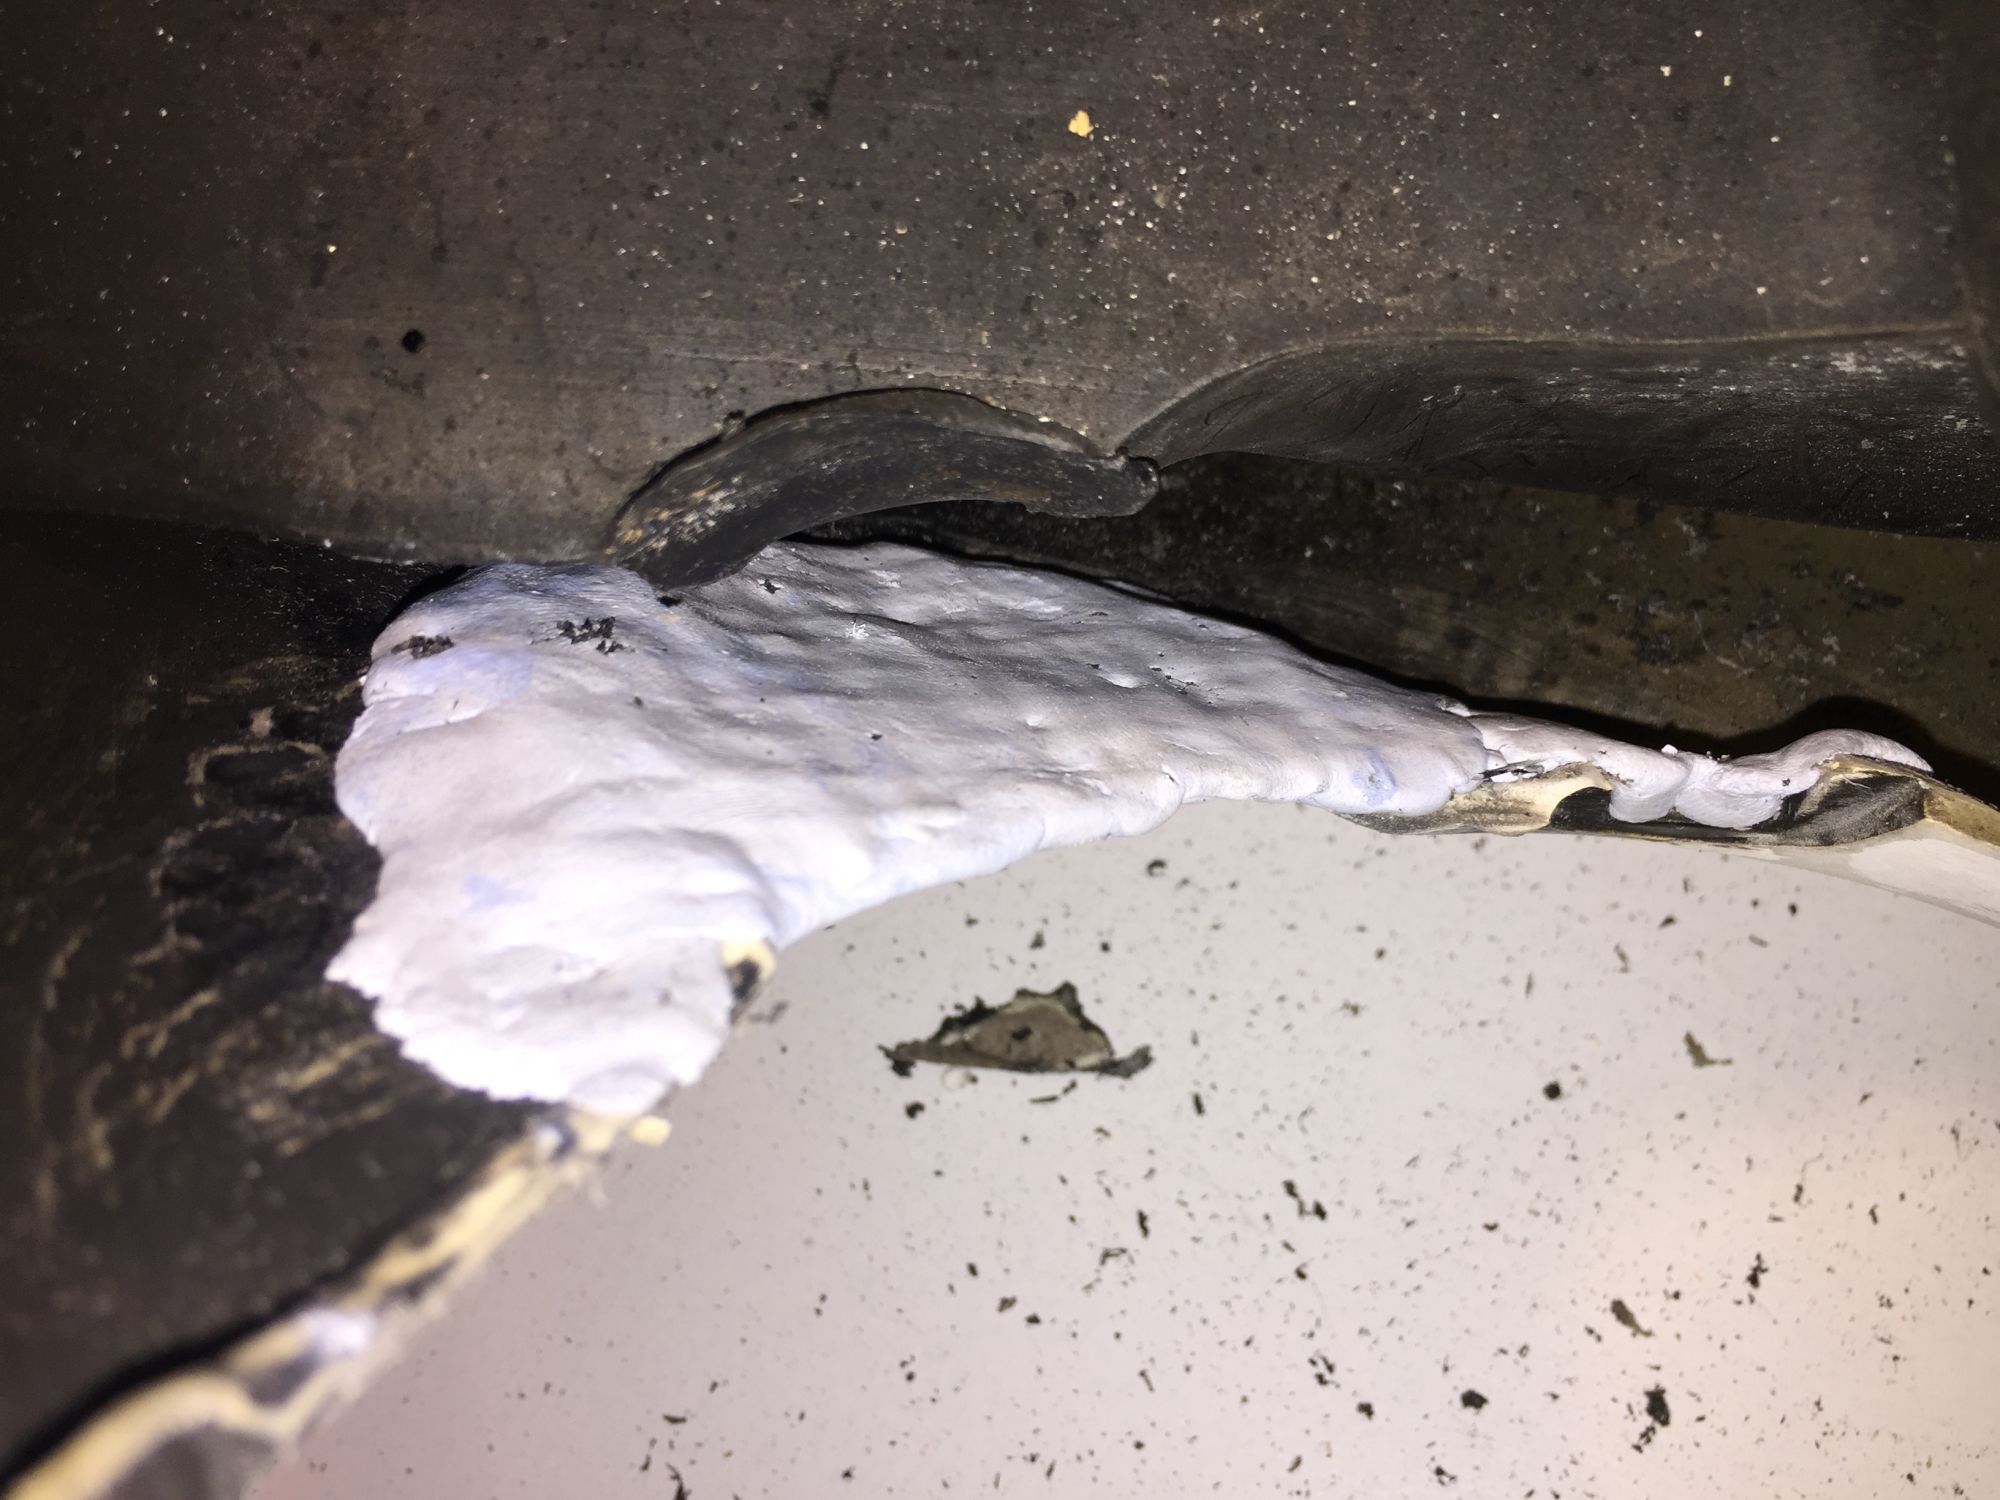
view of the jb weld from the back
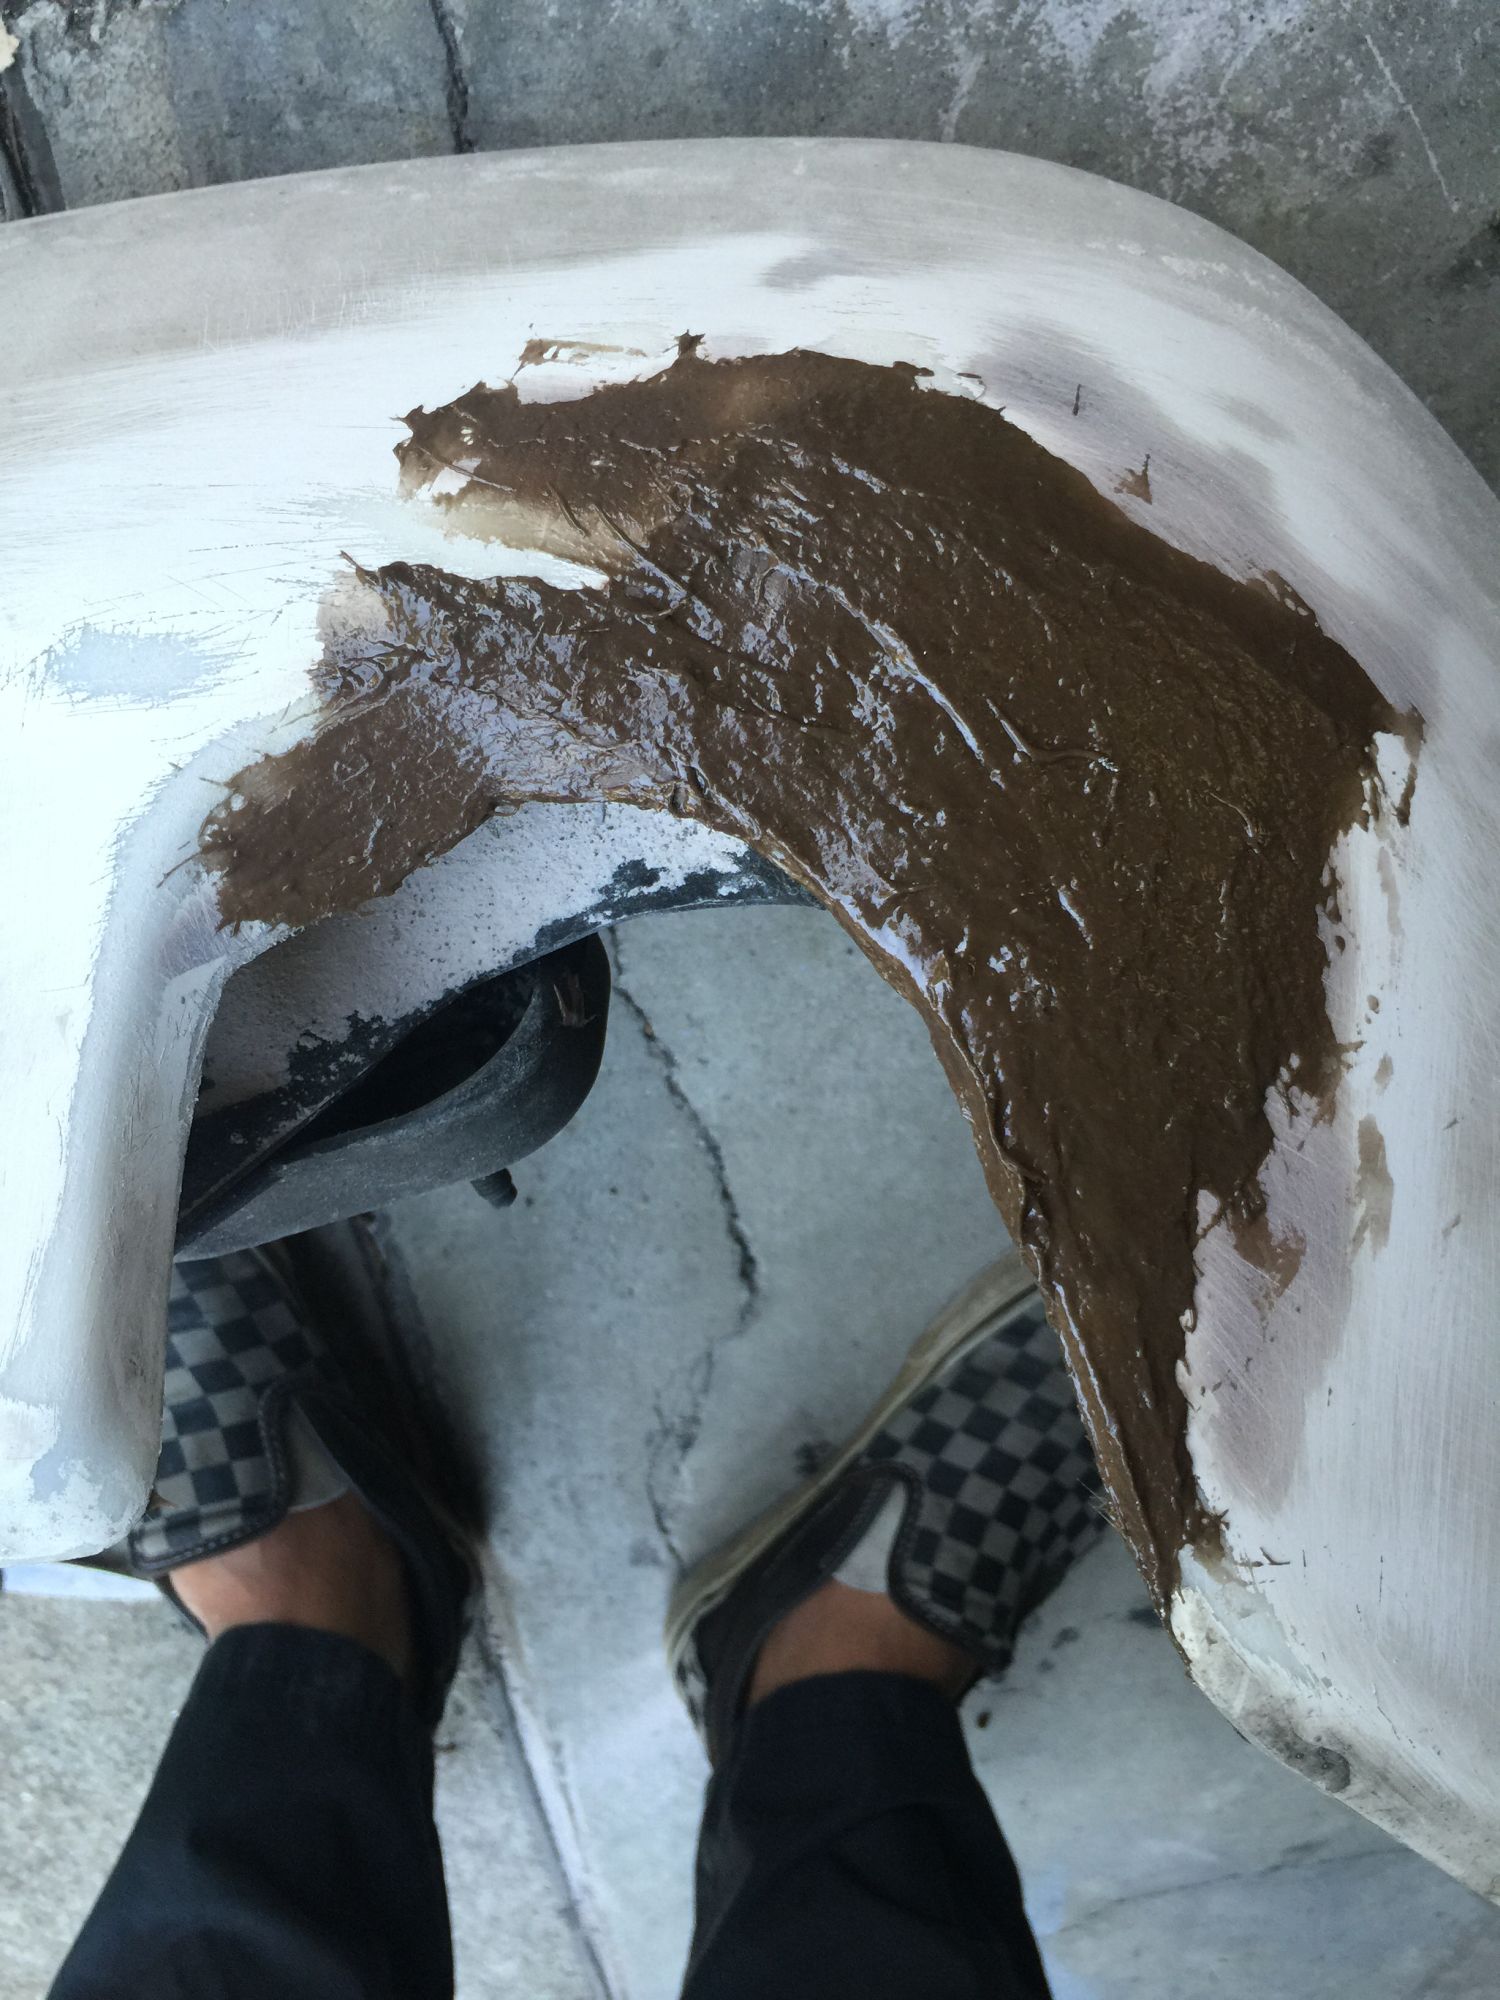
Used fiberglass reinforce bondo for extra strength
 03-15-2014, 10:57 PM

 )
)

 0
0