Build Threads Building a motor? Post the progress here.

Tim - Building the boosted Miata!

Thread Tools
 
Search this Thread
 
Old 07-23-2015 | 05:38 AM
  #1  
Tim_Belgium's Avatar
Thread Starter
Junior Member
 
Joined: Apr 2015
Posts: 50
Total Cats: 4
From: Belgium
Default Tim - Building the boosted Miata!

Hallo from Belgium, my name is Tim.
I have been following MiataTurbo for some time now.

I love boosted Miata's and I watch a lot of builds on this Forum.
So I figure I should make one of these.

Let's Begin.

Ps. Apologies for my bad English.

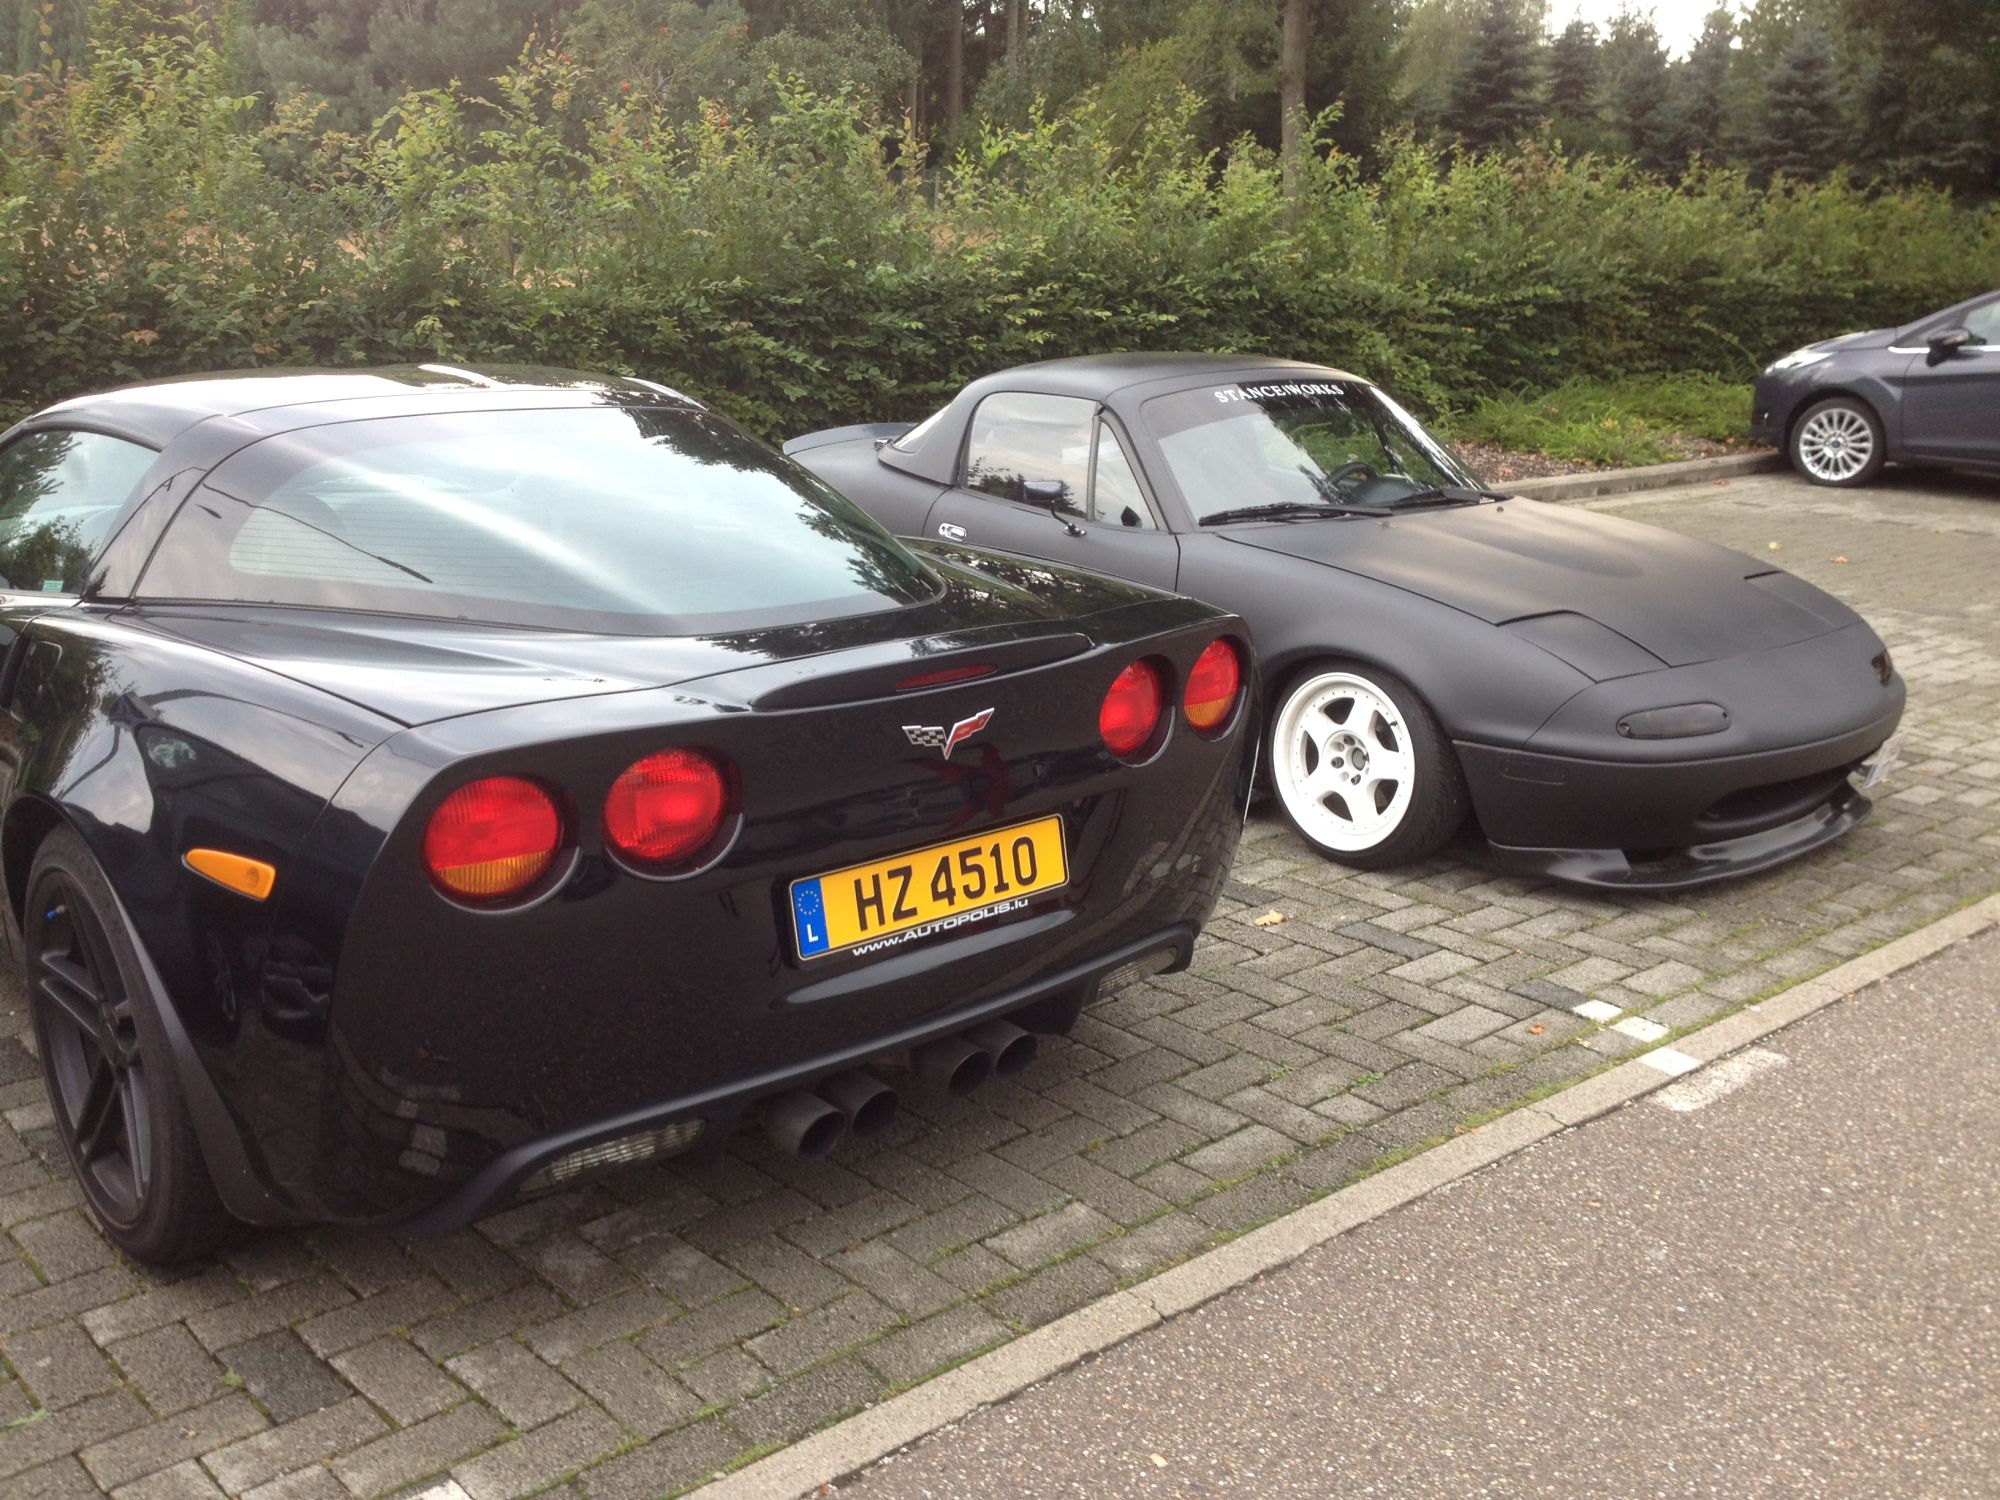
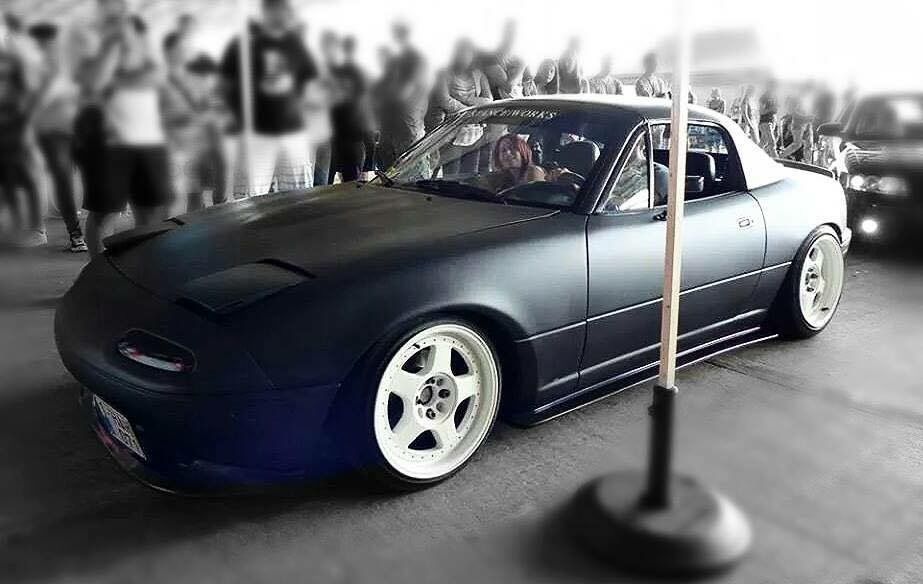
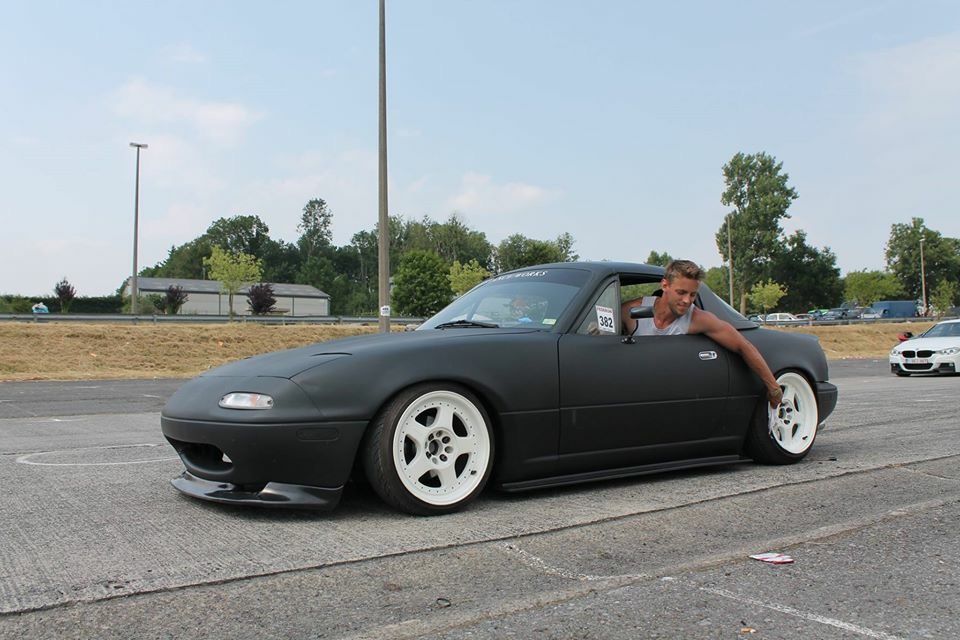
Current state
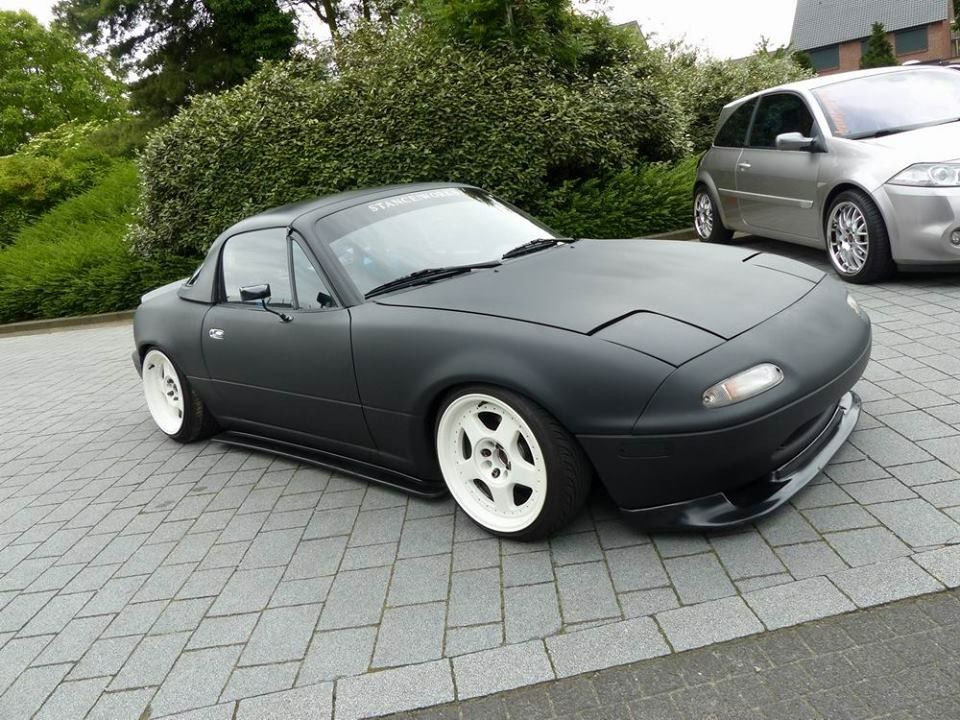

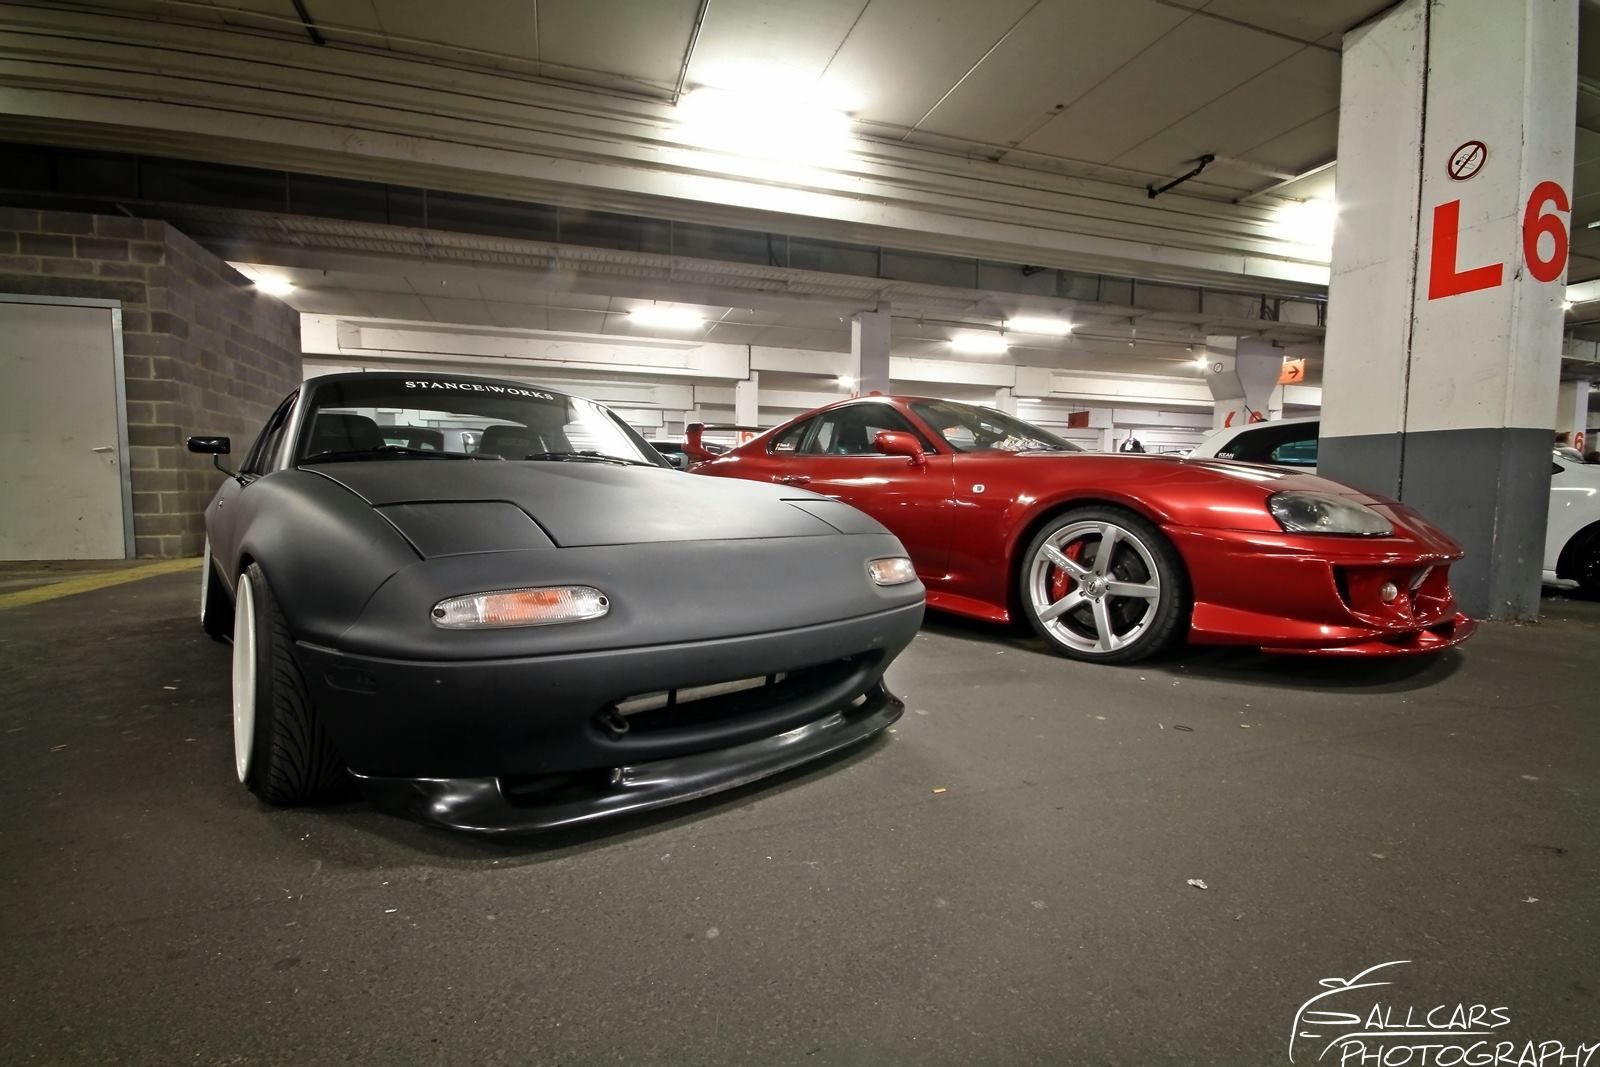
I love the stanced look but I'm thinking about doing track days. So raise it and some racing tires/rims.


I bought the car 2 years ago. The main reason that I bought this car is that it is a 1800 cc NA low mileage.
Problems with the car:
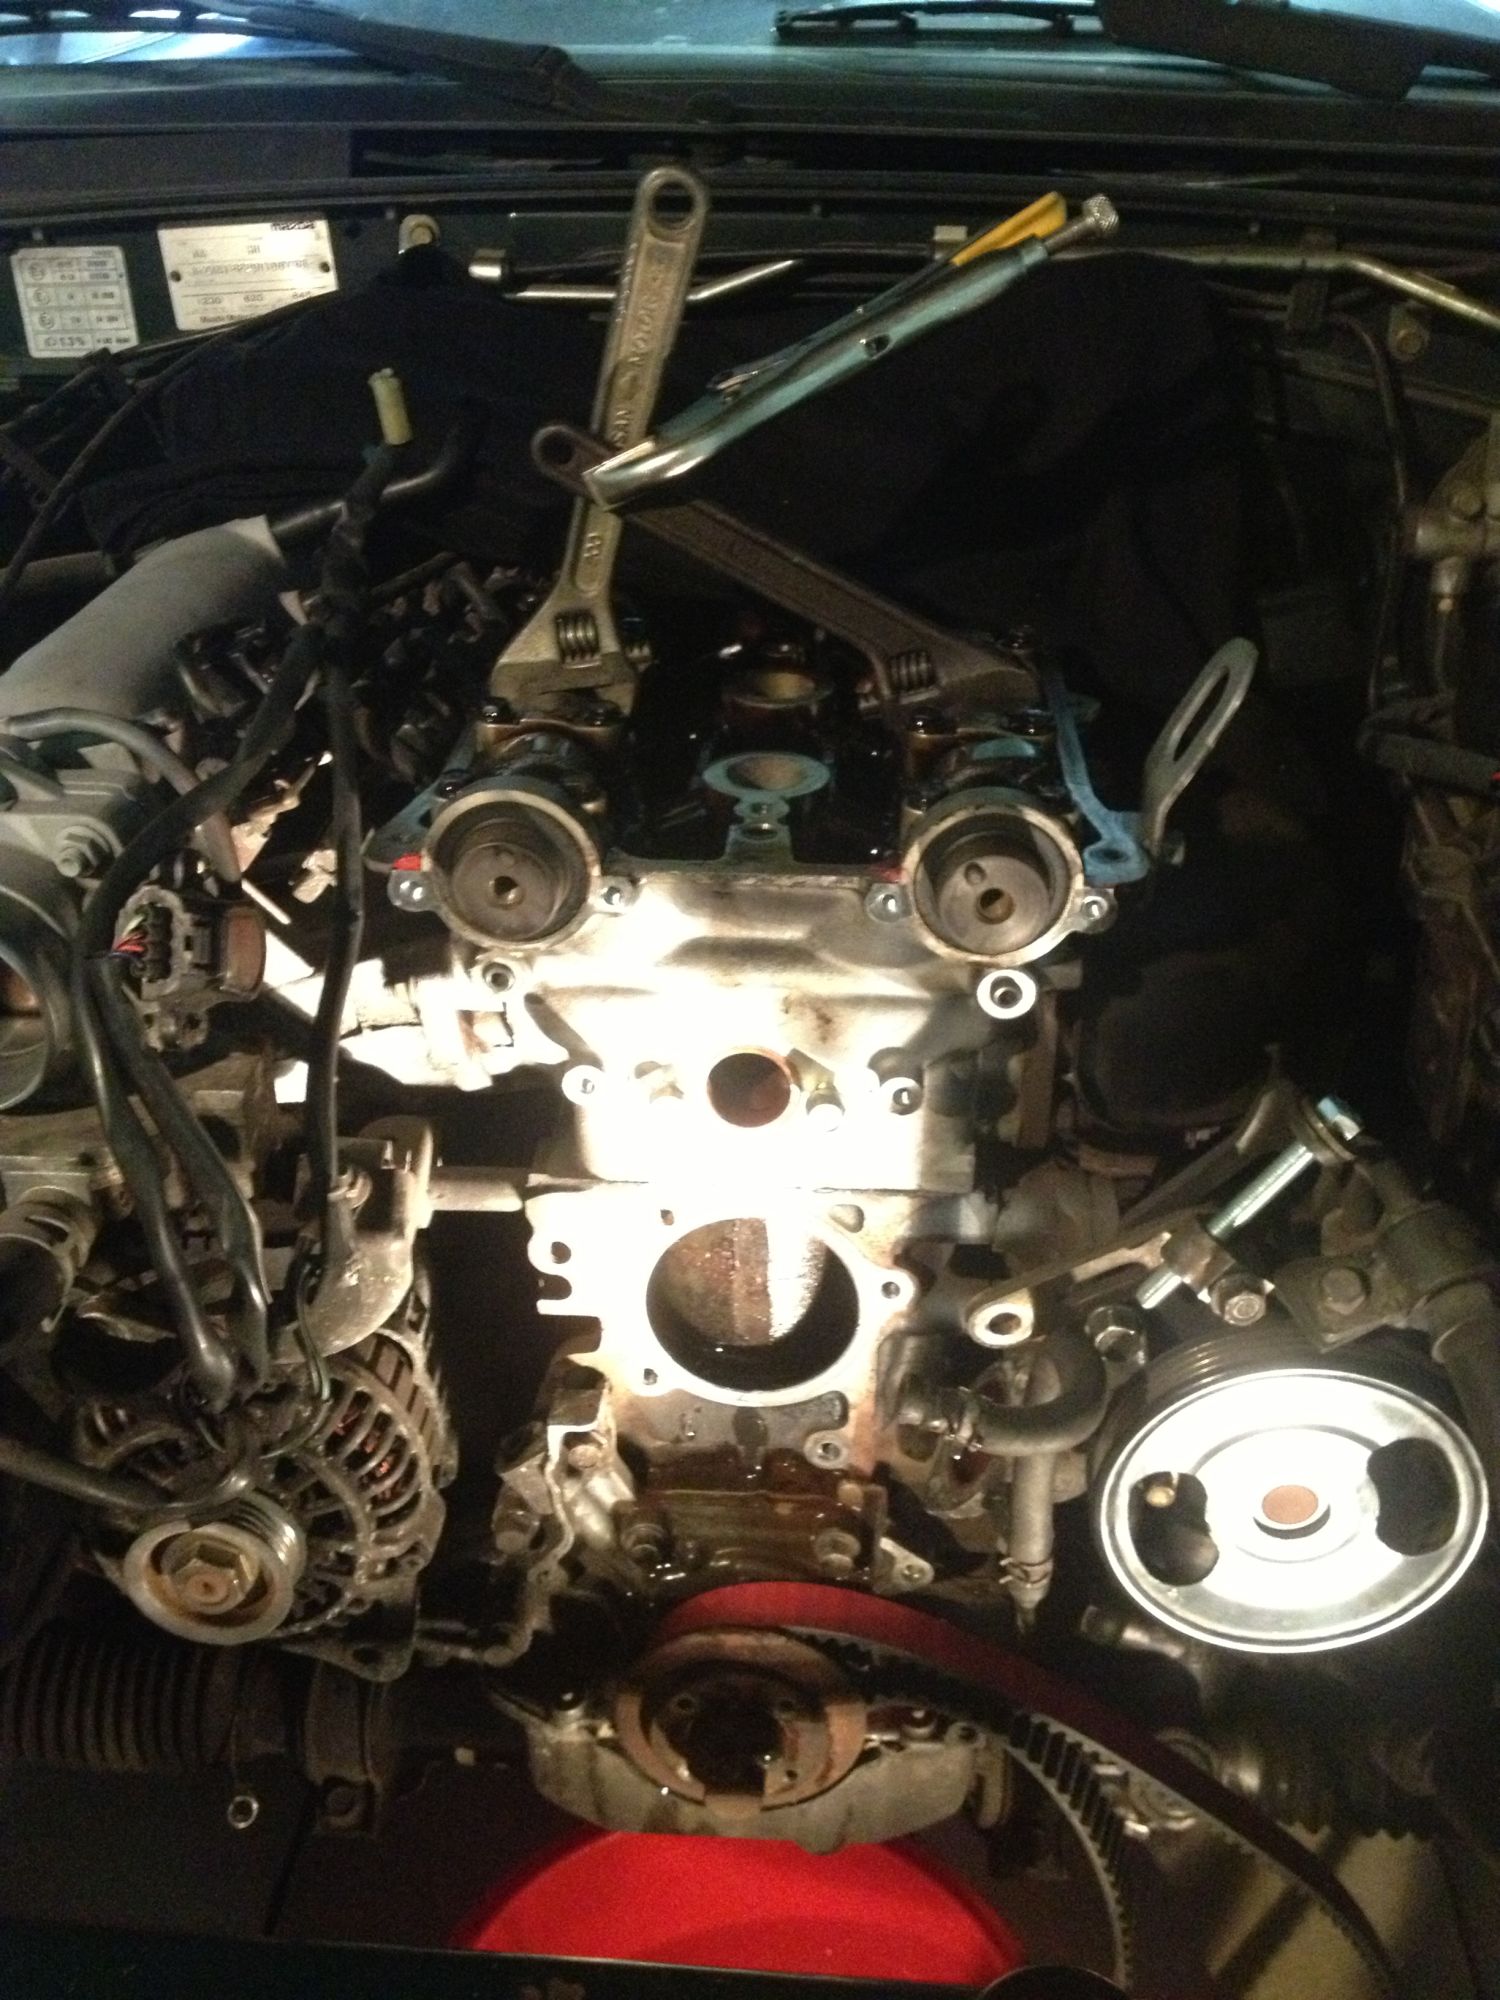
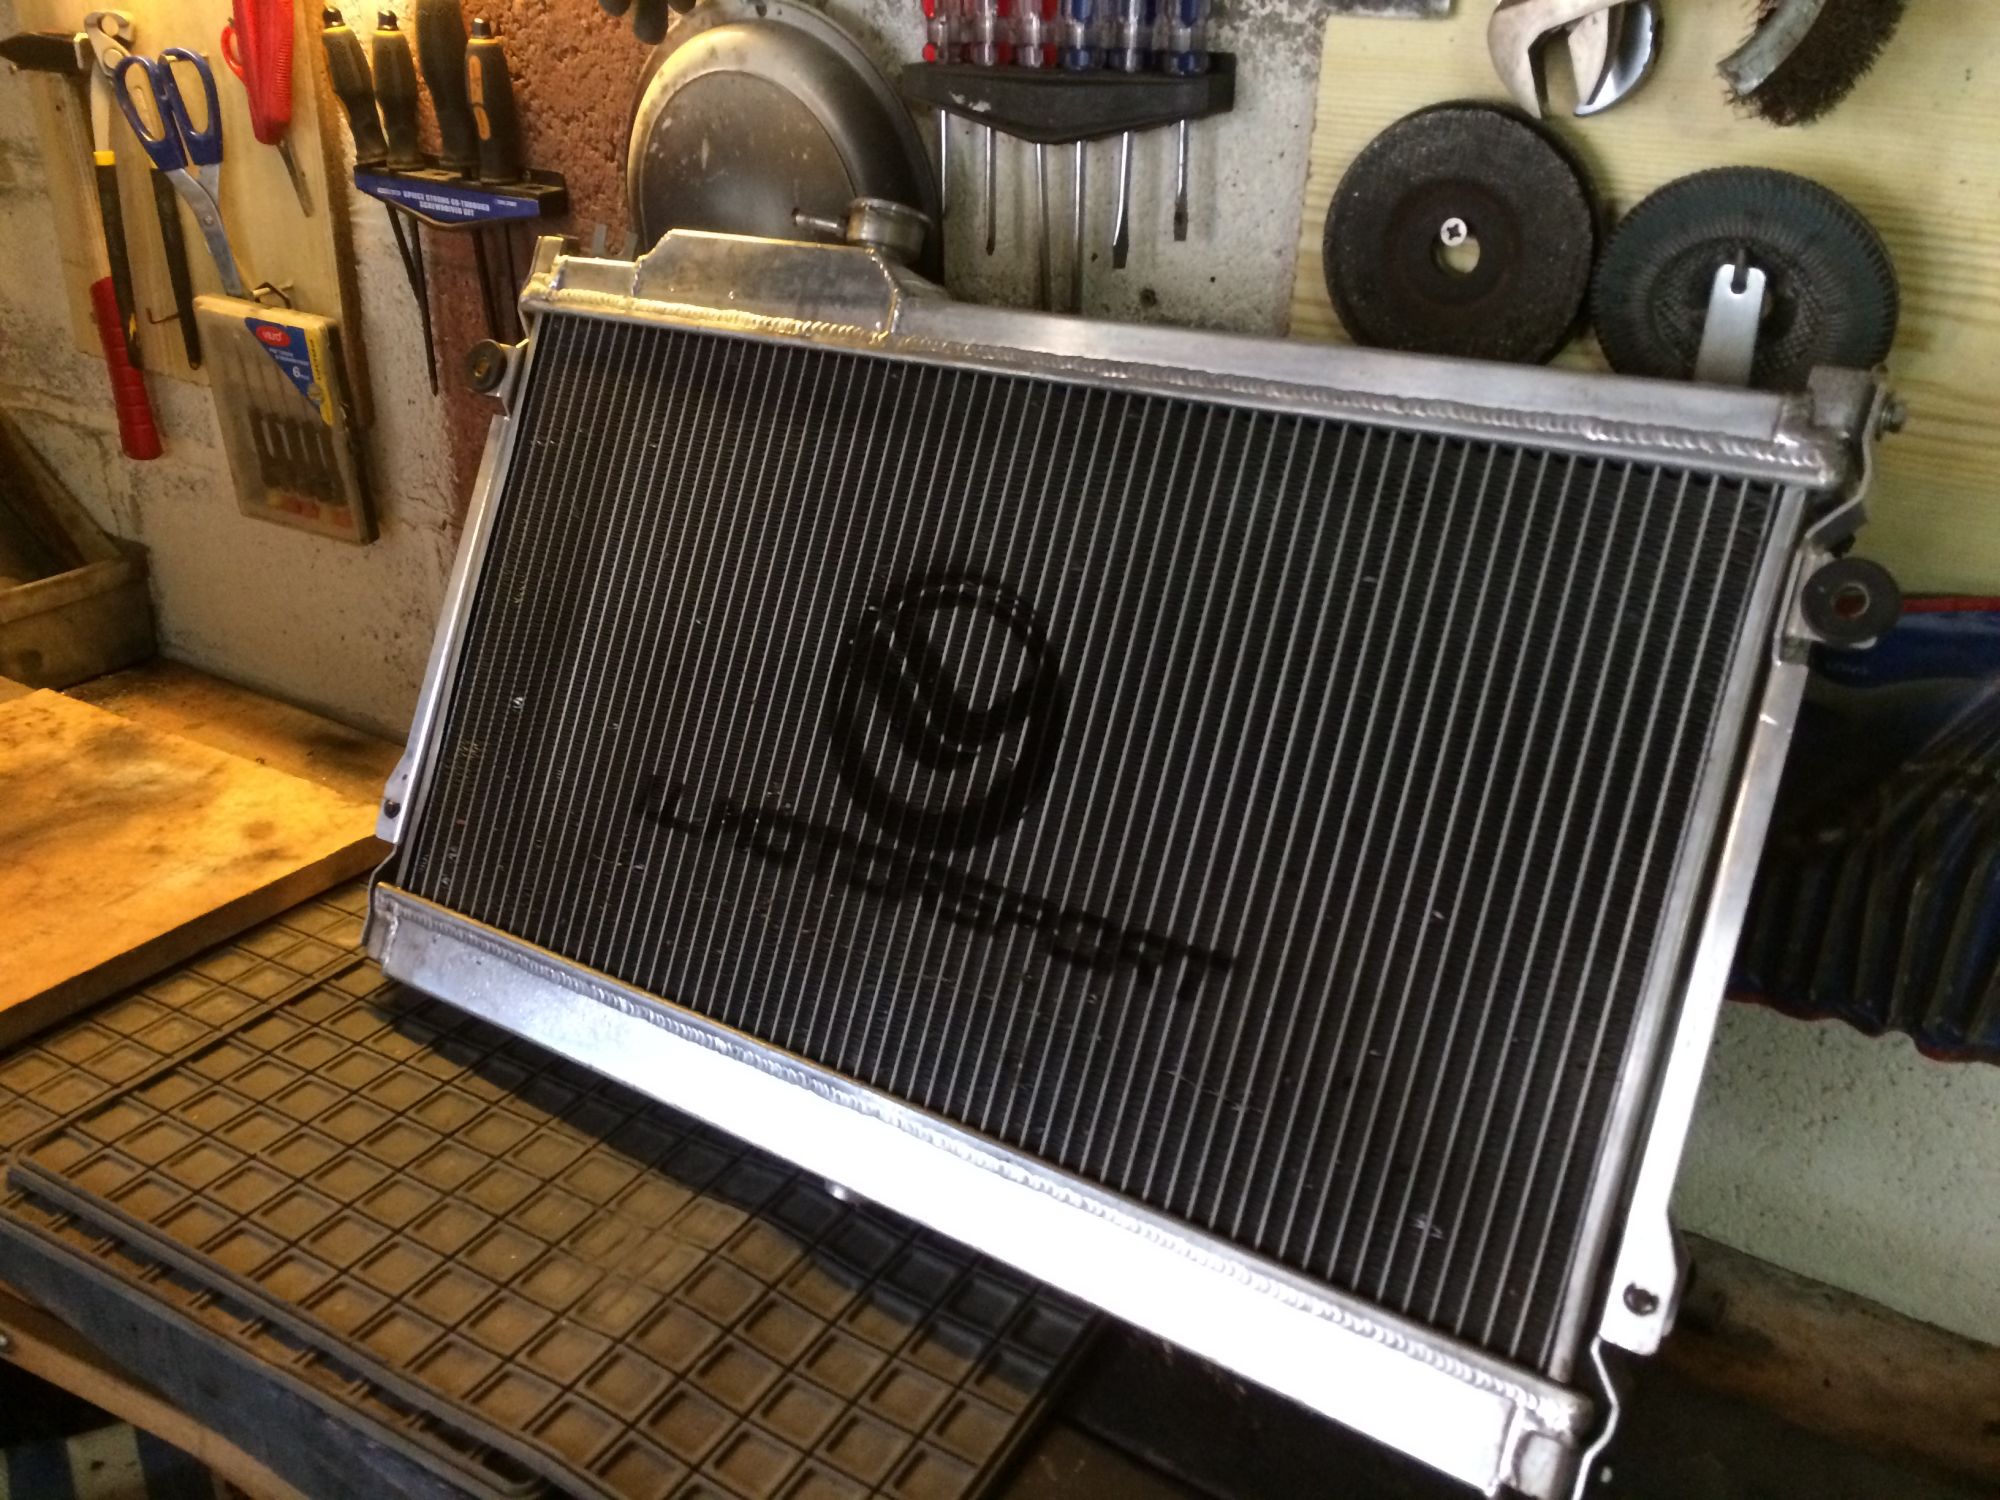
Big rust holes and cracked radiator + leaking water pump, dents everywhere, I did not like the paint, broken mirrors ...
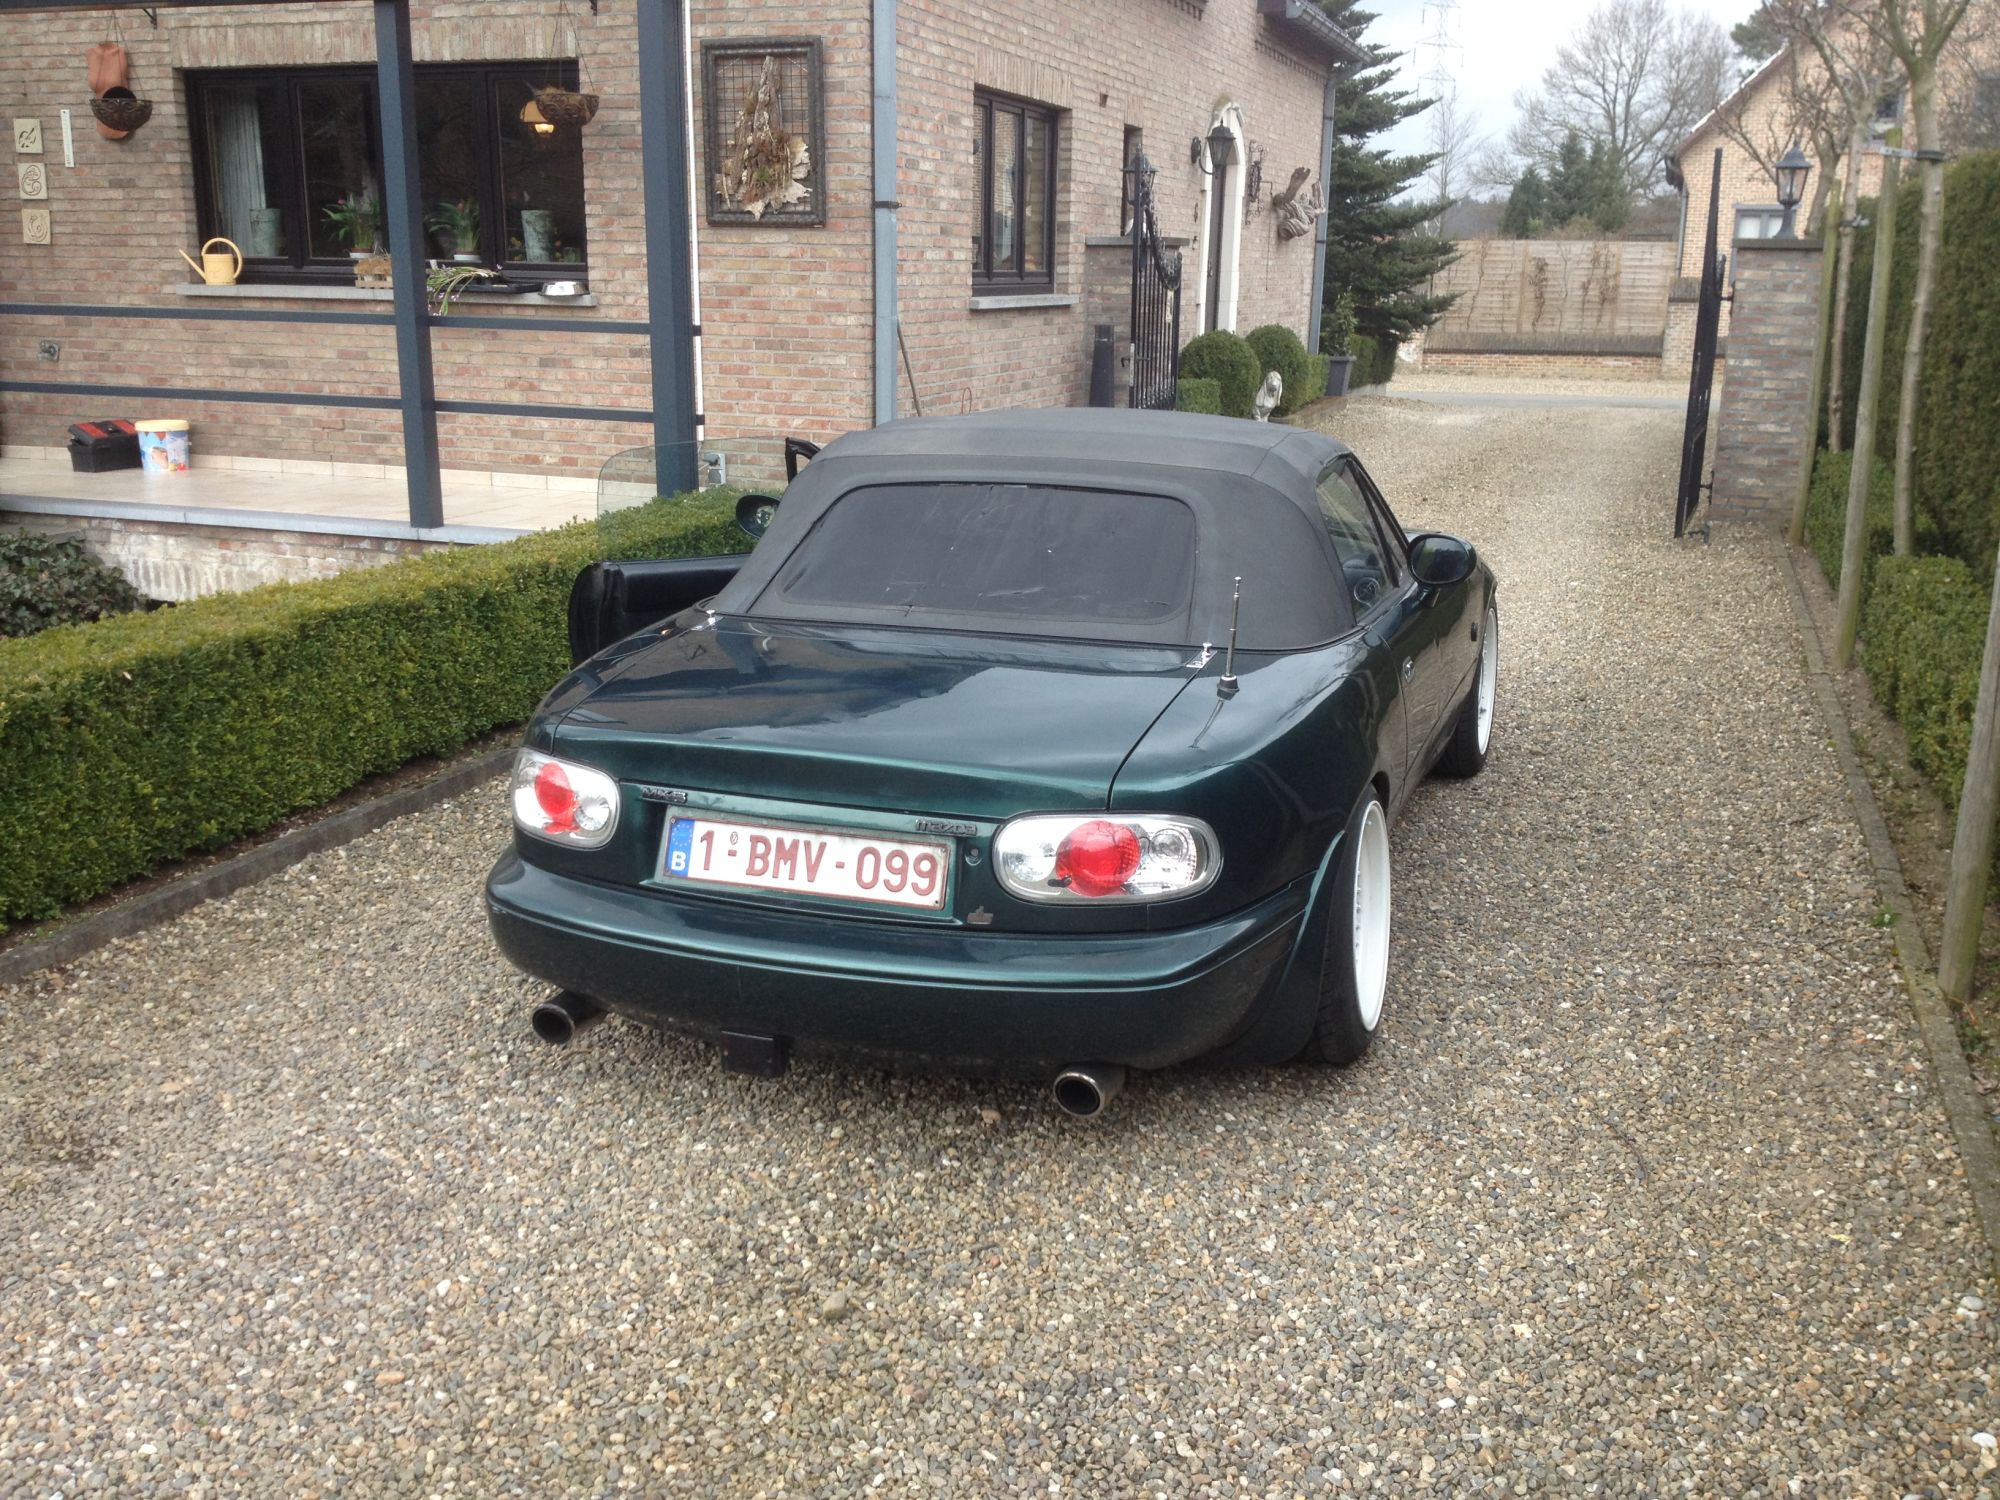
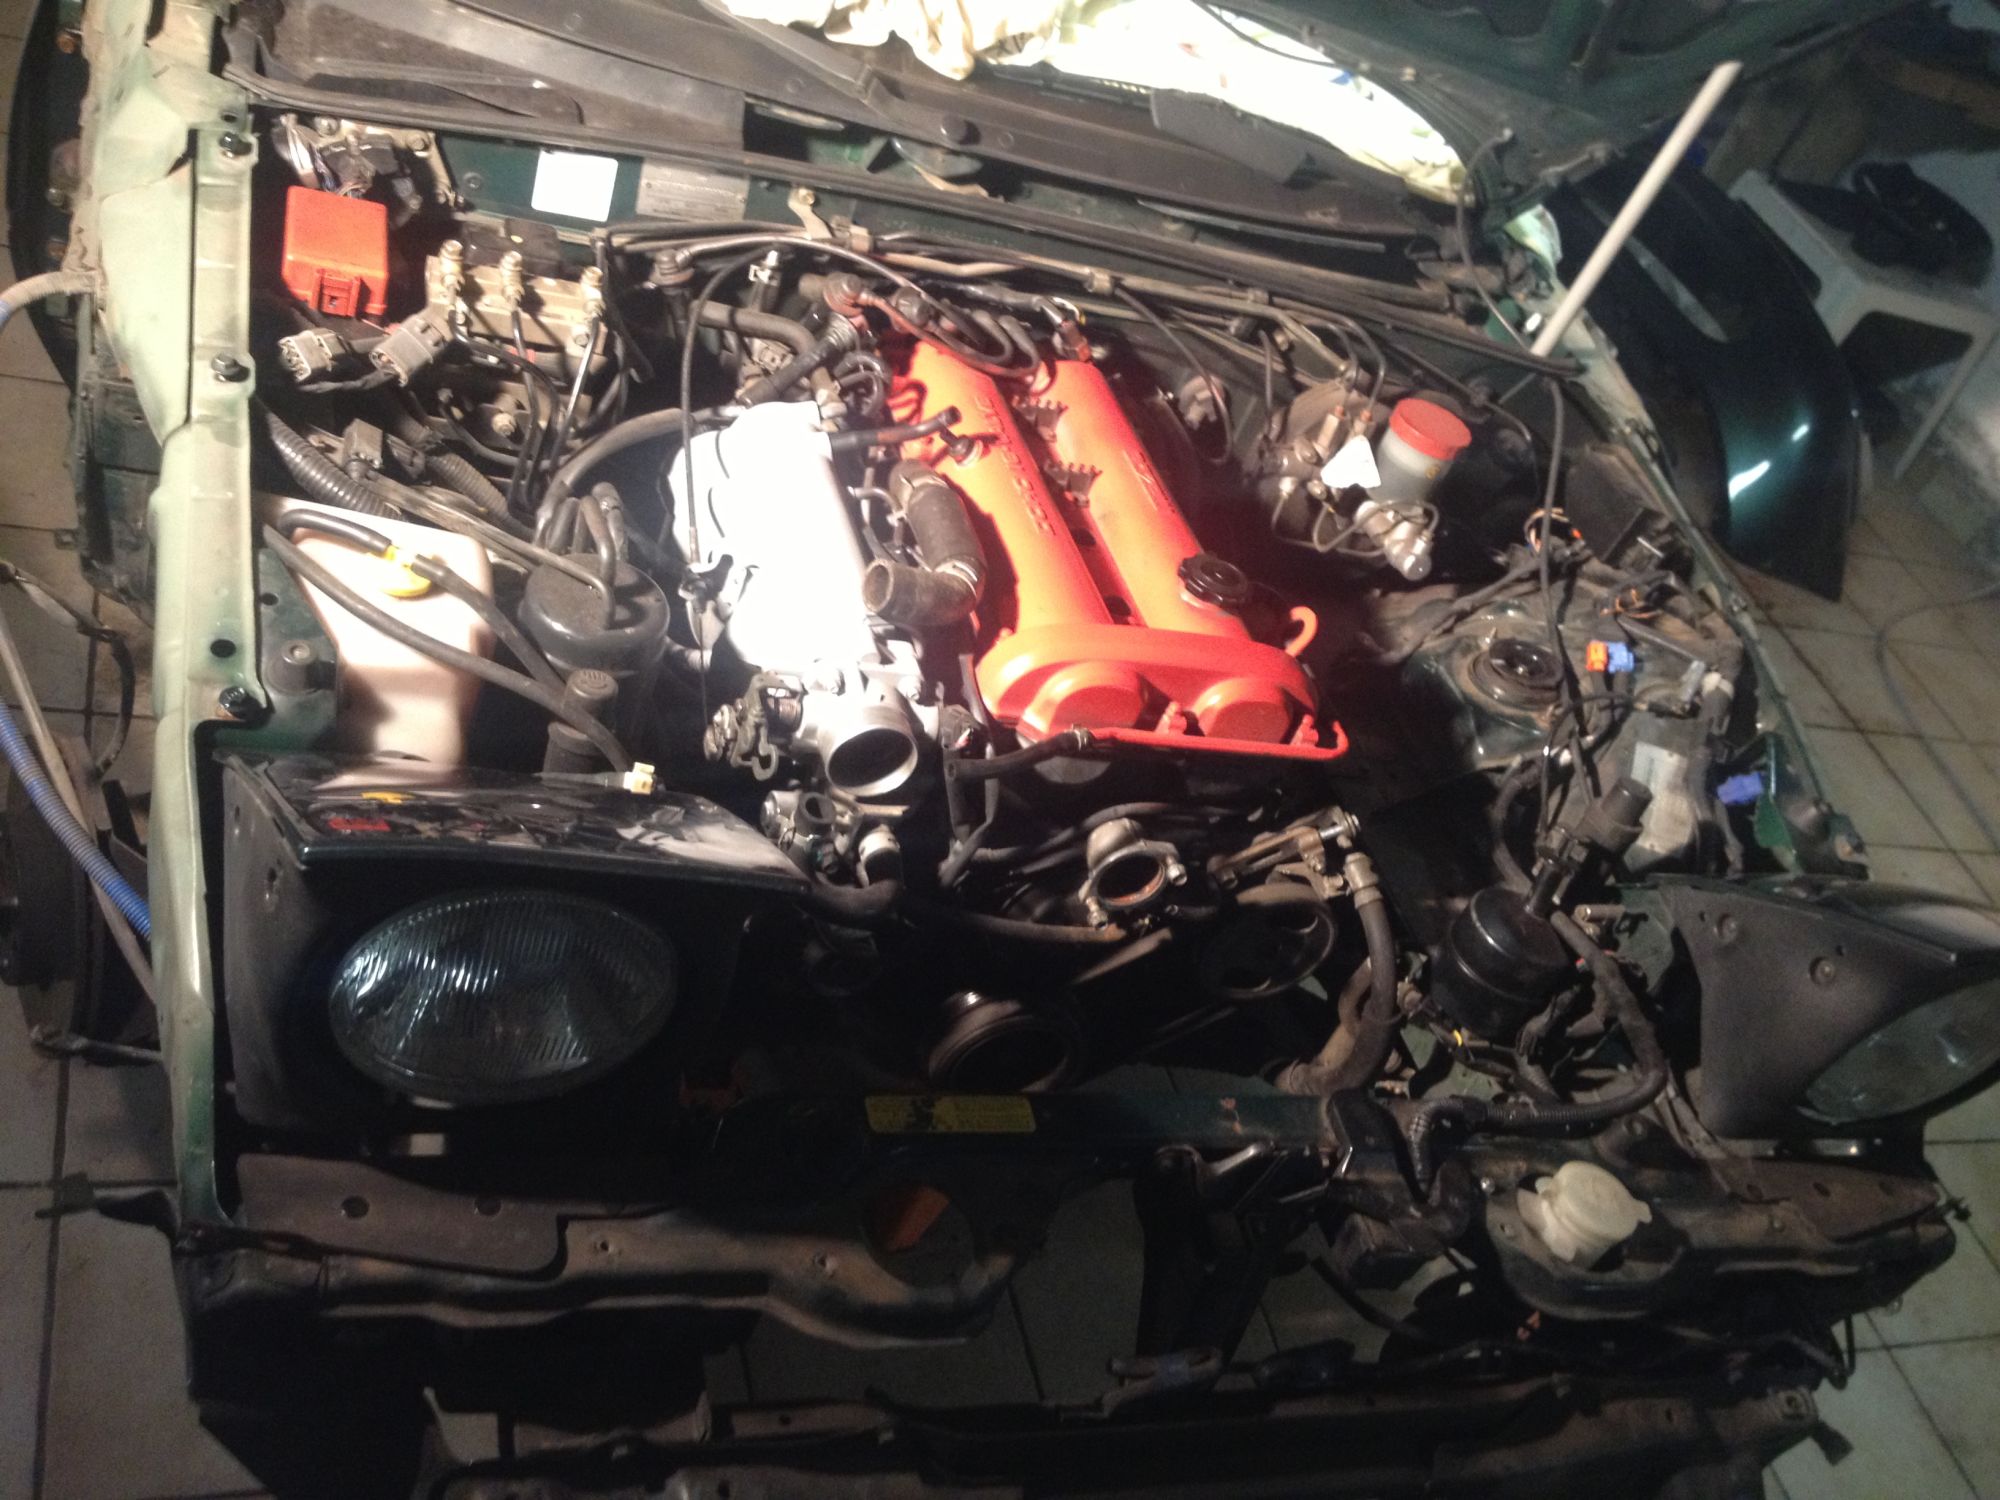
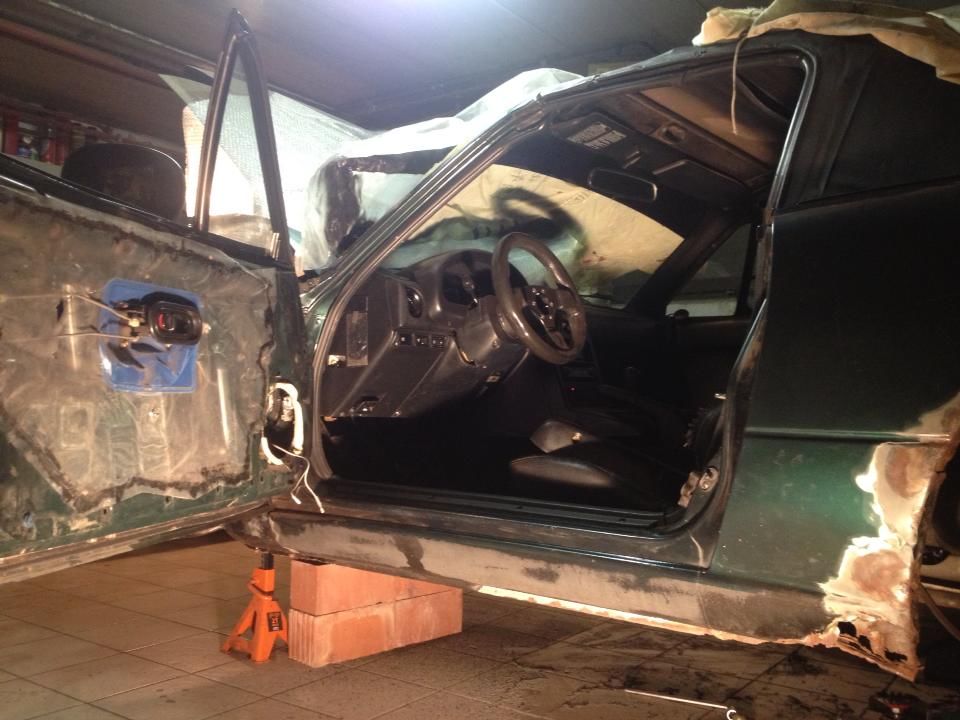


So I bought a lot of parts to fix everything.
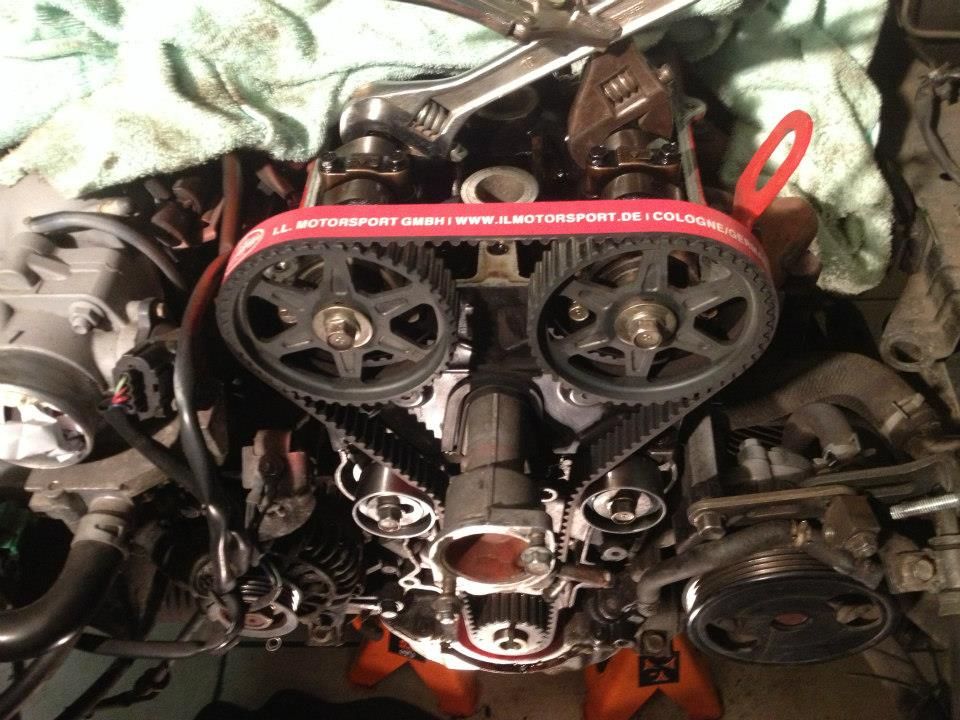
IL motorsport alu radiator, Brake pads (front and rear), Water pump, Timing belt + rails, all the liquids and filters, front fenders en rear left fender, Right Door, mirrors, ...
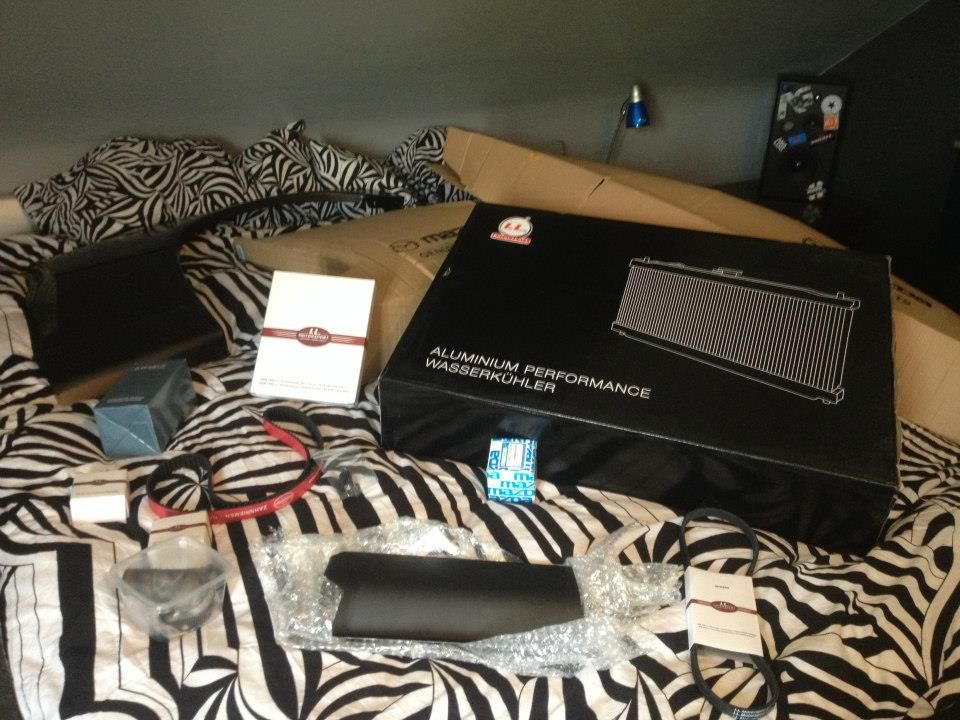


First stuff I bought to fix the car.
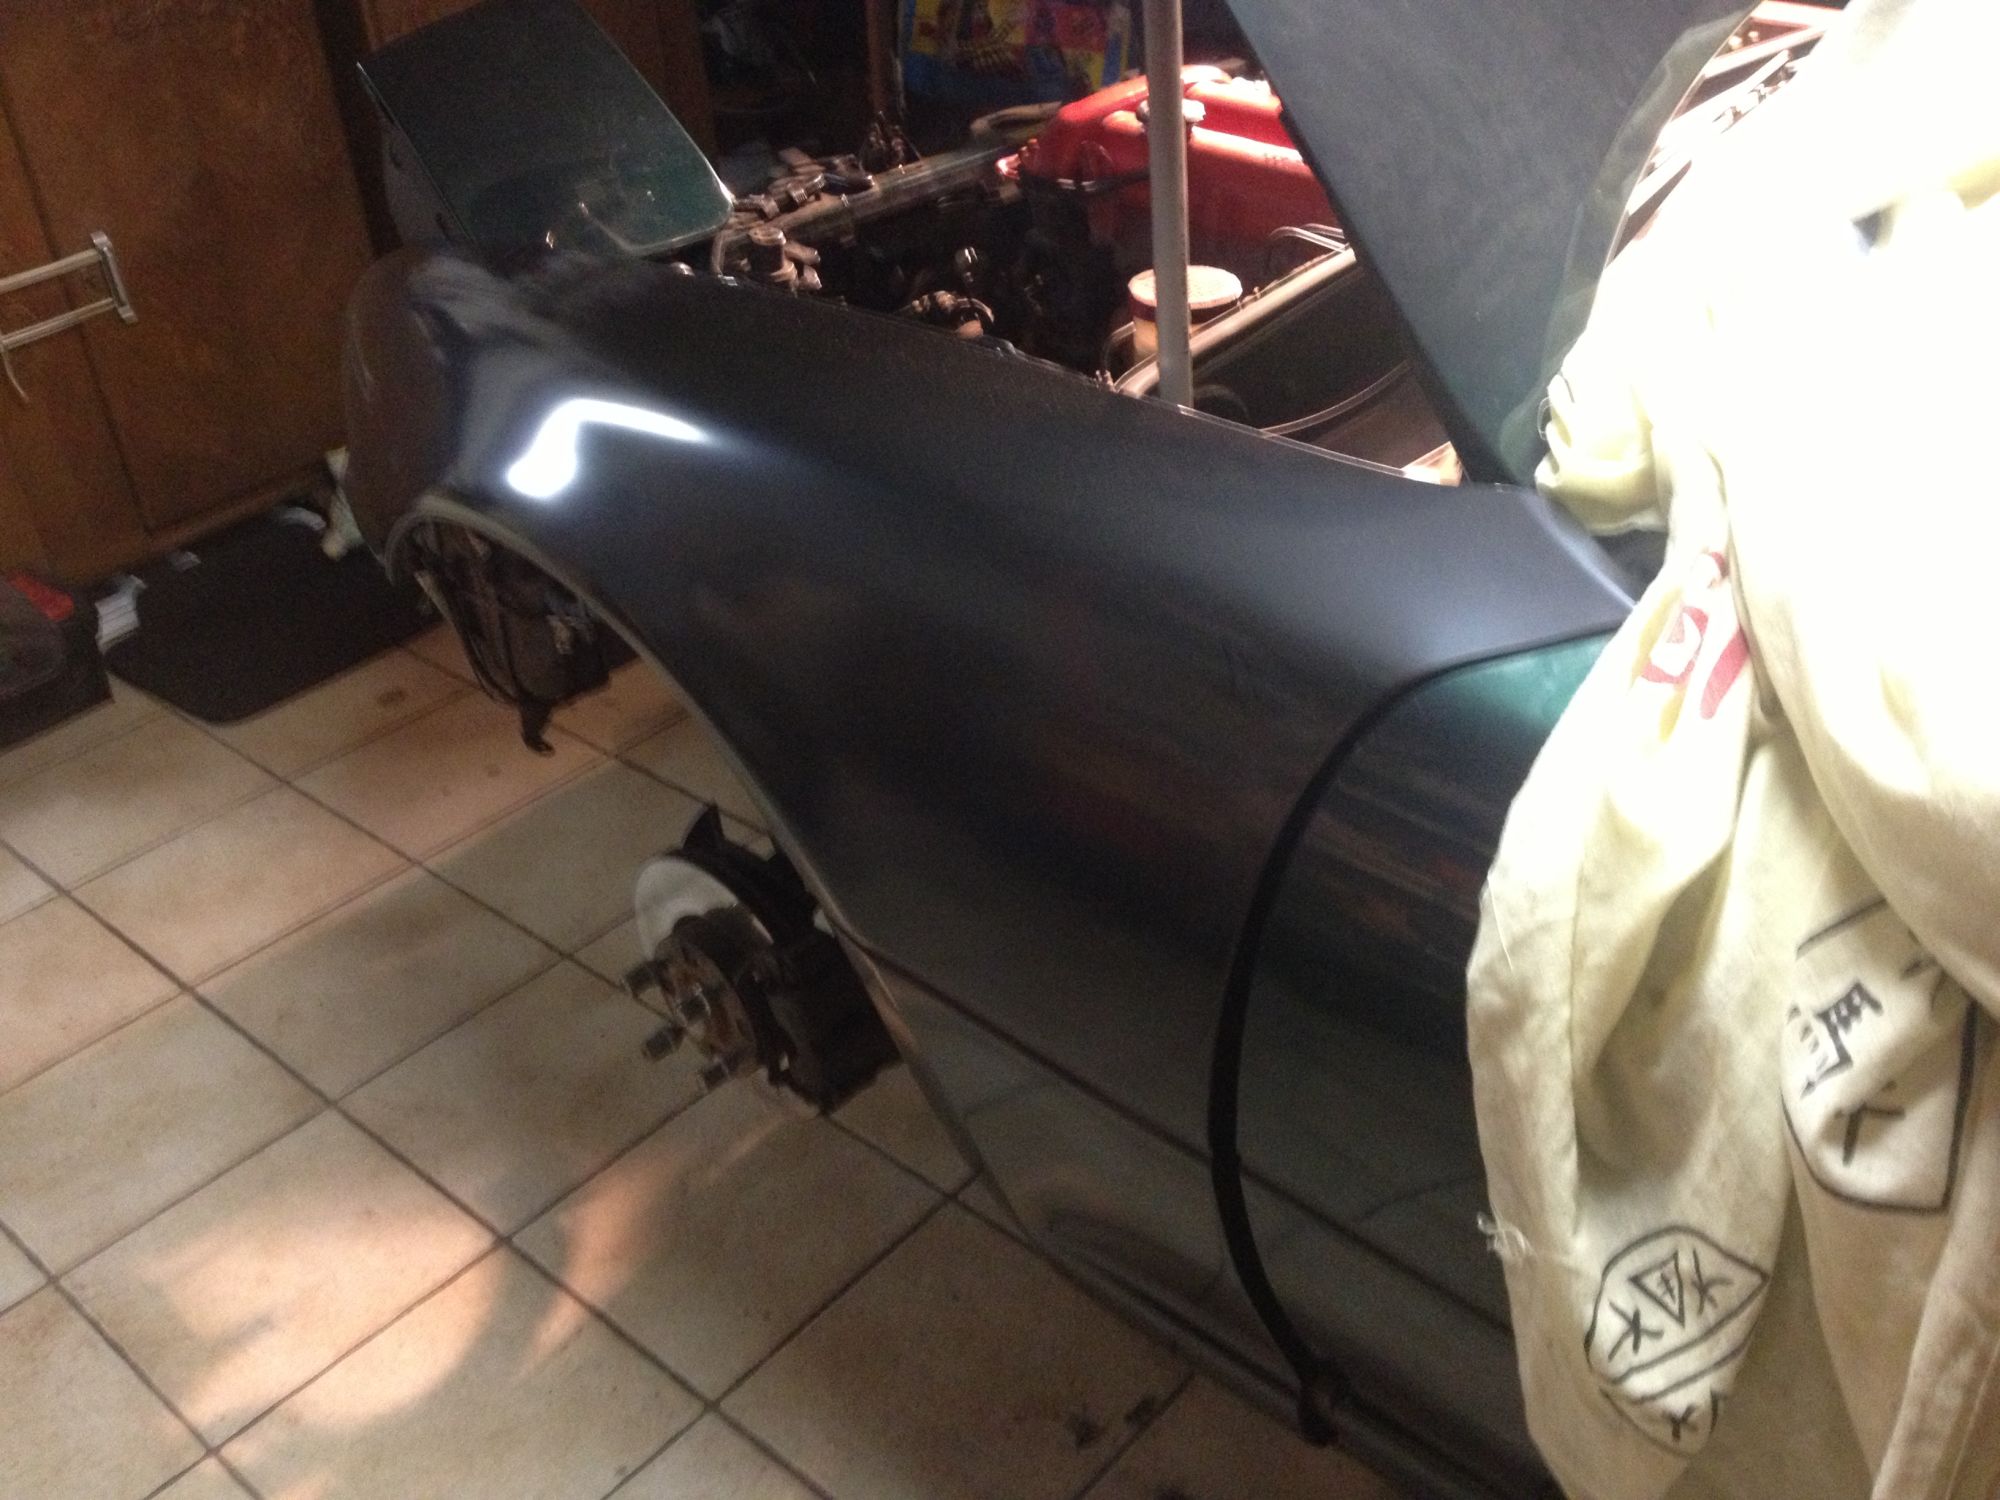


New front fenders
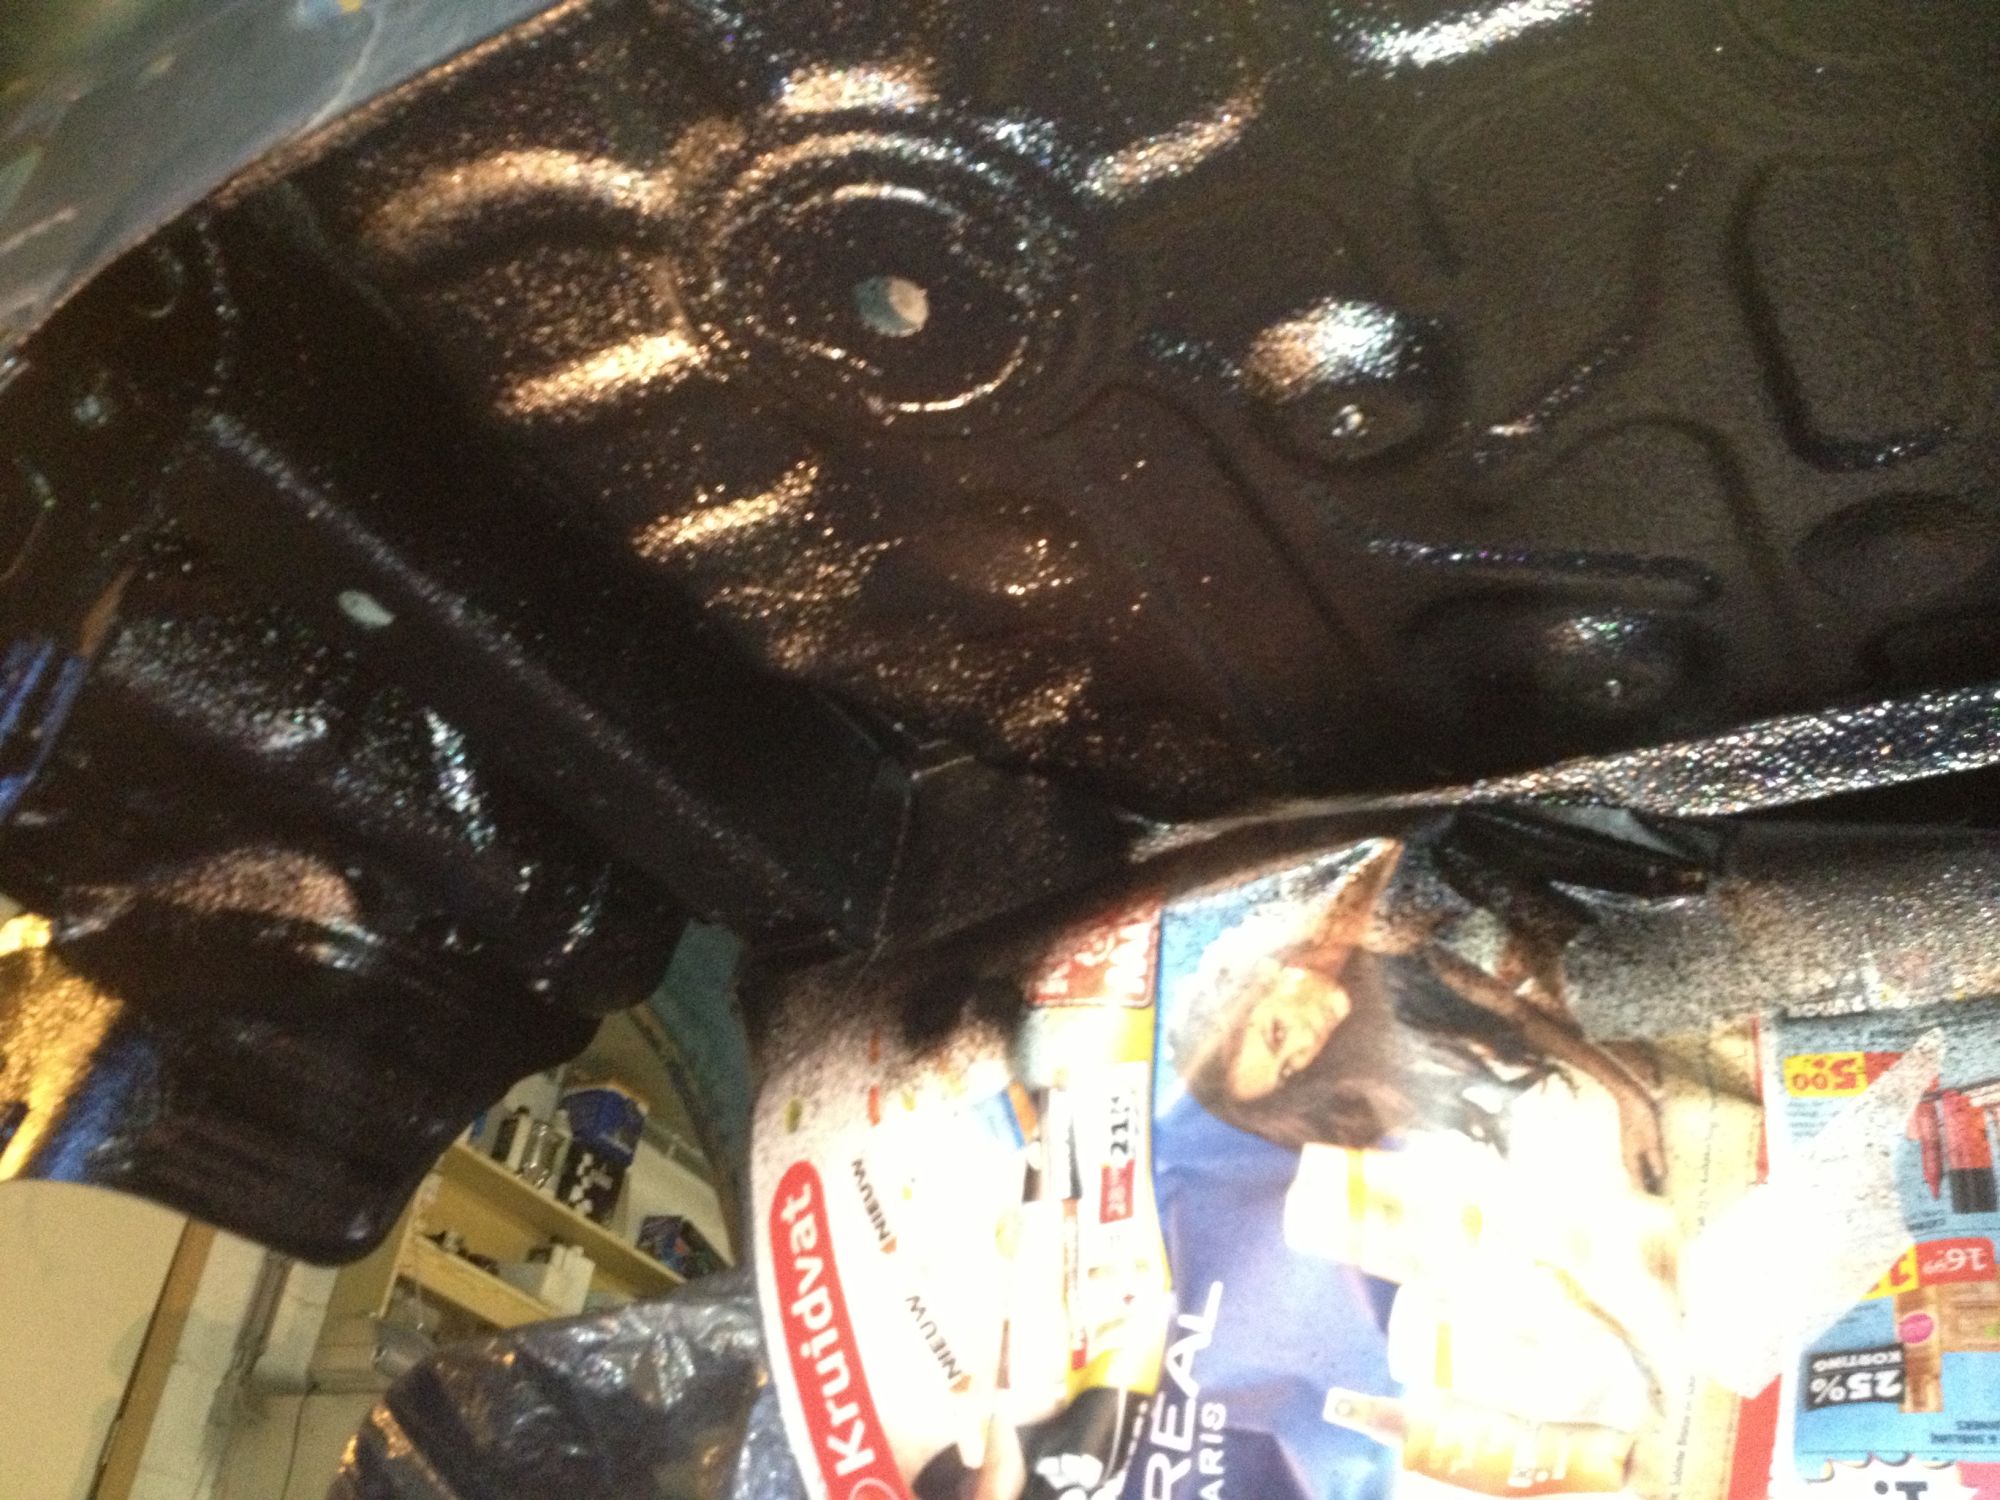


Painted the underside
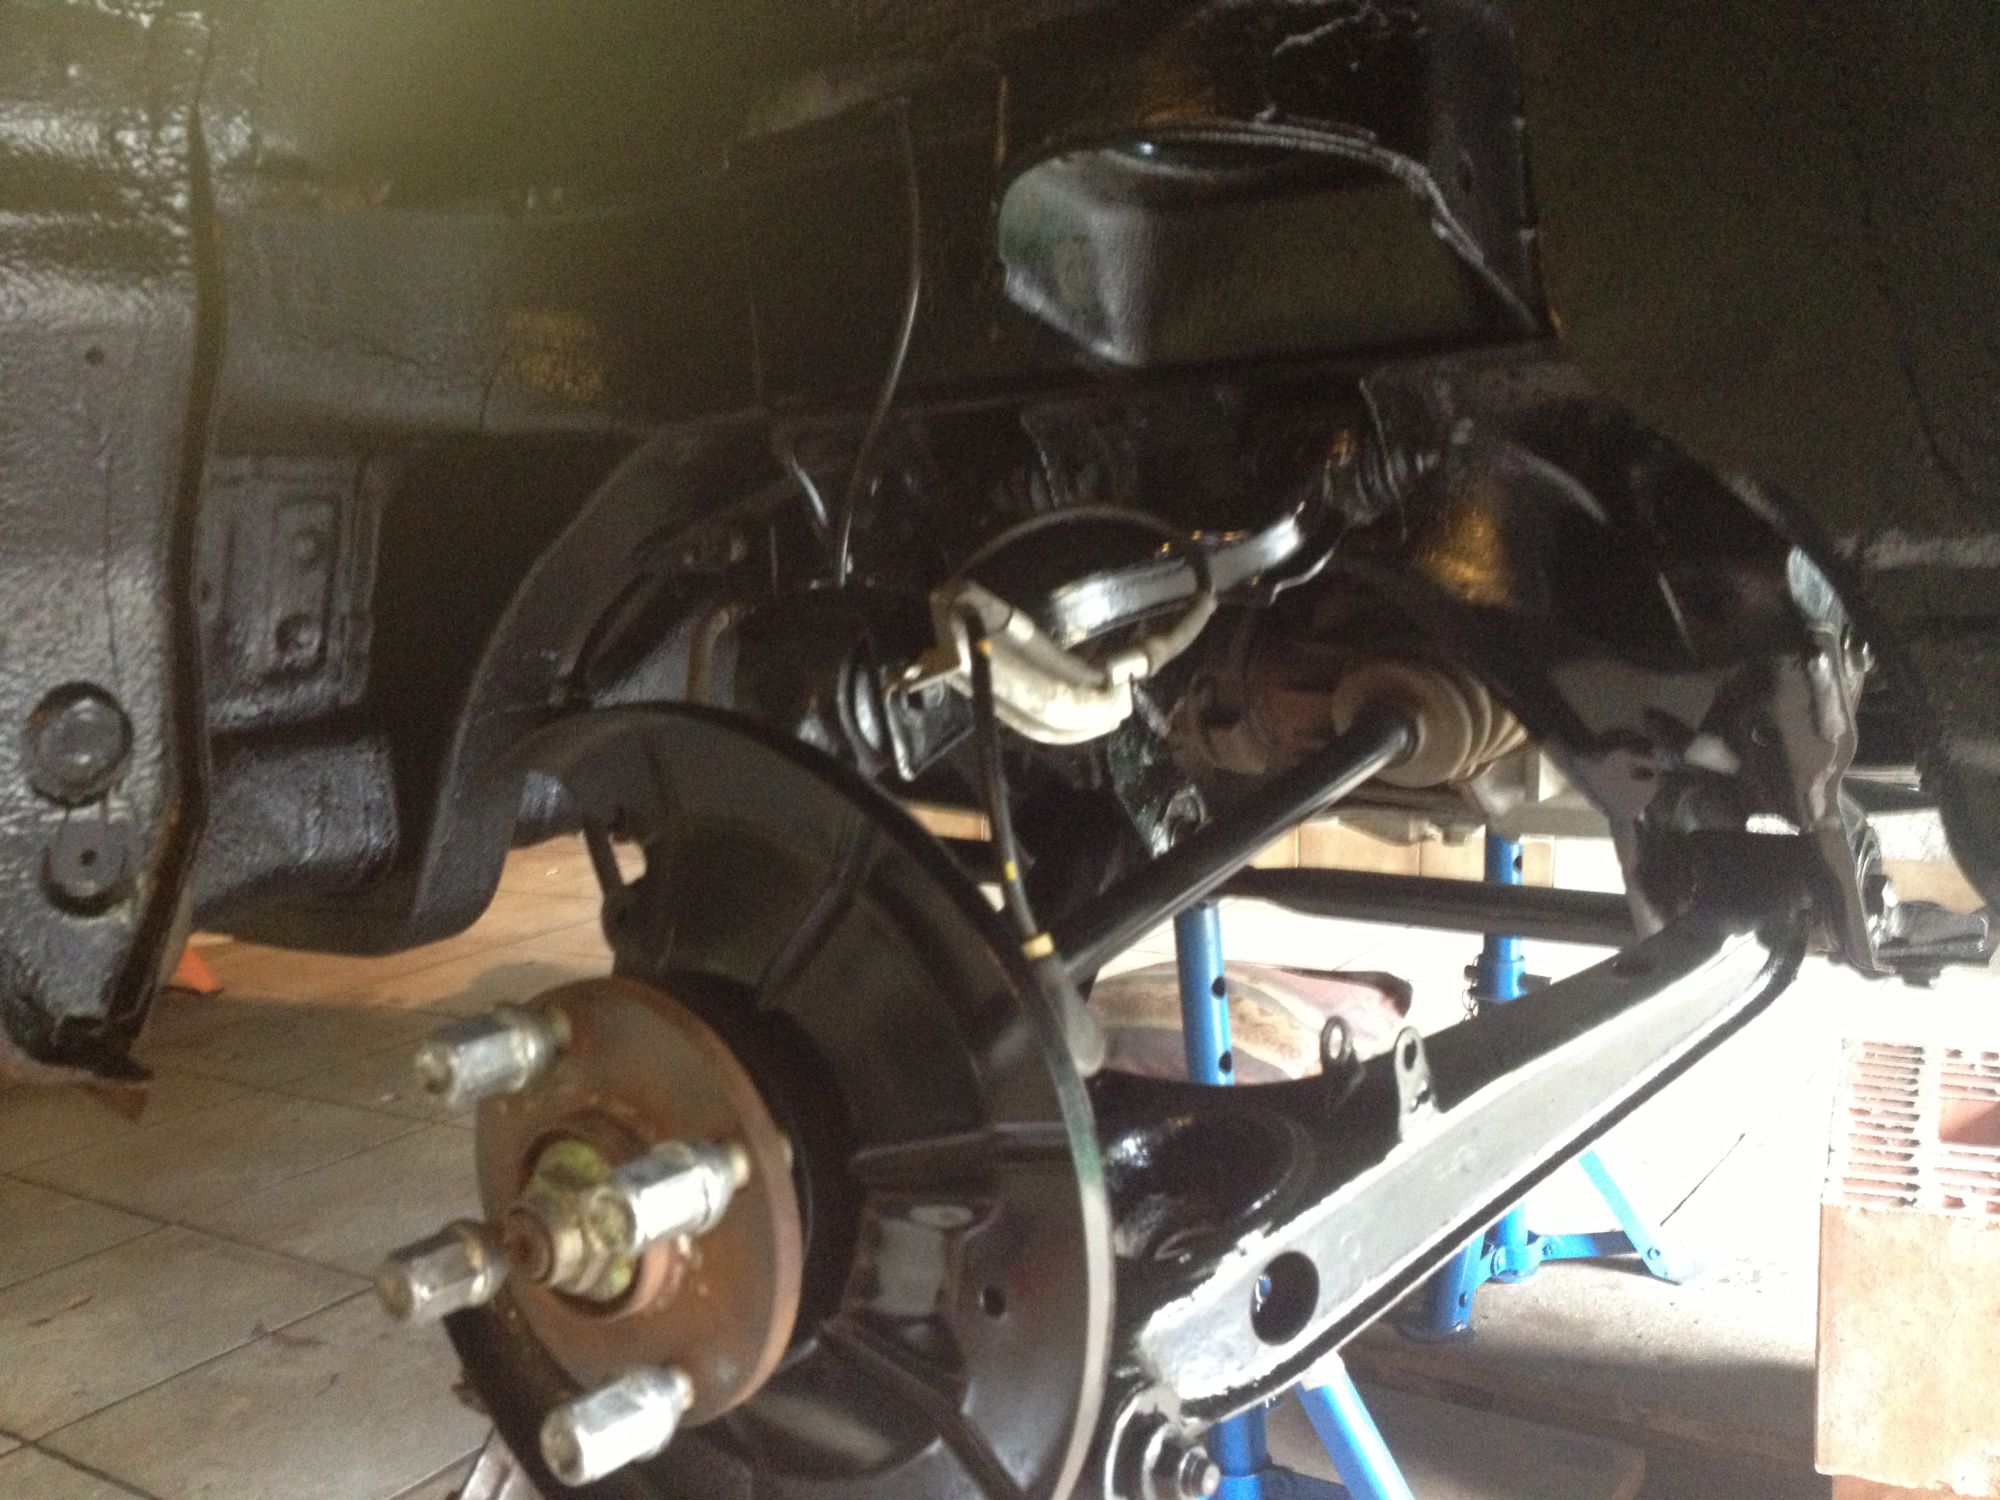


No more Rust !!

I did a lot more, but I will not bore you with the small repairs and paint stuff.


Time to buy some Turbo Parts !!!
Attached Thumbnails Tim - Building the boosted Miata!-80-img_2207_0eb47ed4d5b8e3b8a7202eca8004f98119eabb04.jpg   Tim - Building the boosted Miata!-80-2013_04_06_15_29_35_c41cefa94ad4f35191181a532a6935868ce06107.jpg   Tim - Building the boosted Miata!-80-2013_05_04_18_41_17_216c169dc79a027a429bb0fb05db62929a2cd241.jpg   Tim - Building the boosted Miata!-80-983831_10200393284367242_276584970_n_ead3f5473e79a32751bf8f5d457b5dd14391b0d0.jpg   Tim - Building the boosted Miata!-80-942926_10200283036491114_550893986_n_34a103fe5c7fc8100ff9fdf926a5fac26107cbd7.jpg  

Tim - Building the boosted Miata!-80-2013_05_04_18_44_47_dfade76b8fe4c4f3777421842e36229f34229ce0.jpg   Tim - Building the boosted Miata!-80-2013_06_03_21_39_34_1668b082231e1731067a3d4cce2099f4b6e0f678.jpg   Tim - Building the boosted Miata!-80-2013_06_05_17_32_01_7d20275e5eed8f2096fdeb6f1f58ff0b5f346ed3.jpg   Tim - Building the boosted Miata!-80-2013_07_30_18_07_36_44290948f708e4d5e0a0f5188b2c11145a2f20cc.jpg   Tim - Building the boosted Miata!-80-942986_10200283057011627_1632068869_n_acffa85c78e8d8e0d8e428ca39b67ff27e72ebfa.jpg  

Tim - Building the boosted Miata!-80-img_0583_af03e6569be1004b4bb6d70aaa1e3baf286aa294.jpg   Tim - Building the boosted Miata!-80-1891146_10202724995138554_4062946374590841197_n_d11d9ff3271ffd2e3dfb1d8909668c4f92a7a651.jpg  

Last edited by Tim_Belgium; 07-23-2015 at 10:54 AM.
Old 07-23-2015 | 06:00 AM
  #2  
Tim_Belgium's Avatar
Thread Starter
Junior Member
 
Joined: Apr 2015
Posts: 50
Total Cats: 4
From: Belgium
Default

I did a lot resurge on turbo parts and followed lots of Miatatrubo builds online. And I decided to take it stap by stap.

First stap ECU

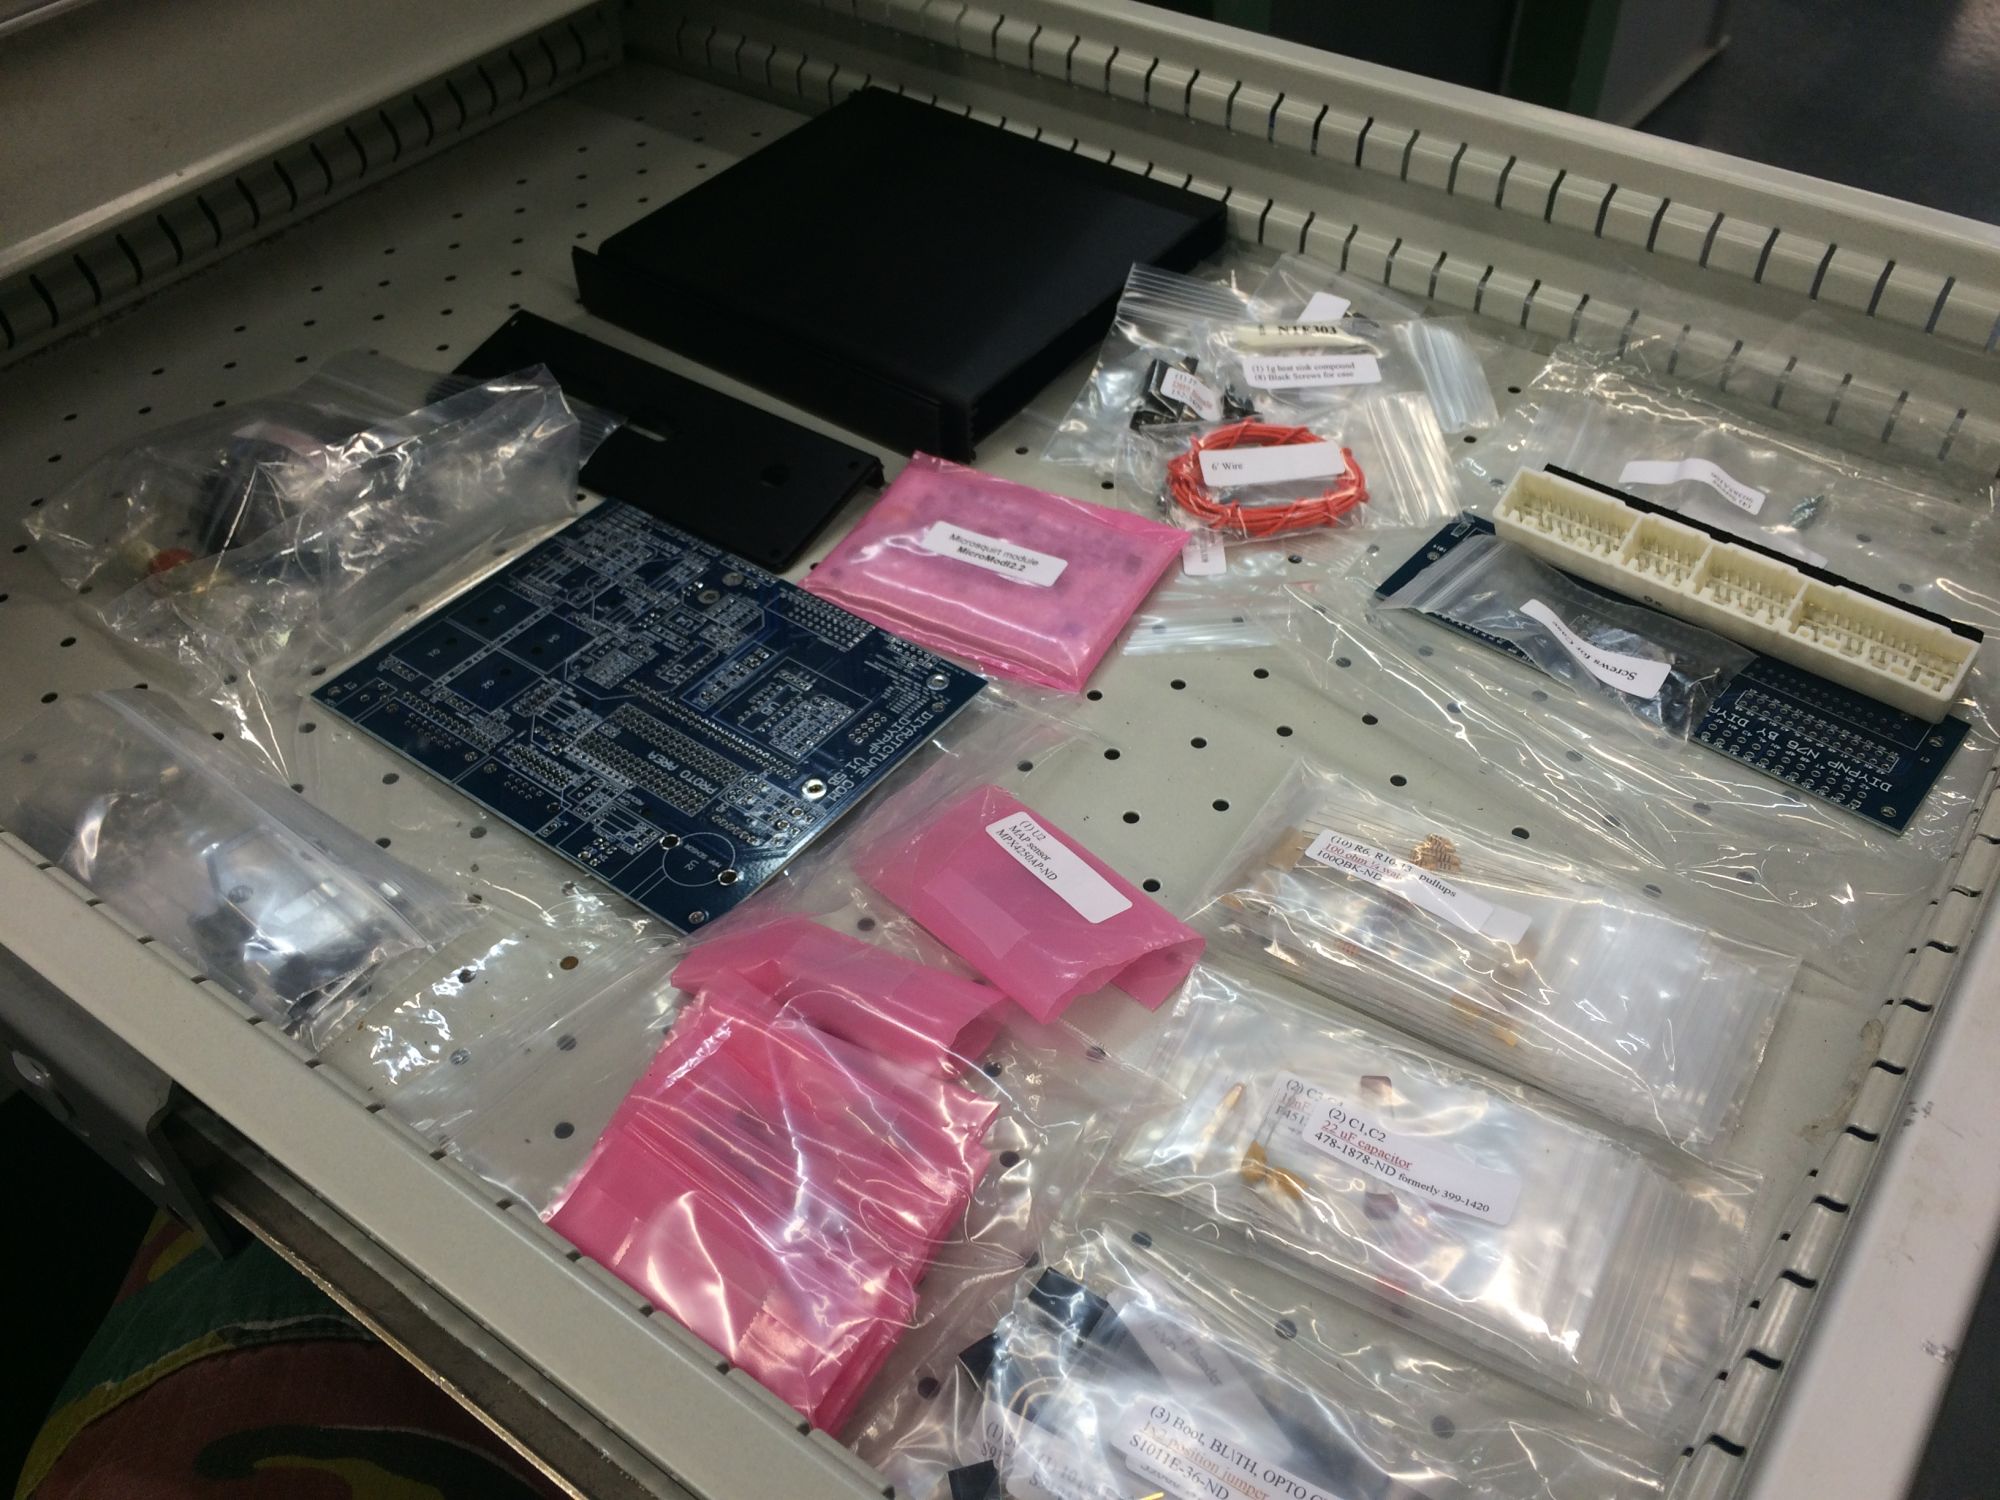
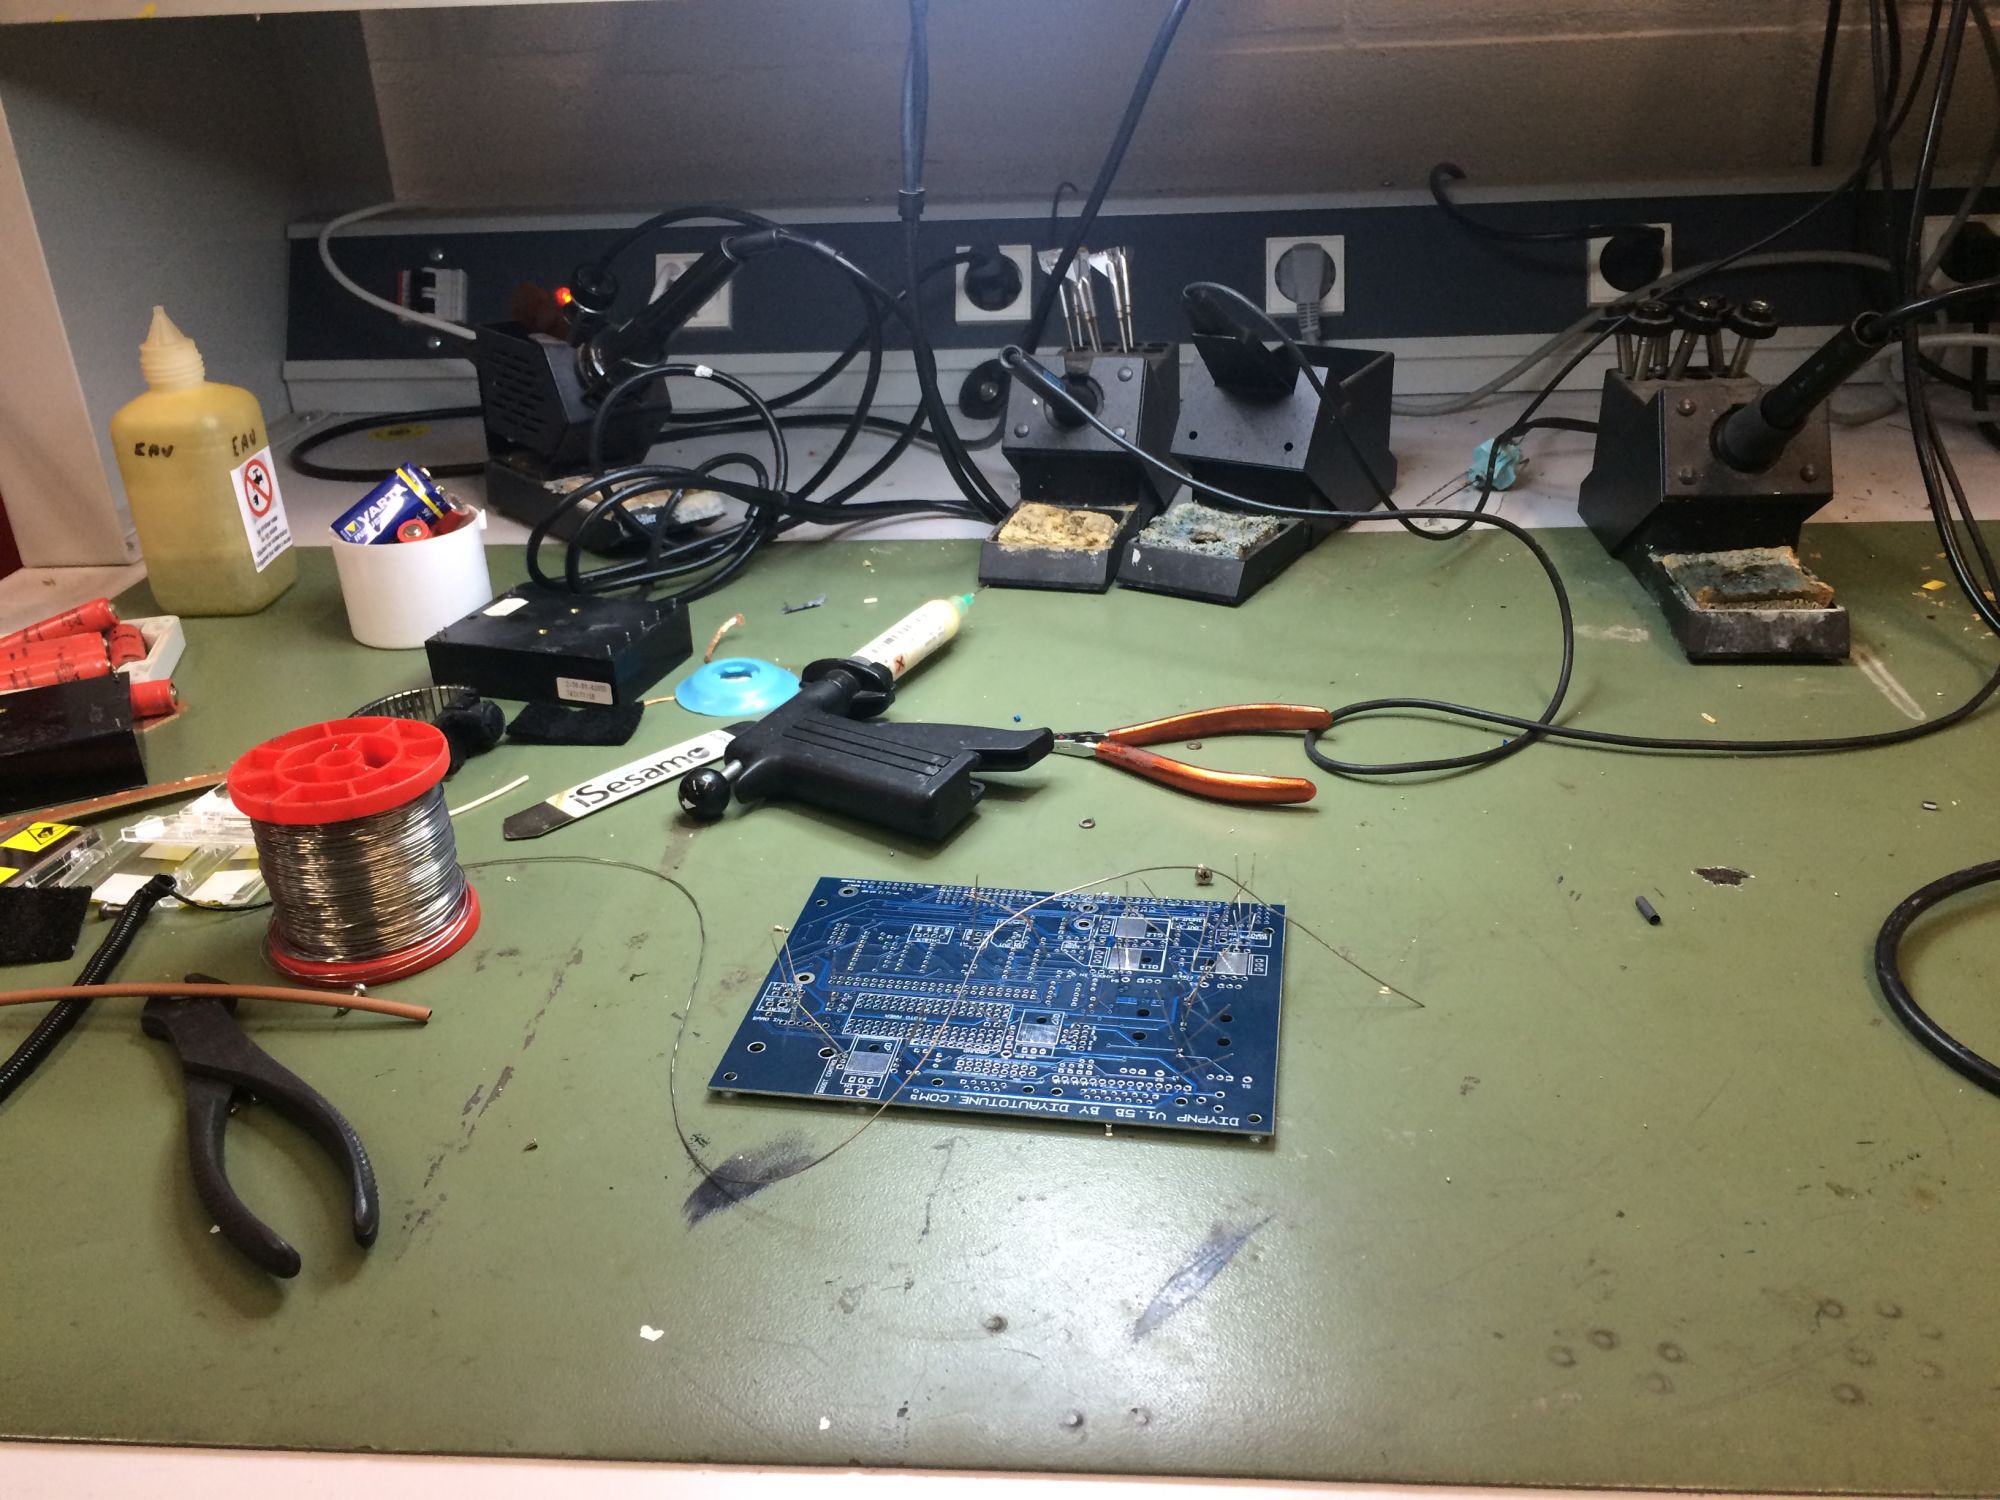
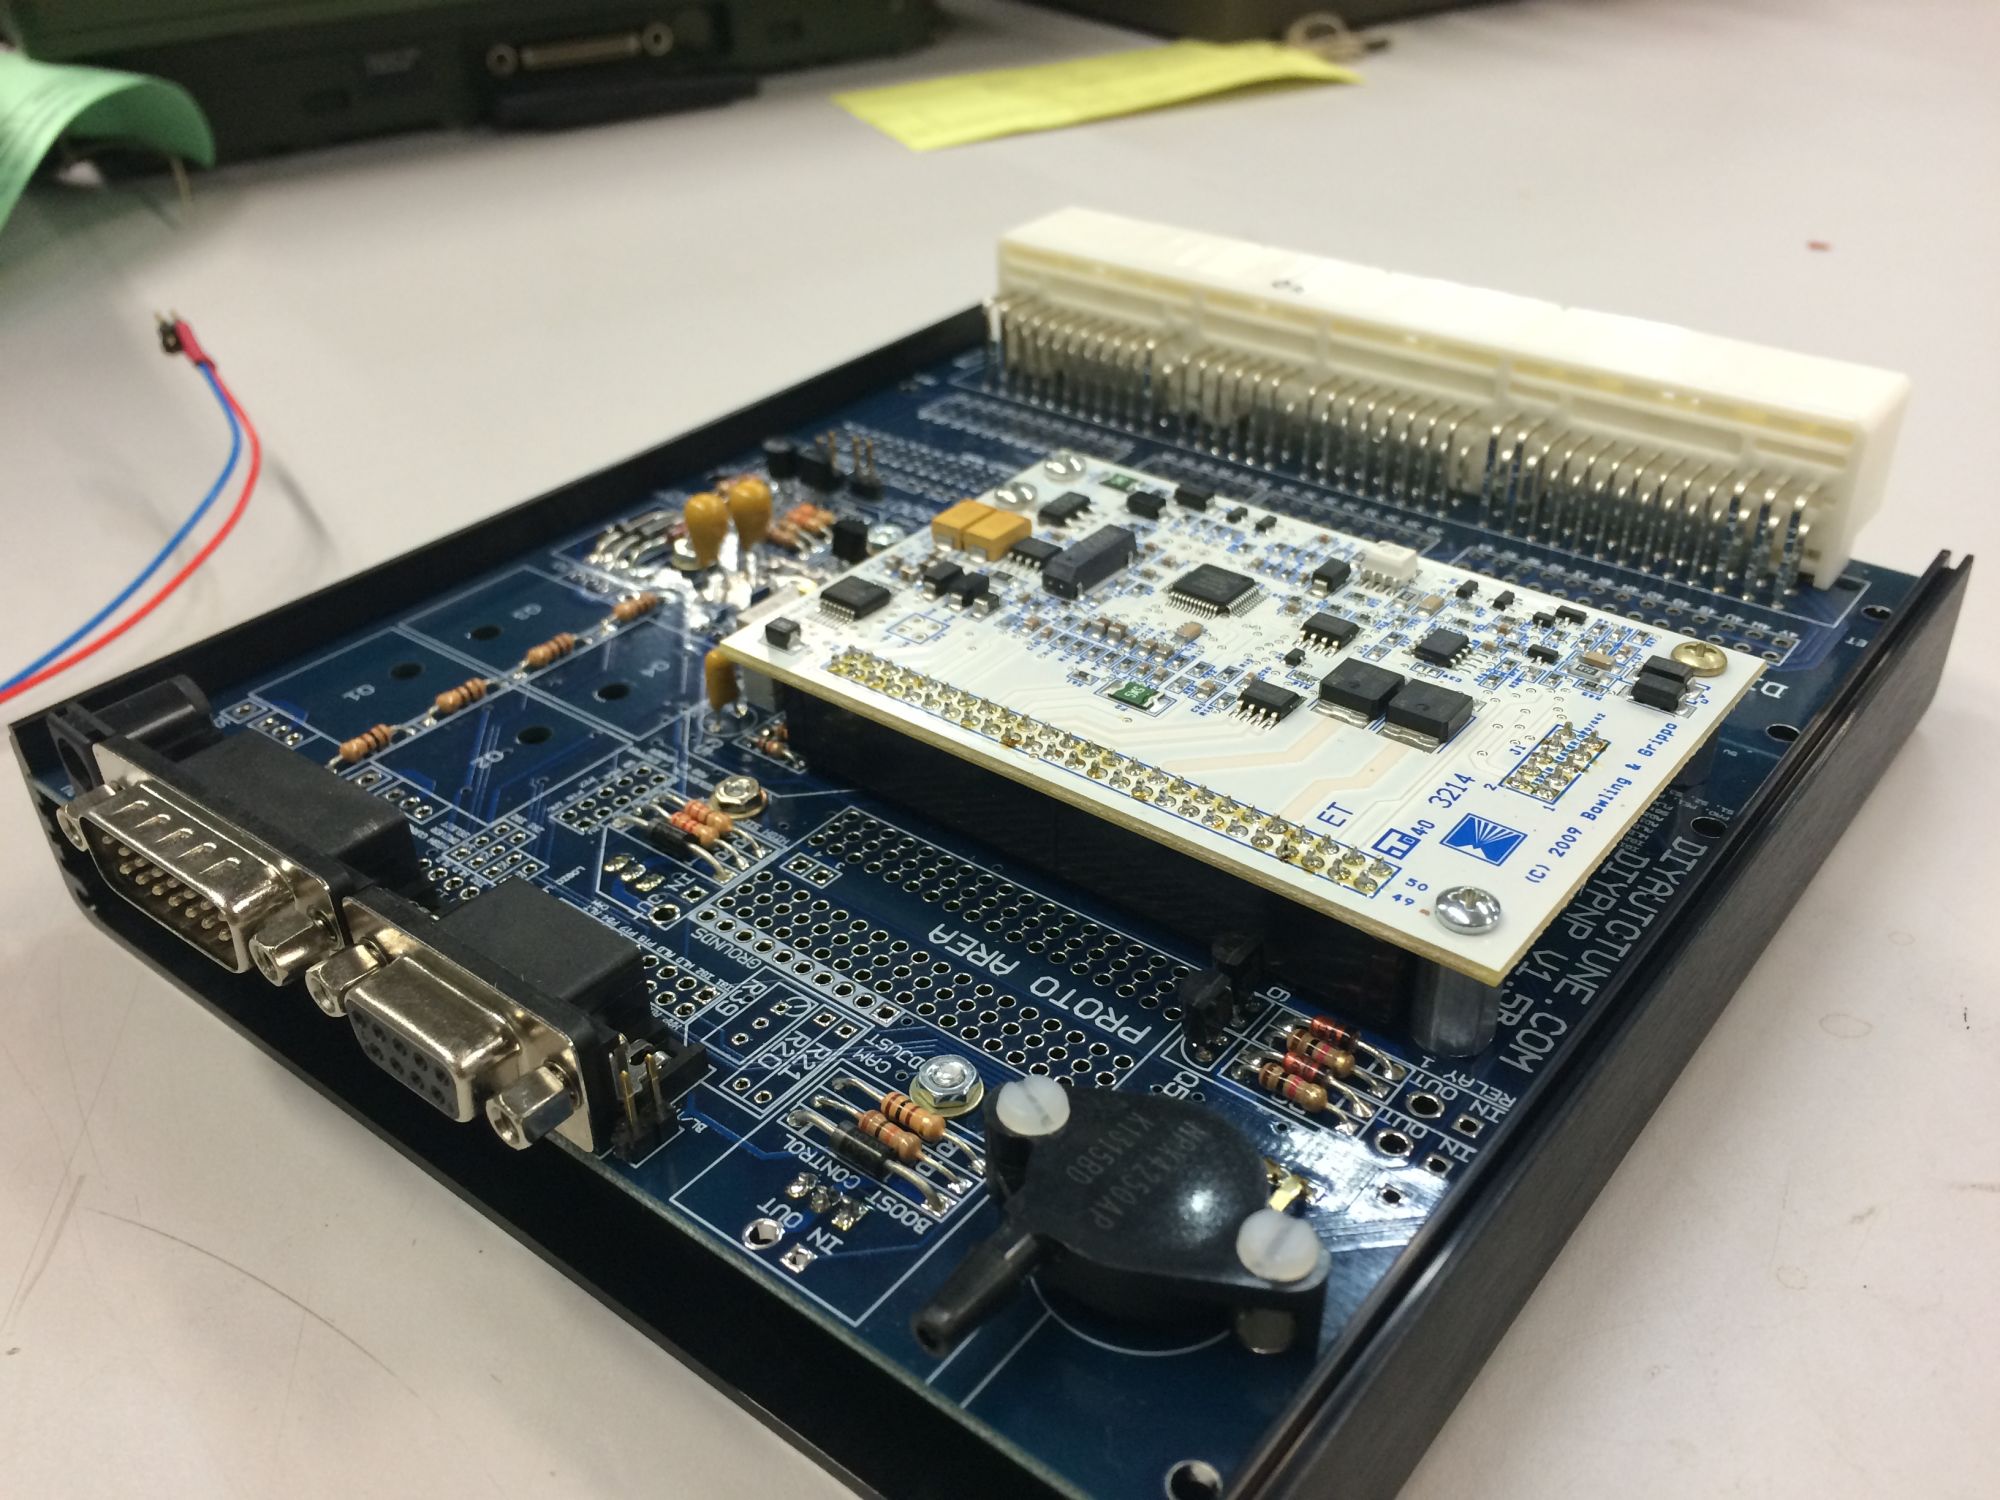
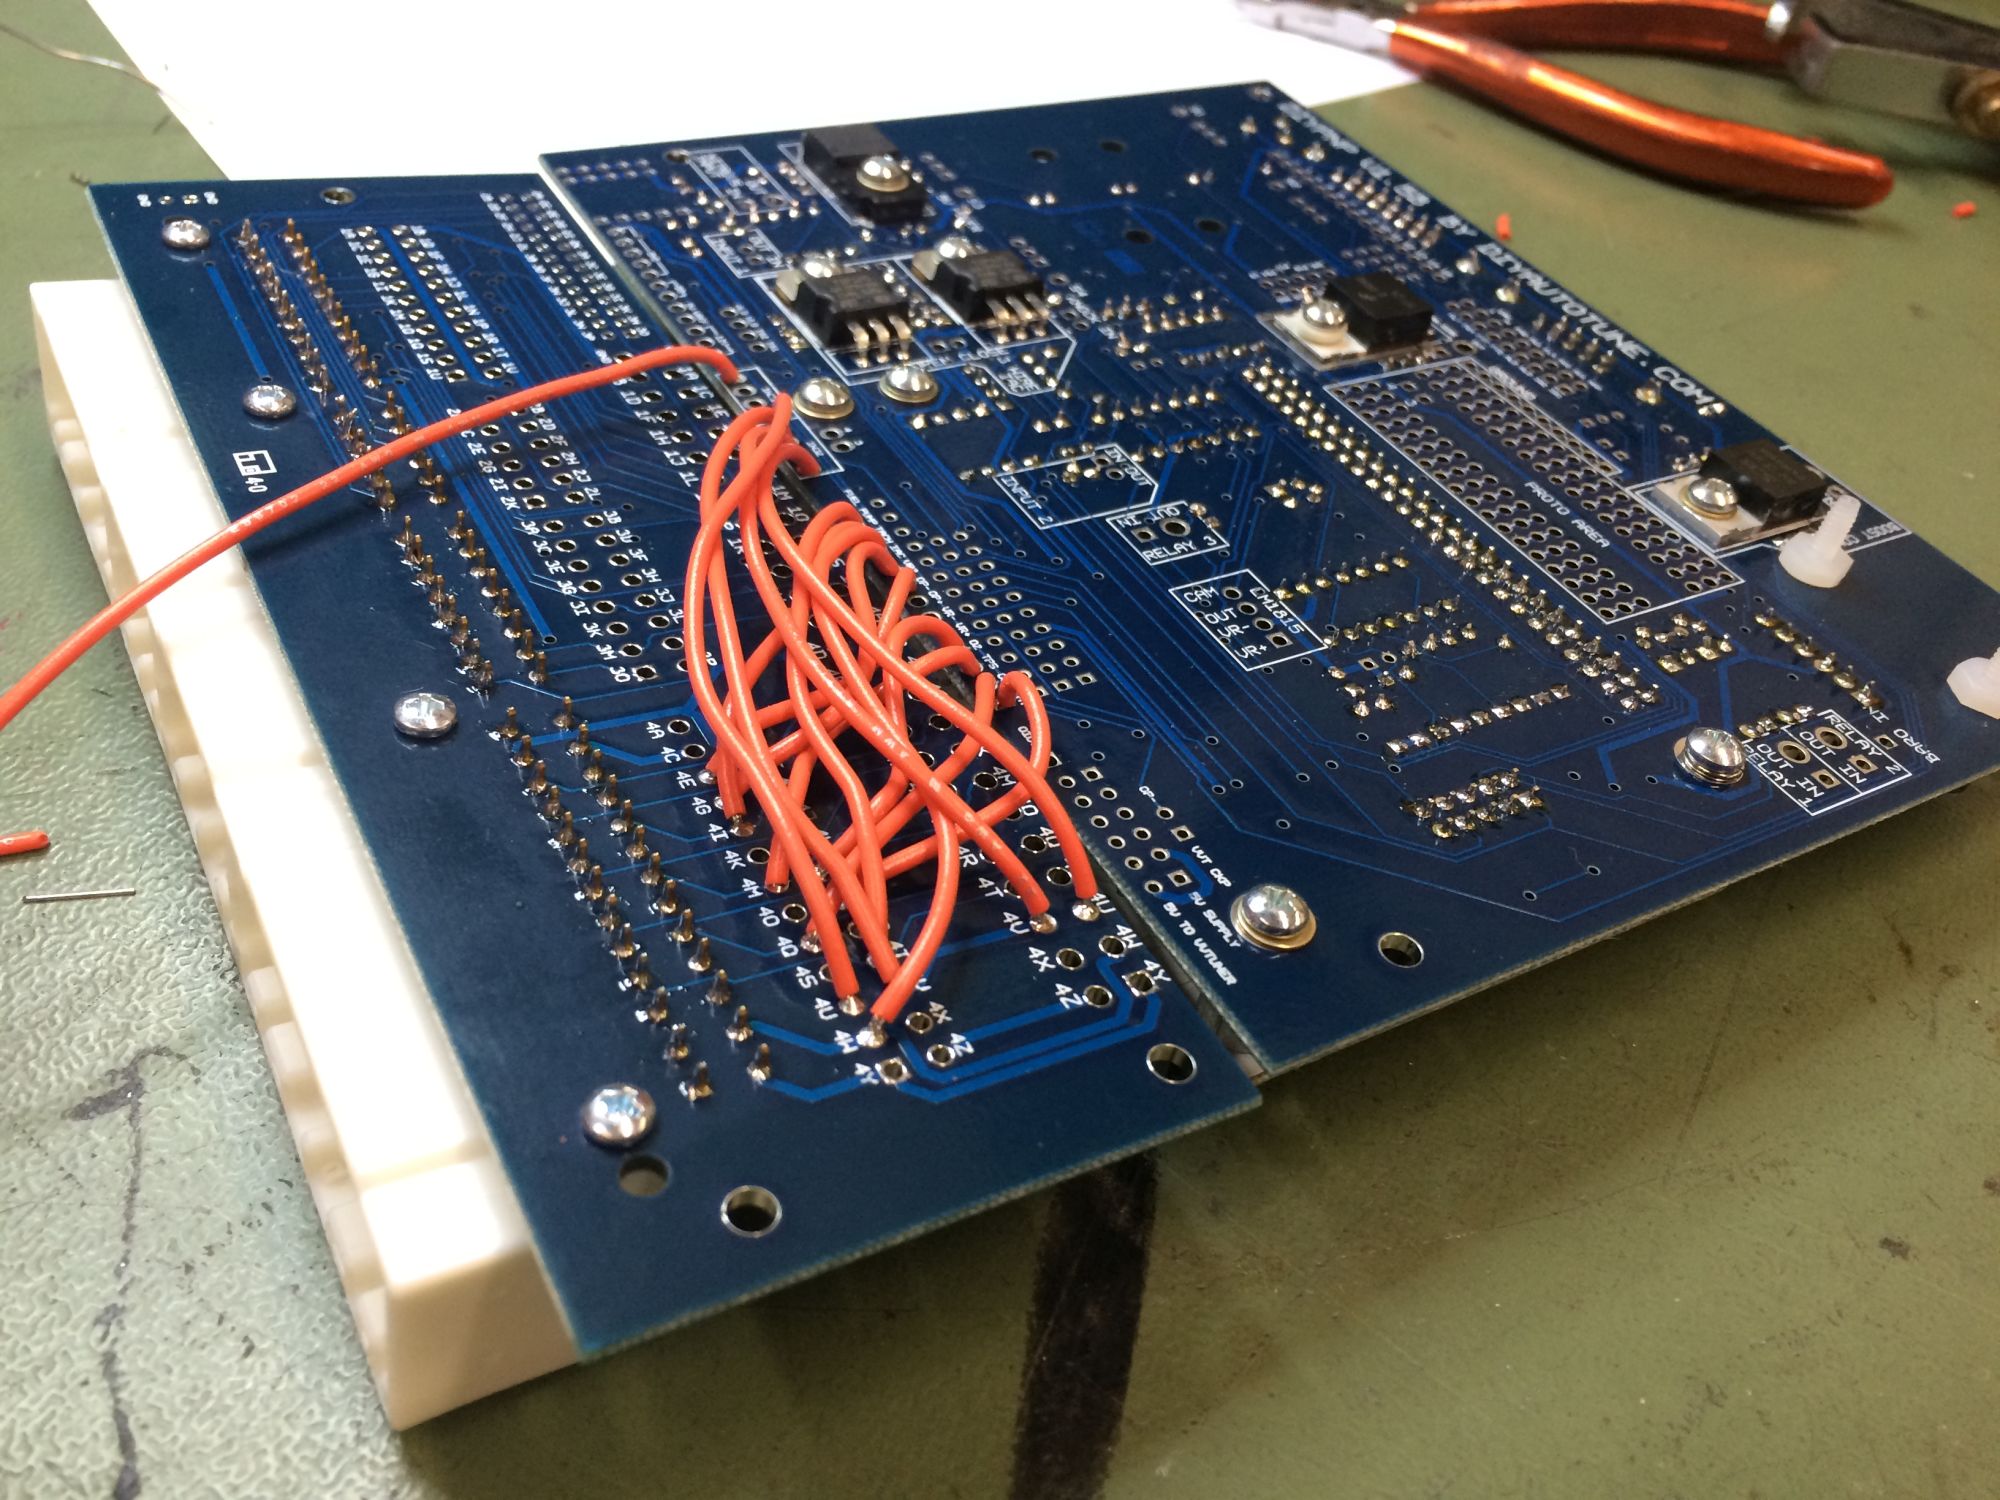
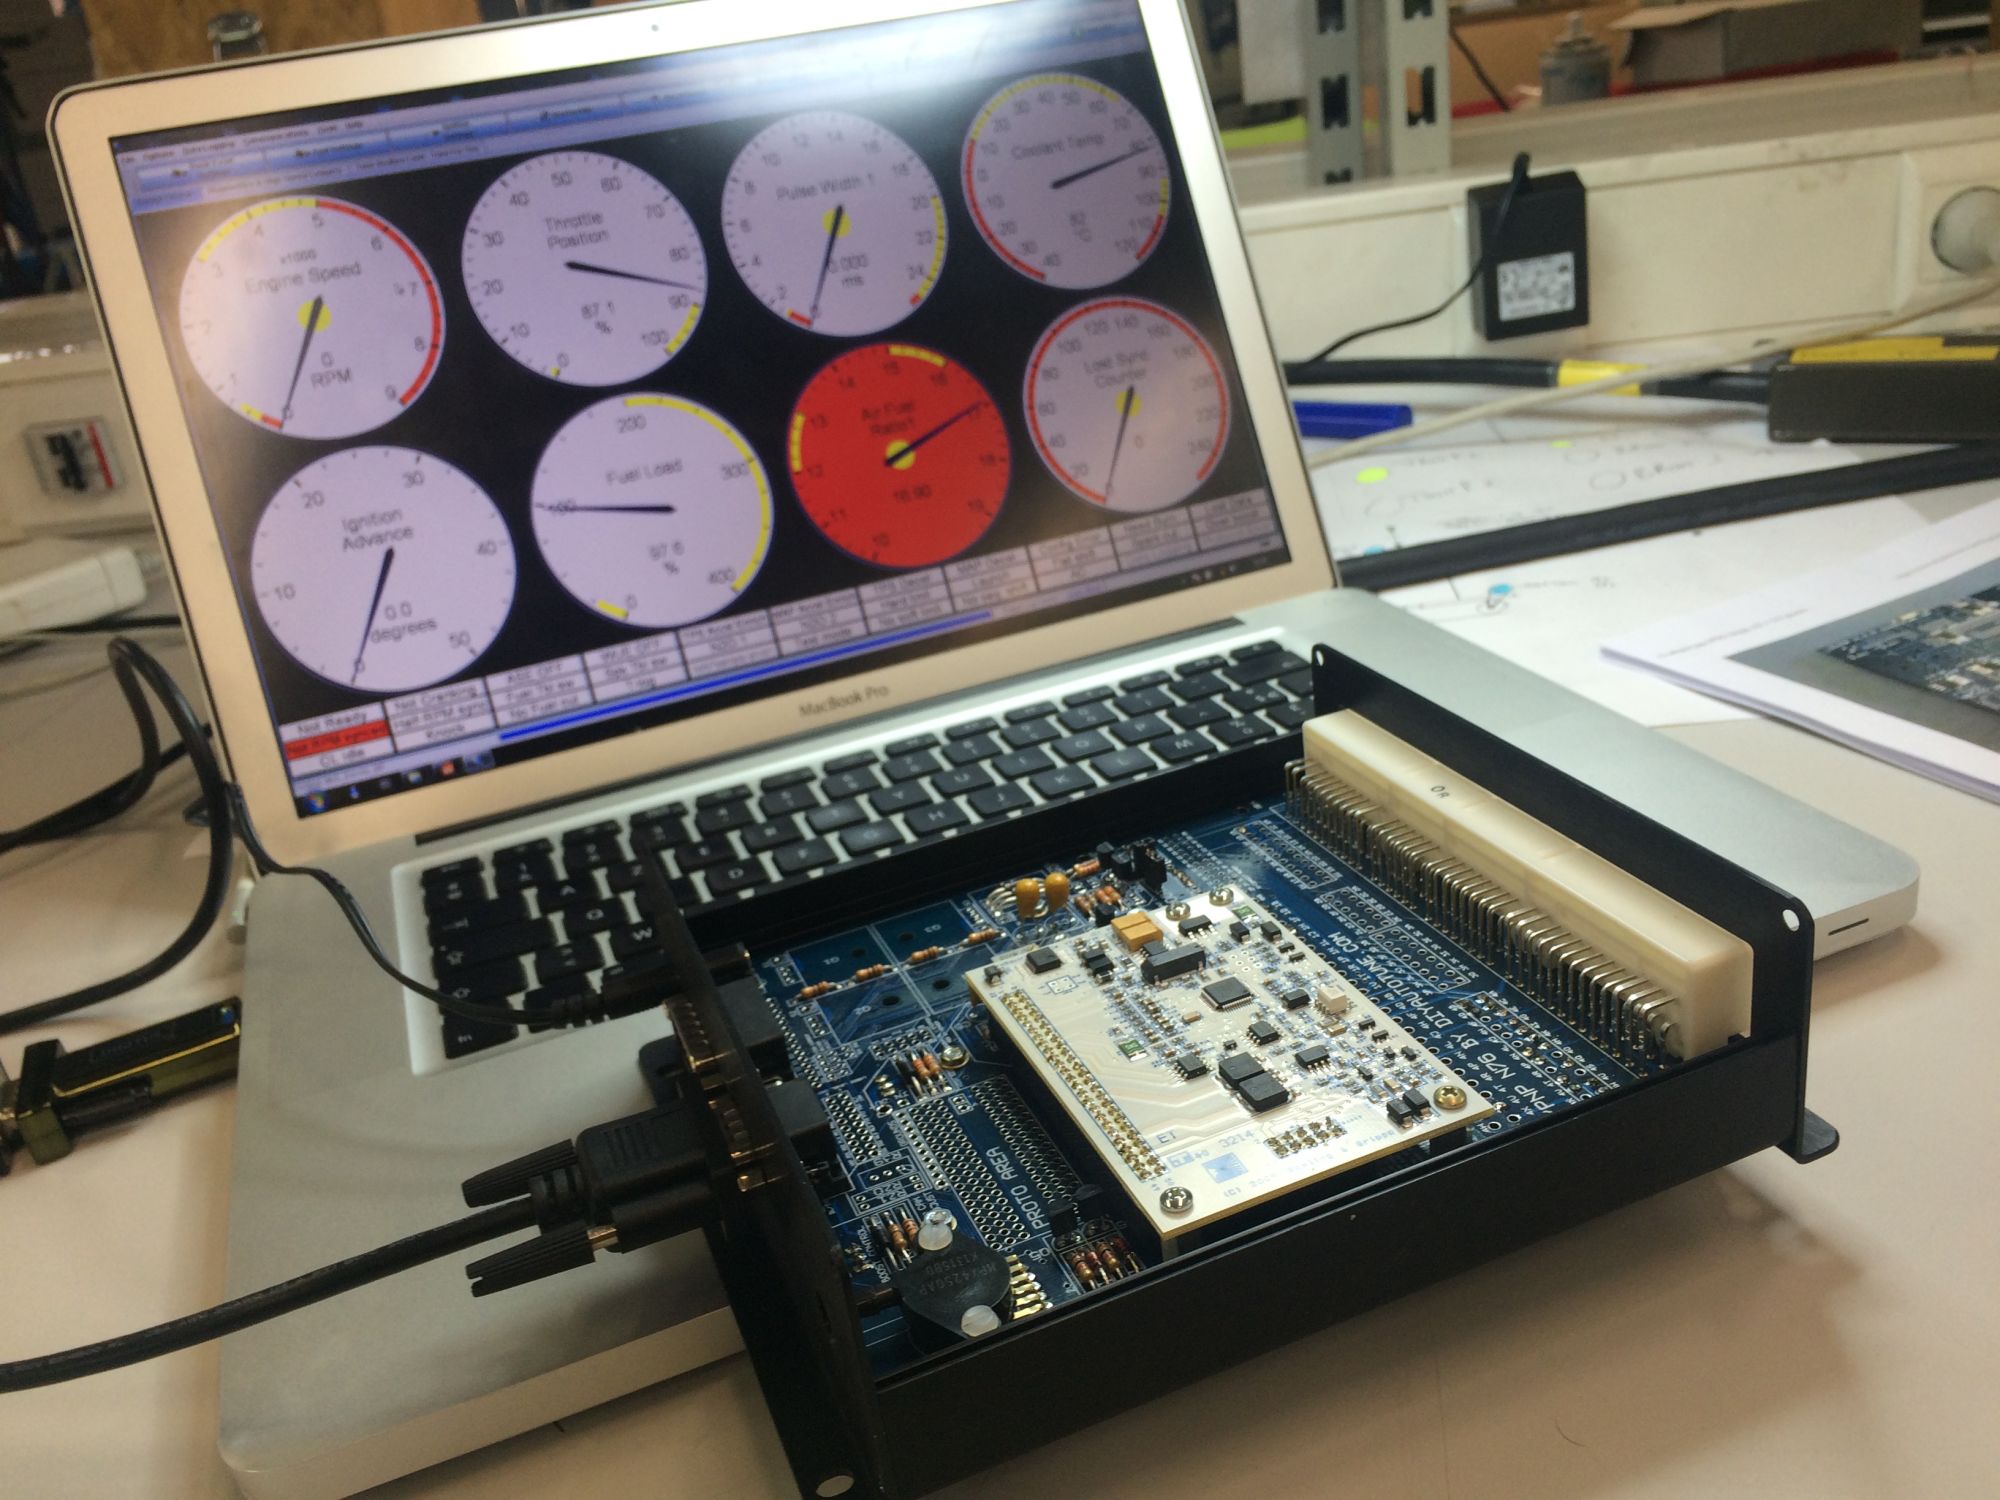
I ordered the DIY megasquirt V2 from DIYautotune.
I love to build stuff so I figured this will be perfect for me.
The best part is to learn the details about this product and how it works.
The software is awesome and you can find a lot off documentation online.
There are lots of options to play with. I mostly like the Launch control setting

+

ordered The AEM wideband AFR sensor and gauge and a IAT sensor.
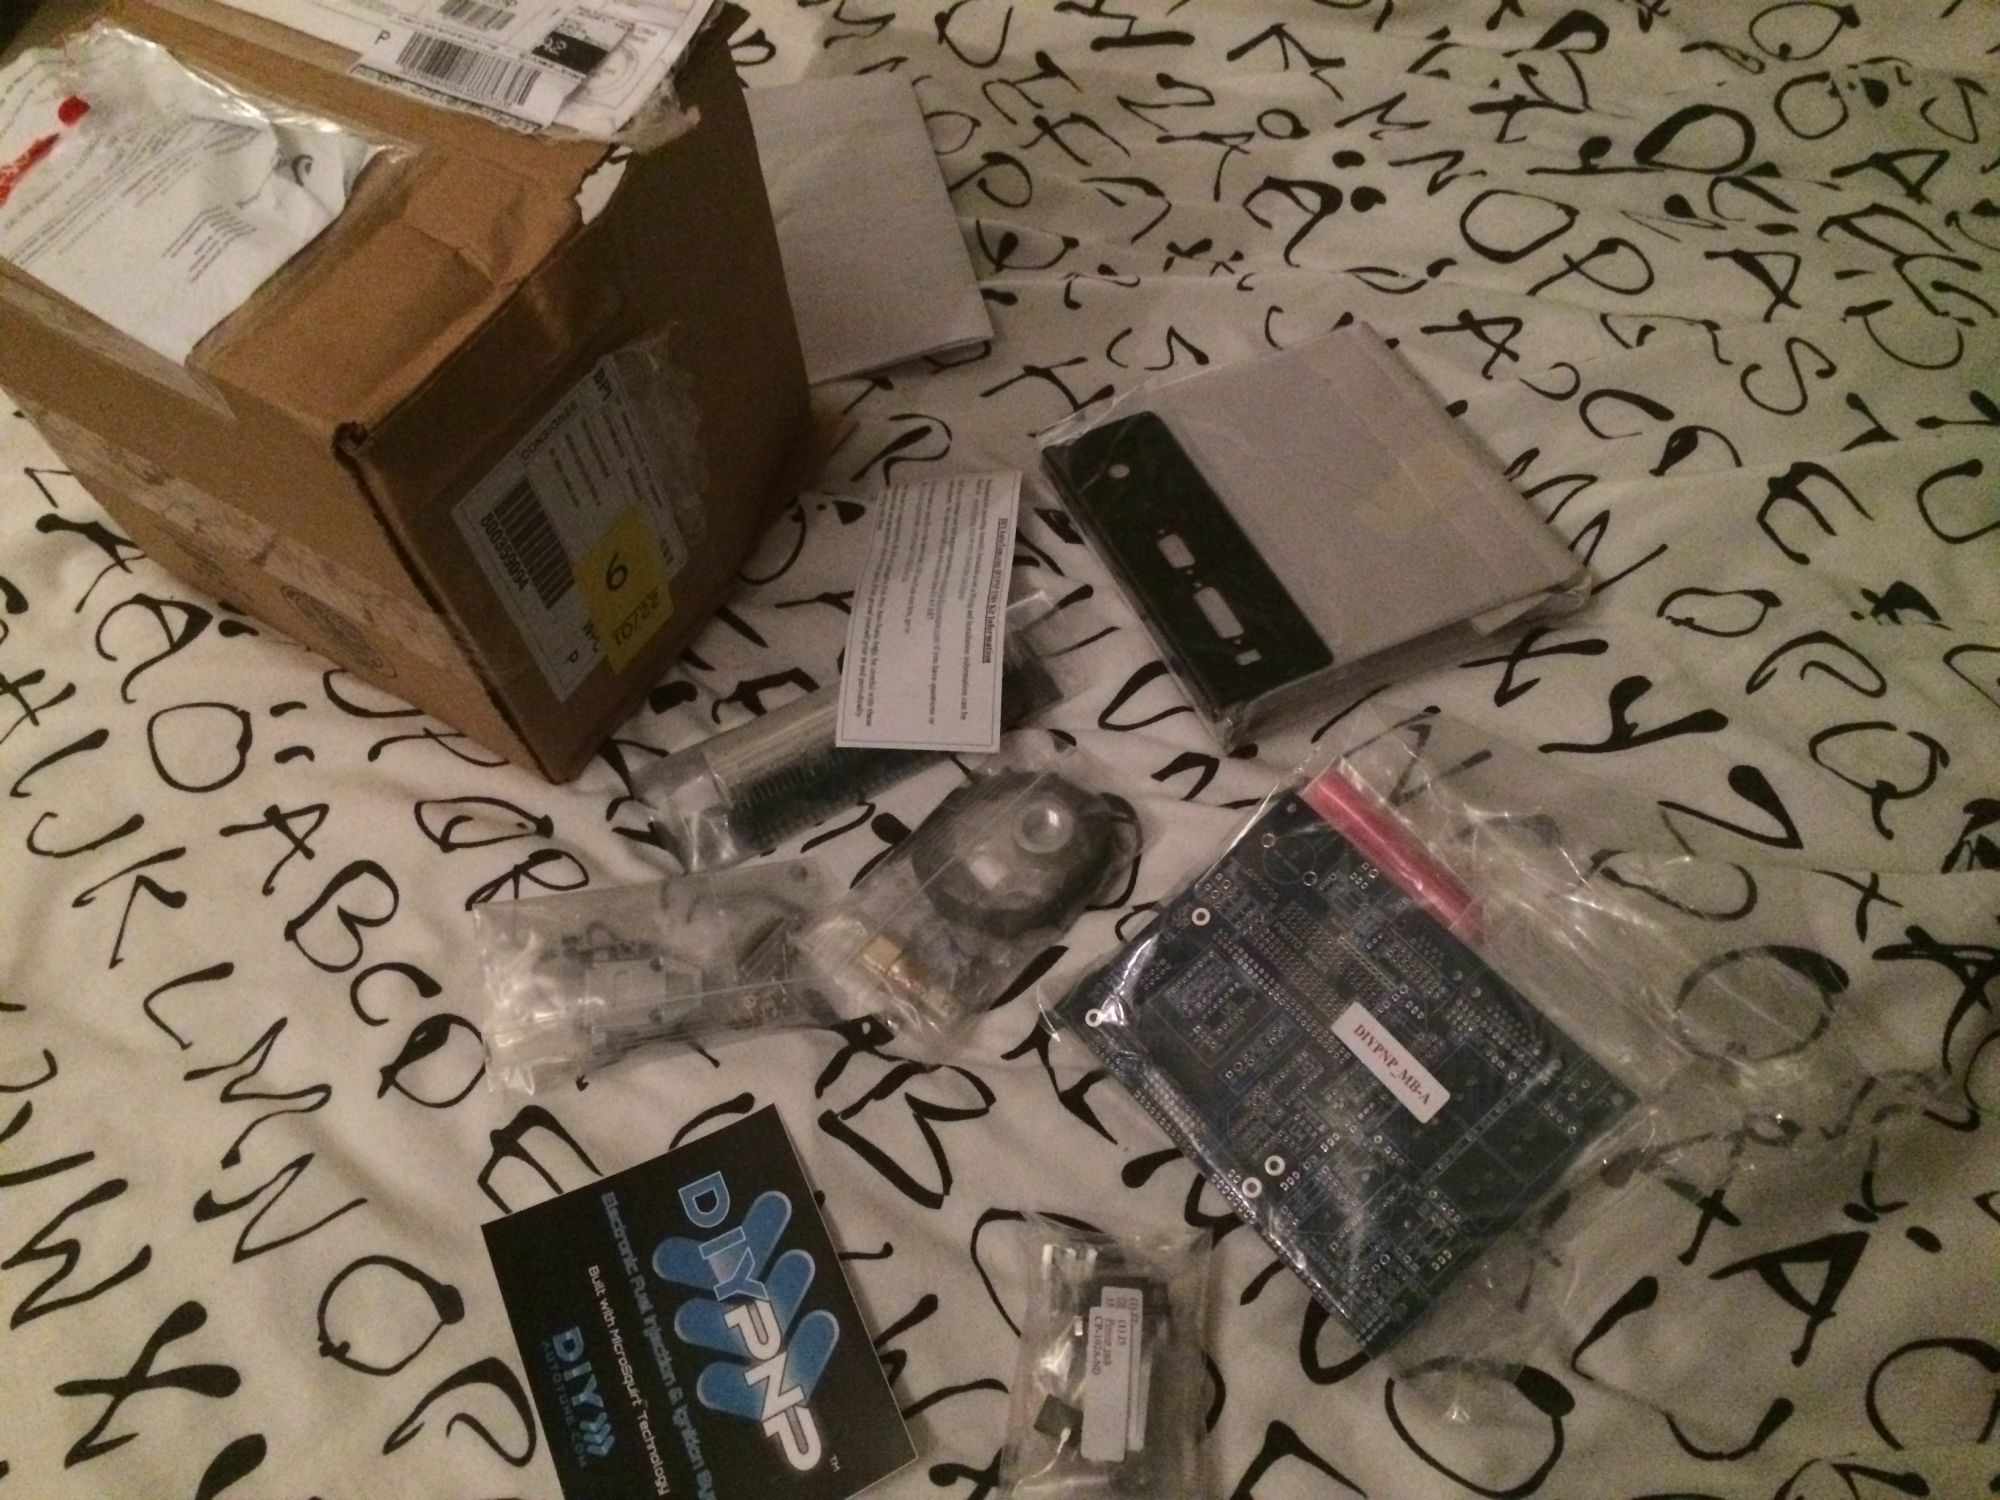


Lets start !!
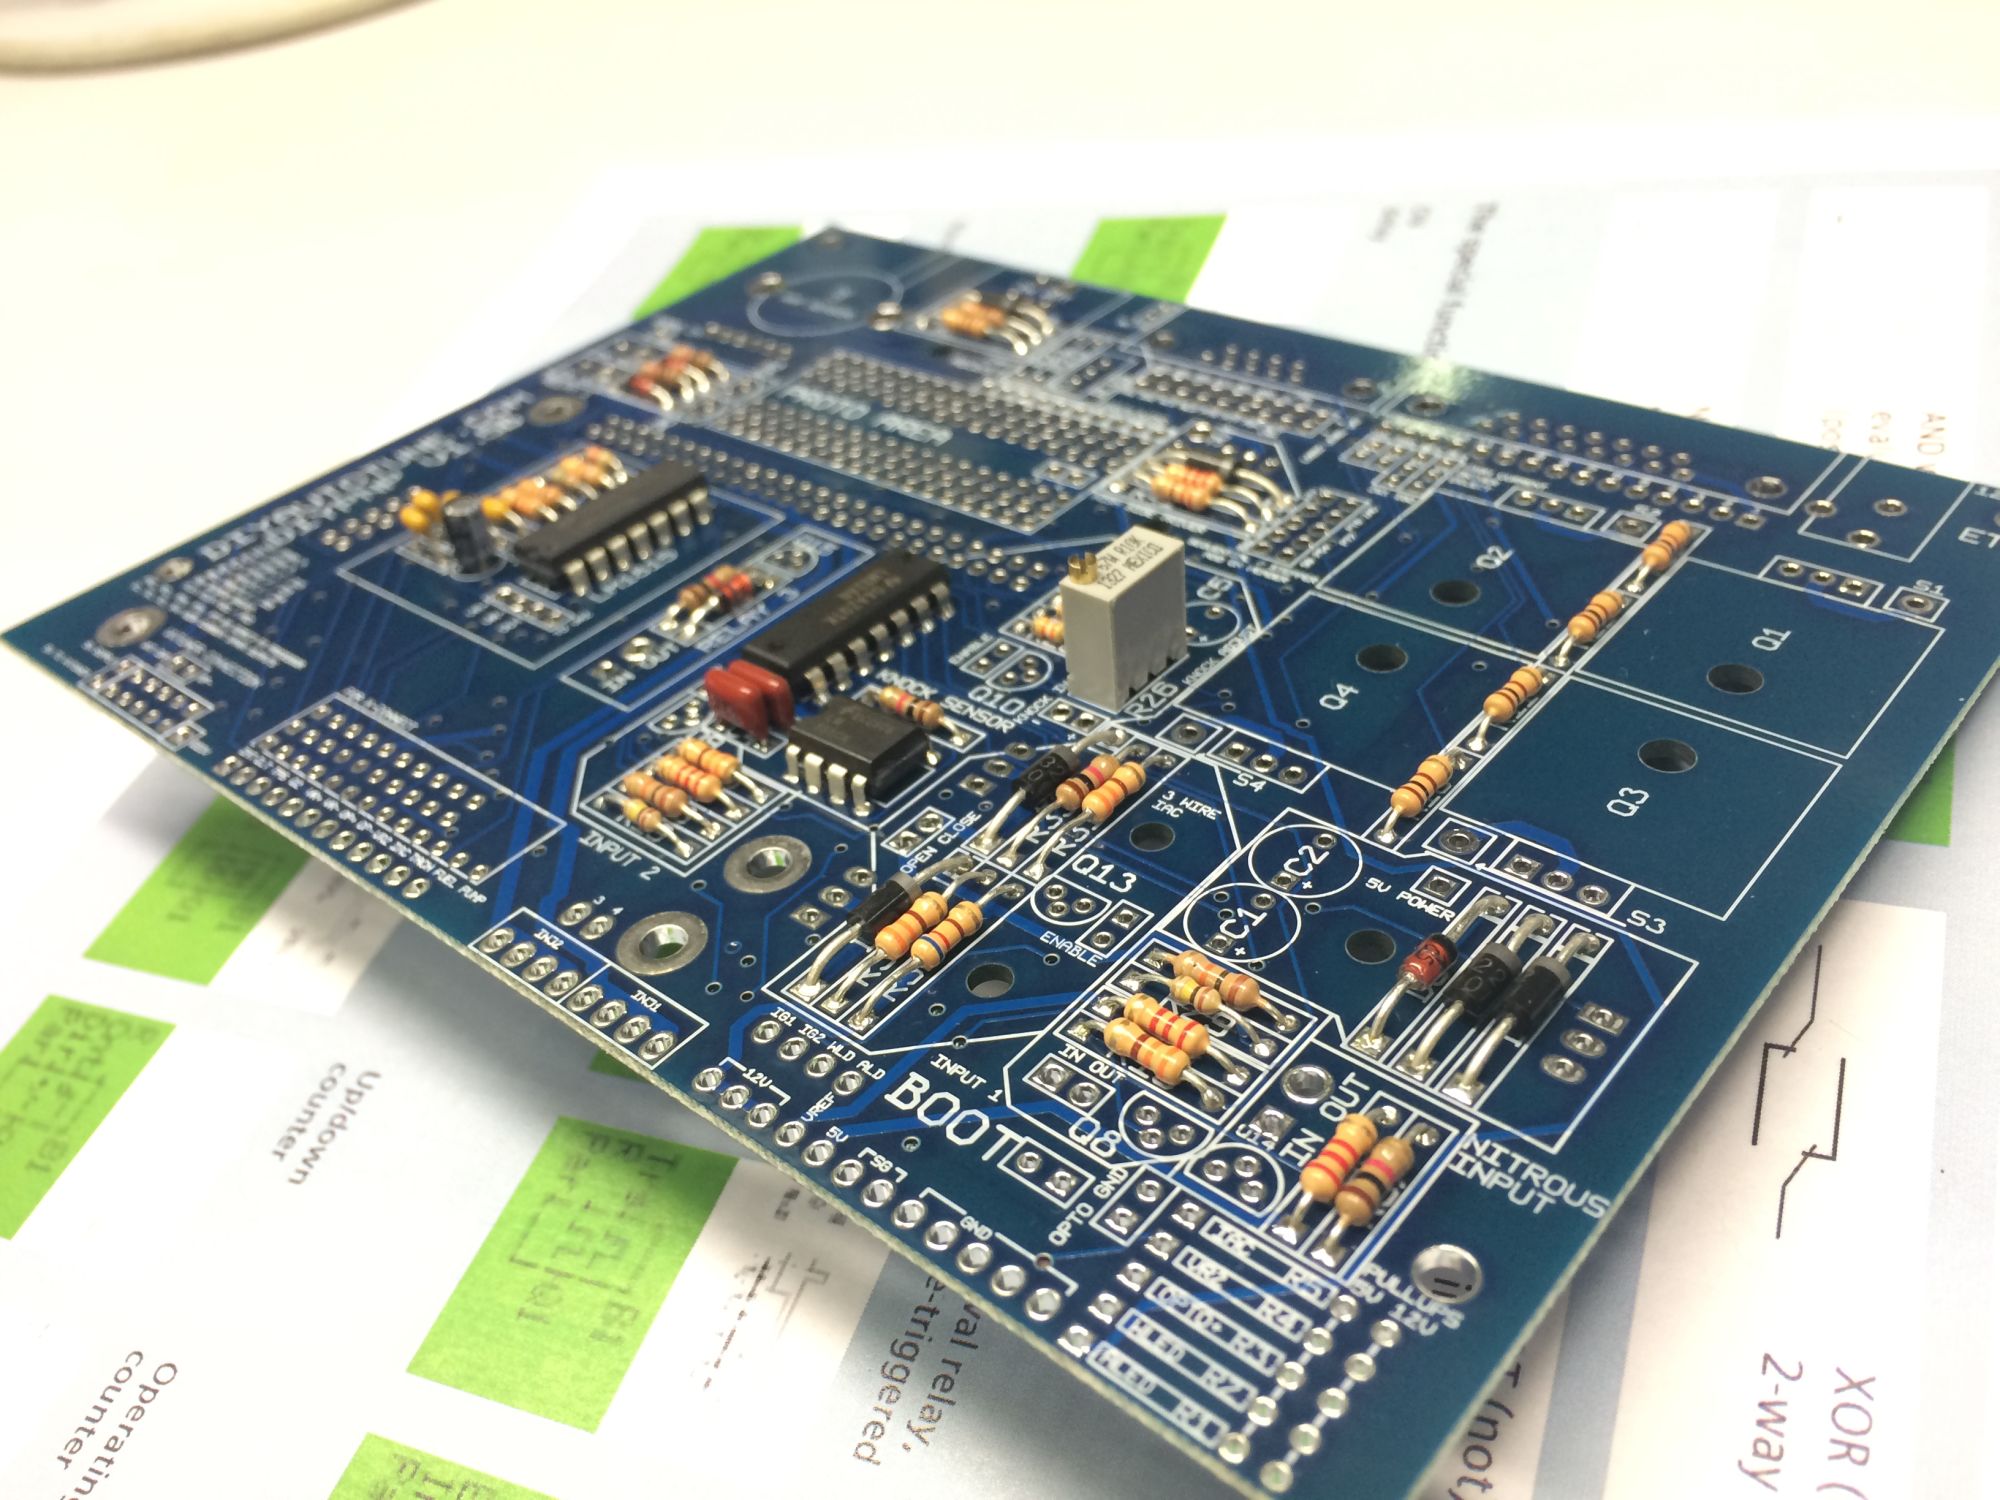


Succes!
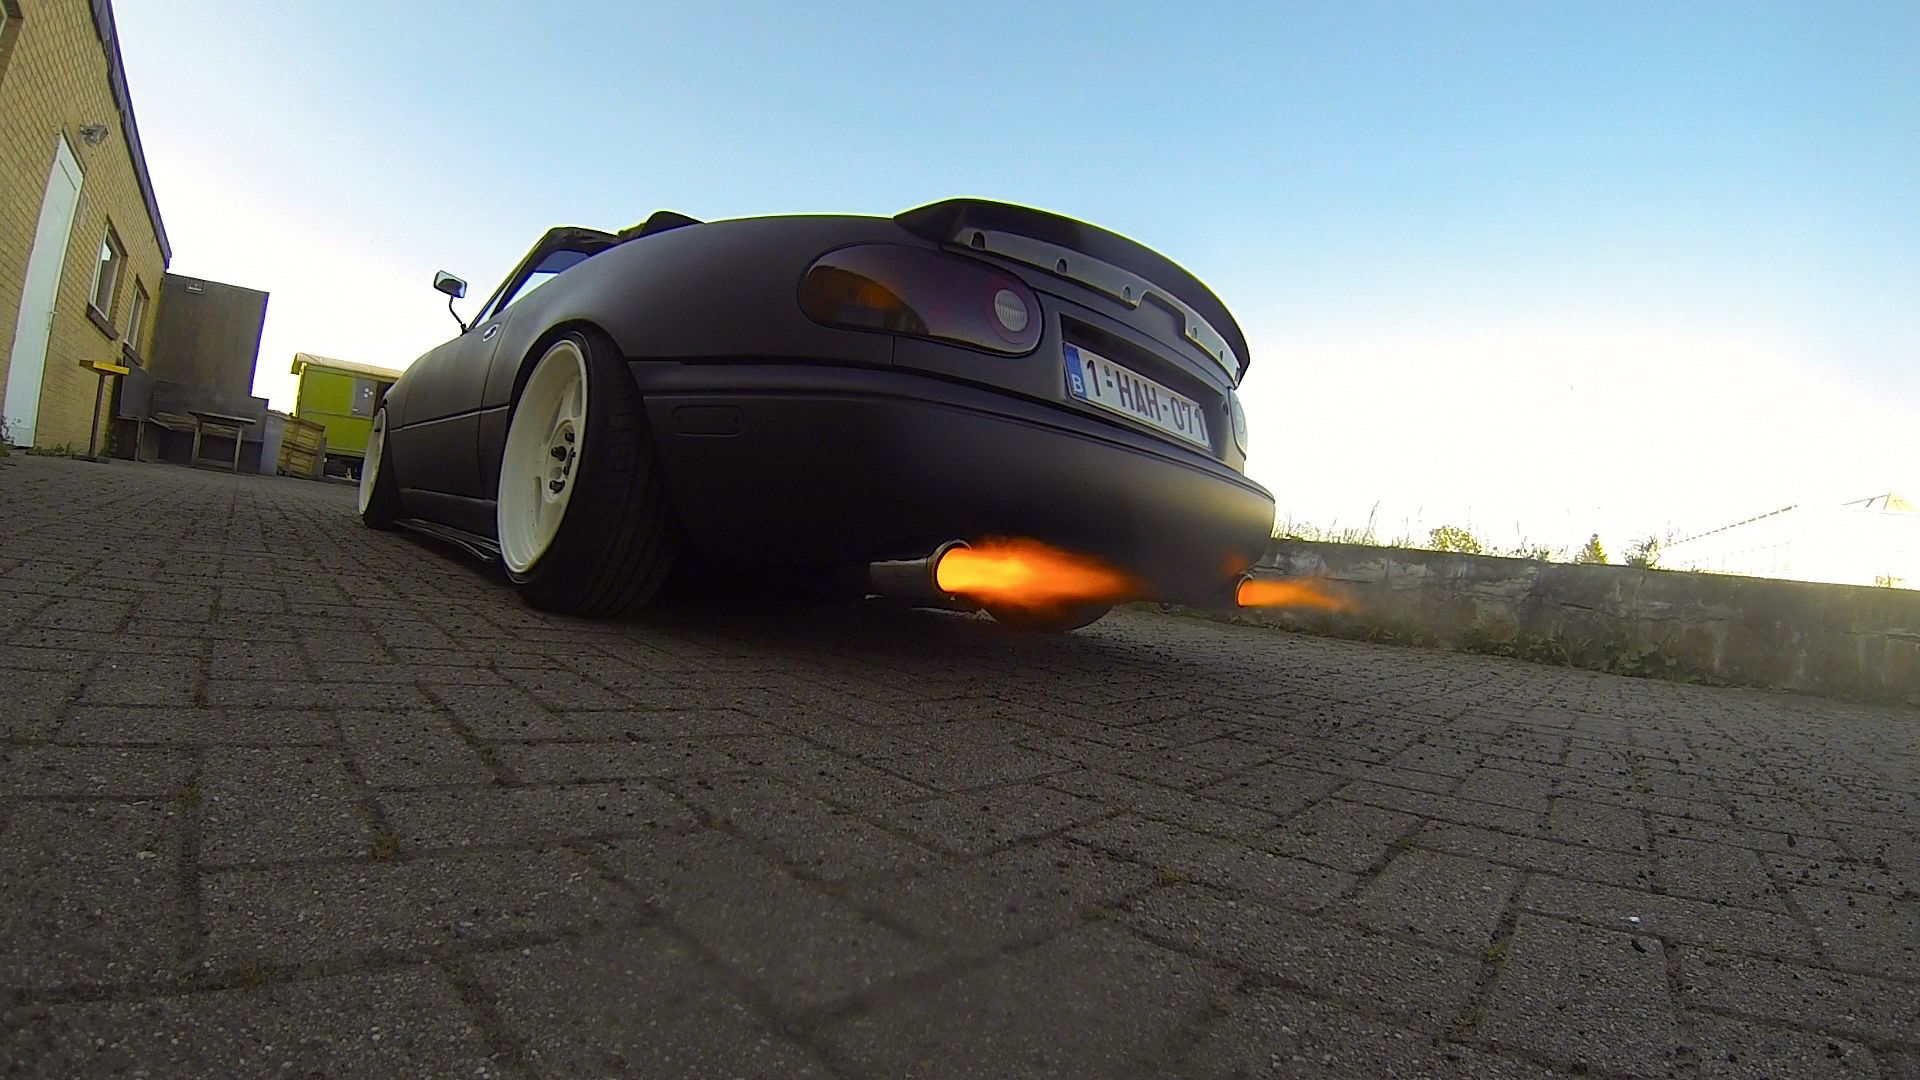


Launch control set to 4300 rpm, spark cut, soft limite 100 rpm,.. (Decat)

http://youtu.be/cTpUj6X3prc
Attached Thumbnails Tim - Building the boosted Miata!-80-img_0849_9ab11ef5168818a6600a96b1158390b39ecfbea0.jpg   Tim - Building the boosted Miata!-80-img_0855_8abf8bace5307d24f111f407f143b2f48ef49abe.jpg   Tim - Building the boosted Miata!-80-img_0857_a72f483986a5478bfa501e5b037dfe488eeb6b0c.jpg   Tim - Building the boosted Miata!-80-img_0864_5cc4b95e65c602d5b3f009200e845f364ddef0d4.jpg   Tim - Building the boosted Miata!-80-img_0874_749e36e346dc7ee56f1e6f9e91fb0e18e7d0b808.jpg  

Tim - Building the boosted Miata!-80-img_0890_8c952372be99b7b578a8a4c2e5aebf7e502ffe8c.jpg   Tim - Building the boosted Miata!-80-img_0891_82ae01afcb73128908cebdba842ef5ba67012c90.jpg   Tim - Building the boosted Miata!-80-backfire_96aca52371dbb70c80ed8bcd2d4c4d16855140cb.jpg  

Last edited by Tim_Belgium; 07-23-2015 at 10:56 AM.
Old 07-23-2015 | 06:10 AM
  #3  
timk's Avatar
Senior Member
 
Joined: Dec 2004
Posts: 1,278
Total Cats: 37
From: Brisbane, Australia
Default

Welcome, I love the flame pic!

My name is Maxime. Well, not really.
Old 07-23-2015 | 06:24 AM
  #4  
Tim_Belgium's Avatar
Thread Starter
Junior Member
 
Joined: Apr 2015
Posts: 50
Total Cats: 4
From: Belgium
Default

Tanks!
Old 07-23-2015 | 06:32 AM
  #5  
Tim_Belgium's Avatar
Thread Starter
Junior Member
 
Joined: Apr 2015
Posts: 50
Total Cats: 4
From: Belgium
Default

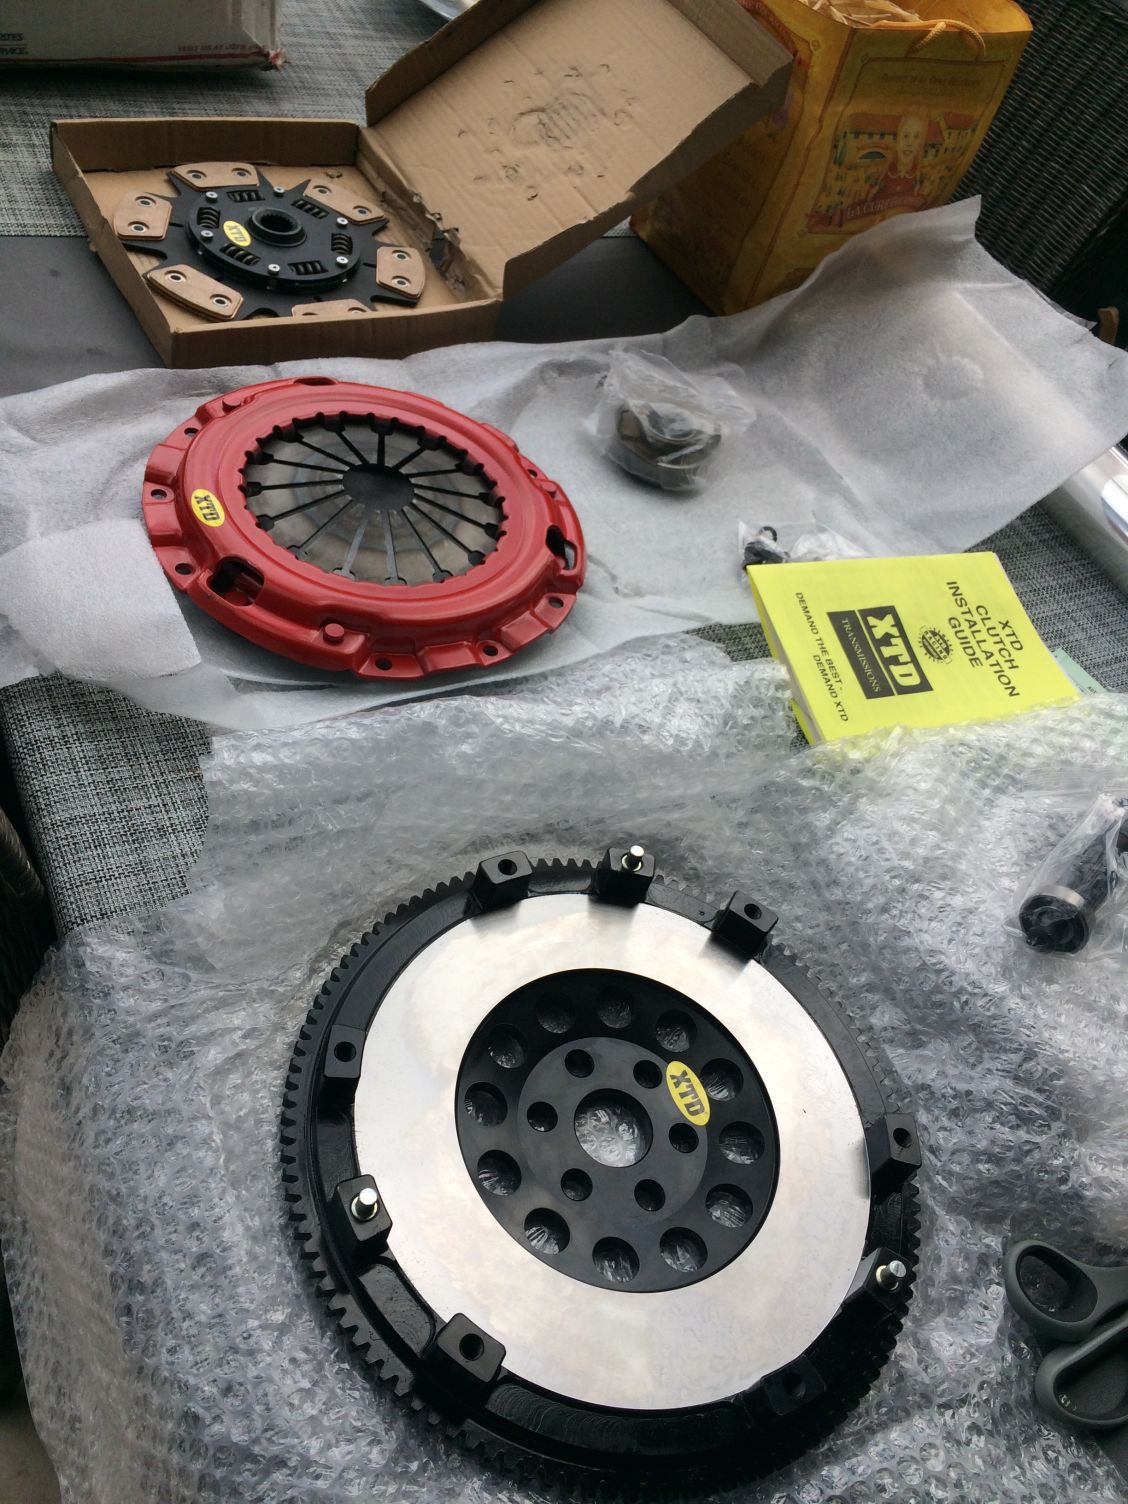
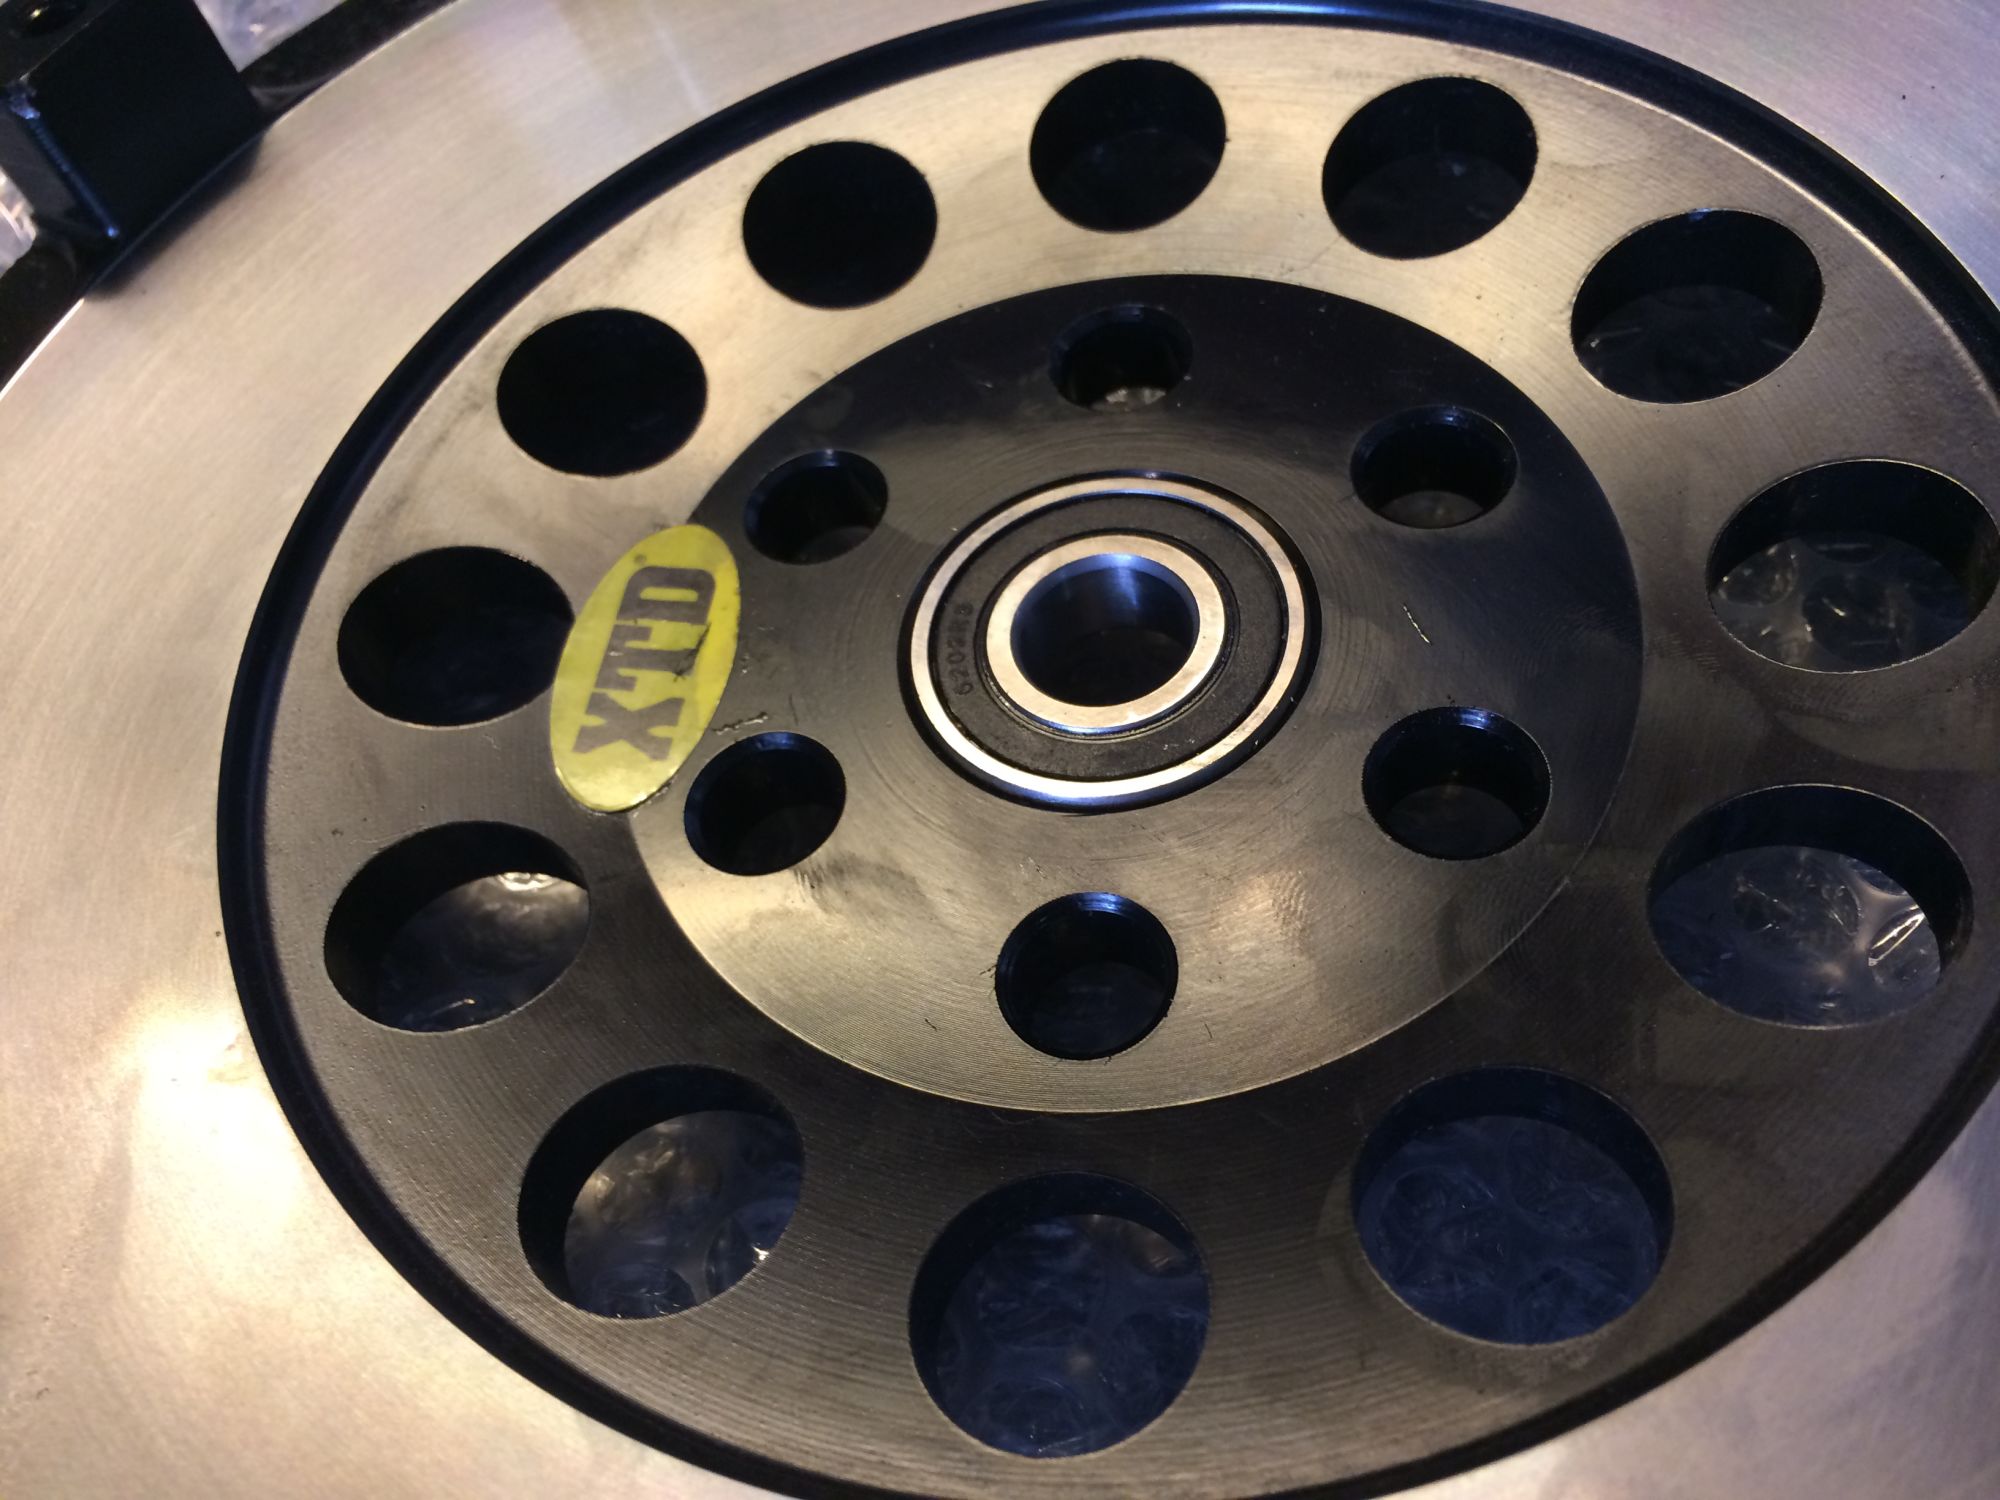
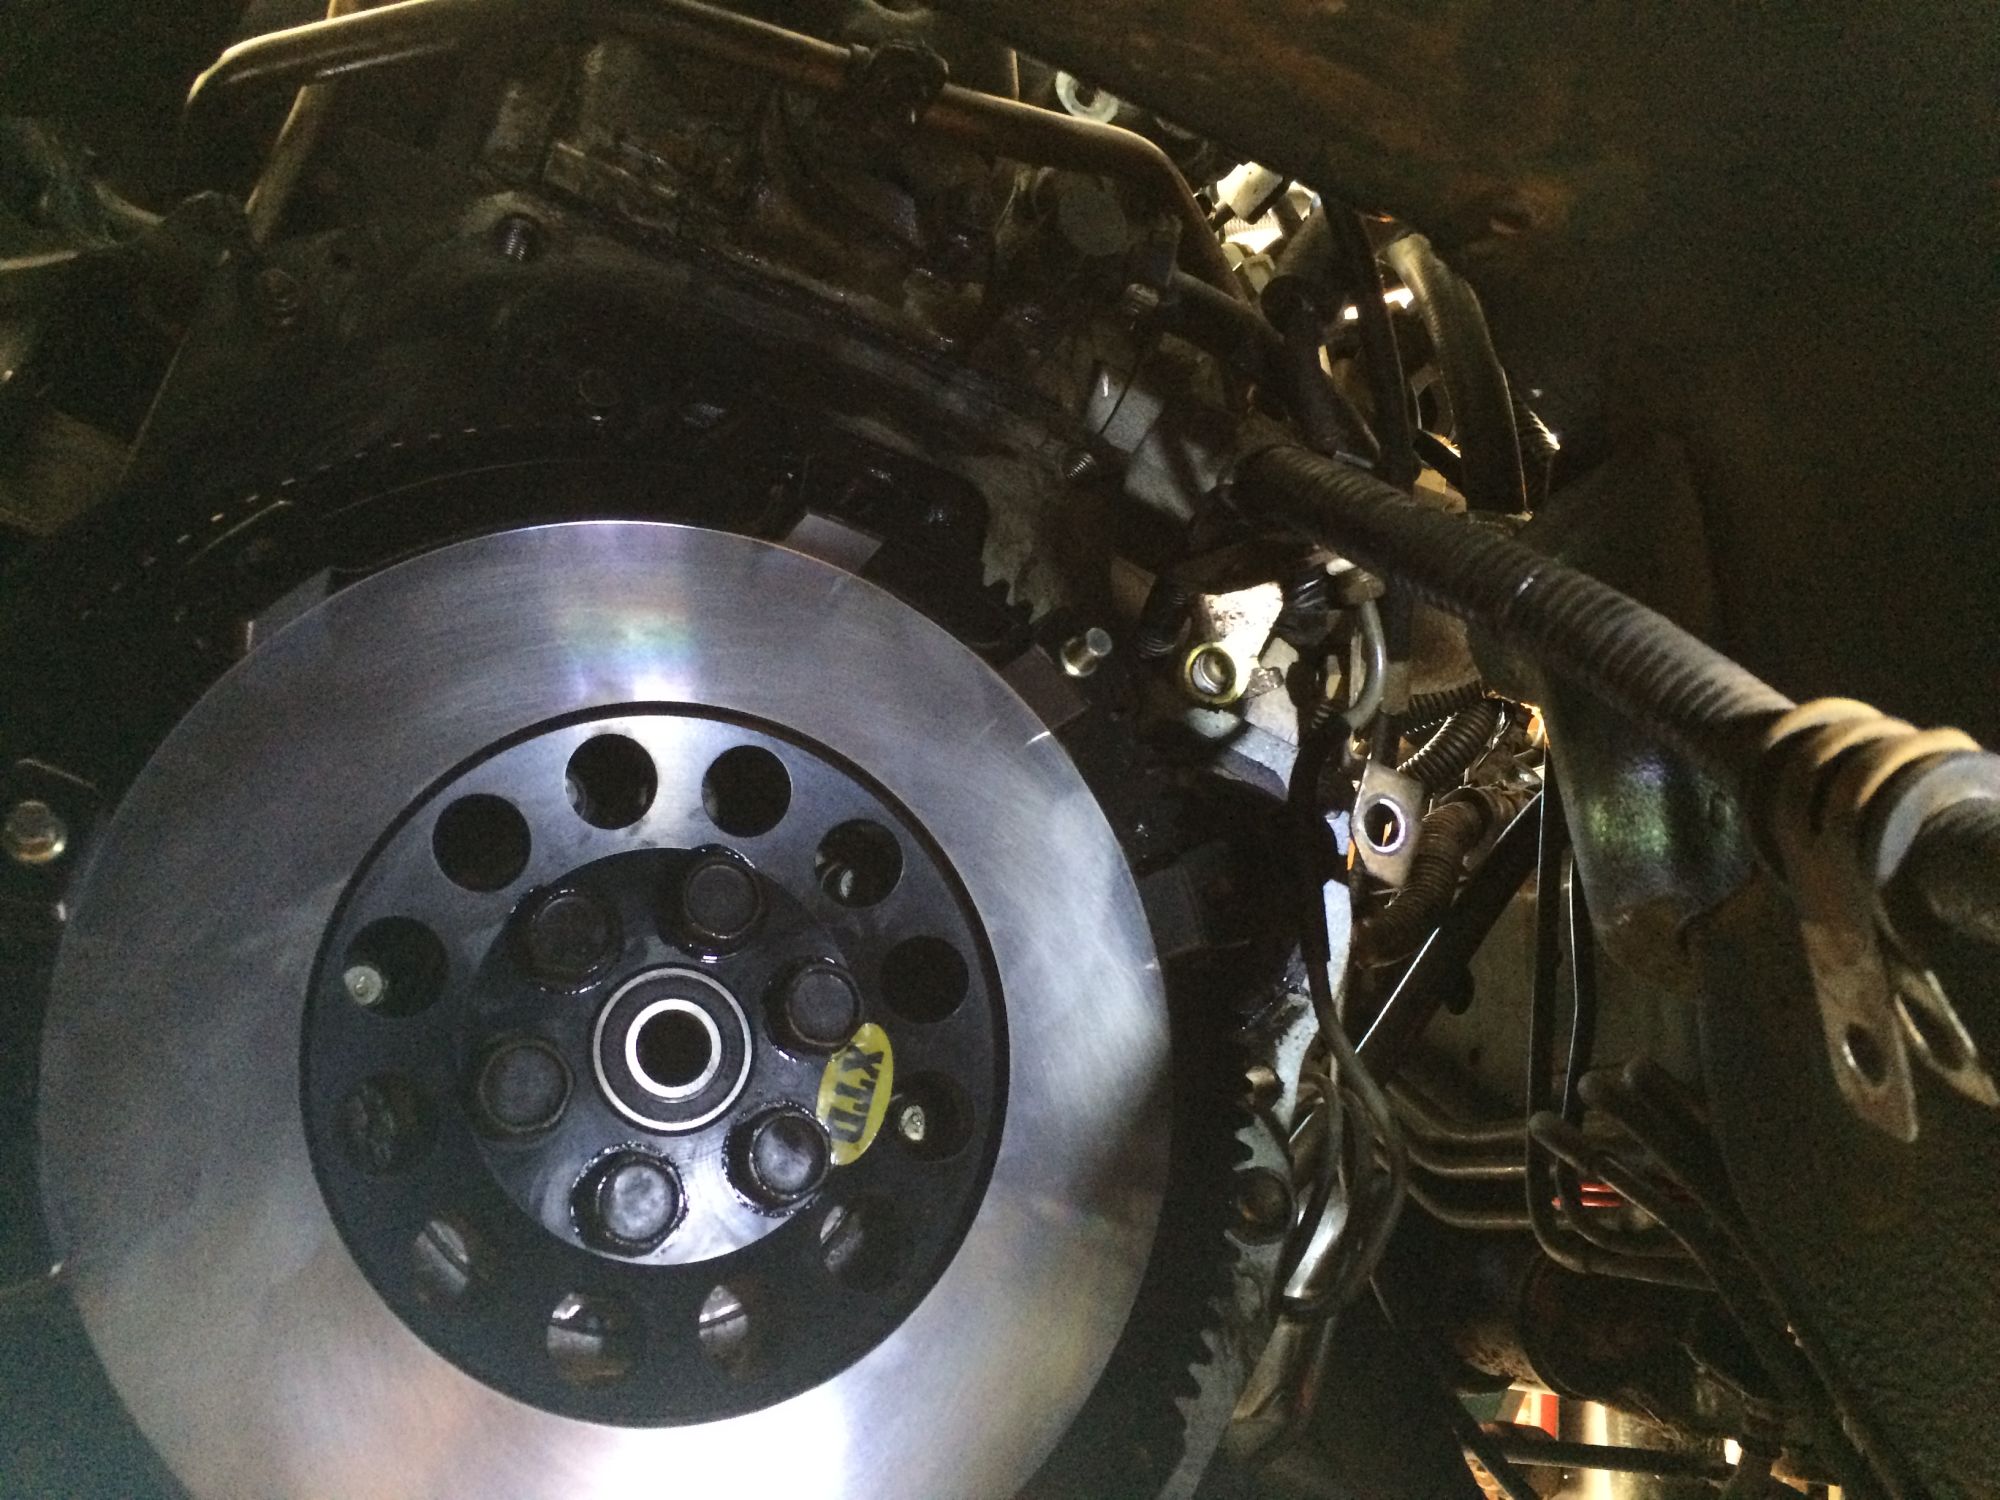
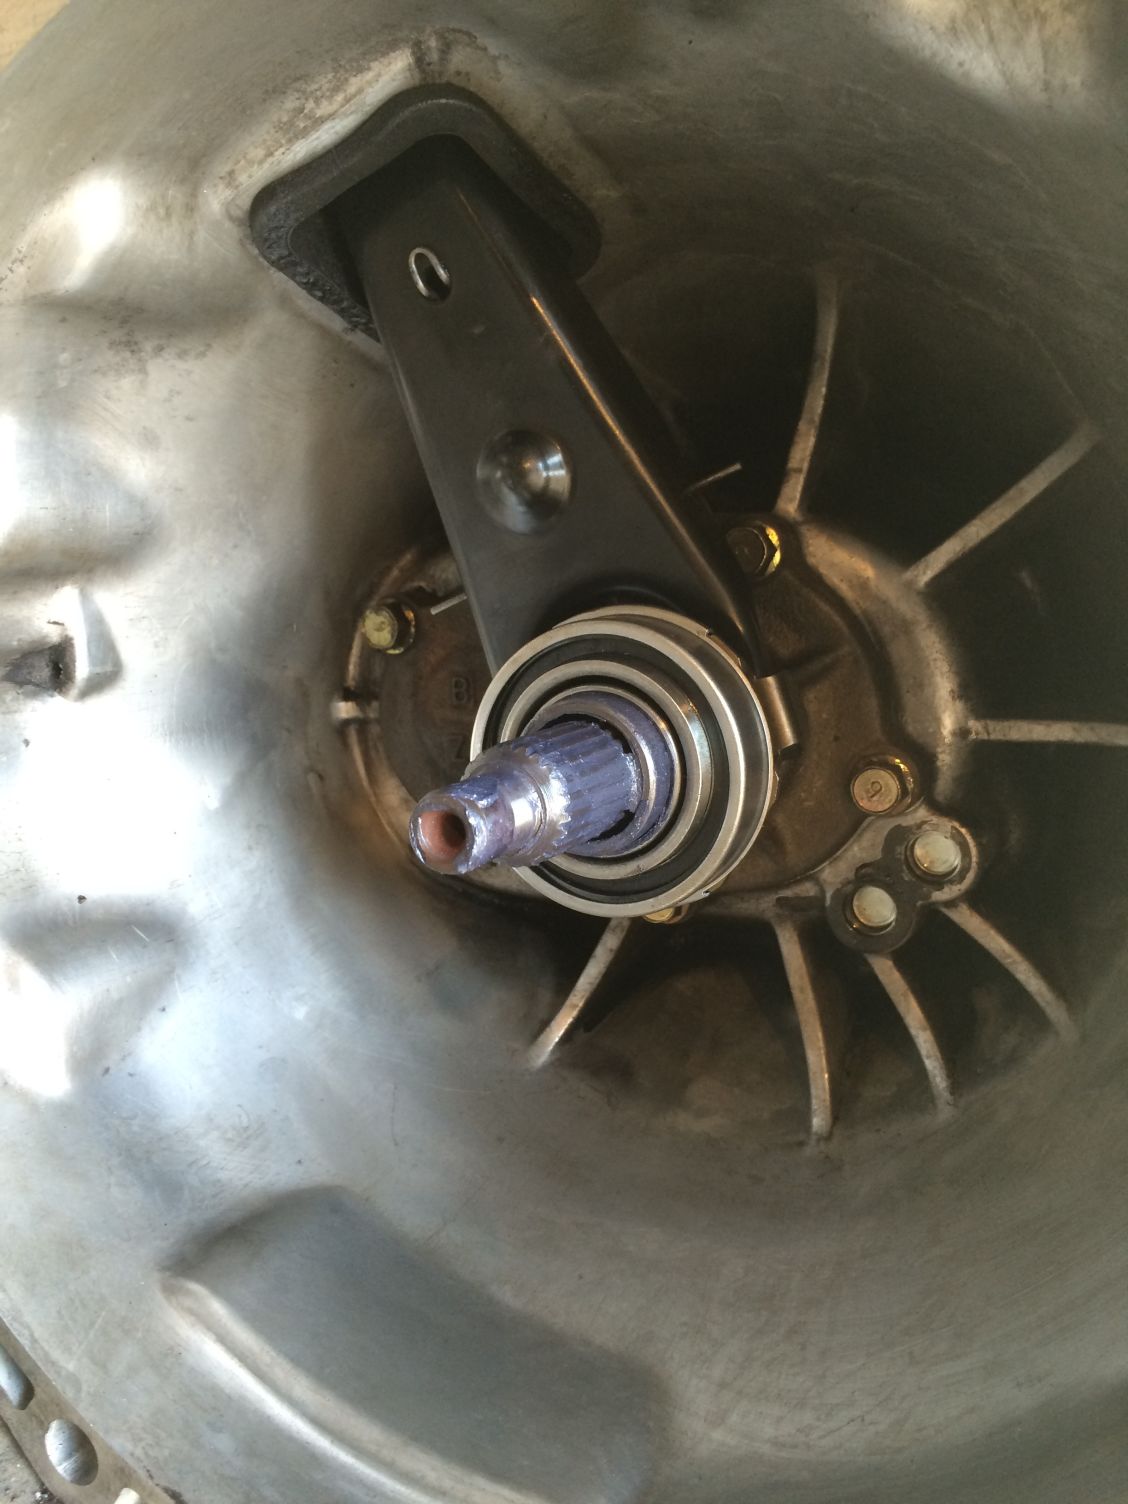
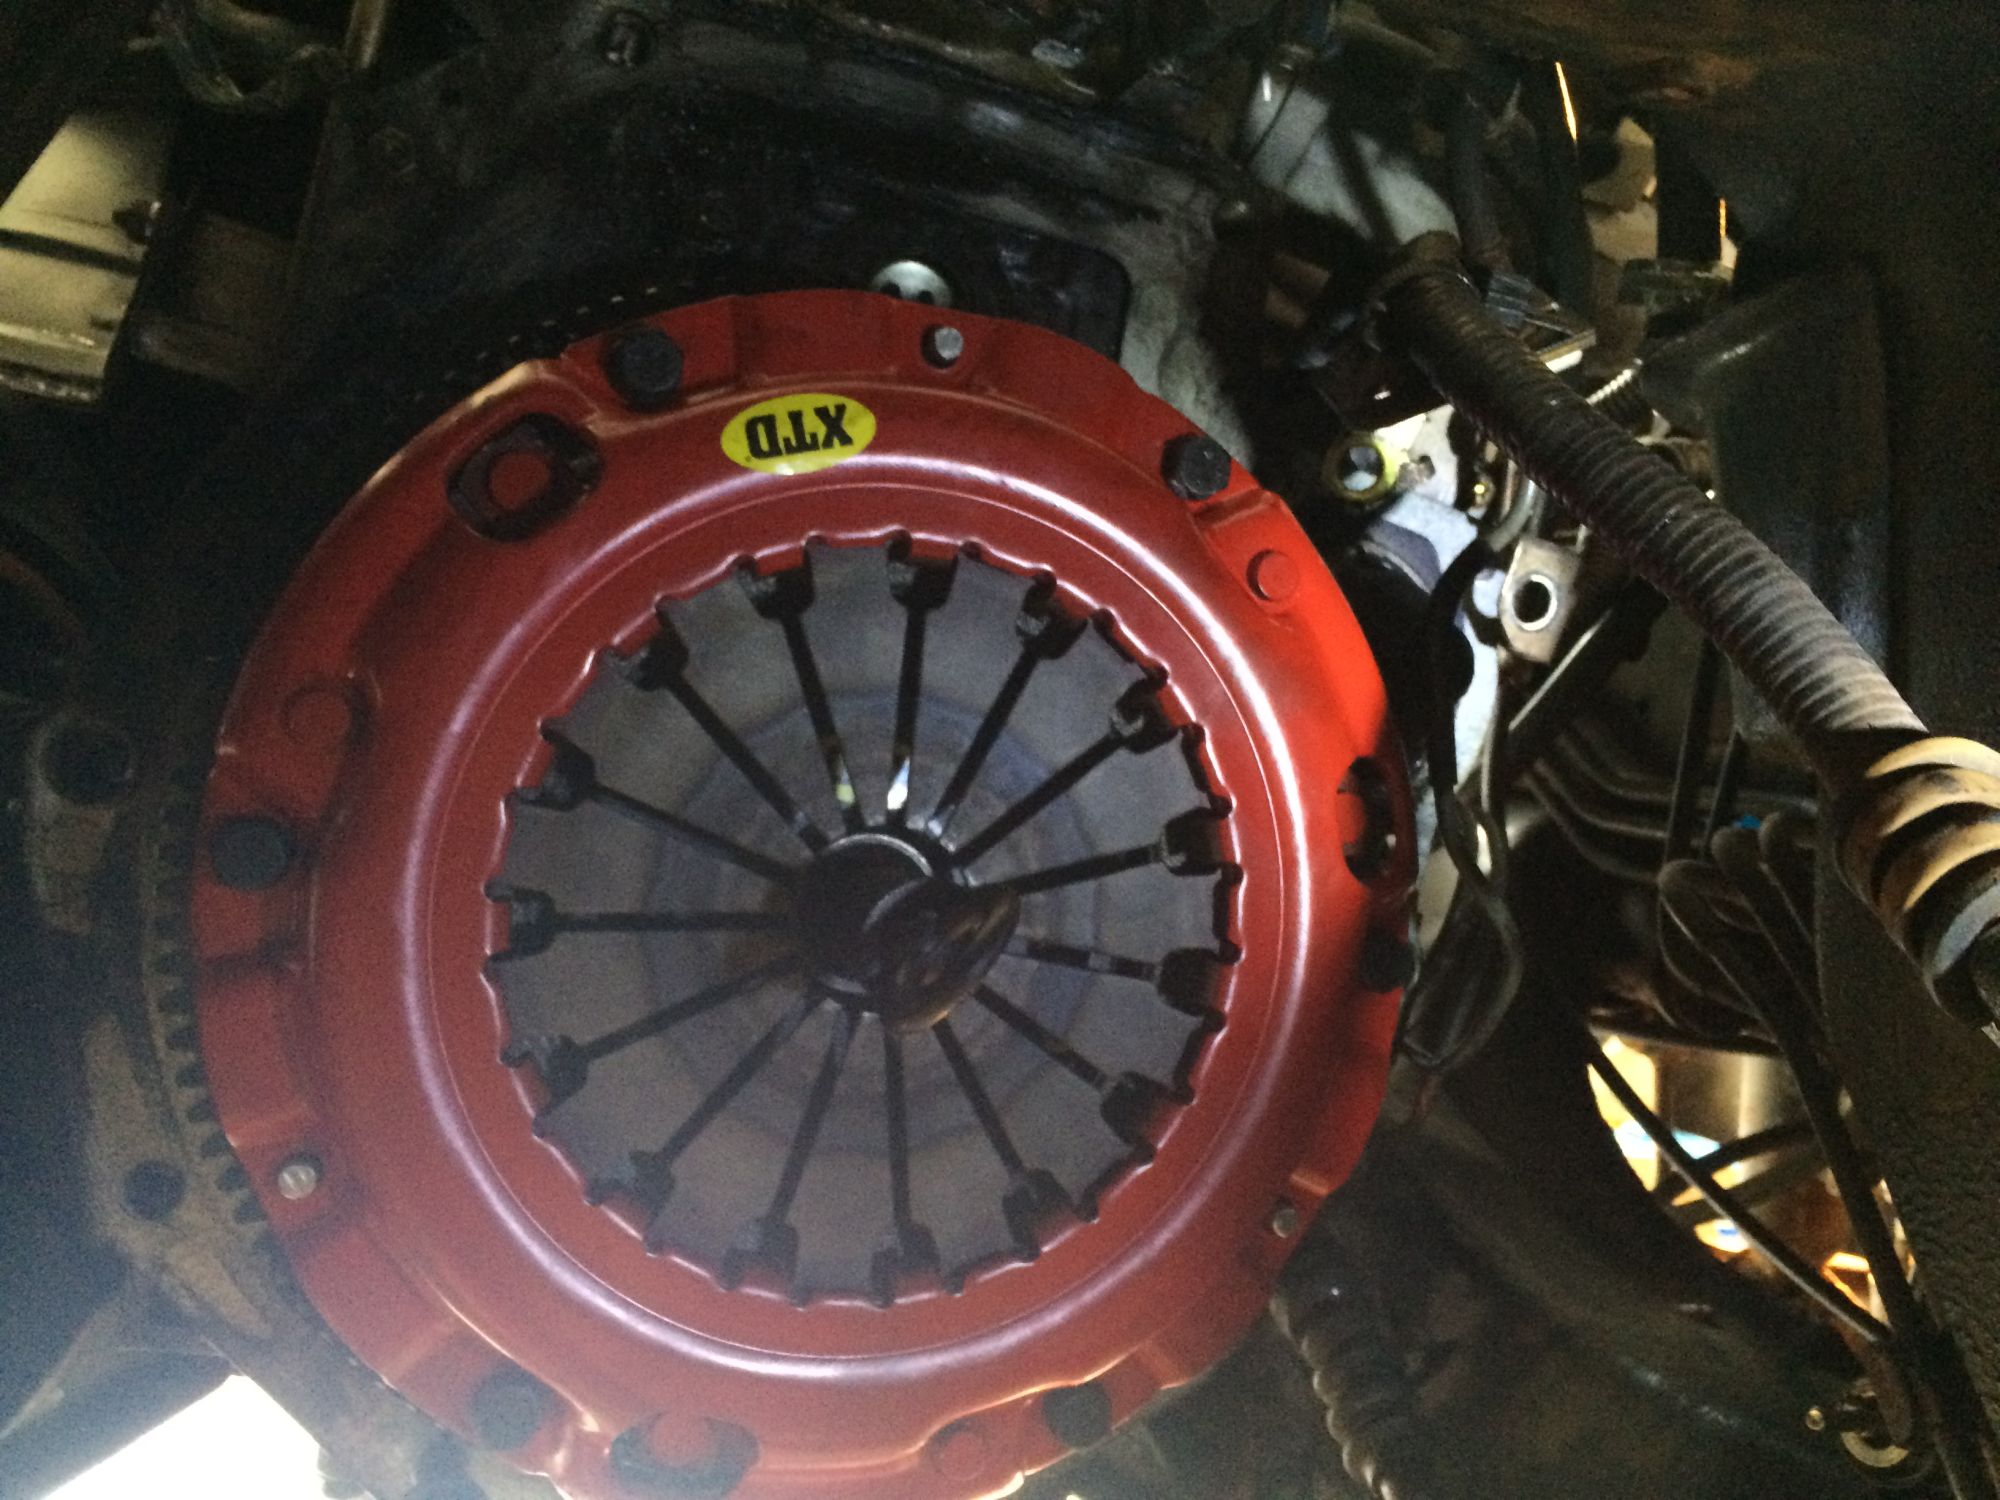
Next step is the clutch.

I had a bad Throwout bearing so I needed to change it any whey.
I decided to replace the whole clutch with this XTD stage 3 with the light flywheel.


New Throwout bearing and cleaned everything


Attached Thumbnails Tim - Building the boosted Miata!-80-img_2085_6d4ae5a8d39d13191ad405f9cd0c0b2c1fd94d92.jpg   Tim - Building the boosted Miata!-80-img_2116_137288c2f68b2b7153be07ae25917696a09ed777.jpg   Tim - Building the boosted Miata!-80-img_2118_63fef0b6aca4f3cdfa650f1d7ddcc0e18ad5de2c.jpg   Tim - Building the boosted Miata!-80-img_2120_92e884de4b681c7dade4b4fadbe0e7f54c18450d.jpg   Tim - Building the boosted Miata!-80-img_2122_4d789ece7206f2efb2fa4cddd99e59ded6245b89.jpg  

Old 07-23-2015 | 07:13 AM
  #6  
ysleem's Avatar
Senior Member
iTrader: (5)
 
Joined: Jan 2014
Posts: 567
Total Cats: 7
From: Mount Pleasant, SC
Default Tim - Building the boosted Miata!

Very excited for you! Great start. Looking forward to the end result.
Old 07-23-2015 | 07:40 AM
  #7  
Tim_Belgium's Avatar
Thread Starter
Junior Member
 
Joined: Apr 2015
Posts: 50
Total Cats: 4
From: Belgium
Default

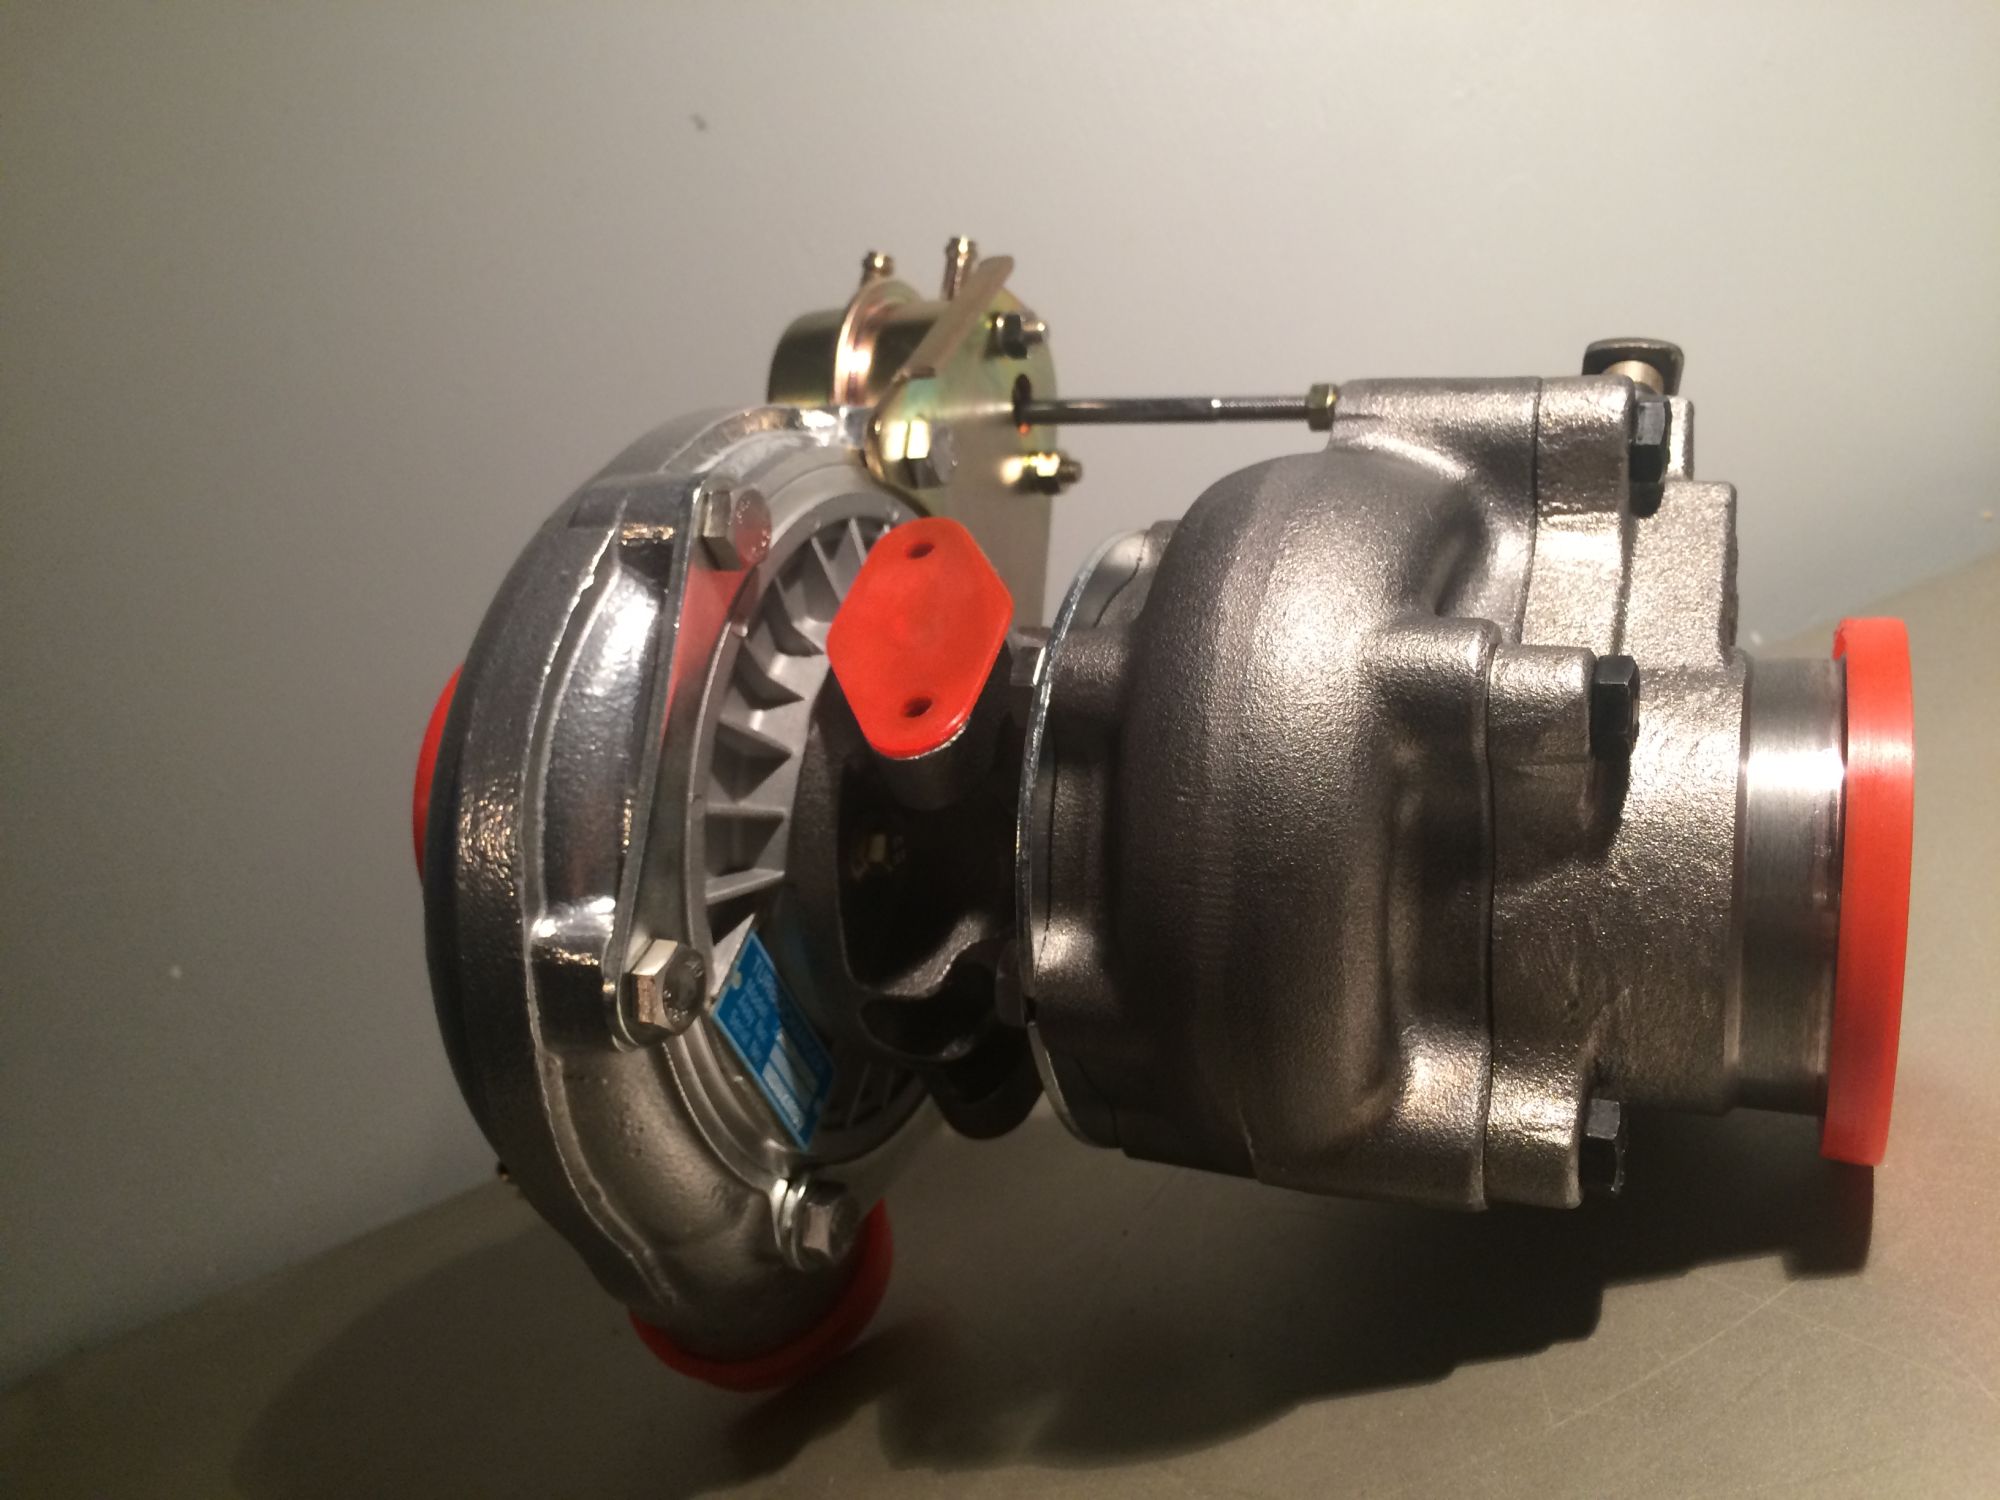
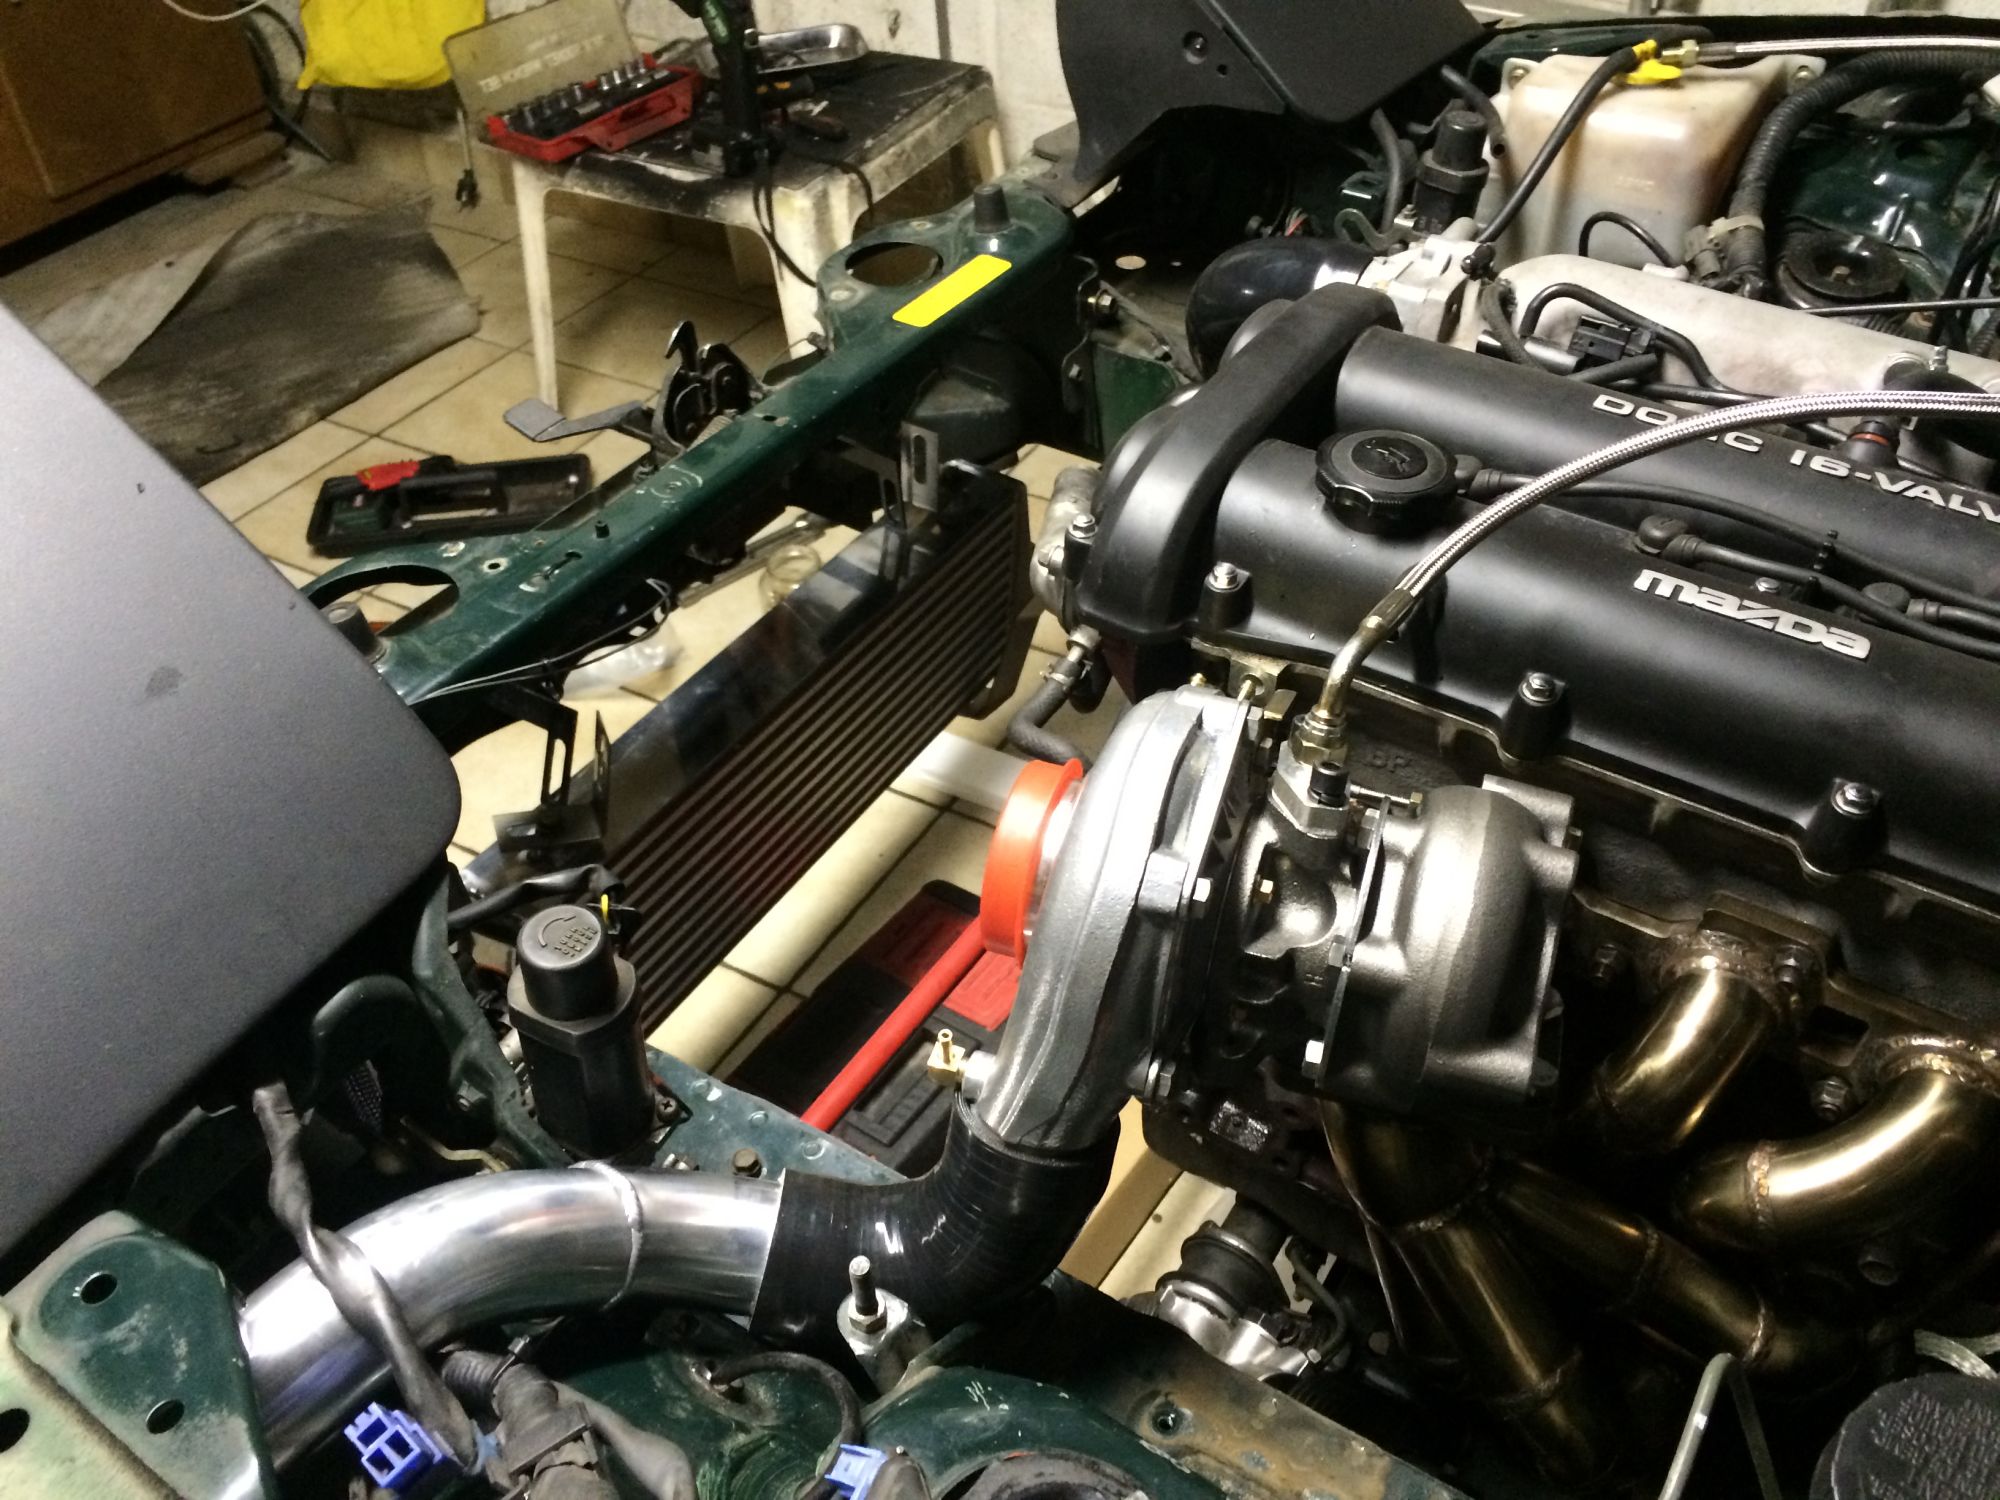
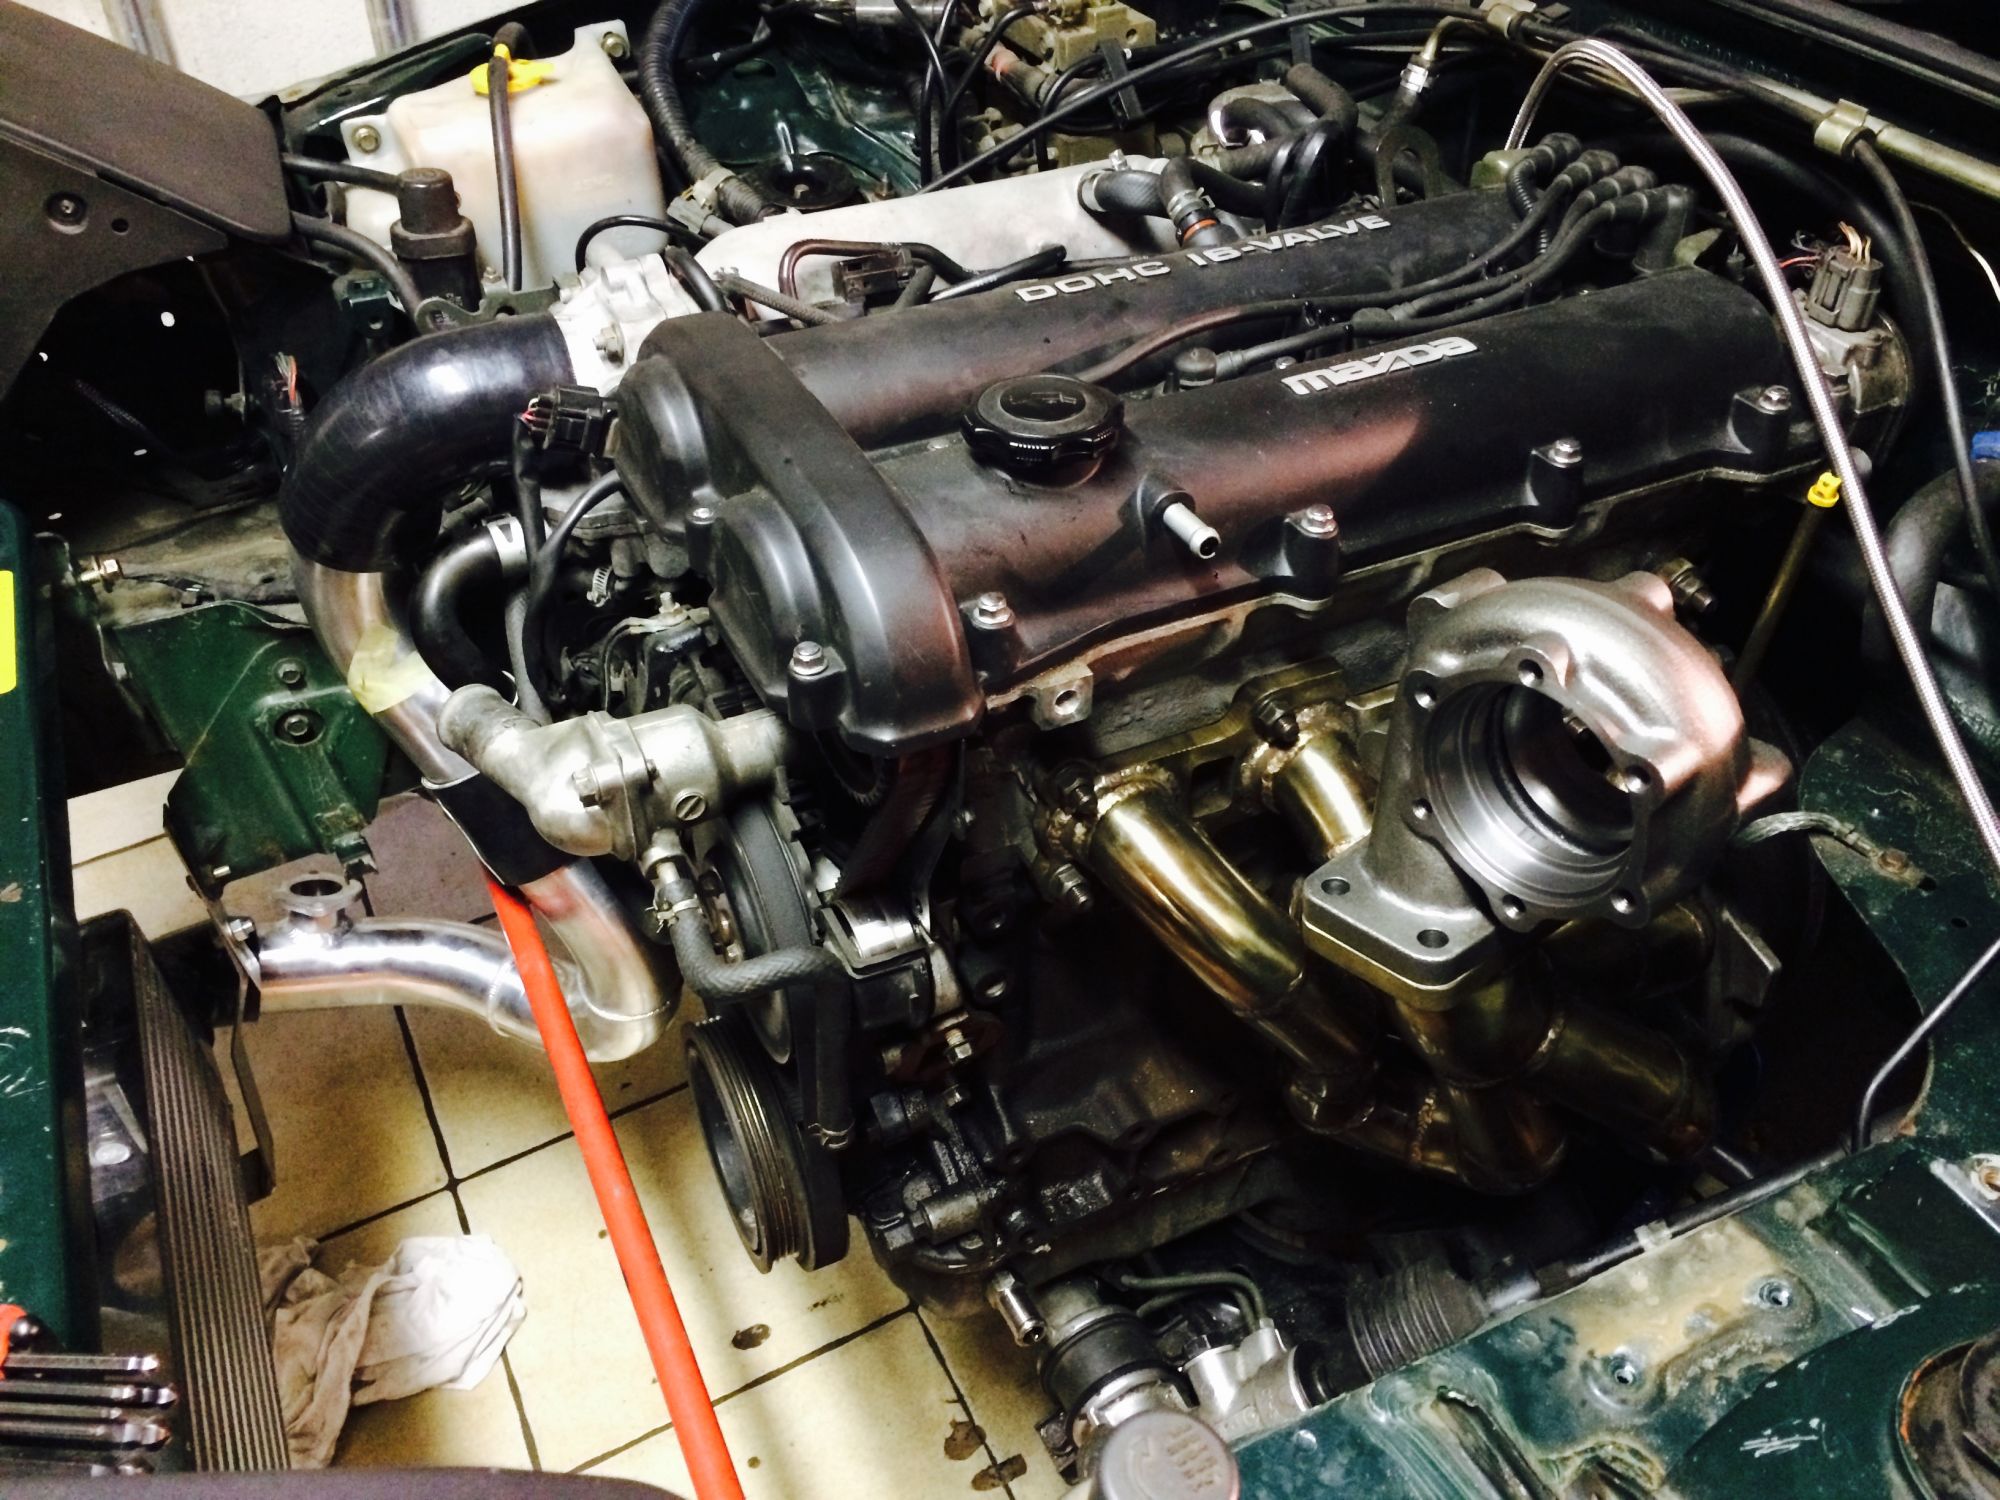
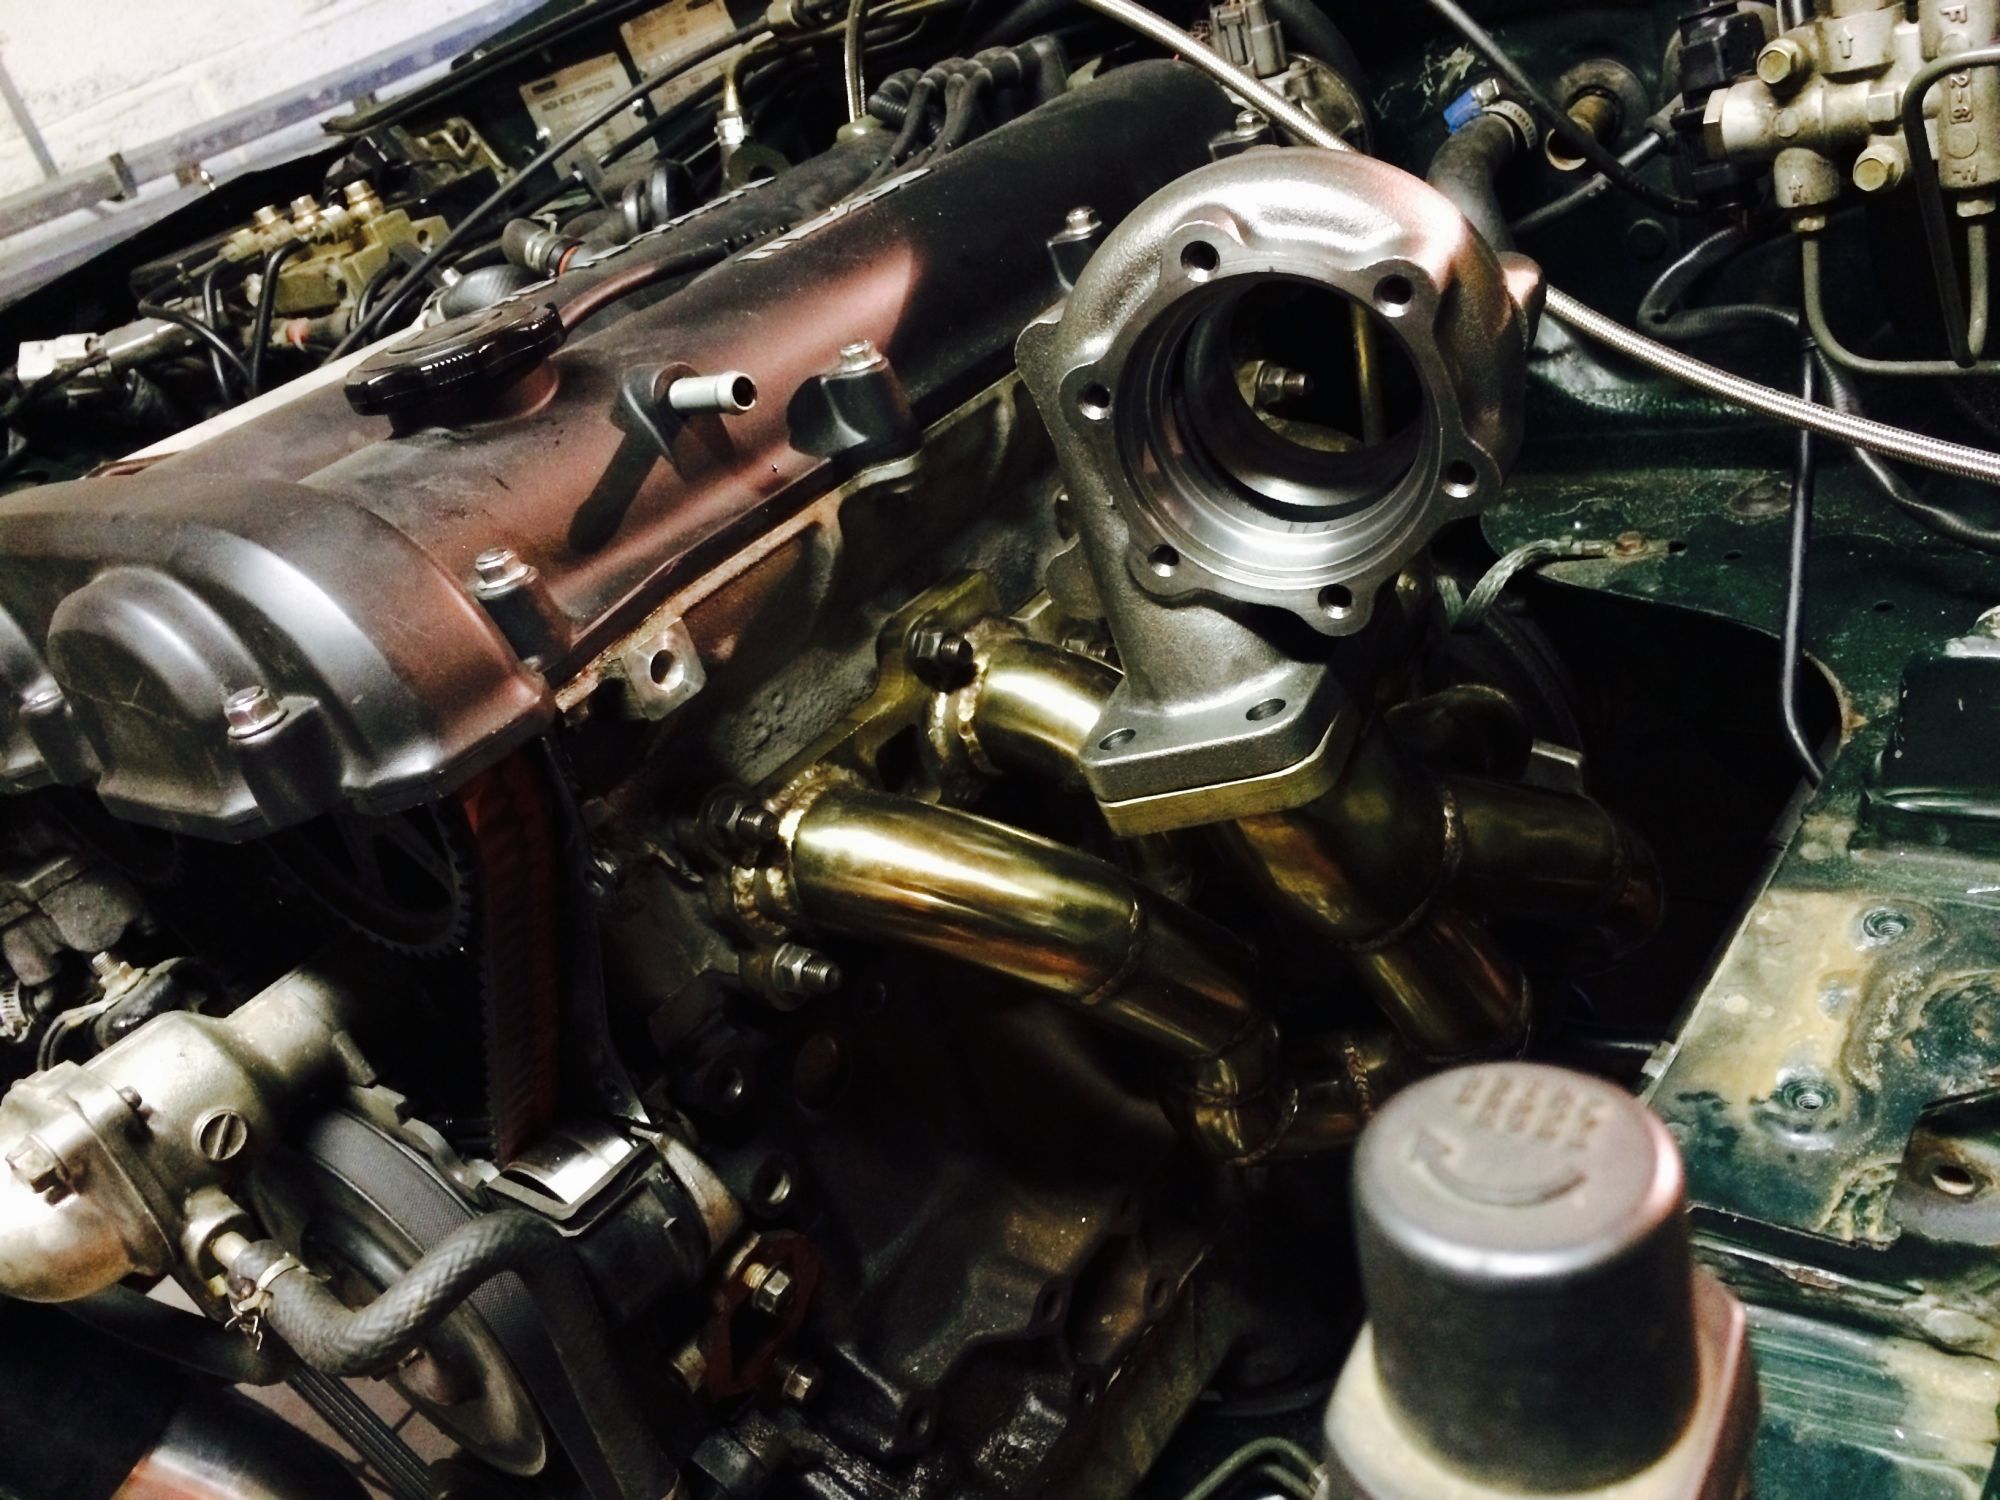
Time for some Turbo parts.

I ordered some parts from CX racing.
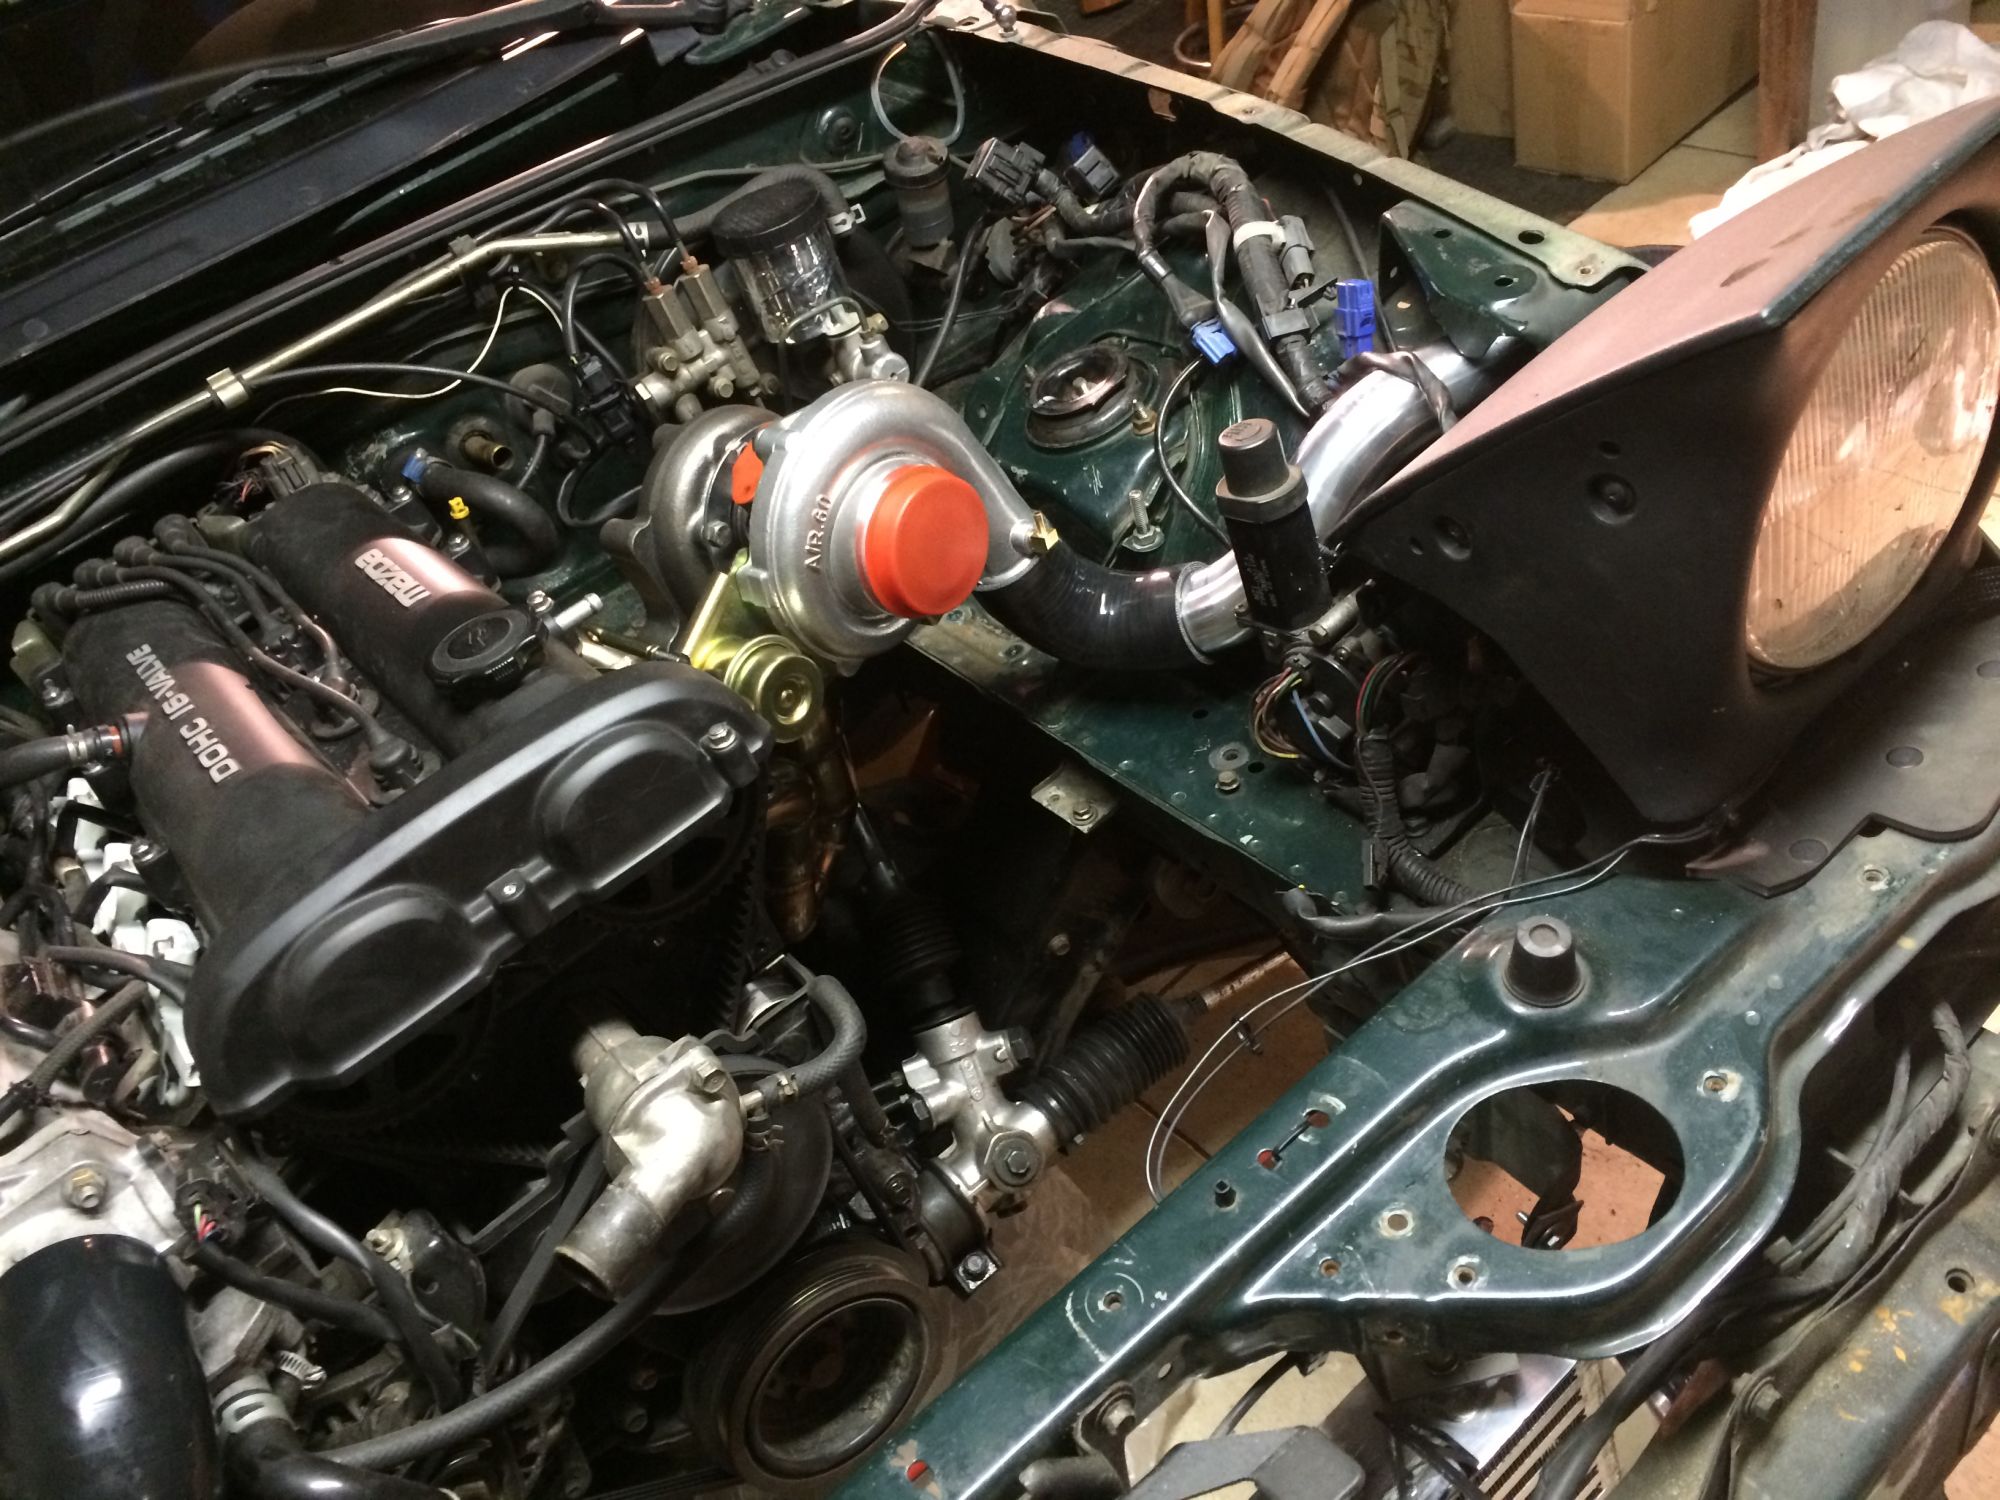
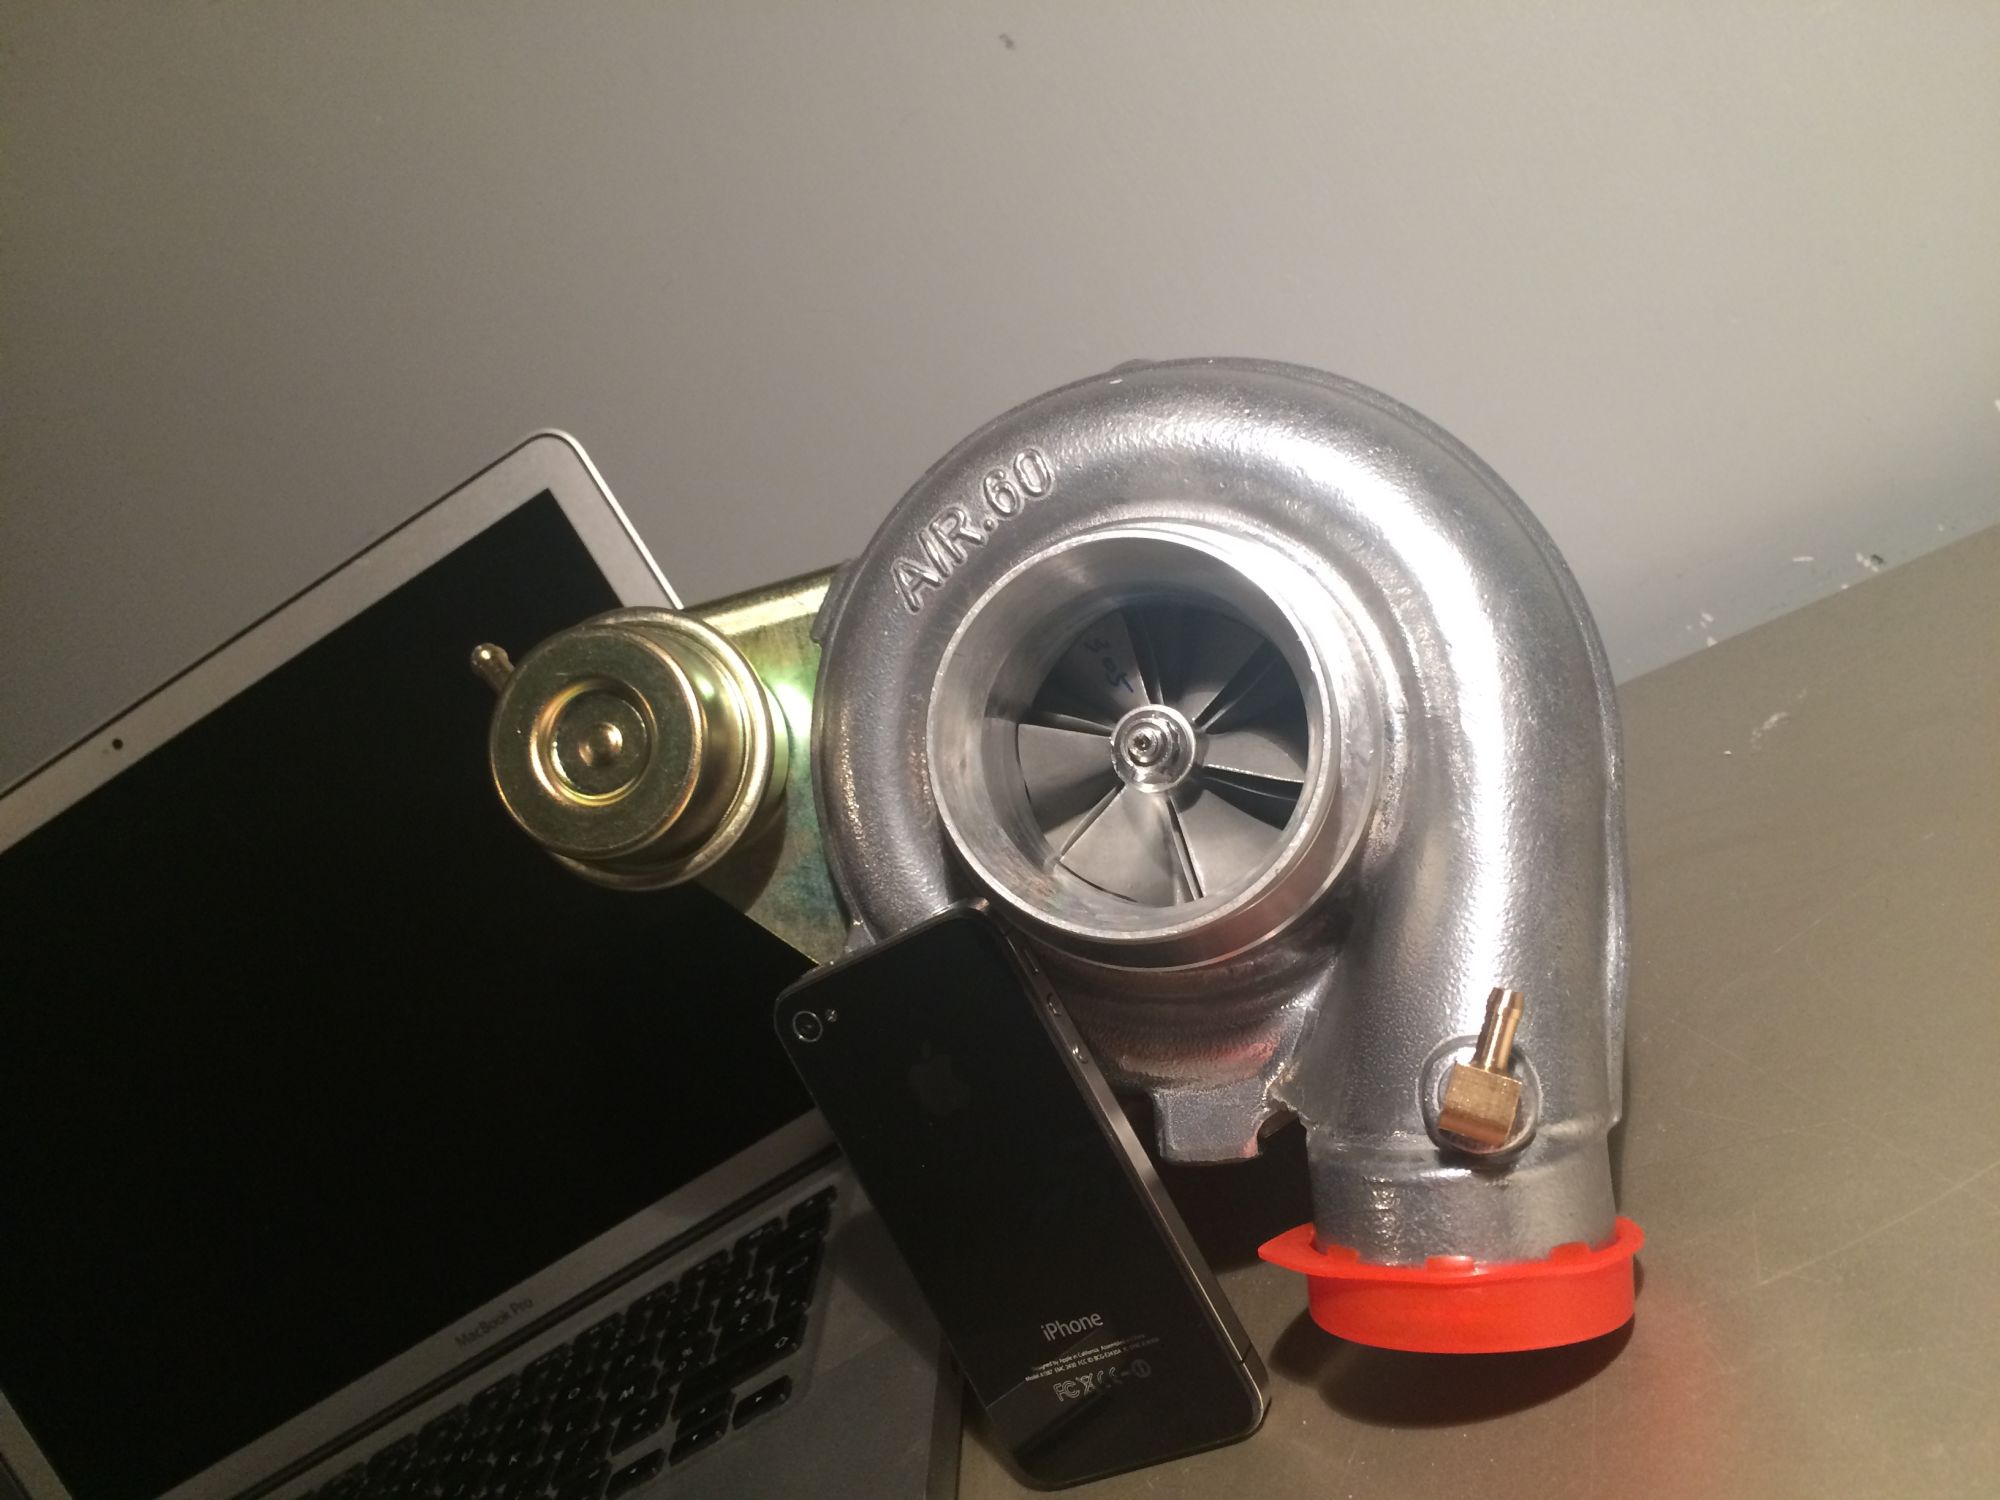
The quality is really good except the ebay turbo of course. But I wanted to start cheap and replace the turbo in the end with a Garrett turbo.

This is sold as a kit but I had to do lots of changes and improvements to make it like I want it to be. (Still need some improvements)
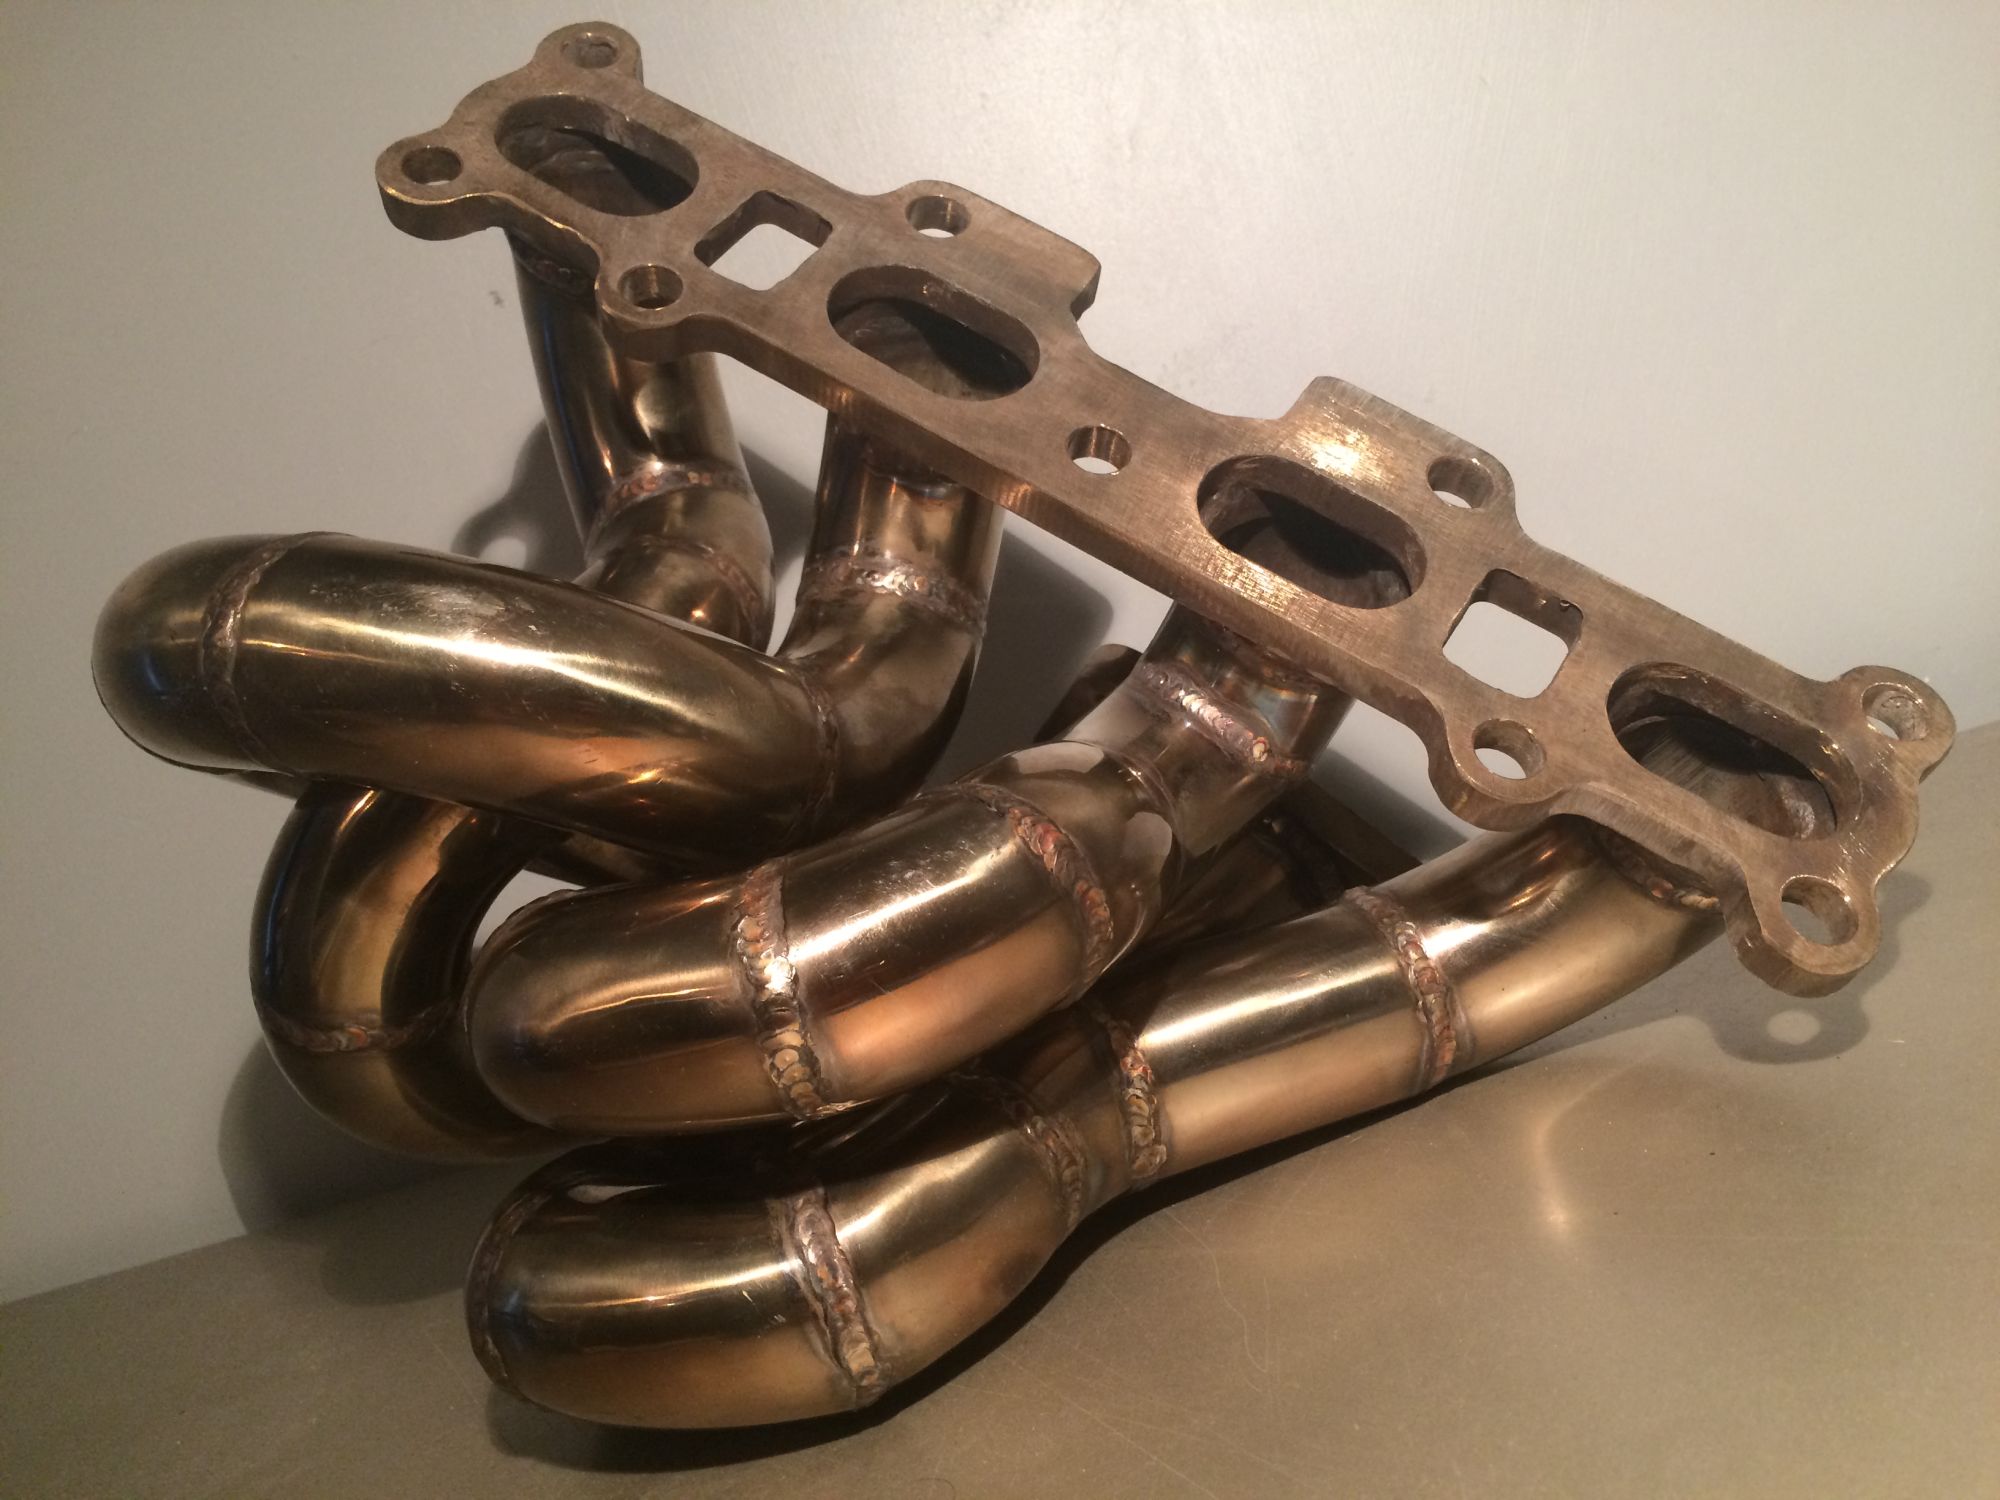


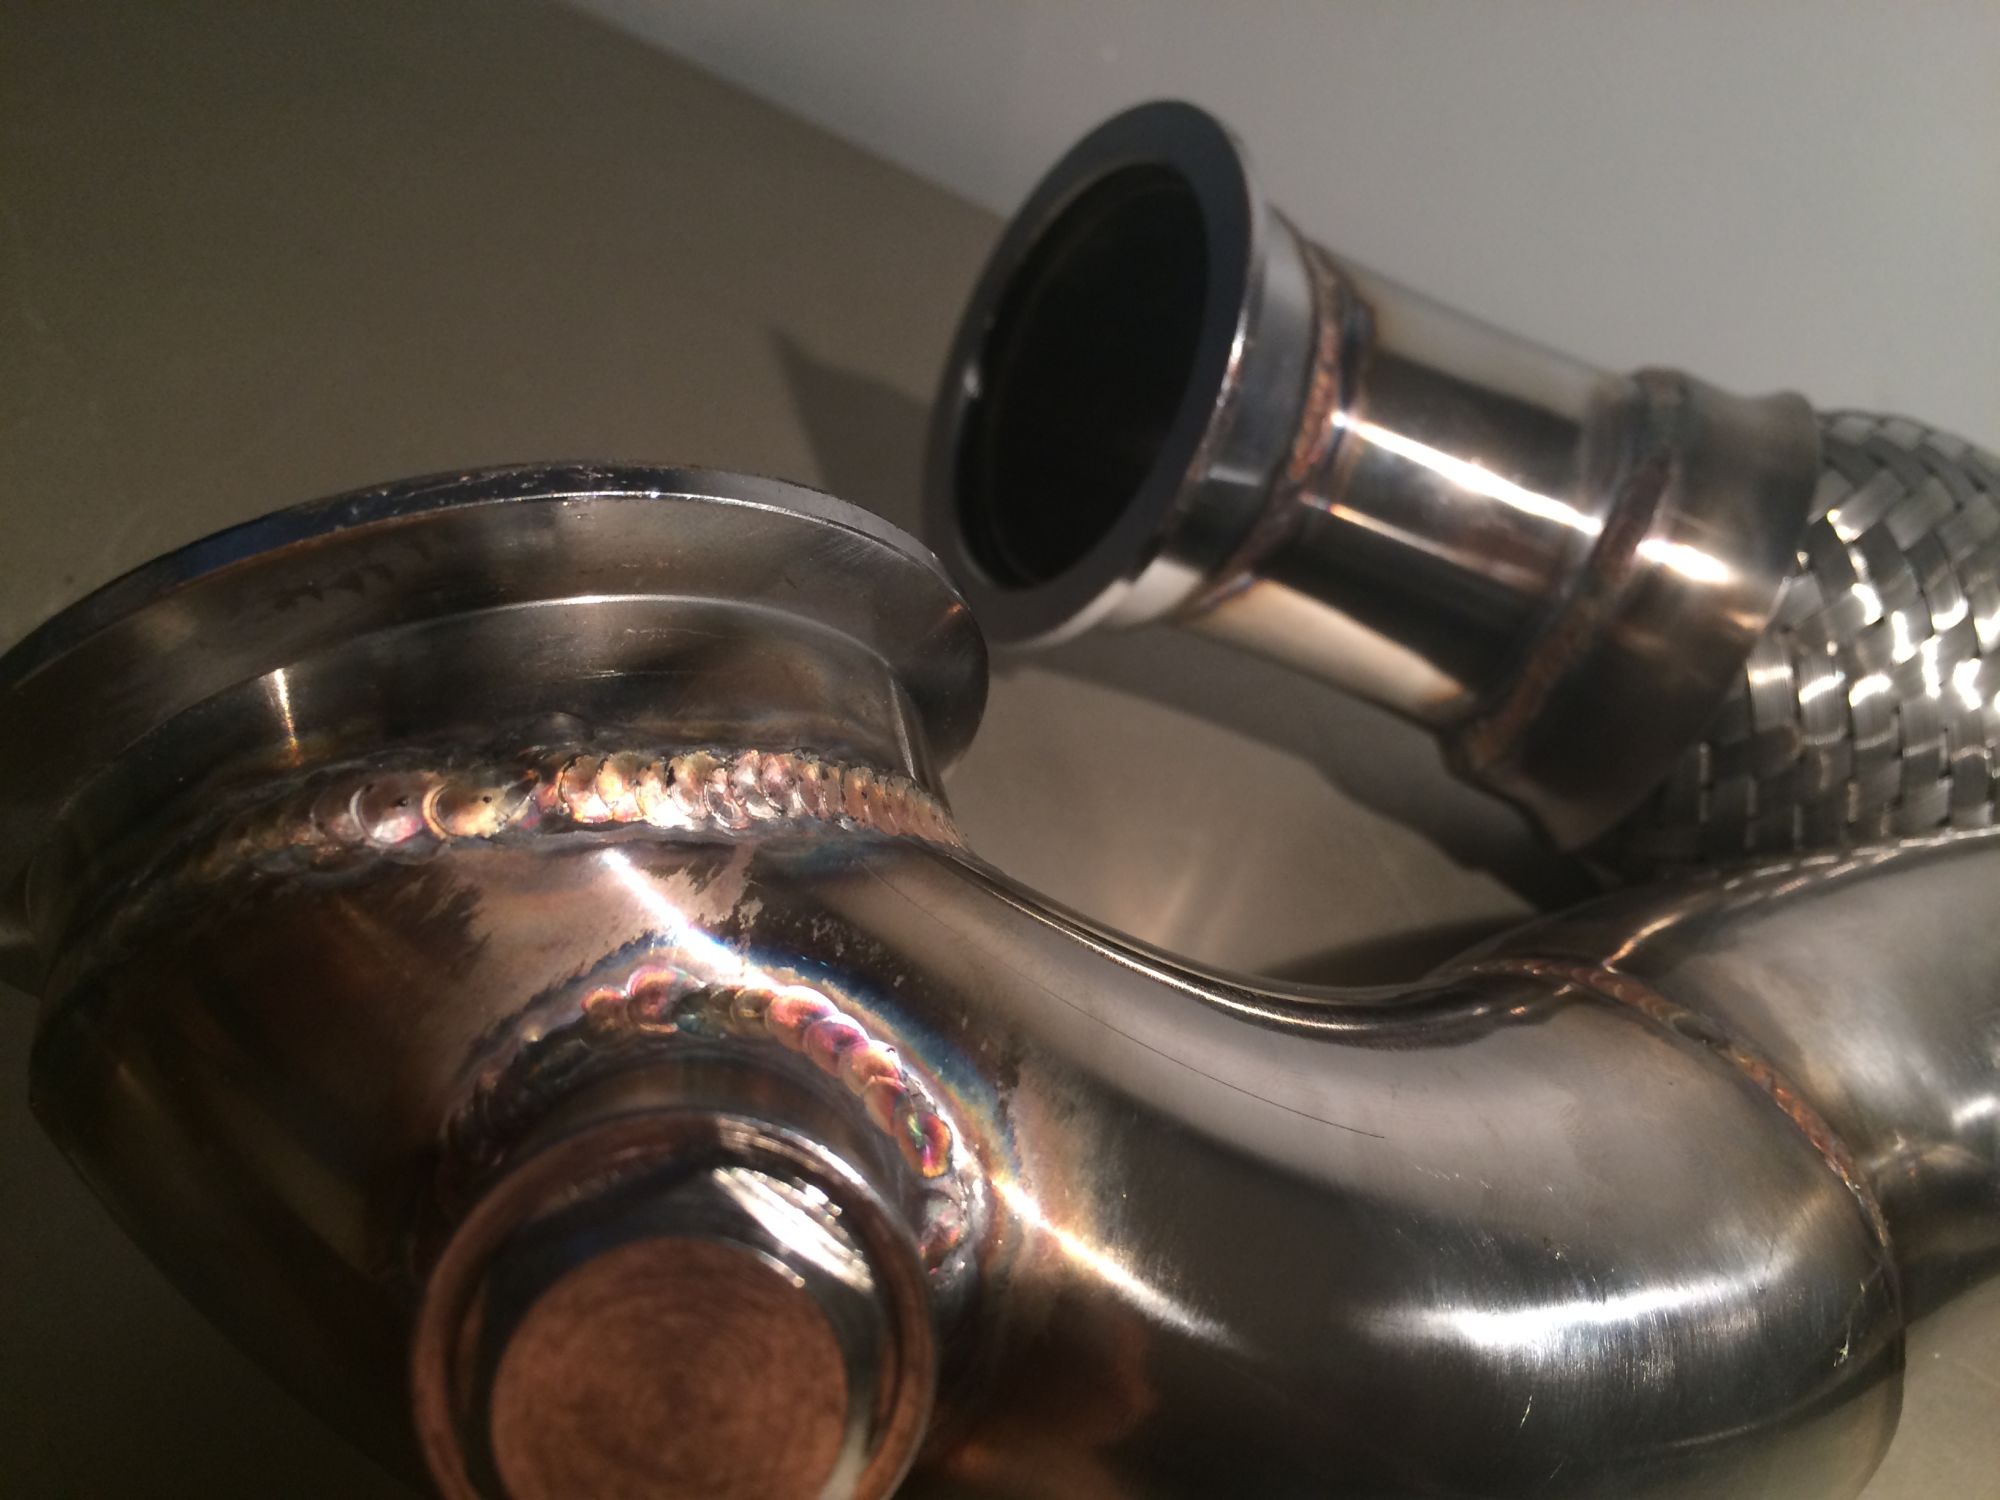
Nice thick Stainless steel exhaust manifold
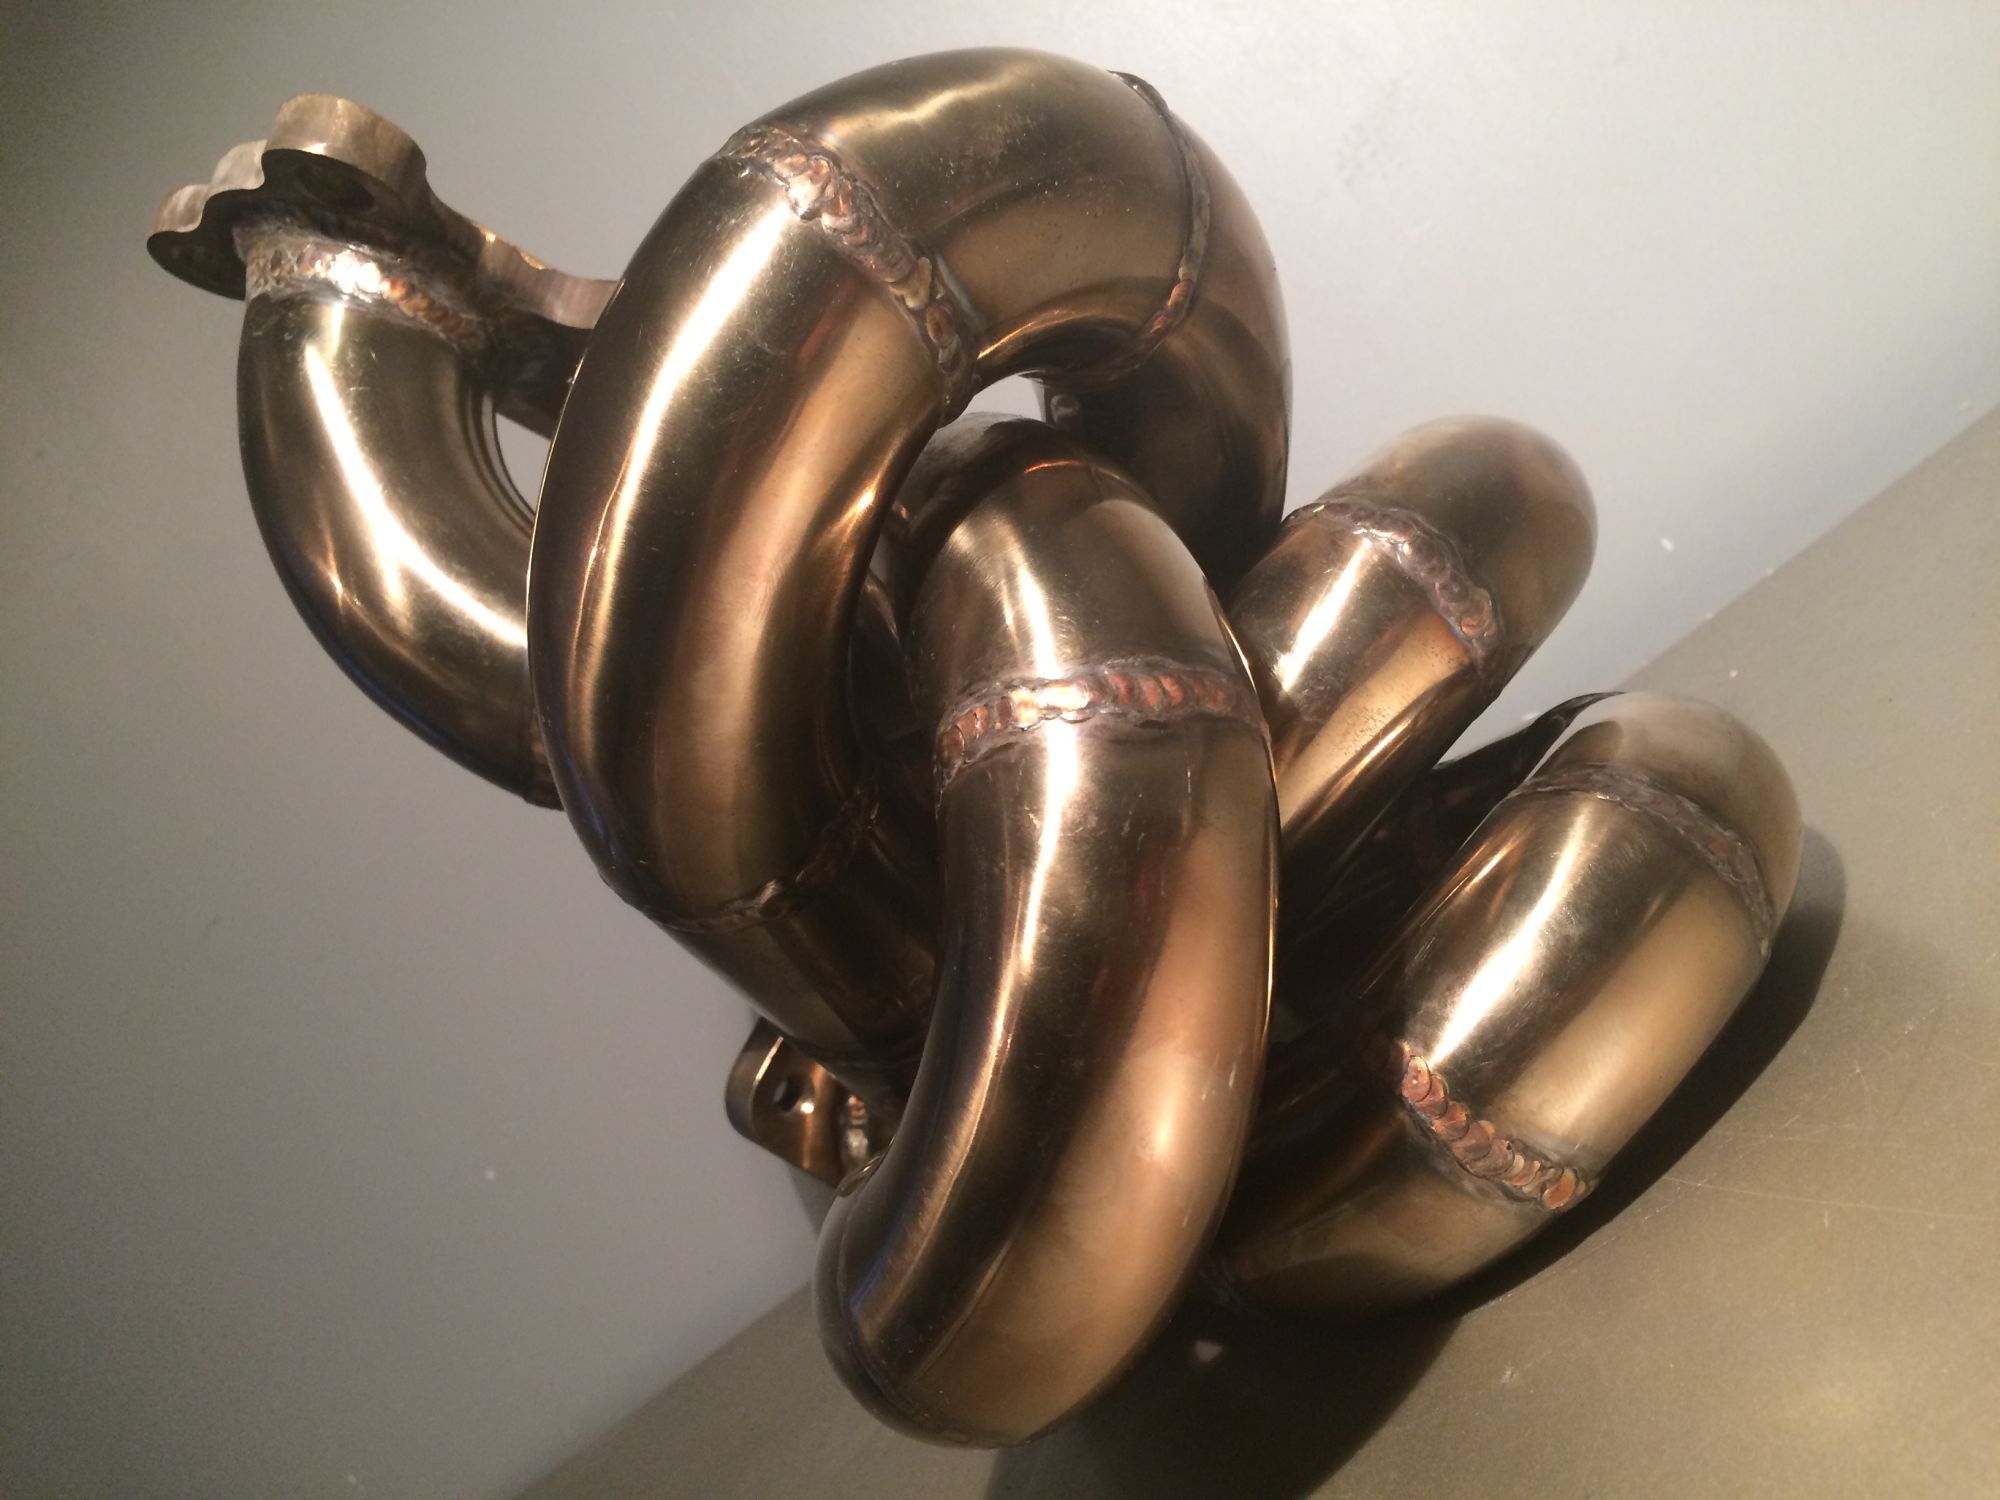


I love the art in this shape =P
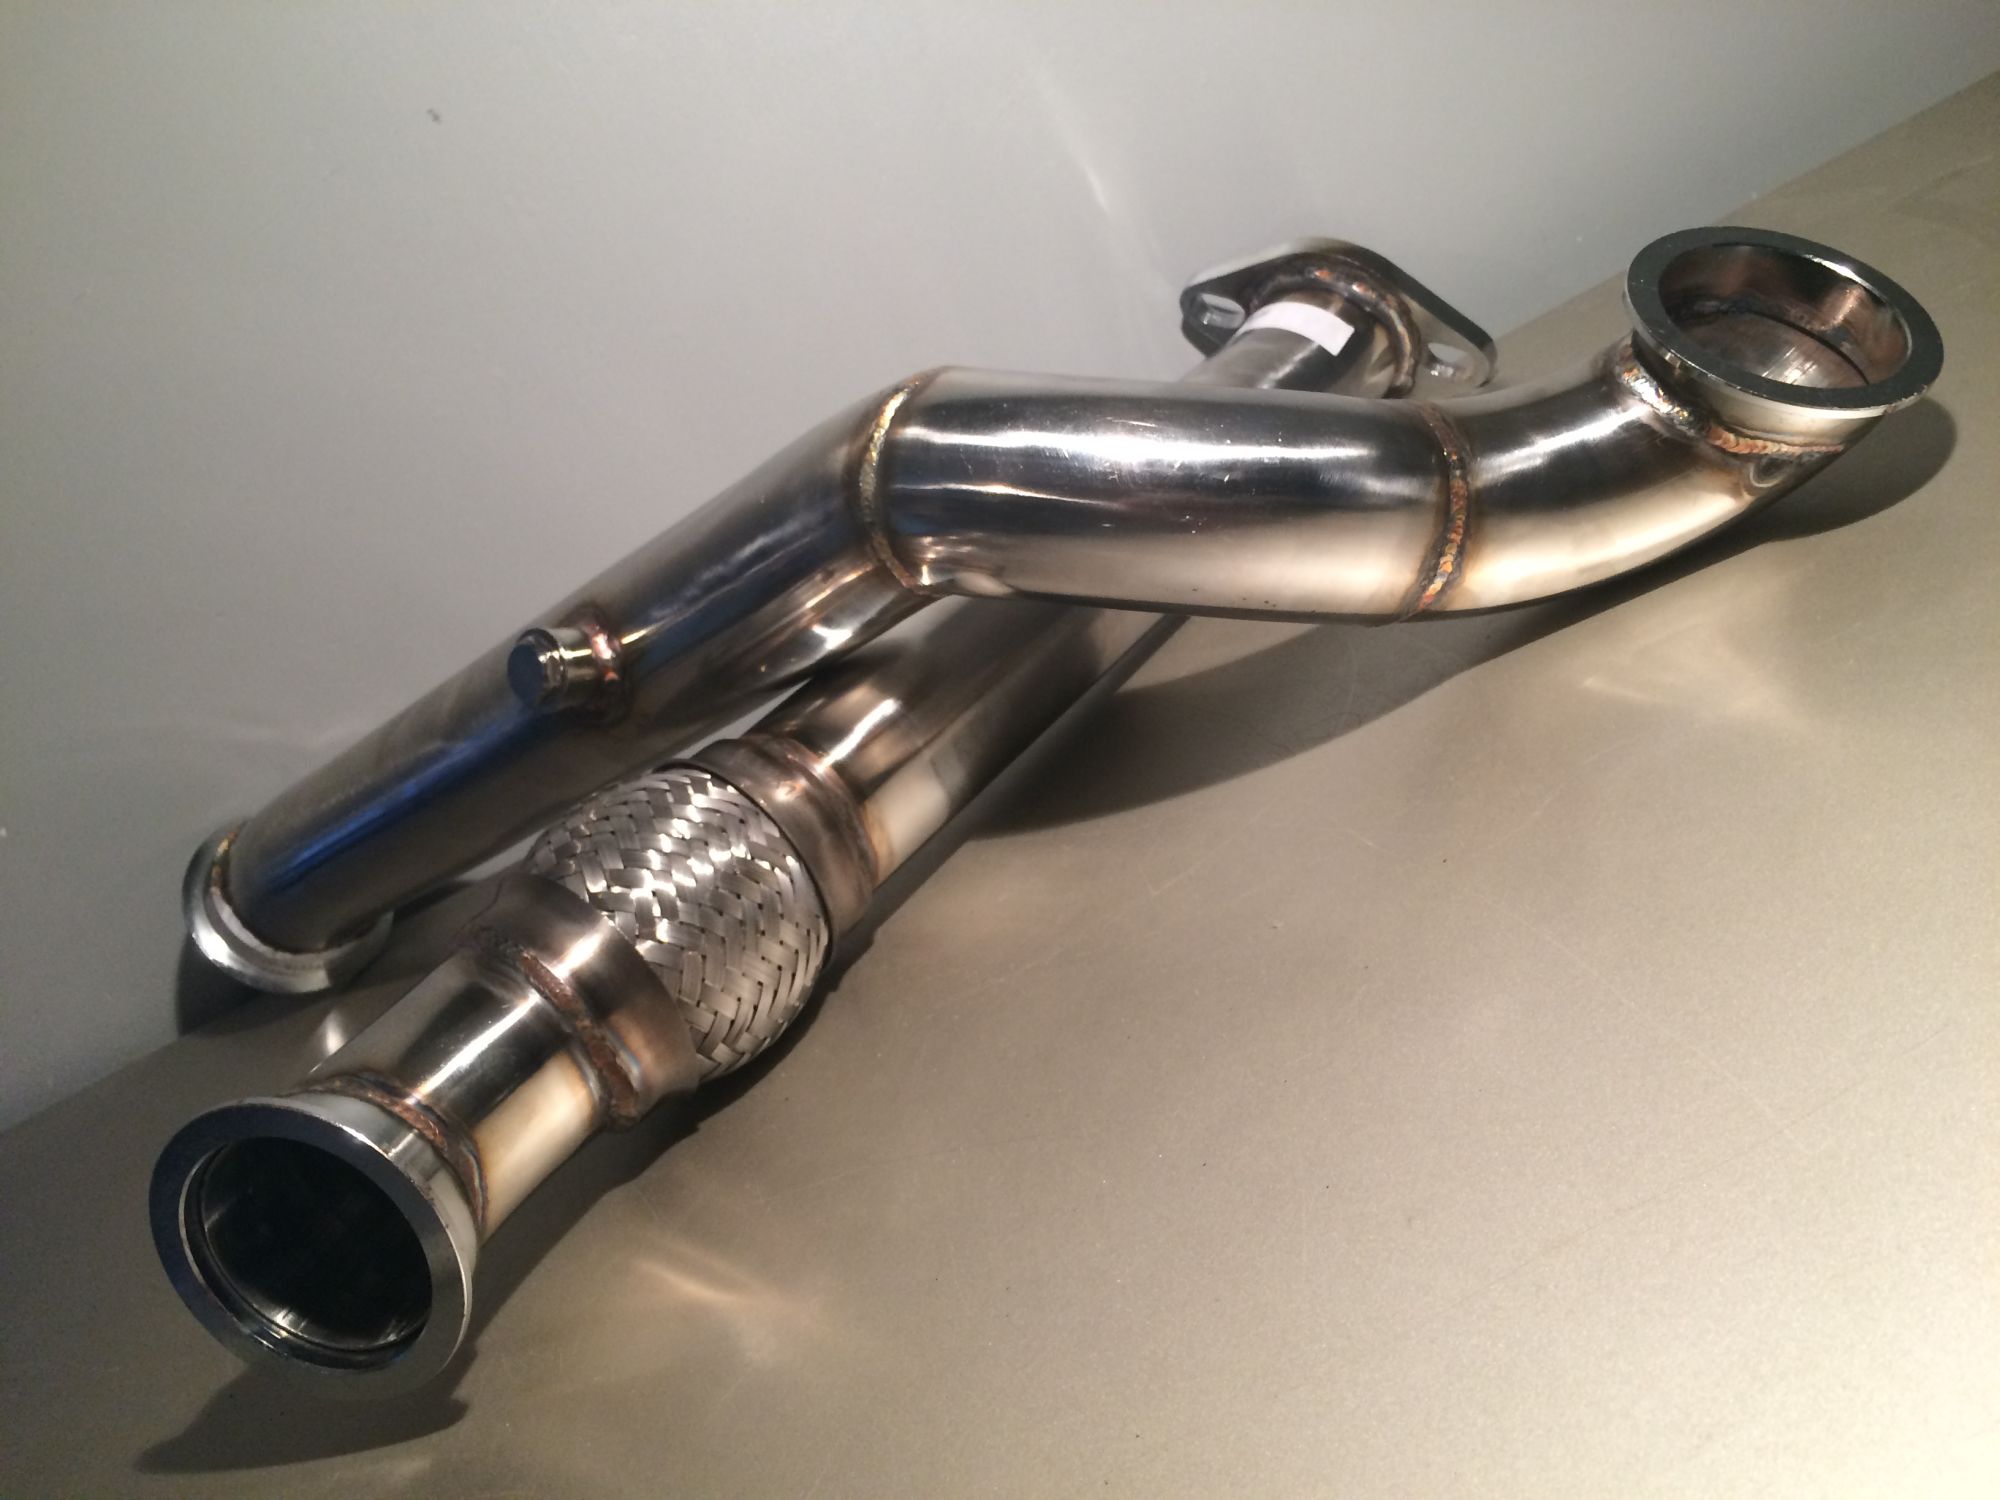


Downpipe V band


70 trim T3 Turbo


I hope it will fit.
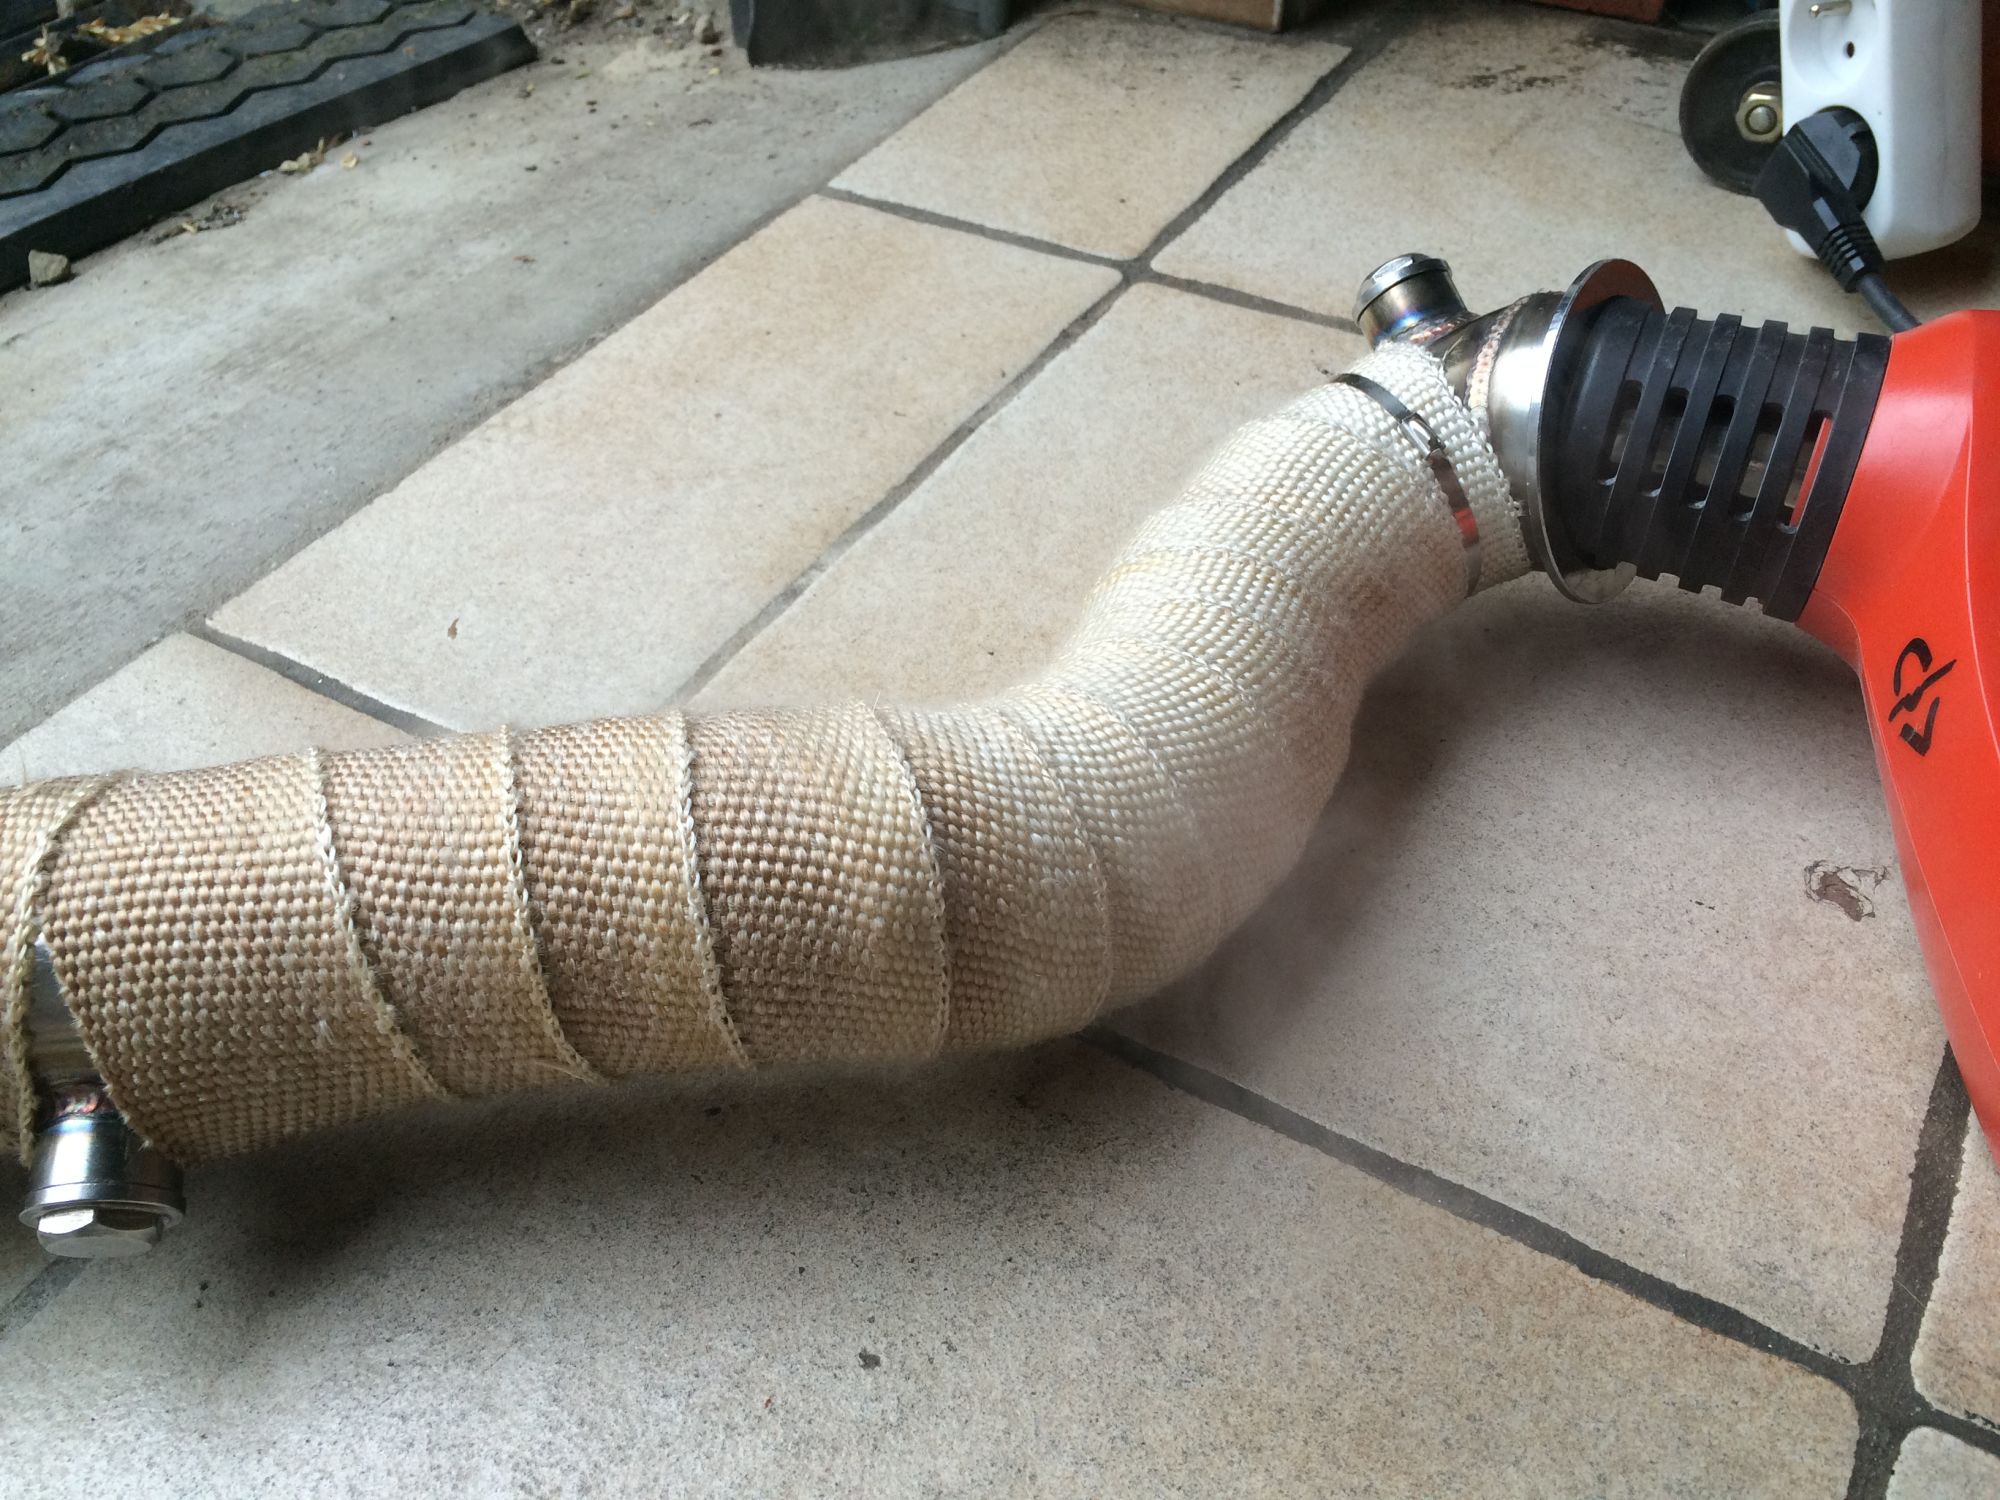


Heatwrap the downpipe. I'm planning on doing the manifold.
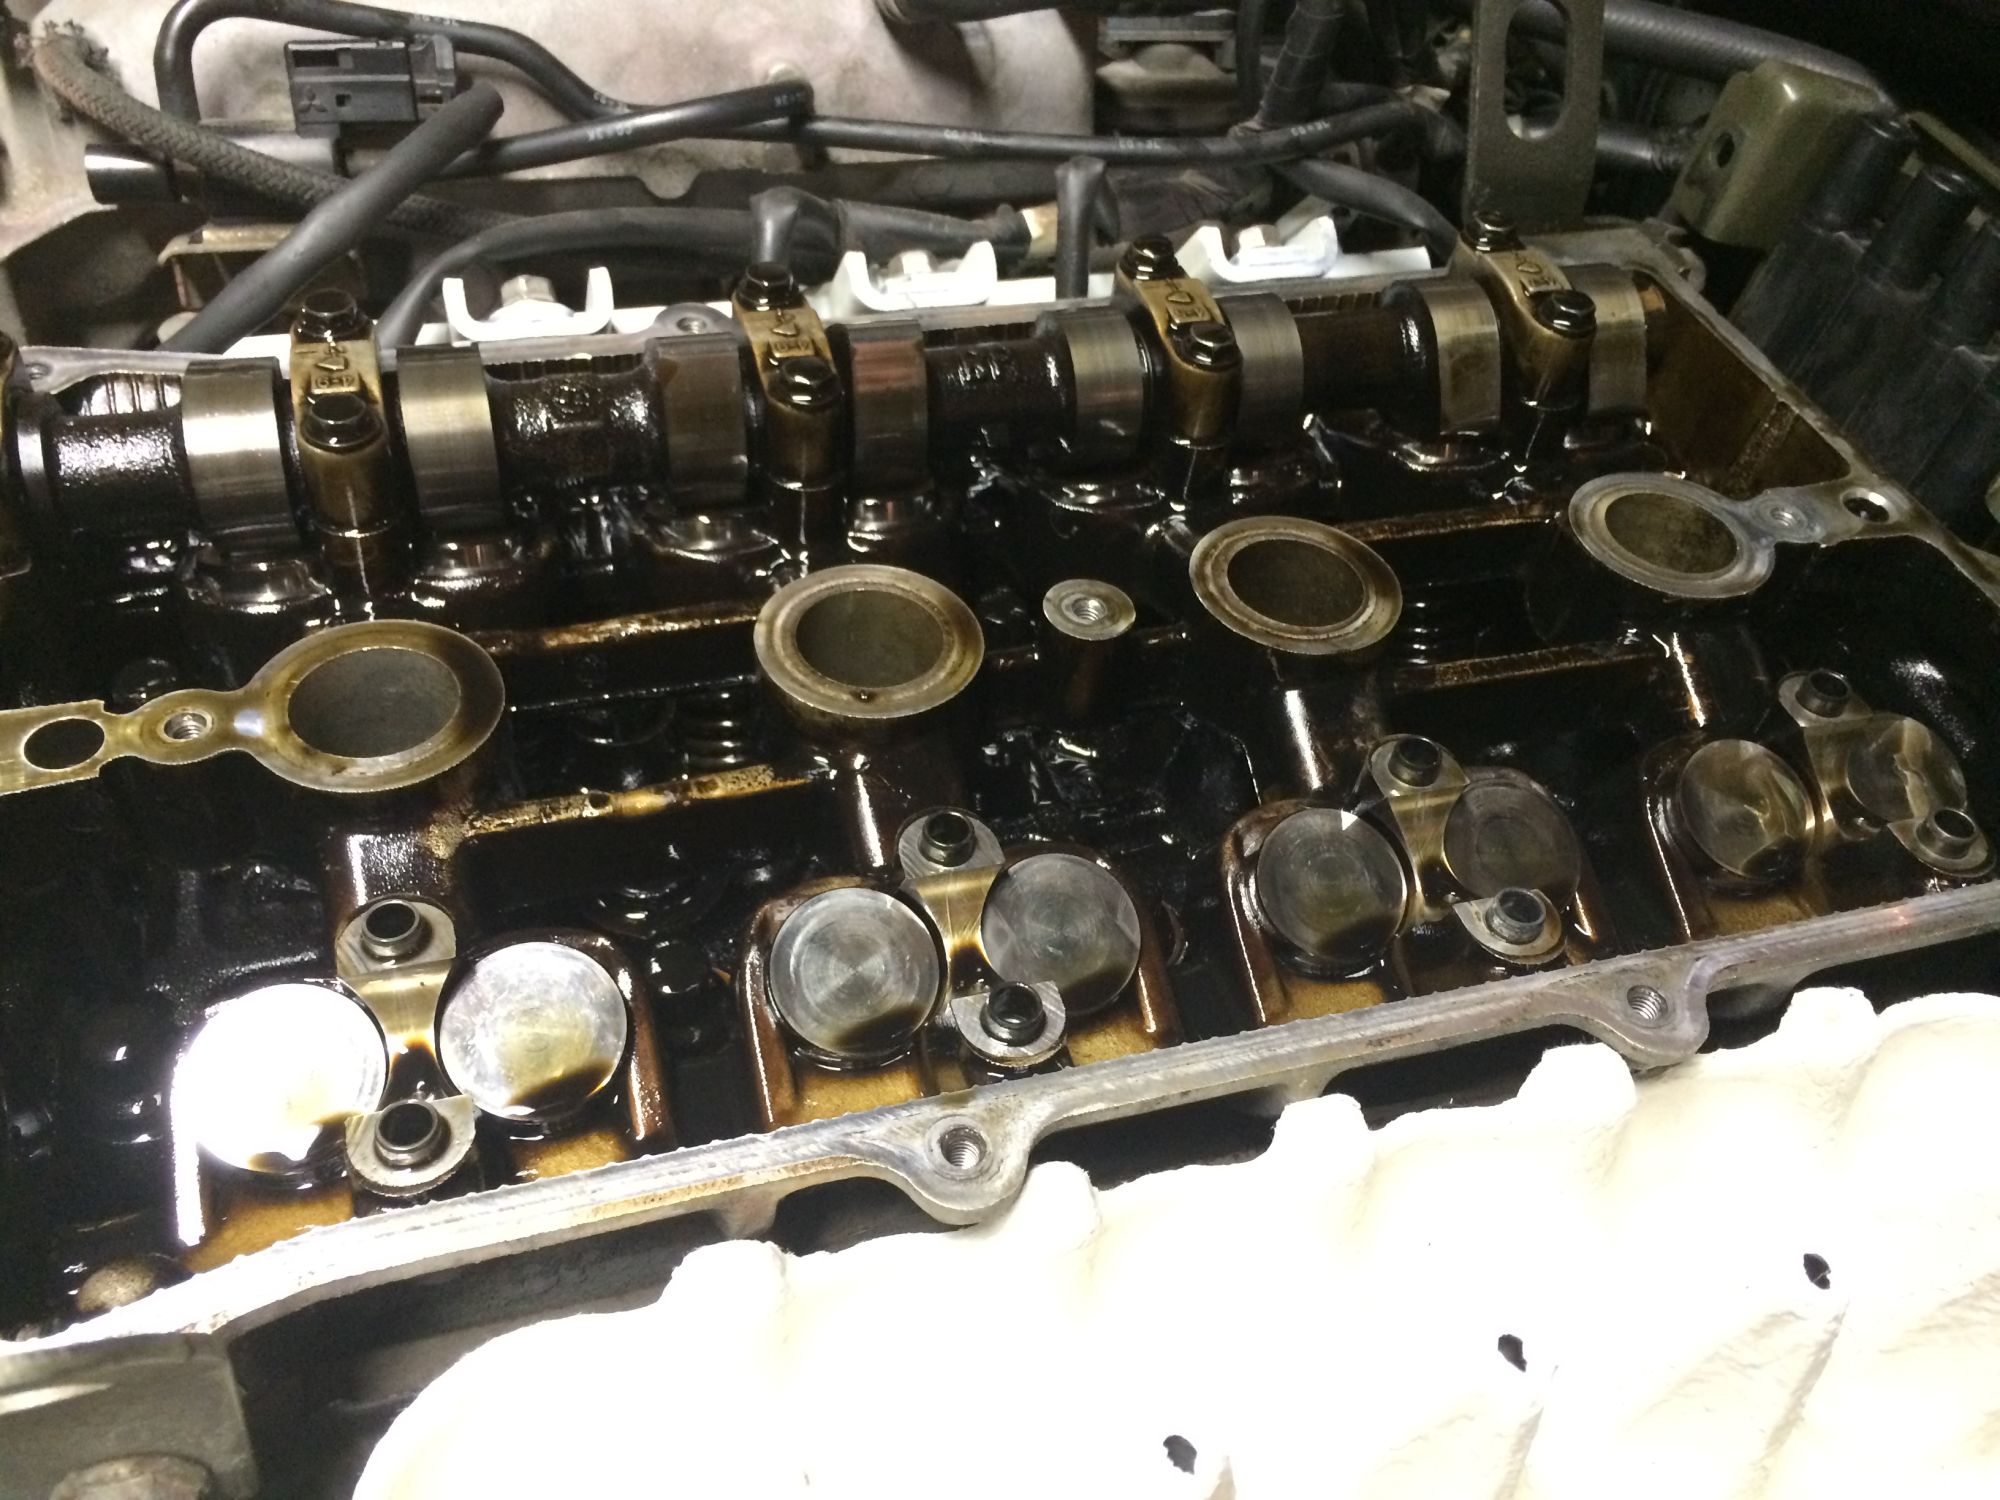


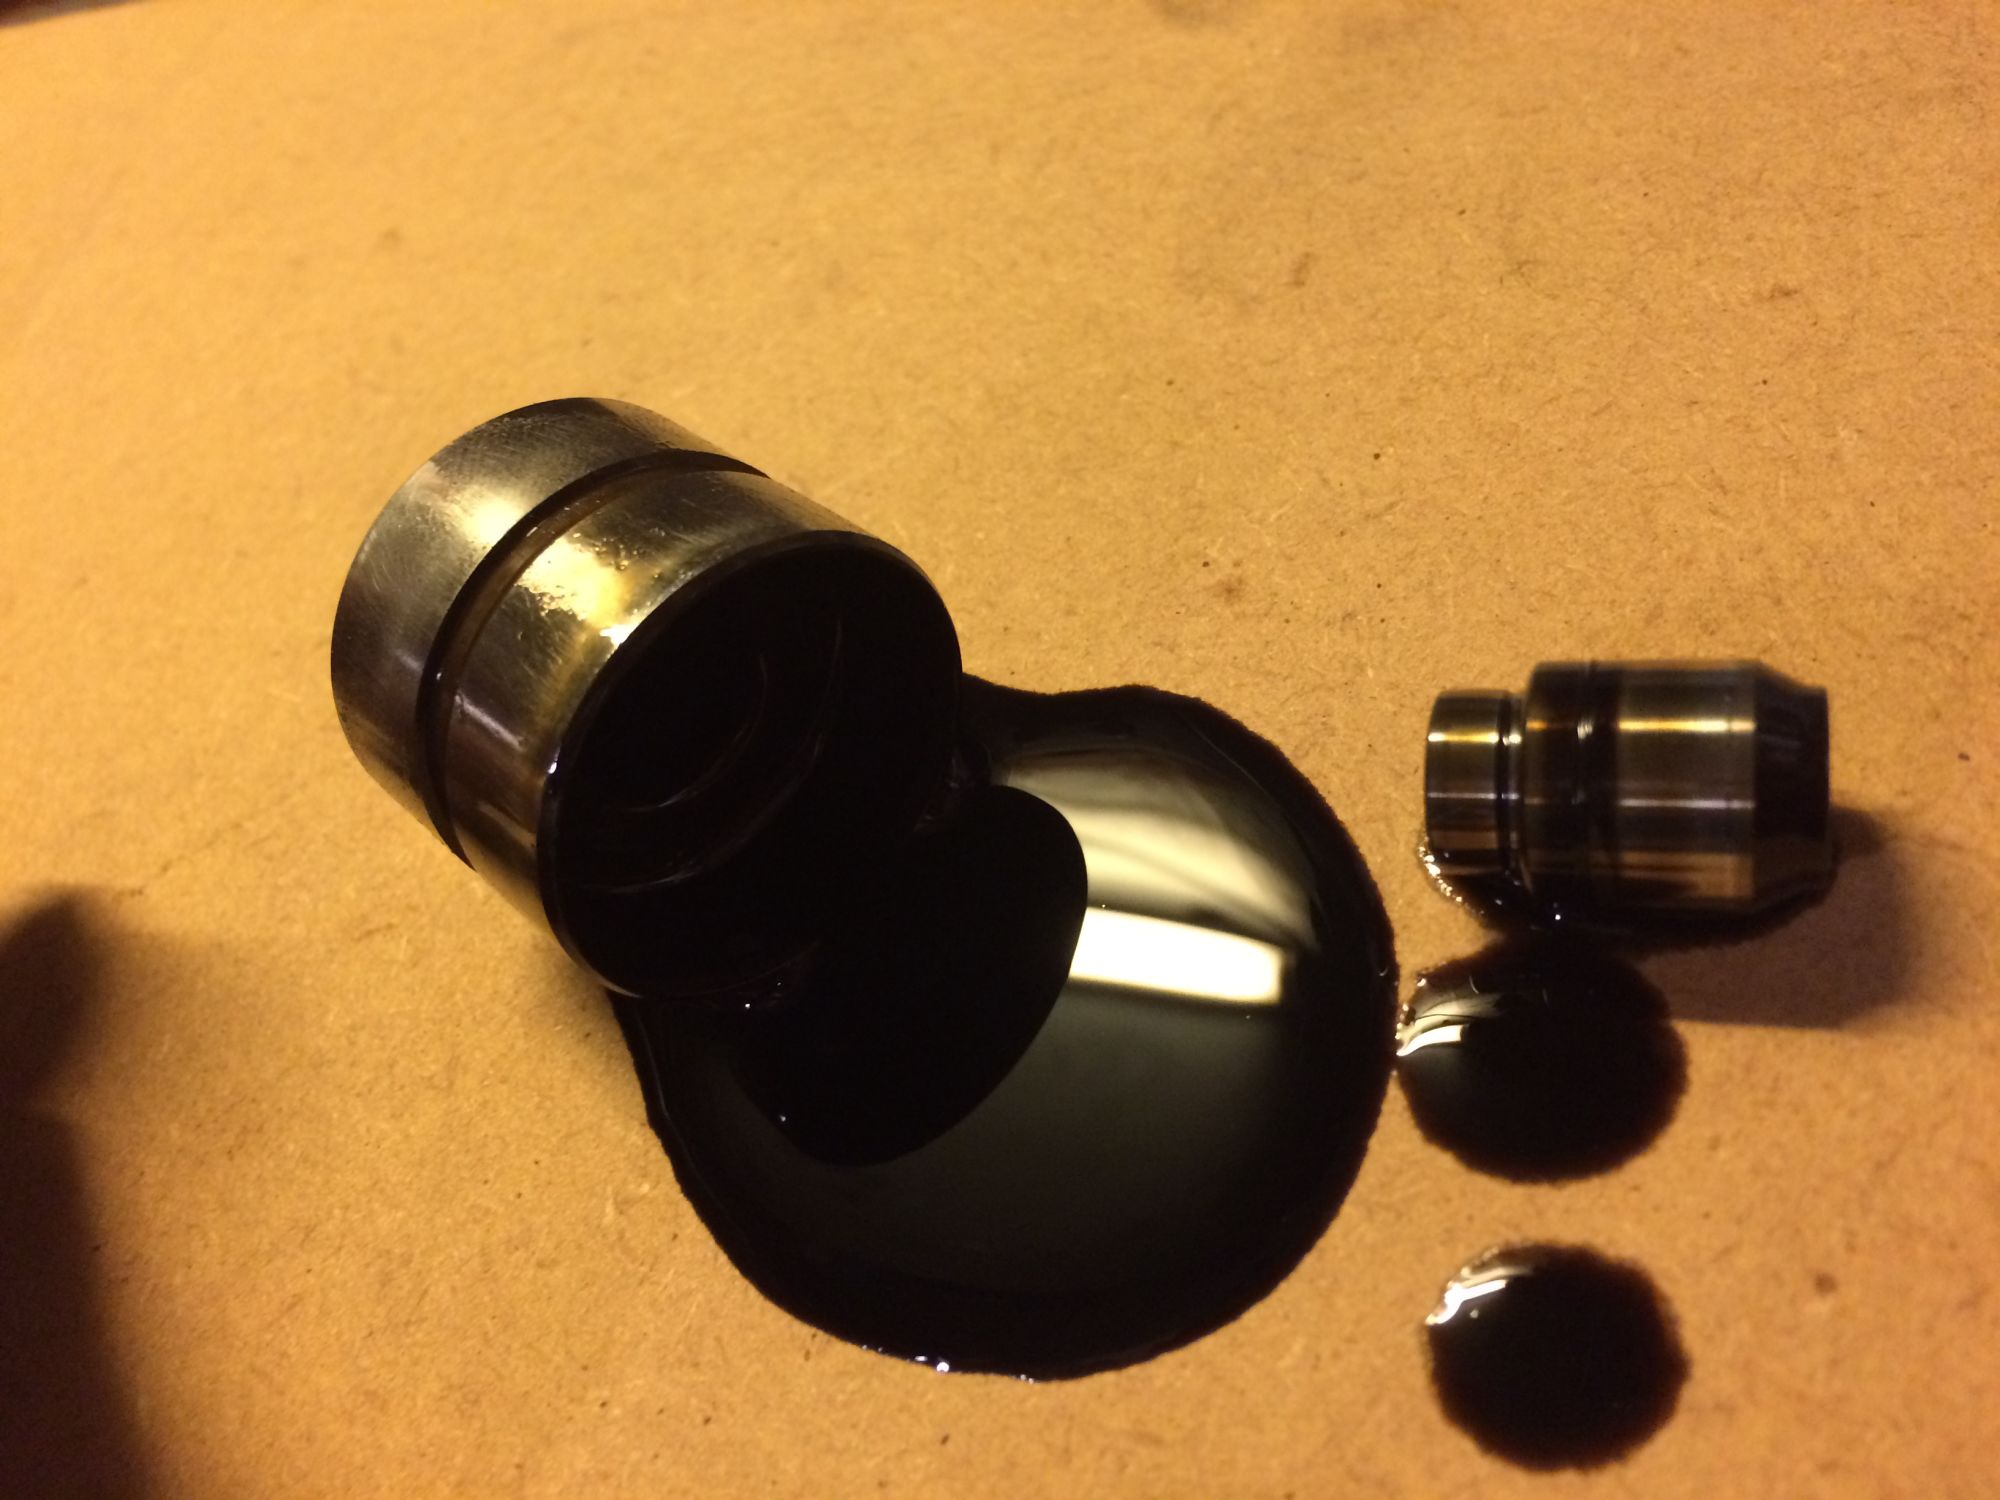
Took the time to clean the HLA
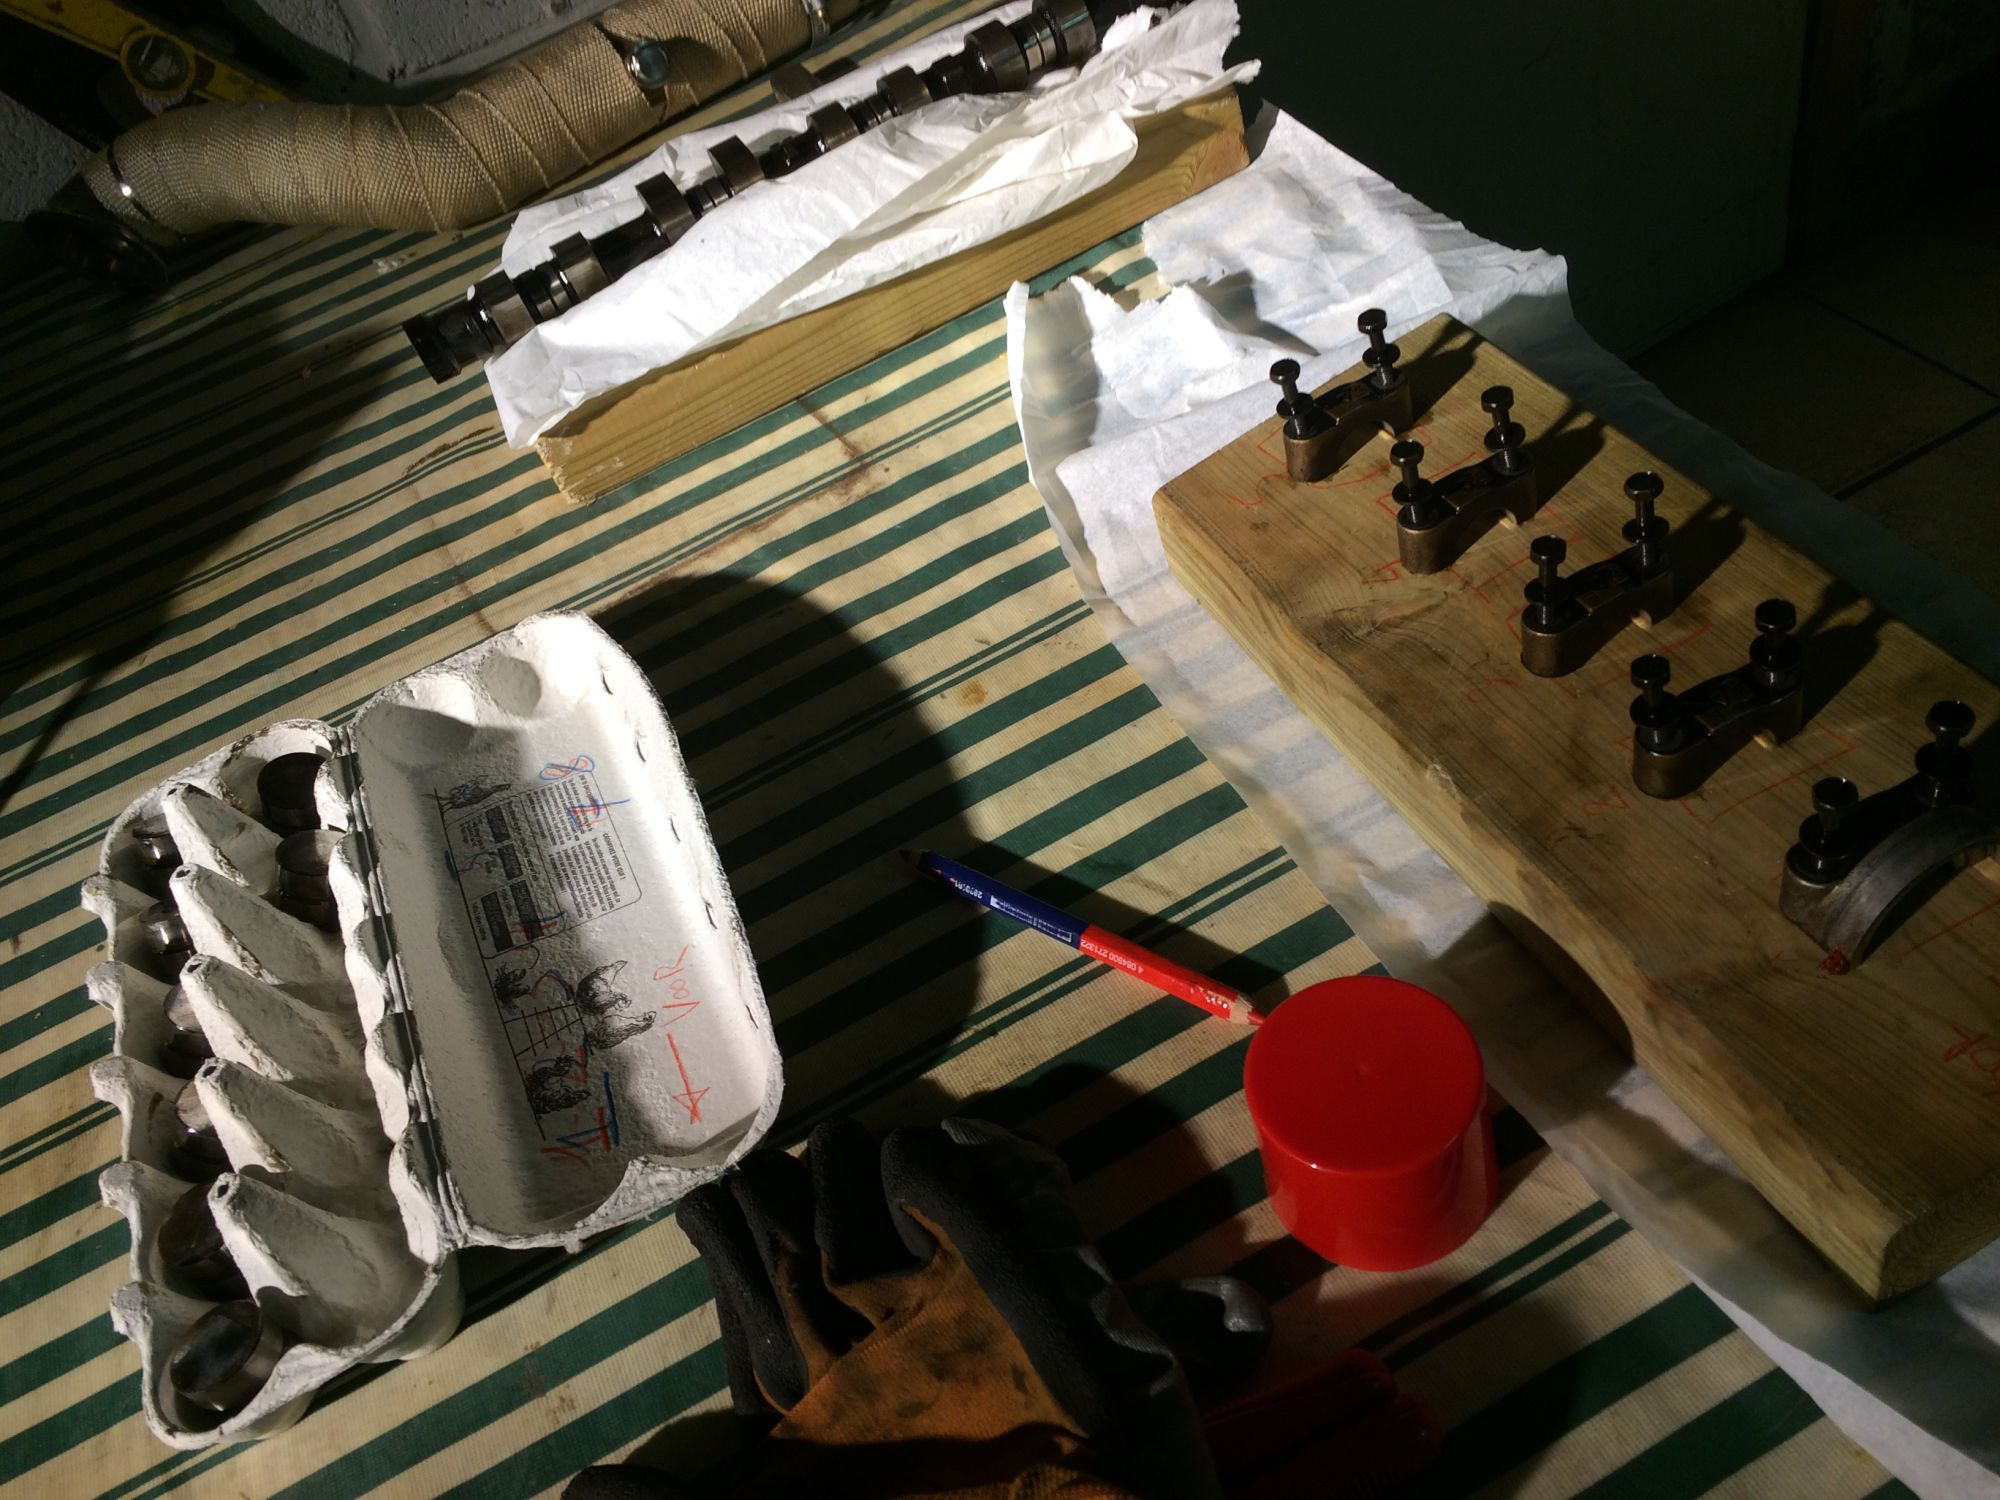


They were all full of thick old oil.
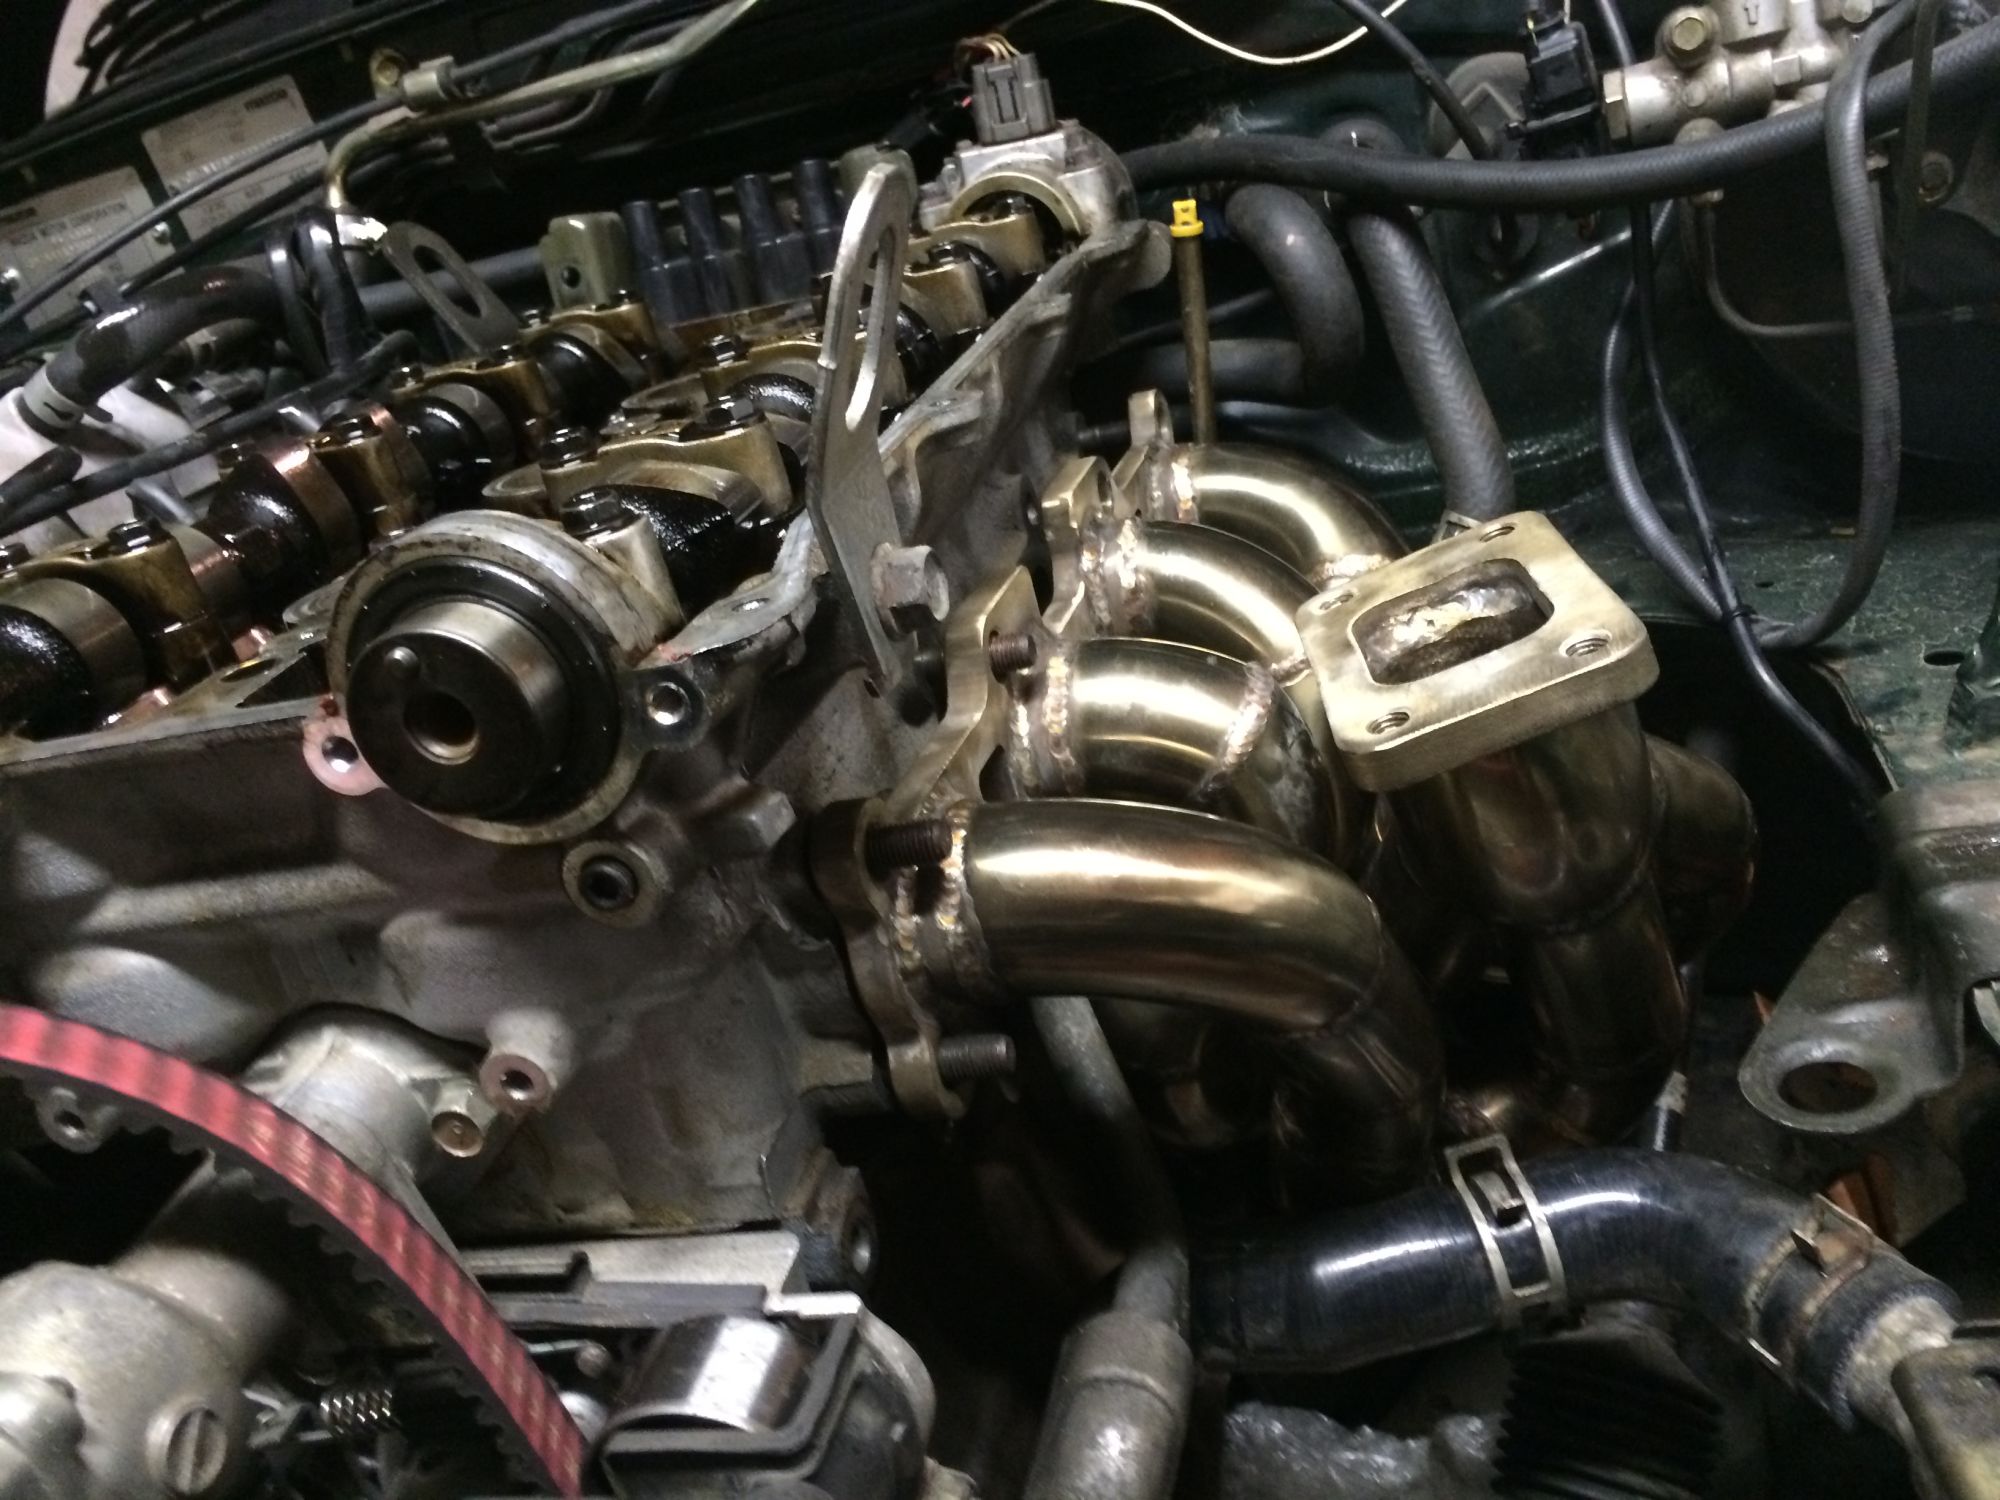


test fitting the manifold.
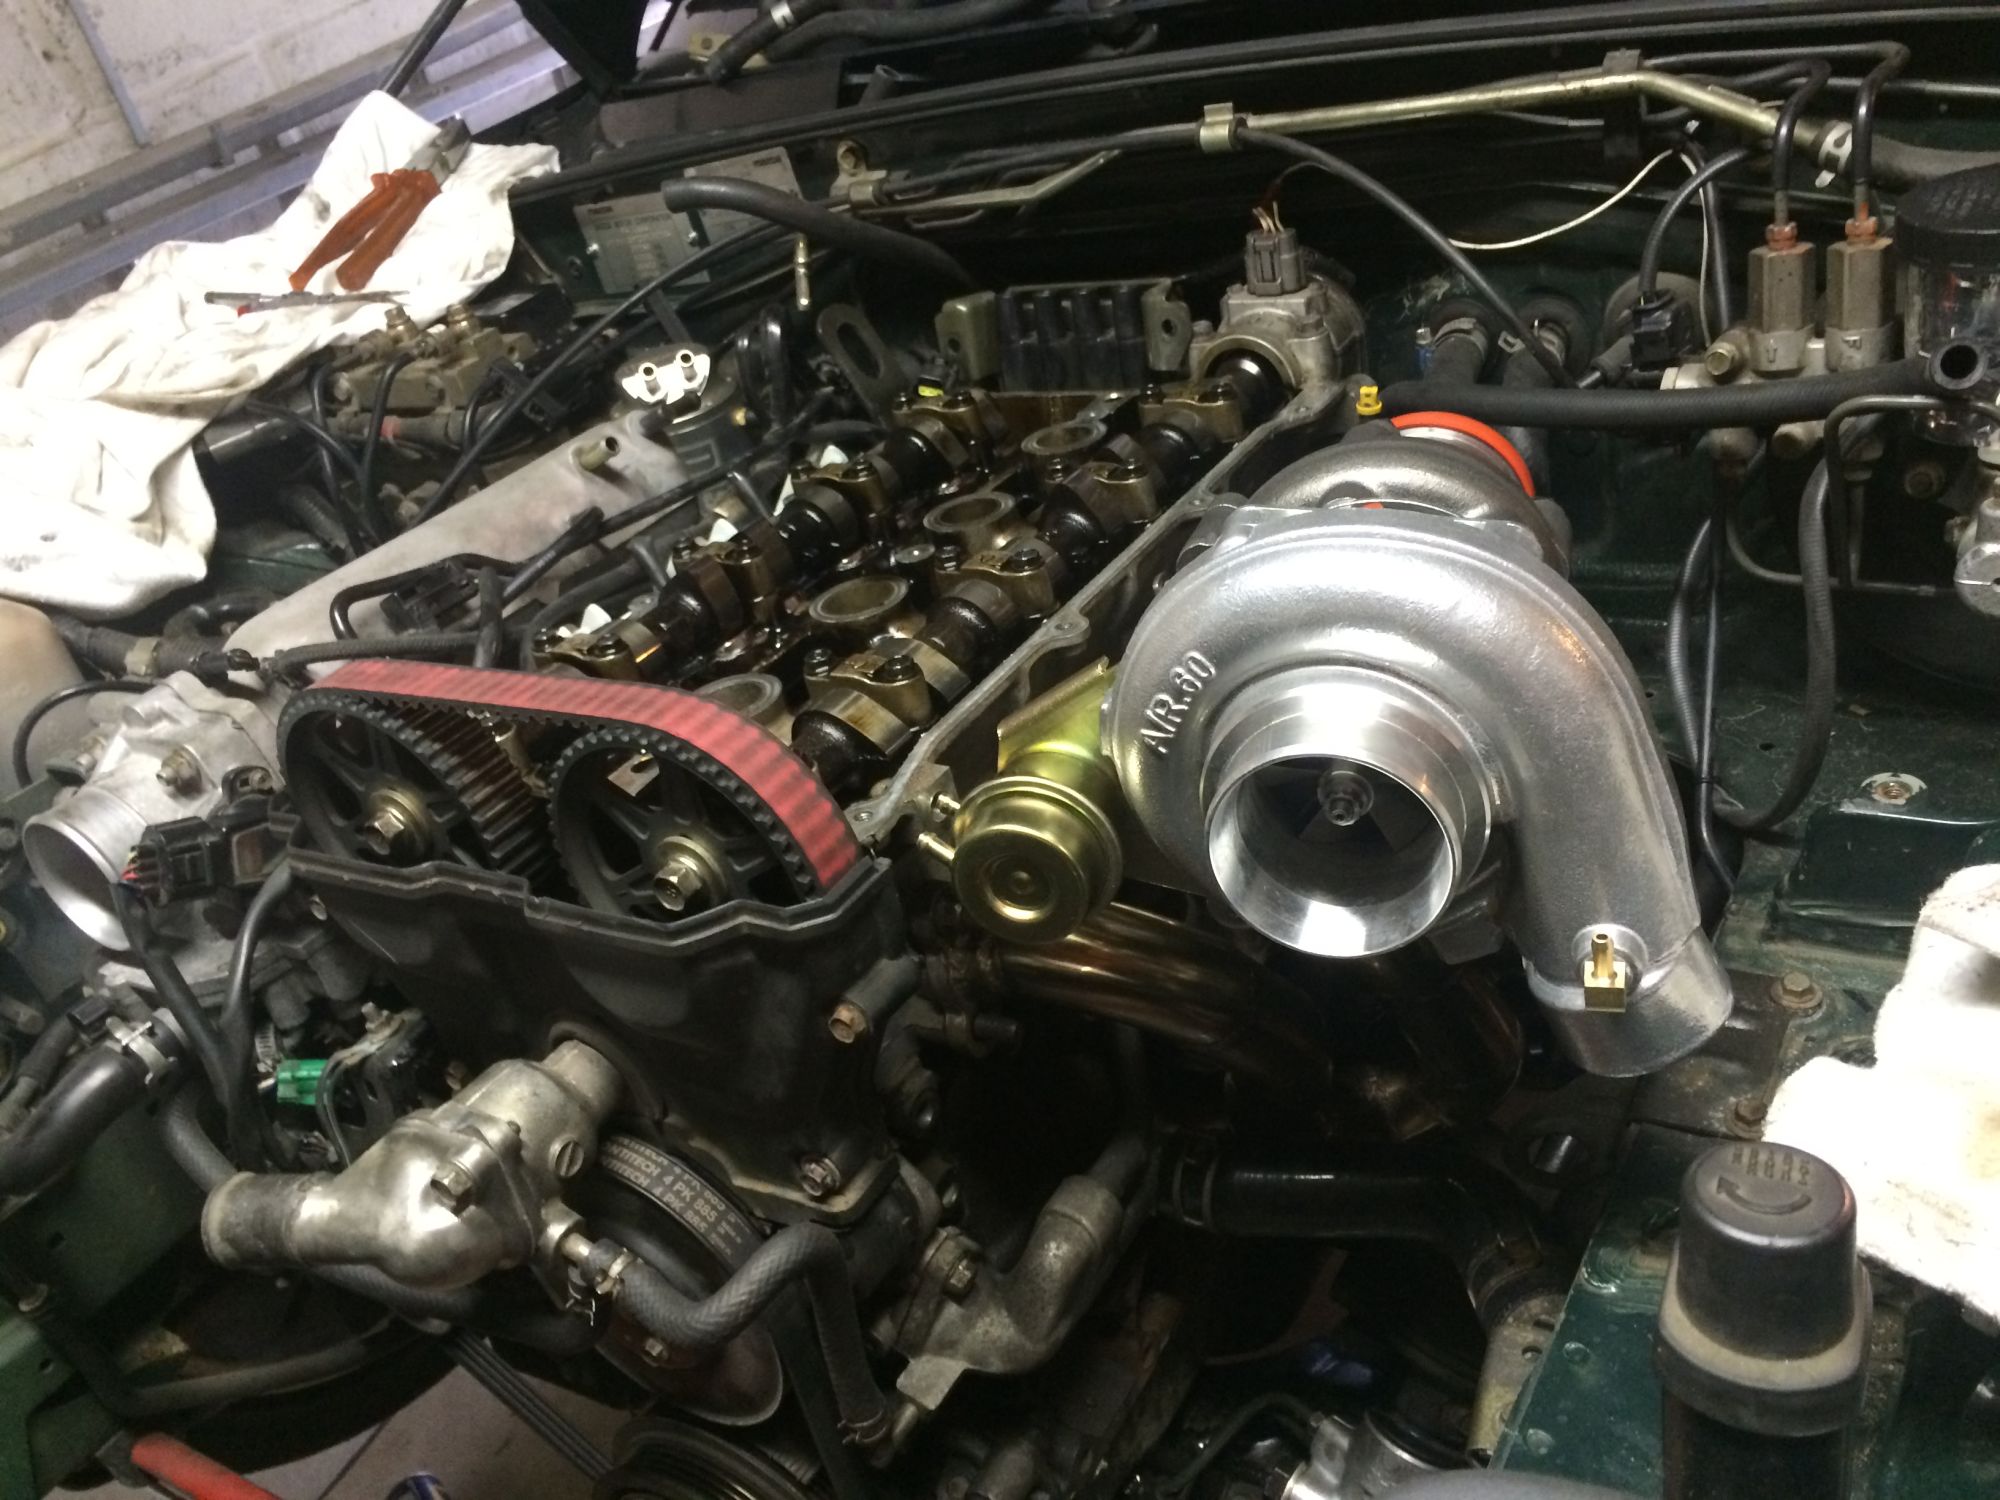


I looks ******* Big !!
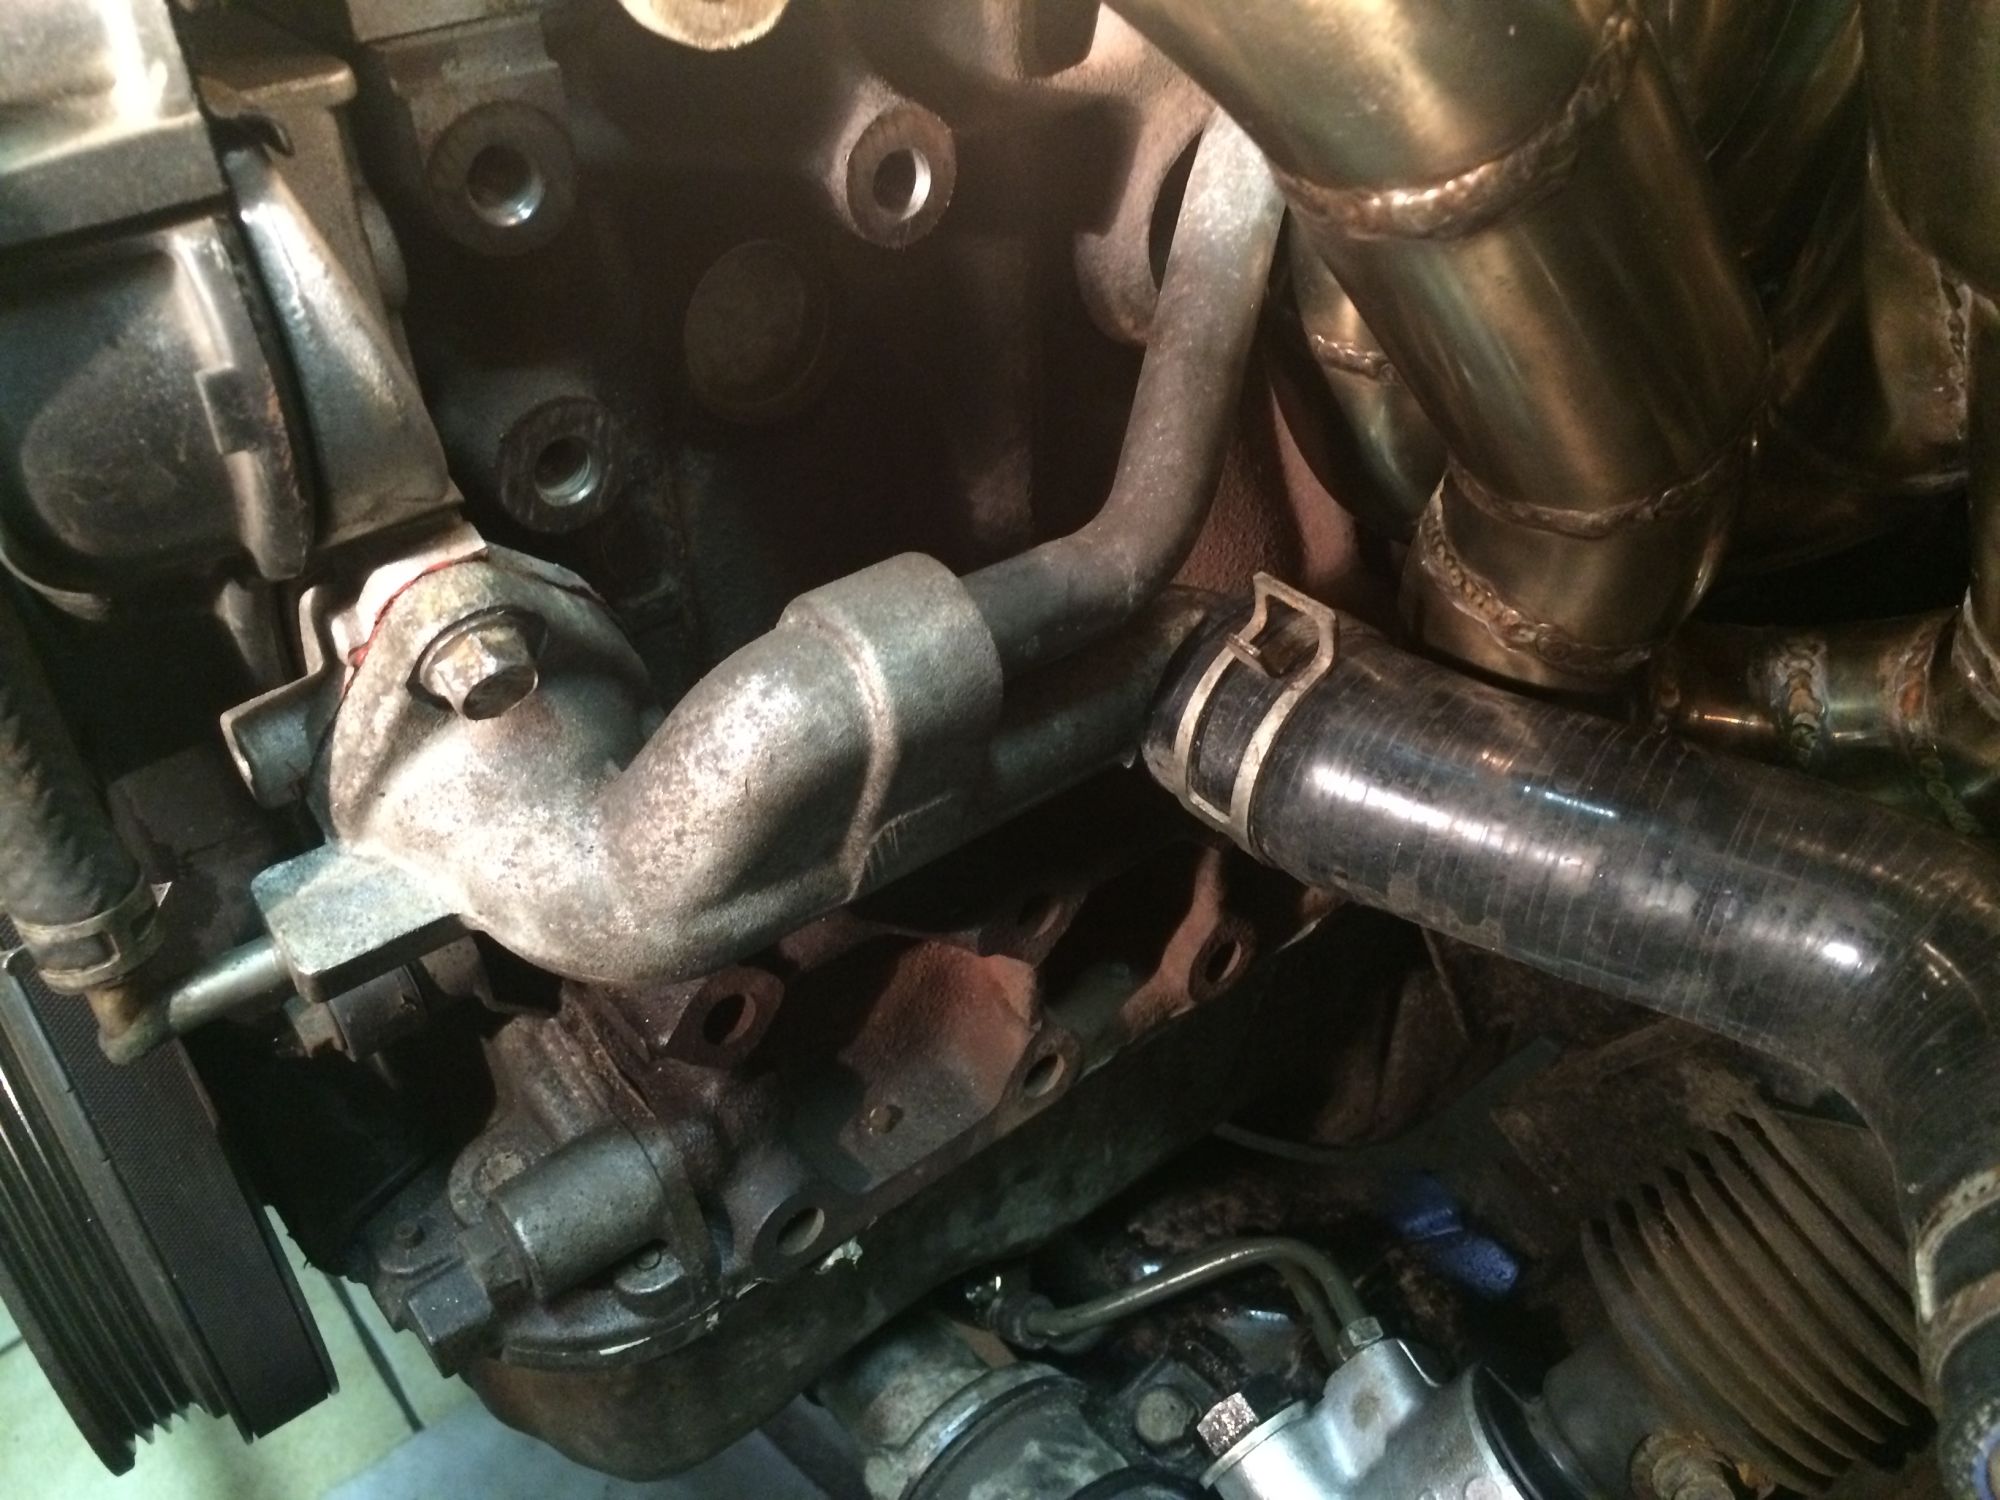


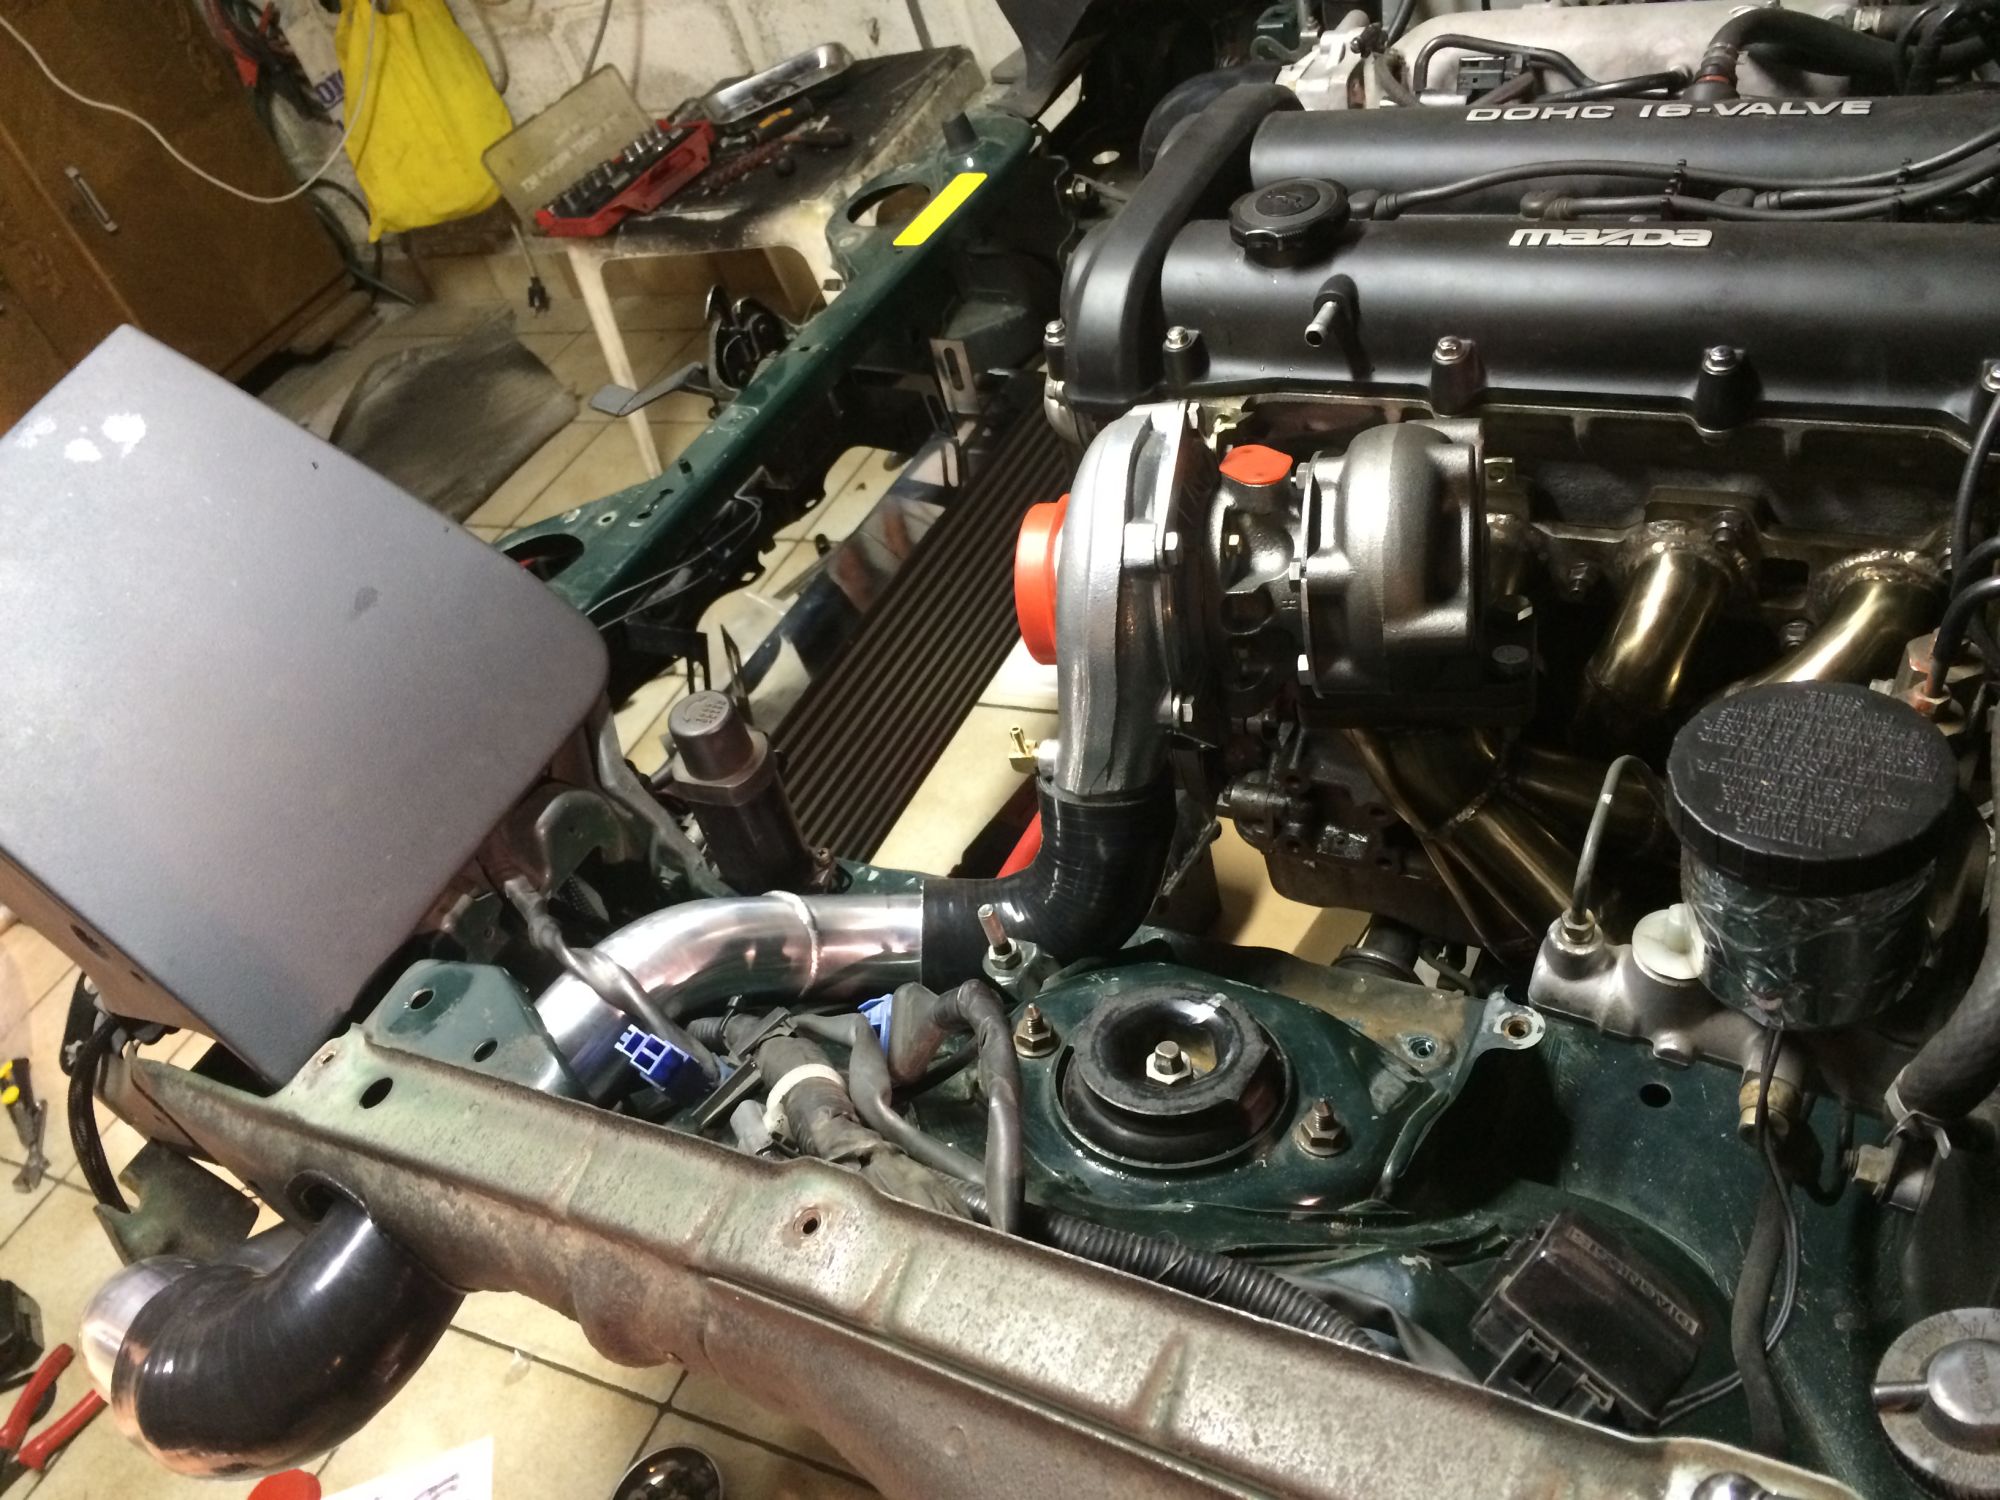
Problems. Waterpump flange is hitting the manifold.
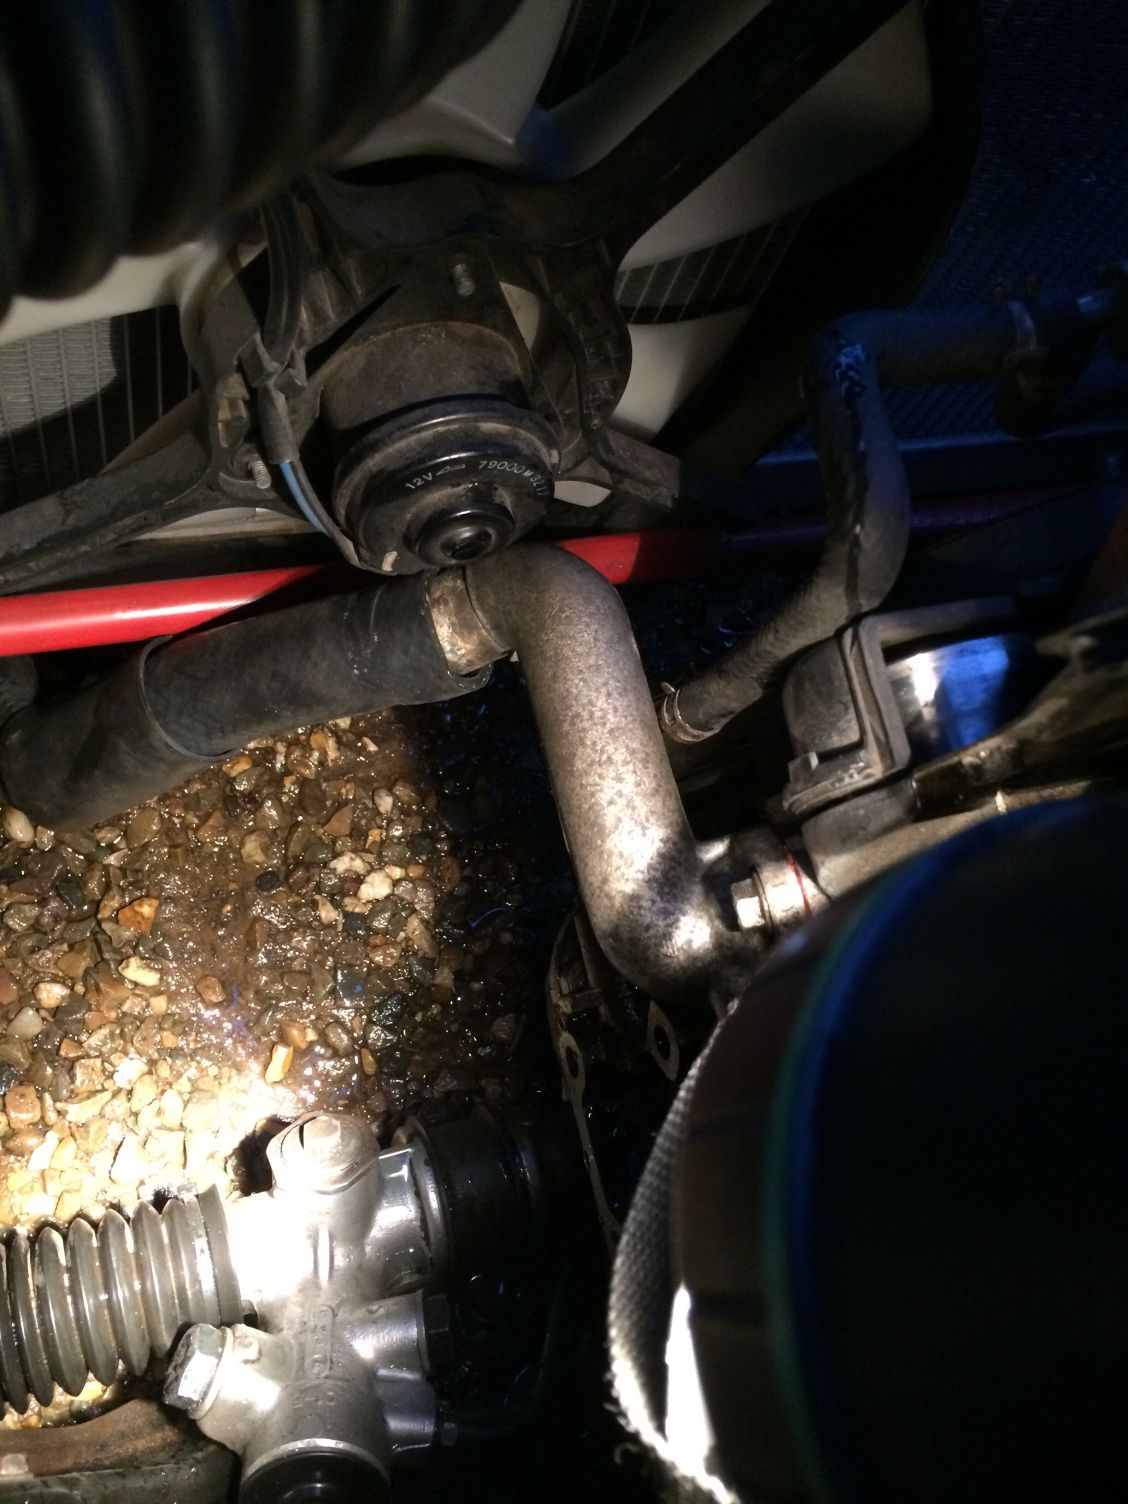


I will flip it and make it work.
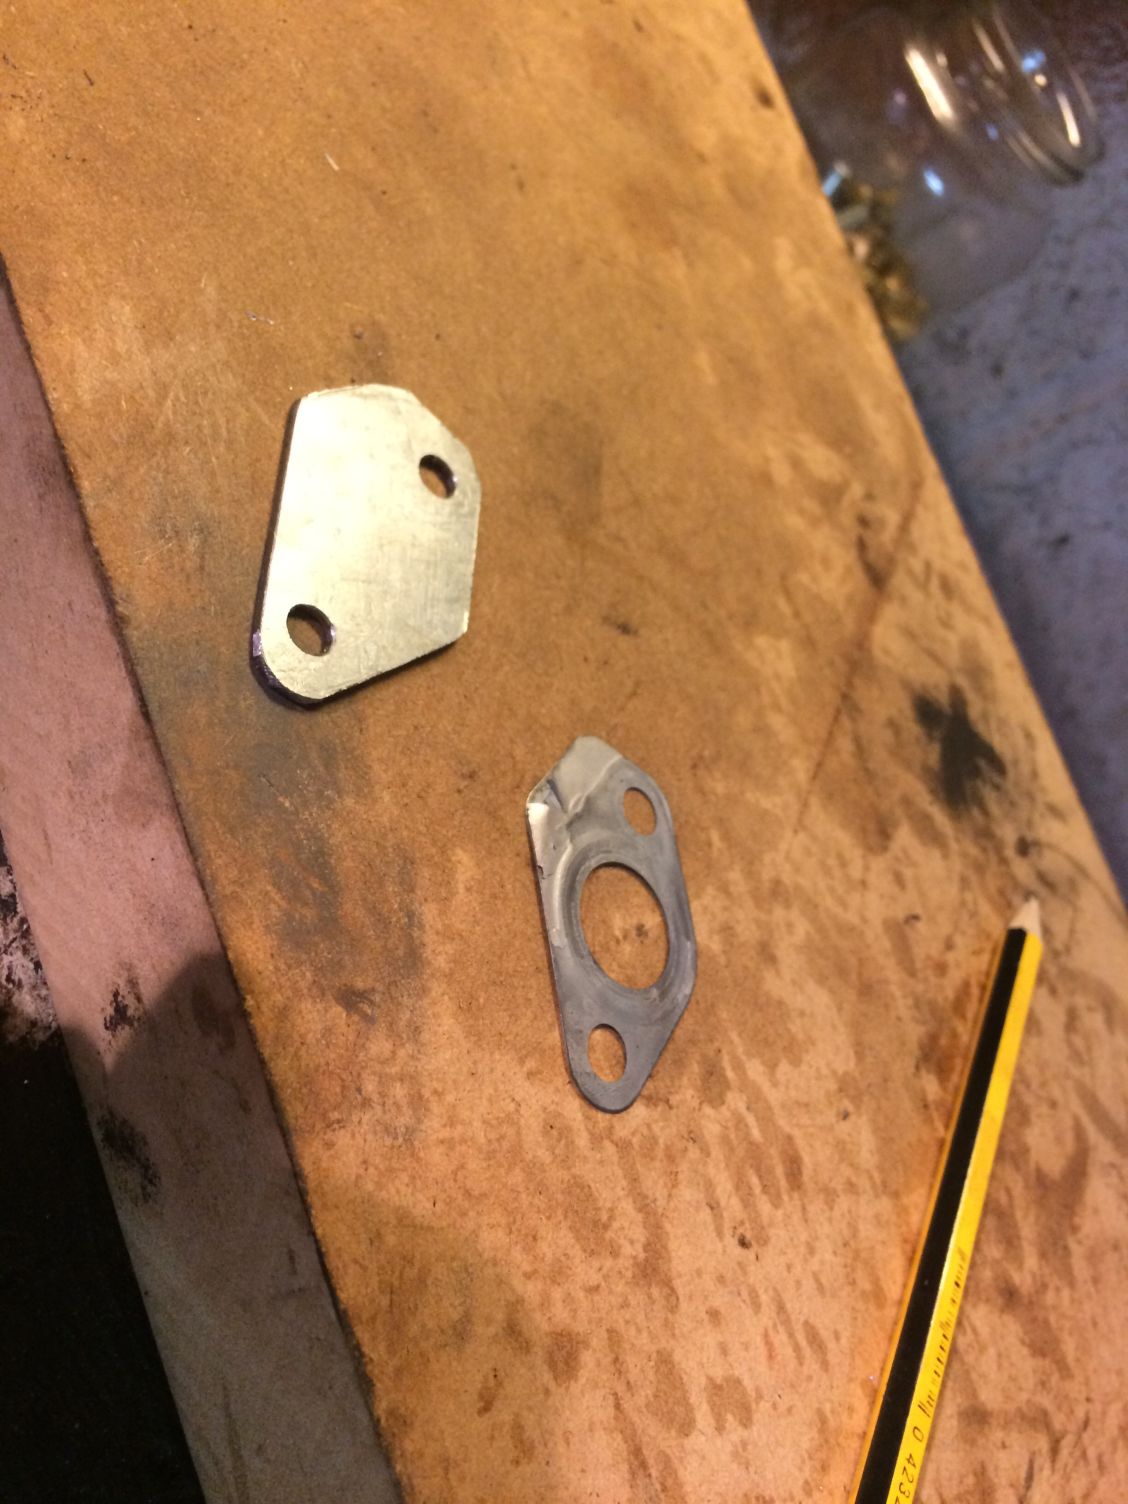


made a egr delete plate.
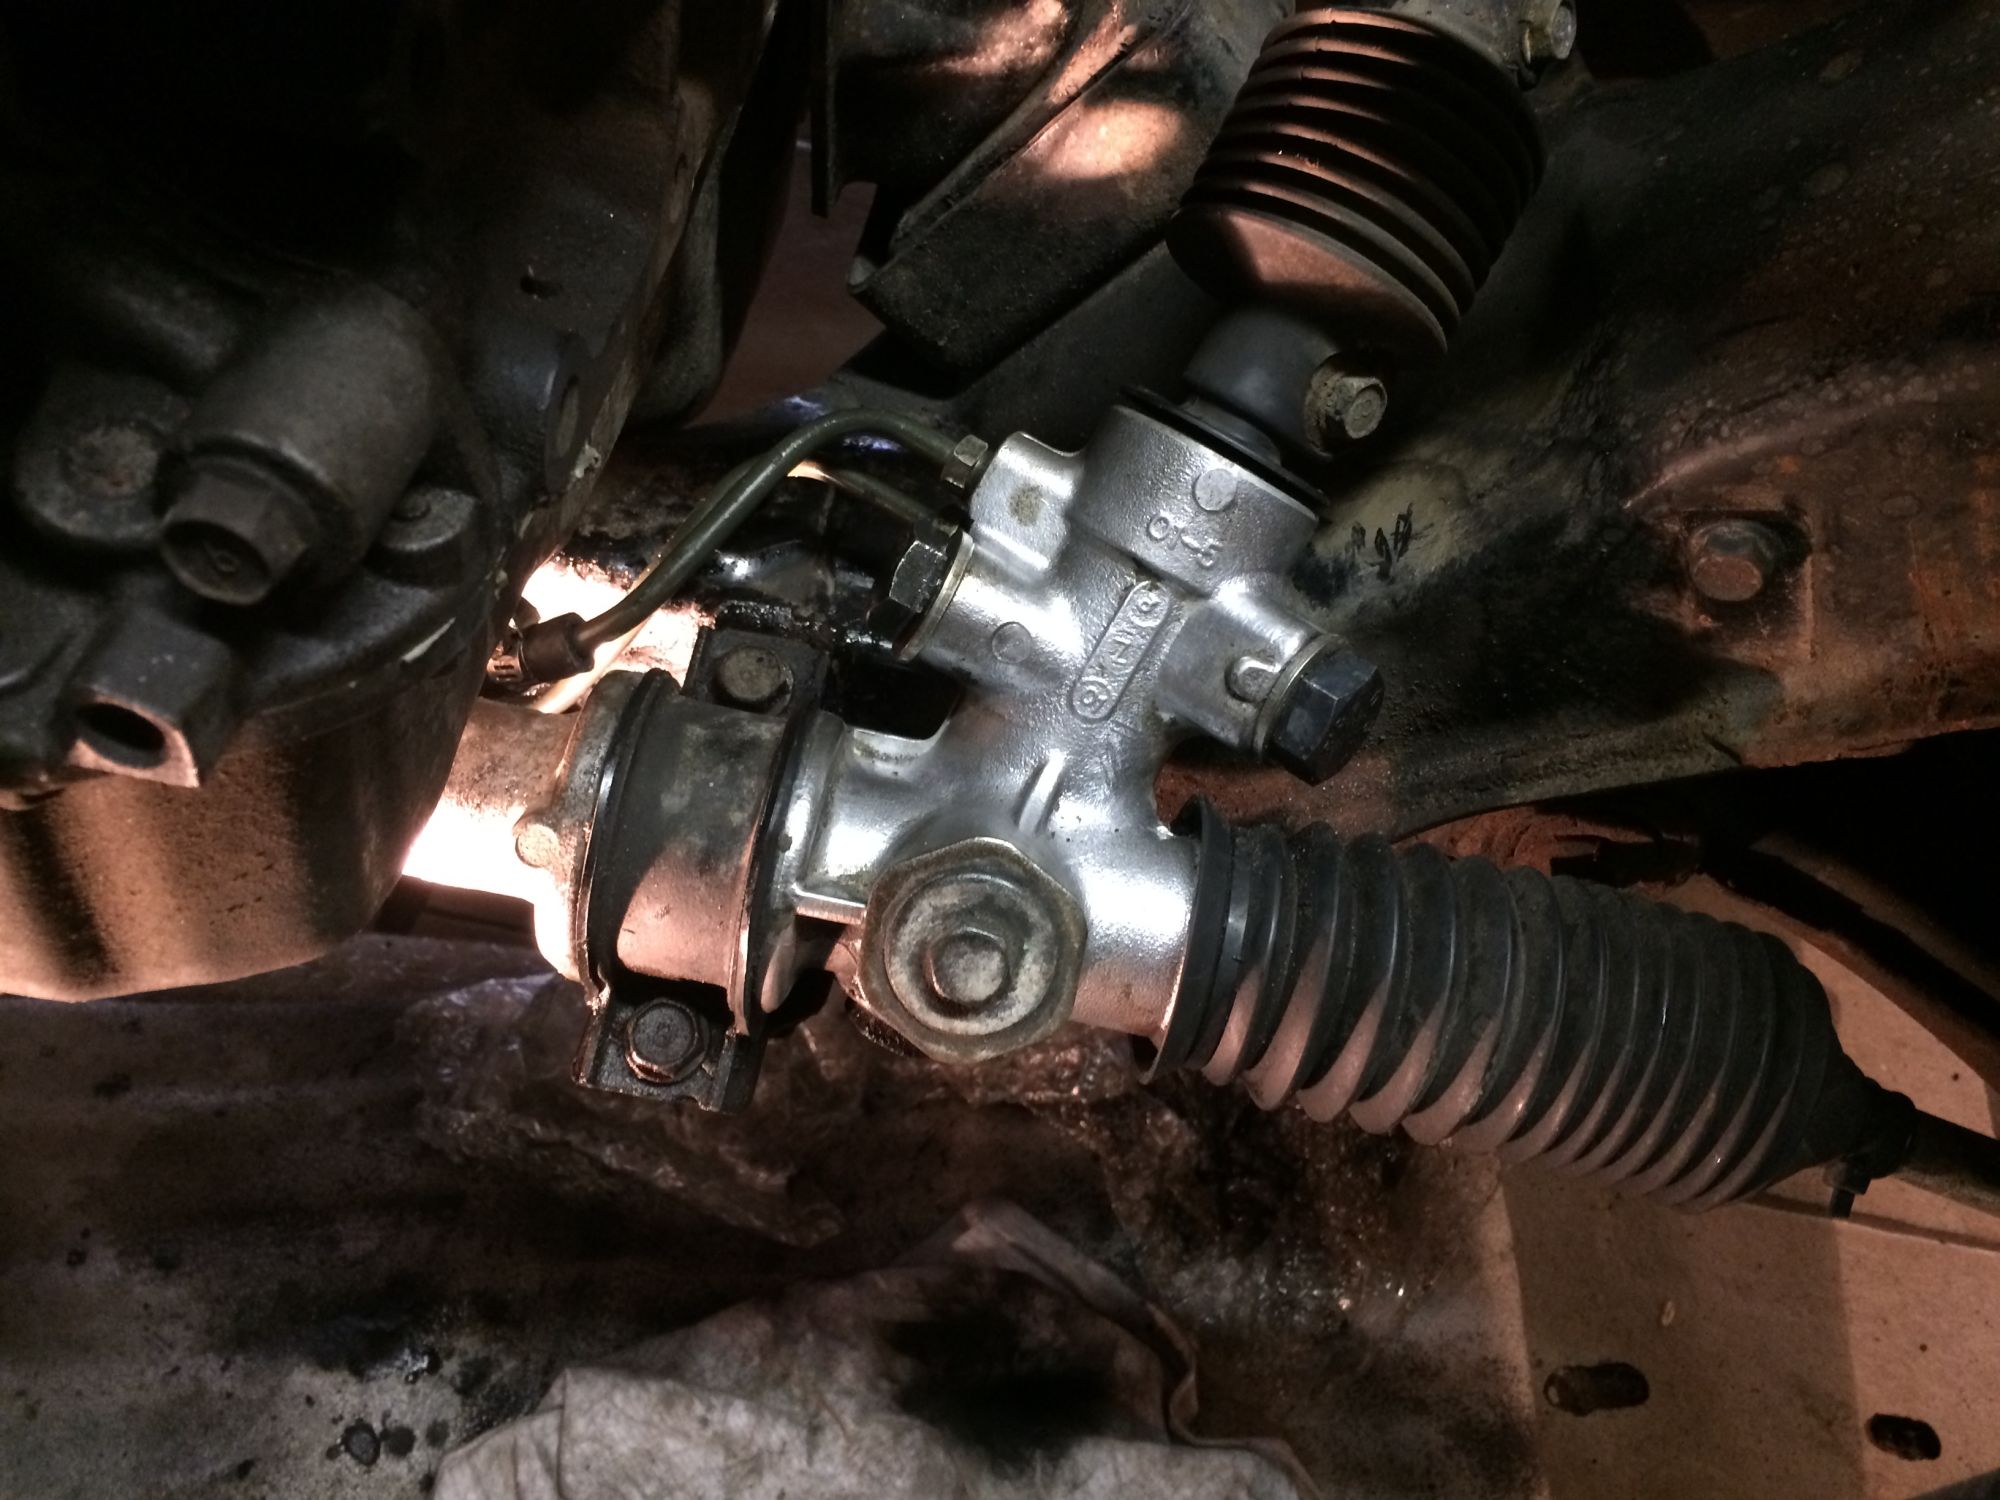


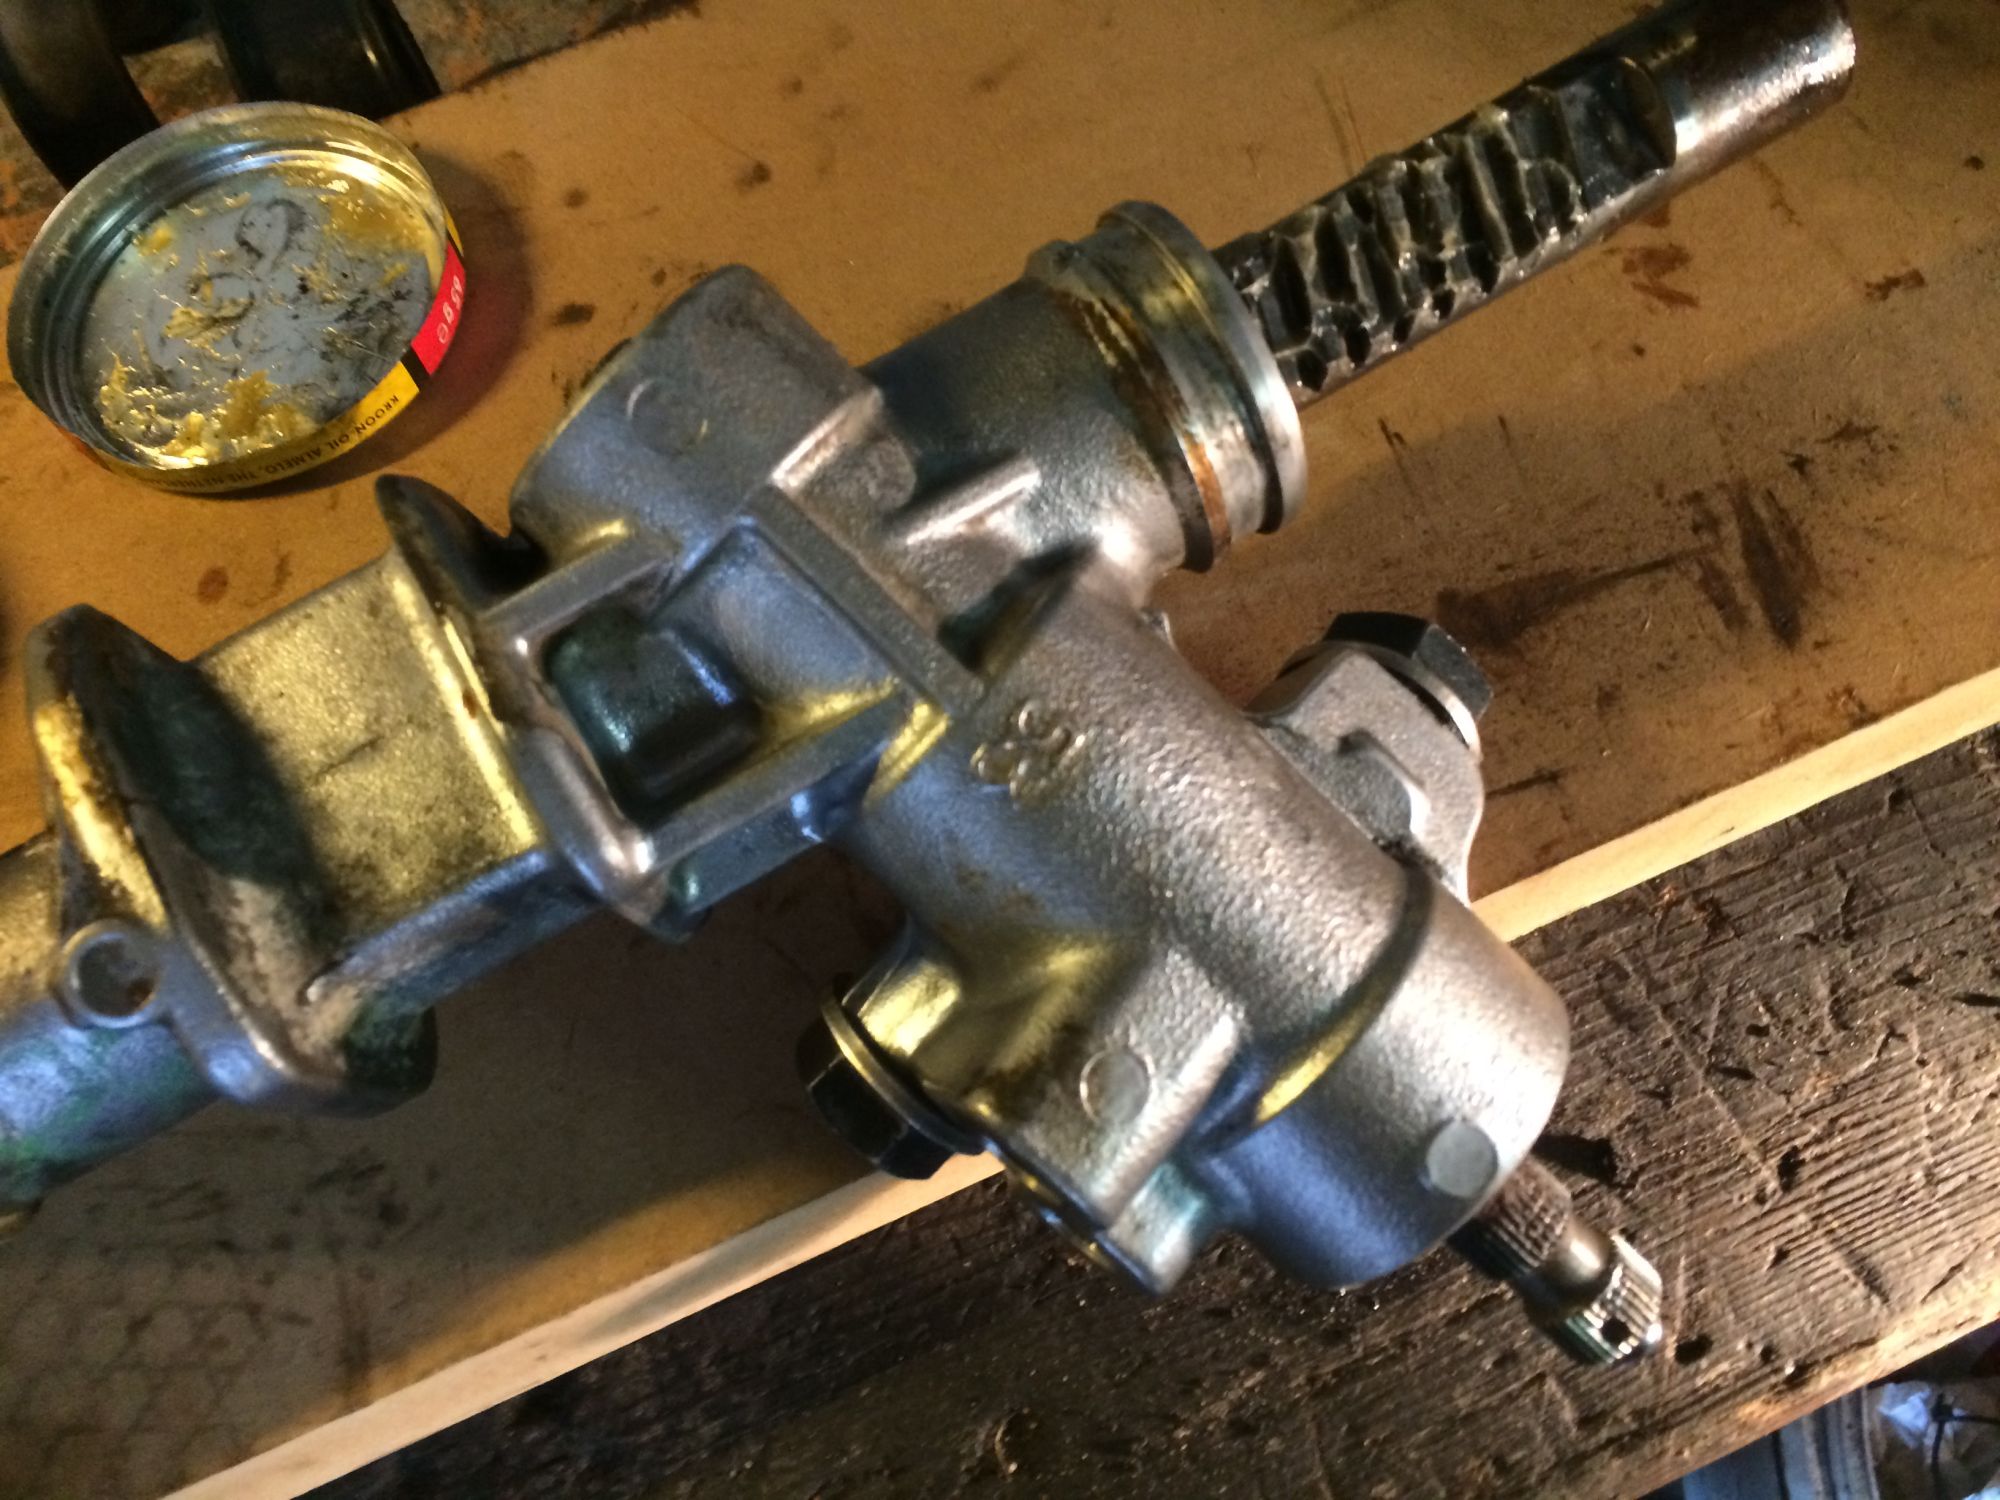
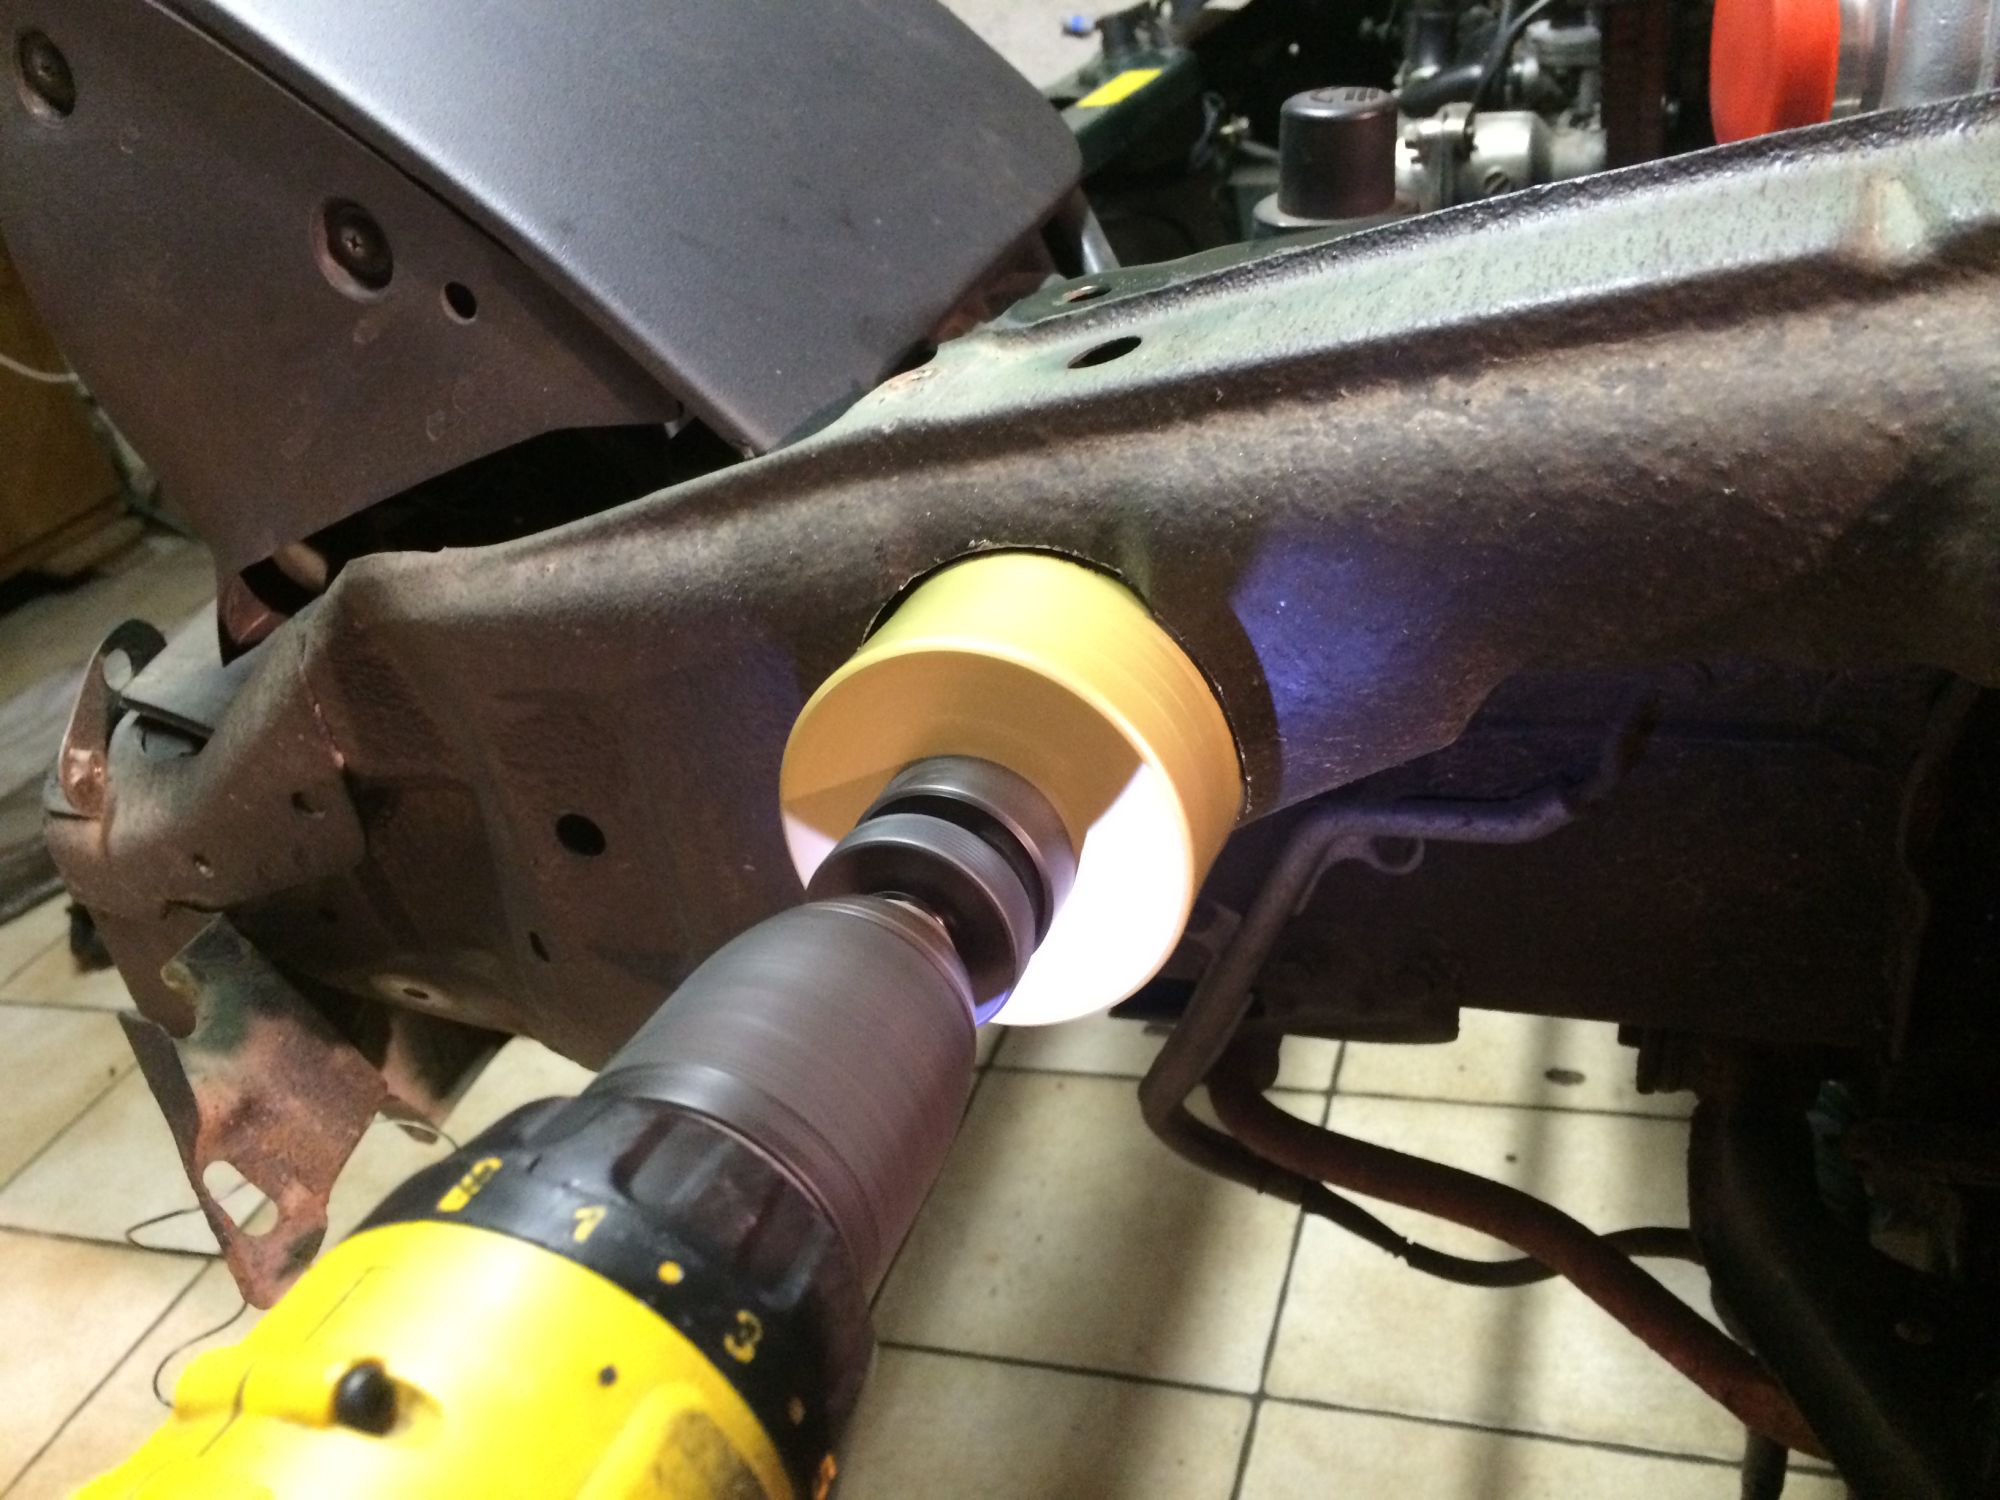
Depowered the power steering.
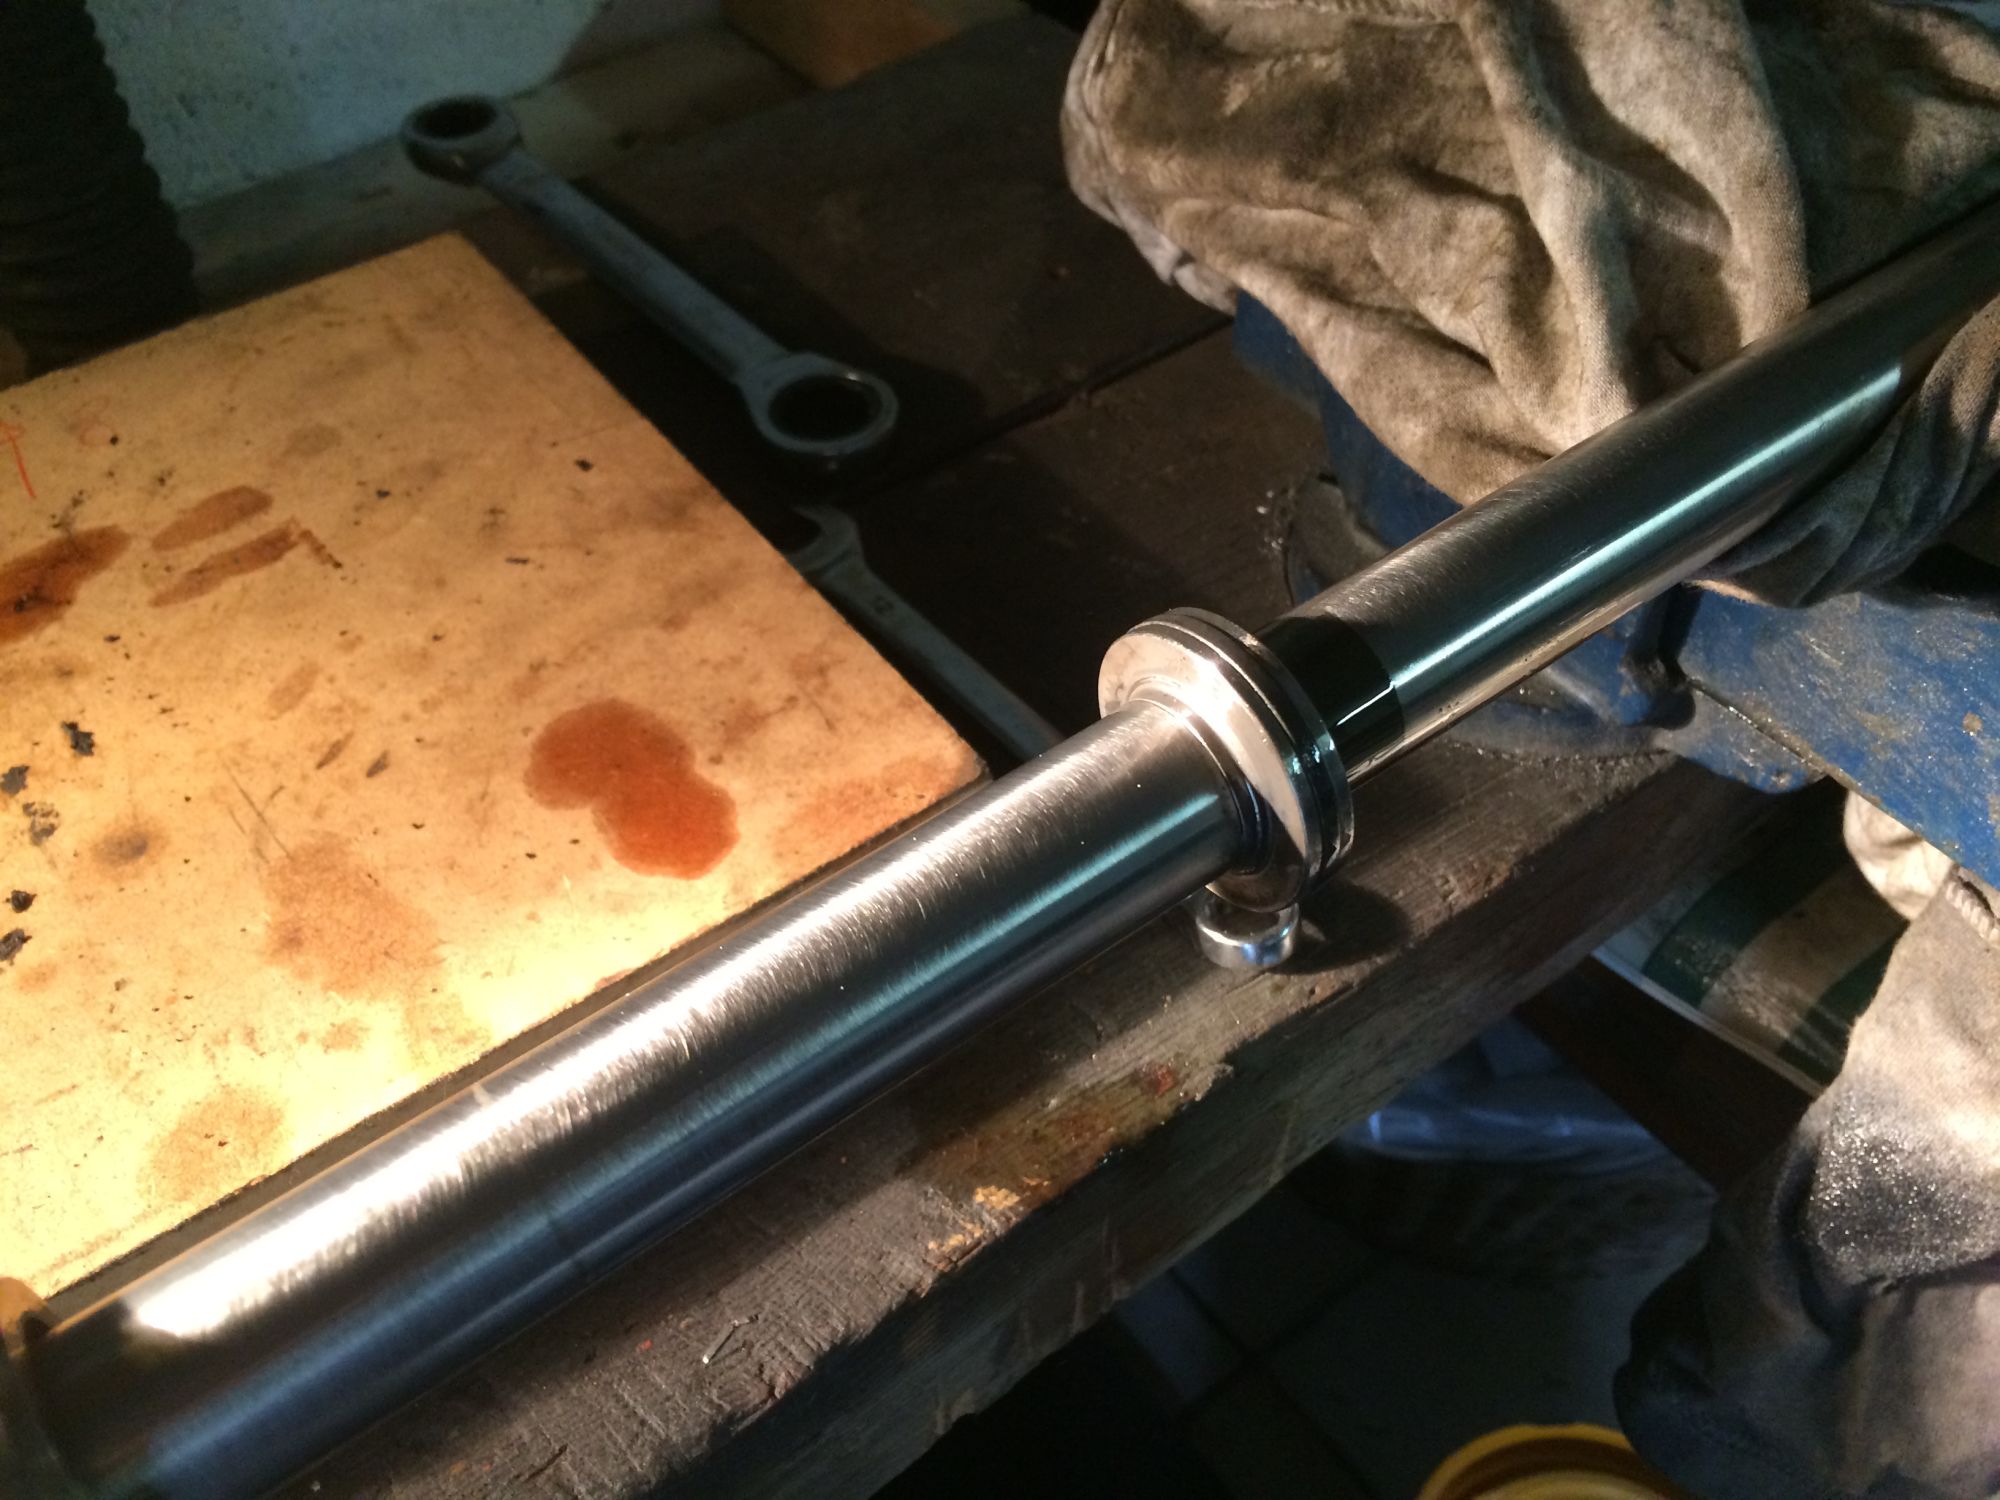


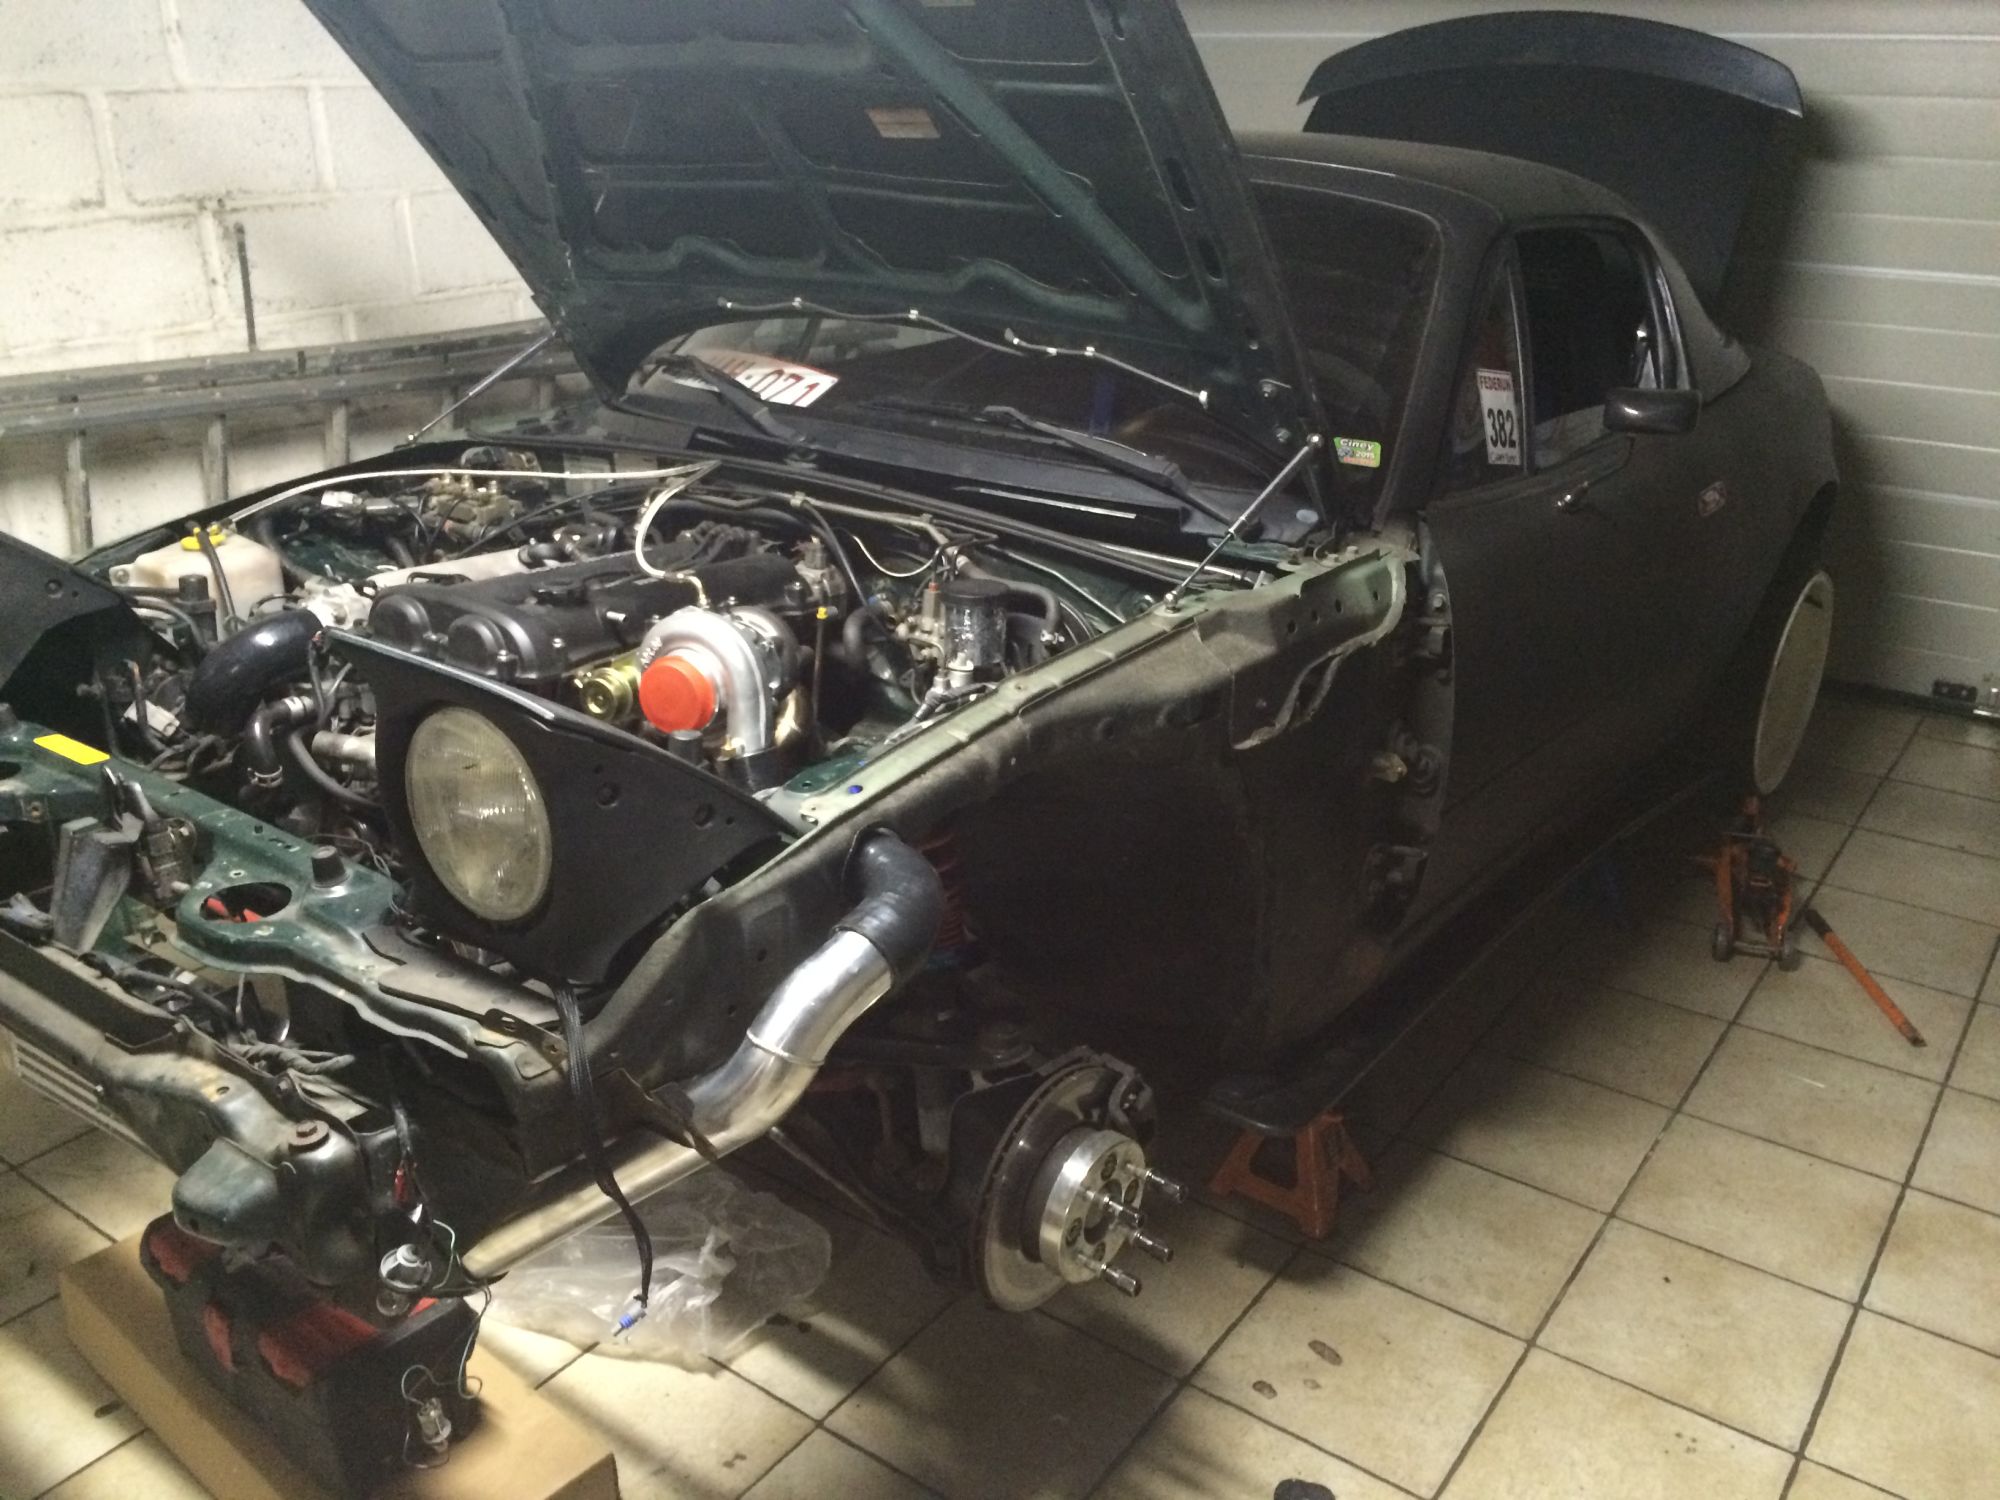
Lets start the intercooler piping


Attached Thumbnails Tim - Building the boosted Miata!-80-img_2364_d0e0b4df4a80979000867e03c804e74e98490fb0.jpg   Tim - Building the boosted Miata!-80-img_2376_6bf1faae4dfd2c3936c1e7de5234f93a24bb3a15.jpg   Tim - Building the boosted Miata!-80-img_2380_883409a7a474118da7dd09662c17af915ca0abc7.jpg   Tim - Building the boosted Miata!-80-img_2383_b5662c9d62c11caf68d23d986b8ef7ac44f9e337.jpg   Tim - Building the boosted Miata!-80-img_2394_bb3e6ec8e7675b3d449f4fb34e464cf550d8fe62.jpg  

Tim - Building the boosted Miata!-80-img_2399_10b1e4e180638c67addba71b02d228519af47fa8.jpg   Tim - Building the boosted Miata!-80-img_2496_4aa98e3319ebdf0566600037bc722e1565133997.jpg   Tim - Building the boosted Miata!-80-img_2507_c345a7cfbaf439078ab5d04ca24552b2a6175c7f.jpg   Tim - Building the boosted Miata!-80-img_2509_86c04df508516dee38bc737dc0596be7442f2cea.jpg   Tim - Building the boosted Miata!-80-img_2511_a75a589b2cf000bfb46a515eb2109bec33012f79.jpg  

Tim - Building the boosted Miata!-80-img_2526_657f69be0286791a5517d0975a8c75dabca0c1ae.jpg   Tim - Building the boosted Miata!-80-img_2543_56610e26cae6c8c1088068154184bc689dc3b9cd.jpg   Tim - Building the boosted Miata!-80-img_2544_1f4fd4ab6cc6f4cb3fe972a637e521f41104dcc5.jpg   Tim - Building the boosted Miata!-80-img_2768_d31e6c9e32cd28546c638f5ab39ce4b816899738.jpg   Tim - Building the boosted Miata!-80-img_2548_1986b8f08d535d82893f0da7b027b5fe6a46f3c5.jpg  

Tim - Building the boosted Miata!-80-img_2533_addd589443c6662964796d29b2c1266414523dfd.jpg   Tim - Building the boosted Miata!-80-img_2606_328691e0f9a4b05a2114f45c8dbc79e3185349ff.jpg   Tim - Building the boosted Miata!-80-img_2609_b967a1c4659f18463eca0ff395e9bb44f7992539.jpg   Tim - Building the boosted Miata!-80-img_2774_77135ea616a4d8bc32fbf8bd66acc70d7cc875fe.jpg   Tim - Building the boosted Miata!-80-img_2775_9ae29710174eeefd53517fba3971f0a276b94087.jpg  

Tim - Building the boosted Miata!-80-img_2778_423e5ce2379e300d7bfda23231bca2da00c30e92.jpg  

Last edited by Tim_Belgium; 07-24-2015 at 04:15 AM.
Old 07-23-2015 | 10:49 AM
  #8  
m2cupcar's Avatar
Elite Member
iTrader: (5)
 
Joined: Jan 2005
Posts: 7,486
Total Cats: 372
From: Atlanta
Default

In for intercooler pipe routing. About to embark on the same path and considering the same for the IC outlet to TB.
Old 07-23-2015 | 11:10 AM
  #9  
Tim_Belgium's Avatar
Thread Starter
Junior Member
 
Joined: Apr 2015
Posts: 50
Total Cats: 4
From: Belgium
Default

Some nice Pictures of the Miata with some friends.


Cleaning my rim on a meeting
Attached Thumbnails Tim - Building the boosted Miata!-80-11054506_871589326234166_2351891700177080220_o_5b9ef6017fc97857af30ec58ac1032eef4a3ae3d.jpg   Tim - Building the boosted Miata!-80-img_0076_8622006064c695630785ba18eb7c13f7a0e464b7.jpg   Tim - Building the boosted Miata!-80-img_1633_1c643e30b891323b74af27832cf95da562592e69.jpg   Tim - Building the boosted Miata!-80-img_2728_390cb56856865680c4504847afb70ad6d8f29299.jpg  
Old 07-24-2015 | 04:11 AM
  #10  
Tim_Belgium's Avatar
Thread Starter
Junior Member
 
Joined: Apr 2015
Posts: 50
Total Cats: 4
From: Belgium
Default

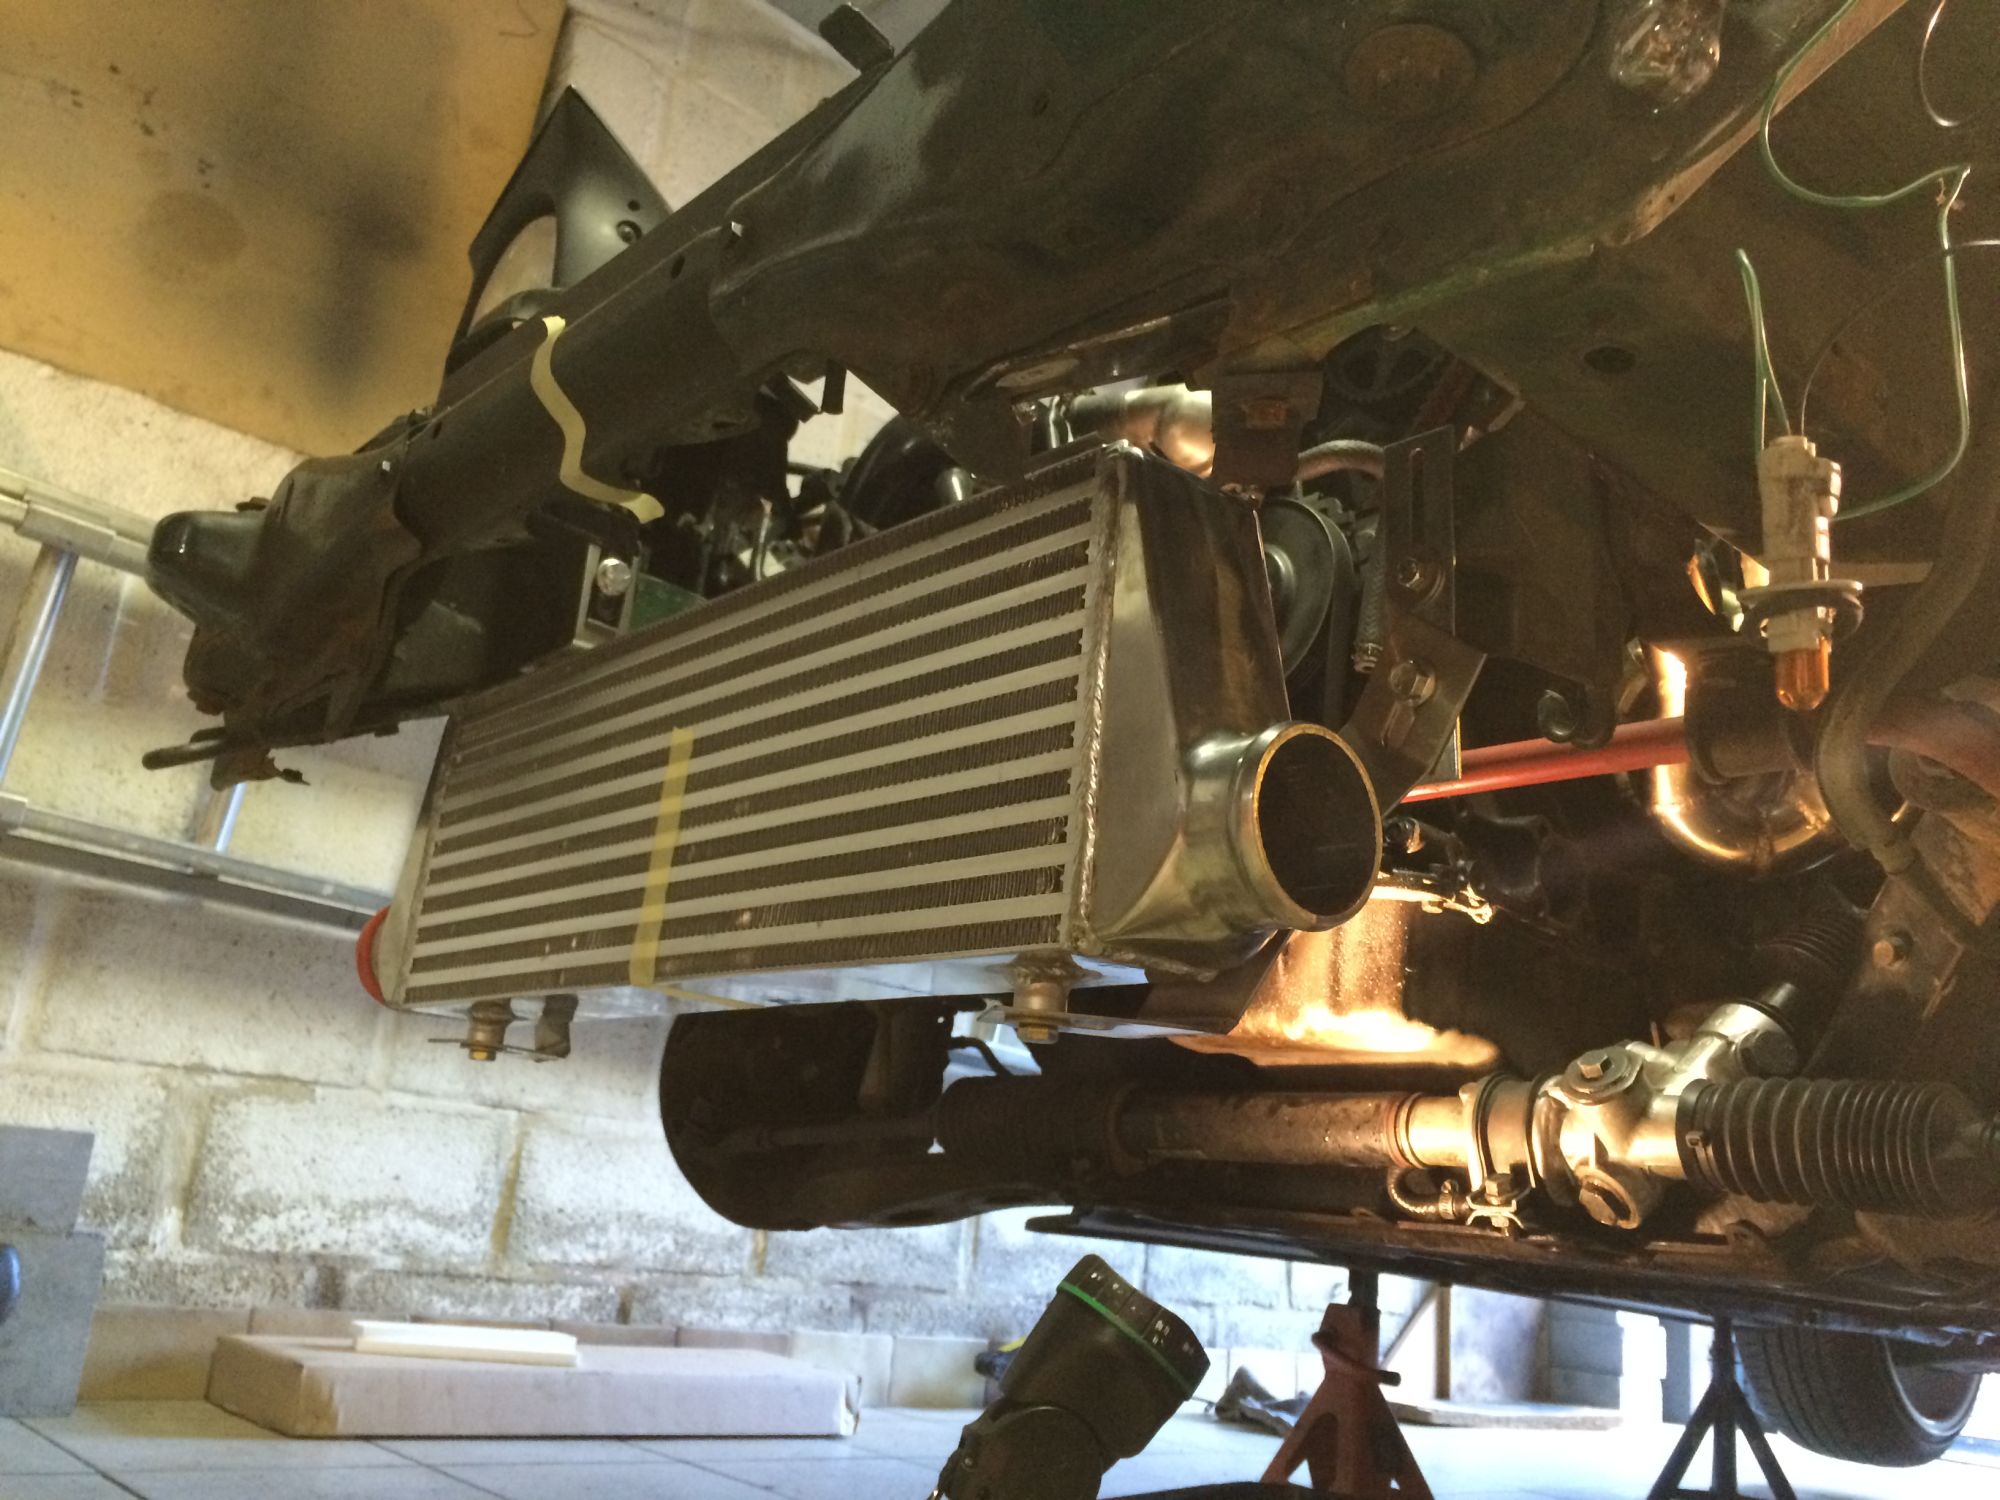
Started with the IC piping.


CXracing intercooler.
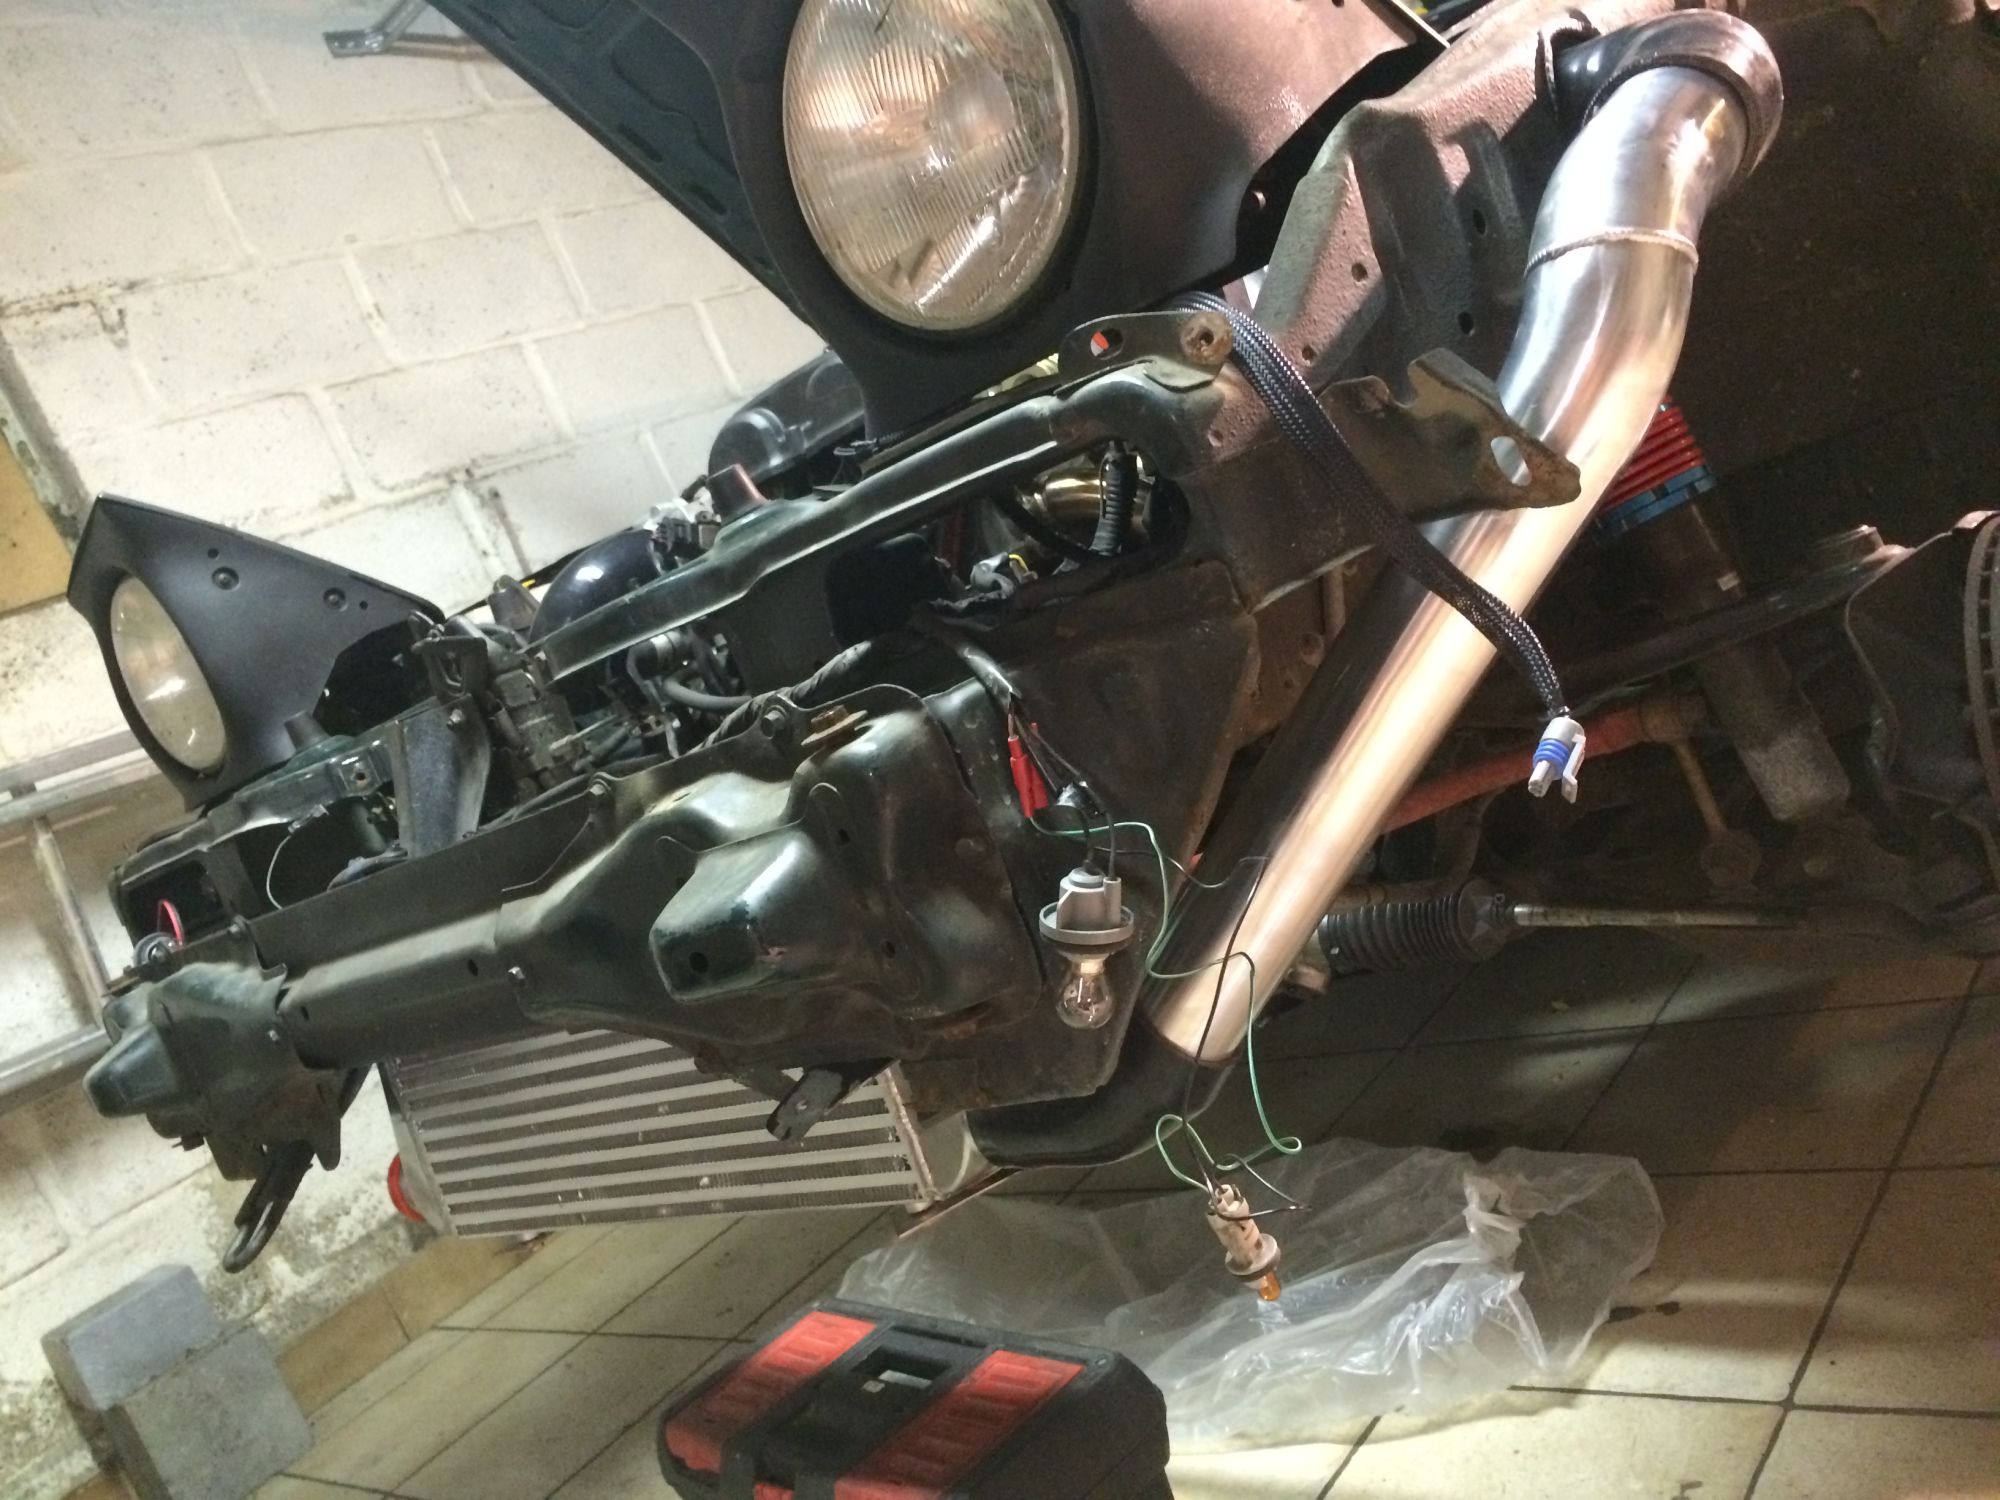


I will finish the IC piping later. Still waiting on one piece to be welded with the IAT sensor.

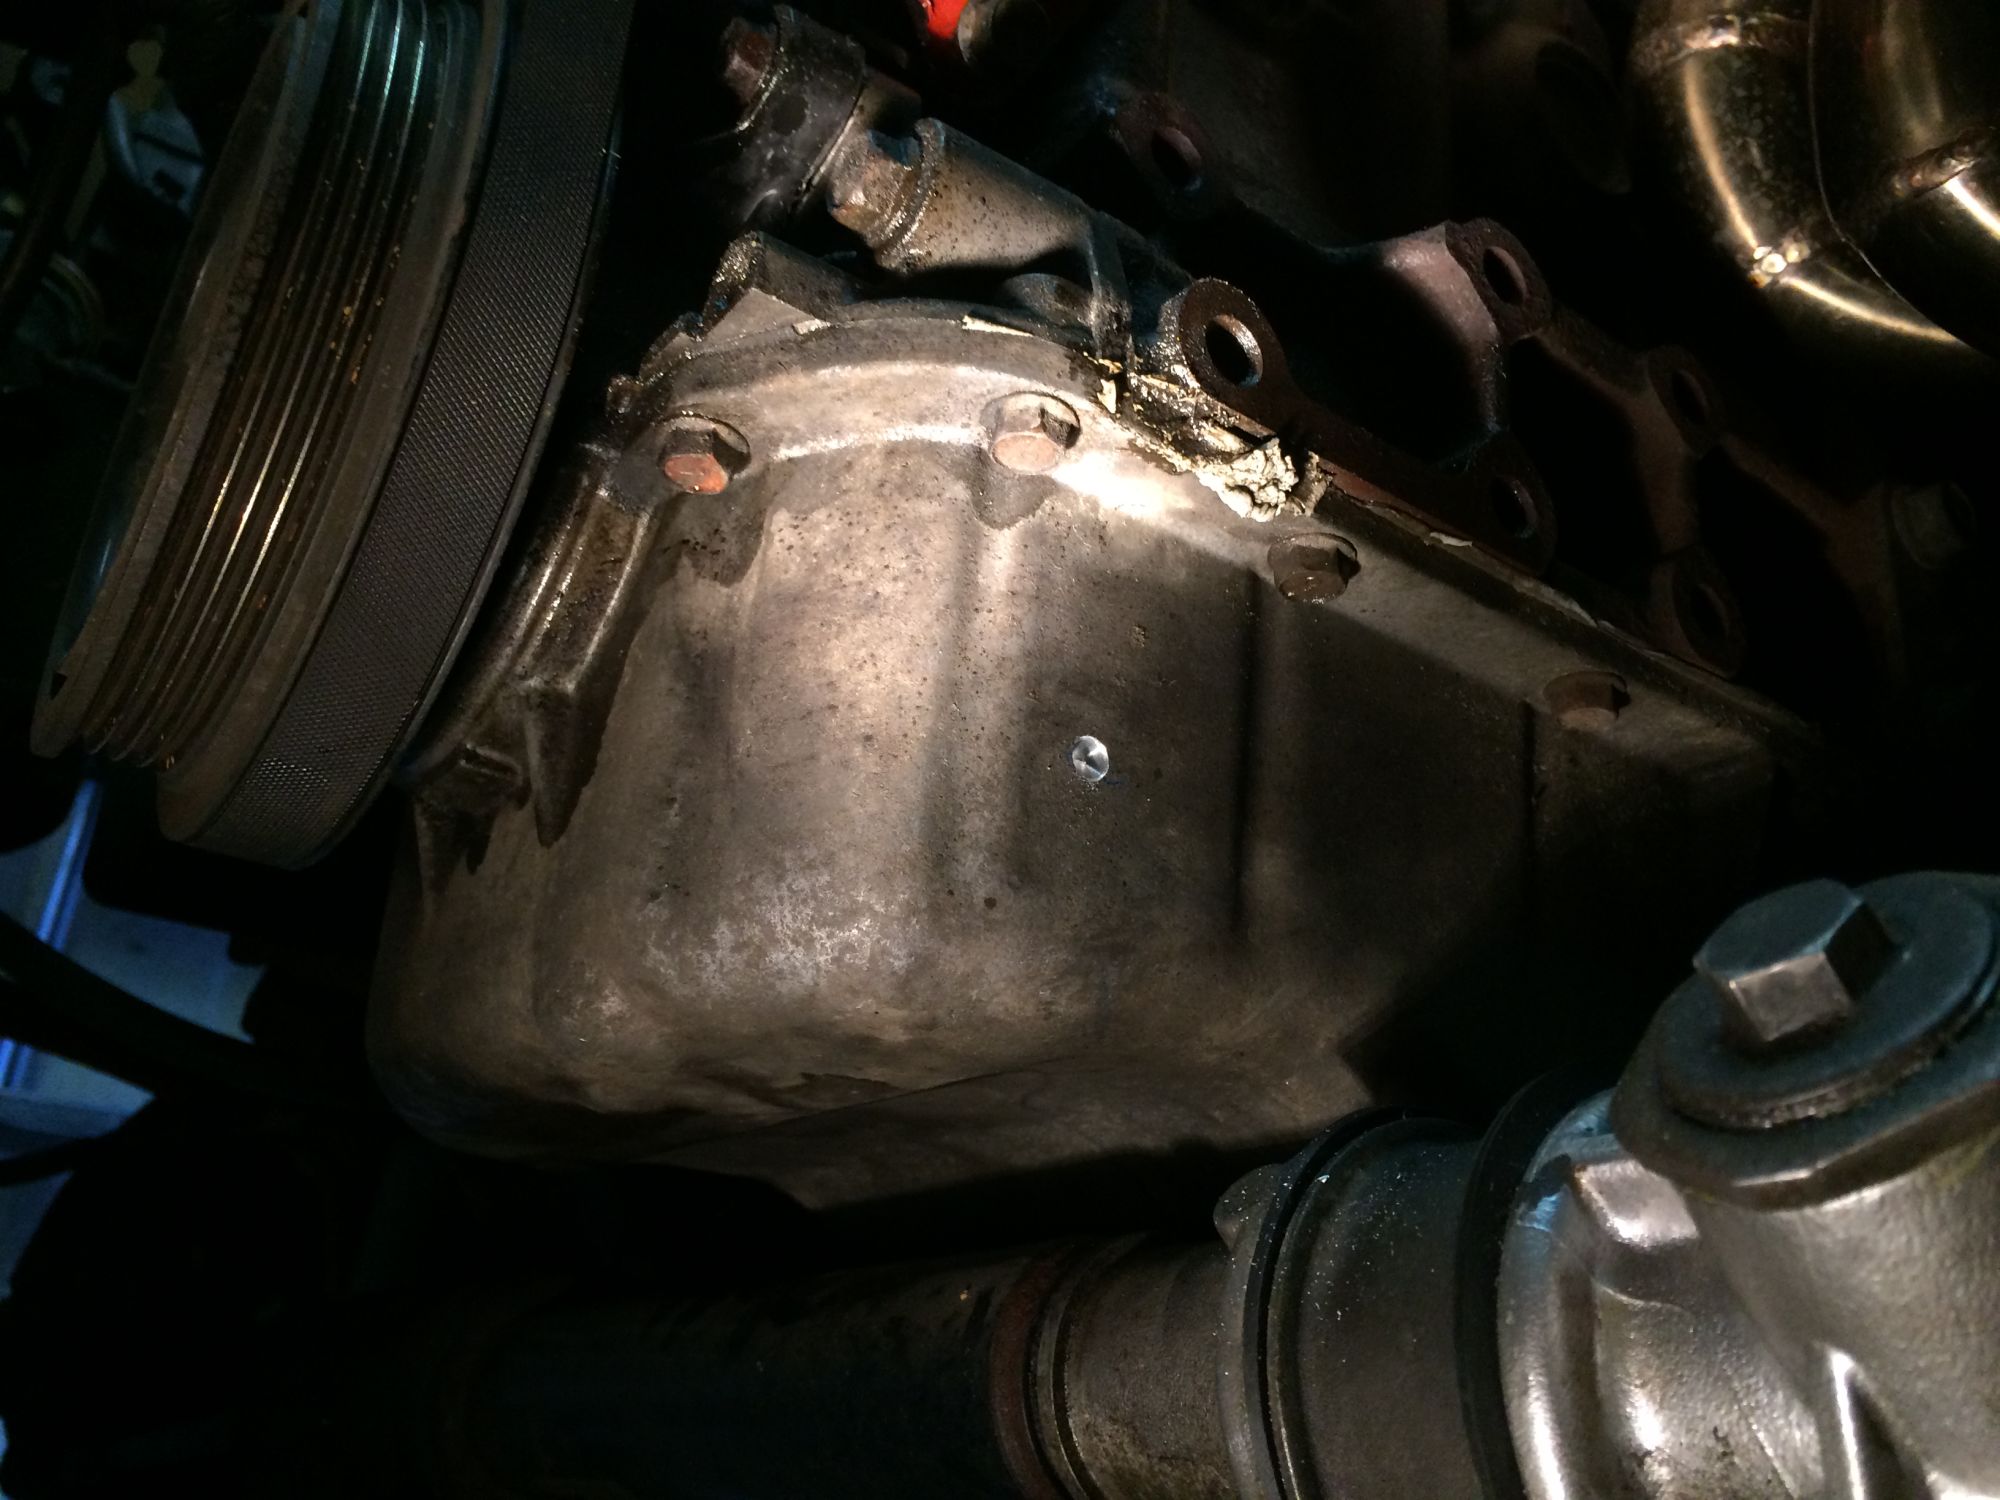
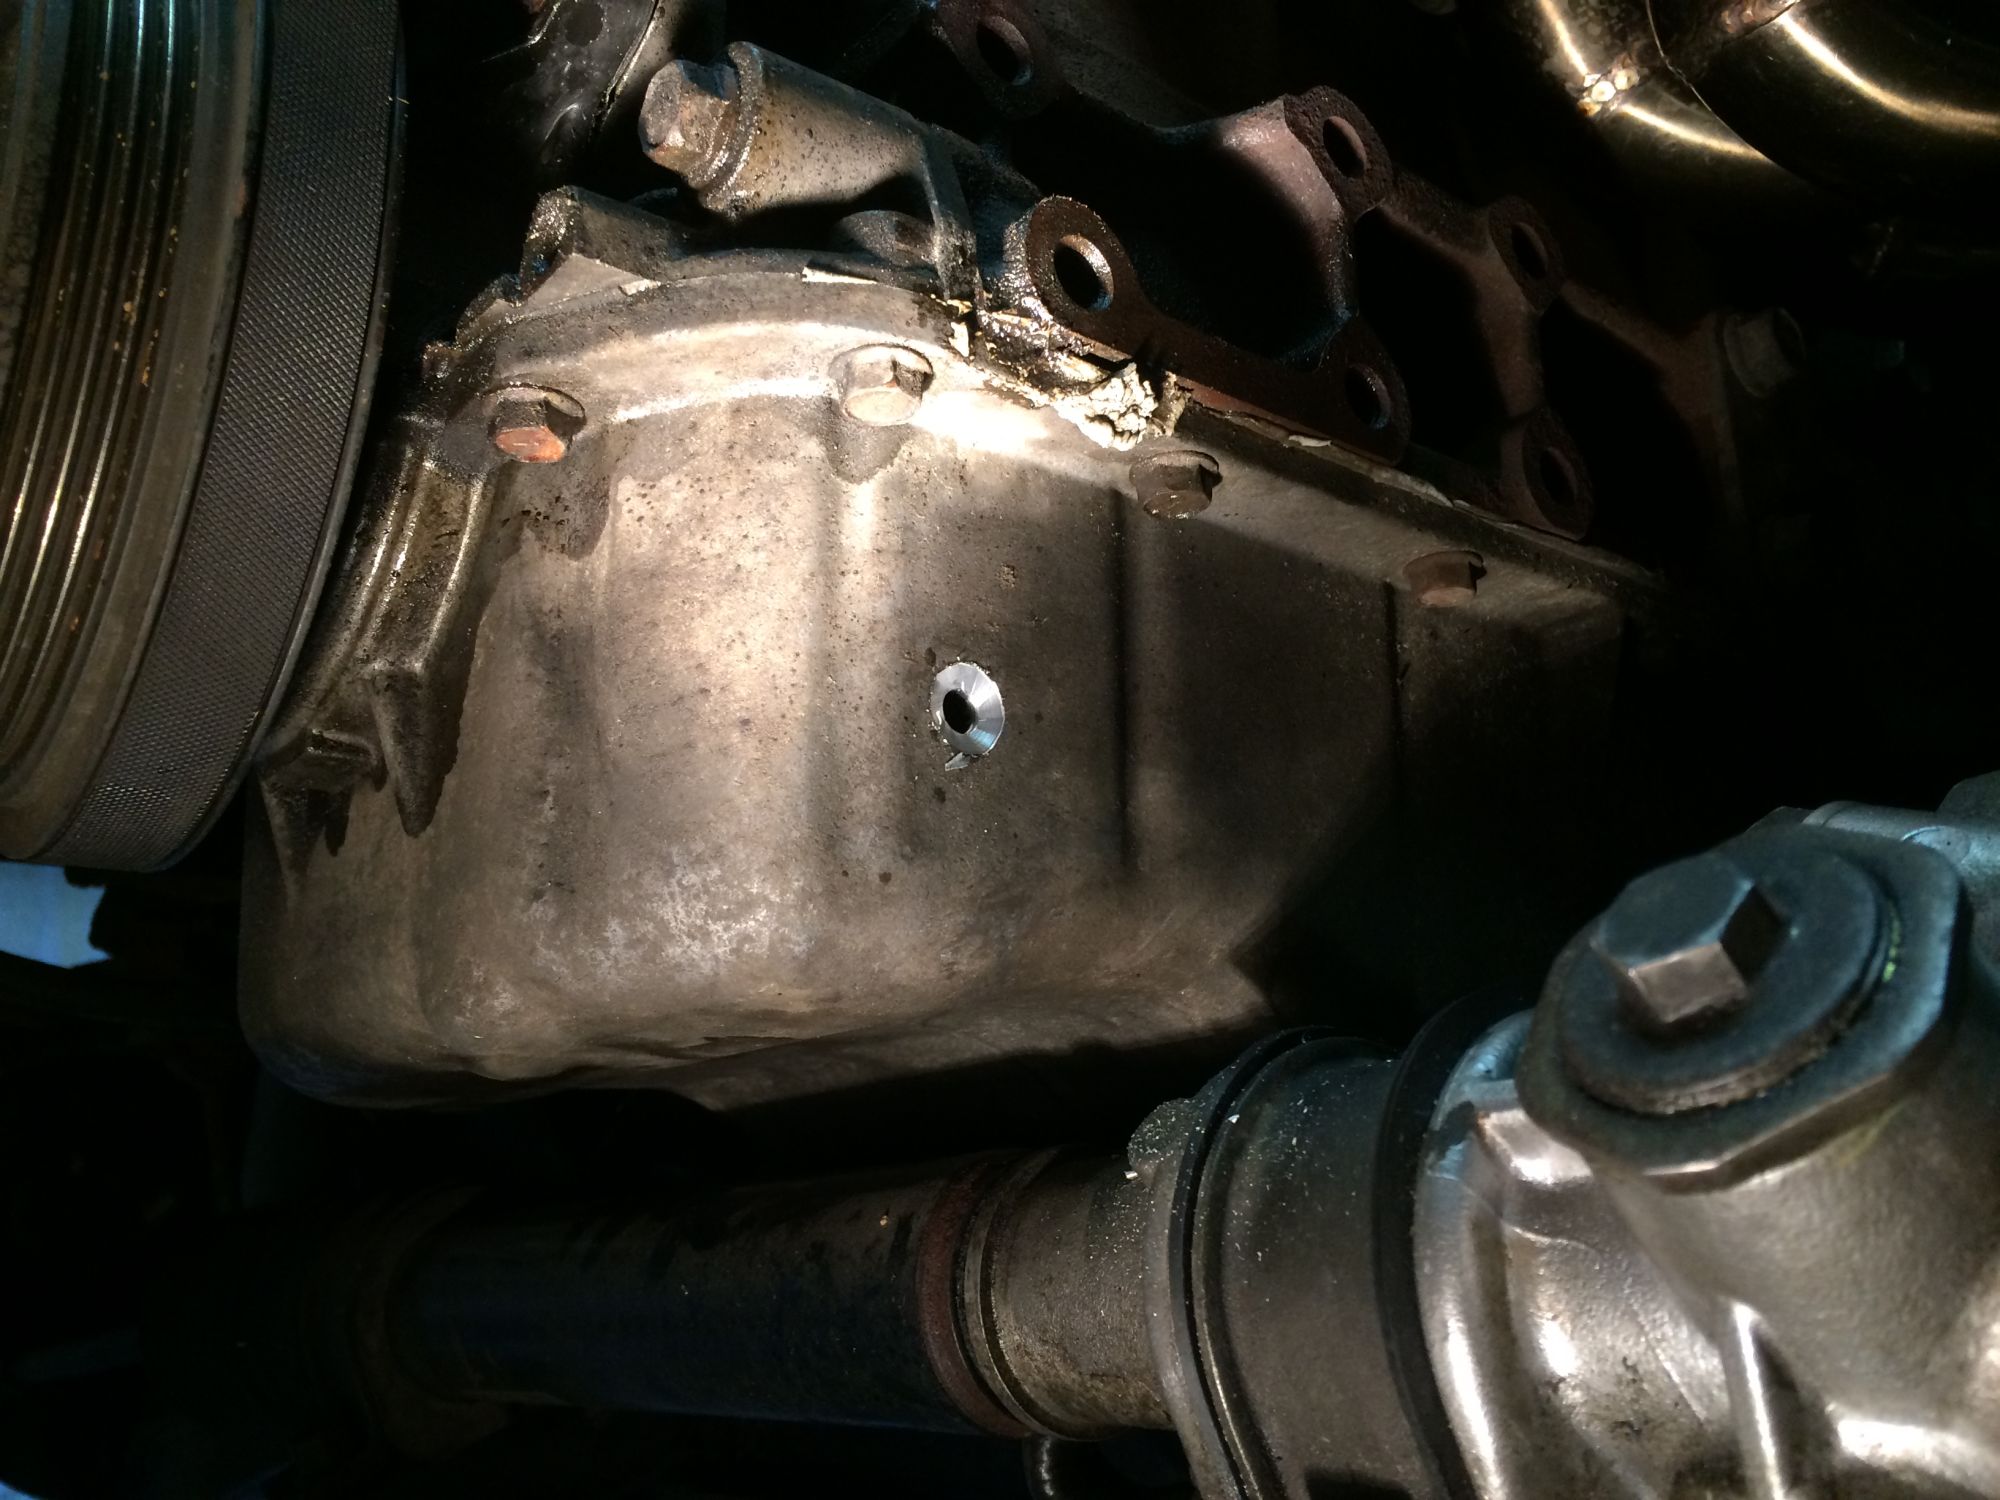
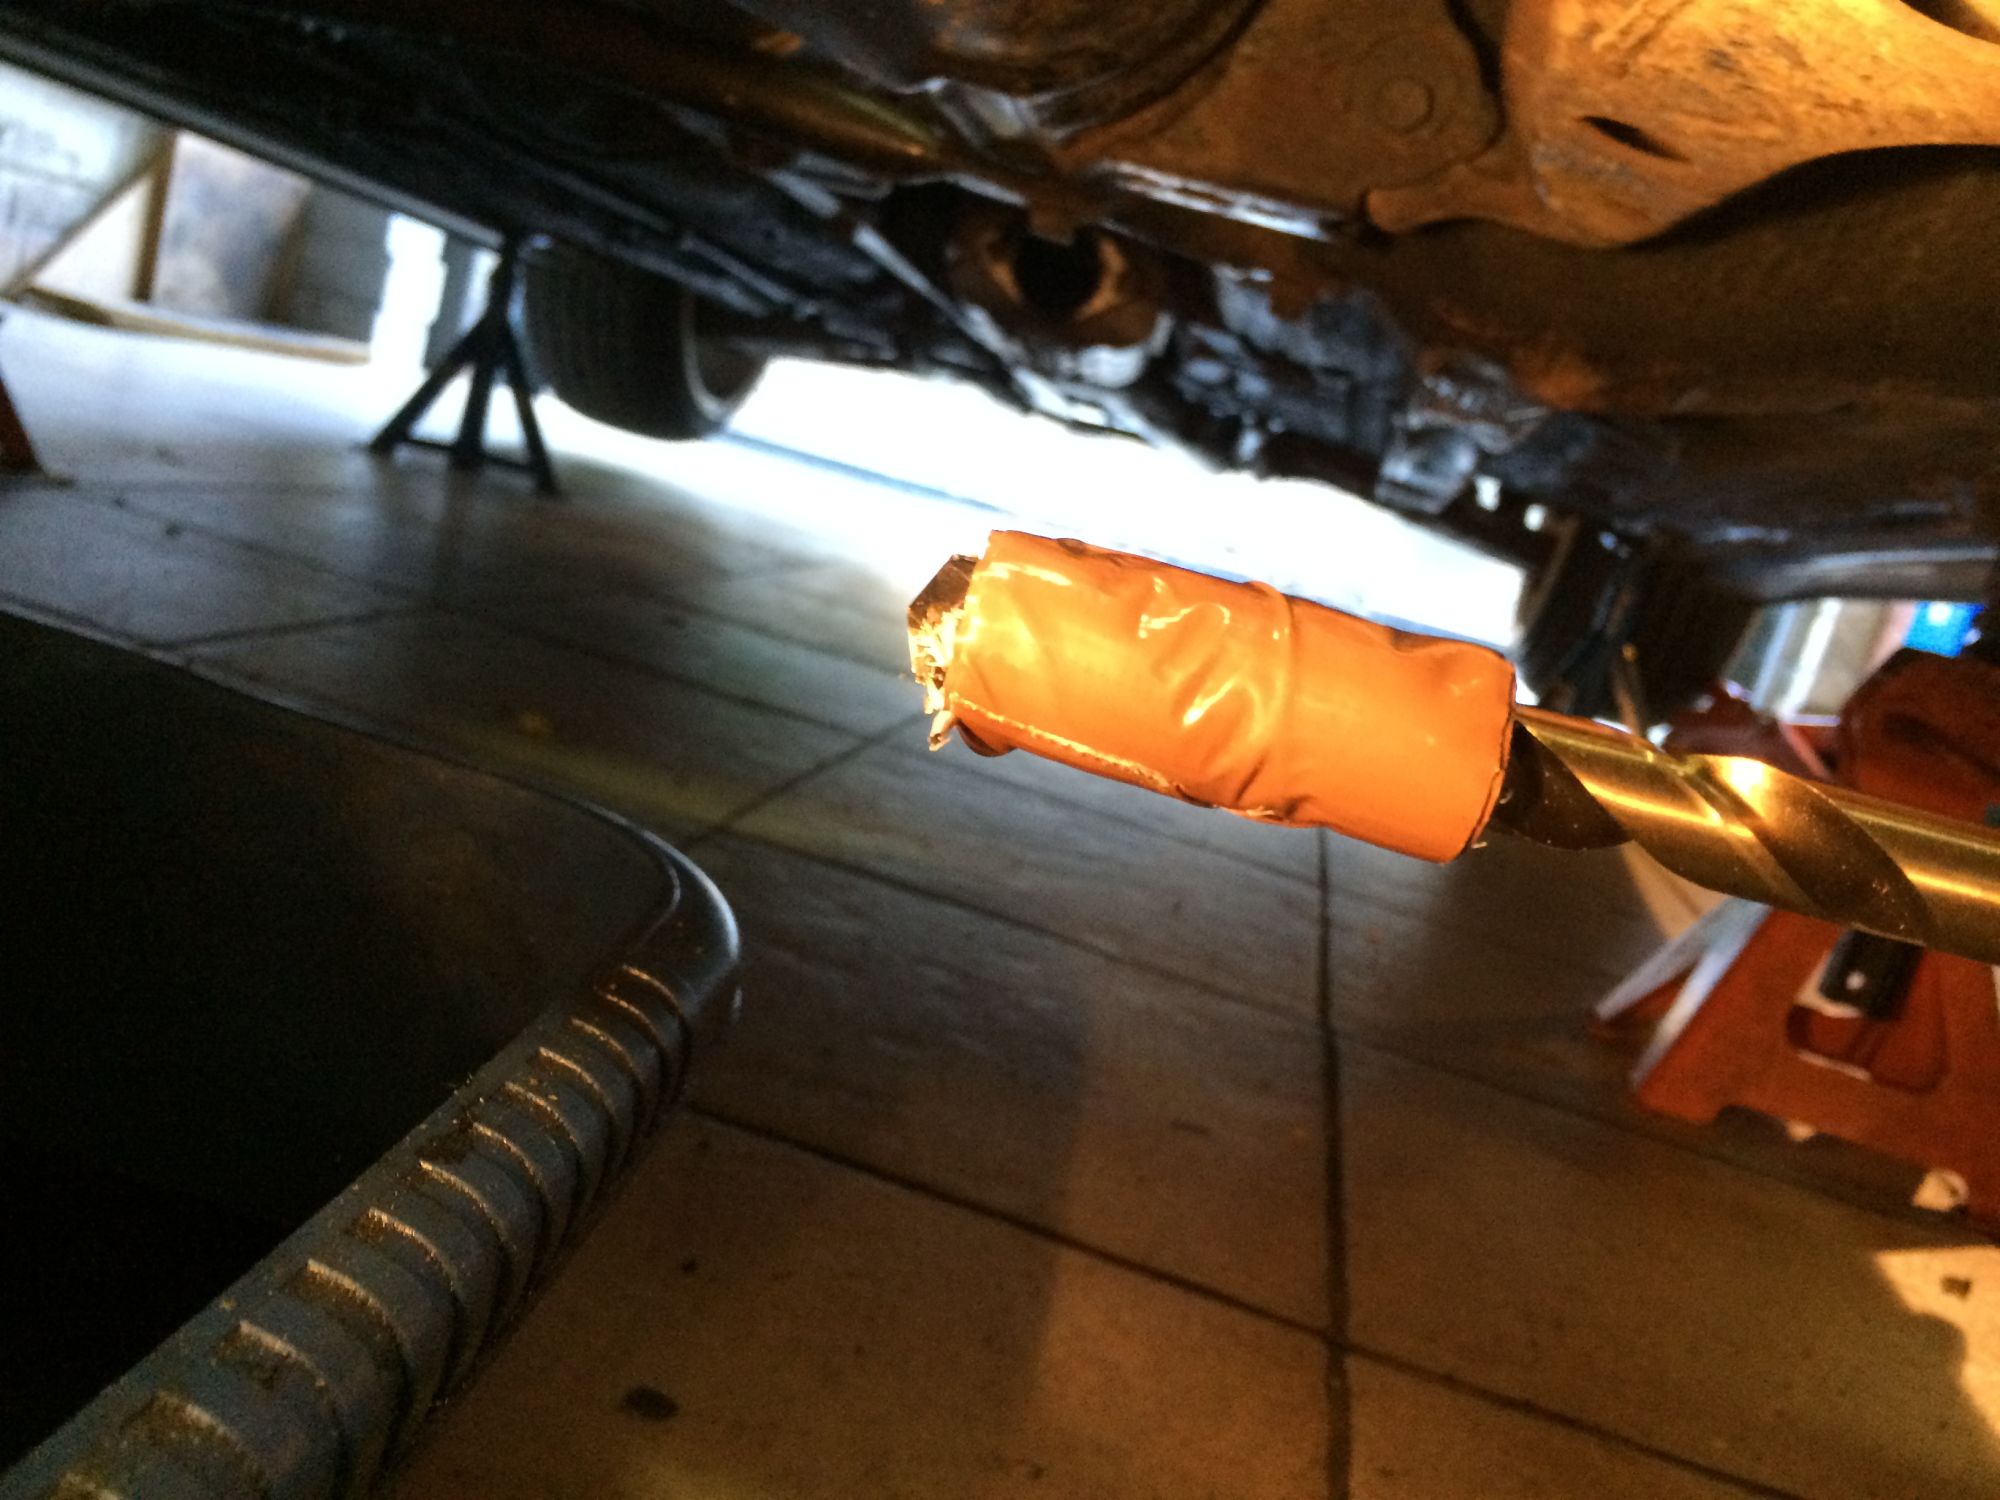
Now the part that I really don't Like.
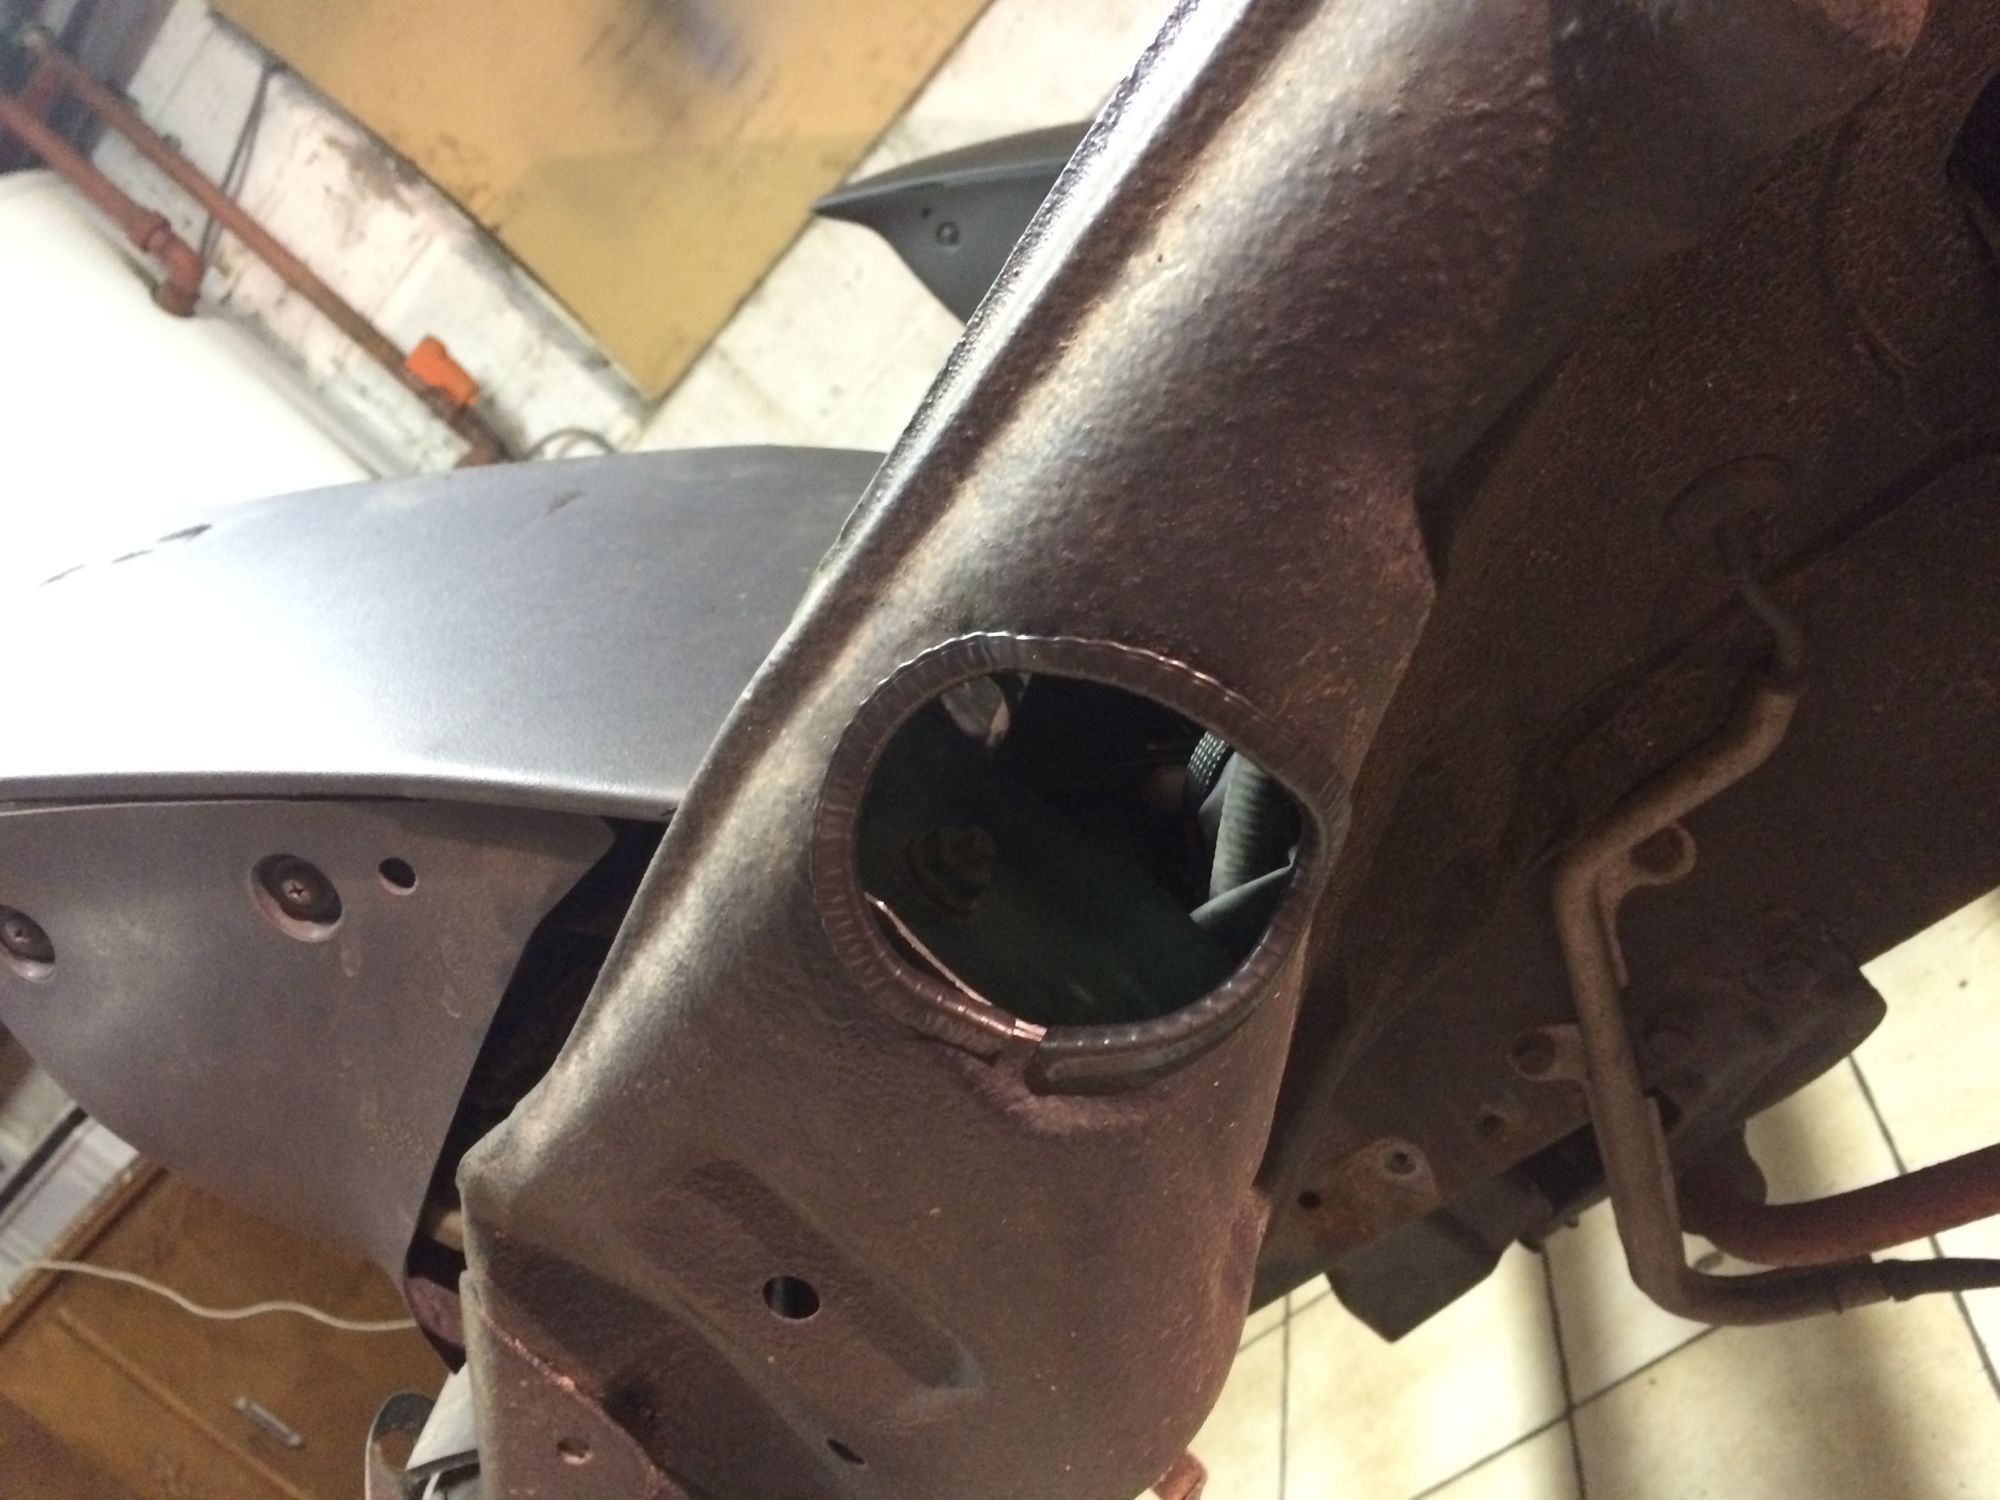
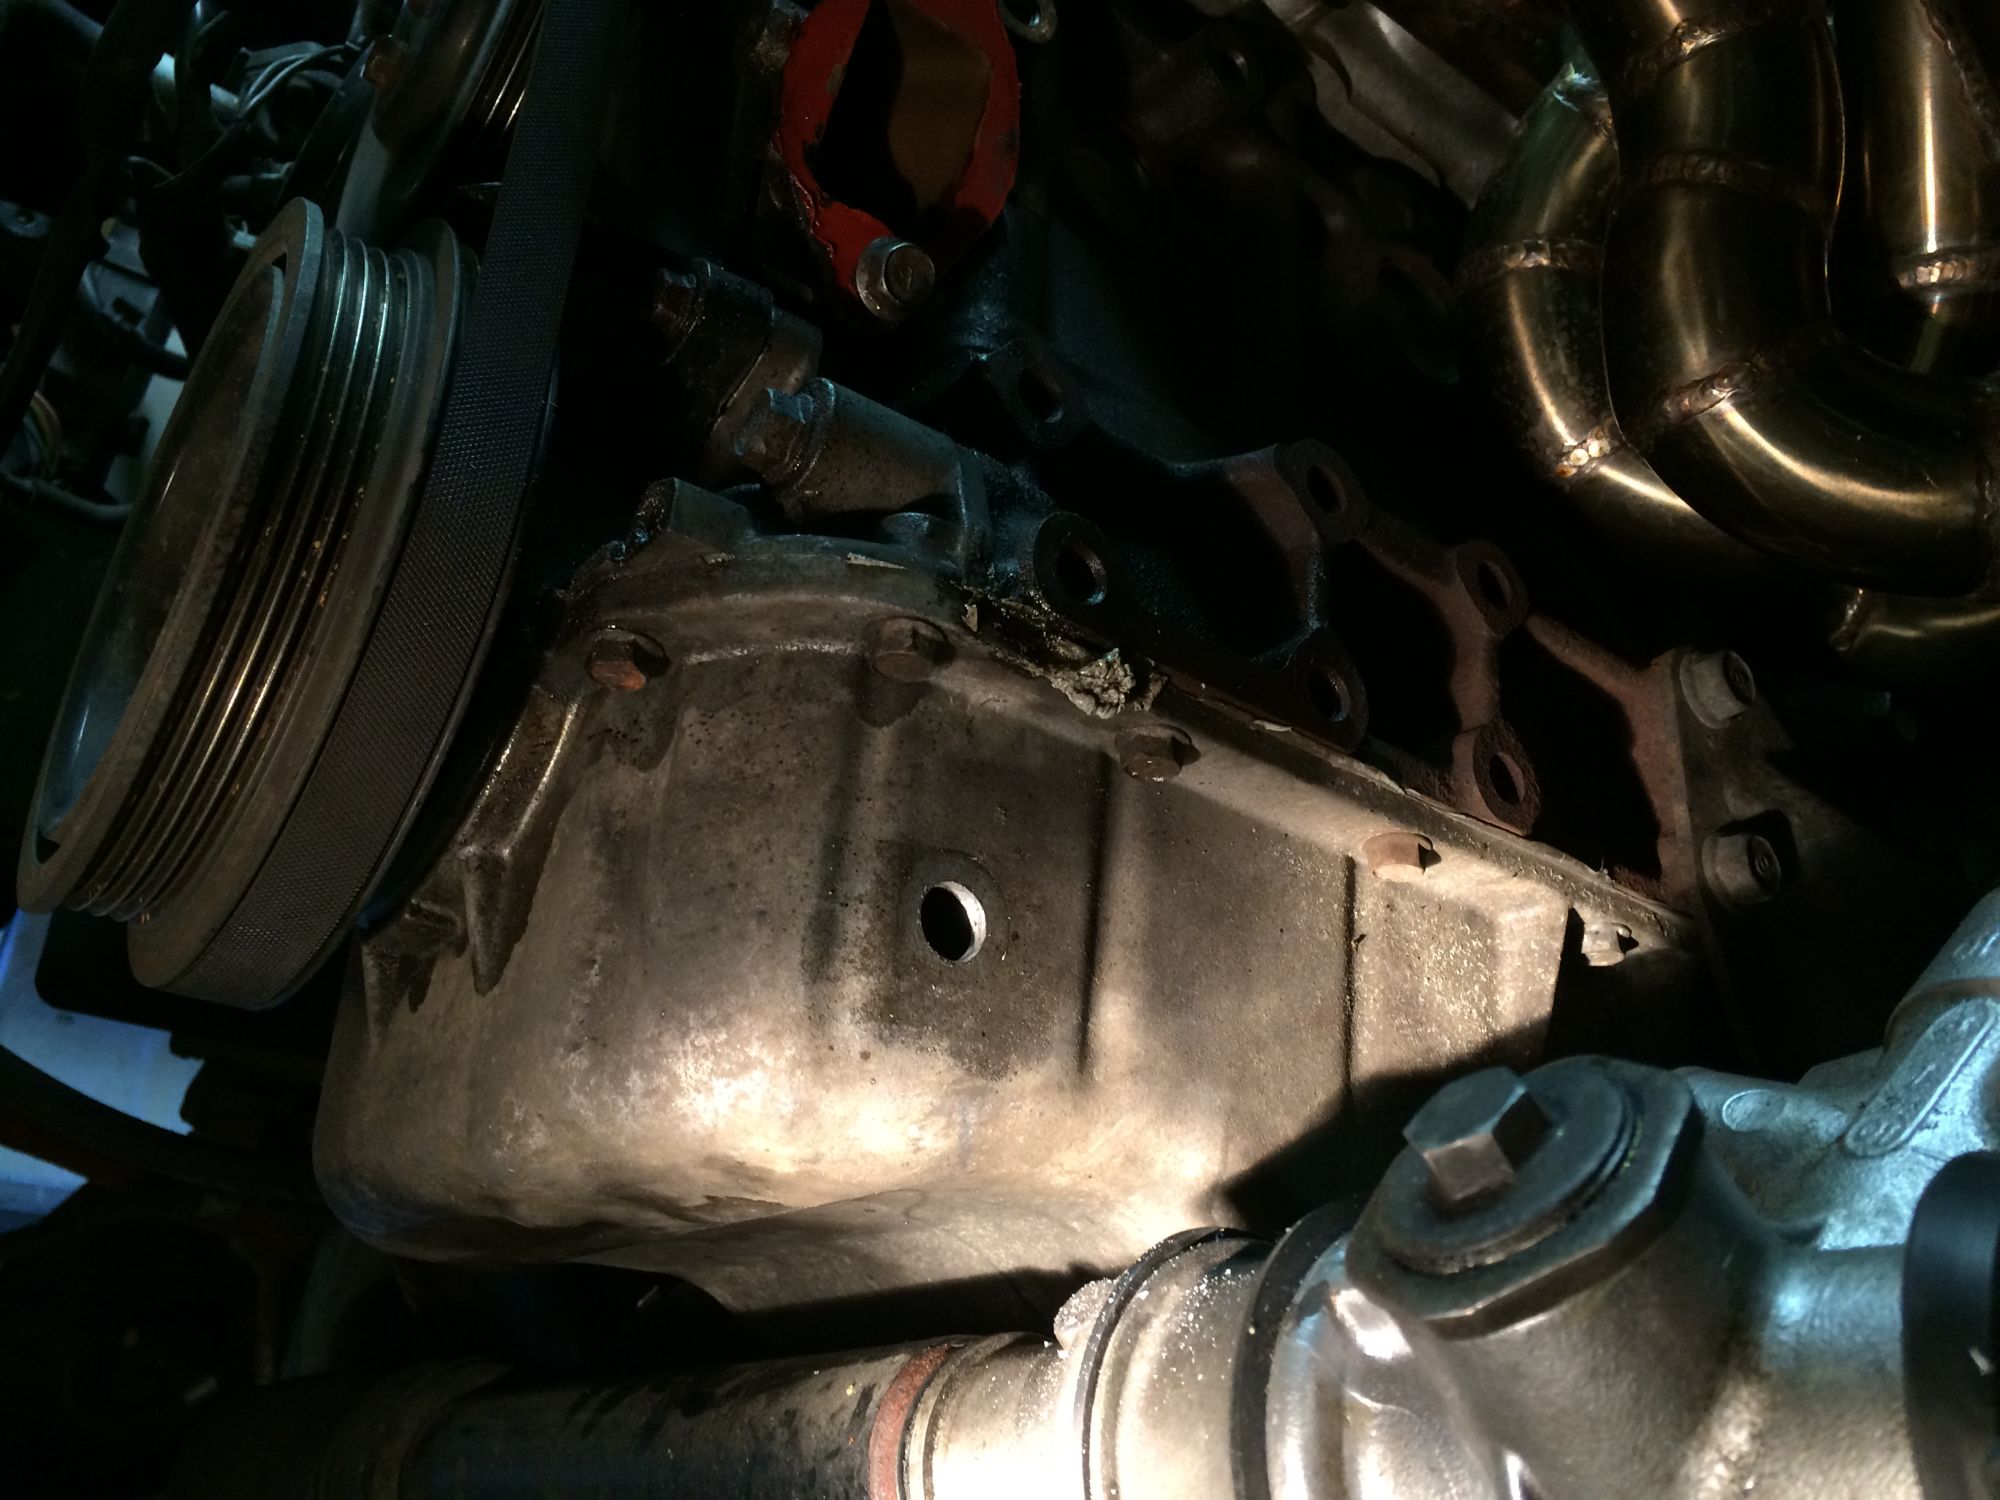
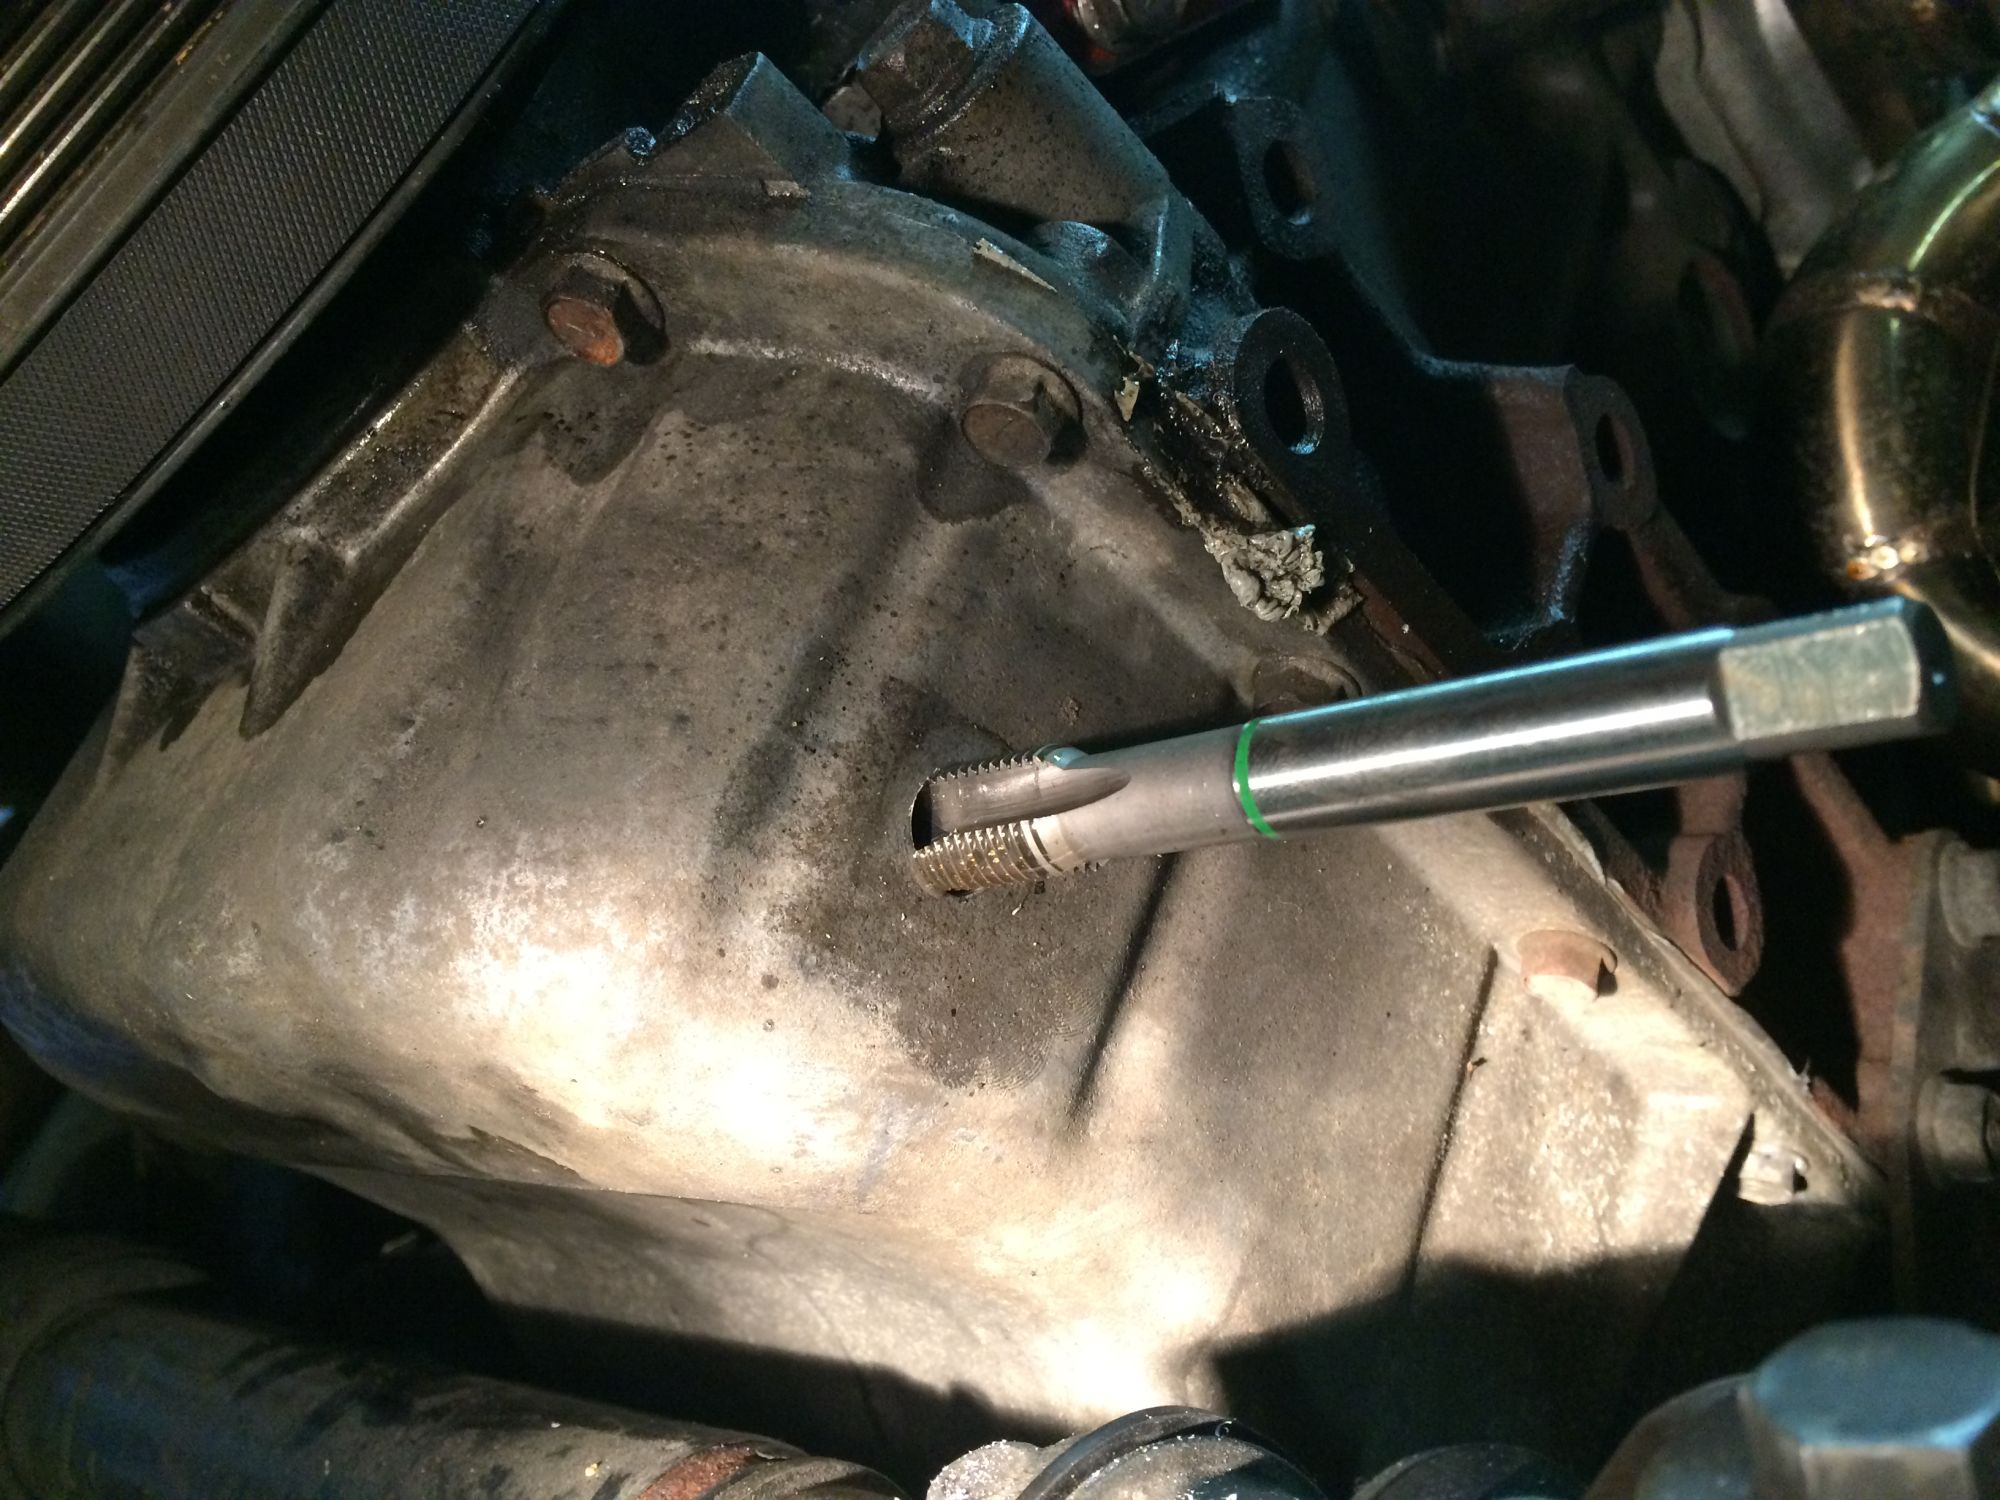
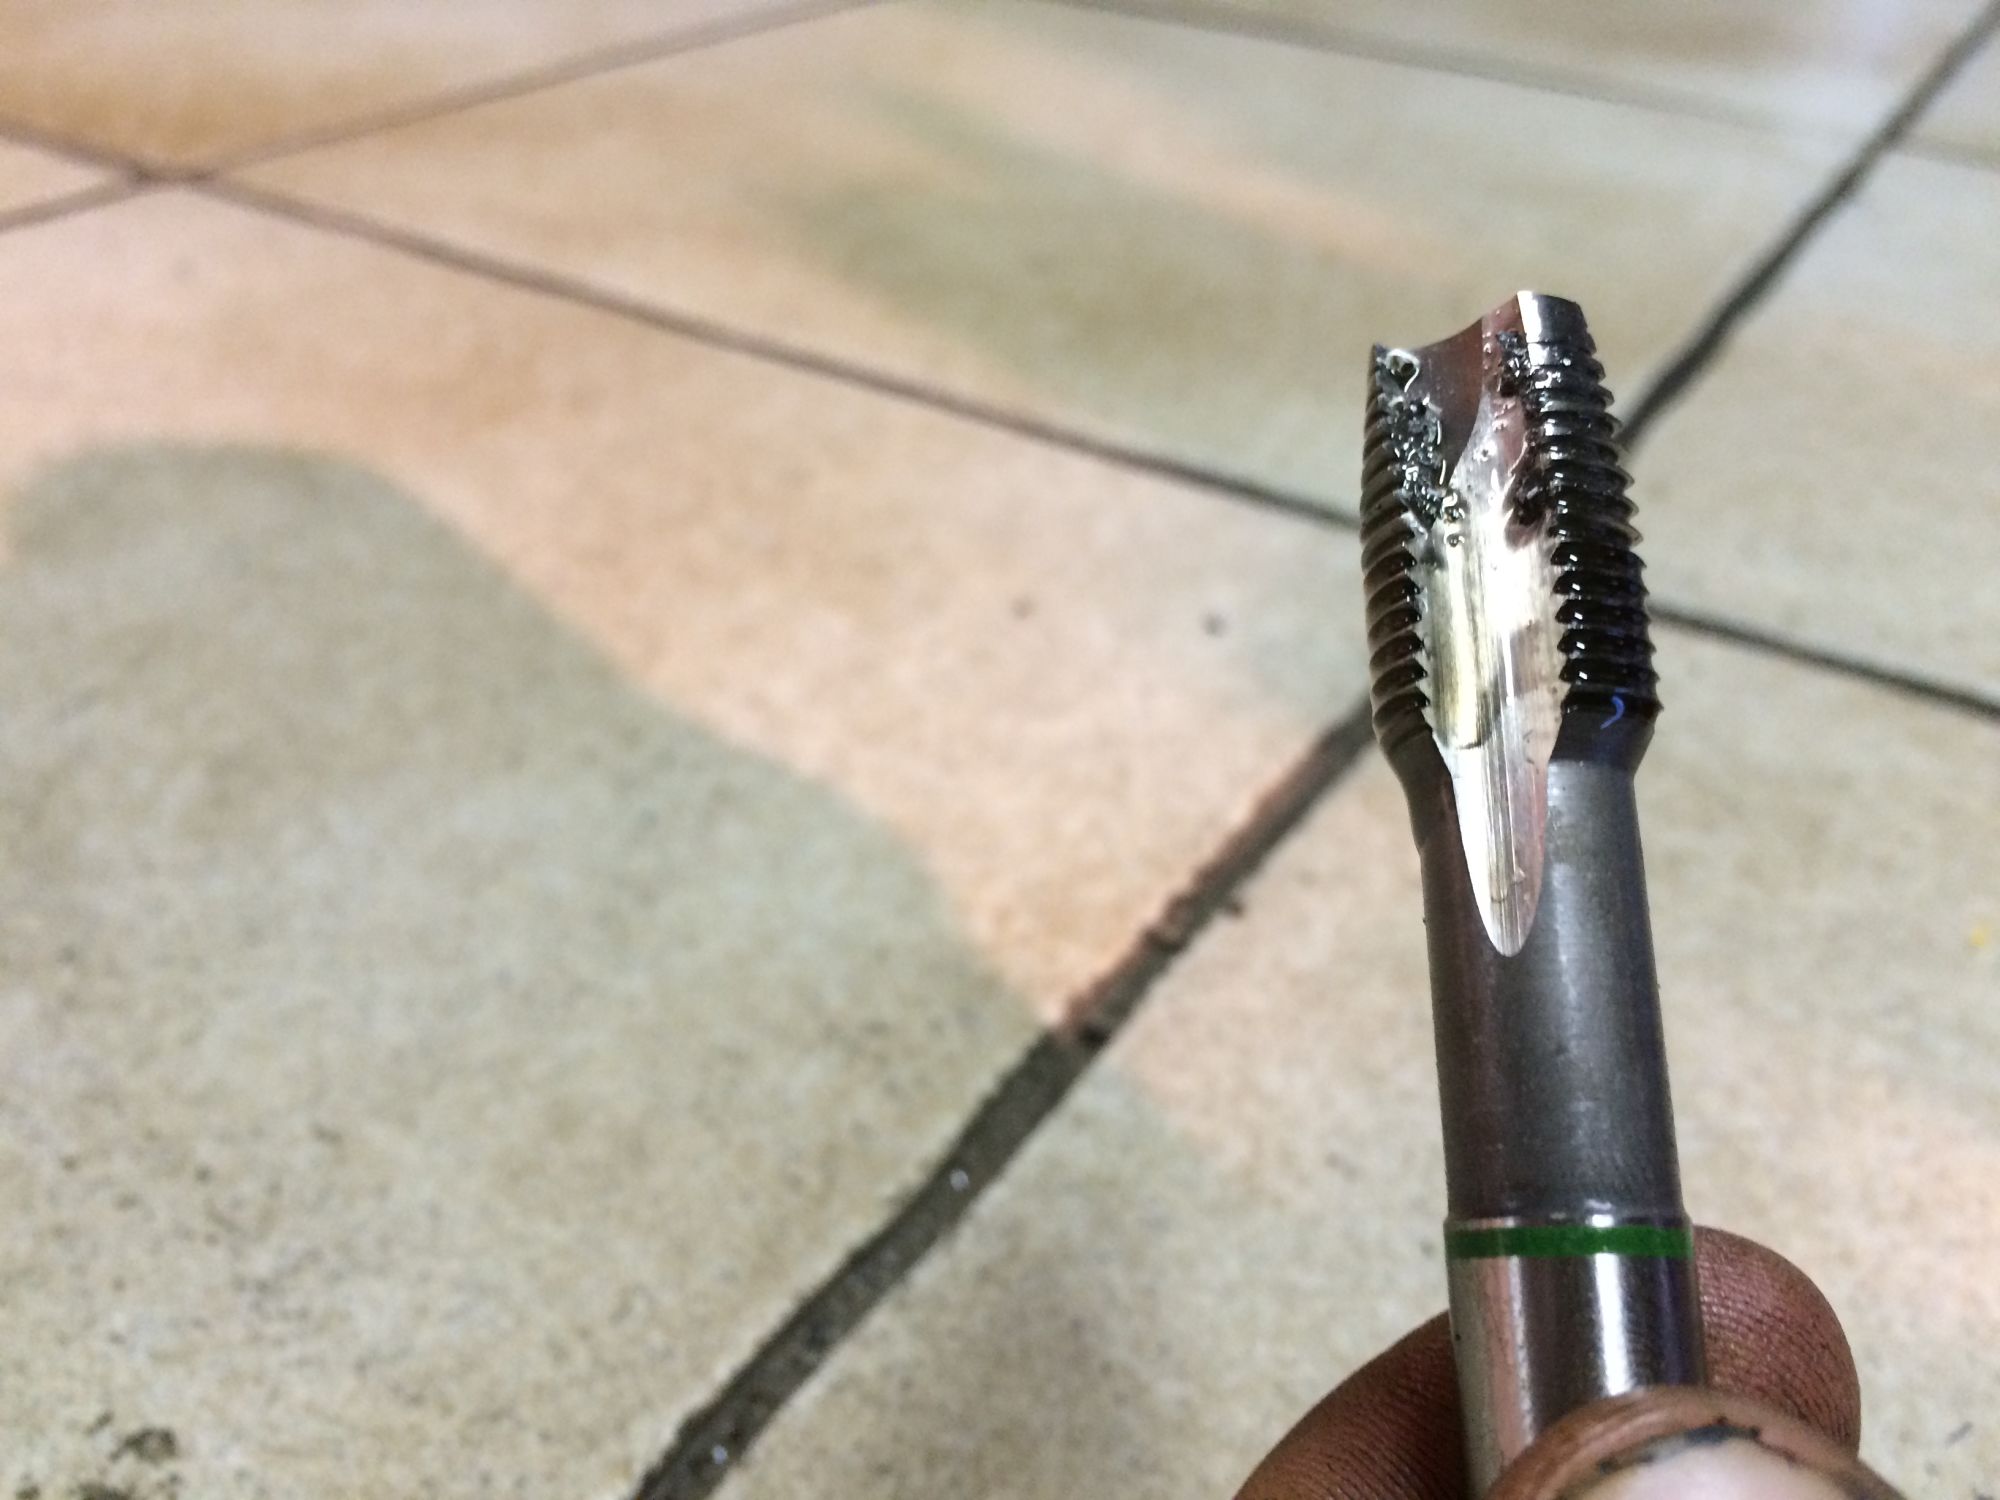
Drilling the Oil return.
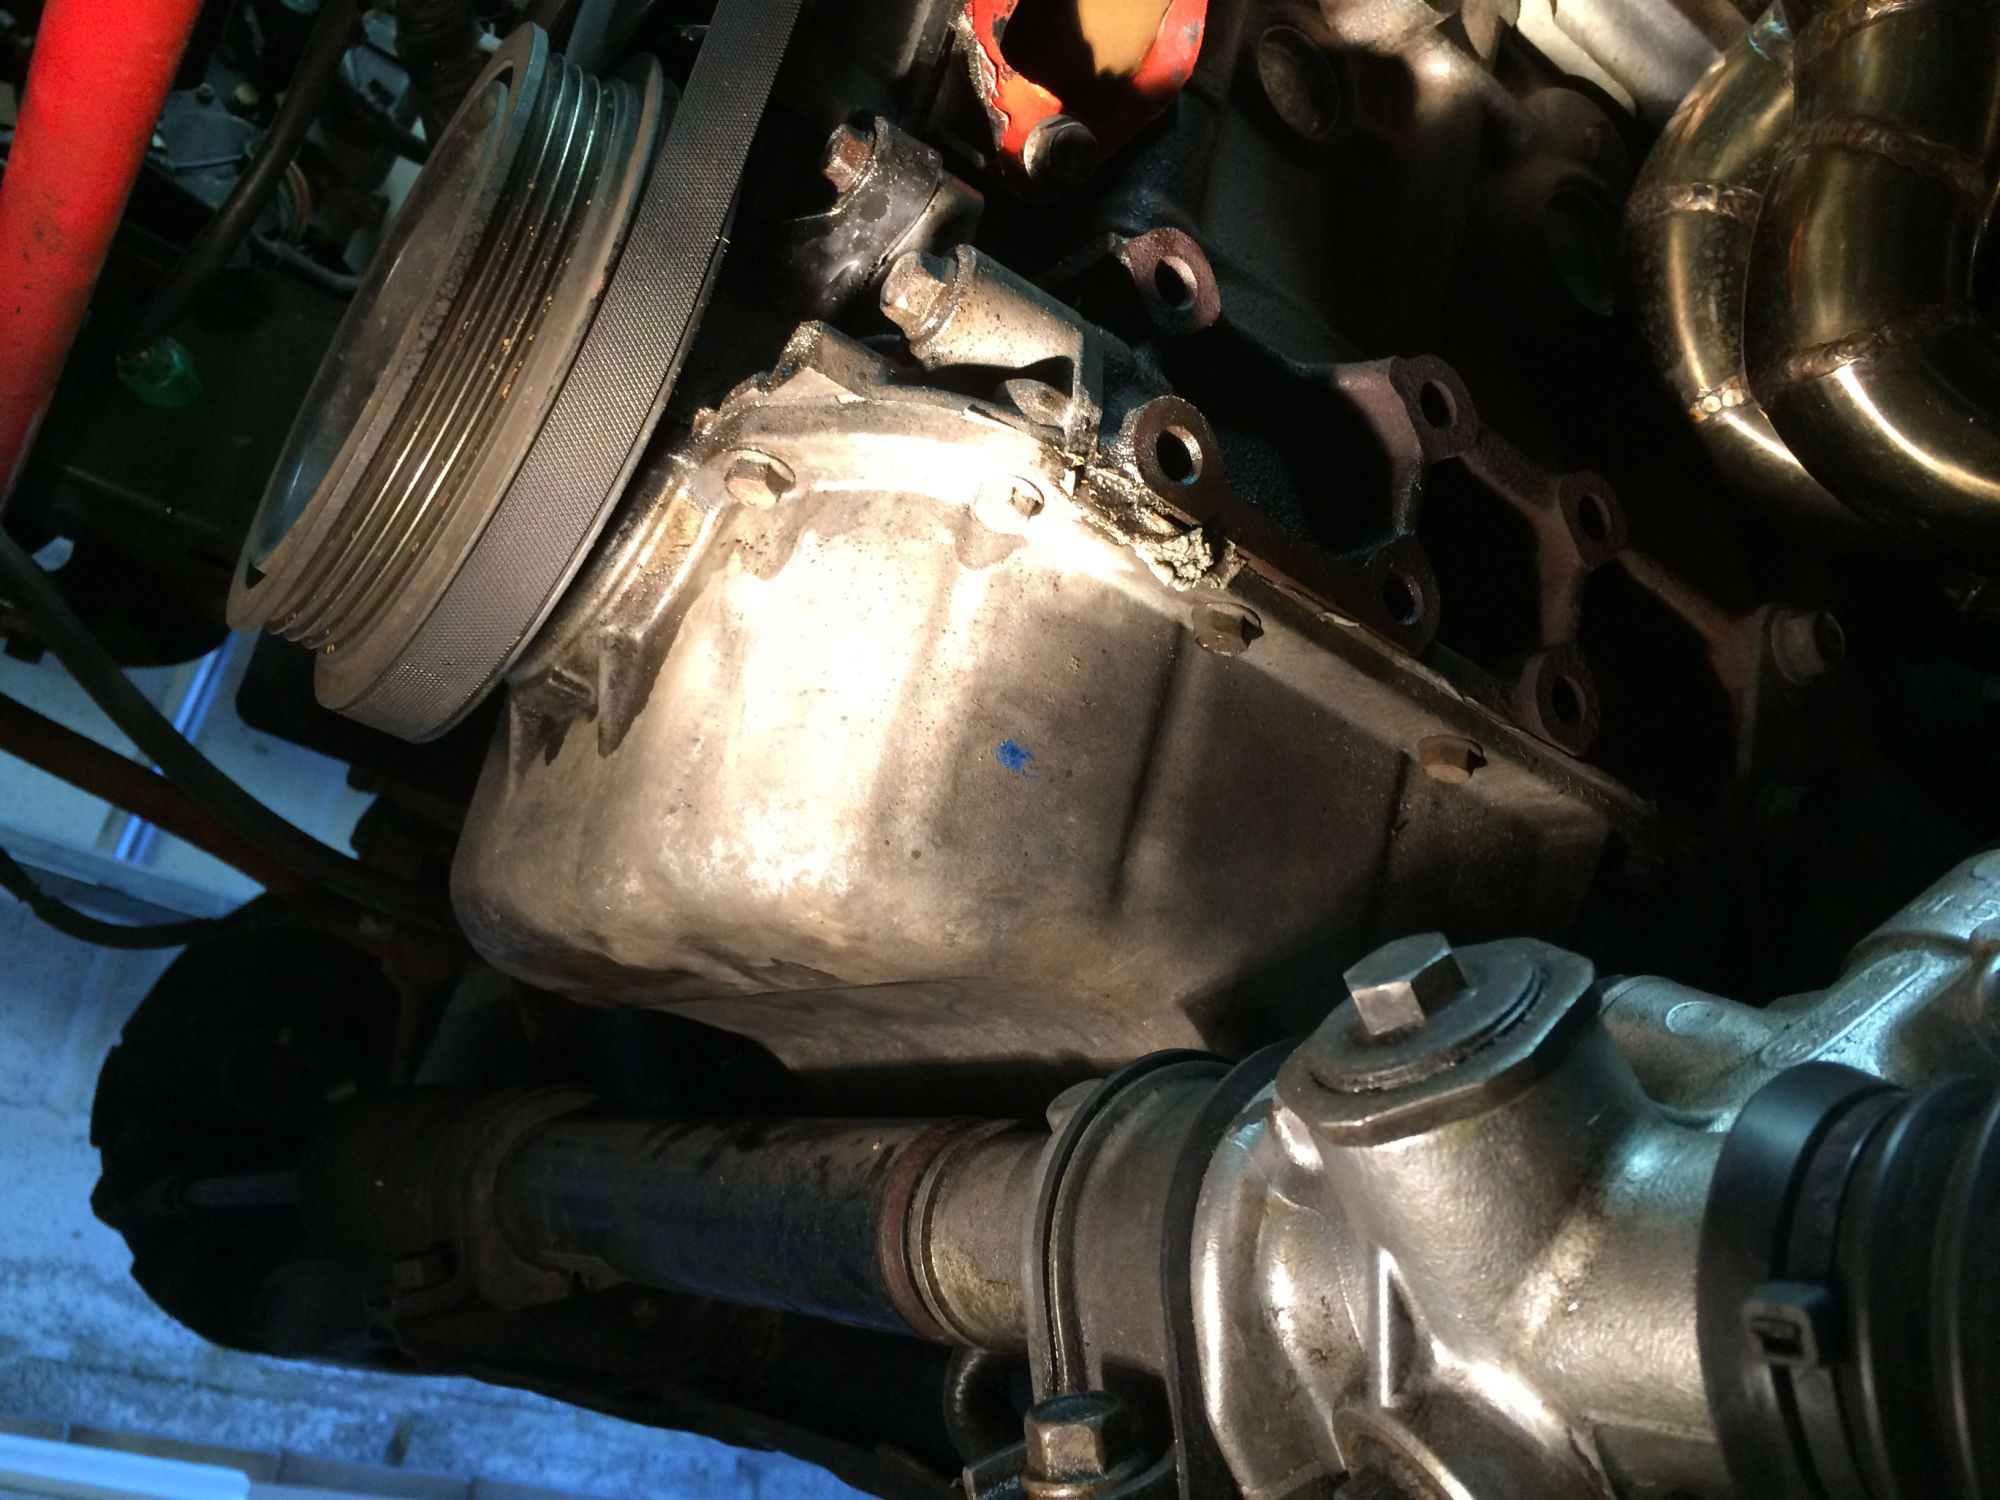


After this I cleaned it with mineral water 6 times. And after that. I started flushing it with oil (5 times).
Attached Thumbnails Tim - Building the boosted Miata!-80-img_2780_6a630374b78fa7e2105761a4c81d69cc7028bc68.jpg   Tim - Building the boosted Miata!-80-img_2781_a4dc563aa13f52ff84aa036dbe253846e583b2b0.jpg   Tim - Building the boosted Miata!-80-img_2792_9f7a36aae546c7349df7cb03a00063b085e1a5a8.jpg   Tim - Building the boosted Miata!-80-img_2782_37d3b5186dcfff3b9ab2ca3cdfbd80e1d2614b8f.jpg   Tim - Building the boosted Miata!-80-img_2783_78b13349d53775c9be260aa70dcdc1792f9313c0.jpg  

Tim - Building the boosted Miata!-80-img_2784_92c6fbab6aeca7bd37b81cb6eb734f9a12ef0130.jpg   Tim - Building the boosted Miata!-80-img_2797_9023ebe92a76c4091199d68b6a5cd5c9e8ef4458.jpg   Tim - Building the boosted Miata!-80-img_2798_41bd9e0e71bf365cfe7c3930f490189e93a6dae5.jpg   Tim - Building the boosted Miata!-80-img_2802_20a1019b0730896e2c58700654e1d63717012140.jpg   Tim - Building the boosted Miata!-80-img_2803_98a53206d429074dd32617043d7a897351c02ab7.jpg  

Tim - Building the boosted Miata!-80-img_2804_5890aa9e7ade901c3aede0af04969ce86ce83dd7.jpg   Tim - Building the boosted Miata!-80-img_2807_c3b76a44e9eaced402cc128ef7b706943695a40d.jpg   Tim - Building the boosted Miata!-80-img_2808_c7e720e94040bdb47a1d2ec82a5a5f942bde7064.jpg  
Old 07-24-2015 | 02:11 PM
  #11  
sixshooter's Avatar
Moderator
iTrader: (12)
 
Joined: Nov 2008
Posts: 21,117
Total Cats: 3,142
From: Tampa, Florida
Default

Nice work so far! Welcome to the forum.

That might be a better way to route the intercooler pipe than I am using right now.
Old 07-26-2015 | 05:03 PM
  #12  
Tim_Belgium's Avatar
Thread Starter
Junior Member
 
Joined: Apr 2015
Posts: 50
Total Cats: 4
From: Belgium
Default

Did some more work.


I did not like the quality of the turbo wastegate valve and did some grinding to make the flow better.
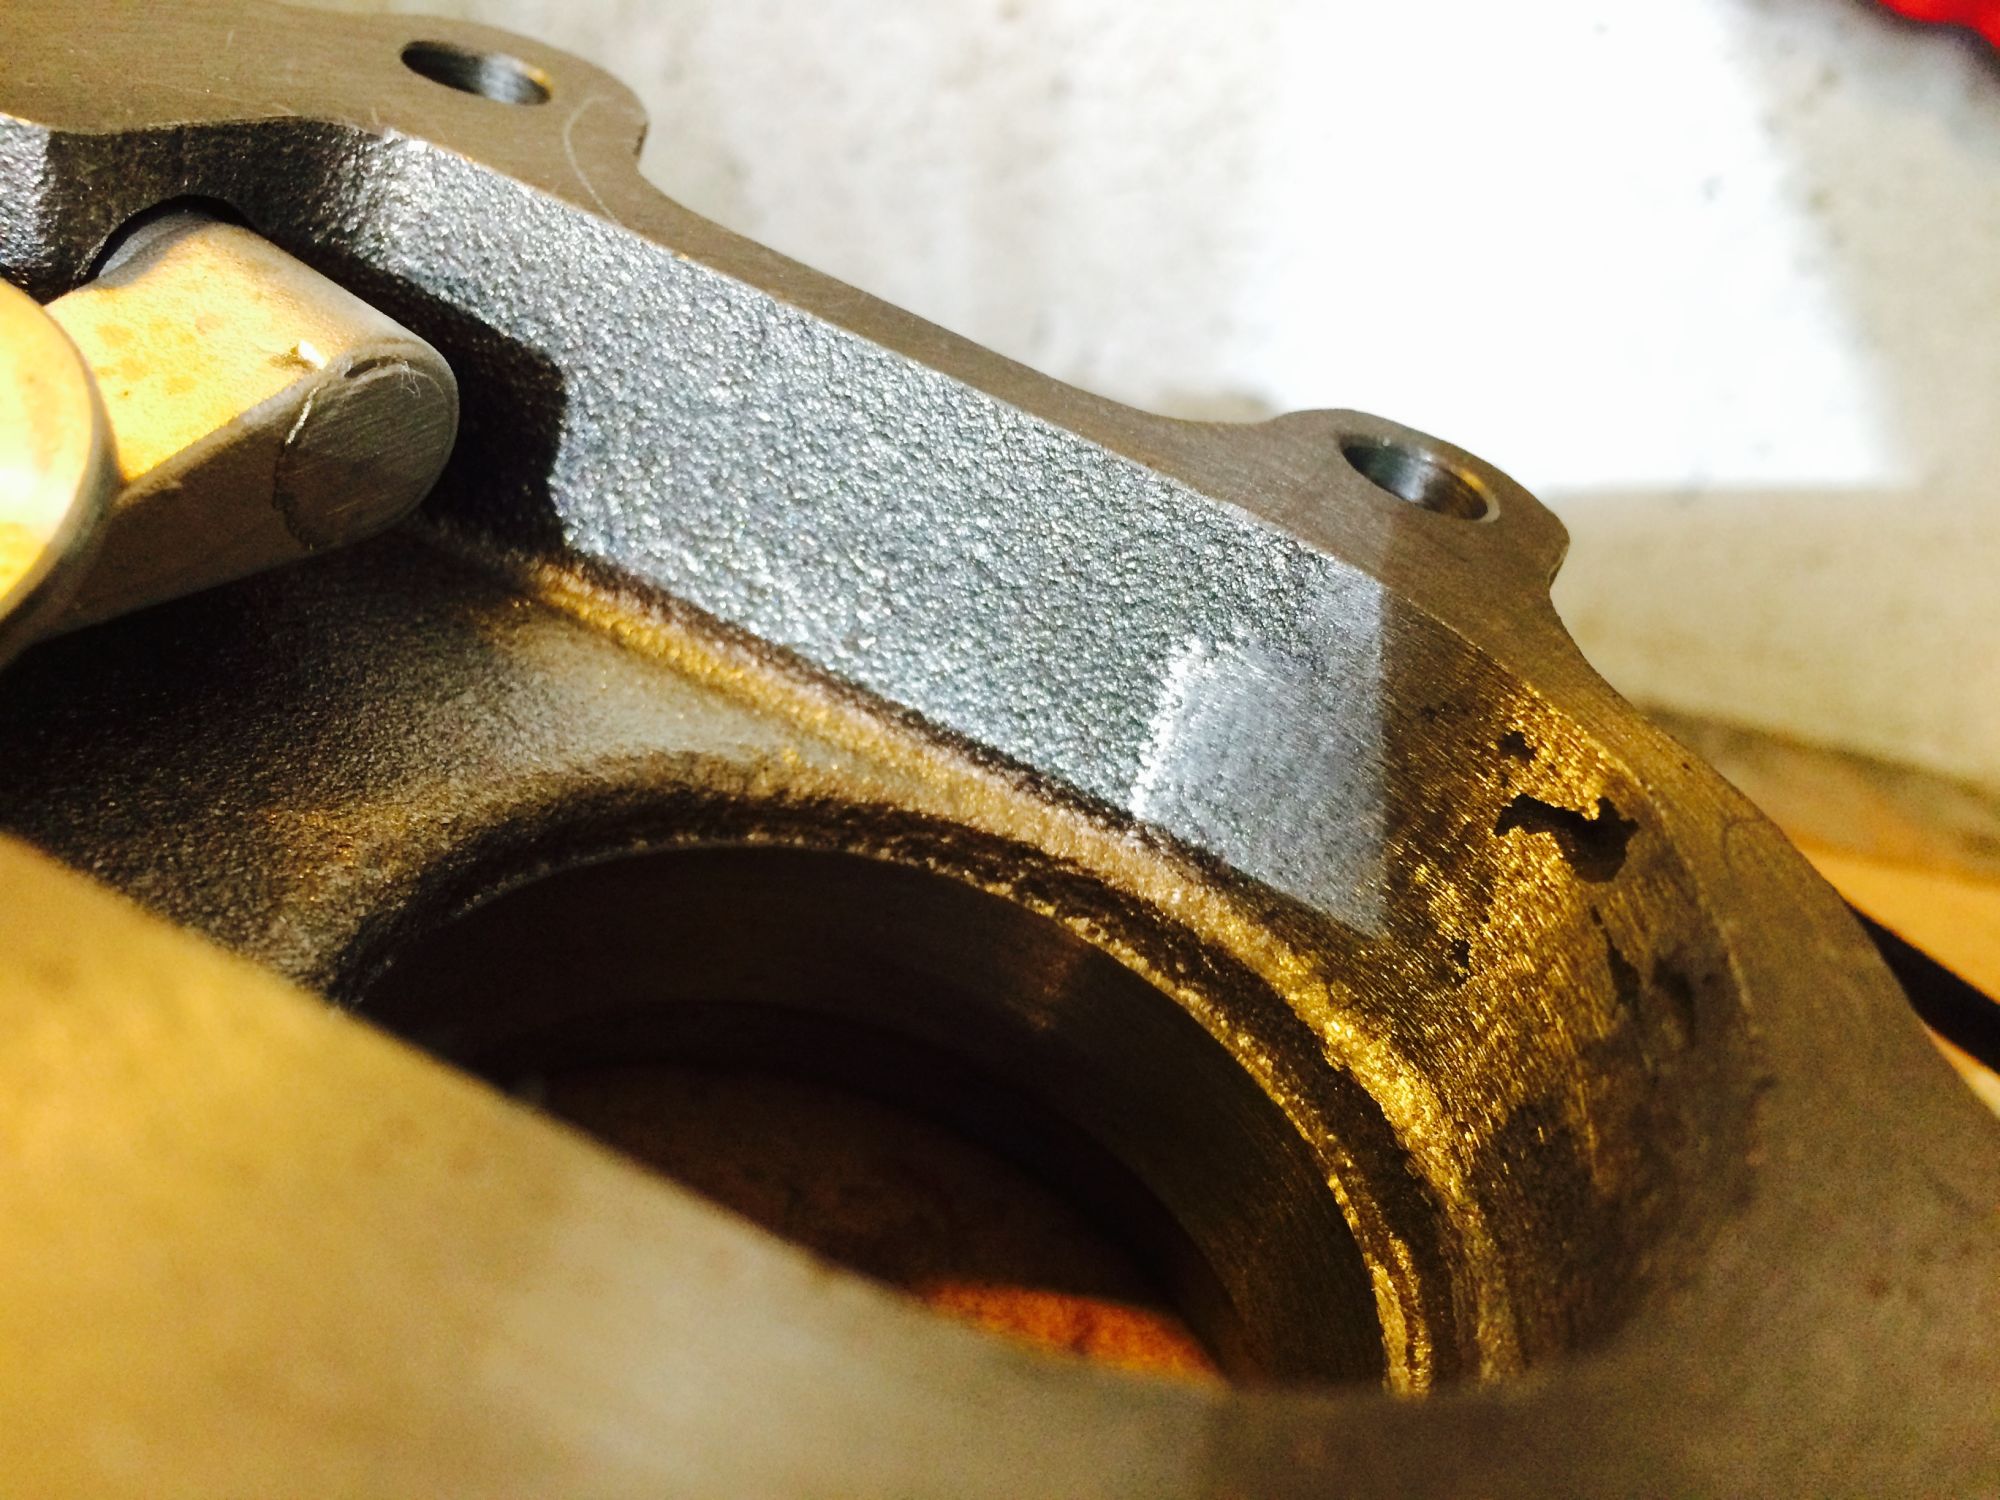
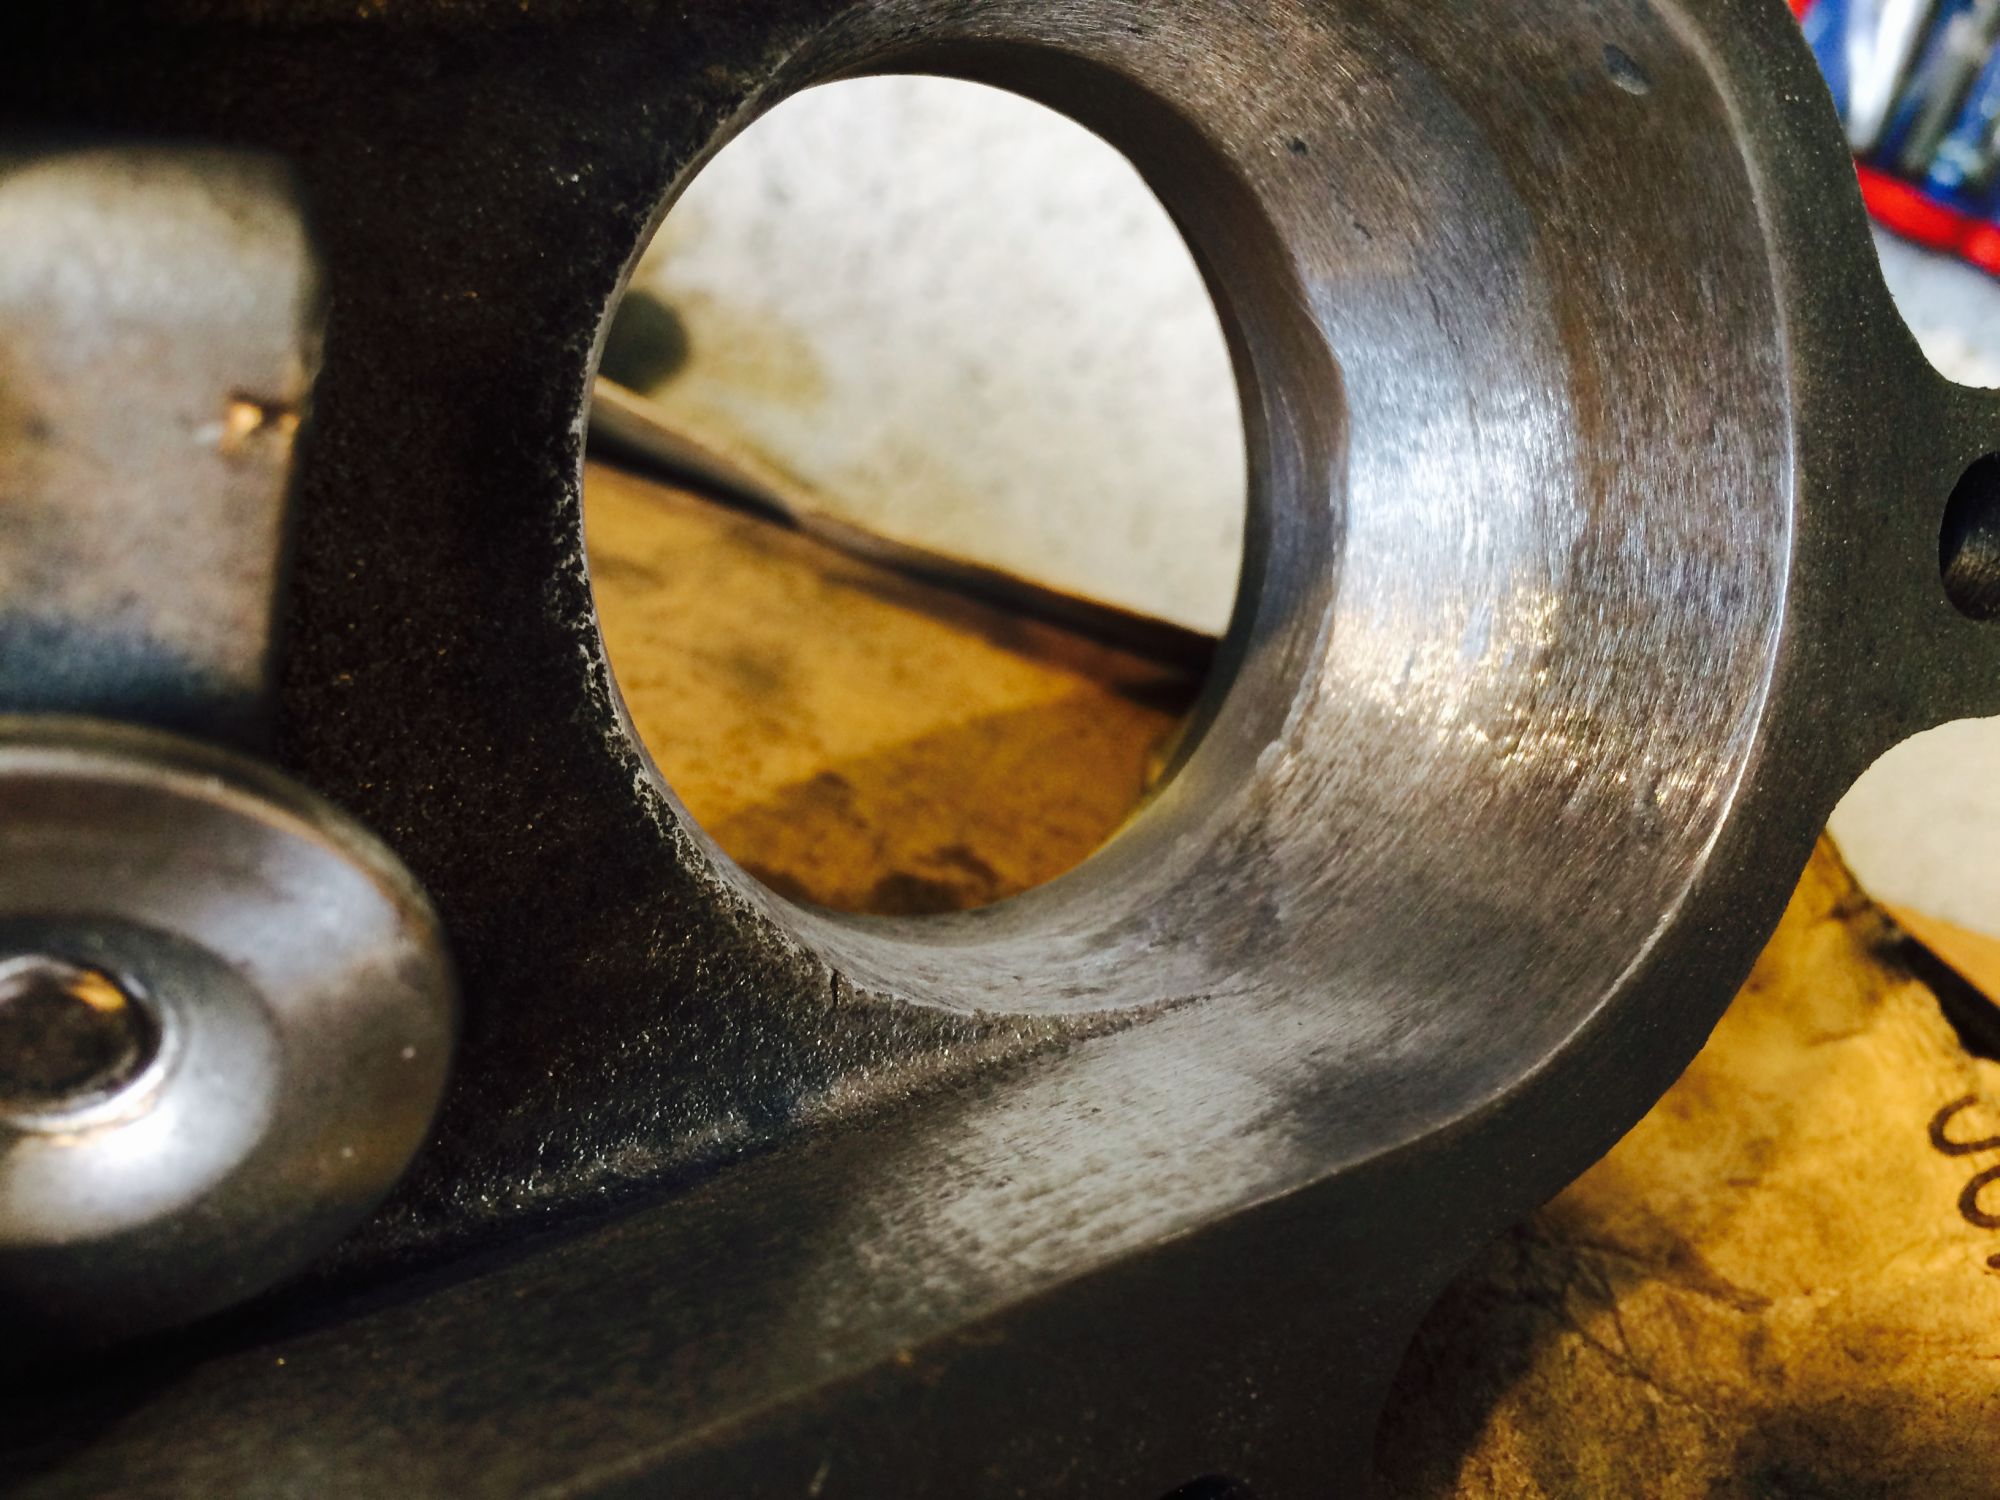


Thats better. (not perfect.)
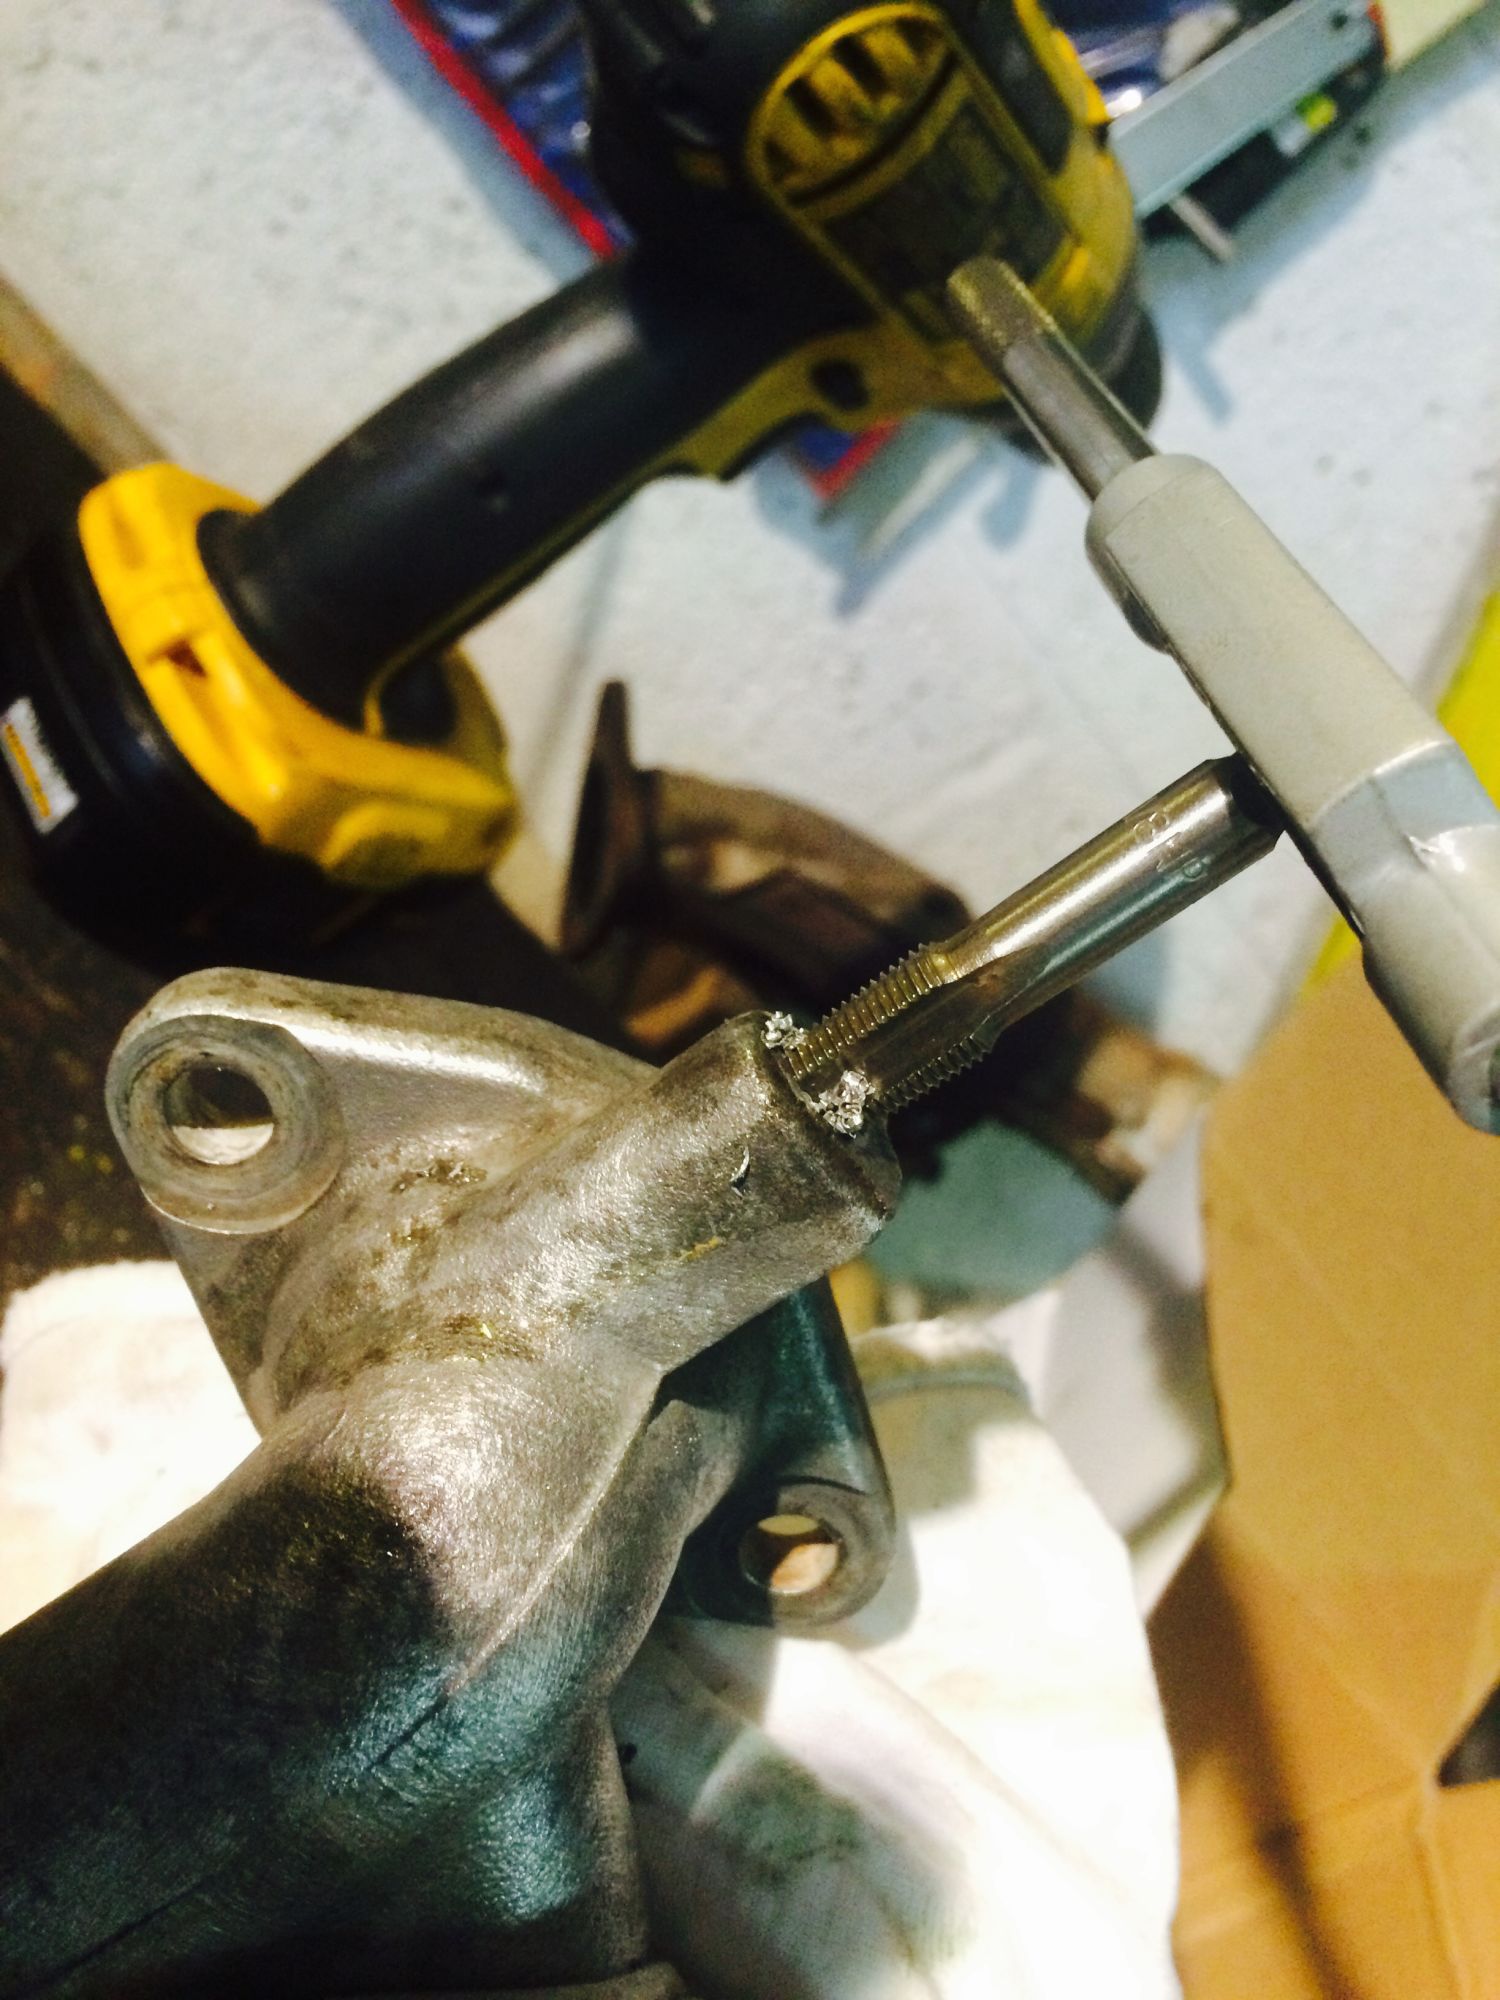


had to redrill the waterpump flange. I will make soms more pictiors next time to show how I mounted it.
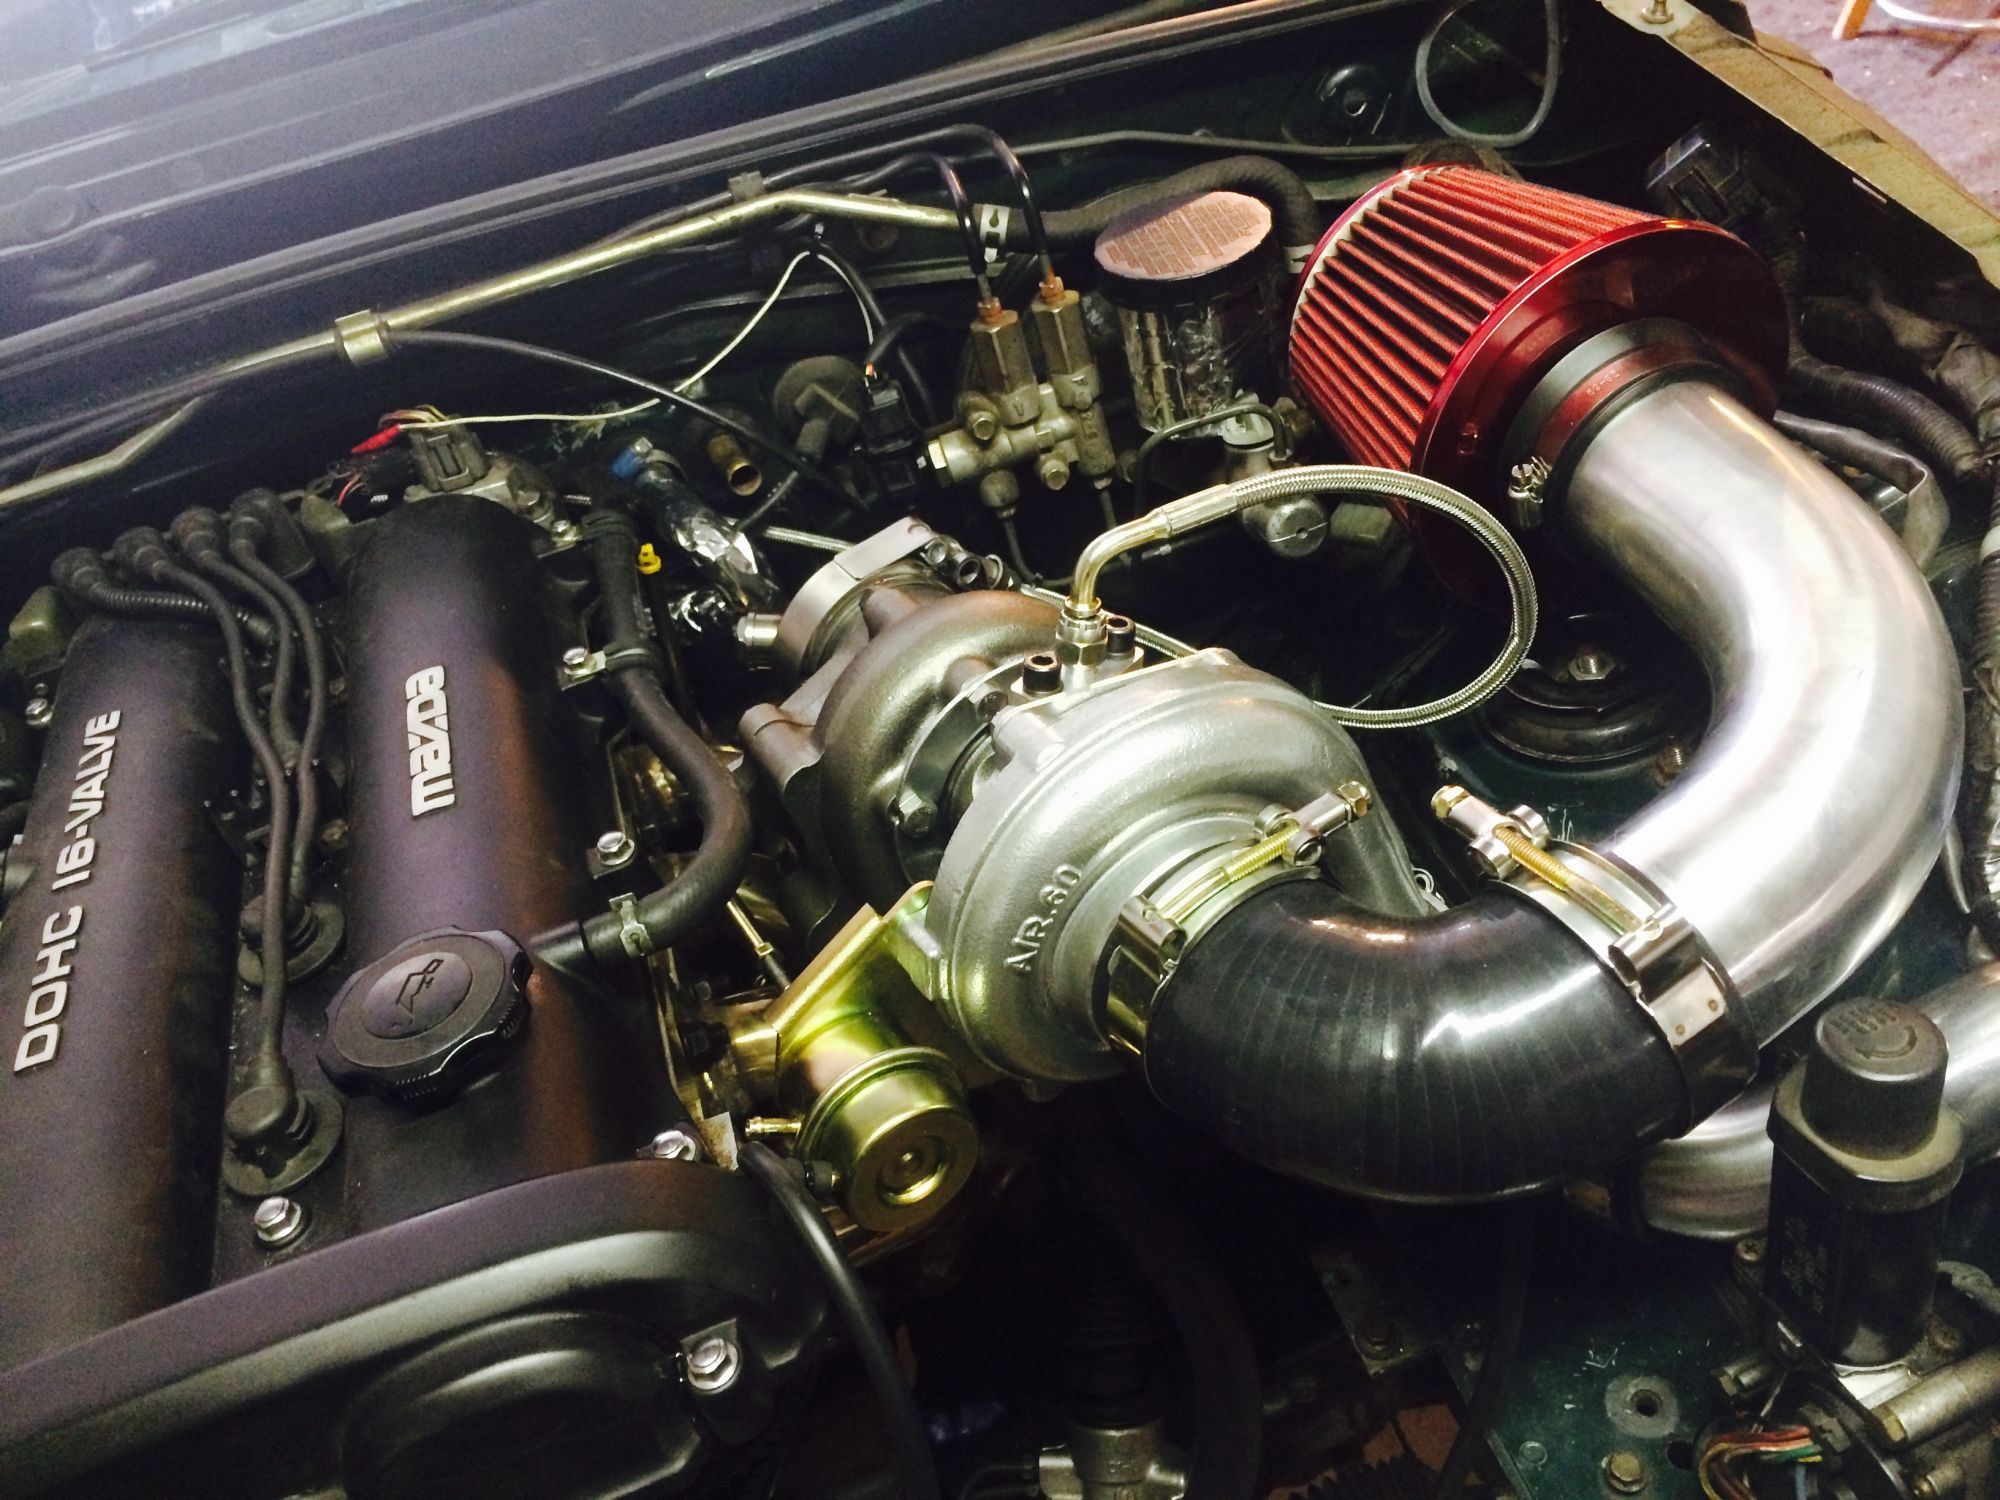


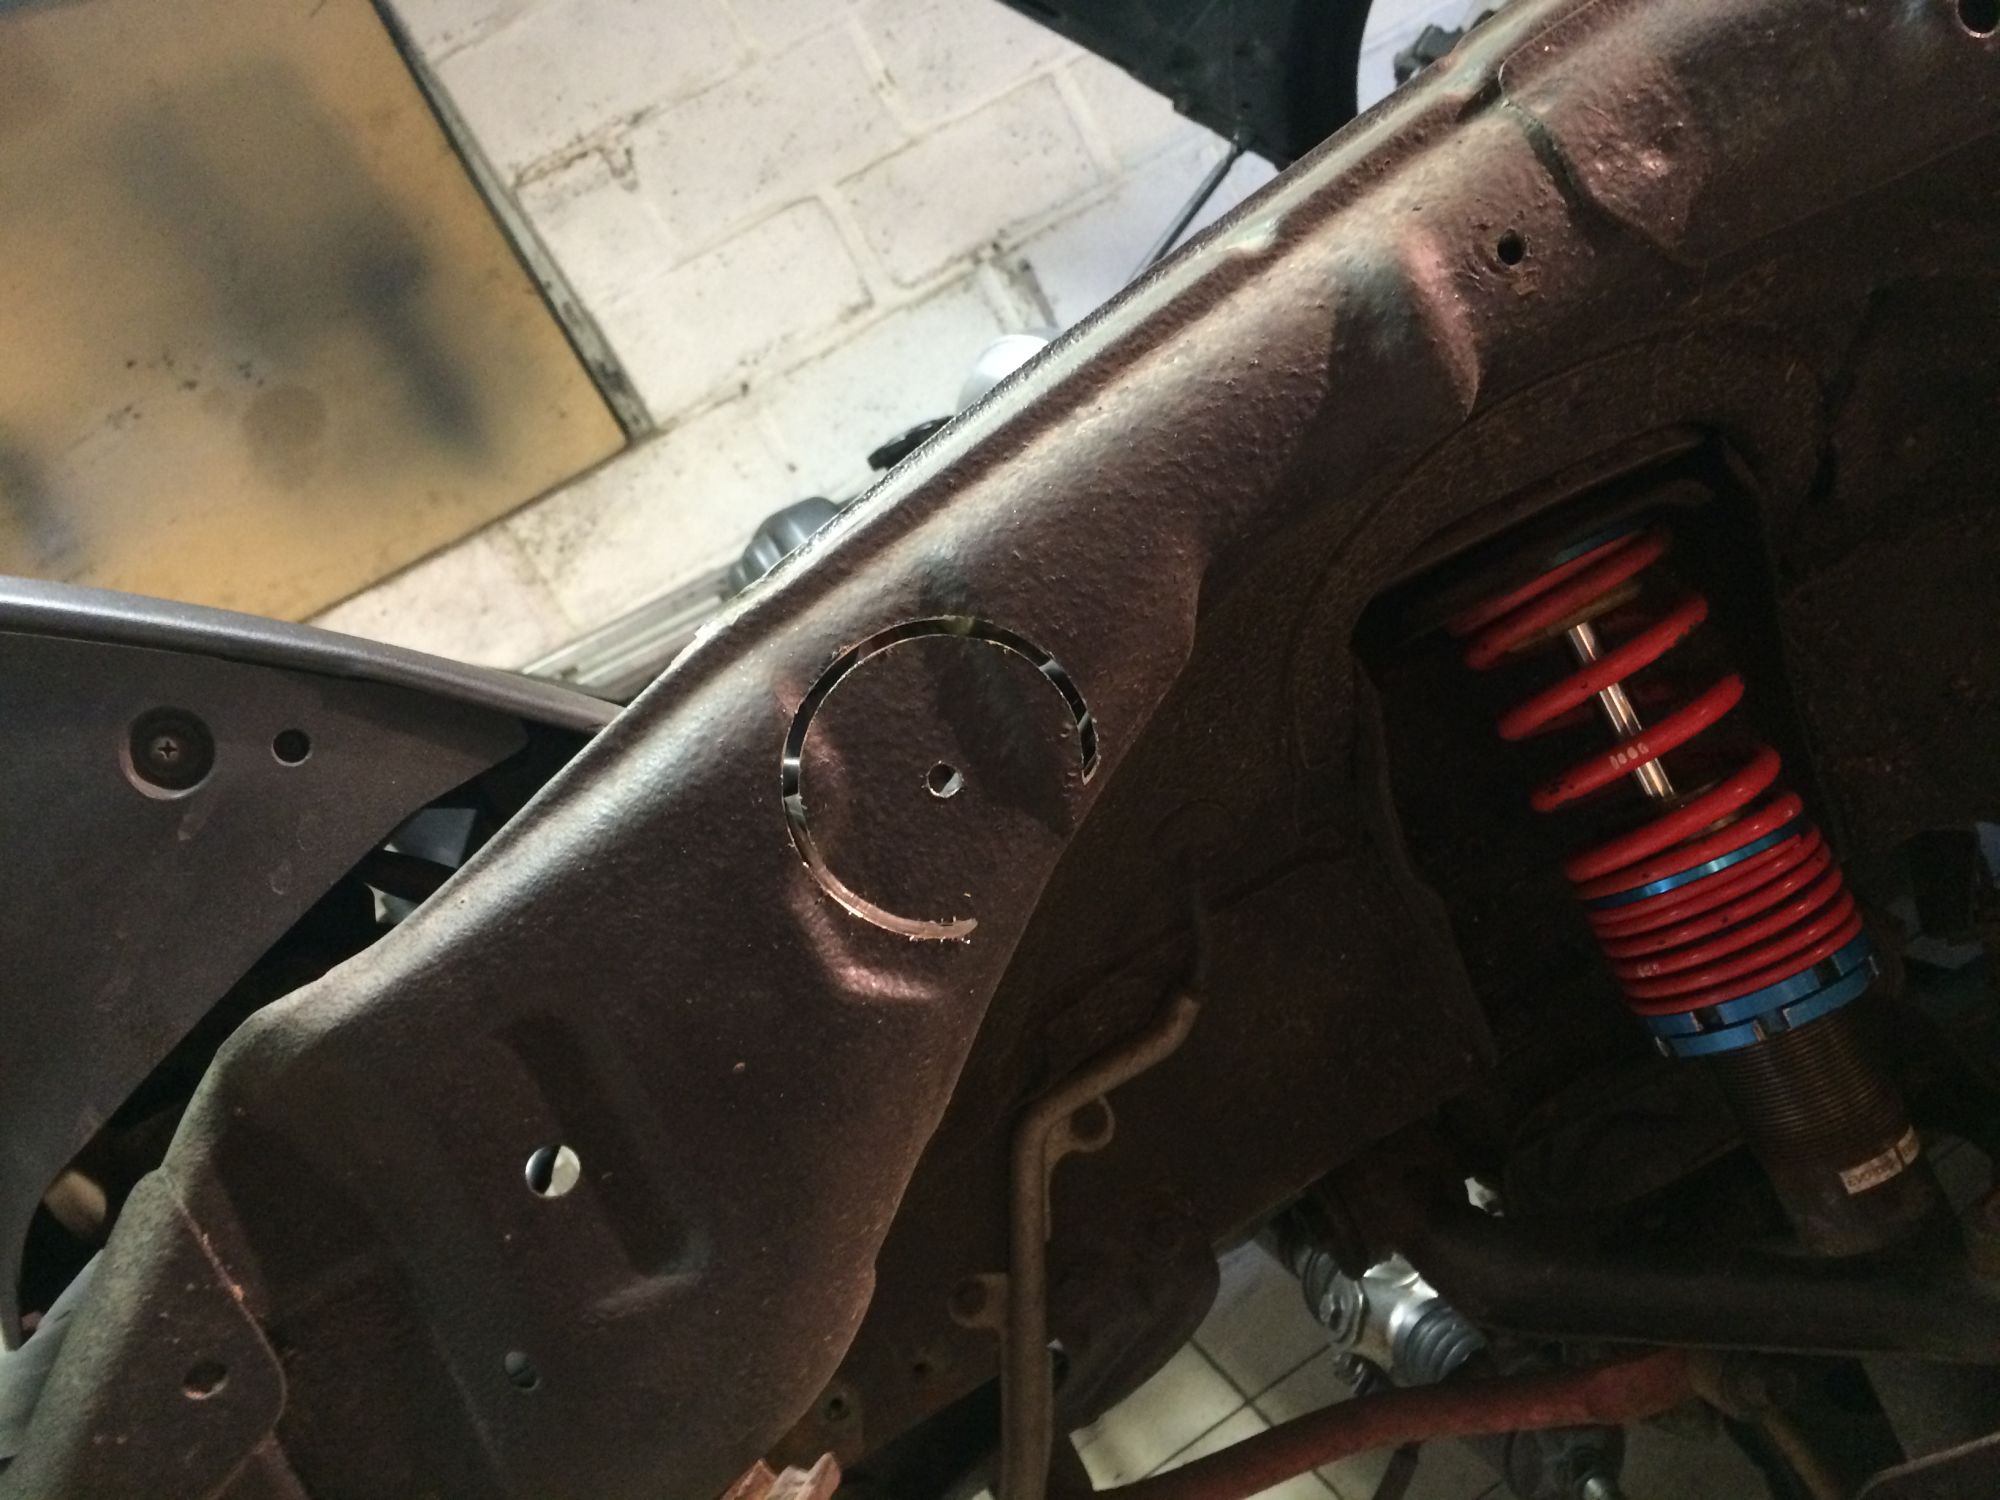
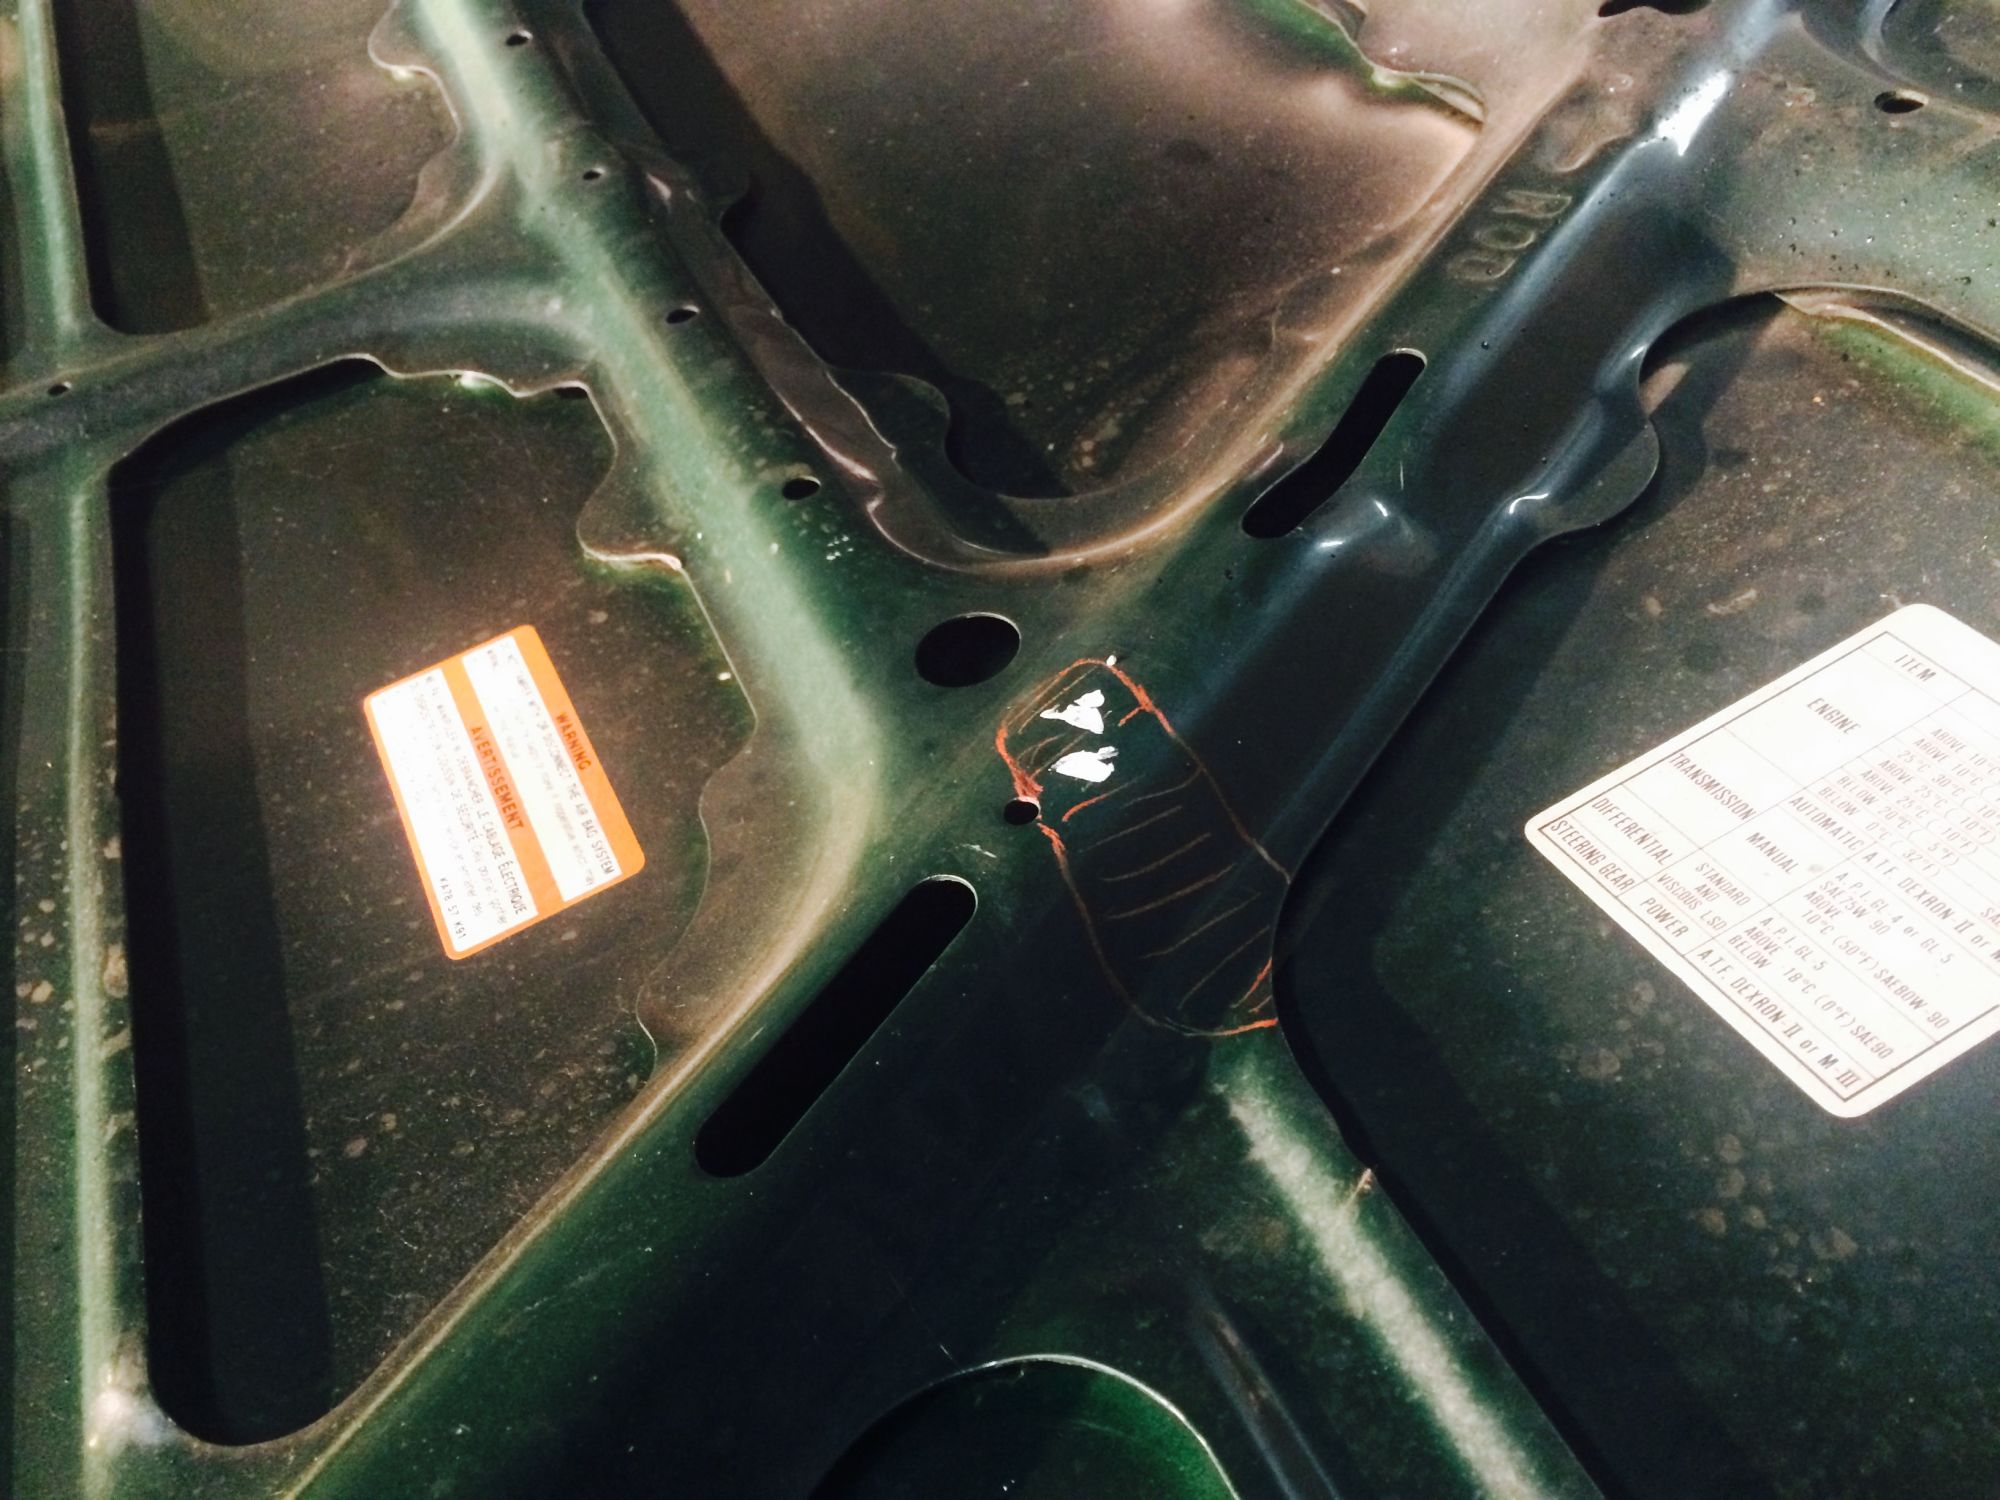
The oil feed to the turbo is hitting my hood.
No time to order new parts. I want to drive it


So lets make some holes.
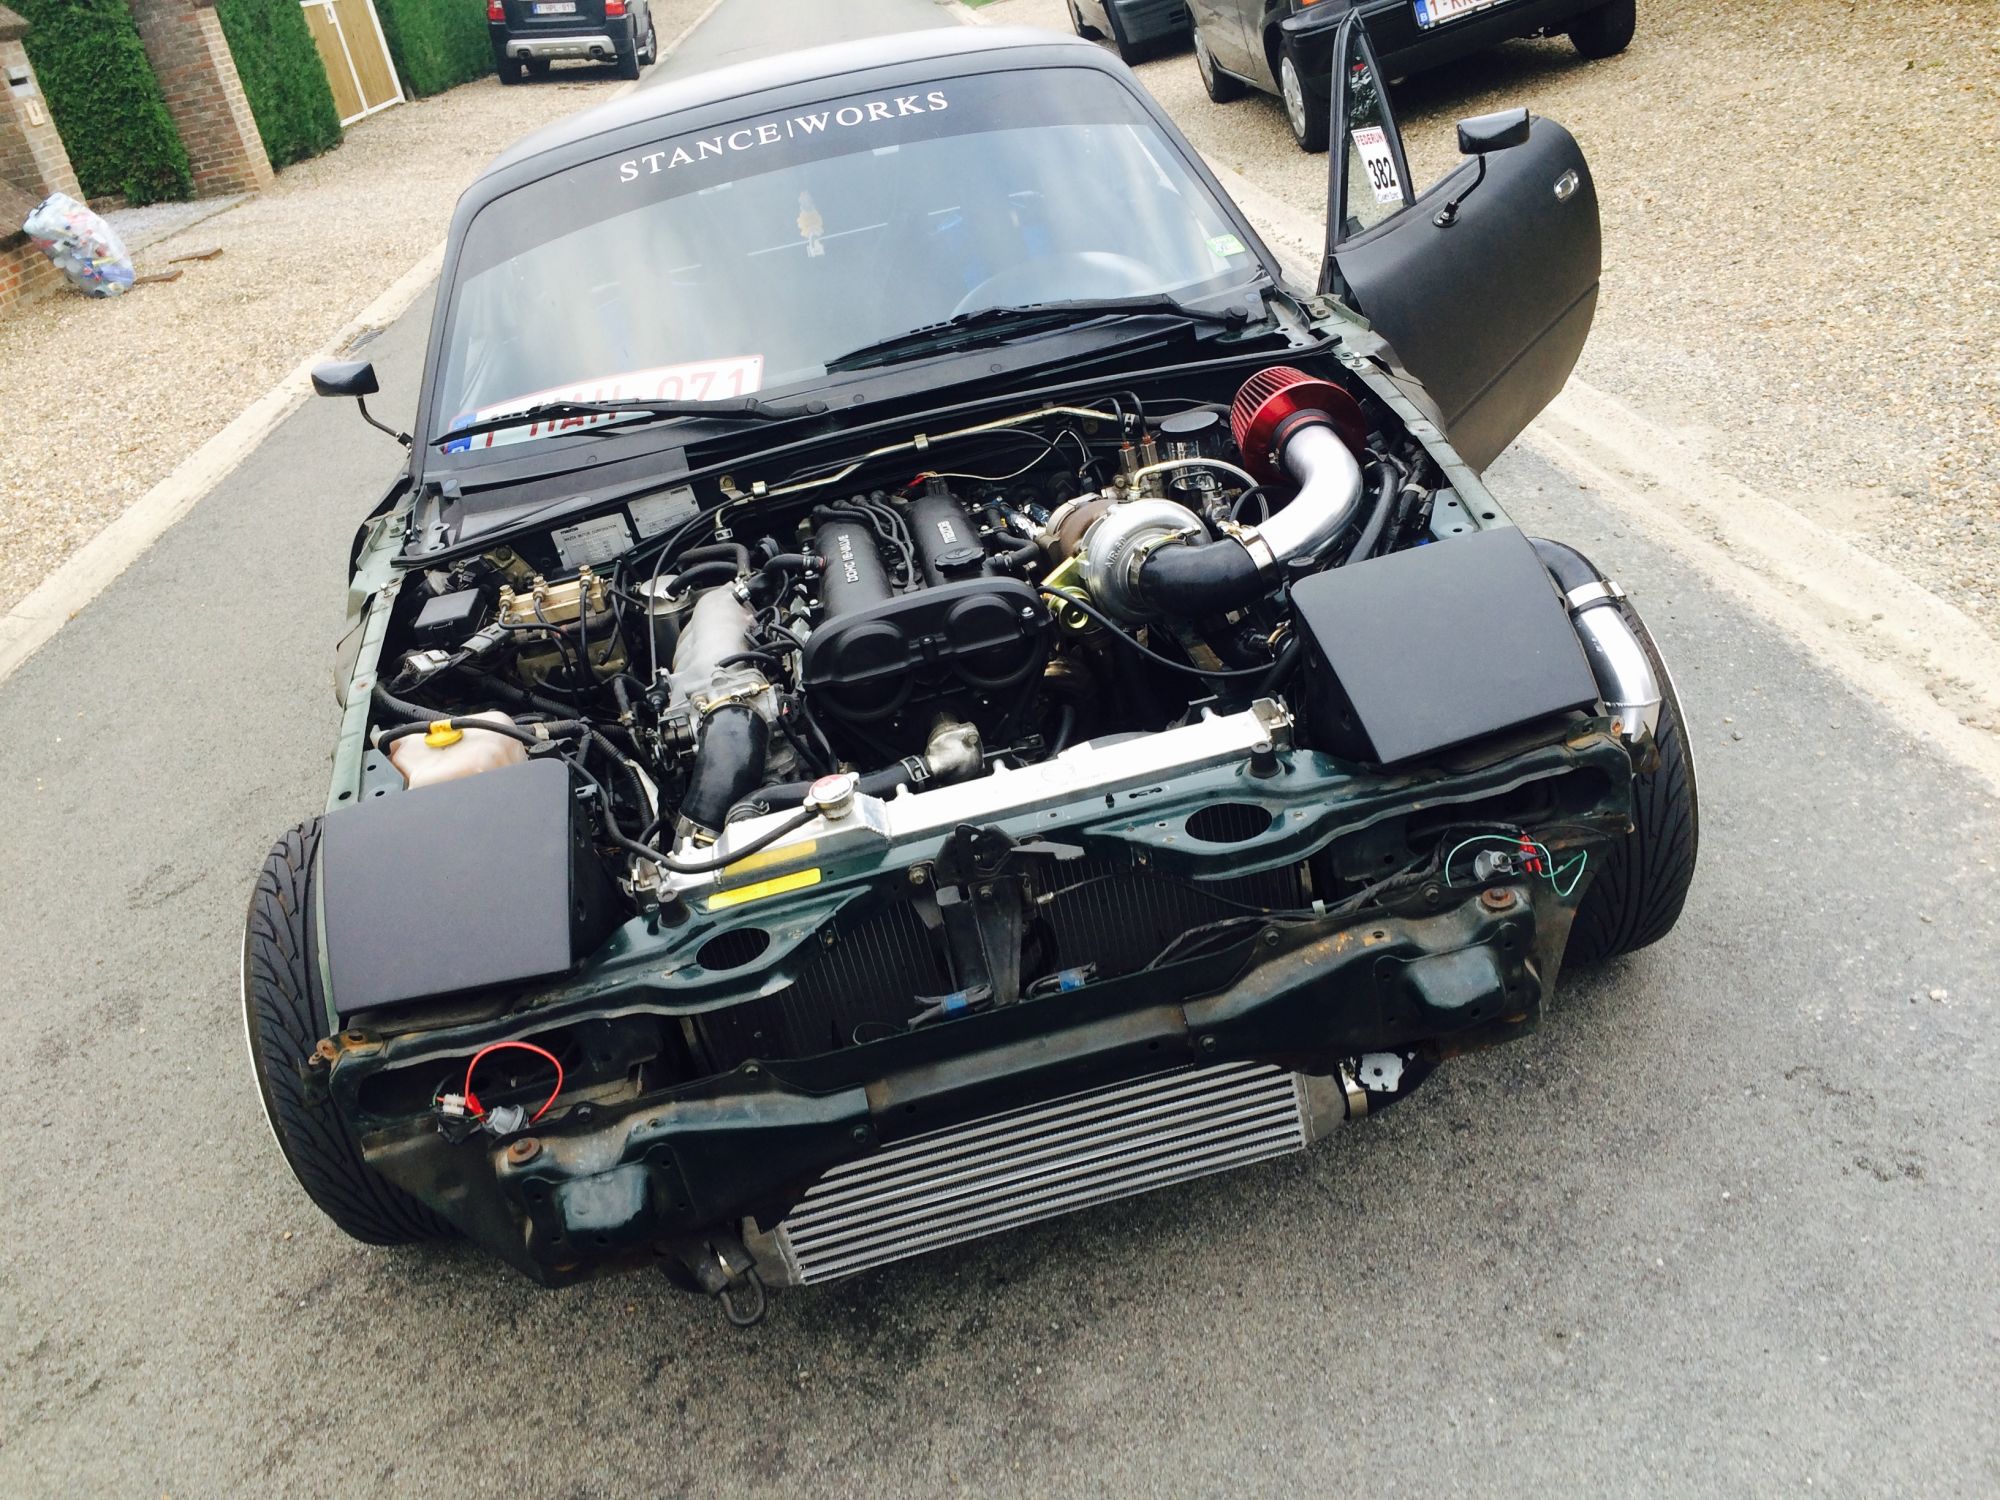


First test drive. !!!!

Boost is like a addiction. The taste of it makes me want more .... All the time !!!
Running 8 psi on stock wastegate actuator made the car run realy rich. 10,4 AFR. (thats because the stock map had a realy rich VE map above 100 kPa) I changed the mapping on my megasquirt en now its like 11 / 11.5 on boost. I'm happy with that. Or should I go leaner ?
I will upload a log with some data to show my setup.
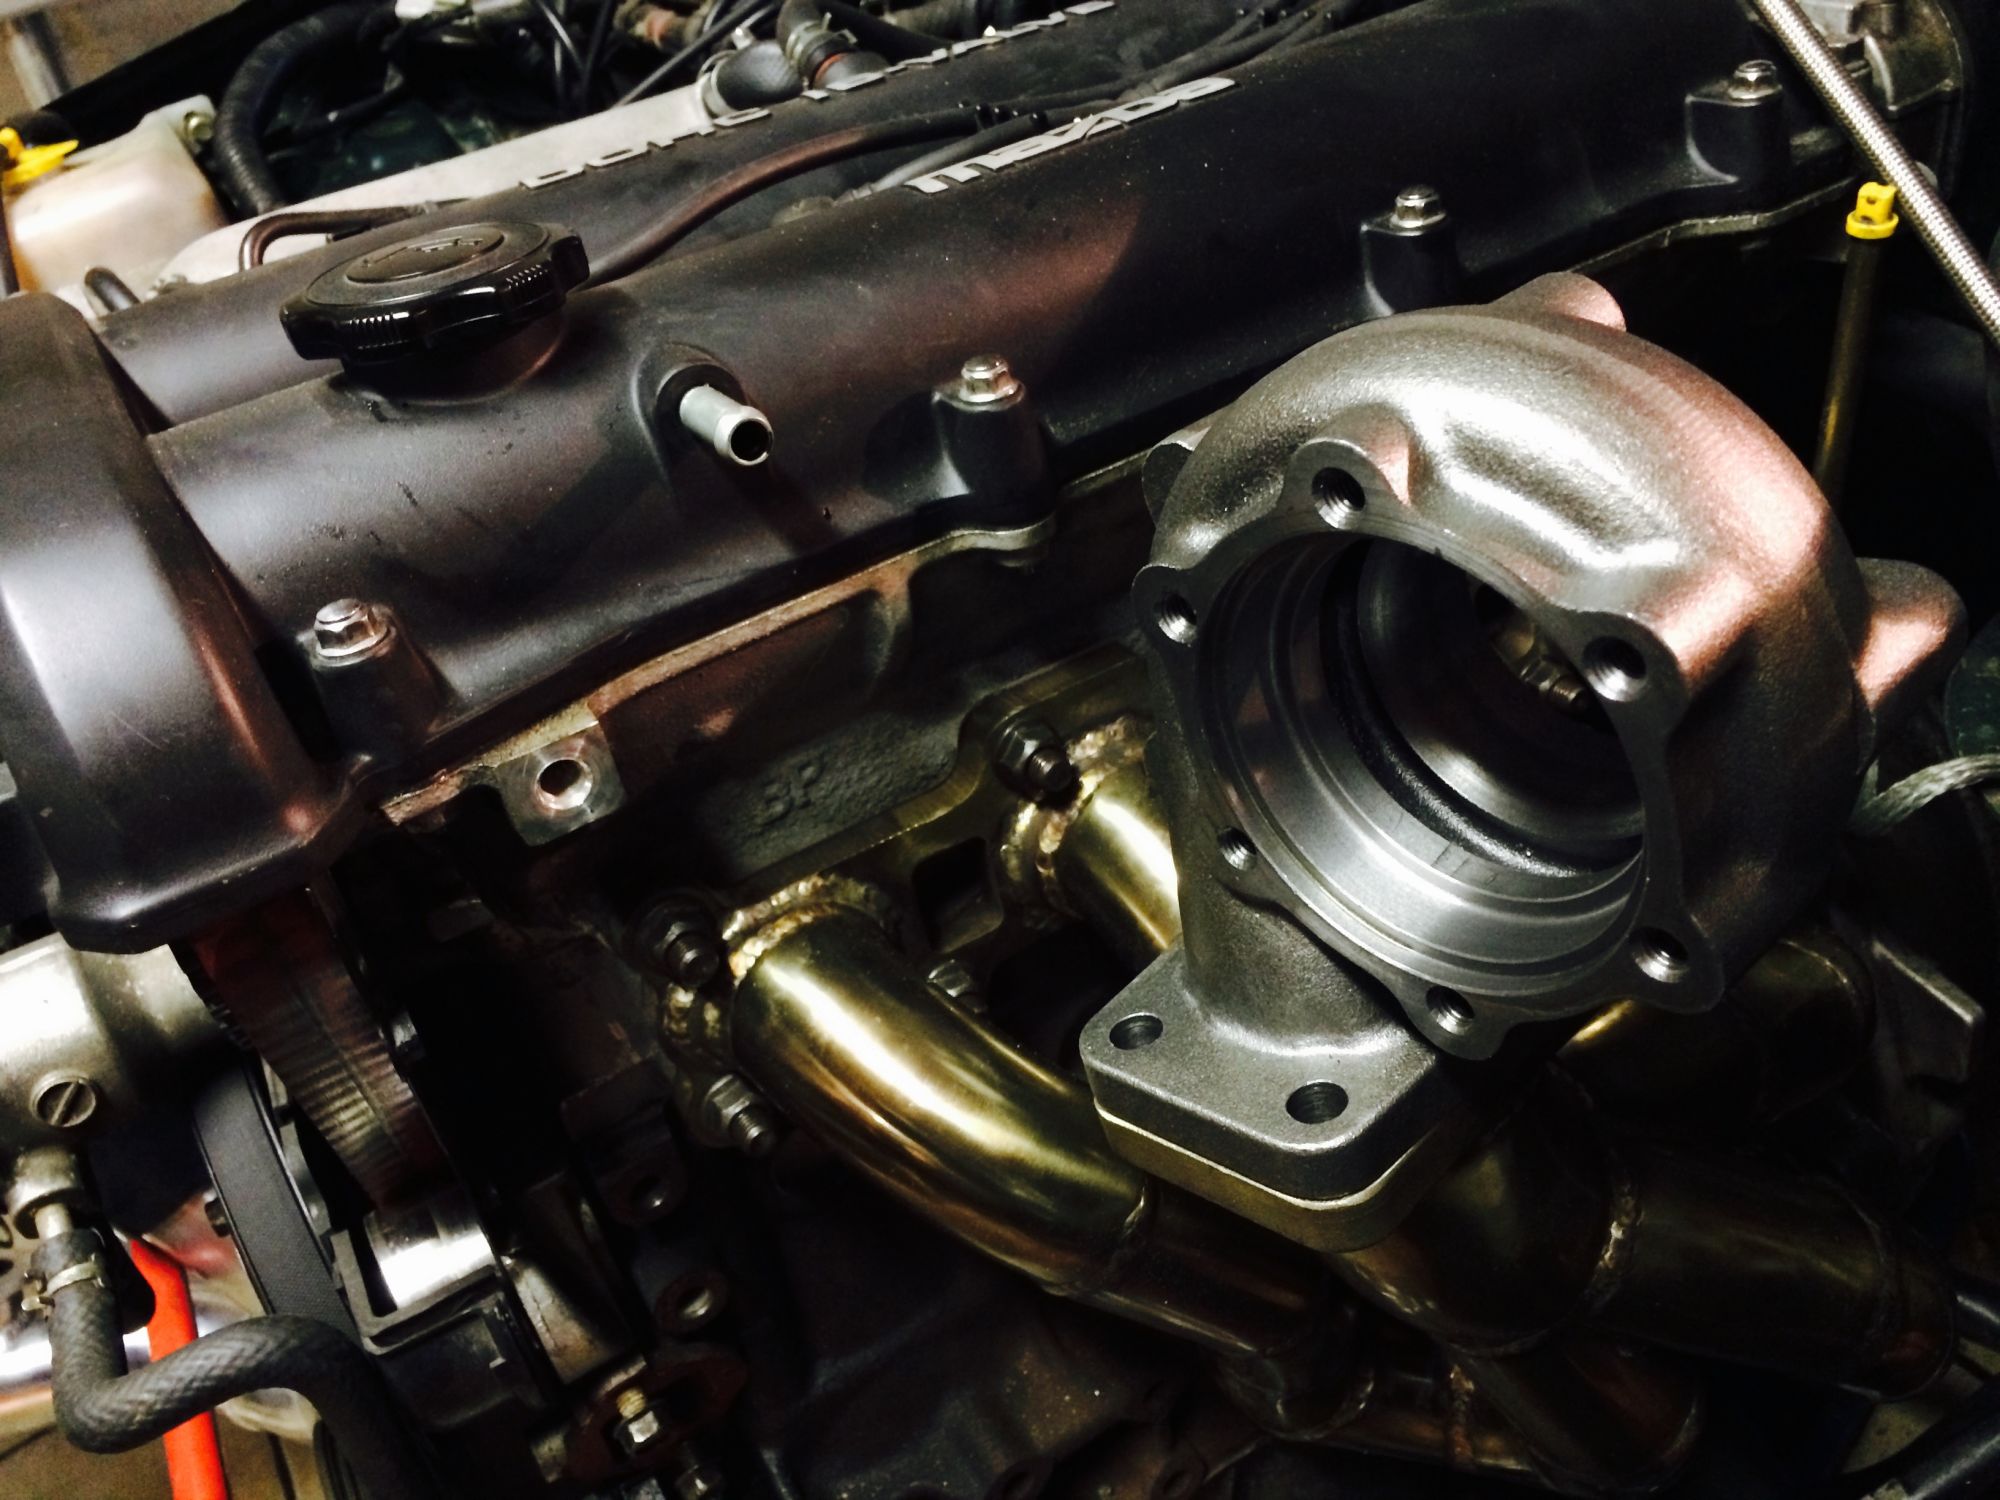
Still a lot of vibration noise from engine/exhaust.
Attached Thumbnails Tim - Building the boosted Miata!-80-img_2946_4e3a3fceb91af01fbd8488401c597ec198b1ac58.jpg   Tim - Building the boosted Miata!-80-img_2947_087169f80ddbde58605f395c22e020ca2996965c.jpg   Tim - Building the boosted Miata!-80-img_2945_9752f57a1545413dd8e415eba30891e117c0afae.jpg   Tim - Building the boosted Miata!-80-img_2955_ef2951dee88db6c59dd43ecd1076ed2674c6abc7.jpg   Tim - Building the boosted Miata!-80-img_2964_d049ba26966871ac735fd48708d8e3f519422a2a.jpg  

Tim - Building the boosted Miata!-80-img_2970_65fd104717ca0b9925c997f29b63bb21f08b4d94.jpg   Tim - Building the boosted Miata!-80-img_2968_bc2ba26cc36c66c2cd72cd198028119dfe0f3870.jpg   Tim - Building the boosted Miata!-80-img_2994_a2faa3f48052170d351e9dc259006440abb08258.jpg   Tim - Building the boosted Miata!-80-img_2995_3da60f23fb2909b9c44f64f40b7798872e5d865b.jpg   Tim - Building the boosted Miata!-80-img_2973_58a74d6832512a60722e9ab3d63f385343b5ed46.jpg  

Old 07-29-2015 | 08:35 AM
  #13  
Tim_Belgium's Avatar
Thread Starter
Junior Member
 
Joined: Apr 2015
Posts: 50
Total Cats: 4
From: Belgium
Default

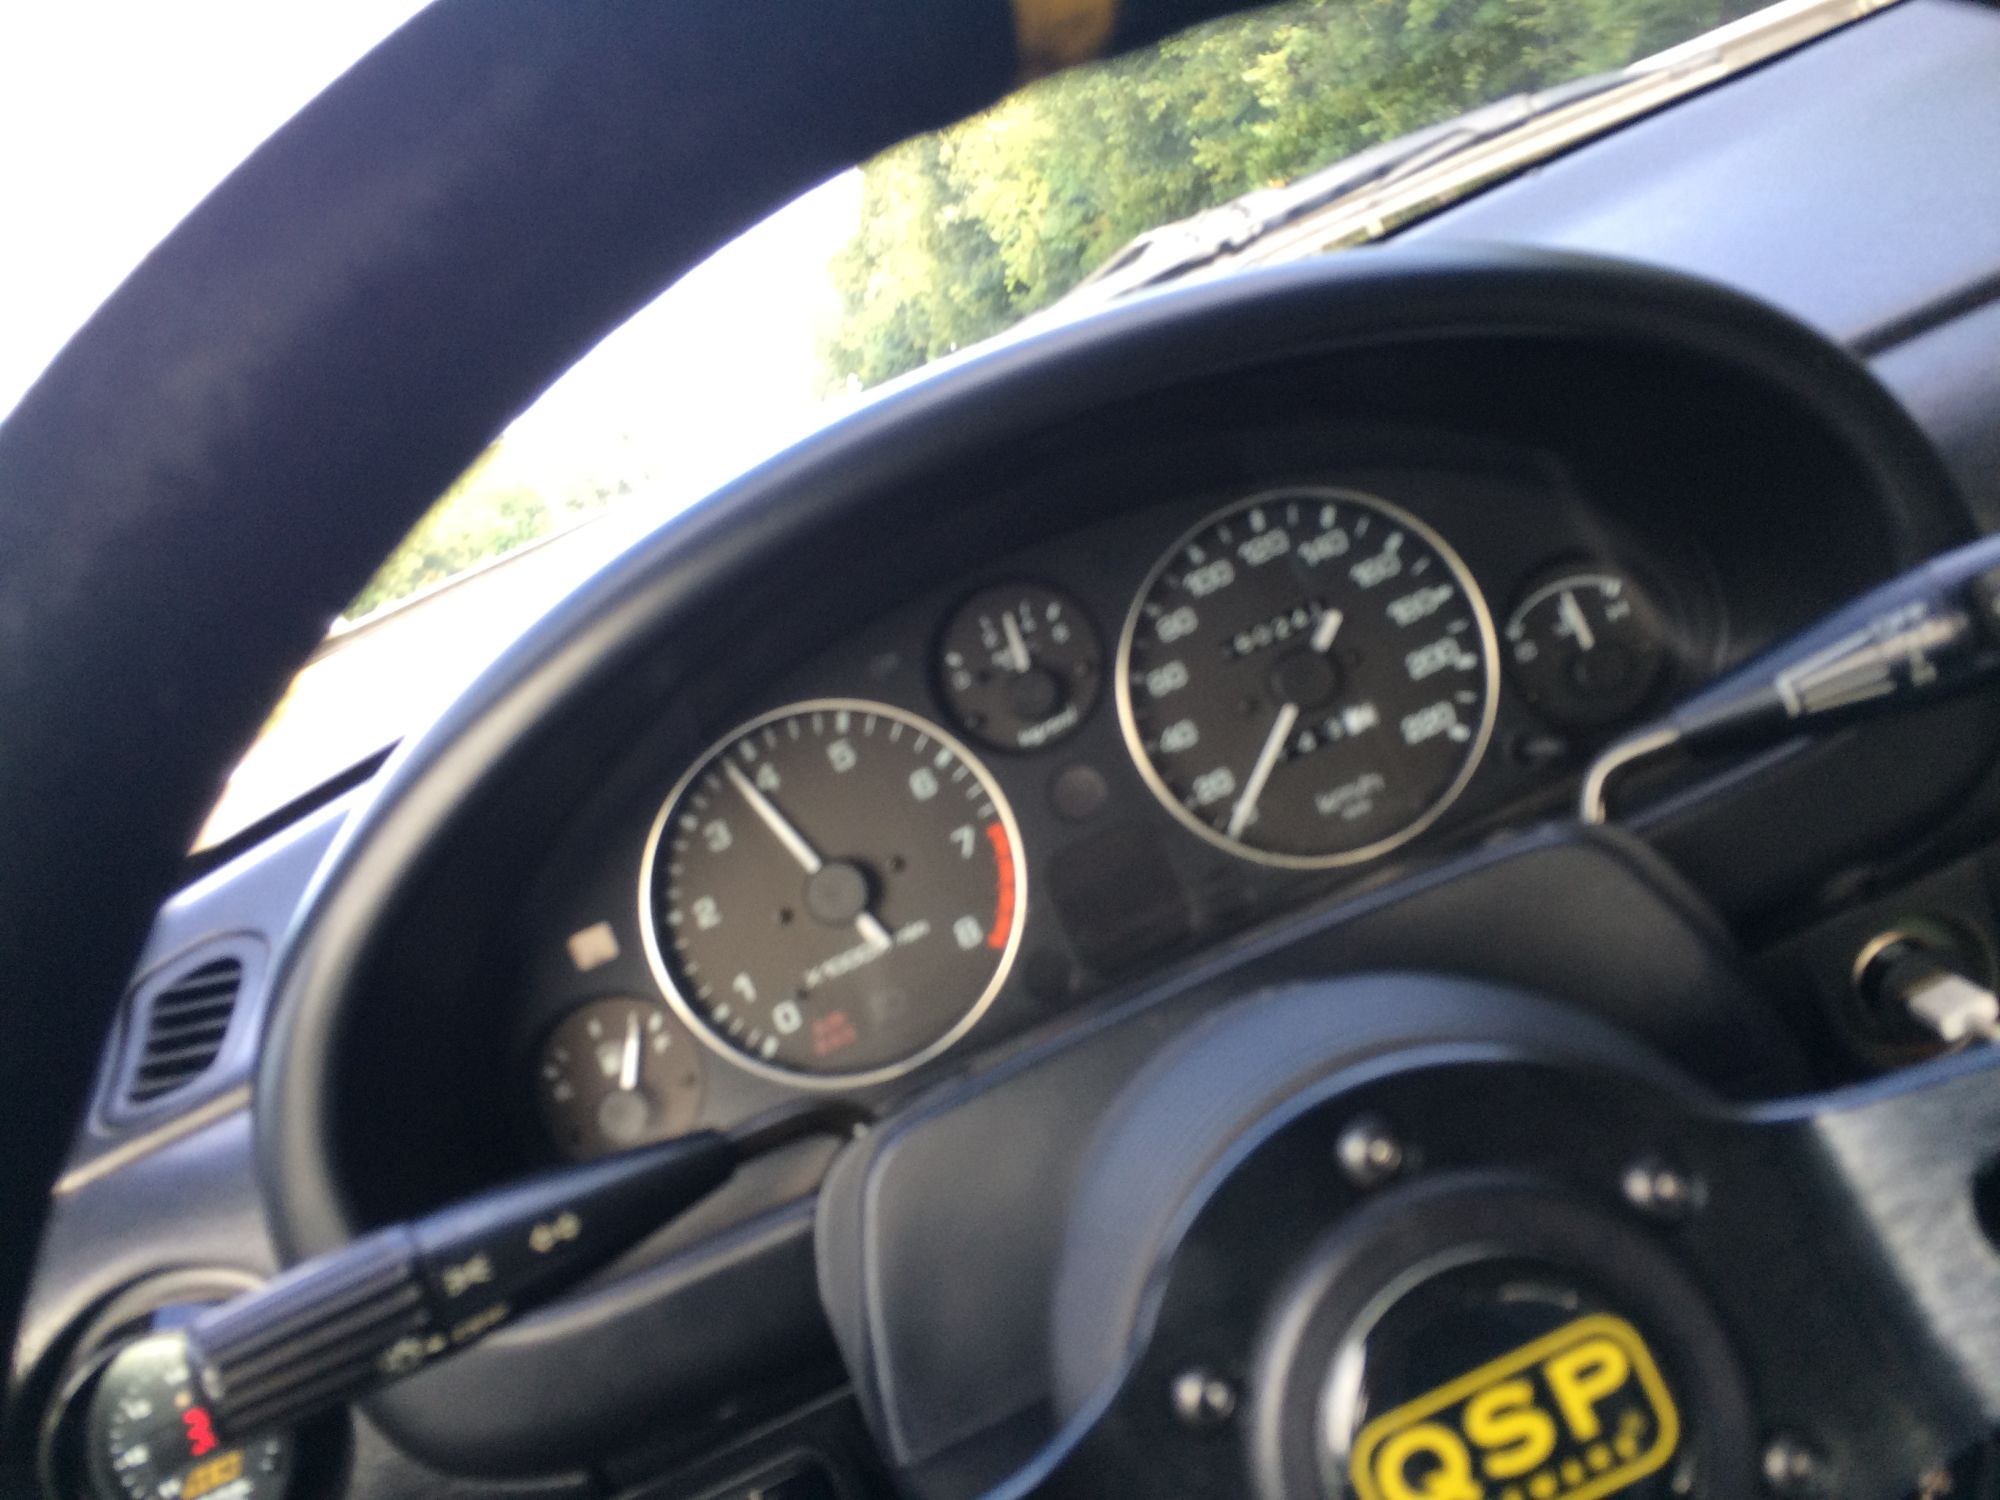
I have a problem with my speedometer. It just stopped working.


I checked the connection in the Gearbox and it looks fine. I will be checking the dash connection this weekend.
Attached Thumbnails Tim - Building the boosted Miata!-80-img_3022_8b62fdccd51634d6948e471de922ab97b0a784f1.jpg  
Old 07-29-2015 | 08:44 AM
  #14  
Tim_Belgium's Avatar
Thread Starter
Junior Member
 
Joined: Apr 2015
Posts: 50
Total Cats: 4
From: Belgium
Default


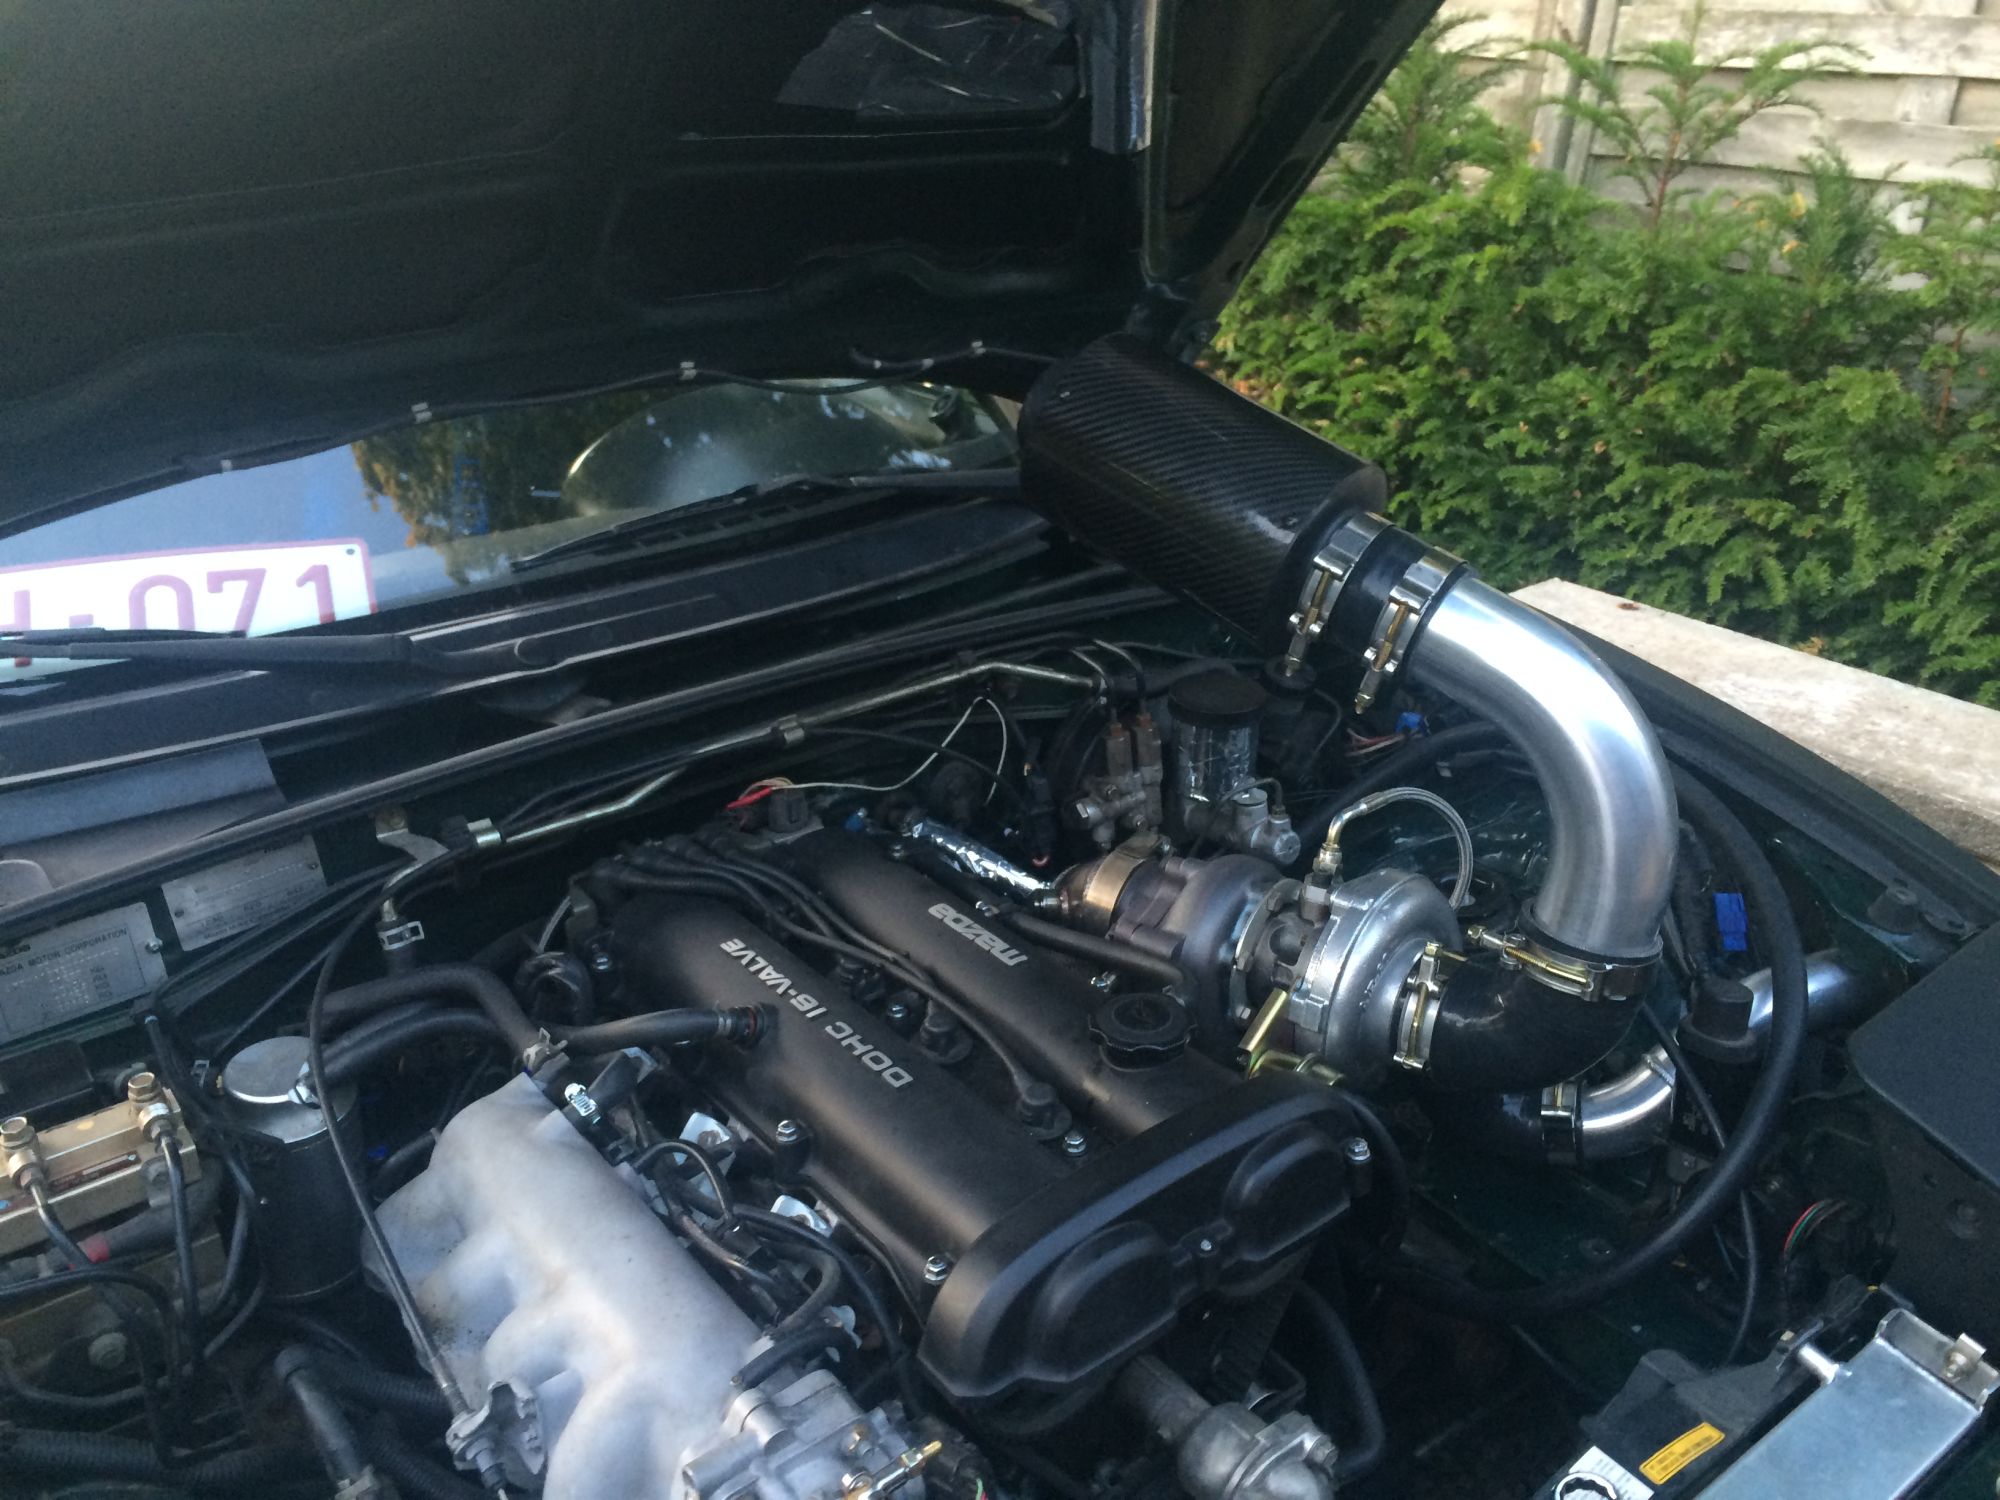
I changed the airfilter with this one. I will make a cold air side so it will not suck in the hot under hood air. (The picture is just for show, i'm going to flip it to the side.)


Also today my coolant parts came in the mailbox.
Attached Thumbnails Tim - Building the boosted Miata!-80-img_3018_76574ed922adb99e85342ea6f5e6cbb2b5b7de5b.jpg  
Old 07-29-2015 | 08:44 AM
  #15  
sixshooter's Avatar
Moderator
iTrader: (12)
 
Joined: Nov 2008
Posts: 21,117
Total Cats: 3,142
From: Tampa, Florida
Default

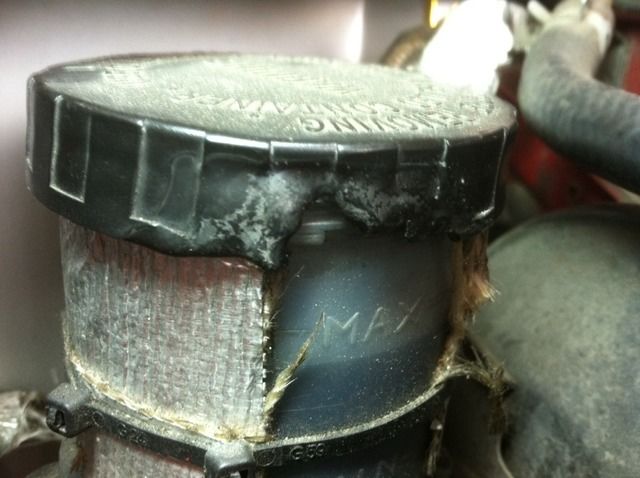
It is likely you melted the speedo cable near your turbo. I don't see any heat shielding. You are lucky if your throttle cable hasn't done the same. And it can melt the reservoir on the brakes.
Old 07-29-2015 | 11:18 AM
  #16  
Tim_Belgium's Avatar
Thread Starter
Junior Member
 
Joined: Apr 2015
Posts: 50
Total Cats: 4
From: Belgium
Default

Originally Posted by sixshooter
It is likely you melted the speedo cable near your turbo. I don't see any heat shielding. You are lucky if your throttle cable hasn't done the same. And it can melt the reservoir on the brakes.
Thanks for the info. I will make some heat shielding. I found this on de Web:


Never knew this could happen.


and this.
Attached Thumbnails Tim - Building the boosted Miata!-80-photo1_a0d0b4f2795609cb073425fc472f7990a0a396de.jpg   Tim - Building the boosted Miata!-80-photo4_1_0eb7cf07bb1599c3260ae7963604456f610d4fdd.jpg  
Old 07-29-2015 | 03:08 PM
  #17  
sixshooter's Avatar
Moderator
iTrader: (12)
 
Joined: Nov 2008
Posts: 21,117
Total Cats: 3,142
From: Tampa, Florida
Default

Mine was shielded and still melted on the racetrack at 130mph.
Old 07-29-2015 | 05:05 PM
  #18  
Tim_Belgium's Avatar
Thread Starter
Junior Member
 
Joined: Apr 2015
Posts: 50
Total Cats: 4
From: Belgium
Default

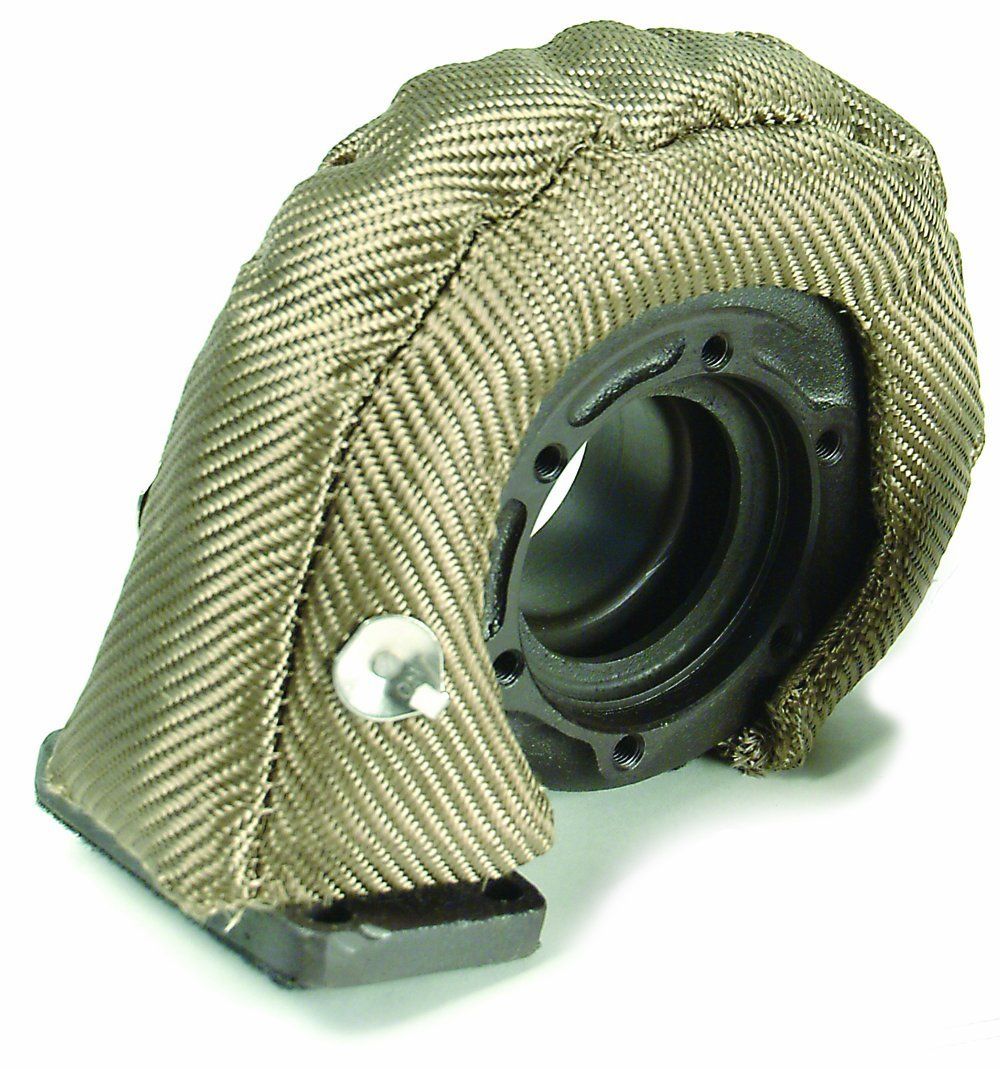
I also orderd a turbo blanket and I will wrap the exhaust header.
Hope it will lower the underhood temps.
Attached Thumbnails Tim - Building the boosted Miata!-80-71ypdjlaznl_sl1069__22448b1e2fad1ac6be569a431a886f0061f5c3bc.jpg  
Old 07-30-2015 | 11:05 AM
  #19  
Zaphod's Avatar
Elite Member
 
Joined: Mar 2006
Posts: 1,559
Total Cats: 105
From: Schwarzenberg, Germany
Default

I have just noticed this thread... (must have missed before)
Please be aware, that those red IL Motorsport timing belts tend to lengthen quite a bit
and the slap on the valve cover... ( I guess this is why it looks like it looks in those second pictures of the belt - mine did look like this too.)

Just for your information, maybe you already swapped it out...
Old 07-30-2015 | 11:59 AM
  #20  
Tim_Belgium's Avatar
Thread Starter
Junior Member
 
Joined: Apr 2015
Posts: 50
Total Cats: 4
From: Belgium
Default

Originally Posted by Zaphod
I have just noticed this thread... (must have missed before)
Please be aware, that those red IL Motorsport timing belts tend to lengthen quite a bit
and the slap on the valve cover... ( I guess this is why it looks like it looks in those second pictures of the belt - mine did look like this too.)

Just for your information, maybe you already swapped it out...

Thanks for the information, I have not changed it yet. The best to replace it with is the blue heavy duty timing belt I'm guessing?


All times are GMT -4. The time now is 04:15 AM.