When you click on links to various merchants on this site and make a purchase, this can result in this site earning a commission. Affiliate programs and affiliations include, but are not limited to, the eBay Partner Network.
If you start getting crank sensor faults at high rpm that result in limp mode, it�s because of the connector. I bought the kpower engine harness and a new Honda crank sensor. The aftermarket pins in the connector are just slightly too big. Solution for me was to depin and very very gently squish the female pin so that when it goes into the male pin, it kinda goes on hard. No more limp mode ever since. Got this info from 3/4 midget racers that use K24s. Kpower said the connector was good but I knew something wasn�t right. Confirmed from midget guys.
I have an OEM harness here as well, maybe i'll steal the female side off that harness and pin that on. Thanks.
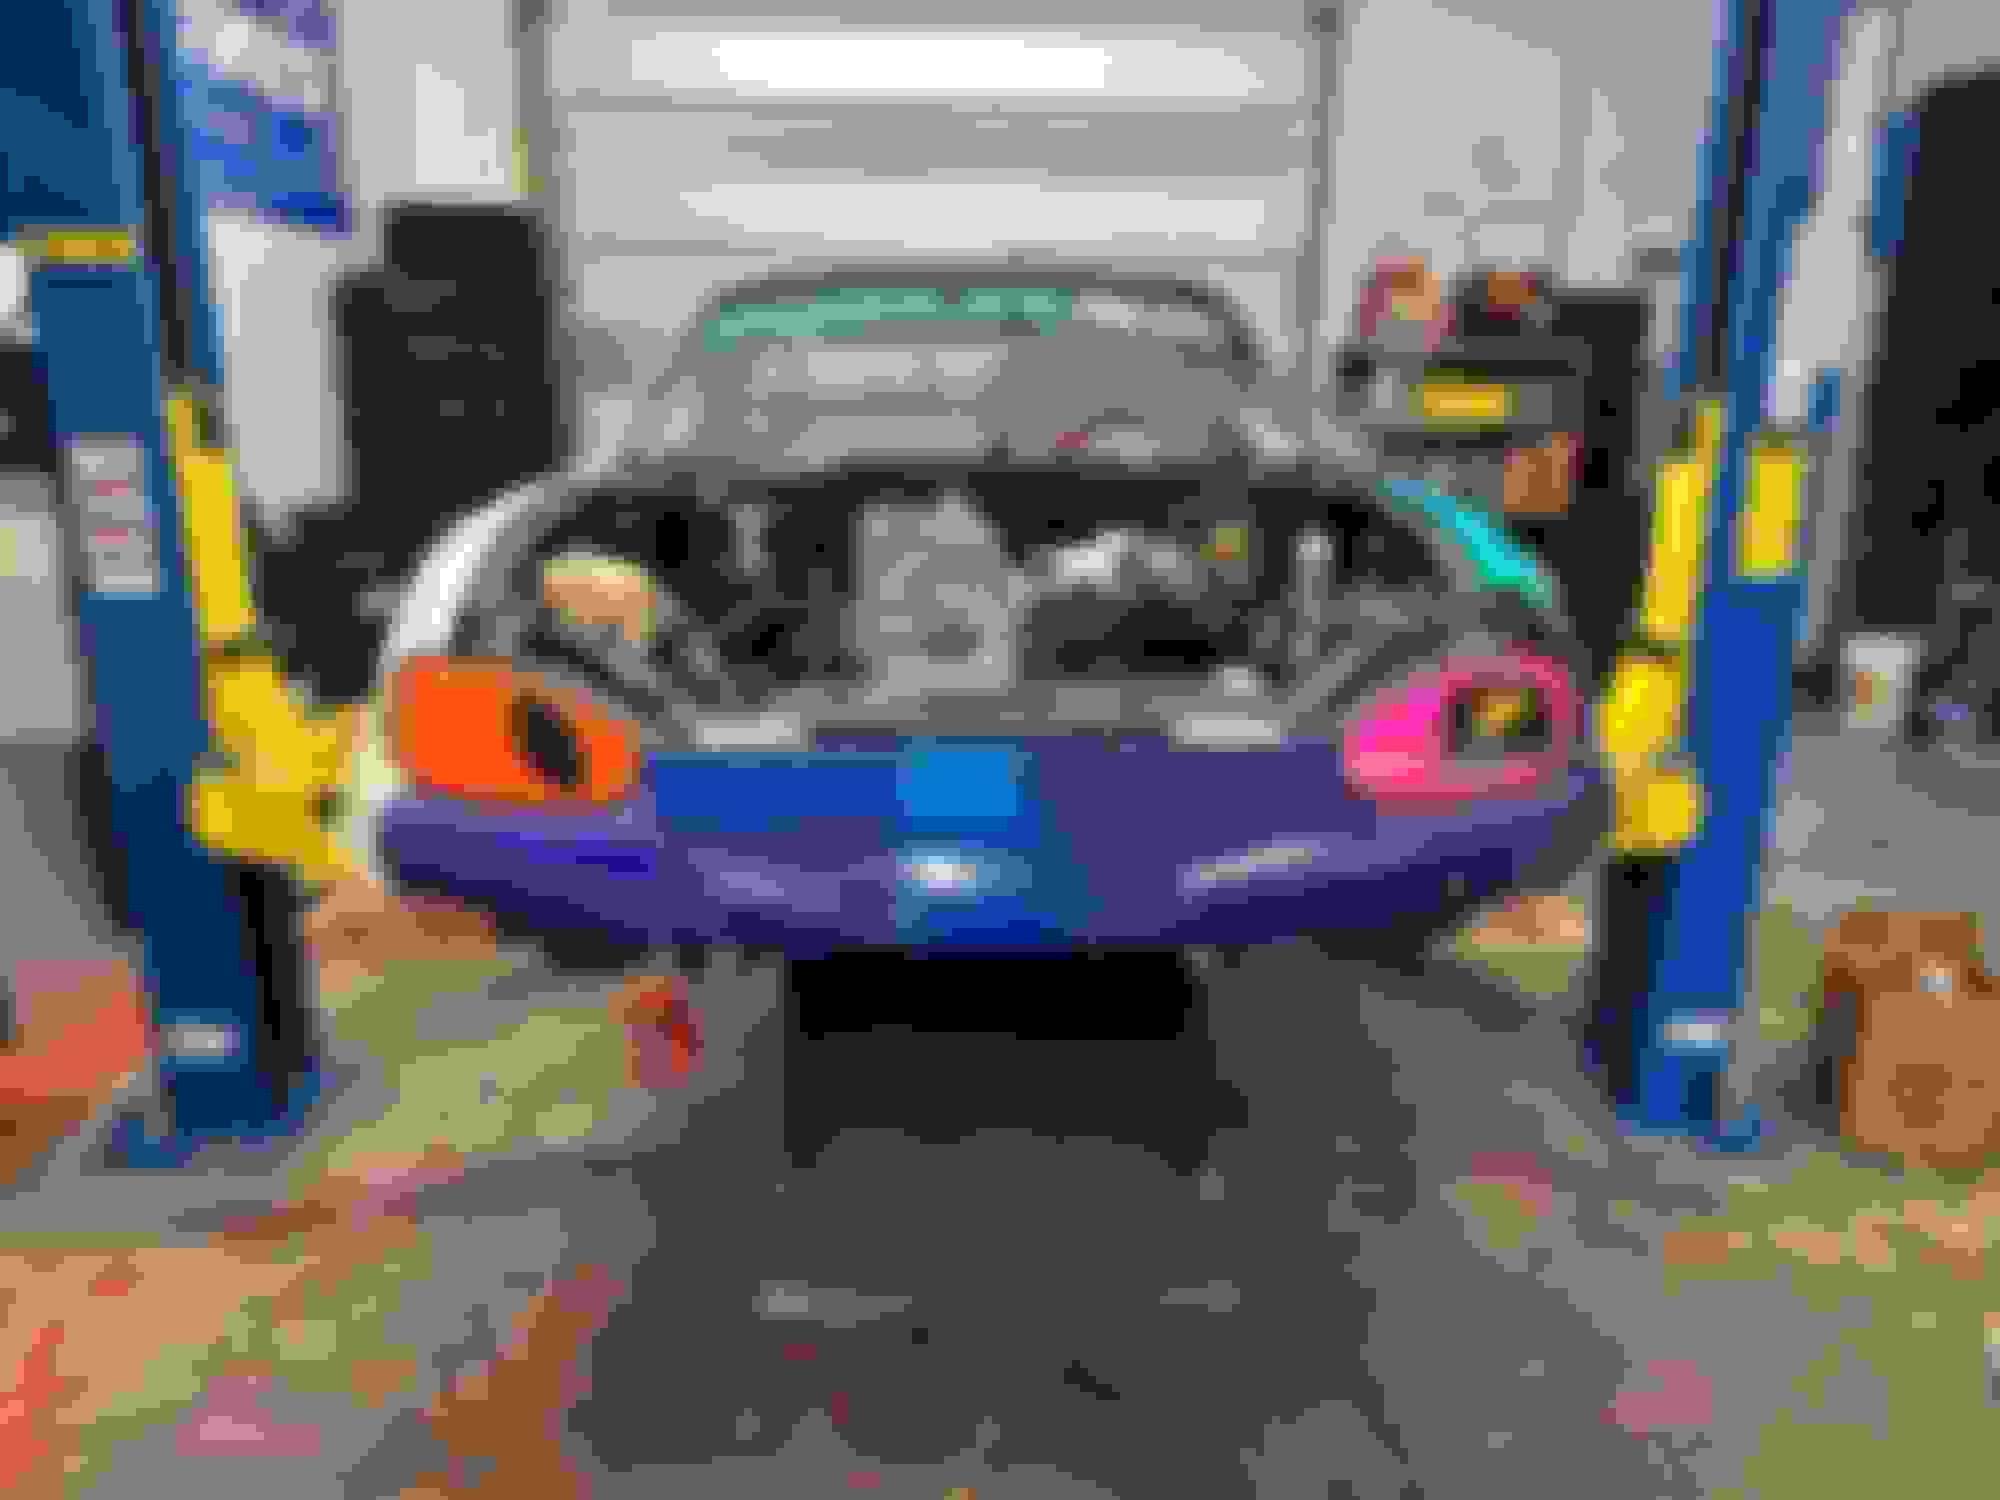
I've had this idea for years now and did this on Scuba Steve, but never took the time to crack the brake lines open to do so on Button.
I pulled the mounting bracket for the OEM prop valve off the master and flattened/re-shaped it before a fresh coat of paint and reinstallation. Now, the Wilwood valve can be bolted to it, which faces it forward and not perpendicular.
With the Sport calipers bled, a functional rolling chassis is now complete.
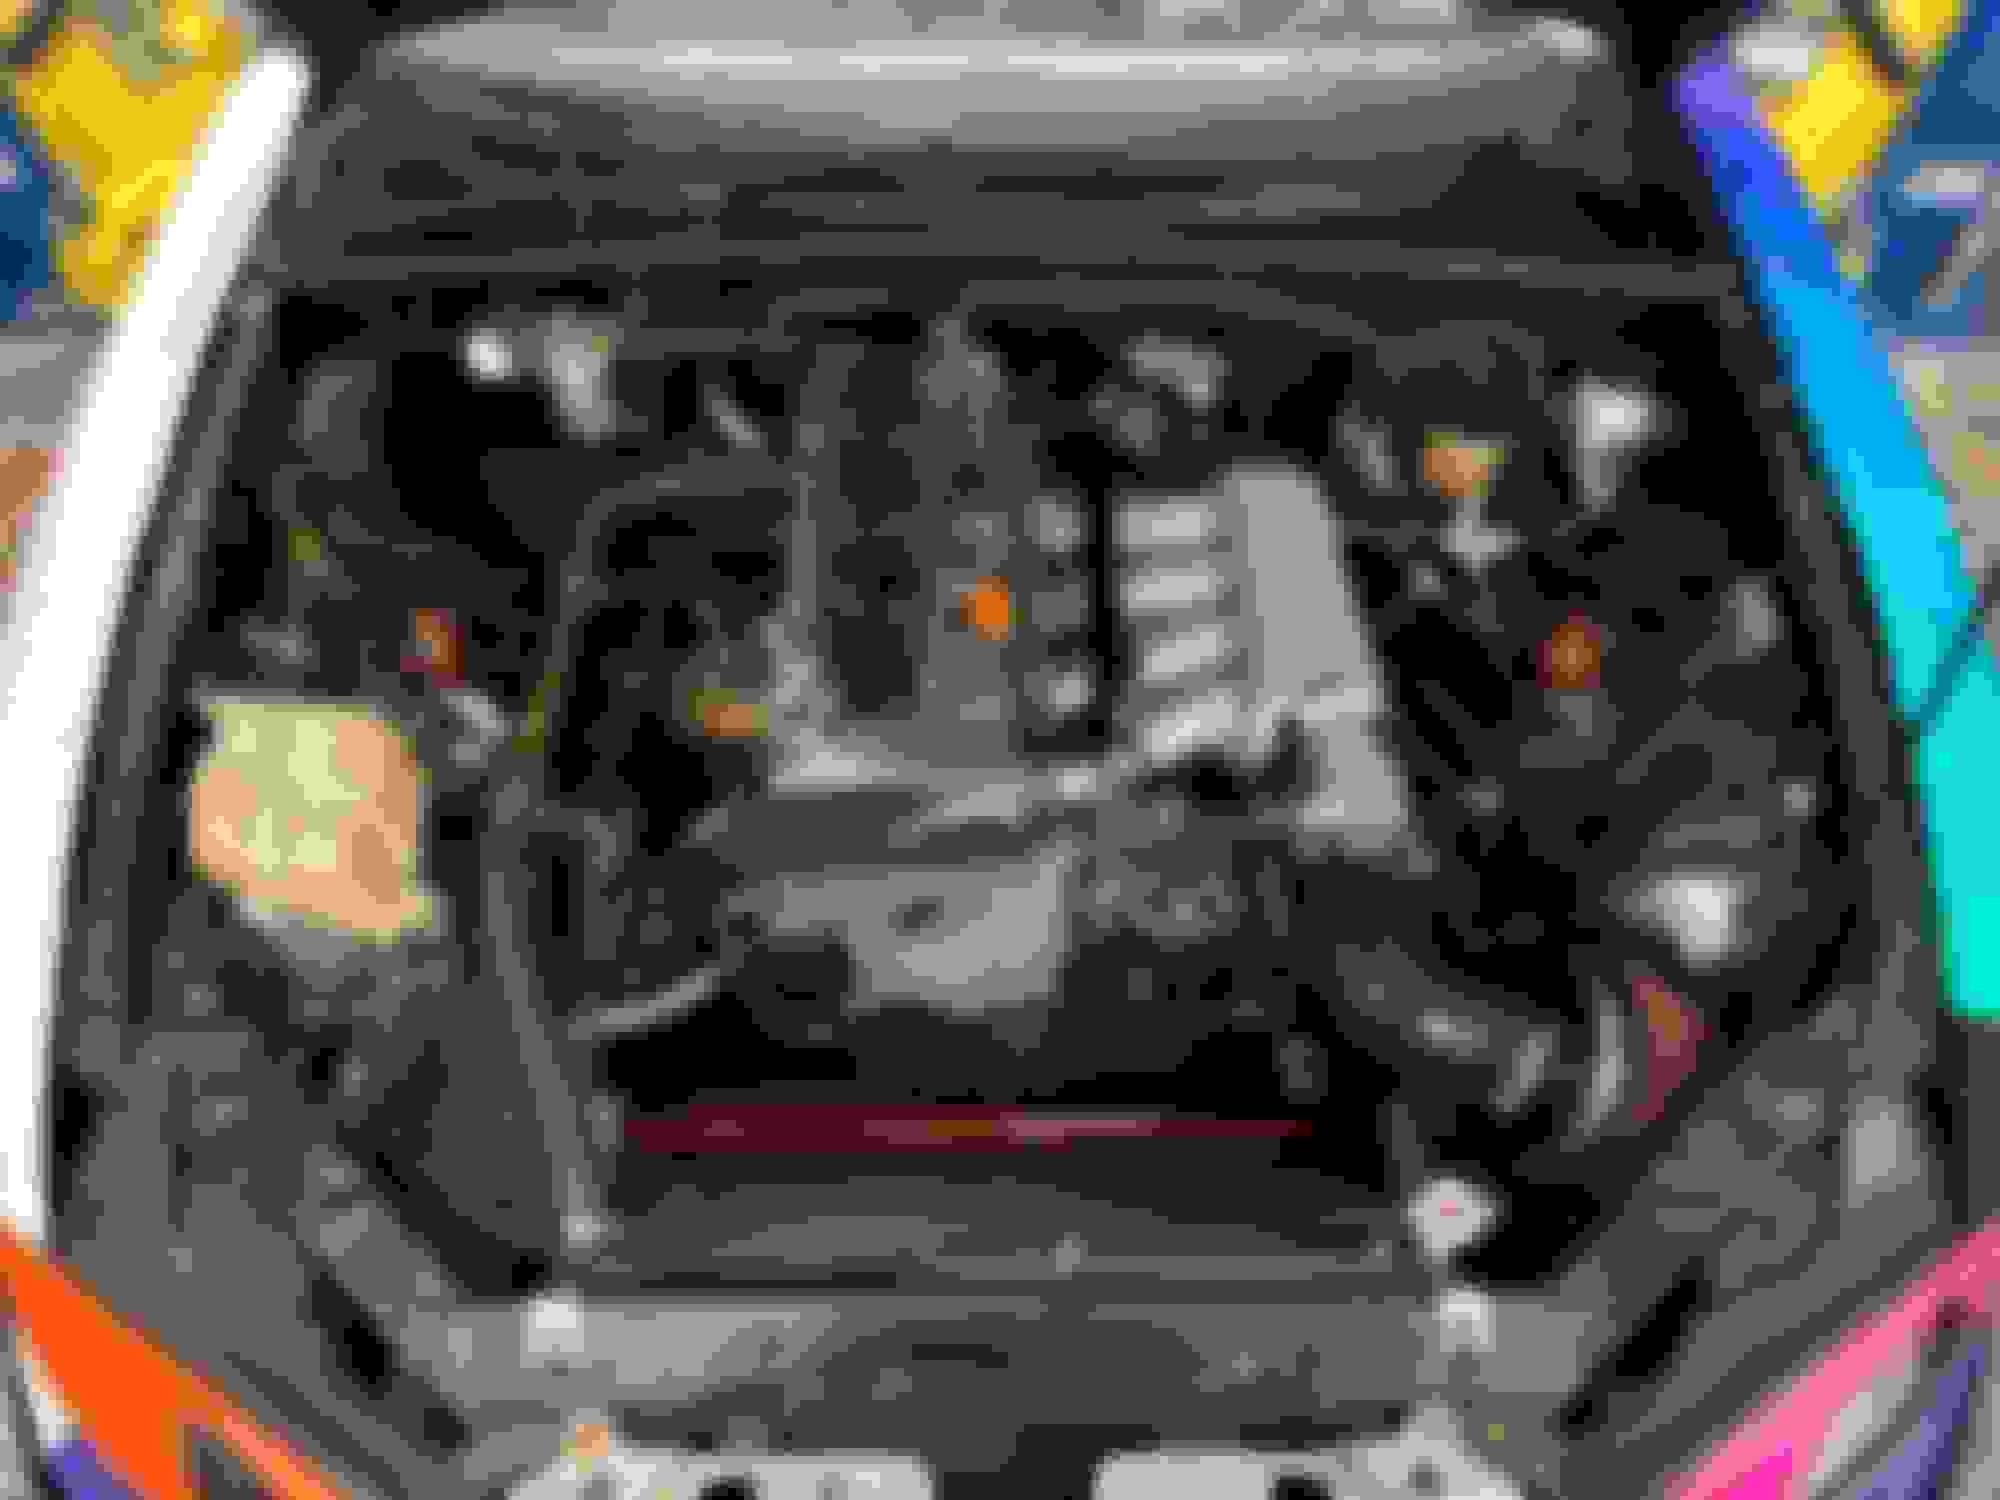
This photo doesn't look much different to my previous version, but lots has happened with fuel system mockup, engine harness layout/confirmation, electrical grounds, starter and alternator cable mockups, throttle cable mockups, valve cover final install with all new gaskets in and out, etc.
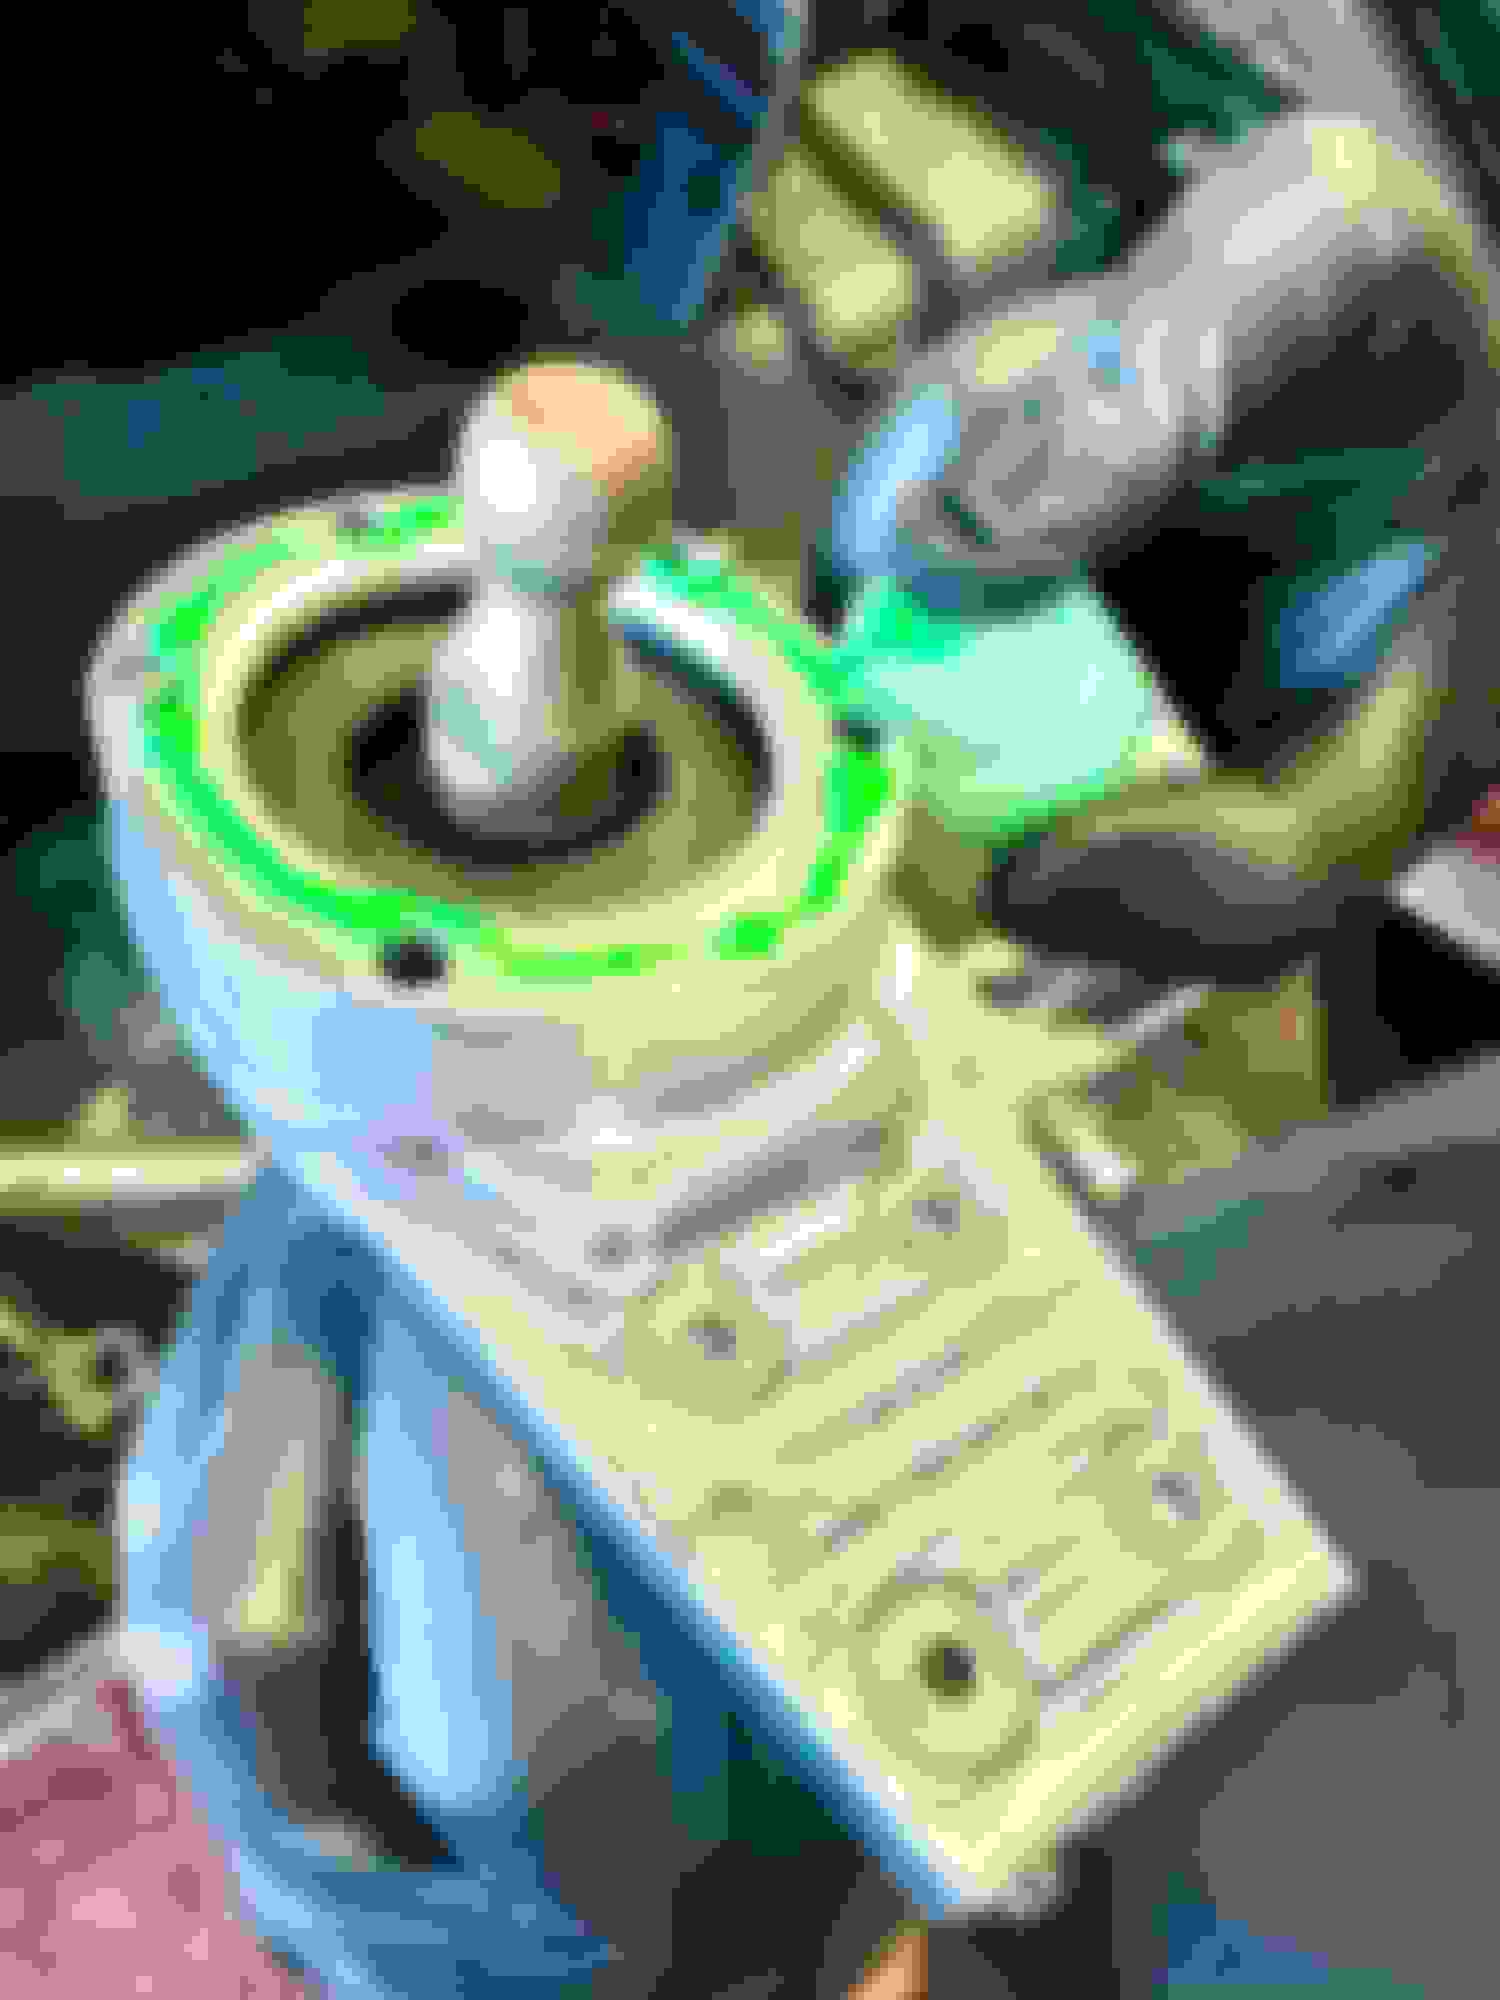
With the driveline all in, I got the CAE shifter installed as well. Their neon green 'RTV' was super fun with the hand lotion style pump applicator. LOL
install Exhaust
make brake booster line
install firewall grommets
install intake manifold
make PCV line
make intake mani coolant line
install intake pipe + k20 IAT
install k20 oil pressure switch
install Radium fuel rail kit
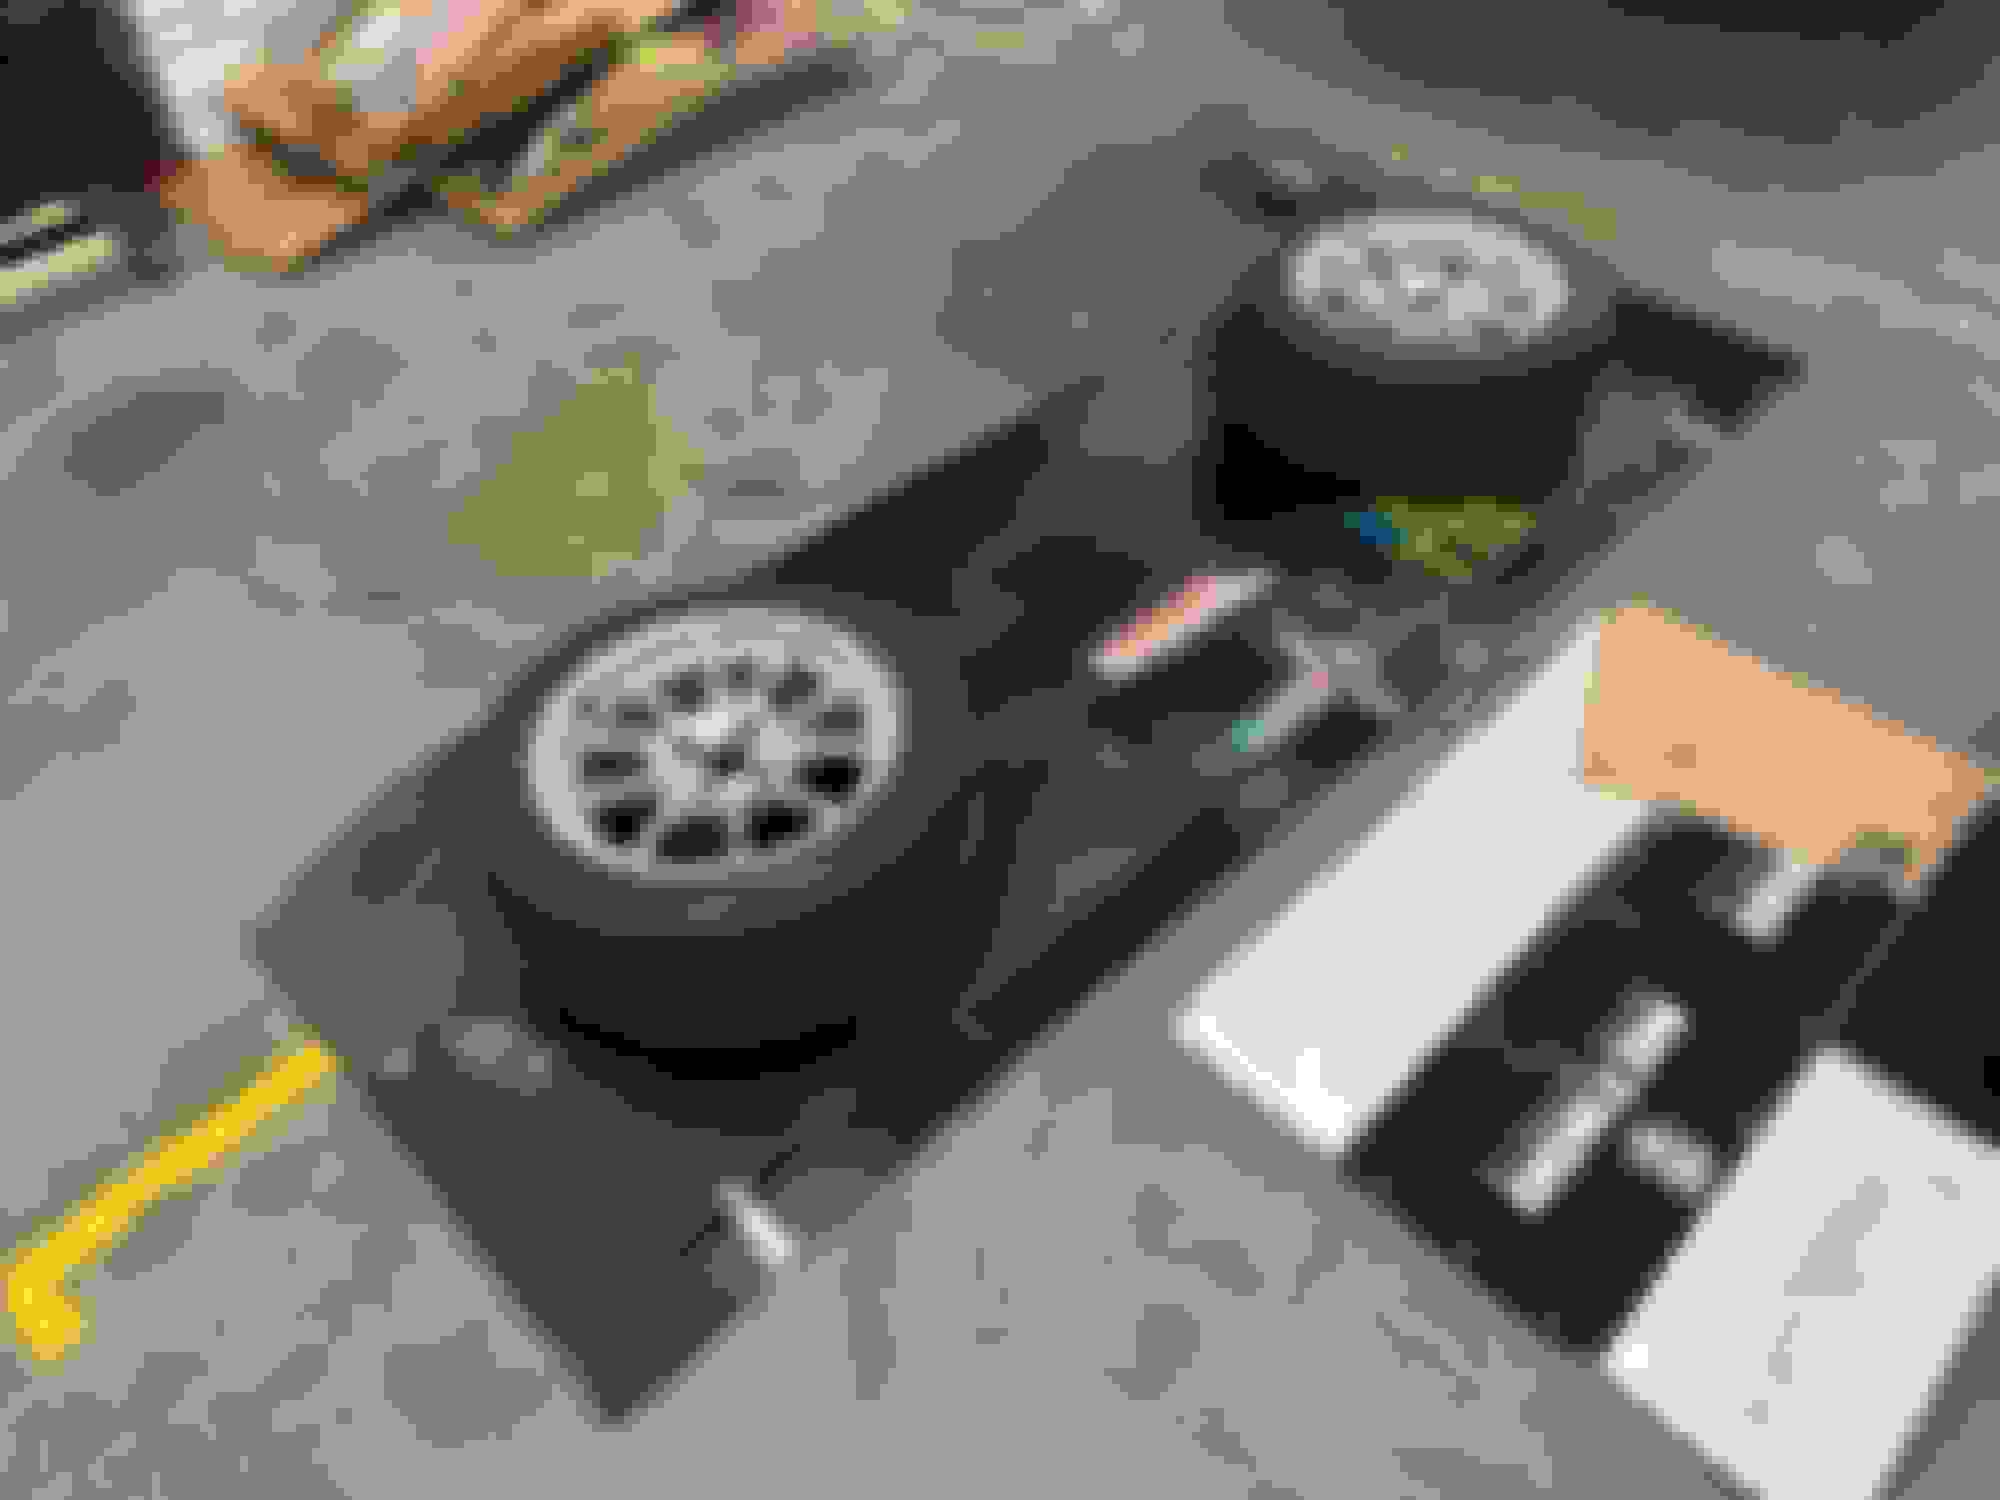
tire swap
suspension nut and bolt.
Its actually really close!
Couple of weeks worth of progress pictured below, but 75% of the wiring is done, last bits remaining are the splices for the adaptor harness into the Miata gauge cluster and fuel pump.
I had grand plans to use this flex pipe in my "test pipe" connectro from KPower downpipe to Racing Beat NB Miata catback, but it was a bit too long, and the KPower downpipe has one in it already.
ECU mounting idea: Rivnuts to accept some rubber isolators from McmasterCarr.
Another parts issue identified and the lost week will mean I miss Gingerman this weekend. The harness I received has the upgraded/extra charge cl6 clips for ID1050x injectors and not OEM k24z3 injectors I ordered. They mailed me a full replacement harness as soon as I emailed them, but alas...
A handful of my friends have asked "How has the swap been?" or "Was it worth it?" (even though it doesn't even run yet, let alone that I havent driven it...)
Its been a journey, and I am having a hard time getting upset with the quantity of mistakes on the shipment. These are huge parts lists with several variants, and I was in their batch that had an 8 month backorder, so I know they were absolutely swamped by the time they started shipping.
I opted in to sitting out last season voluntarily, and my work travel winter/spring this year has been much higher volume than anticipated. So the legnth of time this has taken is only 60% the fault of the KPower backorder.
I did splurge on the Radium fuel rail, pulse damper and hardware kit.
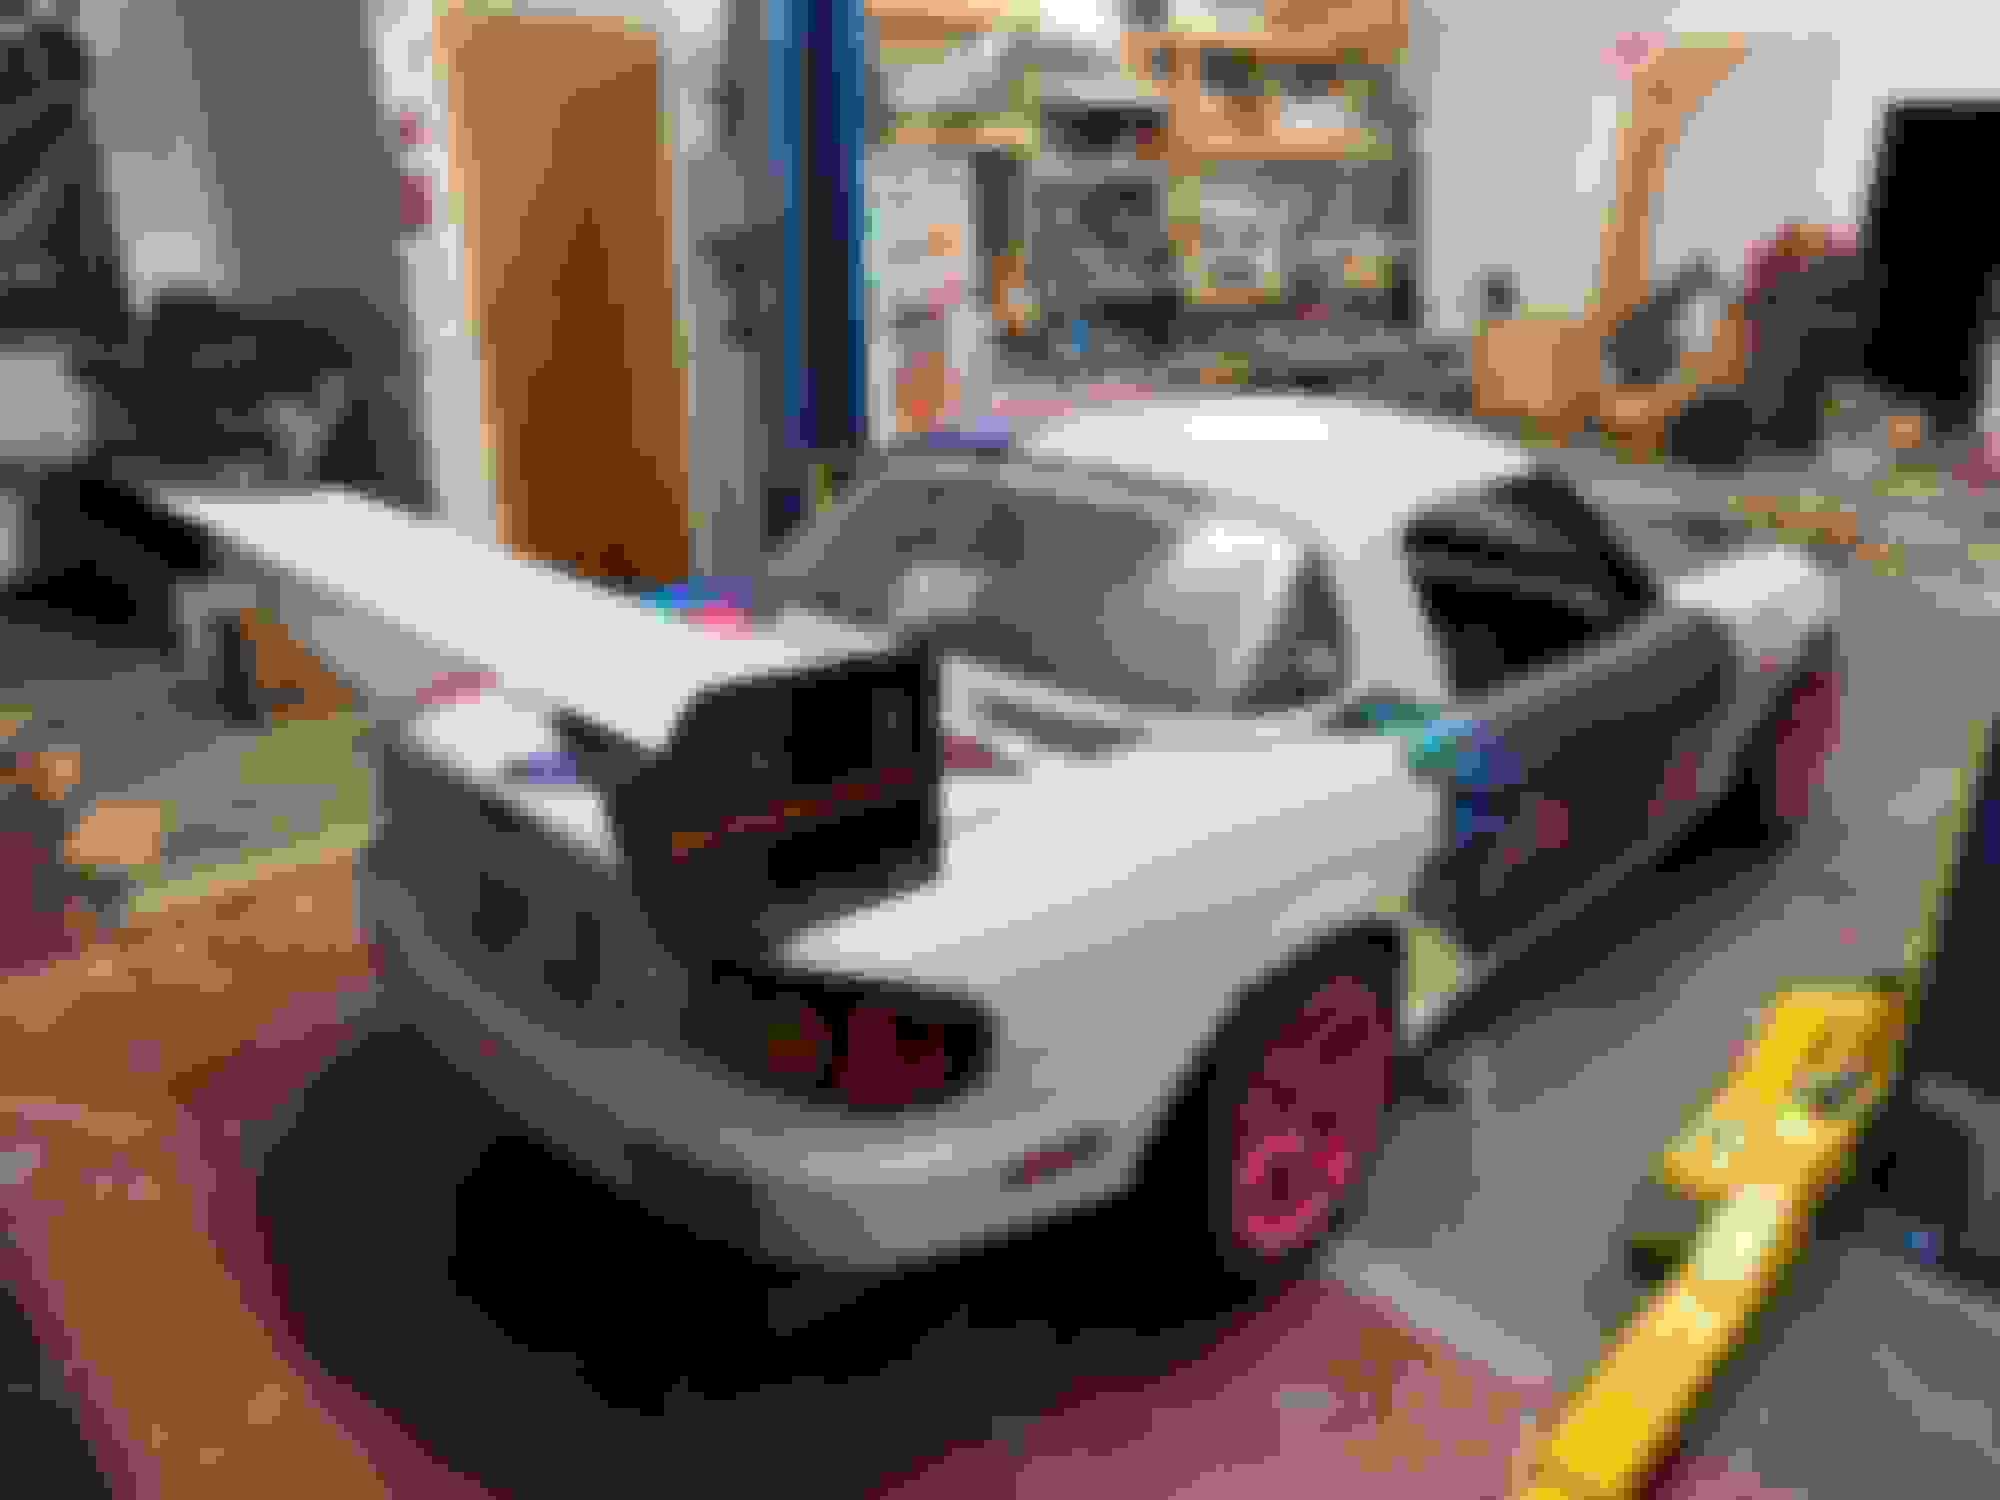
Intended side effect of rotating the radiator forward: My previous inlet ducting no longer fits.
Unintended side effect of Kswap: My front subframe ledge mounted splitter is no longer viable.
So, time for all new front aero; undertray/splitter, airdam, radiator inlet duct. This one is a big larger volume than my old one. 1.8 liter vs 2.4 liter, also, I plan to cover this one with wire mesh, so the actual inlet opening will be occluded more than the previous.
I failed to snag a photo, but my first attempt was using the remnant of my old alumalite splitter mounted forward of the subframe with crude angle aluminum legs, but I will need more material to get it stiff/strong enough for my liking.
I ended up cobbling together a "U" shaped spacer to drop the rear splitter mount below the oil pan in order to keep using the ledge on the front of the subframe. For whatever reason, that "U" did not allow the front of the undertray to line up with where the airdam landed vertically, so I reassembled it into a "Z" to move the splitter forward an extra inch and voila, good to go.
This meant the undertray was held fore-aft by the subframe and I could retain my super lightweight 4 steel cable mounting method.
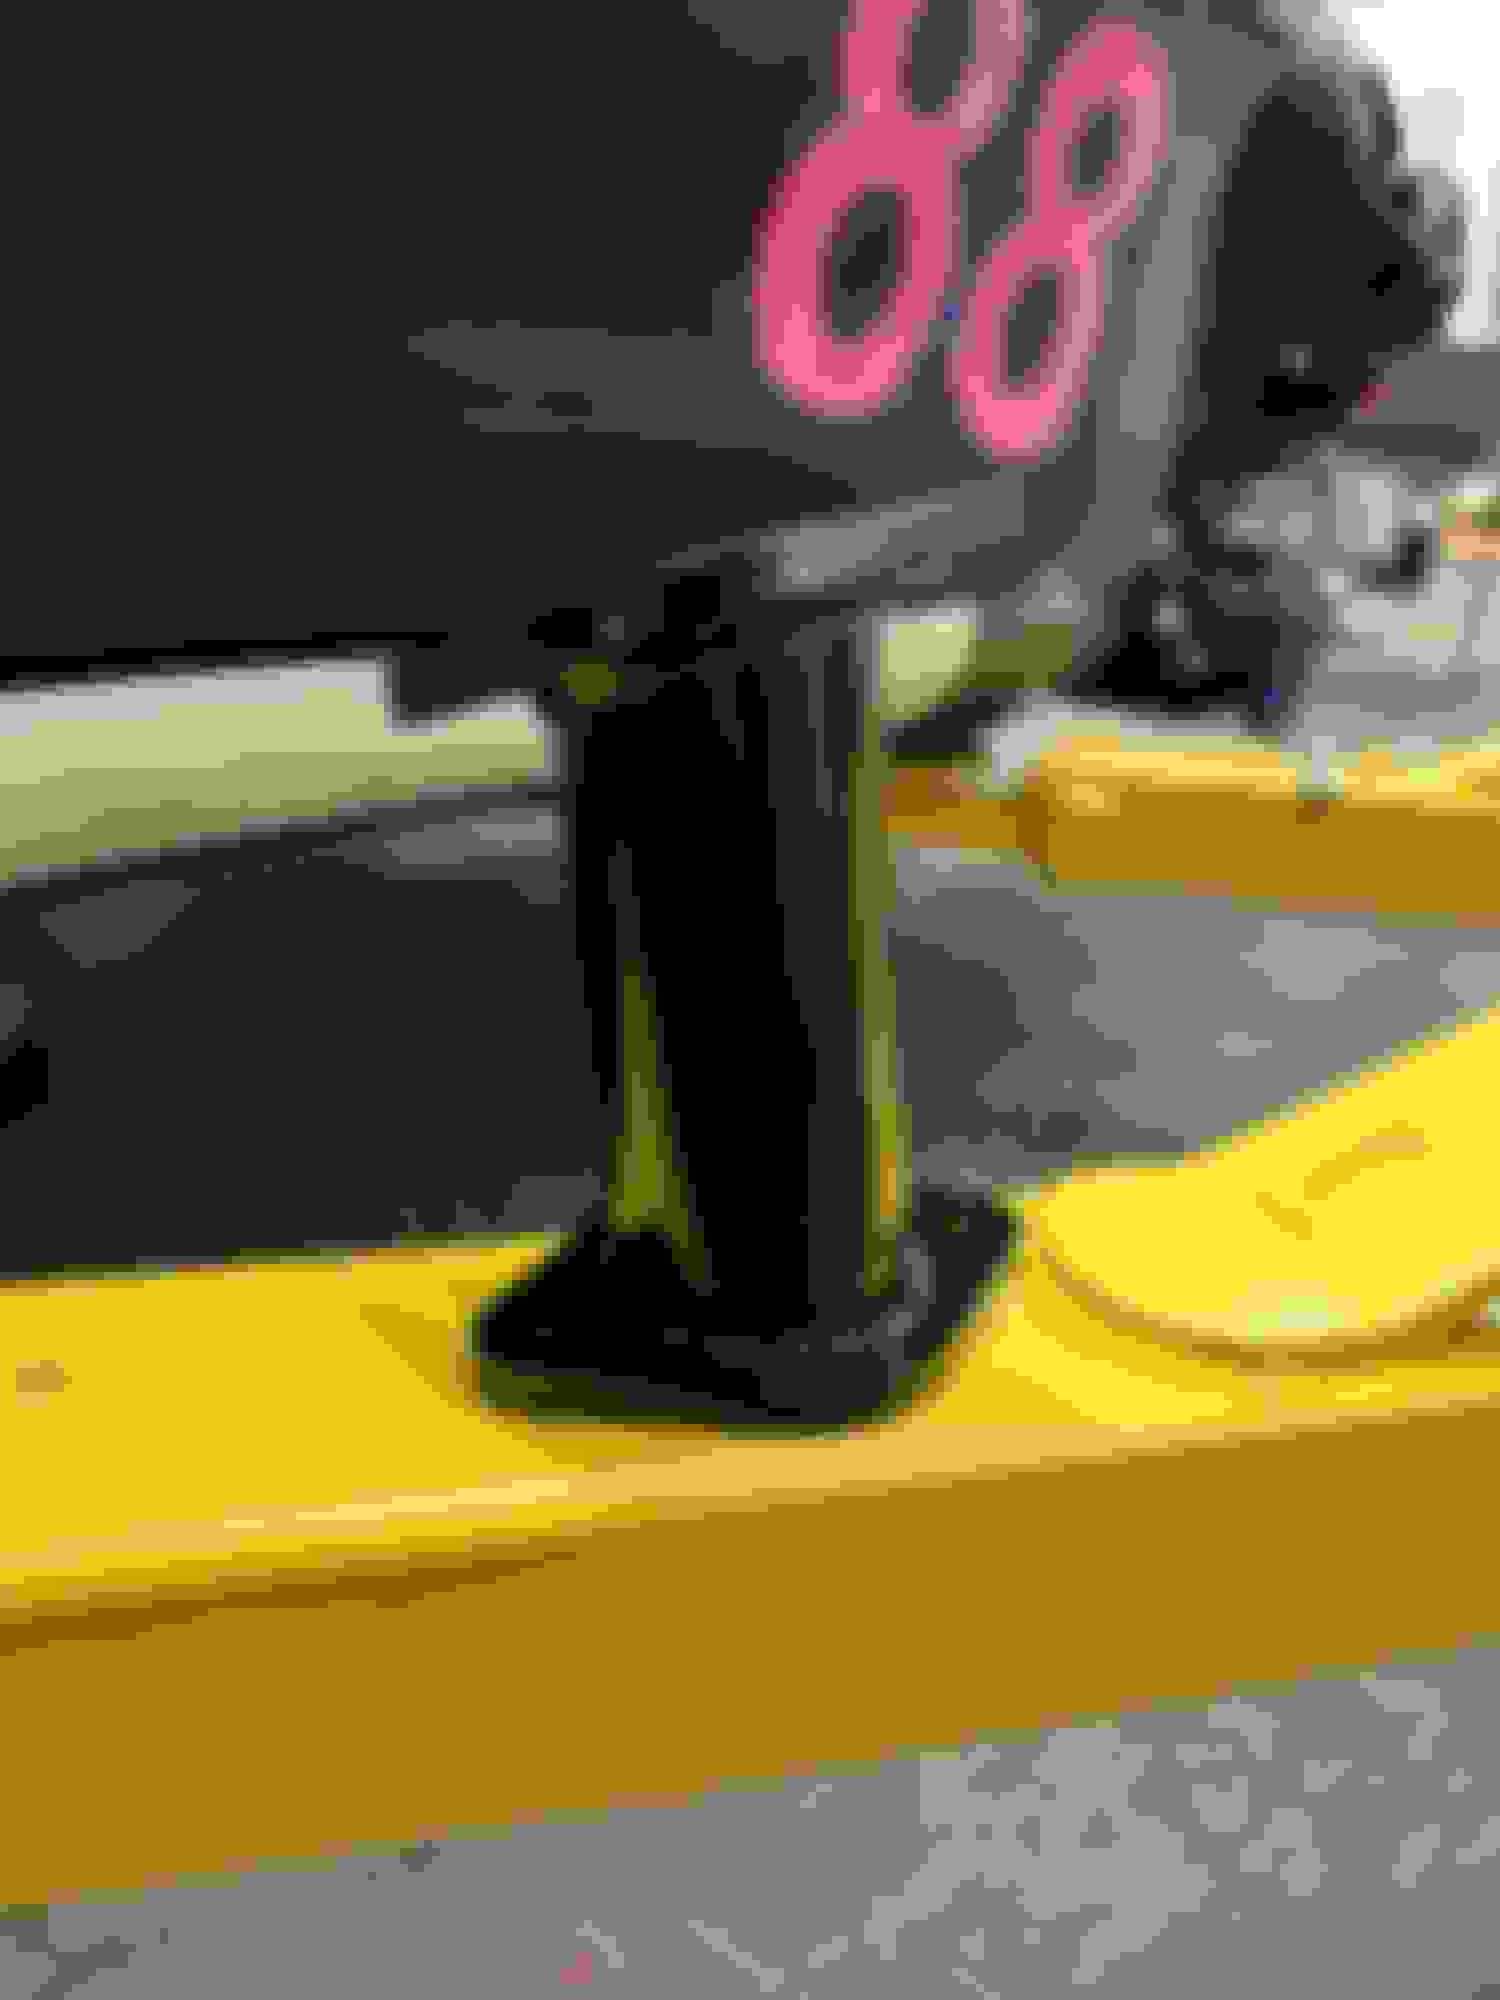
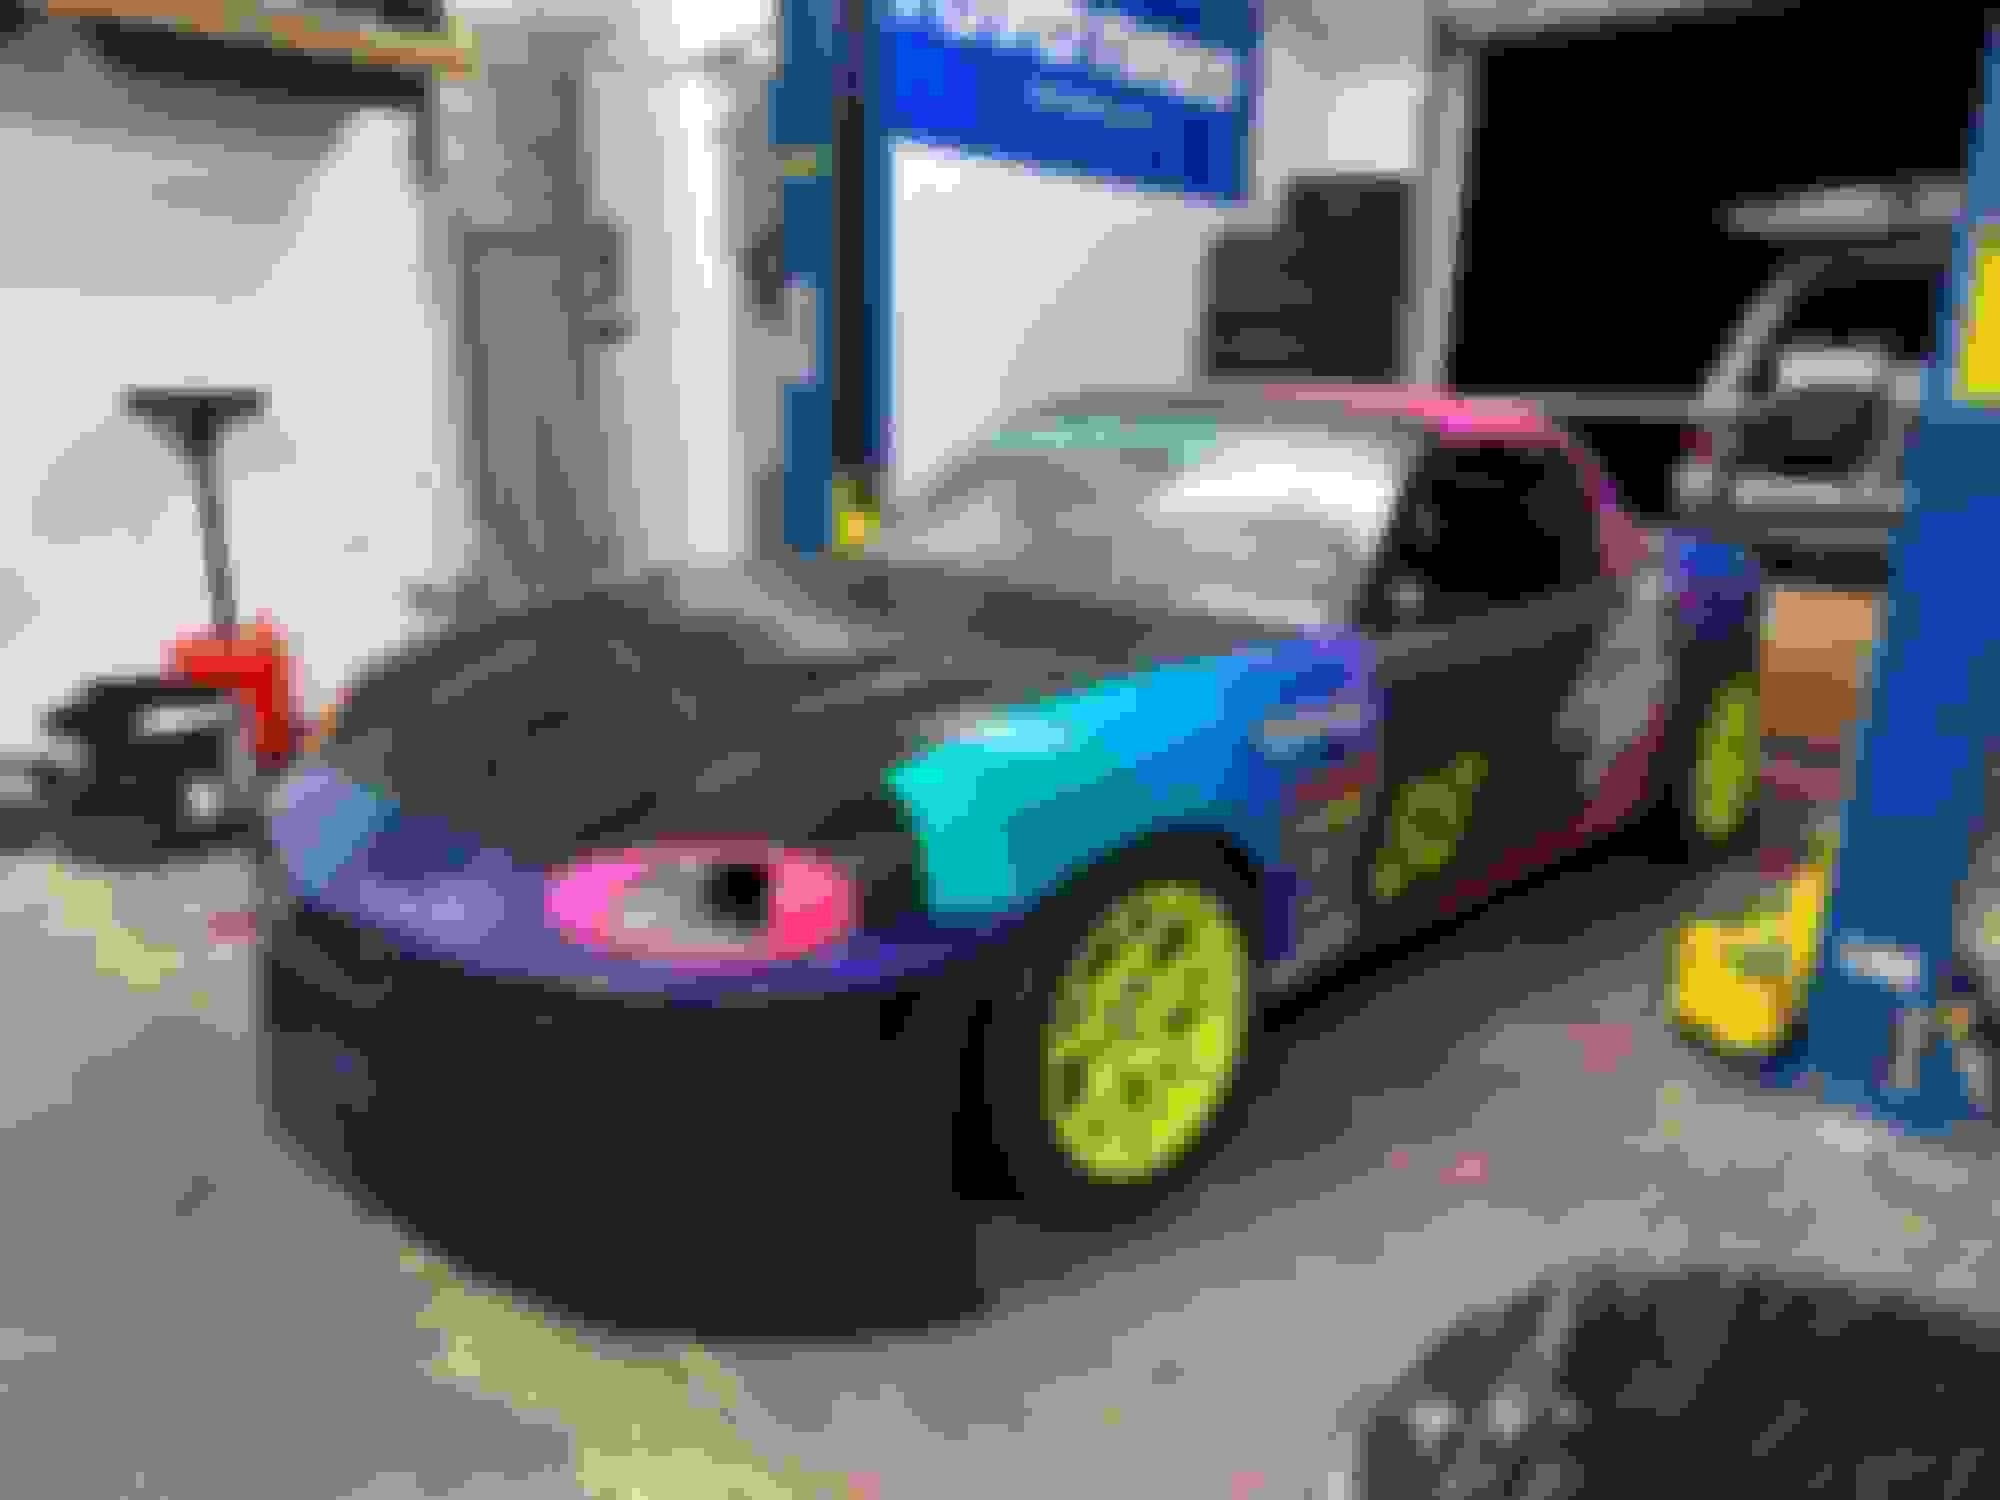
Yes, due to class rules/modifiers, I have decided to delete the splitter blade. This is my previous plywood splitter with that blade chopped off. It is also 1" lower than it used to be, and the airdam is cut to hang 2" below this:
New airdam arts and crafts:
The top is a bit bacon-y like it always has been. That is due to my rivnuts being set a bit too high in the bumper cover, where they start to point upwards and not purely forward. Some day I hope to convert to an NB2 bumper/lights and will correct that. Some day...
Still waiting on a correct k24z3 IAT, a K20 oil pressure switch and a new throttle cable. Those should be the last items before I can turn the key...
Once you drive it you will absolutely say it is worth it!
However, never again will I race car a Frankenstein harness. When pricing a full Haltech solution and full custom harness from bumper to bumper� the labor installed for the harness and hardware was $1500. I spent hours, days, weeks, waiting, troubleshooting, testing, praying, etc.
Yup. I tried to reduce my variables by splurging on the Kpower harness too. I didn't want a shopped up Honda Element harness in addition to the chopped up Miata dash harness.
Another parts issue identified and the lost week will mean I miss Gingerman this weekend. The harness I received has the upgraded/extra charge cl6 clips for ID1050x injectors and not OEM k24z3 injectors I ordered. They mailed me a full replacement harness as soon as I emailed them, but alas...
I was so sad to see this in your FB post. I knew they'd take care of you, but what a sucky discovery.
If you find yourself with spare time, mark all your fasteners with some paint so that you can easily see when they start backing out. I just tightened up the bolts that hold the engine mounts to the subframe and at least one of them had backed off a good 10mm. I'd also recommend putting Locktite on the fuel rail bolts and intake manifold fasteners.
You might want to keep some spare exhaust-to-head gaskets around - I seem to be burning through the standard perforated-metal ones pretty quickly, but I have stamped steel ones on-hand now for the next blow-out.
I'll be interested to see how your cooling works - while I admit I'm not pushing my engine incredibly hard yet, I've had no heat issues with no ducting and just a standard Koyo radiator. I wouldn't be surprised if you end up with too much cooling power!
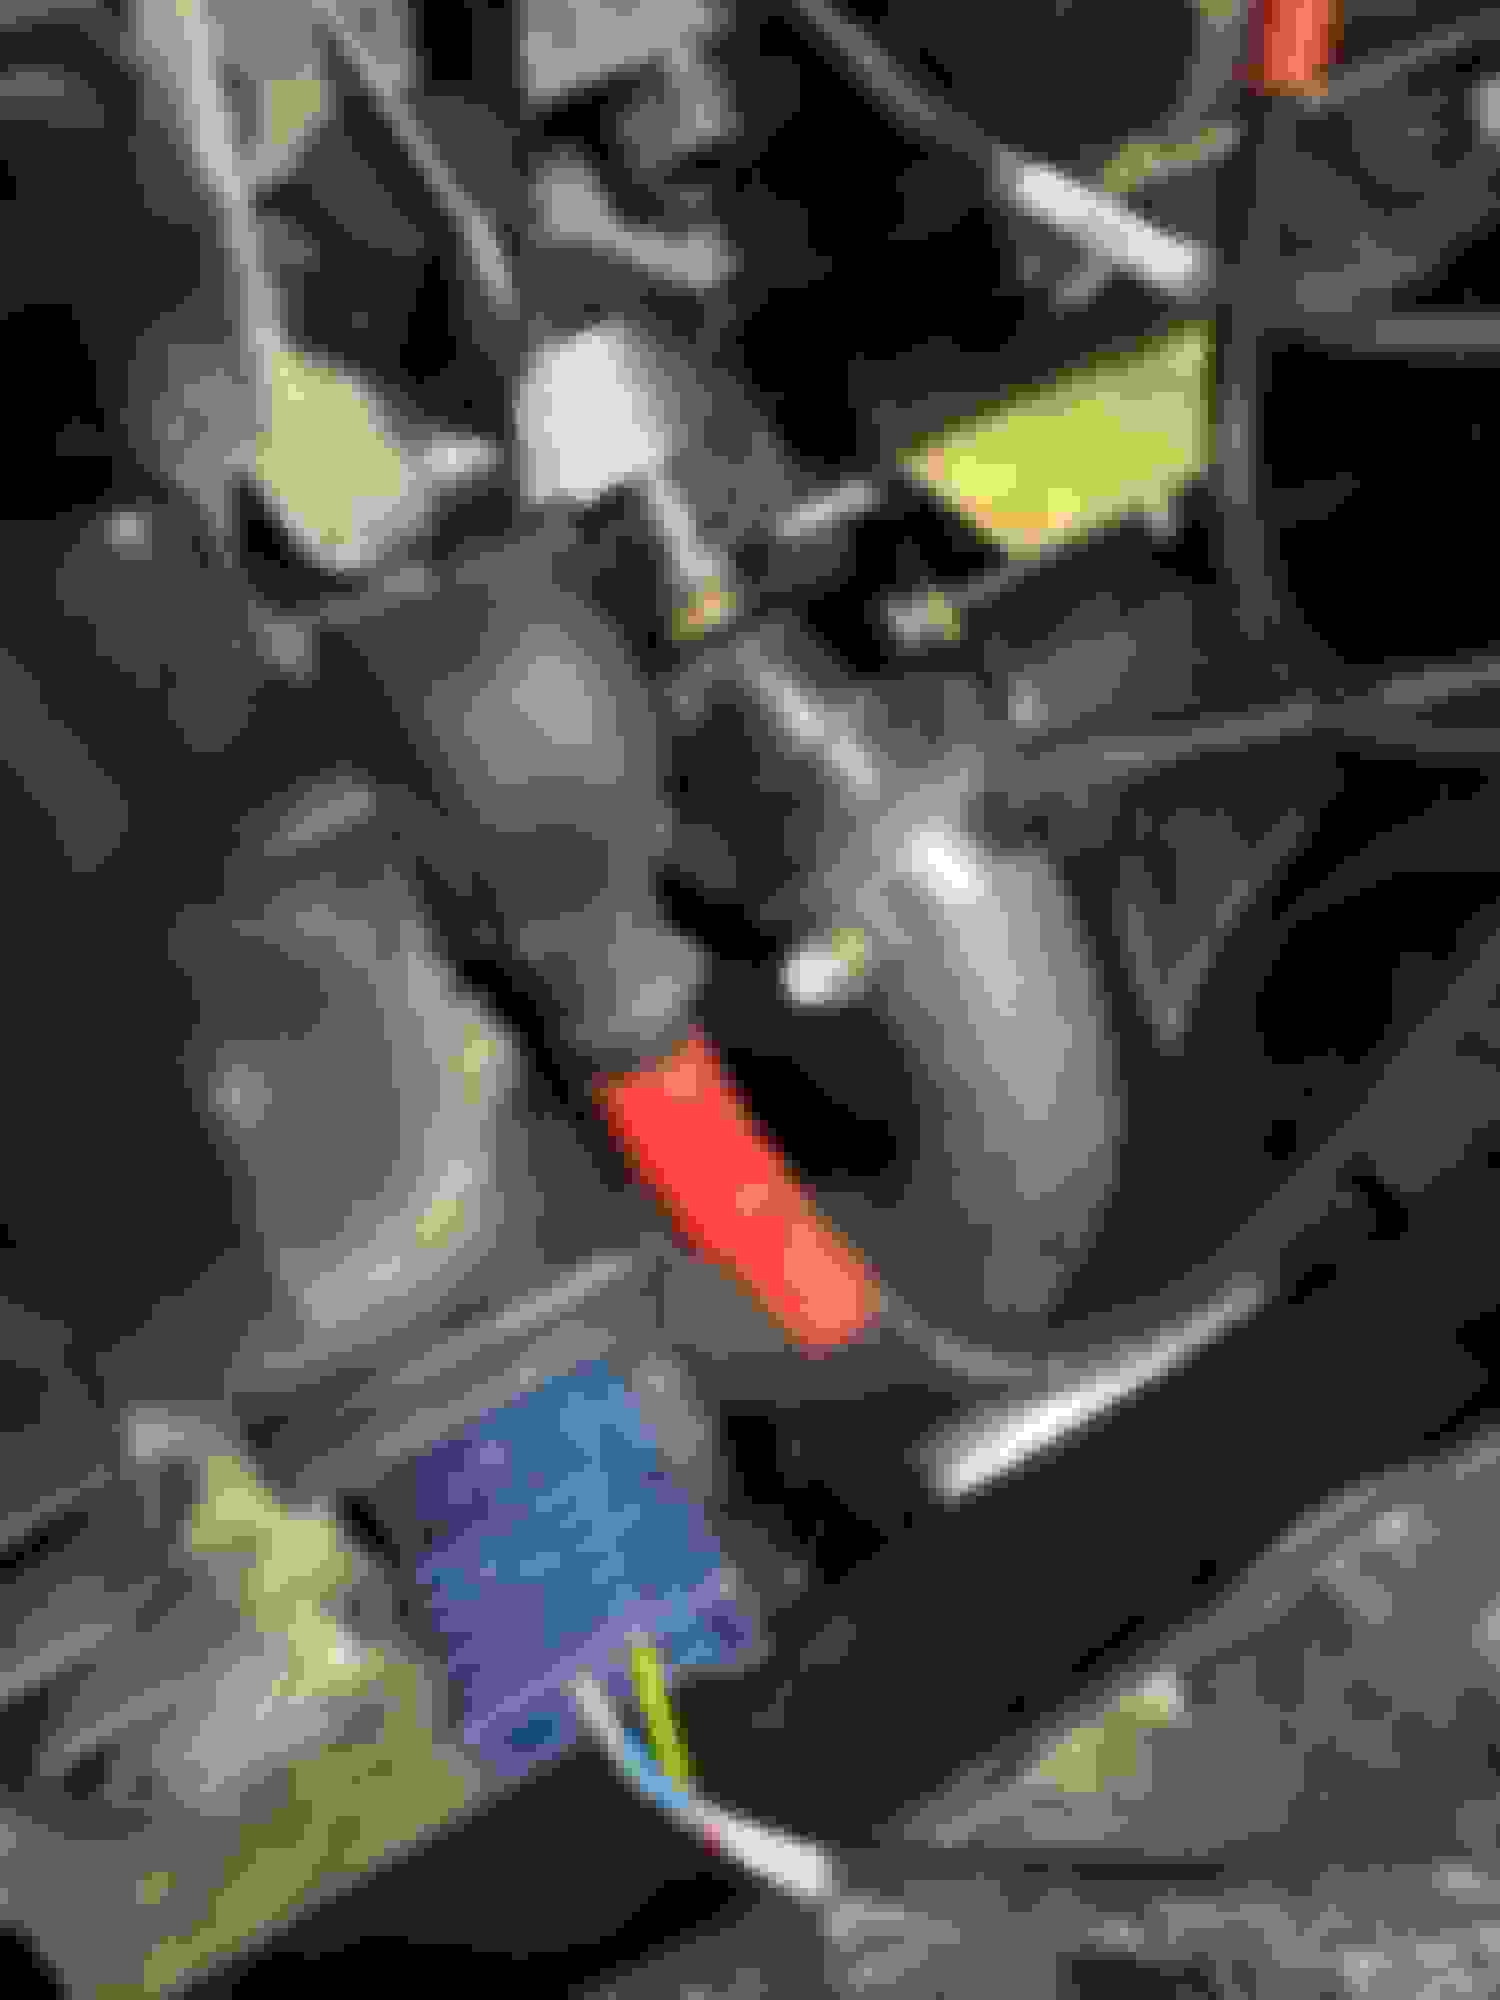
My "Z" bracket to lower the splitter belowthe K oil pan:
This gives the undertray a bit of a reverse rake, which I don't love. The alternative is that the undertray would meet the airdam with little "underbite" of airdam hanging below the tray. I am not sure which is more effective for creating miniscule amounts of downforce, but chose this compromise to increase the survivability of the aero in small off-track or curb hoping excursions.
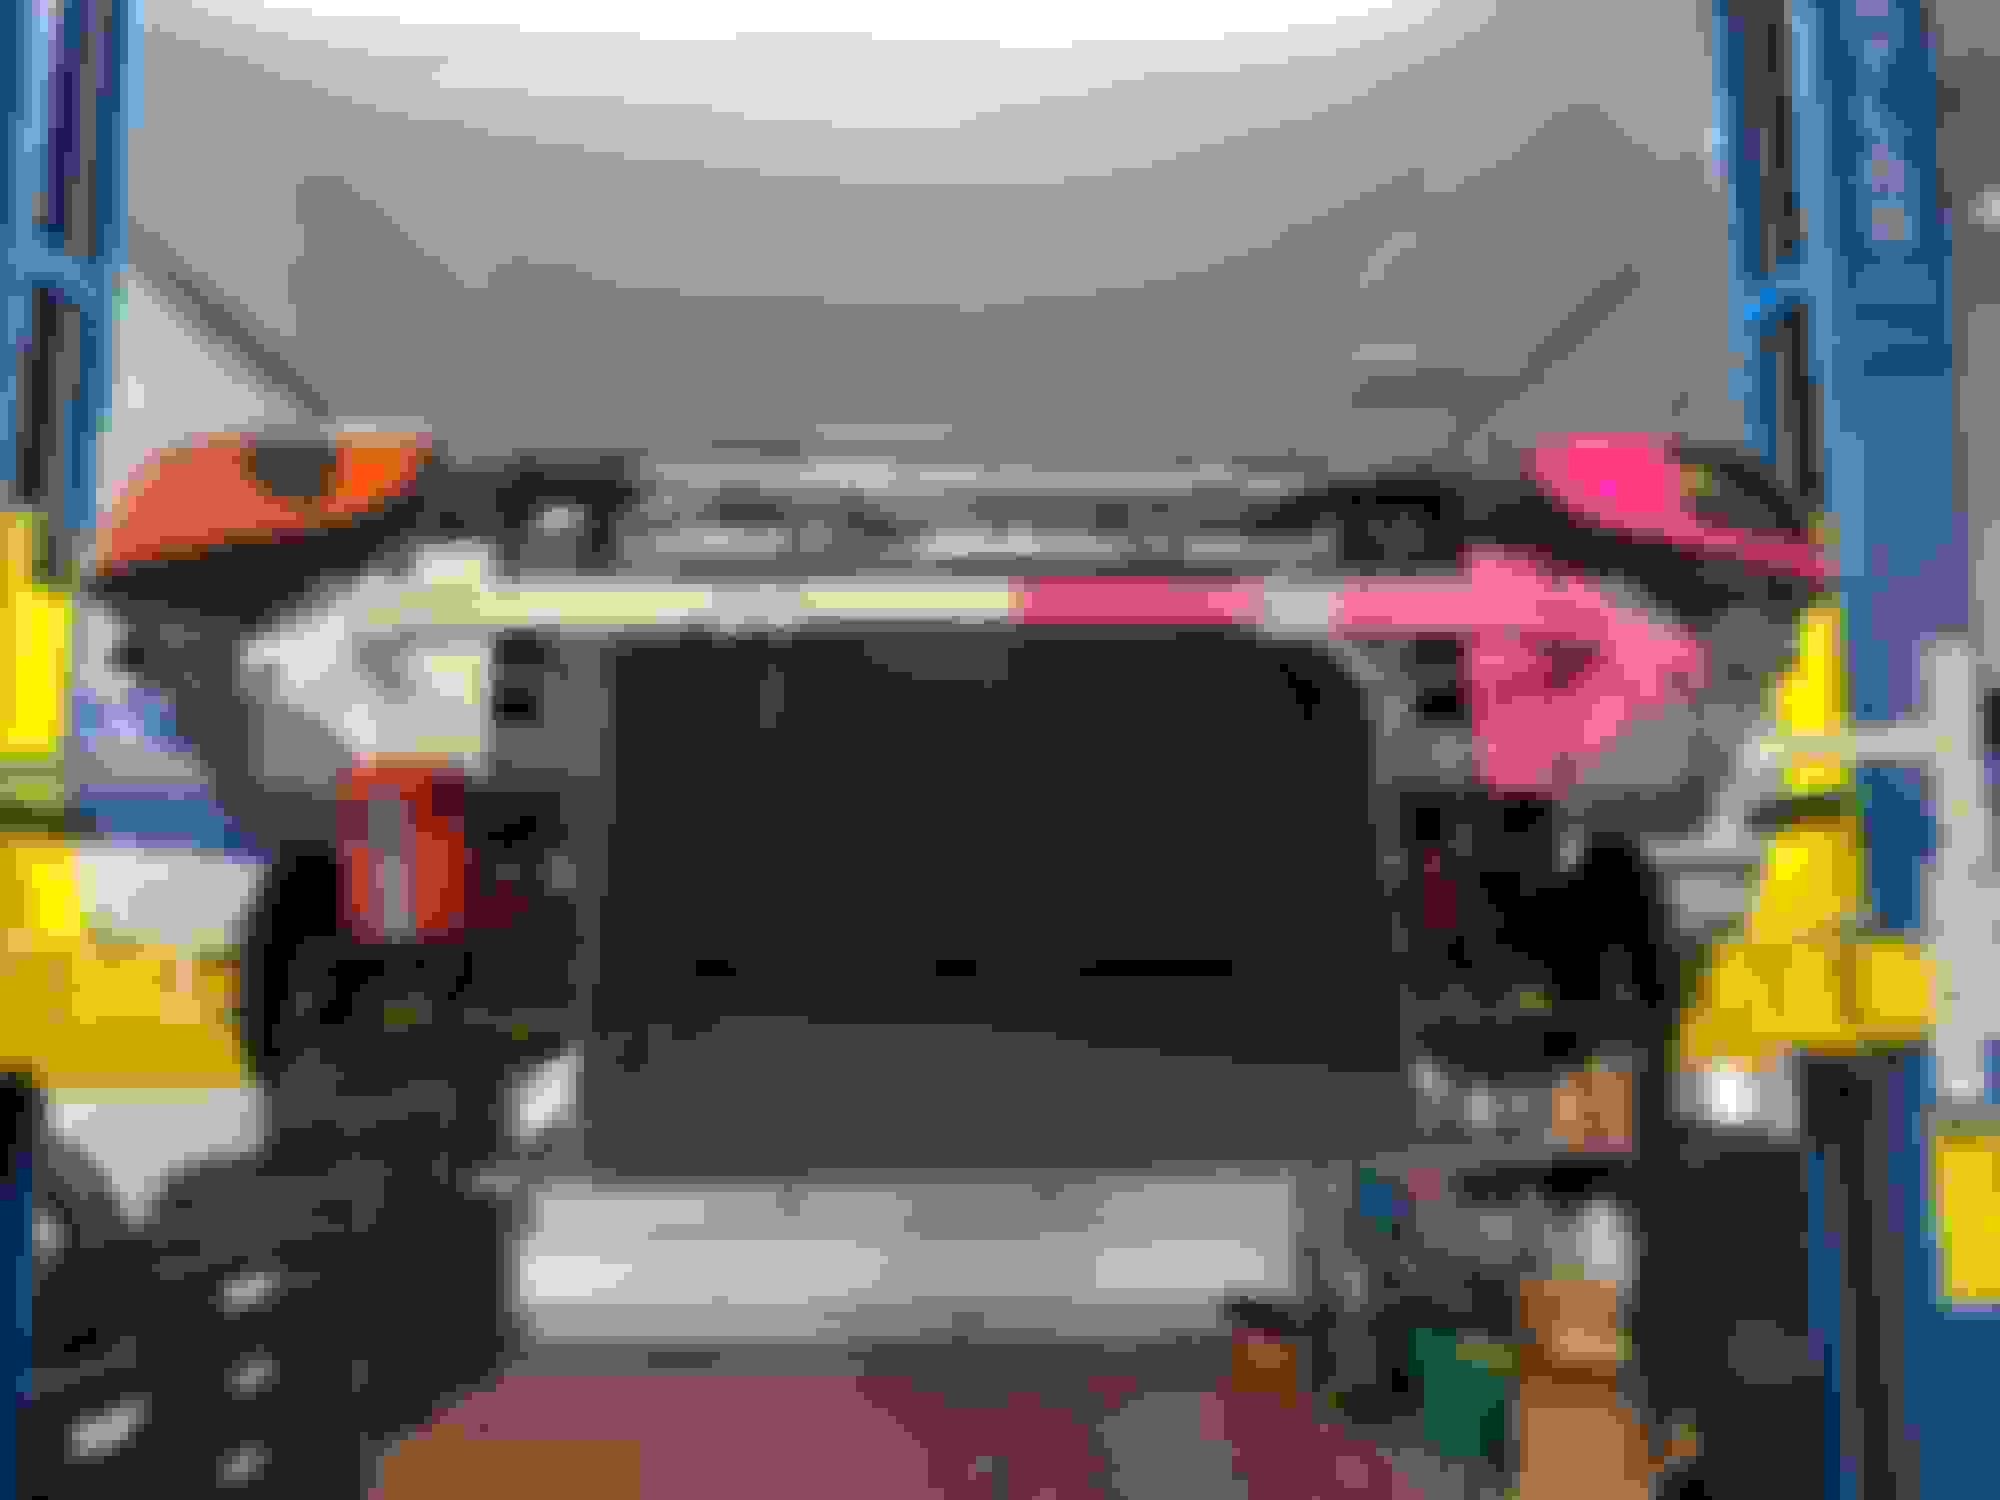
Loaded with fluids, battery hooked up and test fired...
It cranks beautifully and makes oil pressure. However, not fuel pump priming with 'key on' and no fuel pressure arriving at the rail. I initially installed the Kpower jumper harness utilizing the OEM Miata fuel pump relay which didn't work. Second attempt using the KPower relay wired in to bypass the Miata relay also didn't work.
My belts expired the last time I had a running engine in the car, 2021. So they finally got upgraded/replaced. I also took the time to pull the seat out for a clean, and new belt anchor hardware.
List is still:
Diag no-fuel issue
bleed cluctch slave
gear oil in transmission
finish bleeding cooling system once it runs
Dyno
Chassis setup(confirm weight GAIN with kswap)
test drive
I think the 1.6 credit category tires finally have enough of a handicap to win almost anywhere in TT. ST still seems to be Hoosier's domain due to the heat soak and inability to choose when you push/conserve to mange tire heat due to mixed class traffic.
Several folks have been setting TT5 records on the new Maxxis RC1R2 this year.
However, I still have two sets of 225/45/15 R7 stickers to burn up, sell or trade...
Constants of the build:
+.3 mechanical throttle body
-.5 having Aarms
+0 airdam/wing only, no splitter, no BTM
+0 allowed a control arm for camber adjustability now, but still using mod-free offsets, no ELBJs.
What I think is now option A:
2403lbs
182 avg hrspwrs
-.4 weight factor
+.3 "small tire credit" running a 226mm template at >2400lbs.
+1.6 Toyo RR/Maxxis RC1r2
Thanks for the pics of the splitter/oil pan dilemma... I'll be going through this myself, and helps to see what's going on. I'm using the tubular crossmember, so I'll have to fabricate a mount of some sort anyway...
Wondering if you considered making a cutout in the splitter so you could raise it and have it flush with the bottom of the oil pan, and just have a bracket at the crossmember on each side?
I went back and forth on this splitter issue for a while... I had a "Z" bracket similar to Dan's that used the bolt holes for the steering rack (because I had a tubular subframe) with my A2 swap, and it was fine for a little over a year until it wasn't.. I hit a pretty nasty heave in the road that did some damage to the splitter and bracket and decided that I wanted a more flexible solution where I could adjust height. I ended up coming up with this solution with professional awesome quick release brackets mounted directly into the frame rail. You can see them in this below post on my build thread. So far, so good on this compared to the "Z" bracket... It's definitely a little heavier solution than alternatives, but figured it's worth sharing at the very least.
I ended up coming up with this solution with professional awesome quick release brackets mounted directly into the frame rail. You can see them in this below post on my build thread. So far, so good on this compared to the "Z" bracket... It's definitely a little heavier solution than alternatives, but figured it's worth sharing at the very least.
Yours is what I would rather replicate. However, my radiator brackets move the bottom of my radiator into the spot where you've hung the PA brackets. I was/am also simply missing any angle/box aluminum stock on hand to fab with. So i chose the easy way out and did the Z with my existing 4 front cables.
I do have a full sheet of pre-covid priced alumalite on hand if/when I decide to move up to ST4 and build a splitter again. That will get mounted on some PA or similar brackets hung at bottom-of-subframe level with a "U" cut out to clear the pan, again like your solution.
 05-04-2023, 03:09 PM


 0
0