Superefficient cooling via geographic location
#1
So I decided to make a build thread instead of just adding to my post in the noob section.
So the story of how I bought it and imported to Iceland is here in one page
Buying a miata - Album on Imgur
Right now I'm talking to Reverant about buying an enhanced pnpms2. I've already gotten the turbo which is a t25 disco potato from a sr20 buddy that wanted bigger. Just waiting on a rebuild kit.
I'm still in the process of making the car nice before boosting. But gradually collecting all the parts and using the time until boost to get used to the MS and upgrading one part at a time.
Until then this will be where I put in small updates and pics.
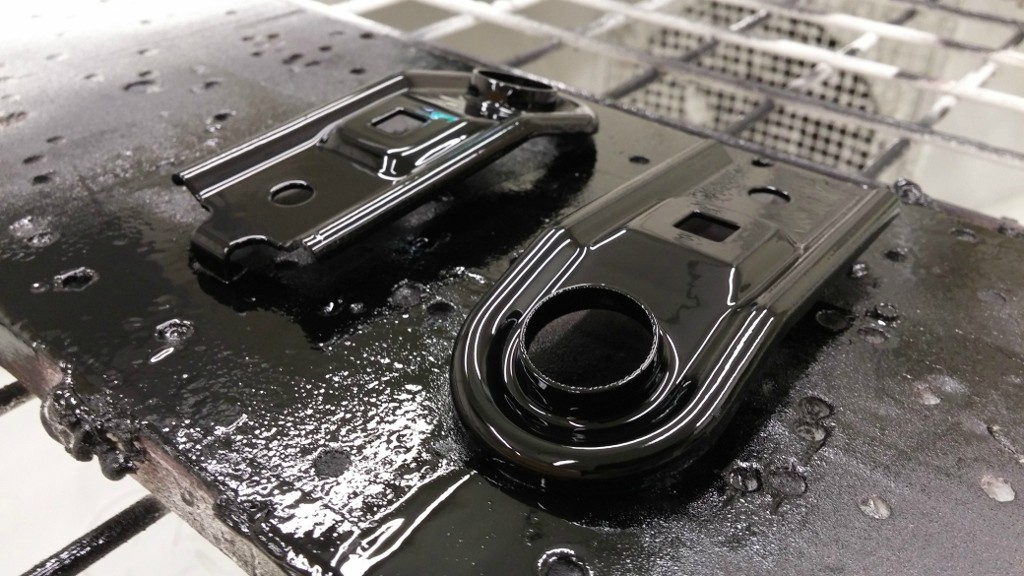
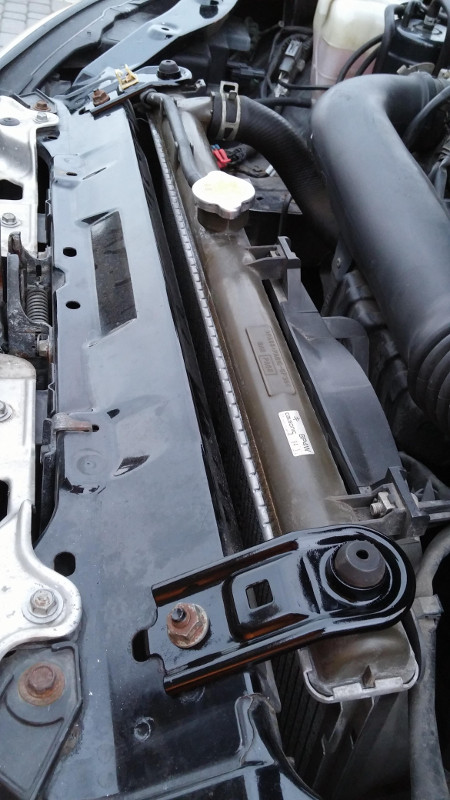
Last nightshift I got bored at the hangar. So I decided to use the facilities there to work on the car a little. The upper radiator mounts were ratty so they got tackled first.
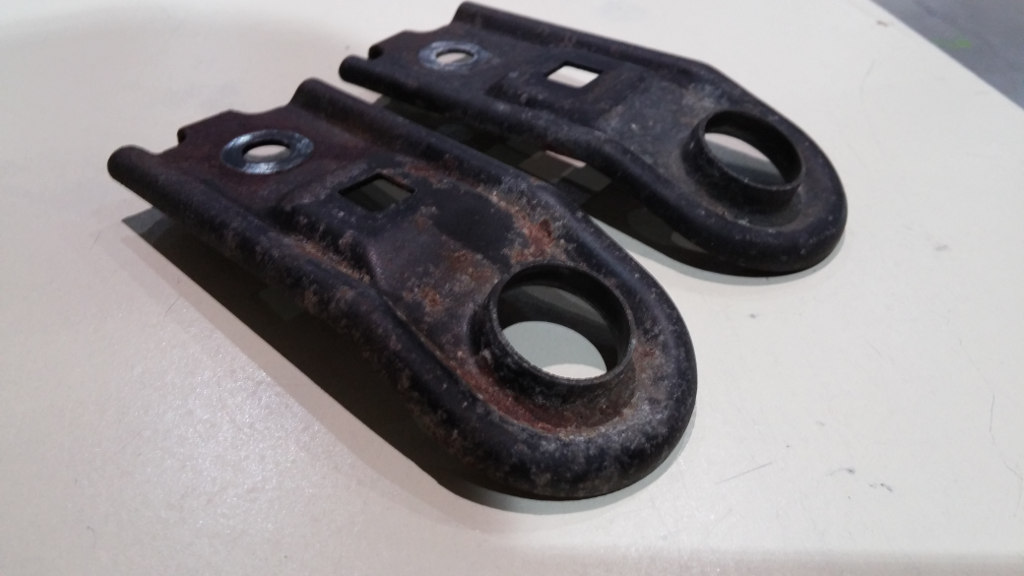
Sandblasted them
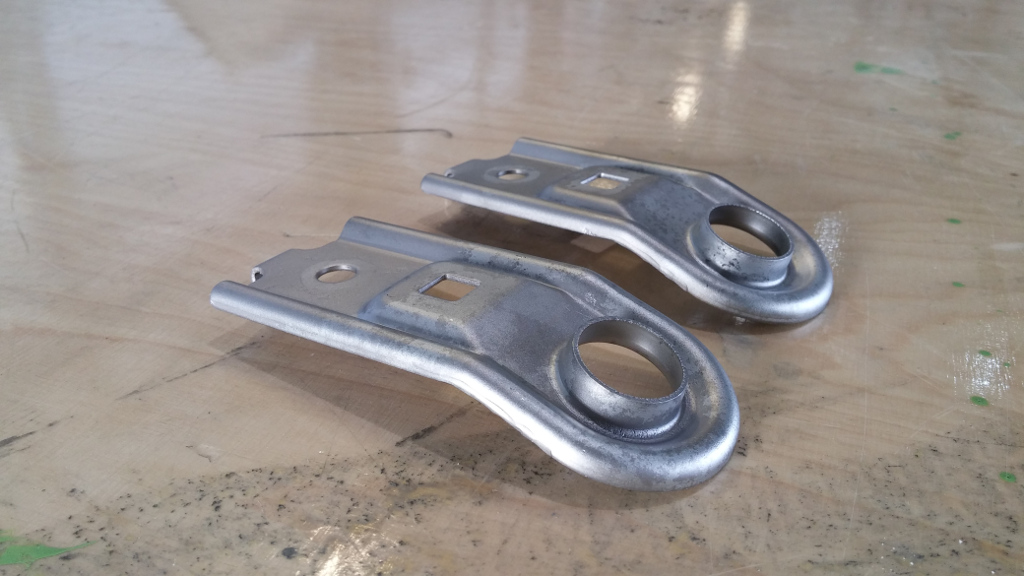
Primer and paint
Installed!
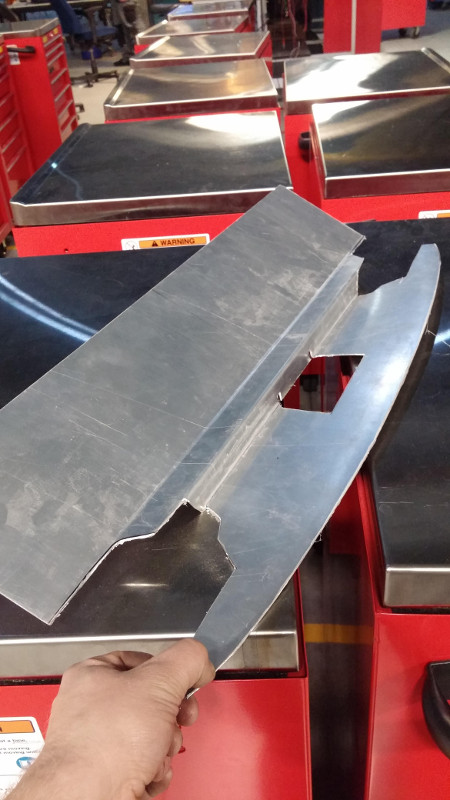
While I was doing that I remembered beatrush's radiator airflow plate. So I thought, Fuckit. How hard can it be?
Almost done here, Just need an hour more to finish and clean it up
As some pointed out during my introduction the headlights were hazed and ugly. Tackled that tonight.
Left after stage 1 polish, Right after stage 4 polish
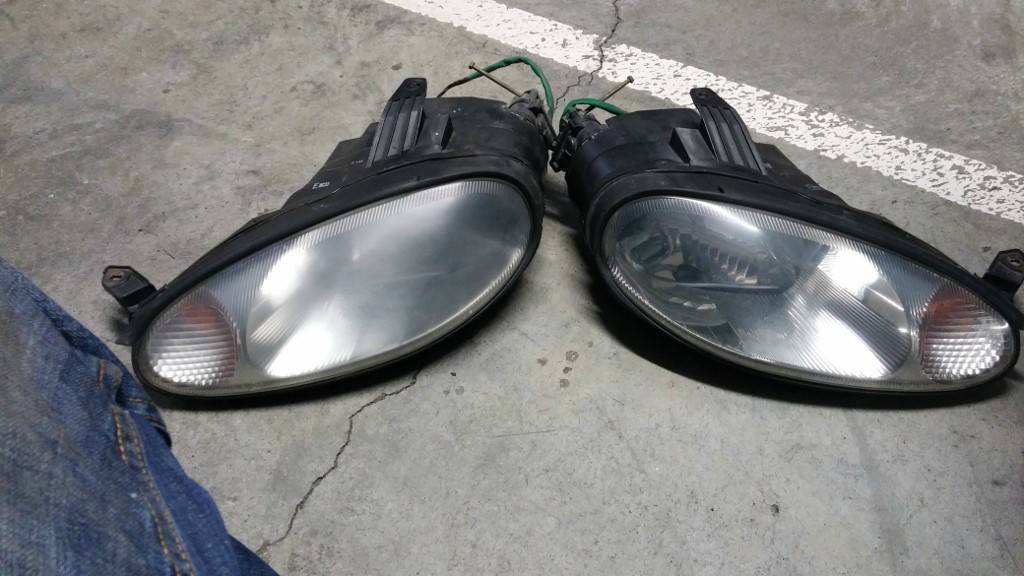
How it looked during the surgery
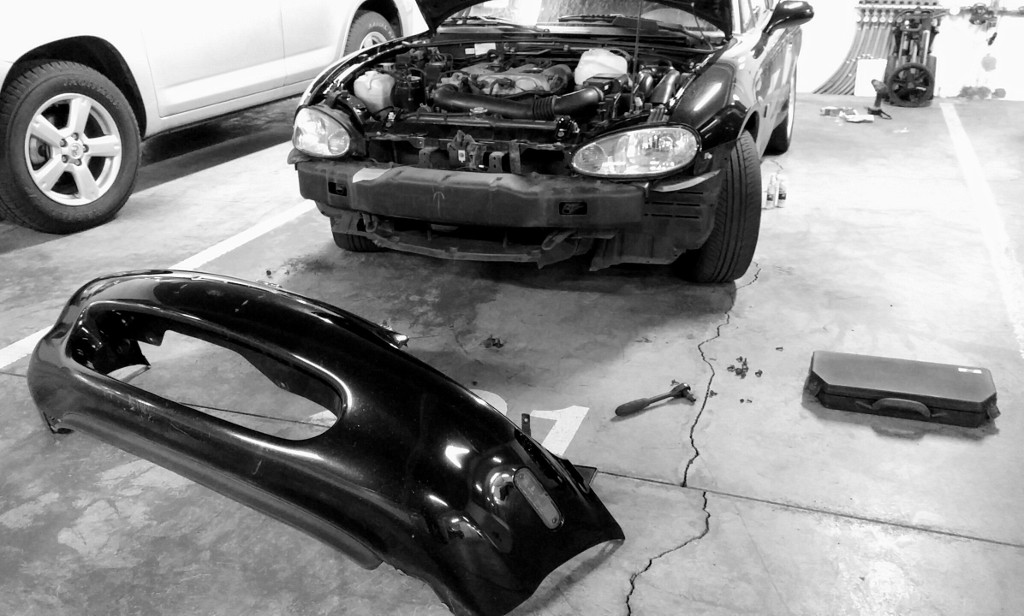
What the finished product looks like
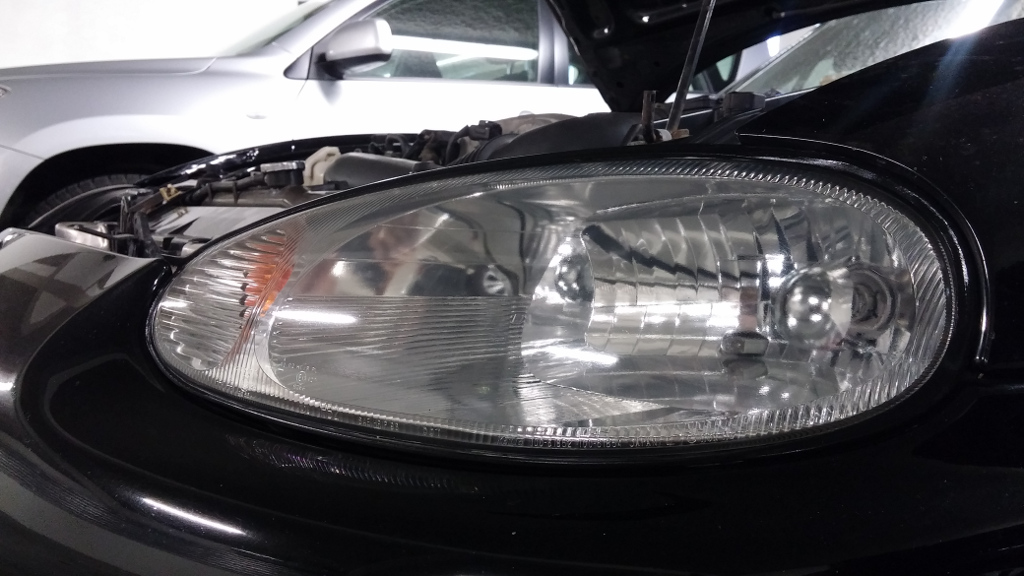
That's it for now. Bigger updates to come
So the story of how I bought it and imported to Iceland is here in one page
Buying a miata - Album on Imgur
Right now I'm talking to Reverant about buying an enhanced pnpms2. I've already gotten the turbo which is a t25 disco potato from a sr20 buddy that wanted bigger. Just waiting on a rebuild kit.
I'm still in the process of making the car nice before boosting. But gradually collecting all the parts and using the time until boost to get used to the MS and upgrading one part at a time.
Until then this will be where I put in small updates and pics.
Last nightshift I got bored at the hangar. So I decided to use the facilities there to work on the car a little. The upper radiator mounts were ratty so they got tackled first.

Sandblasted them

Primer and paint

Installed!

While I was doing that I remembered beatrush's radiator airflow plate. So I thought, Fuckit. How hard can it be?
Almost done here, Just need an hour more to finish and clean it up

As some pointed out during my introduction the headlights were hazed and ugly. Tackled that tonight.
Left after stage 1 polish, Right after stage 4 polish

How it looked during the surgery

What the finished product looks like

That's it for now. Bigger updates to come
Last edited by G3ML1NGZ; 07-19-2015 at 07:58 PM.
#4
hahah I know. Forgot about the bolts until my shift was over. Need to find a place where I can buy all those bolts, small stuff like this is surprisingly hard to find in Iceland.
And while I've got your attention.
https://www.flyinmiata.com/nb-diy-tu...-downpipe.html
I've always felt like the log manifold design just shouldn't flow properly. Would I be better off having something tubular made here?
And while I've got your attention.
https://www.flyinmiata.com/nb-diy-tu...-downpipe.html
I've always felt like the log manifold design just shouldn't flow properly. Would I be better off having something tubular made here?
#5
And while I've got your attention.
https://www.flyinmiata.com/nb-diy-tu...-downpipe.html
I've always felt like the log manifold design just shouldn't flow properly. Would I be better off having something tubular made here?
https://www.flyinmiata.com/nb-diy-tu...-downpipe.html
I've always felt like the log manifold design just shouldn't flow properly. Would I be better off having something tubular made here?
The log cast manifold should be pretty stout & reliable (no headaches, not going to crack)
#7
The reason that logs aren't as bad as you're expecting on turbo engines is because the turbo itself is so restrictive. Here's some reading for you:
https://www.miataturbo.net/engine-pe...-theory-71503/
https://www.miataturbo.net/engine-pe...-theory-71503/
#10
Are the stock miata engine mounts soft? like reeaaaally soft?
Mine felt like they were toast so I bought Gomiatas 40% stiffer mounts. And thse just feel exactly how I'd image that stock mounts should feel. And the old ones looked like there was nothing wrong with them.
I was going to change my timing belt, there was just no way I was getting the camshaft pulley off.
#13
Not so happy news.
I was sitting in traffic yesterday and started to smell something foul. I pulled over and popped the hood. I saw a small whiff of smoke and turns out that the nut that holds the battery cable to the alternator had worked it's way off and had a reaaally small contact area, which meant that it was glowing from heat. and had managed to melt the insulation of the cable.
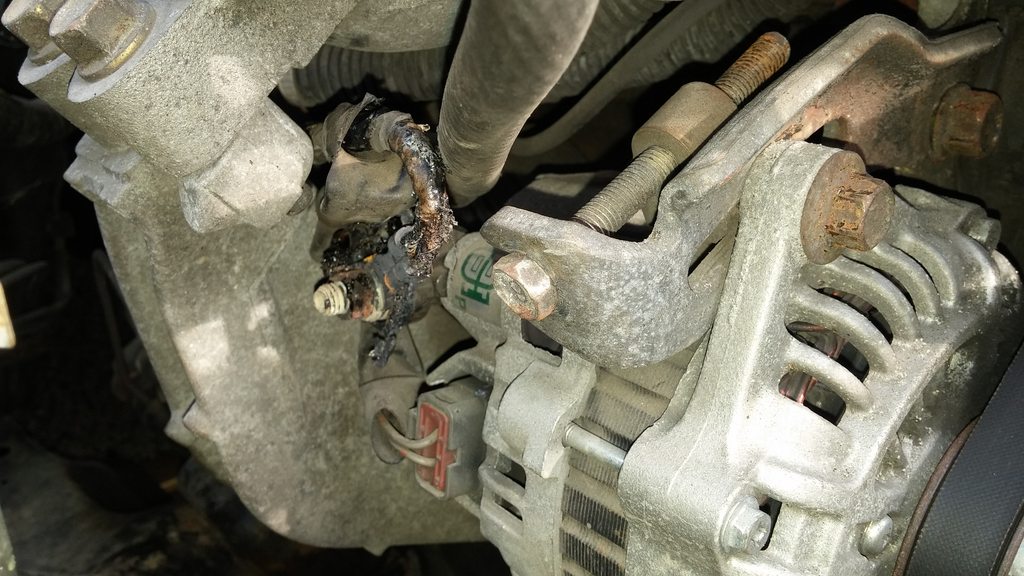
What I'm wondering now is how I should go about fixing this.
As far as I can see the wire goes into the wiring loom and I simply don't trust the rest of the wire not to burn anything else later on. So should I replace the end or lay a new cable all the way back?
I was sitting in traffic yesterday and started to smell something foul. I pulled over and popped the hood. I saw a small whiff of smoke and turns out that the nut that holds the battery cable to the alternator had worked it's way off and had a reaaally small contact area, which meant that it was glowing from heat. and had managed to melt the insulation of the cable.

What I'm wondering now is how I should go about fixing this.
As far as I can see the wire goes into the wiring loom and I simply don't trust the rest of the wire not to burn anything else later on. So should I replace the end or lay a new cable all the way back?
#19
Mine did the same, except in my case the nut broke loose, unthreaded partway and the eyelet was arcing to the stud slowly melting through it. I cought it about 1/2way through the stud and put a new locknut on; luckily the worn through area is above the nut and not a risk of failure but wow.


