When you click on links to various merchants on this site and make a purchase, this can result in this site earning a commission. Affiliate programs and affiliations include, but are not limited to, the eBay Partner Network.
I stayed in Austin for just one day. Then I took a flight home. It would be cool to take a vacation for several weeks and drive the car home. Haha - not really feasible right now. The car will be shipped back to me when its done.
Well, that did not go as expected. Dynotronics is swamped with work and my car's build has more than doubled the original allotted time frame. Today my stupid city decided that a morning frost was enough to dump salt all over the roads.
So thats that. I thought getting the car to Joe in August was early enough to ensure some quality driving time this fall, but now its over. As soon as the car gets back to me it goes into storage for four more months.
I'll post more next week, but the car is finished. Its scheduled to be picked up from Dynotronics tomorrow and delivered to me by Monday the 4th.
I did not think this was going to take 9+ months on the outset, but so it goes. Next time I have more incentive to do it on my own.. Joe has been really good to work with, despite the delays and setbacks, he is honest man and does a clean build and install.
for now, a easy-does-it break in tune at low boost with 91 octane.
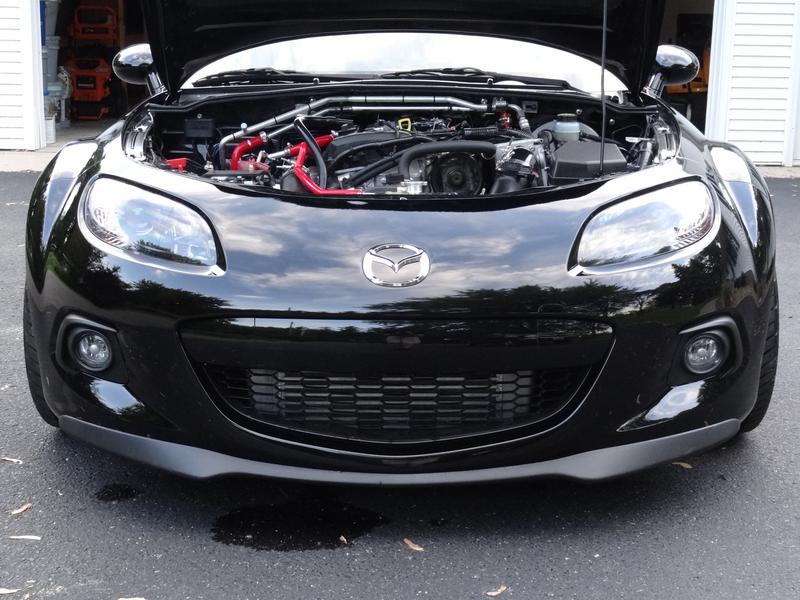
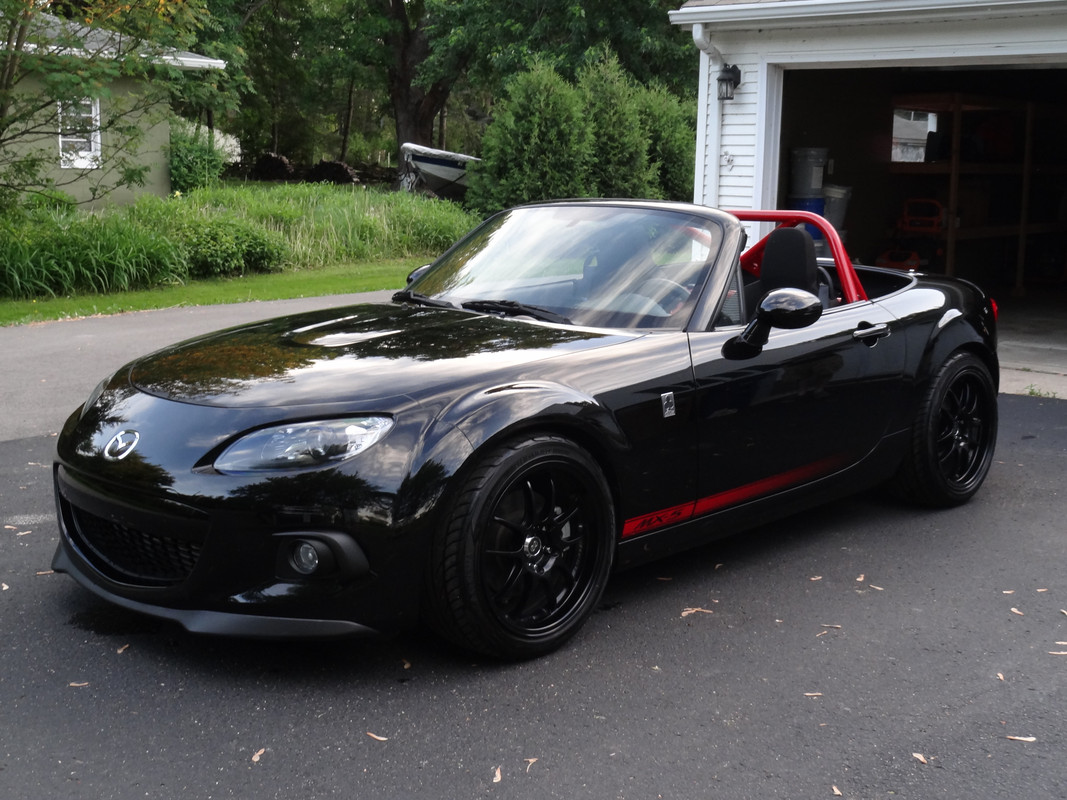
Just putting miles on right now. Some glamour shots since cleaning it up.
Gonna try to get some data logs soon. From what I gather from the dash unit, its hitting its 11ish psi or 185 kpa at partial throttle if I let it get to 4500 rpm or so. The 64 degree intake air this evening was great for power and spool! Hell yeah.
Soft top delete
Blackbird Fabworx GT3
Removable hard top
Ohlins DFV
Racing Beat sway bars & end links
Enkei PF01SS +48
Yokohama S-Drive 235/40/17
Track Dog Racing battery relocation kit
Cosmetic
AutoExe steering wheel
Redline Goods shift & Pbrake boot
Voodoo shift ****
Euro fog light bezels
Aim Strada street version digital dash
Pioneer AVIC-5000NEX
Stubby antenna
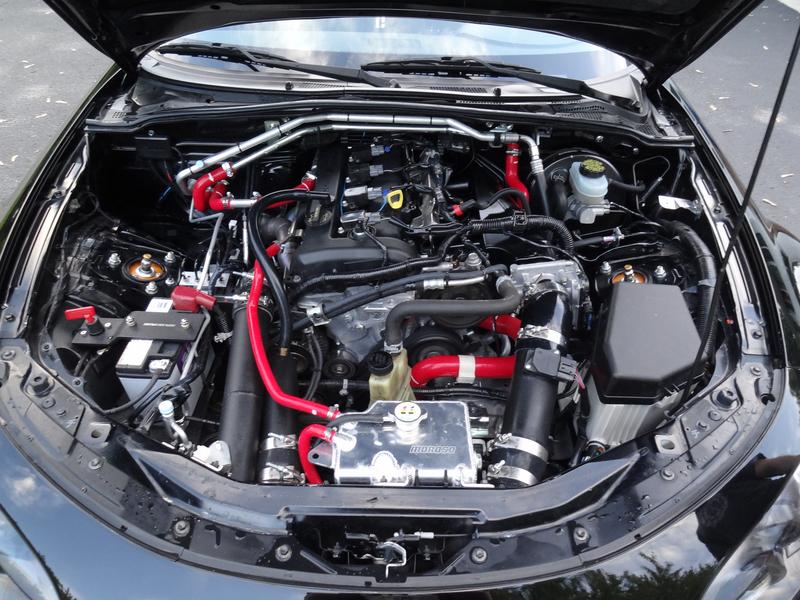
Moroso coolant expansion tank
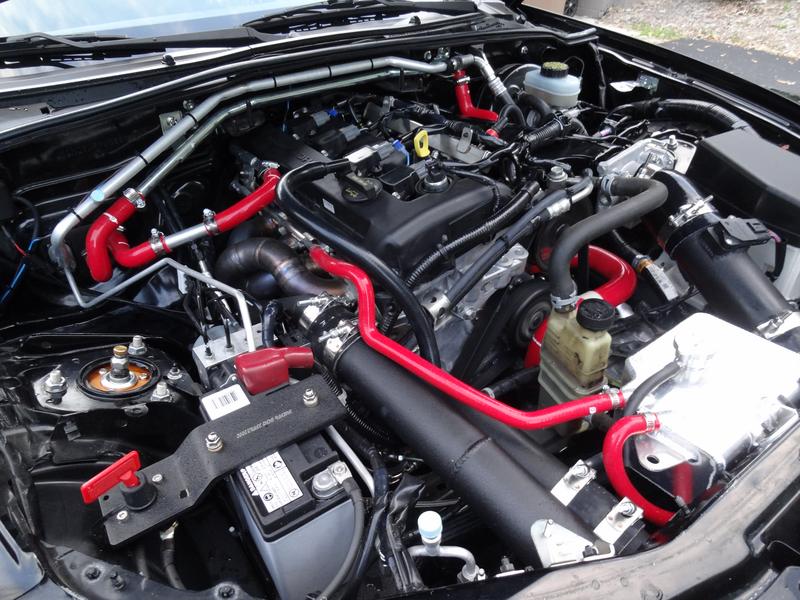
GWR silicone hose kit/red
Same here. My uncle let me drive his NC and I was very unimpressed. I bet yours is a blast though, can't wait to see some dyno numbers!
Basic dyno is posted. I'll get more data eventually. It made 350 whp @ 7000 and 320 ft/lbs @ 3500 on a dynapack at ~11 psi. After a few thousand miles and everything is through the break-in period I'm going to add a few more psi.
Originally Posted by Fireindc
Uhmmm. we need videos man, this thing is unreal.
100%. I clamored for videos of everyone elses stuff when I was waiting for dynotronics to complete the engine, so I can't be a cop out. I'm not set up for good video media at the moment, but I'm working on it. I'll have something up by next week.
Dang, last year got away from me. I'm going to resurrect this thread and kick it back off with some pictures. I've got plans for the car this year and I'll try to keep up.
This is such a tempting path for me. Any issues post-install?
Nothing out of the ordinary or insurmountable. Typical boosted car stuff. I had to chase a boost leak, a few rattles. Dynotronics build the engine and it runs on his EcuTek ROM files. The only downside to this so far has been the response time for tuning requests. You need to have saintly patience with Joe. He works very slow.
If you are capable of tuning yourself, the hardware is good to go. The engine runs great, and very quiet. Full 3" exhaust, but has a hi-flo cat. I'll try to get some videos up soon.
Next up is the install of a return-type fuel system and ethanol content analyzer. Gonna get the car ready for E85 and more boost.
Also noticed your WI plates. Whereabouts are you from? Would love to check this car out in person sometime if we cross paths at an event. I'm in Milwaukee
Also noticed your WI plates. Whereabouts are you from? Would love to check this car out in person sometime if we cross paths at an event. I'm in Milwaukee
I'm in Oshkosh. I enjoy meeting Miata people so I'll try to get out to some events this year with FVSCC or CWSCC.
Your NB build thread is insanely good. I'm working through it right now, but nice freaking job on that thing, and the other projects in there too.
Not long after my last post here I was on a data logging session with the car when I melted the engine. I had the Aim dash unplugged so that I could have the laptop plugged into the CANBUS. Its an either-or situation, and since the Aim dash is mounted in front on my stock gauge binnacle that means I get no instrumentation during data logging. Its all on my laptop screen. Driving alone and everything had been going really well so I hadn't noticed the engine temps. Turns out that when the car was warming up in the garage it popped a plug in a deleted coolant circuit and dumped all the coolant into a big crack ion the floor. So I didn't notice it and drove off. The thing was running so strong that it didn't complain at all until it simply made too little compression to idle. It happened pretty fast. I was not smelling the roses.
Anyway. I was gut punched. Totally my fault. $7000 race engine completely melted down. Never got to enjoy it.
Well, I didn't give up. I needed time though. I saved up for a year to buy another engine with no compromises. Dynotronics took another year to build and ship me the engine. And this time I was going to do the install to (A) learn the process myself and (B) perform it to my satisfaction.
That process is nearing the end after an 8-month swap and improvement session. This car went from being my main hobby to something I did every other weekend. Life gets busy and all that. I felt like updating this thread to kind of pick up where I left off. I'm currently pretty close to having it back on the road.
December 2021, new engine arrives.
Build specs:
PISTON SET, 9.5:1 ESSLINGER ROD SET ESSLINGER 6.136" H beam BALANCER BOLT ARP FLYWHEEL BOLT ARP CAM BOLT ARP HEAD STUD SET ARP (CUSTOM AGE 625 OPTION) MAIN STUD SET ARP ROD BEARINGS ACL MAIN BEARING SET KING THRUST SET OEM HEAD SET OEM REAR SEAL OEM GASKET HEAD COMETIC CAMS STAGE 1 ESSLINGER CHAIN TIMING OEM TENSIONER OEM CHAIN RAIL OEM CHAIN GUIDE OEM
CONVERSION LIST 2.5 TIMING COVER TO MX5 2.0 OIL SUMP AND PICKUP 2.0 BALANCER MODIFIED CRB REMOVAL MODIFICATION 2.5 OIL TO 2.0 OIL MODIFICATION MACHINE SERVICE LIST BORE/HONE ALIGN HONE DECK BLOCK TANK BLOCK (ULTRASONIC CLEAN) CRACK CHECK CRANK, BLOCK AND HEAD BALANCE ROTATING ASSEMBLY 5 ANGLE VALVE JOB WITH PLUNGE CUT SET SEAT PRESSURES TO DYNOTRONICS SPECS ADJUST CAM TO BUCKET CLEARANCES FOR CAMS KEY CRANK AND SPROCKET
Getting the layout of the shop.
New chassis parts to install during this new build phase:
I.L. Motorsports chassis underbrace 3-piece kit.
LRB aluminum air tray for radiator and side support
Racebred Components quick-detach front splitter
Borrowed the engine hoist and floor stand from, a buddy. Disassembly begins.
Decent progress after day one. Lots of labeling wires, hoses and plugging disconnected fluid lines.
The I receive the next major component upgrade from Walter Motorsports. Got lucky on the timing and ordered a custom 3.63 ring and pinion set with Tomei LSD prebuilt in a core.
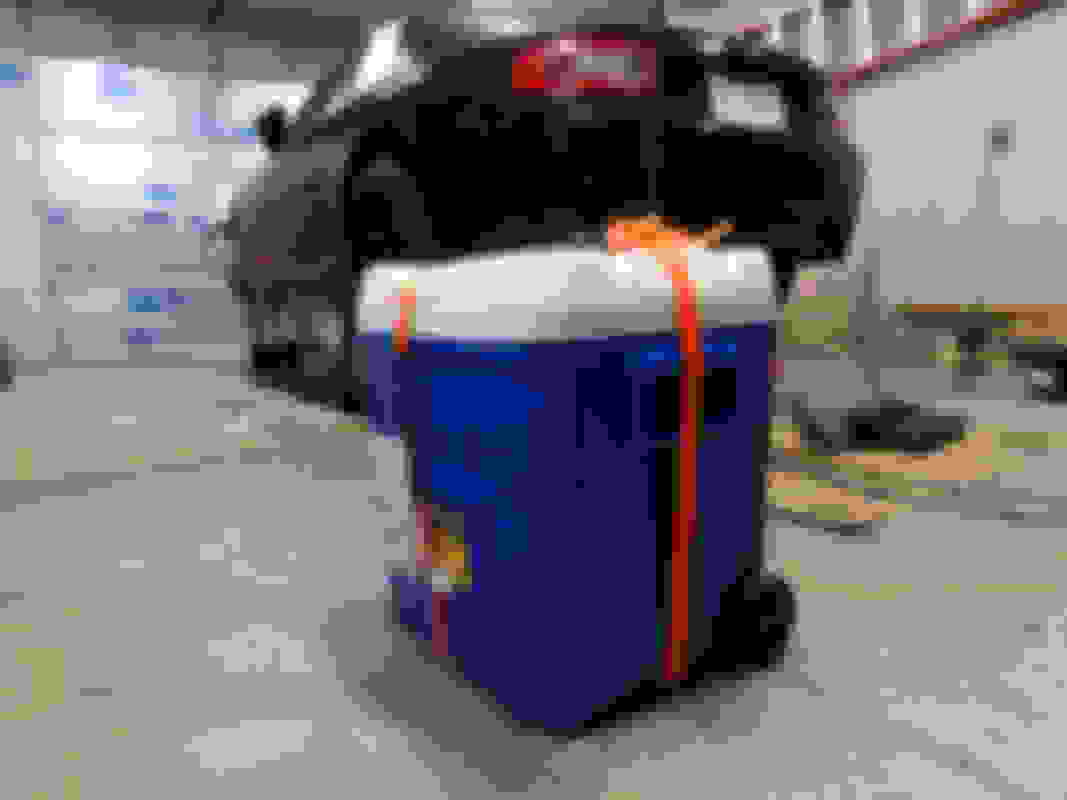
Really clever packaging/shipping solution! Cheapo rolling cooler.
At this point I'm looking at all the systems on this car for potential improvement. Realizing I never did anything with the brakes, all the way down to factory brake fluid. So I went to GoodWin Racing and got a brake package from them. Went for a more budget setup here to save a little coin. No monoblock Wilwood 4-piston calipers, but some nice fresh rotors and pads with steel lines.
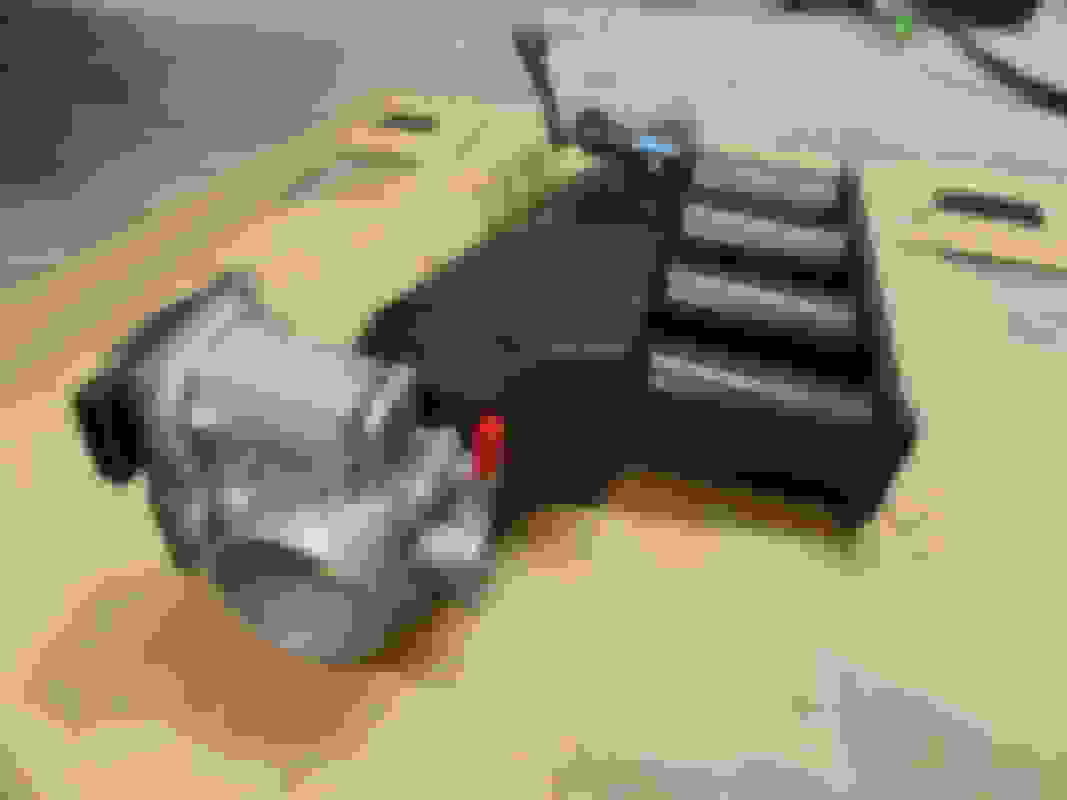
Prototype 1Goal fabricated intake manifold. A pre-production unit.
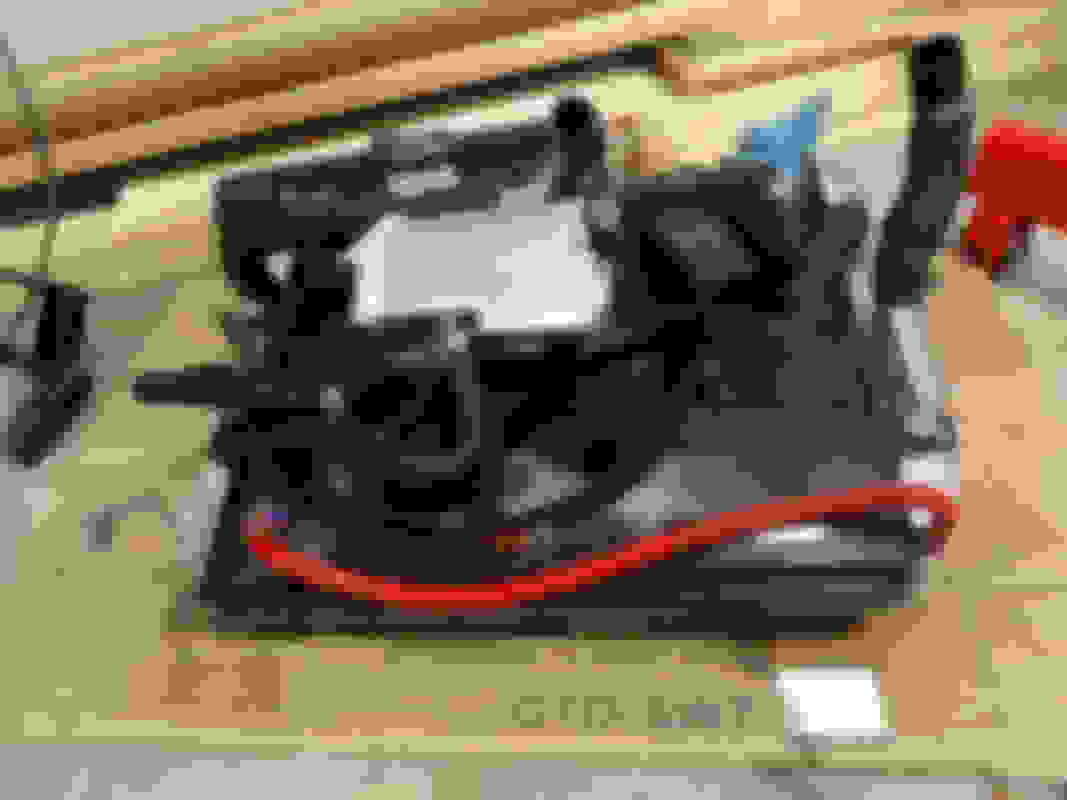
Cooling pack with power steering reservoir
Front end getting lighter
This was end of day two progress
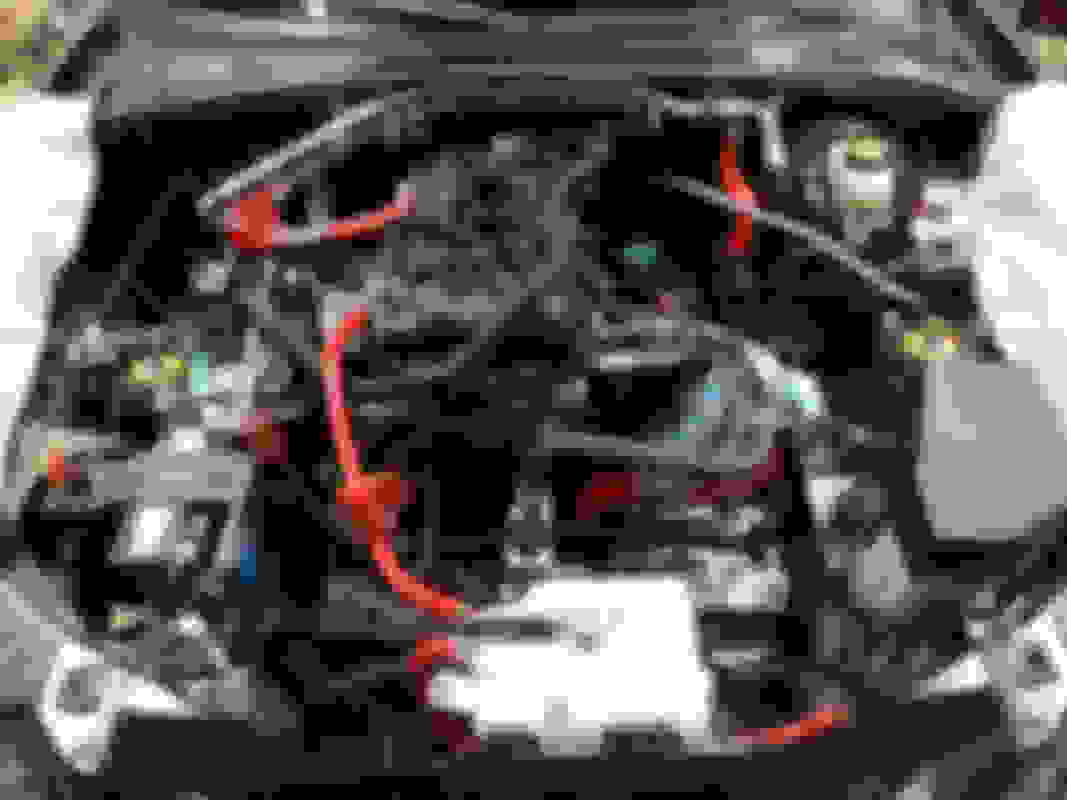
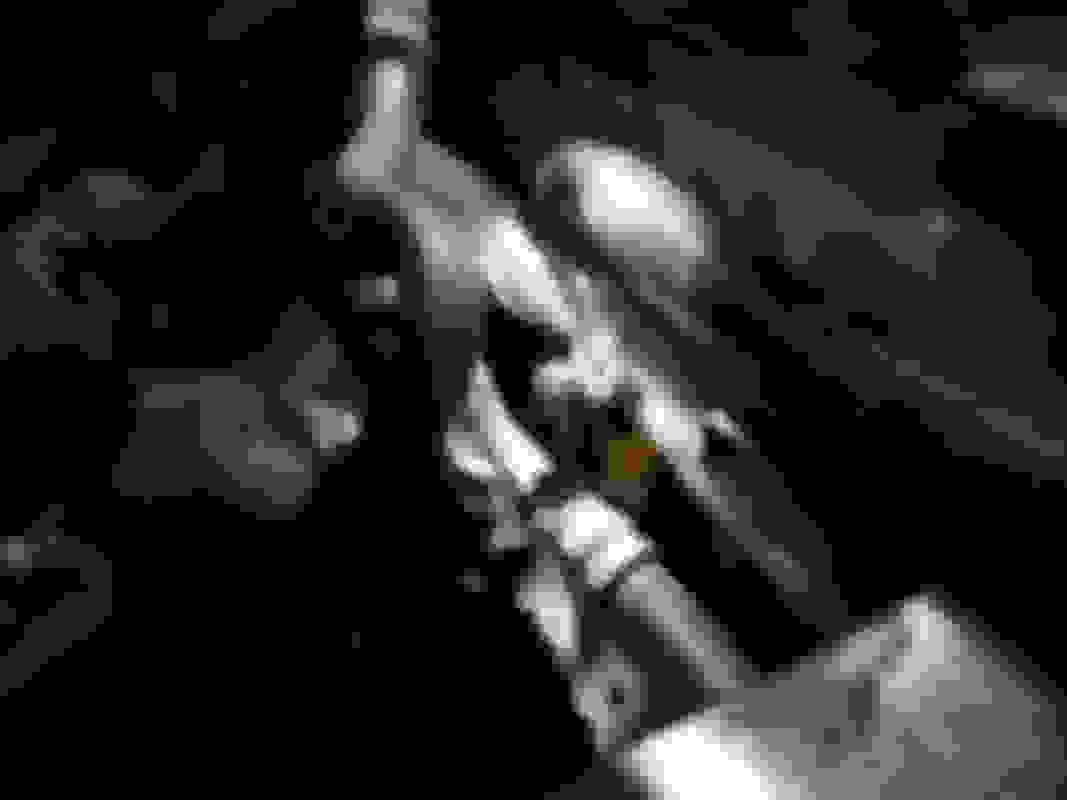
At this point it became apparent where my coolant leak was from. Here is the coolant bypass hose with the deleted circuit that previously went to the throttle body. Just a cheap Chinese rubber nipple with a small hose clamp. crazy huge disappointment to find this was the failure point to my expensive race engine.. this 2-cent part. And it is under the intake manifold and inaccessible/undetectable with everything together. I will change this block-off and never have anyone else make a decision in this build process again.
Time for the front engine cradle and suspension to drop out.
Something neat about the QuickJack 5000 - If you use both rubber blocks at each corner there is just enough room to roll the whole shebang out from under the car on a typical floor jack without having to raise the body any further with a sketchy lift.
Engine is out! Now I get busy with some other projects while I gather supplies to actually perform the parts swap.
 11-13-2017, 09:44 AM


 0
0