When you click on links to various merchants on this site and make a purchase, this can result in this site earning a commission. Affiliate programs and affiliations include, but are not limited to, the eBay Partner Network.
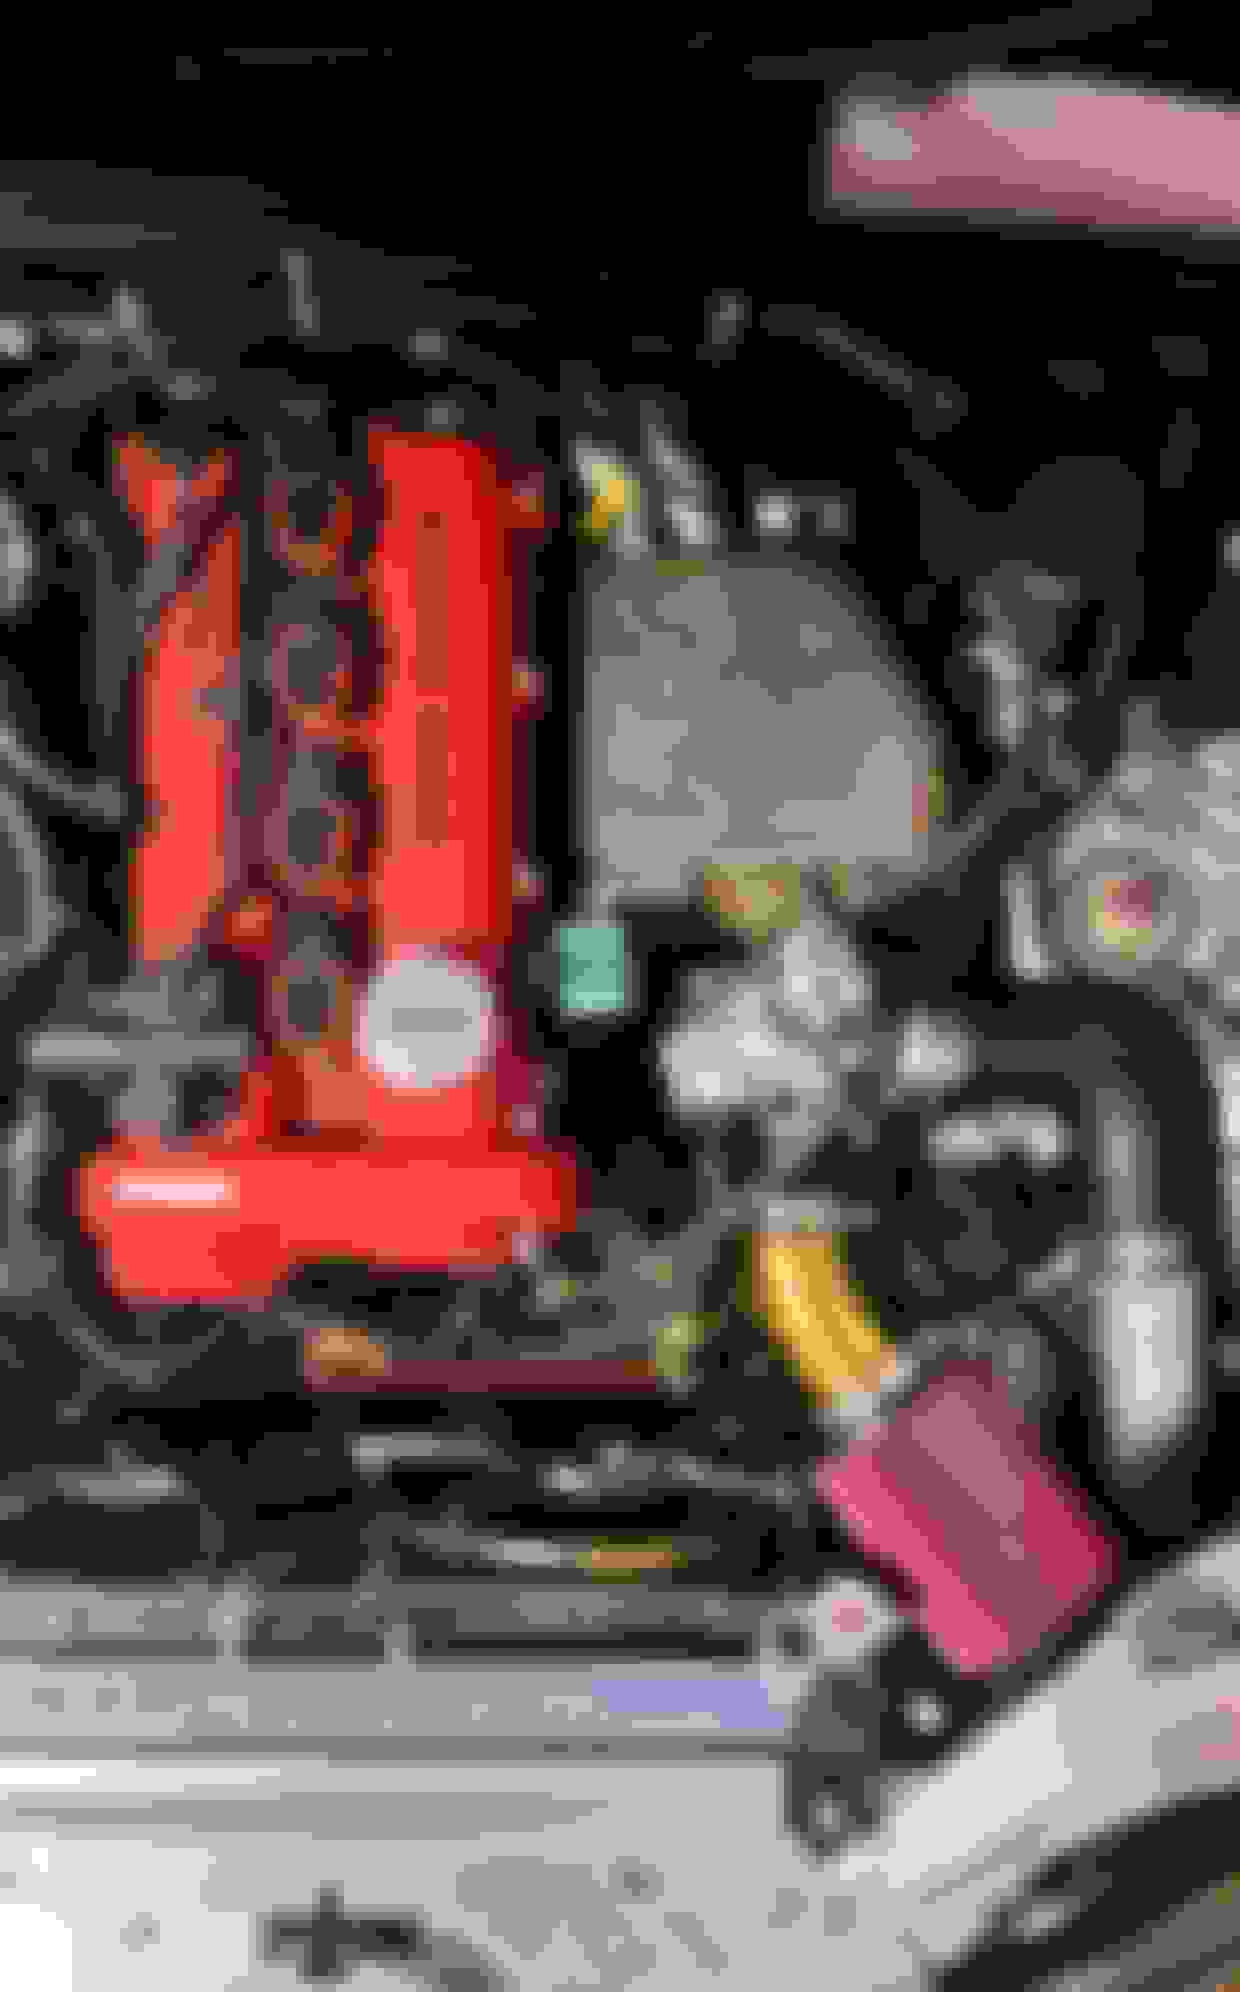
Only oil and coolant lines left. Had a slight set back where the oil feed adapter's threading broke into the VVT feed pipe at the oil pressure sender location. Big face palm moment when it suddenly released tension. Had a great buddy help remove the threading yesterday and now back to the races.
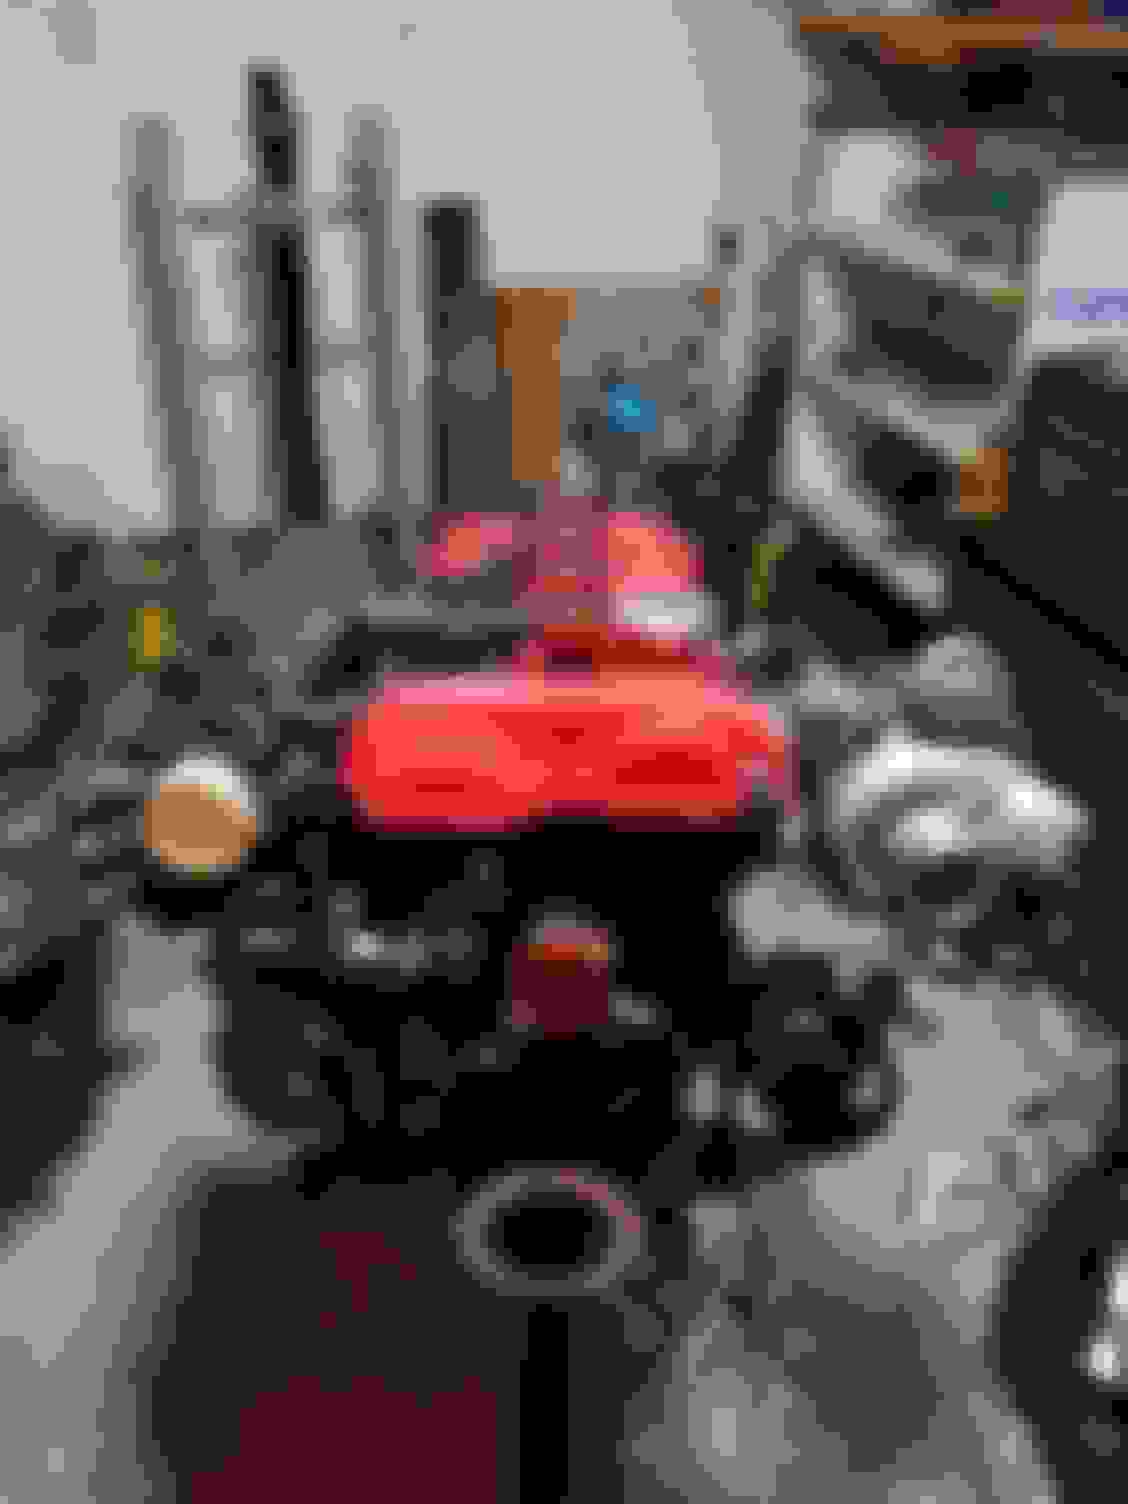
Had an hour of free time today and did a bit of clean up of the empty bay.
Transplant in the next week hopefully, fingers crossed!
Engine now ready to be dropped in. Leveler definitely makes the job much easier than it is. *word of caution - the worm gear on the leveler DOES shed some metal shavings during operation. Probably my cheap brand, but please ensure you have your spark holes plugged/covered.
Got my base tune dialed in with VVT (wasn't too bad hooking it up). Because I have a MAF delete I tapped the 12V signal from that then run a wire down to the MS3. If you're using MSM MS3 PNP, EFI suggested I hook it up to PWM2 (PIN P). Worked like a charm.
ID1050X settings were provided on their website- PSIG at 60PSI for the initial settings.
FIRED HER UP and RATTLE CITY. Almost had a heart attack. Don't forget to tighten up those water pump pulley bolts kids!
Tightened, and fired it up again. Smooth as butter! Quiet, and the best part is she idles perfect. It'll be awhile to break it in, but glad it all worked out great. Fingers crossed until the 500 mile mark
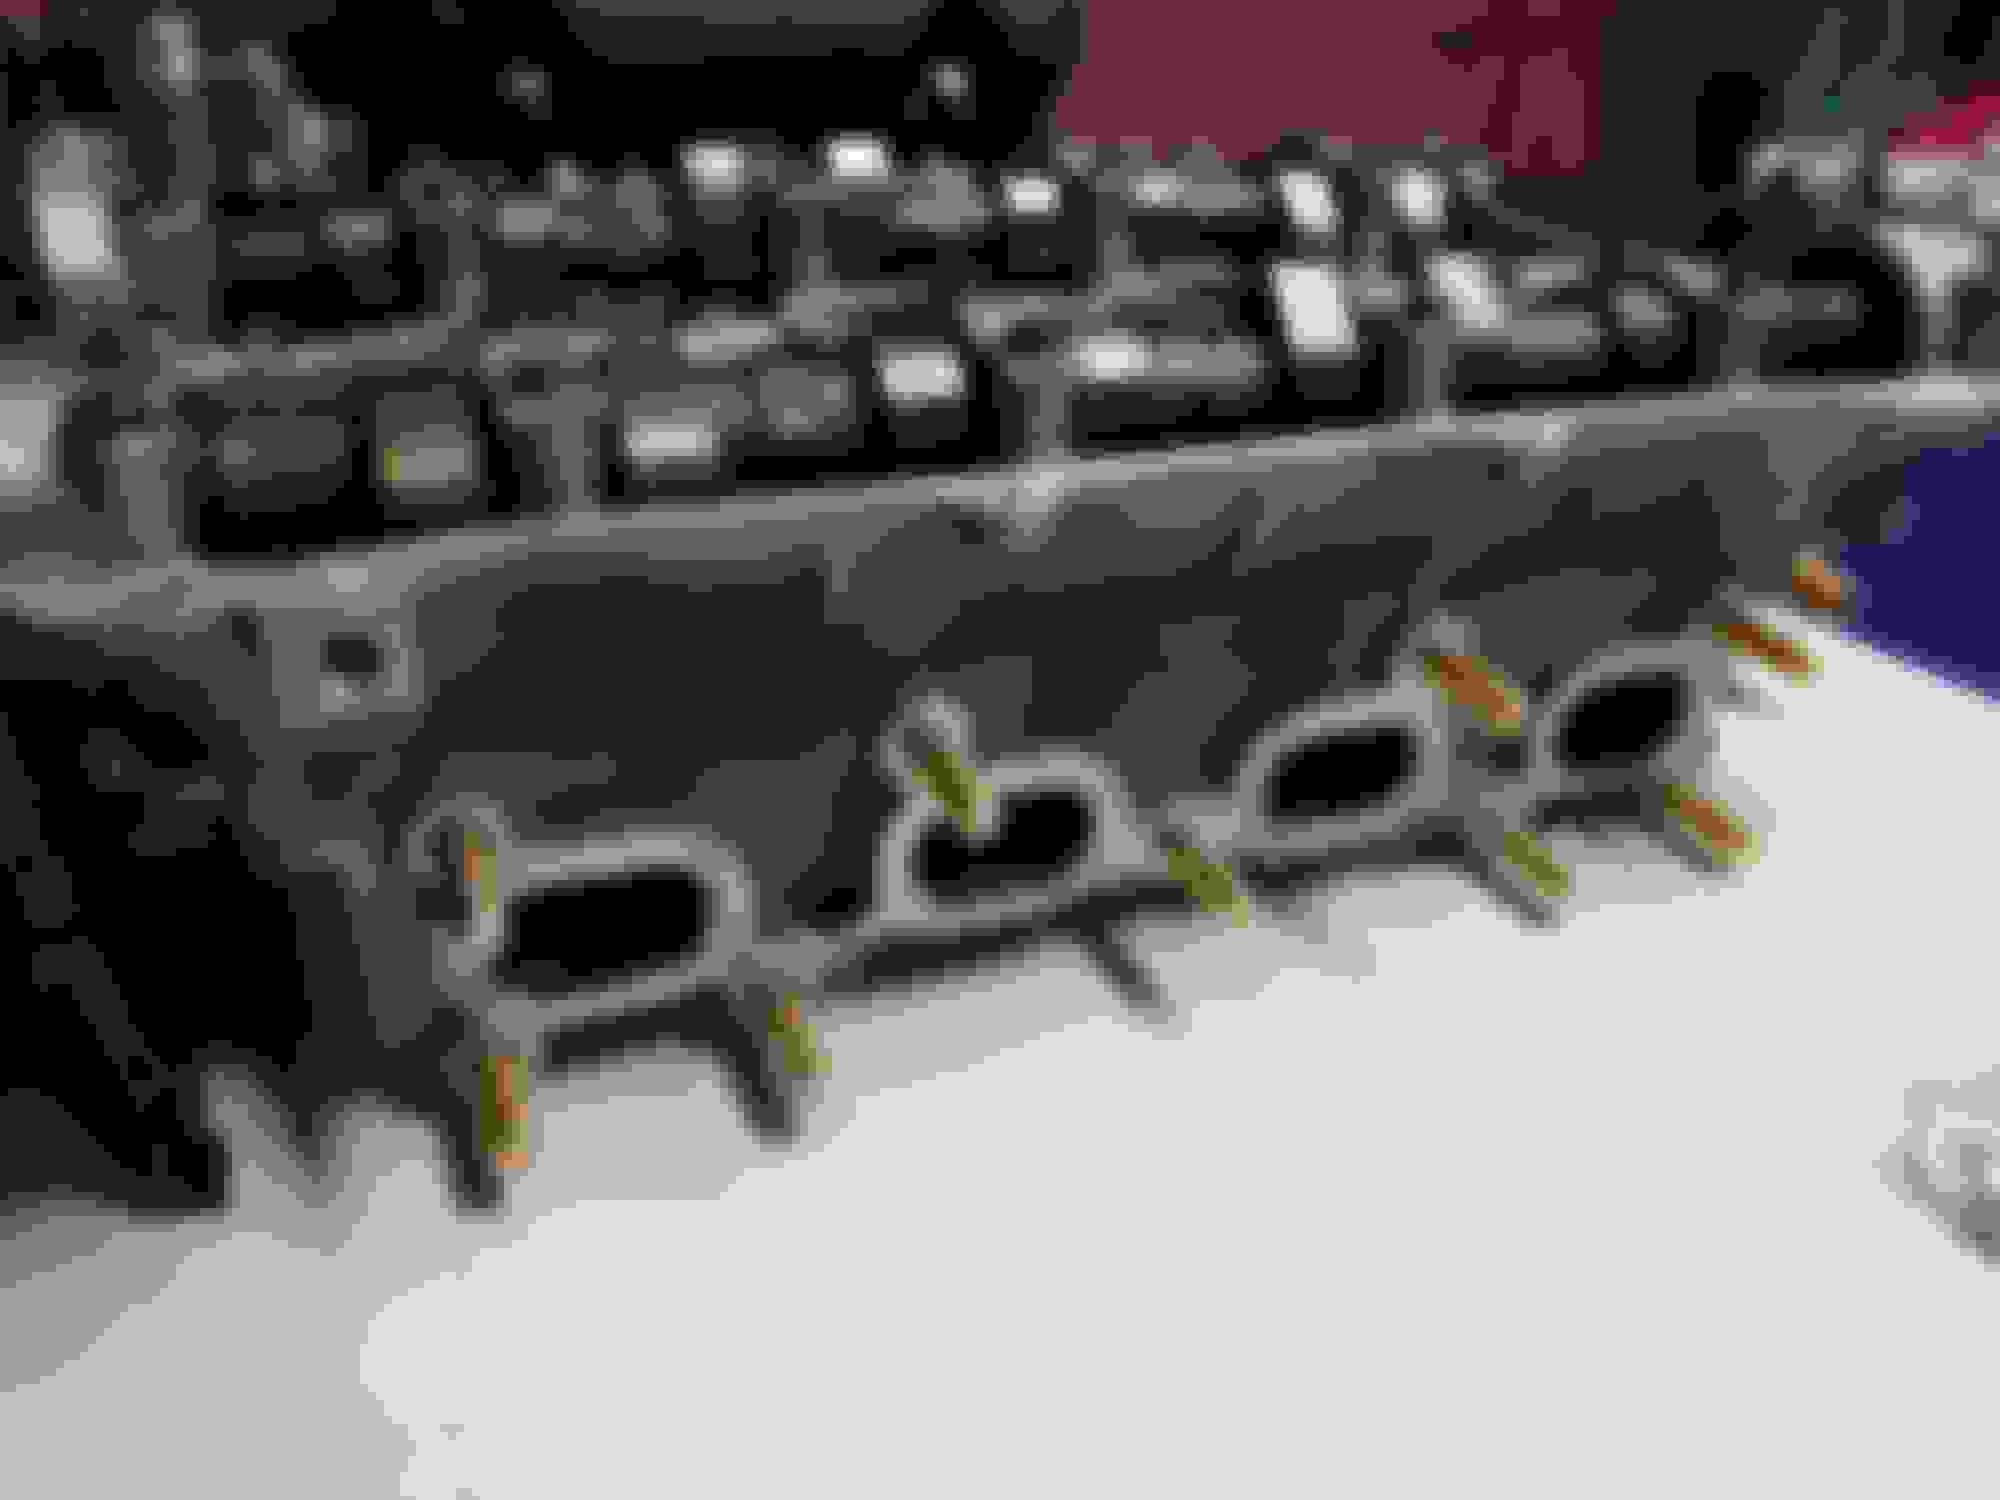
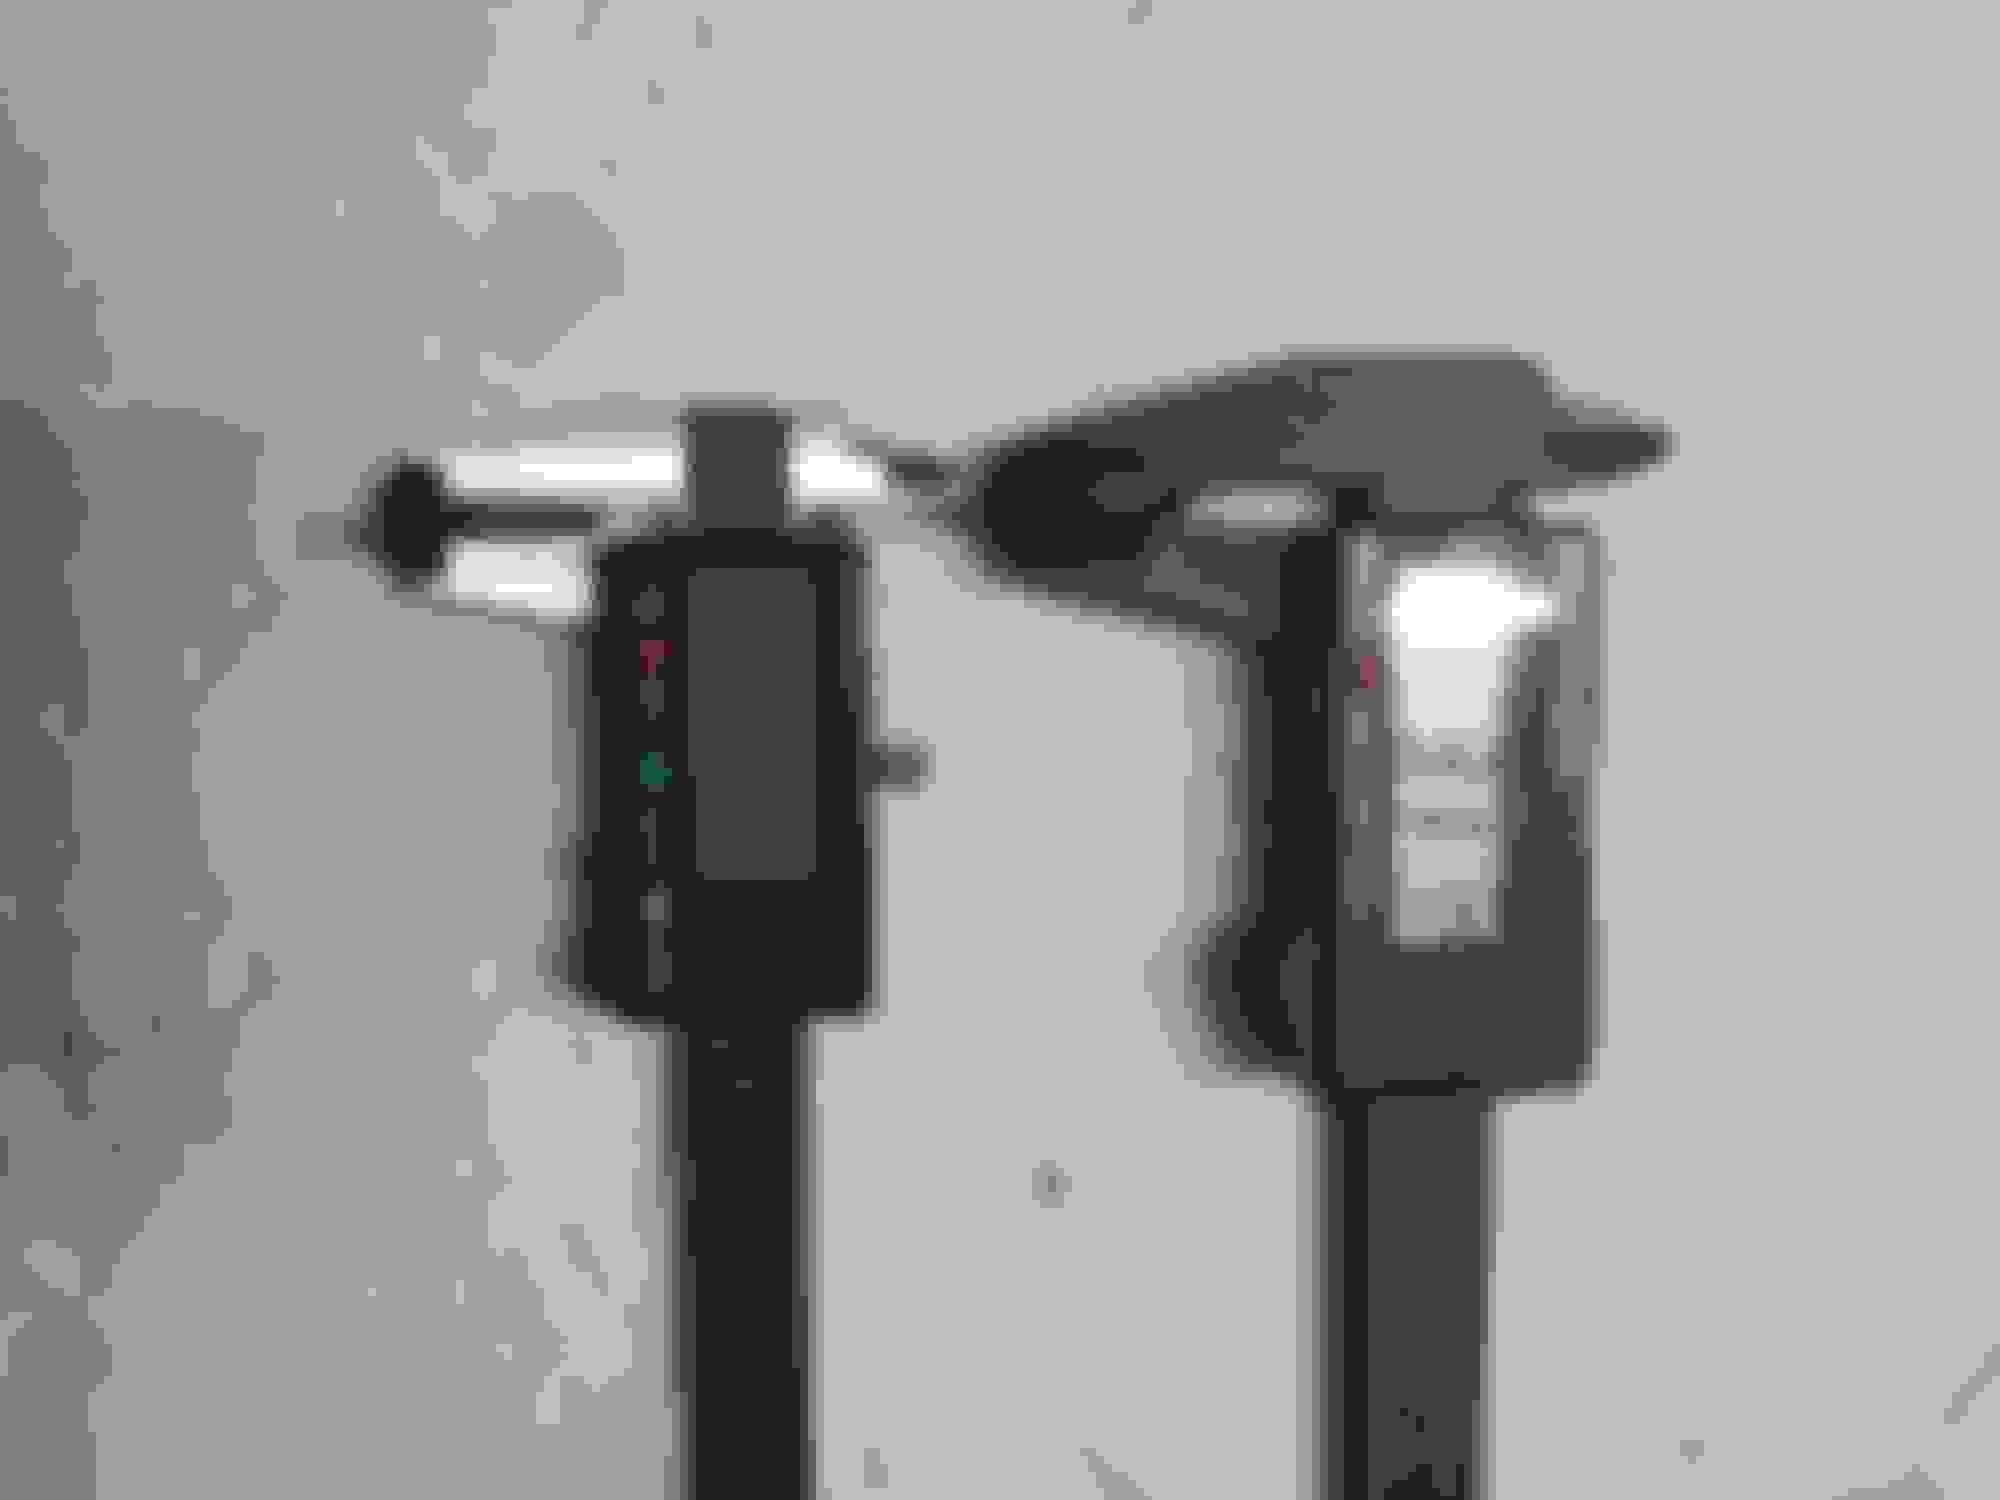
Found a coolant leak at the back passenger side that got progressively worse during break-in. Pulled the head to measure surfaces.
Conclusion: Human error with reusing a torqued down OEM gasket (should have known better). 4 hour lesson learned!
Ordered a set of MiataRoadster exhaust stud kit while I had everything off. Fab9 intercooler coming in tomorrow and so the tinkering continues and I can finally install the rest of the cold side FM I/C piping.
Interestingly that MX-5 Unleashed article mentions nothing about drilling out the breather hole between the middle chamber and the hotside vent chamber. Definitely do this. I hooked a boost gauge up to a filling in my oil cap and measured 2-3psi under boost. Drilled out that hole (no steel wool put in) and now measures 0psi. I also increased the size of the hot side vent outlet to 12an to a VTA catch can.
I followed the advice from this thead: https://www.miataturbo.net/diy-turbo...re-test-80353/
Interested to see how it sounds with that muffler. I have the kraken 3" muffler and it is honestly too quiet.
As for the valve cover. I had to drill out the passenger side a bit because it was leaking a small amount when I turned up the boost to 20. I suspect my case pressure isn't too bad because my can is always empty, but it'd be nice to know for sure
Interestingly that MX-5 Unleashed article mentions nothing about drilling out the breather hole between the middle chamber and the hotside vent chamber. Definitely do this. I hooked a boost gauge up to a filling in my oil cap and measured 2-3psi under boost. Drilled out that hole (no steel wool put in) and now measures 0psi. I also increased the size of the hot side vent outlet to 12an to a VTA catch can.
I followed the advice from this thead: https://www.miataturbo.net/diy-turbo...re-test-80353/
Thanks for this, I'll be doing the same breather hole drilling (but -10AN) to a VTA catch can as well as enlarging the hole in the VC long chamber.
I want to retain the cold side PCV + AoS as this is predominantly a street car to keep pressurization at light to mid throttle situations on that side. Frankly I just want to see how well the upgraded GTX PCV does its job shutting during WOT. I'm curious to see if the enlarged breather to VTA would be sufficient to alleviate VC pressures.
If this combo doesn't work I can just do what the other high power boys do it and just route the cold side VC to the VTA as well and see how well that works. That should maximize VC breathability.
I have to admit so much information (and perhaps misinformation as well) in technical threads out there, best way is by trial and error for my own setup IMHO.
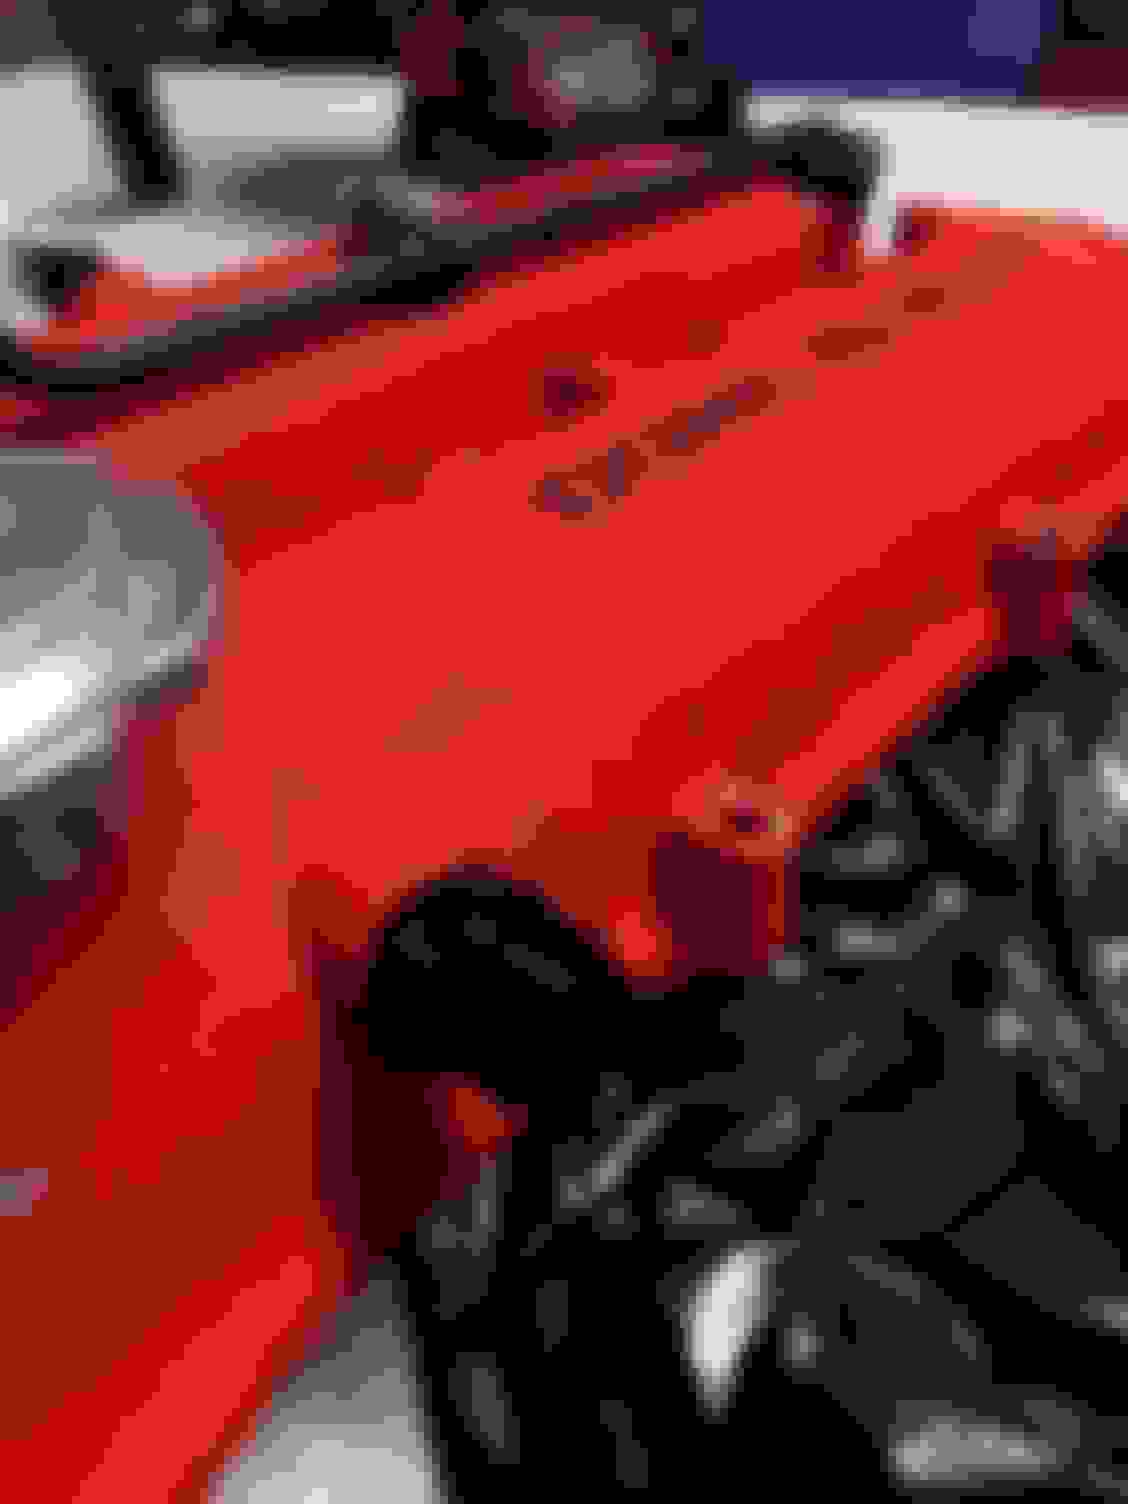
Long overdue update. Got the head back from the machine shop with the deck job, and got'er all back together along with the VC modifications.
Followed the thread on widening the baffles inside the VC and enlarged the exhaust side with -10AN fitting to a vented catch can. The 750ml can is rather large, so the only location I could find that would fit would be behind the radiator at the center.
No leaks found so far, but because it's the dead of winter I haven't been able to take it out on the roads. Still have to wait a couple more months before I can continue to break in the engine and do more tuning. I'm planning on running another 1000km's and a couple more oil changes before I start my boost tuning when it's warmer and the roads are clear of salt.
I also made a heat shield and bent the brake lines further to increase clearance from the downpipe. Turned out quite nice.
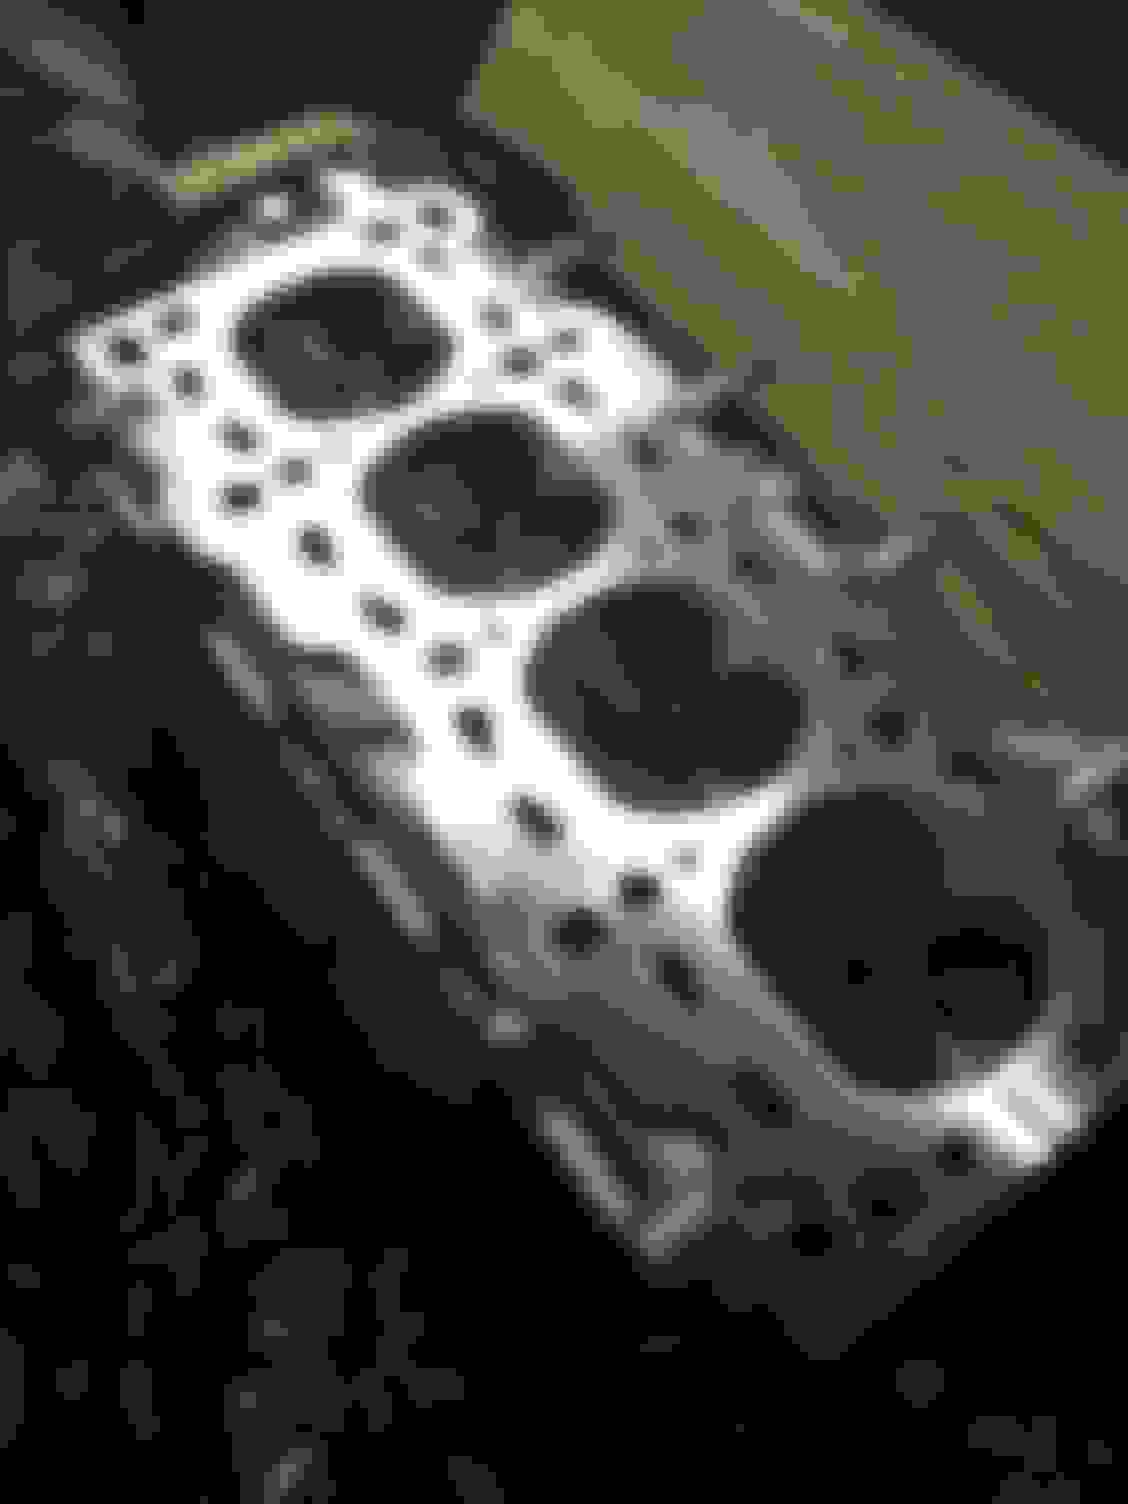
Grade 8 exhaust studs from miataroadster. Head studs took awhile but got them installed and torqued to 65ft lbs. ARP's instructions have been updated and reflected this as well. Also on that note, ARP did ship out refined spacers that are thicker and wider than the OEM ones. This was a previous concern before but not anymore! Enlarged inside baffle So racecar. Shiny redecked surface. The mistake I made resurfacing the block but did not do the same with the head previously resulting in the slight coolant leak.
Its been a little while since my last update, the weather has started getting warm and got to start breaking in the motor again.
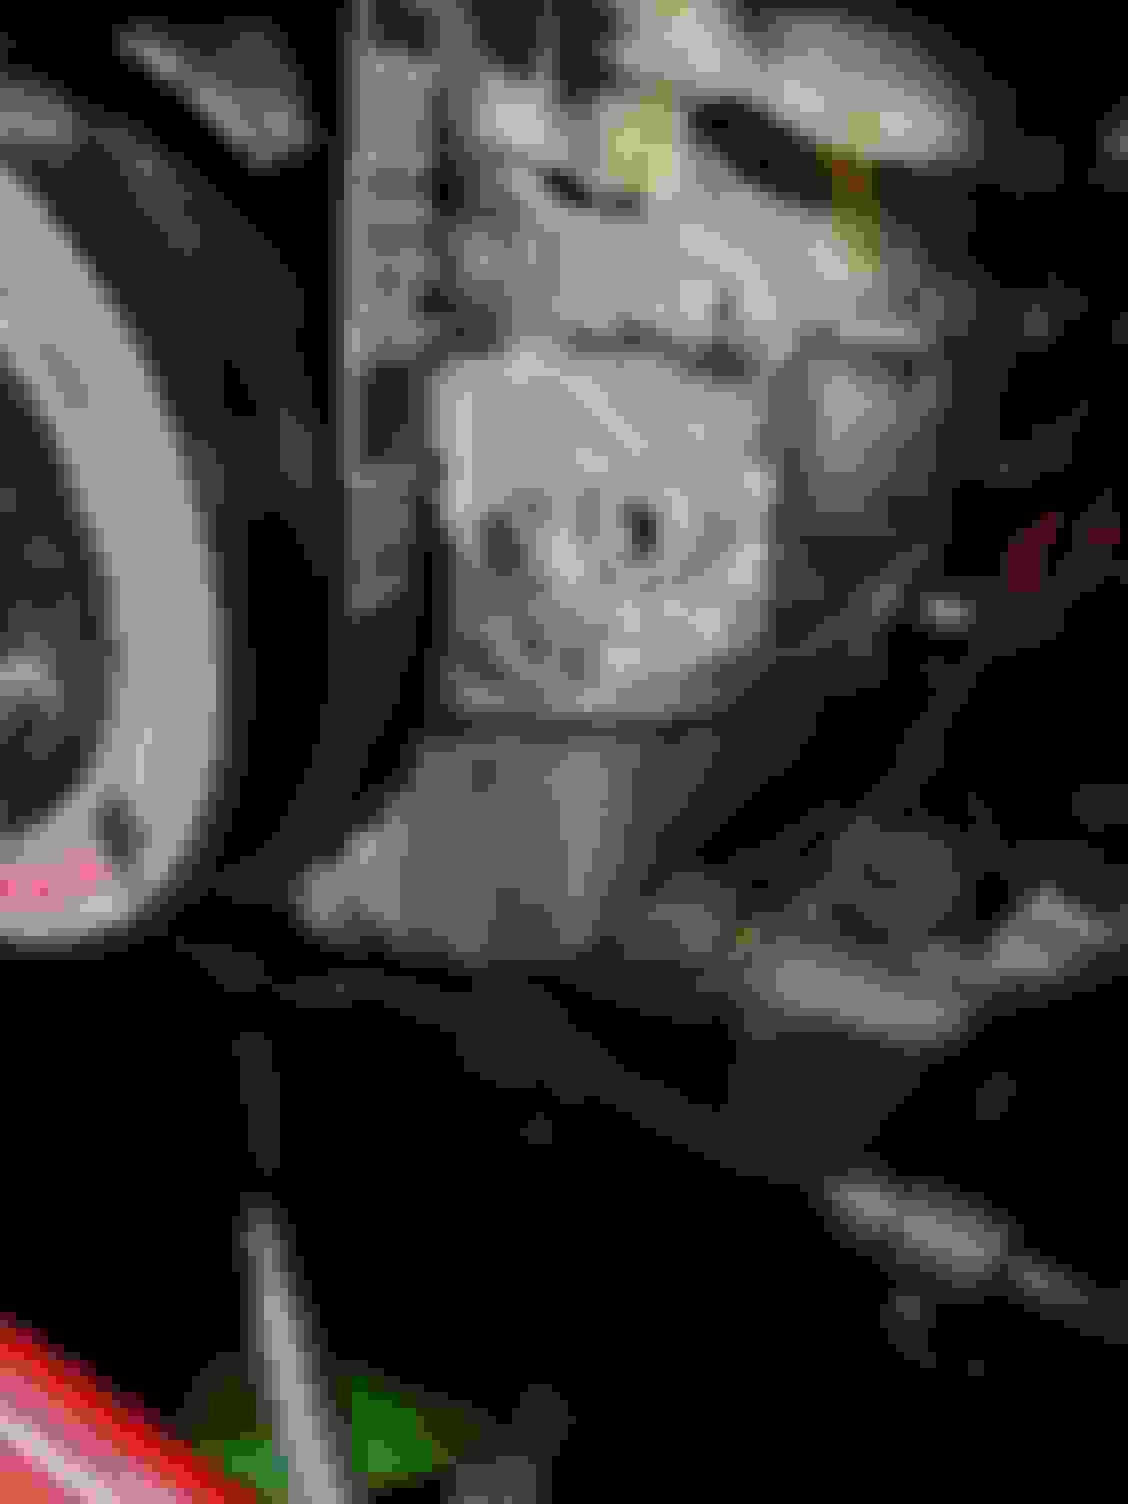
Upon tinkering and tightening some bolts down, I managed to break off the AC bracket bolt that faces the front of the block with my herculean arms. Tried to get it out but no bueno. This bolt's purpose is to press the oil pump against the block via a pin guide through the AC bracket. With it now gone I know it'll be springing a leak in the future if left unattended.
Being a total noob, I tried drilling it out with left handed bits and couldn't get a good center punch in with the bolt being about 3" recessed. I know doing the job right would mean removing the oil pump, which means lifting the motor again......but hear me out.
So here is the solution that I came up with. First hammered the pin flush towards the bracket on the oil pump side, then tapped the pressure fitted pin guide with M10x1.5. Found the appropriate bolt and washer from my local hardware store and viola!
Did some tinkering and changed up the FM 2.5" filter that was directly bolted onto the turbo (the silicon started to melt) to a 3" inlet 5" diameter 6.5" length AEM. I can tell there's plenty of air for the turbo but now I can't hear the spool as much as the air filter is fricken loud now. Can't say if I like it more or not.
Also slipped on some heat sleeves for the oil lines and added a non-DIY by me turbo heat shield.
Been trying to hunt down a buzz and rattle that only happened when the car is at operating temps and at 4000+rpm. Turns out it was the vband DP needed some extra clearance as it was hitting the subframe.
All is good now... Now to mount the new RT660's and find the next thing to break.
FWIW - I had RT660's as last year's track tire. I loved them at first but then discovered that they got a little greasy then hotter they got. Not terribly so, but enough to know to back off a little. My new love is a set of AR-1's. For a 8/10's driver, they are the cat's meow for a HPDE.
PS - the 660's have become my new summer tire. They'll stay on until I wear 'em out.

 10-23-2021 | 10:35 PM


 0
0