Project Trisha MxMillan aka Trillian
#1
Thread Starter
Elite Member
Joined: Mar 2006
Posts: 1,559
Total Cats: 105
From: Schwarzenberg, Germany
Lately I stumbled upon this little sad MX-5 at ebay just around the corner
I couldn't help myself and had to save this poor little car...
So now I can proudly introduce to you project
Trisha MxMillan
With a nickname like mine the search for a project name was easily done:
Trisha M(x)cMillan as the name of my new daily MX-5 to be...
Trisha McMillan aka Trillian
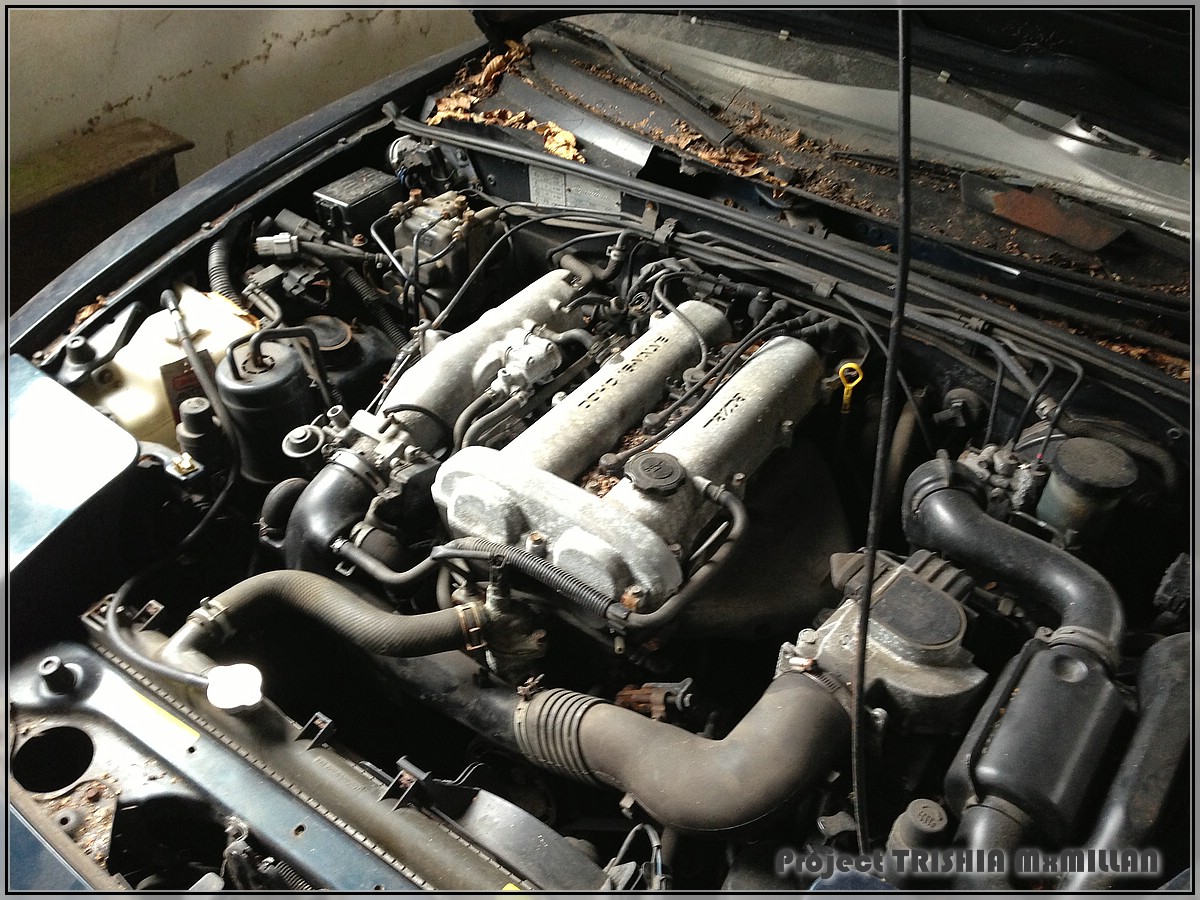
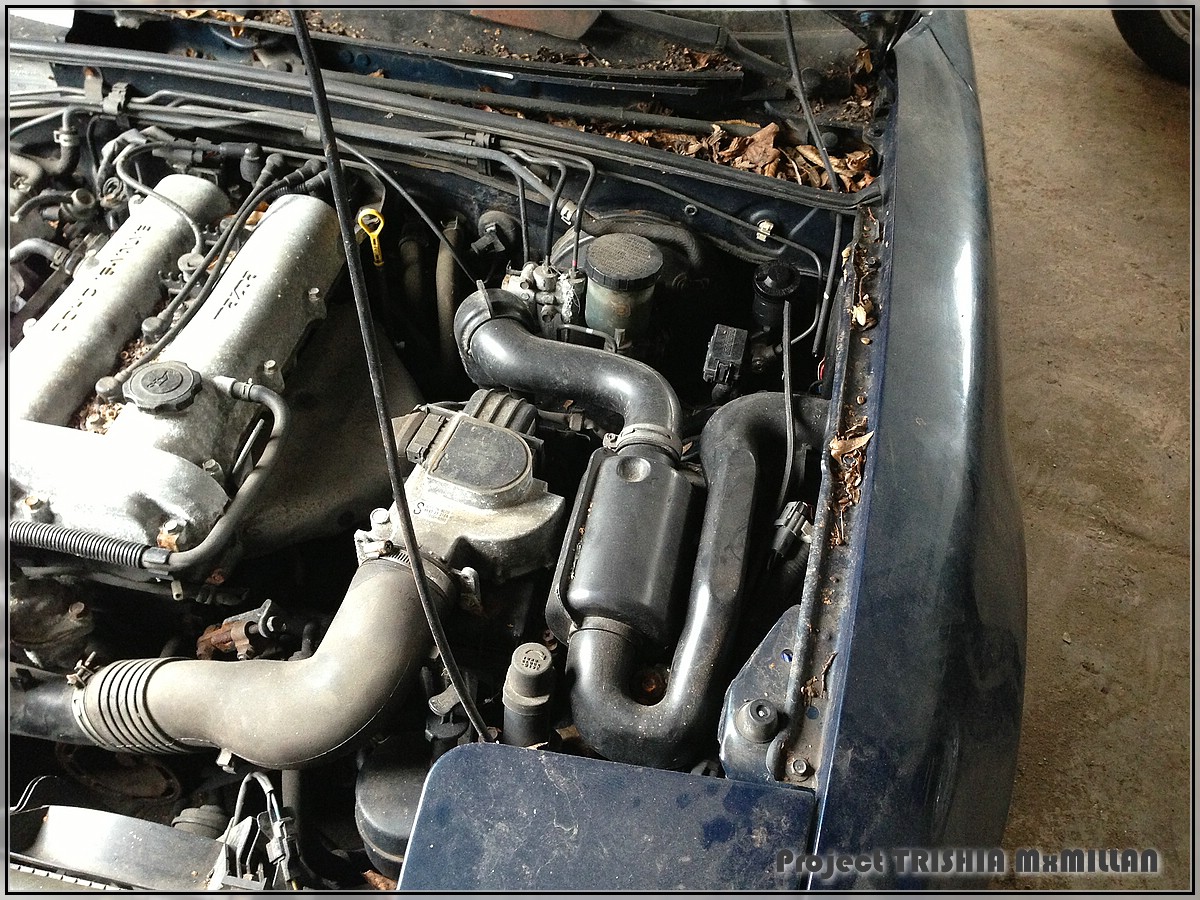
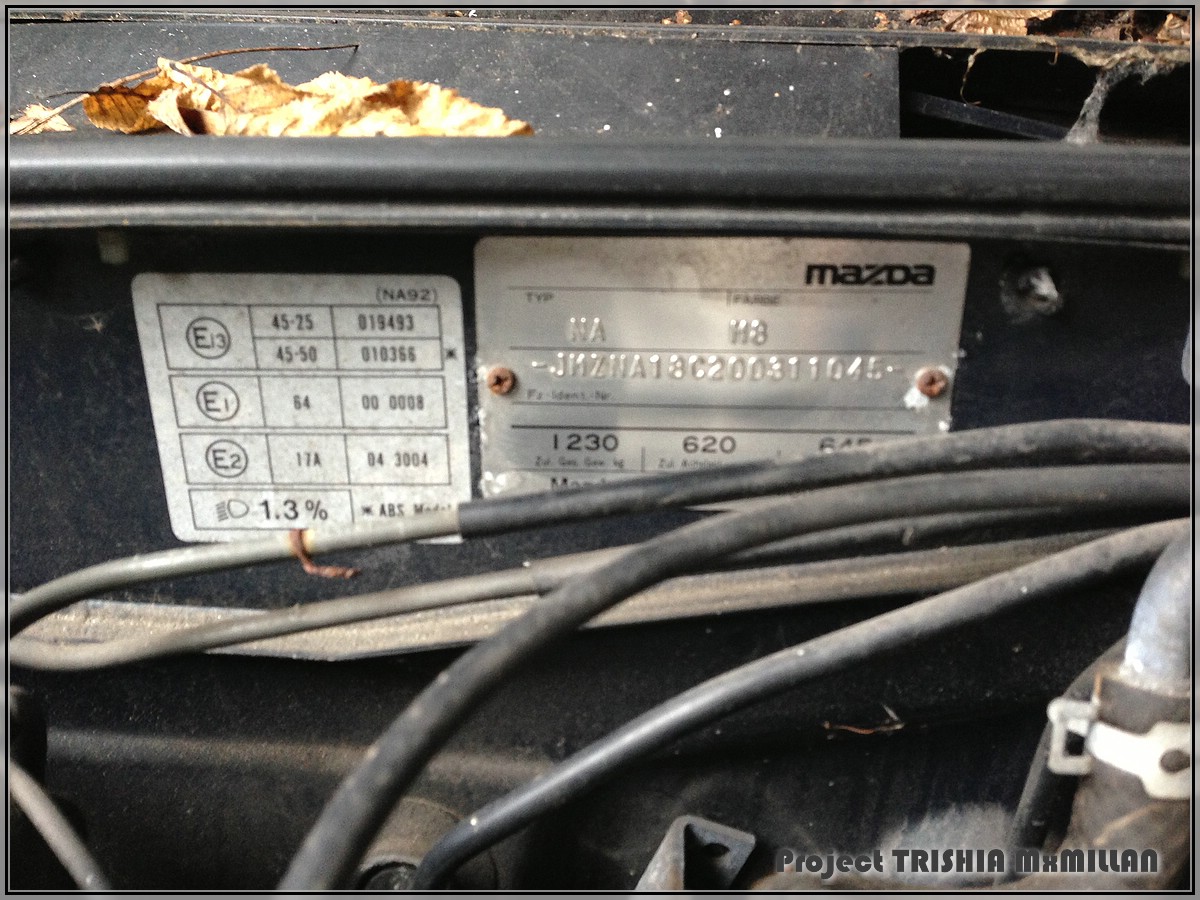
Pics of the first contact...
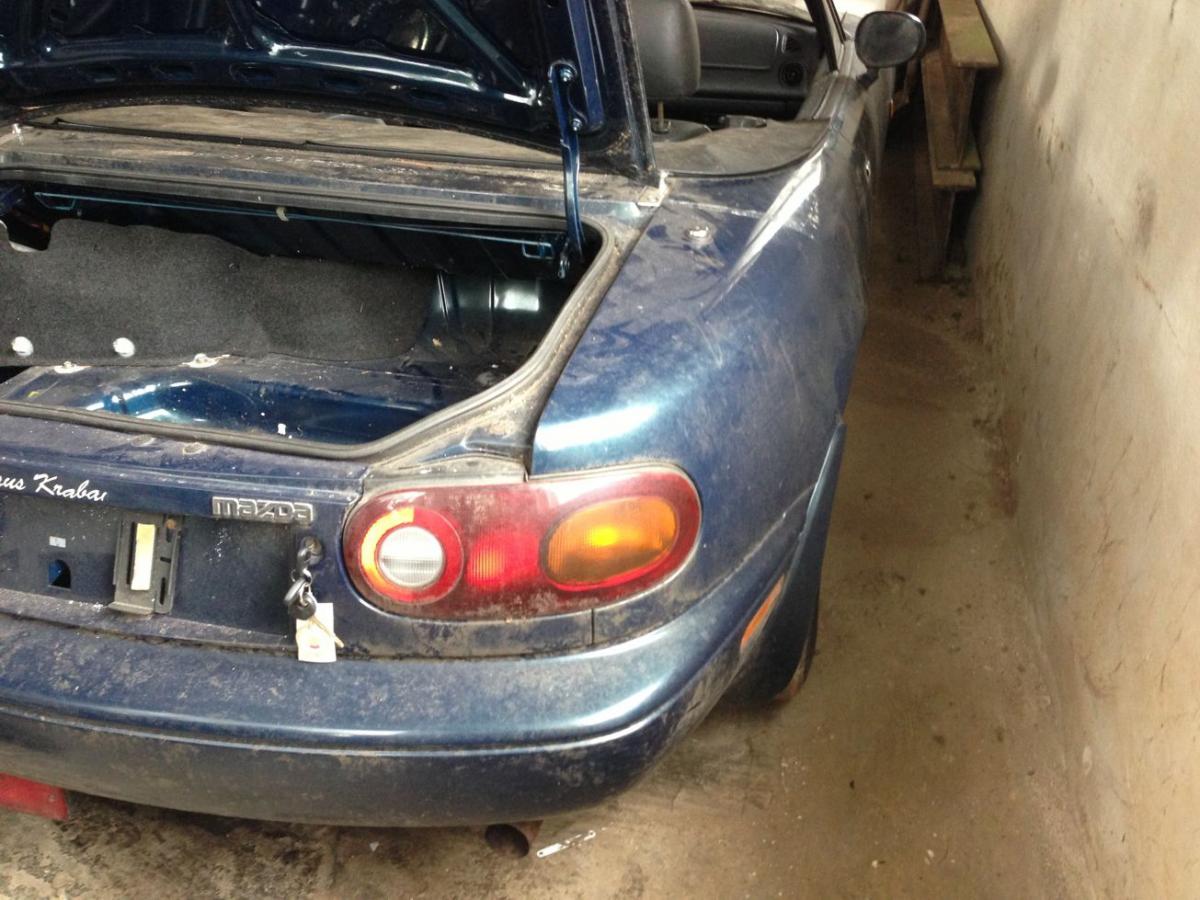
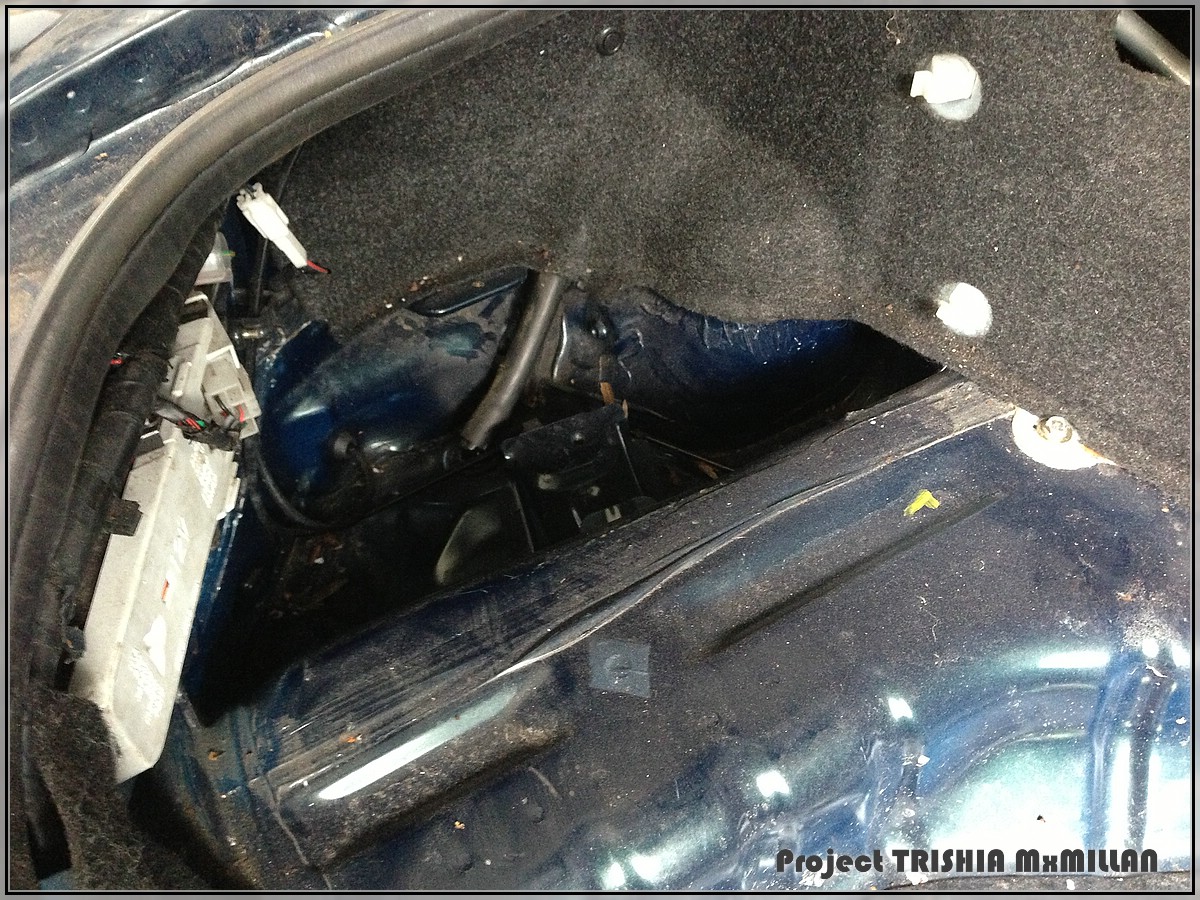
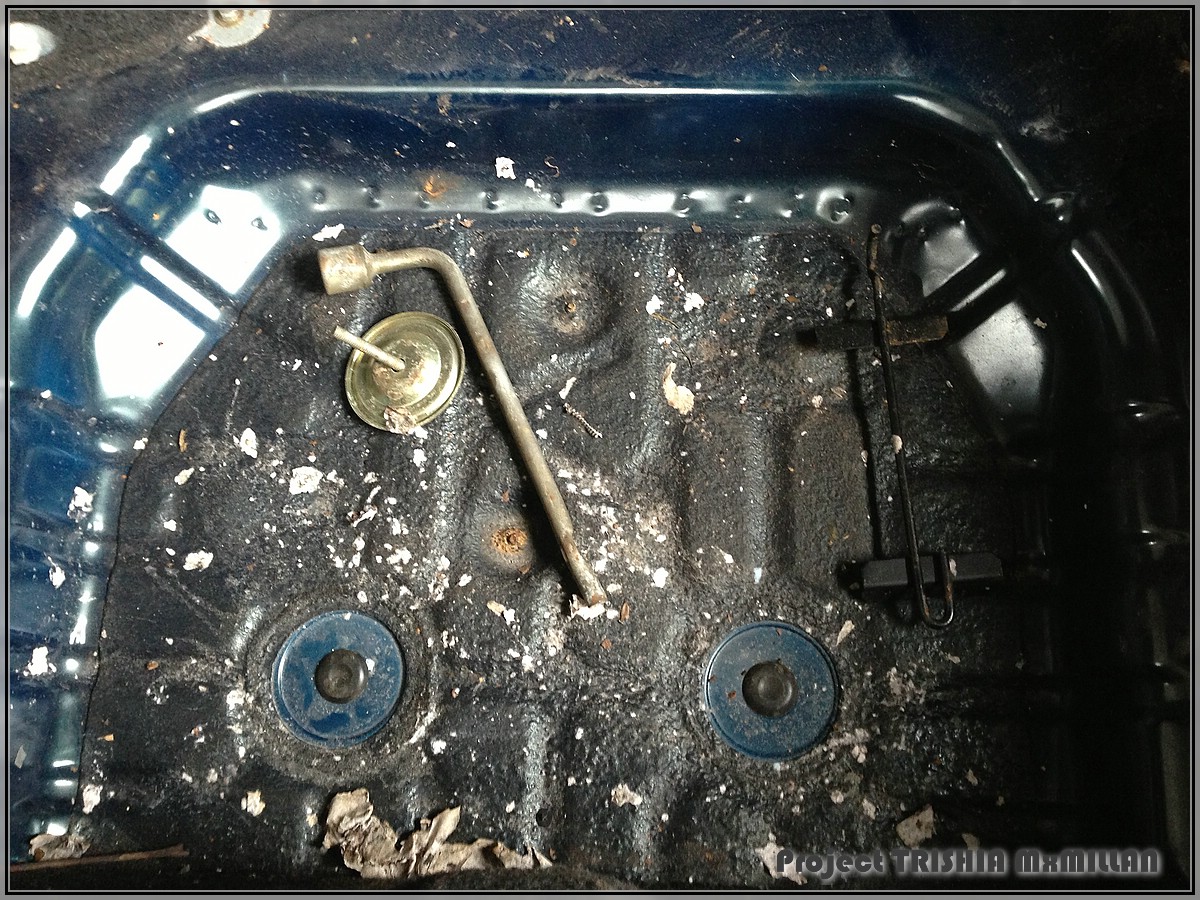

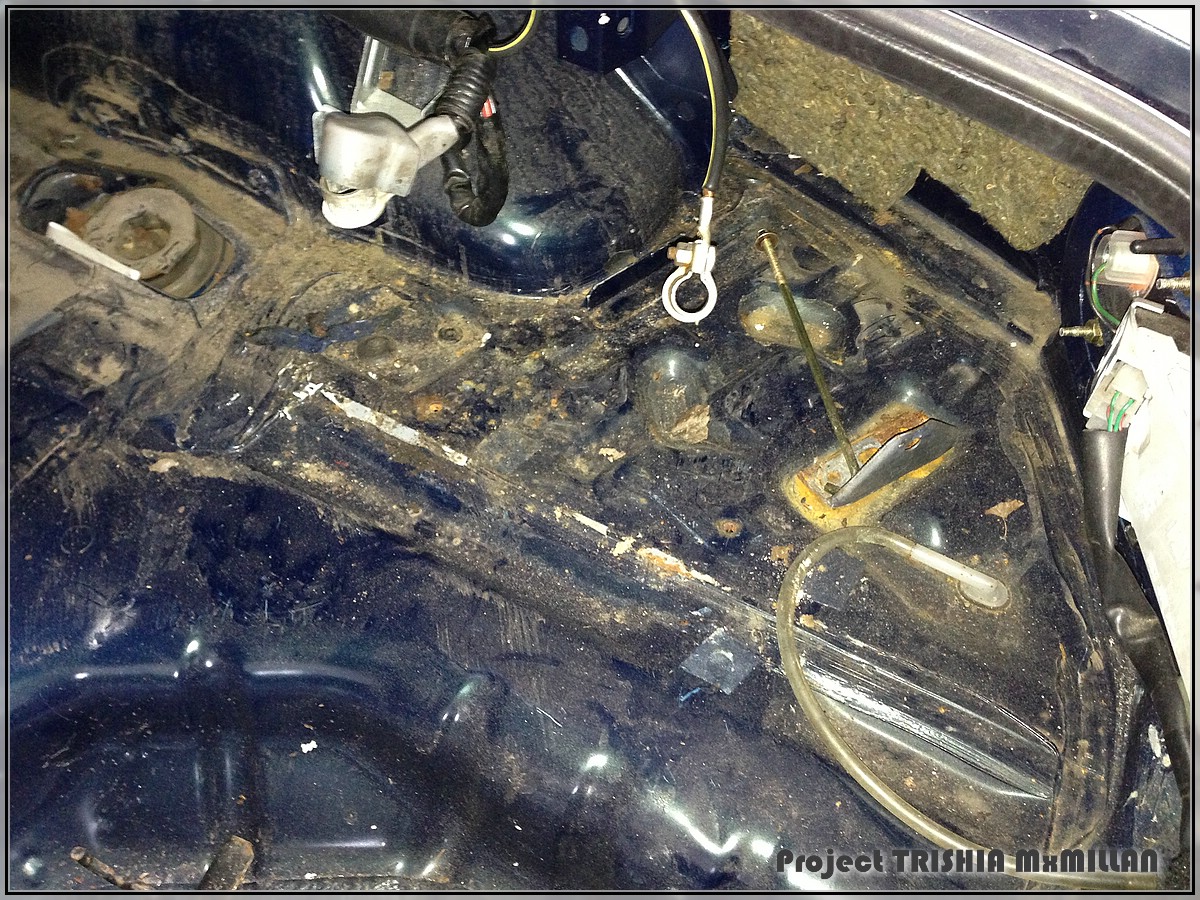
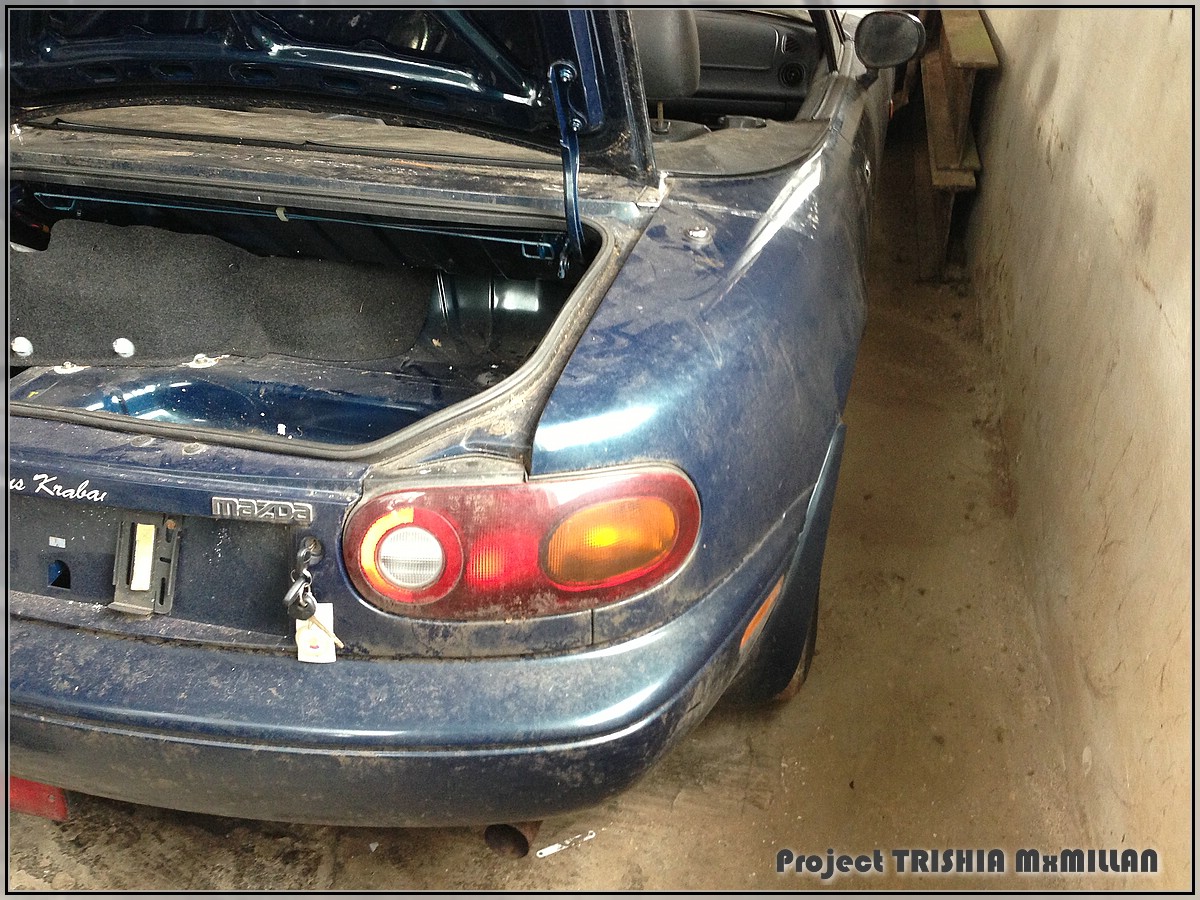

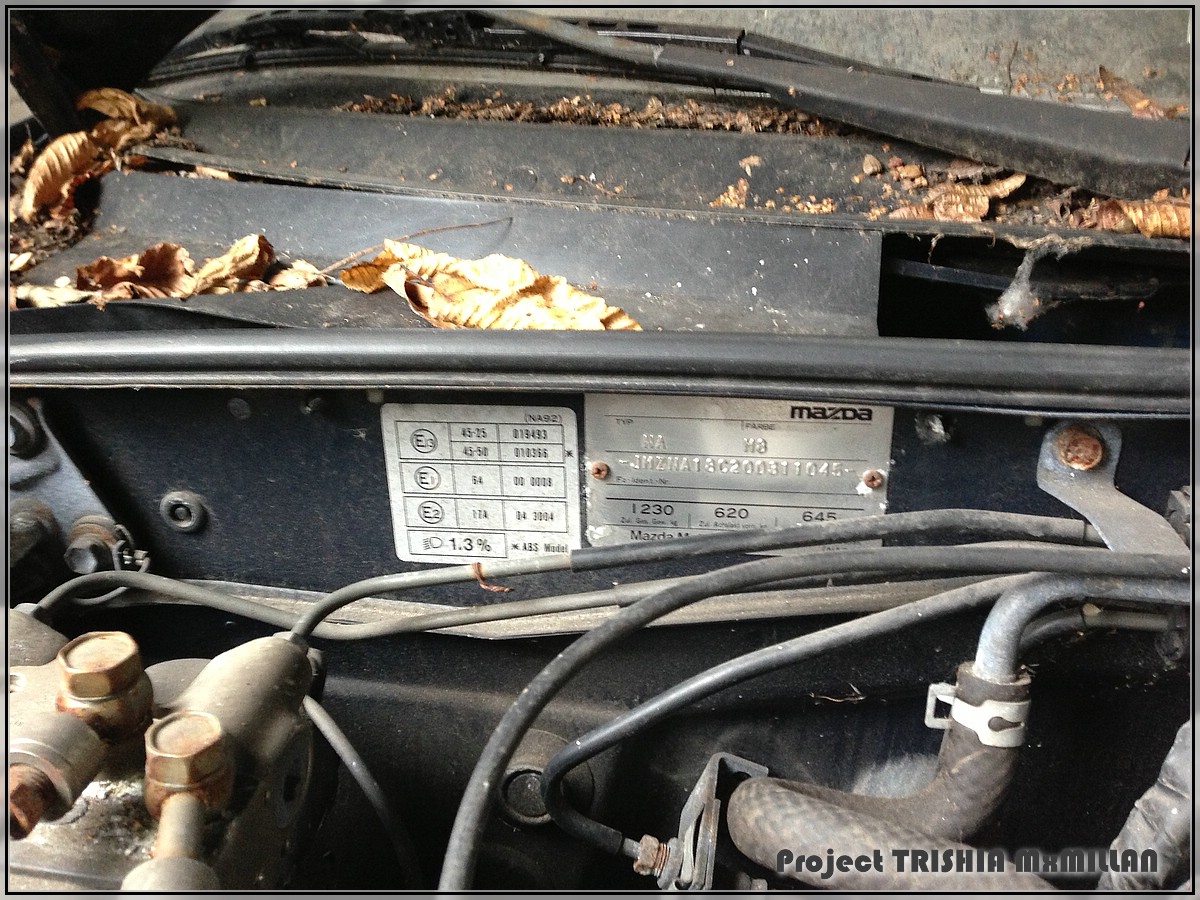
First thing was to cut and throw out the floormat on the drivers side - the torn roof left a puddle of water and some rust there - but luckily the picture makes it look worse than it really is...
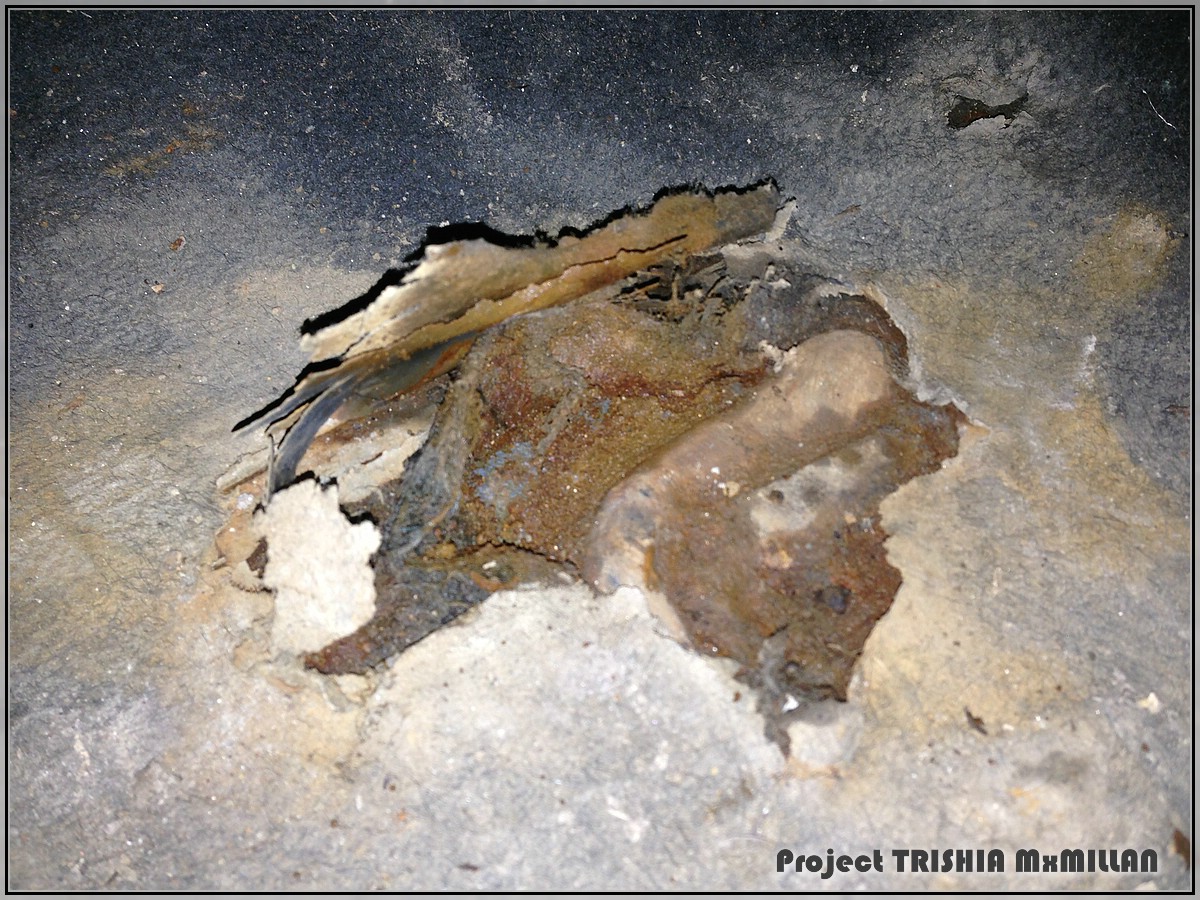
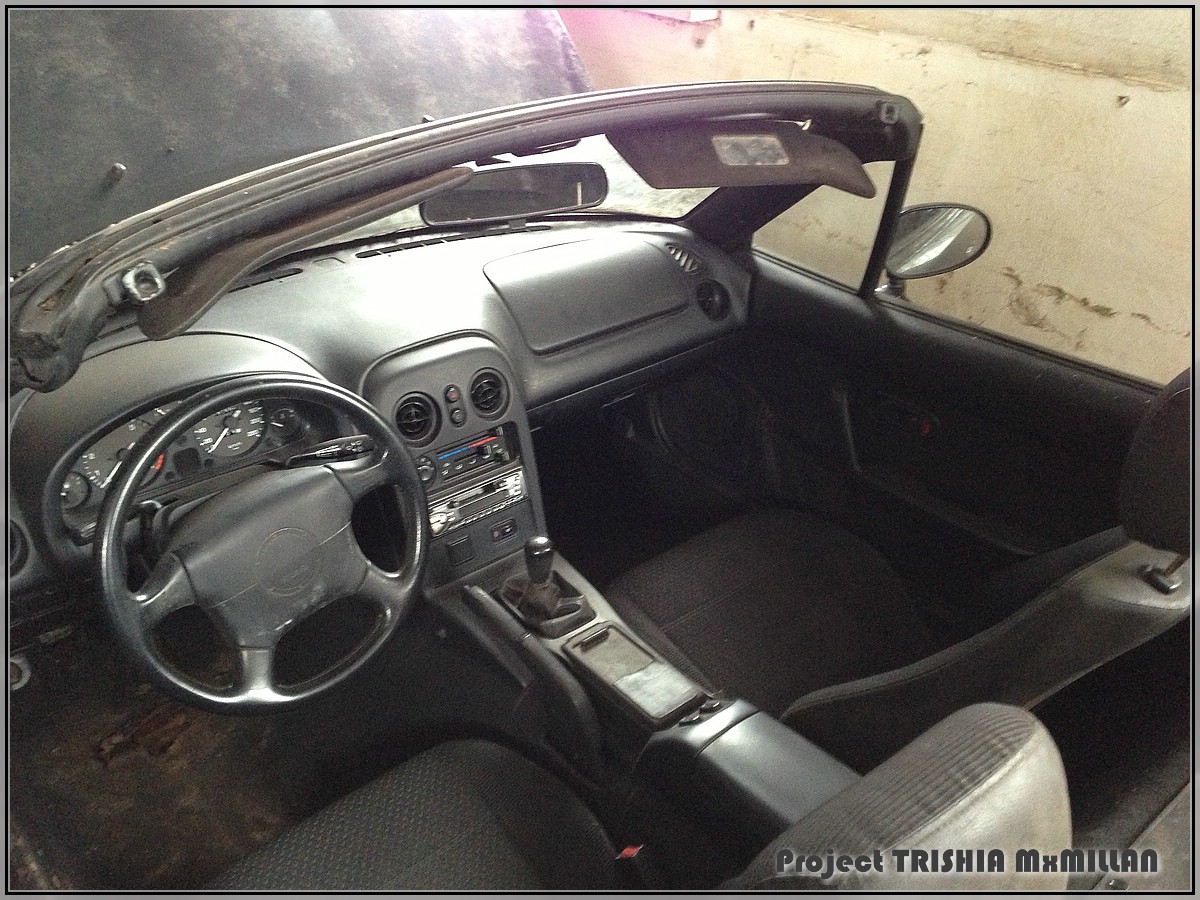
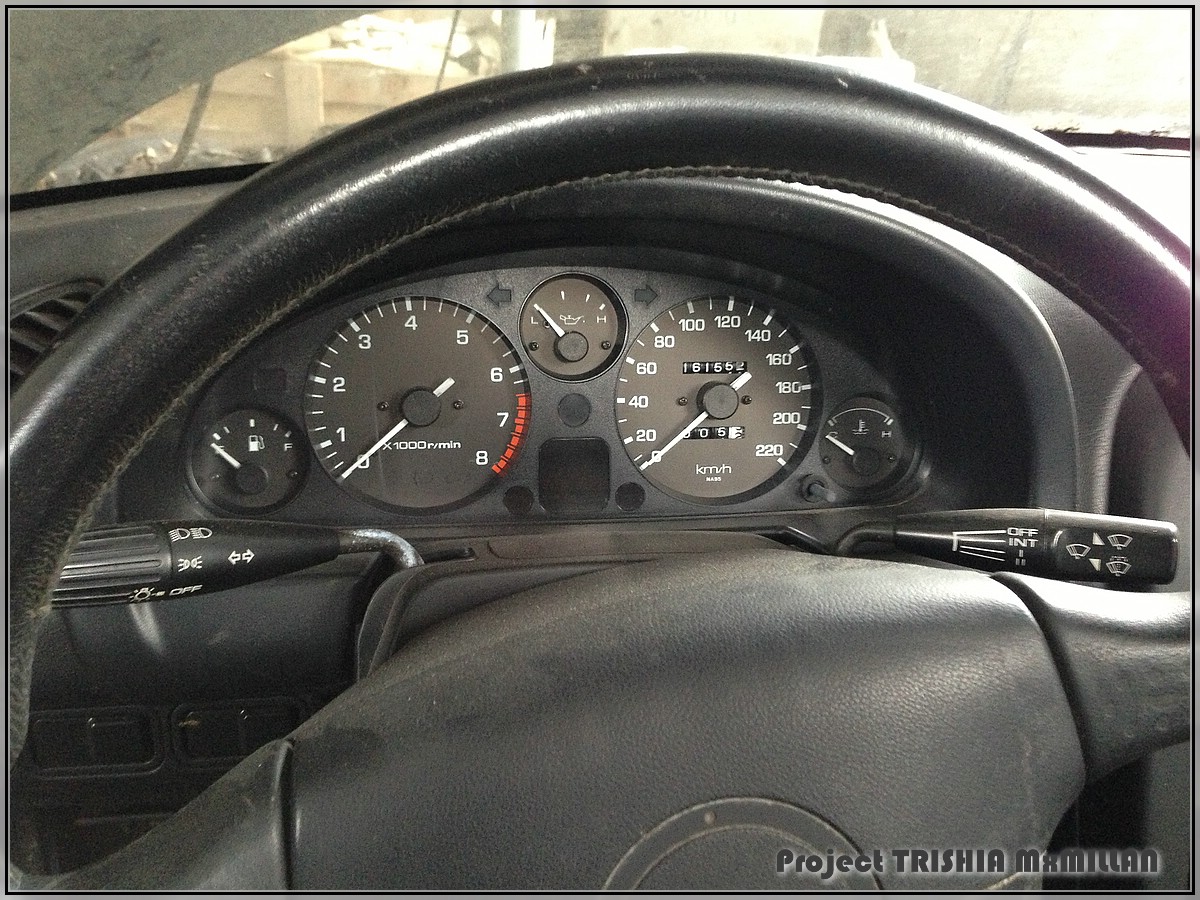

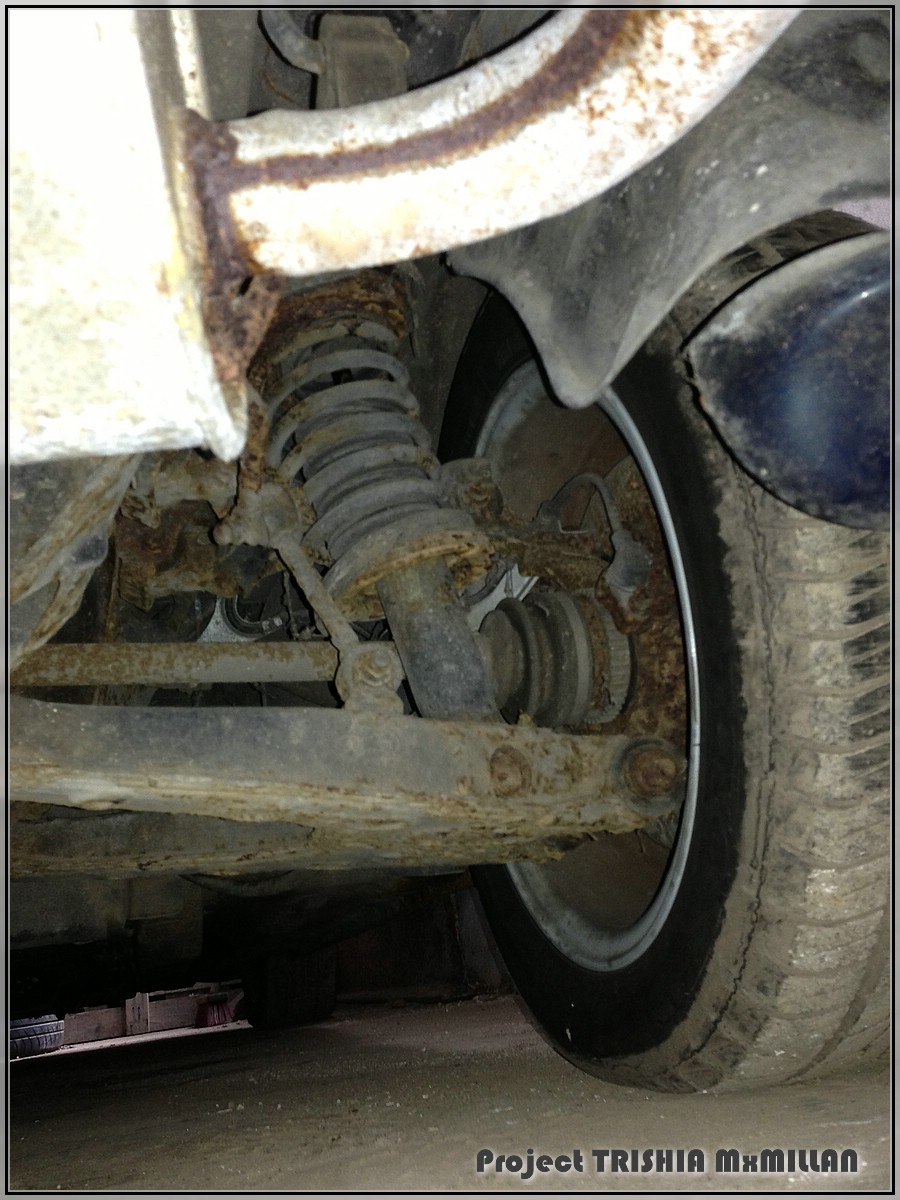
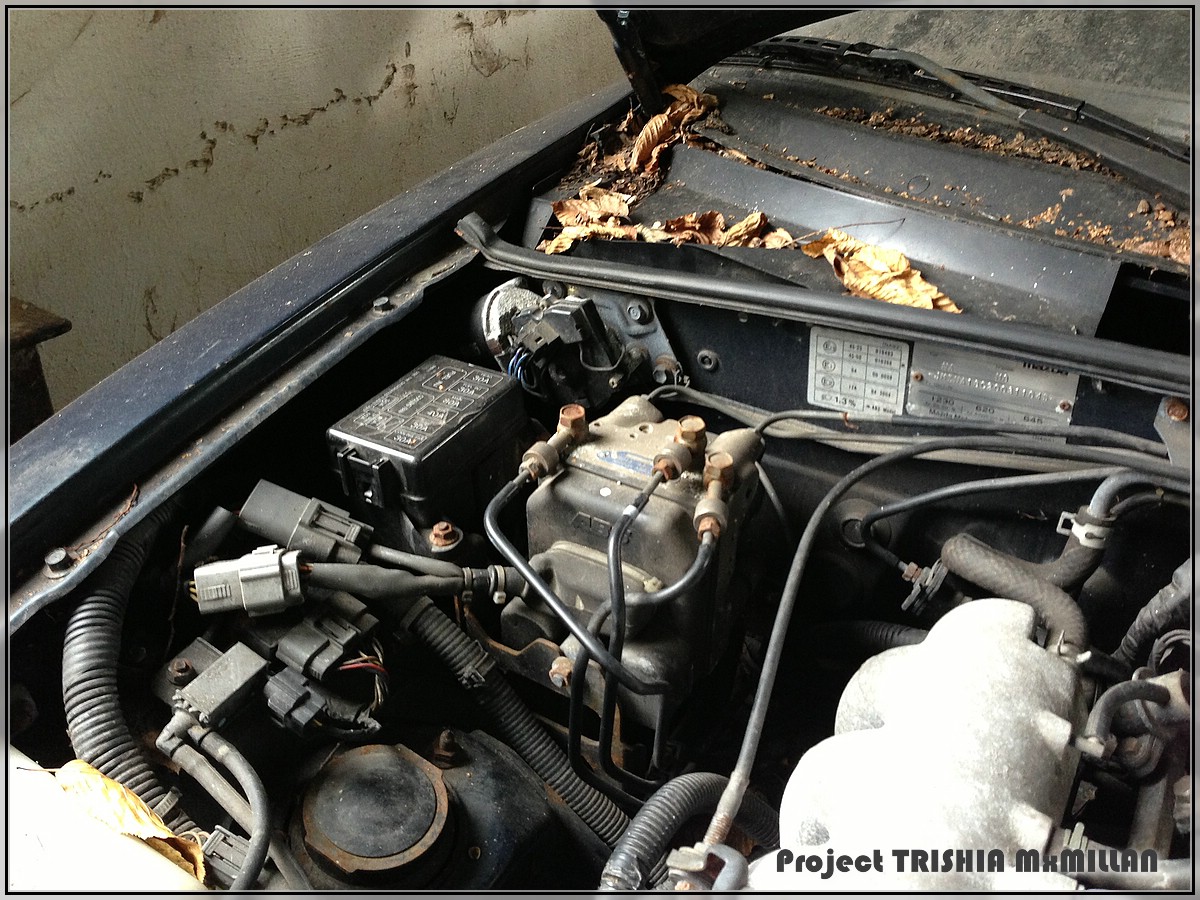
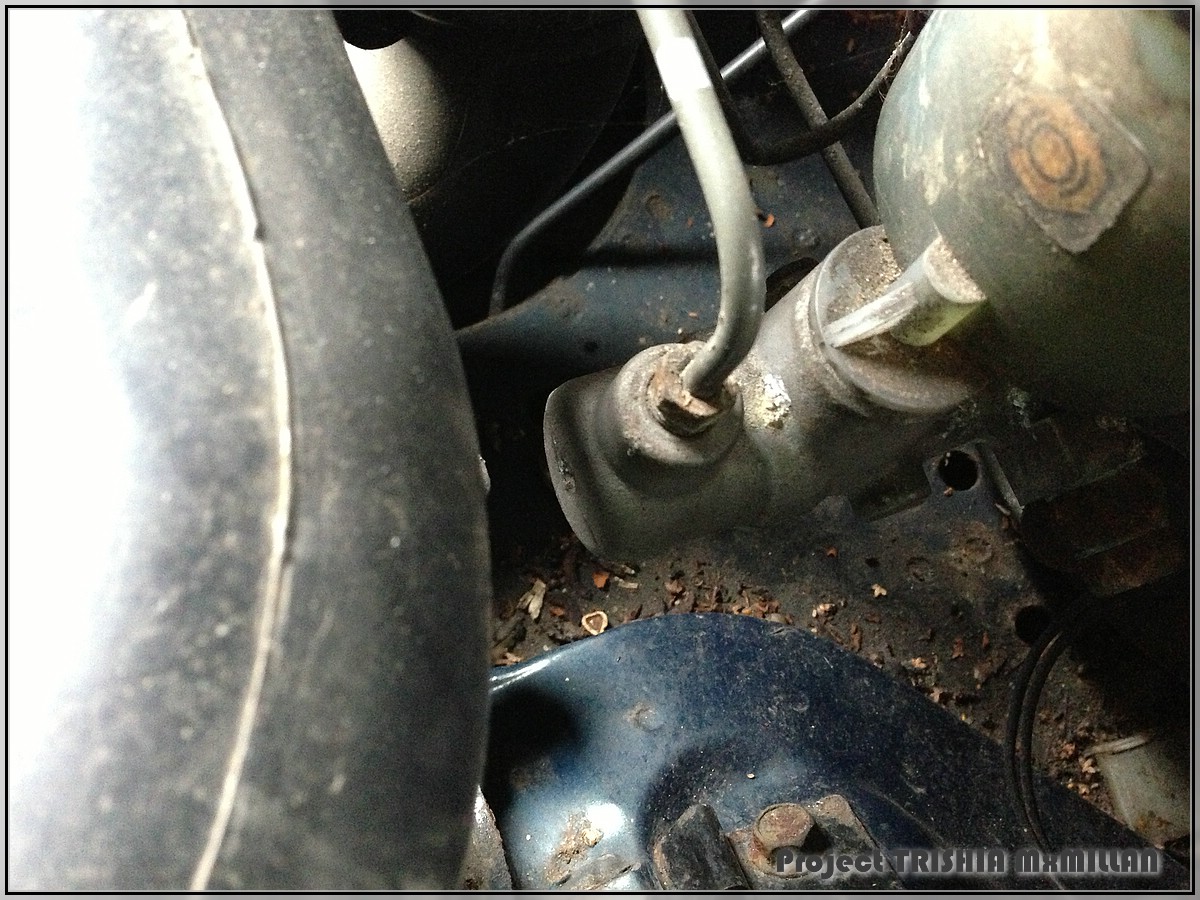

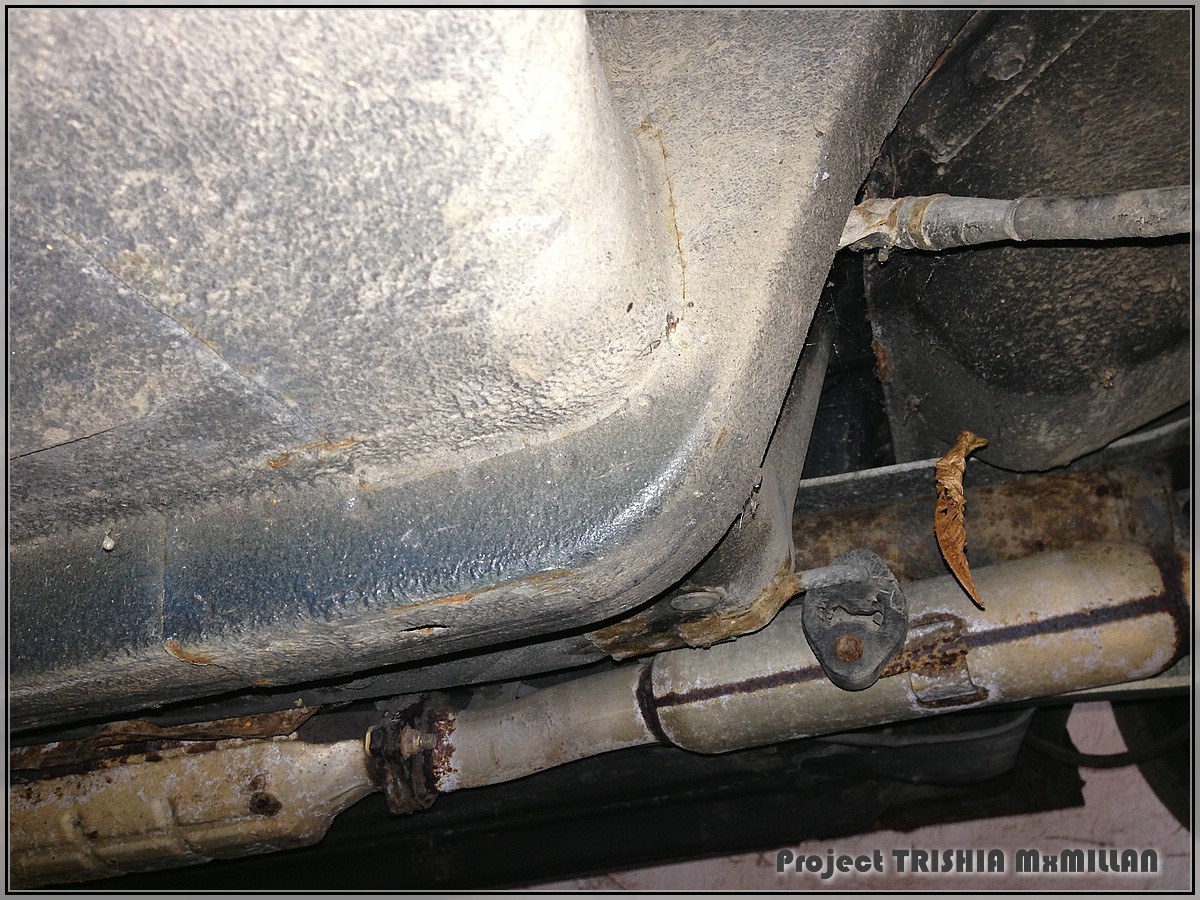
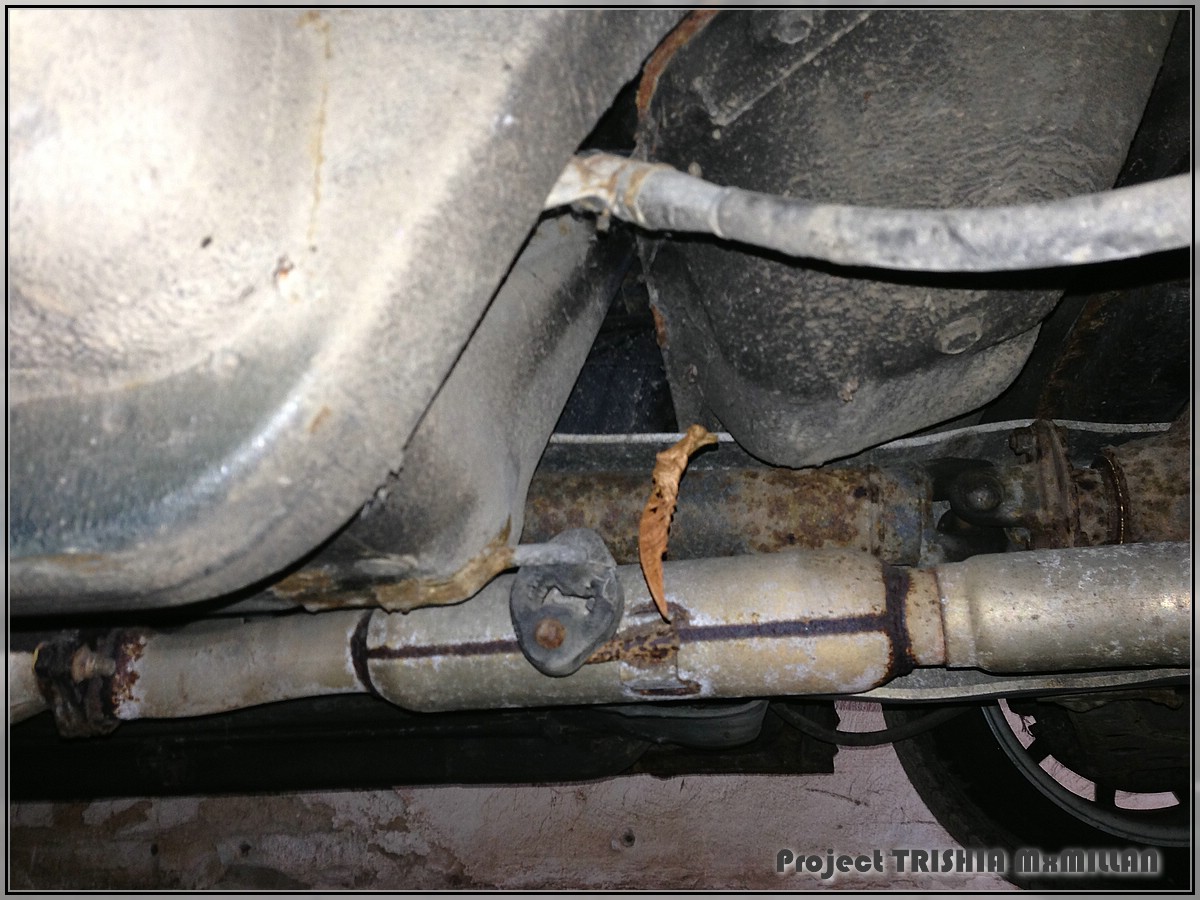
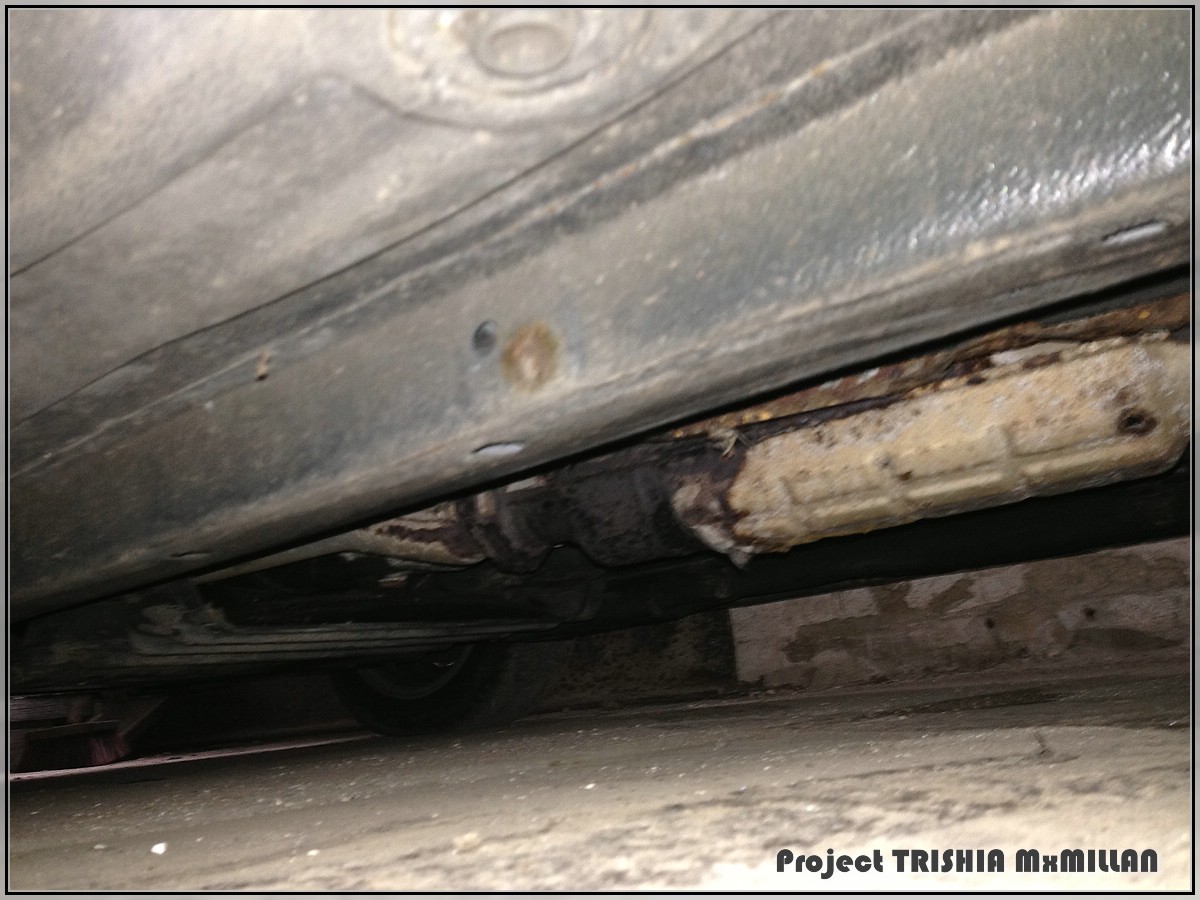
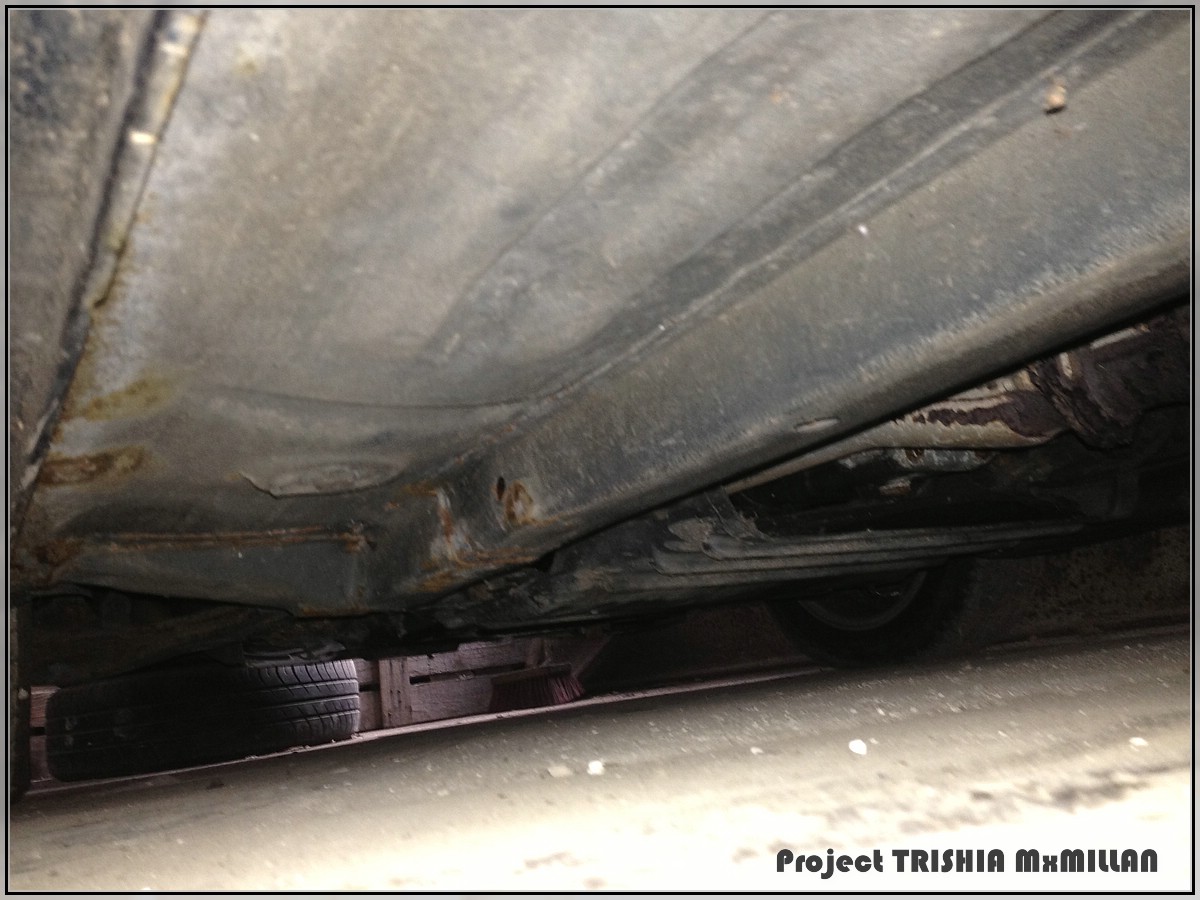

The rust on the underside looks worse in the pictures, than in reality...
The rust on the rocker panels not...
Today I showed Trillian here new home:
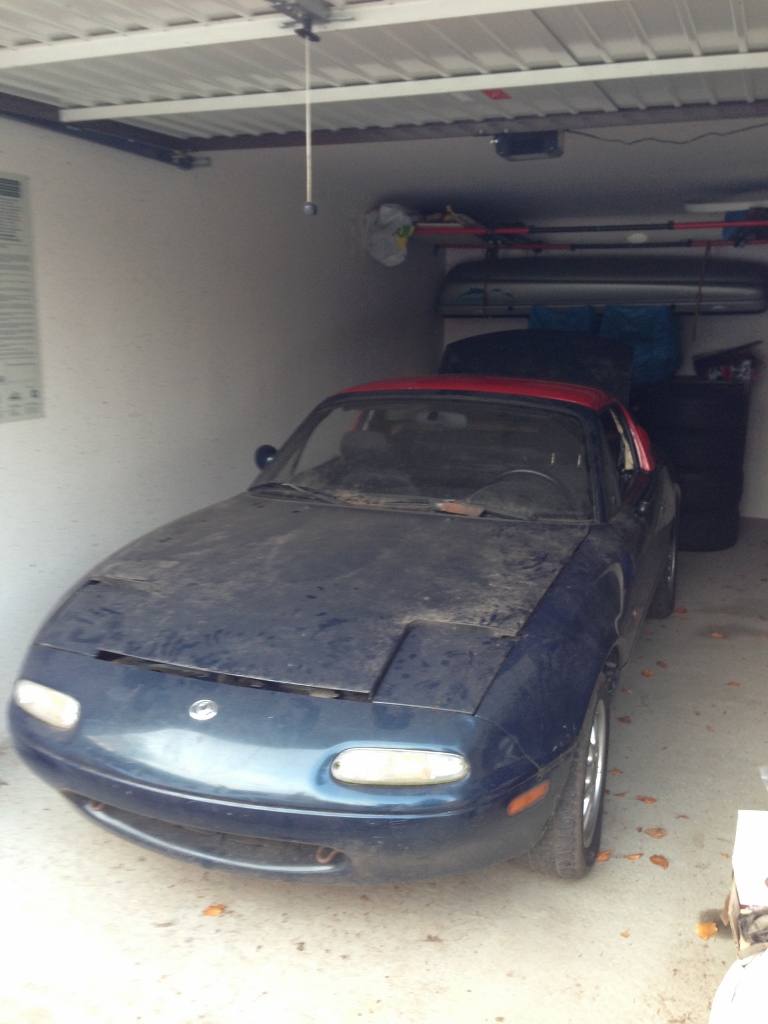
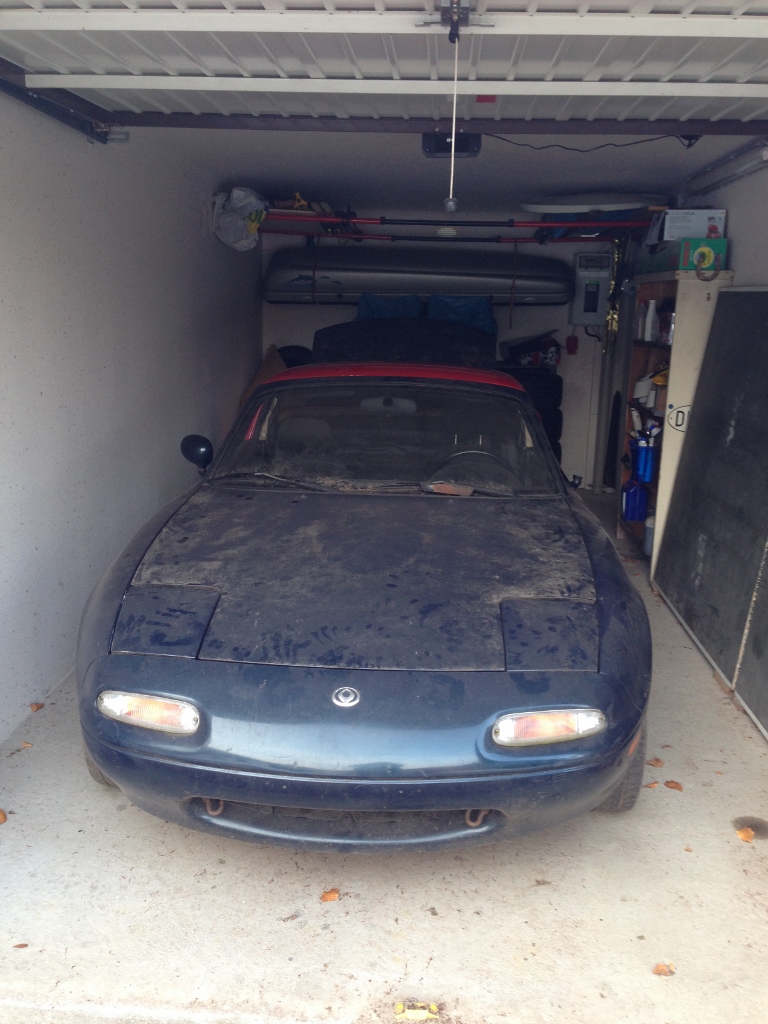
About the car:
Its a
NA MX-5 02/97 1,6l (Again a Europe speciality) 90(!)bhp... (car will get a VVT engine soon)
161.500km run (100k miles?)
some rust here and there, a bunch of dirt, leafs and mud all around, nothing some elbow grease and a skilled welder could not solve...
So rust repair first...
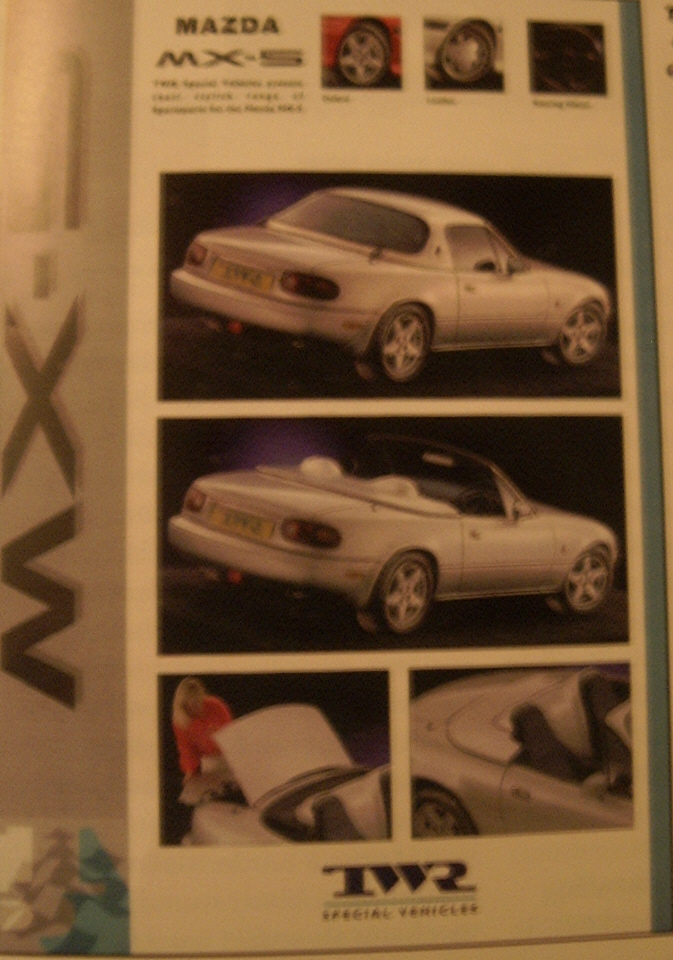
Got a very special hardtop with the car..
Tom Walkinshaw Racing hardtop - very rare.
I couldn't help myself and had to save this poor little car...
So now I can proudly introduce to you project
Trisha MxMillan
With a nickname like mine the search for a project name was easily done:
Trisha M(x)cMillan as the name of my new daily MX-5 to be...
Trisha McMillan aka Trillian
Pics of the first contact...


First thing was to cut and throw out the floormat on the drivers side - the torn roof left a puddle of water and some rust there - but luckily the picture makes it look worse than it really is...


The rust on the underside looks worse in the pictures, than in reality...
The rust on the rocker panels not...

Today I showed Trillian here new home:


About the car:
Its a
NA MX-5 02/97 1,6l (Again a Europe speciality) 90(!)bhp... (car will get a VVT engine soon)
161.500km run (100k miles?)
some rust here and there, a bunch of dirt, leafs and mud all around, nothing some elbow grease and a skilled welder could not solve...
So rust repair first...
Got a very special hardtop with the car..
Tom Walkinshaw Racing hardtop - very rare.

#5
Thread Starter
Elite Member
Joined: Mar 2006
Posts: 1,559
Total Cats: 105
From: Schwarzenberg, Germany
As you should do with every women - buy her some goodies from time to time... So Trillian got some goodies:
Big *** watercooler

Some nice side sills - need a little work, but in good shape overall

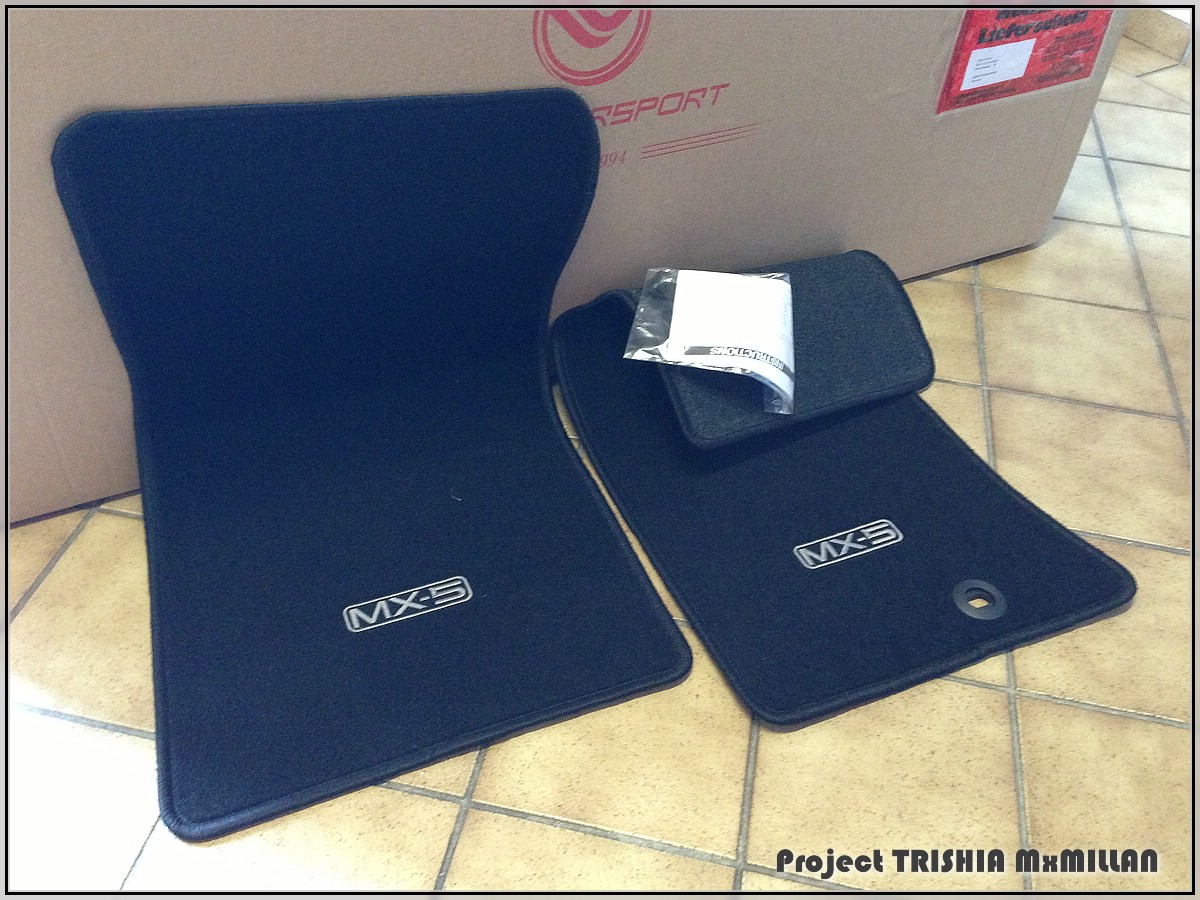
Some new OEM floor mats
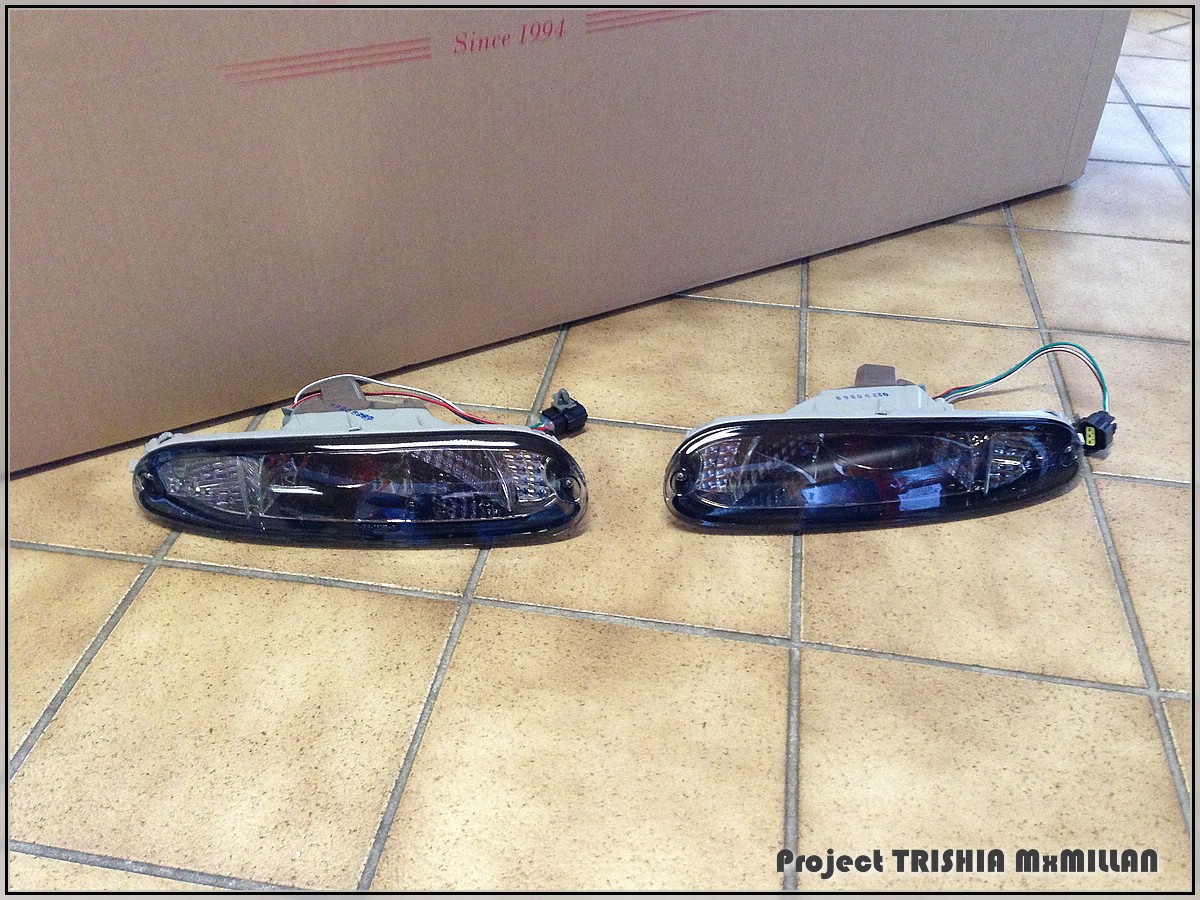
Tinted clear front turn signals
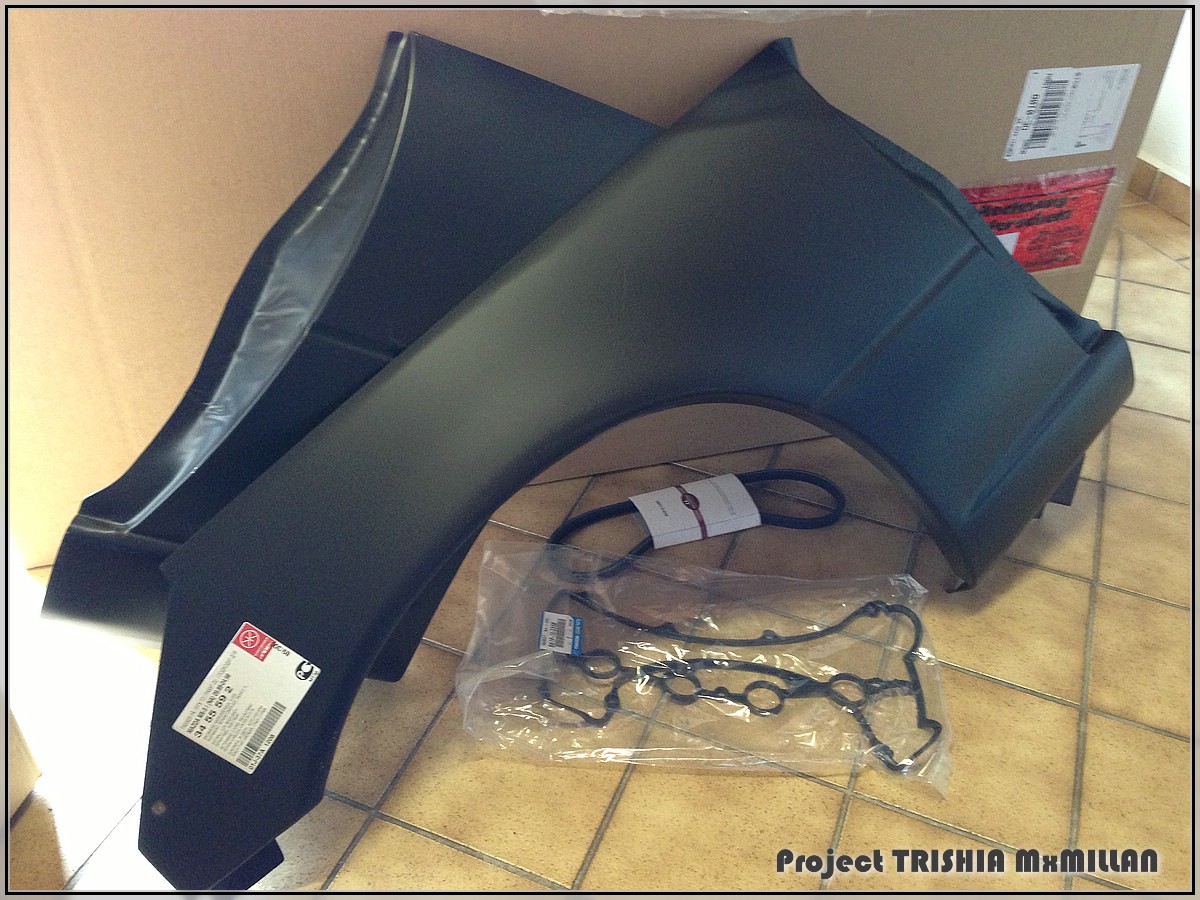
Right and left rear panel repair parts, valve cover seal, new alternator belt
I.L. Motorsport GV style PU front lip

Also got a new(used) lower floor carpet and a OEM 10th Anniversary strut brace (no pics yet)
I hope she's happy now...
Big *** watercooler

Some nice side sills - need a little work, but in good shape overall

Some new OEM floor mats

Tinted clear front turn signals

Right and left rear panel repair parts, valve cover seal, new alternator belt

I.L. Motorsport GV style PU front lip

Also got a new(used) lower floor carpet and a OEM 10th Anniversary strut brace (no pics yet)
I hope she's happy now...
#6
Thread Starter
Elite Member
Joined: Mar 2006
Posts: 1,559
Total Cats: 105
From: Schwarzenberg, Germany
And to make her even more happy
1st repair project - broken left rear view mirror
When I got the car the left rearview mirror was missing - fortunately it was in the trunk - looking like this:
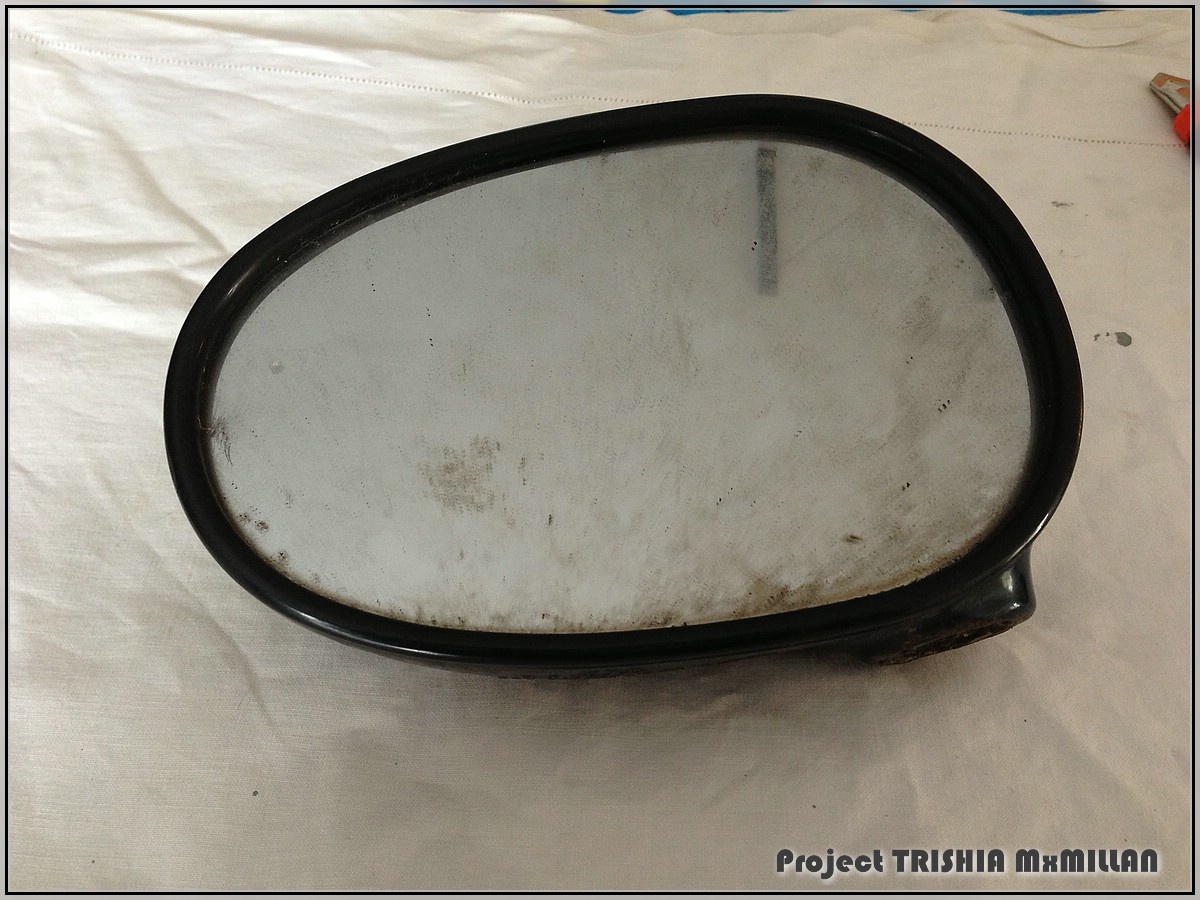
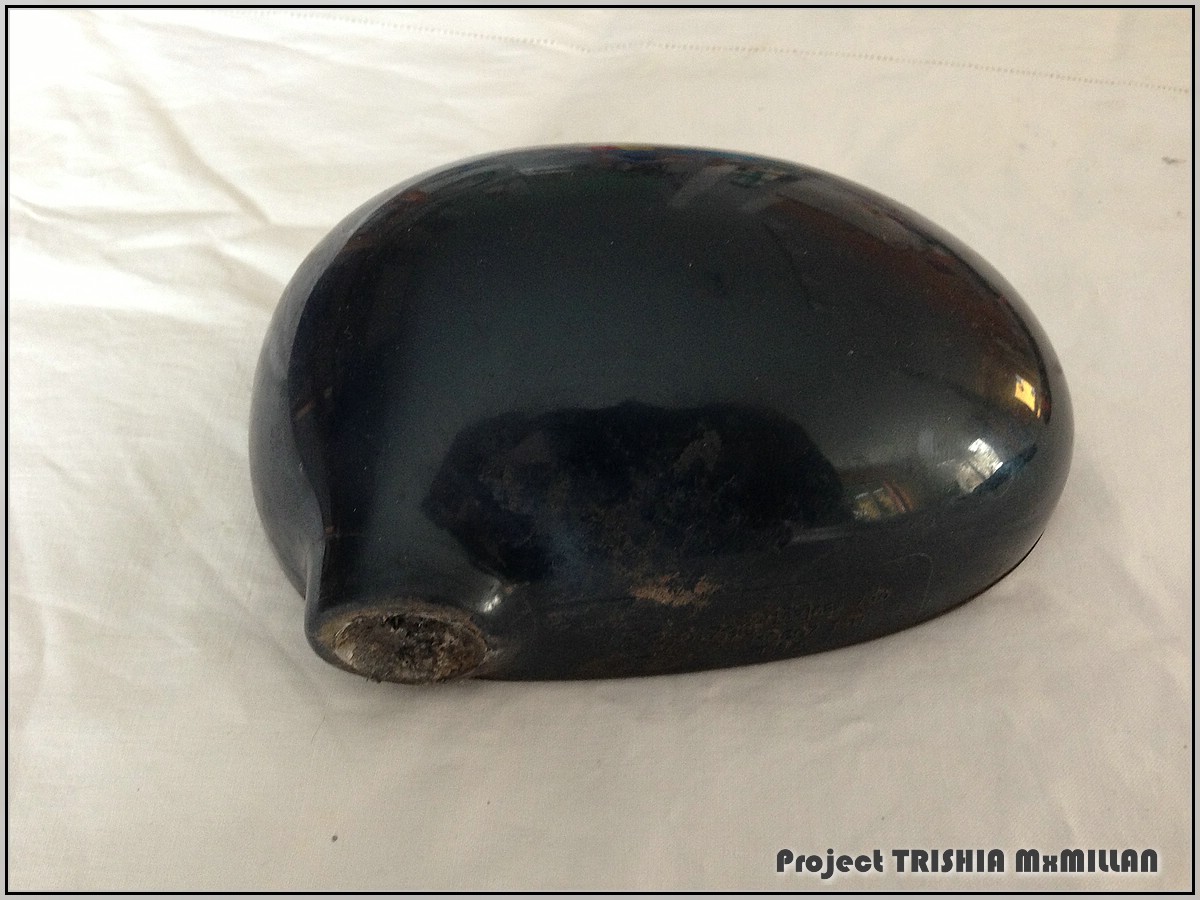
At the German mx-5.de there is a nice "How to" about the repair of such broken mirrors... (I don't think you'll need the link, because it's in German anyway ;-) )
So I started with the disassembly of the mirror
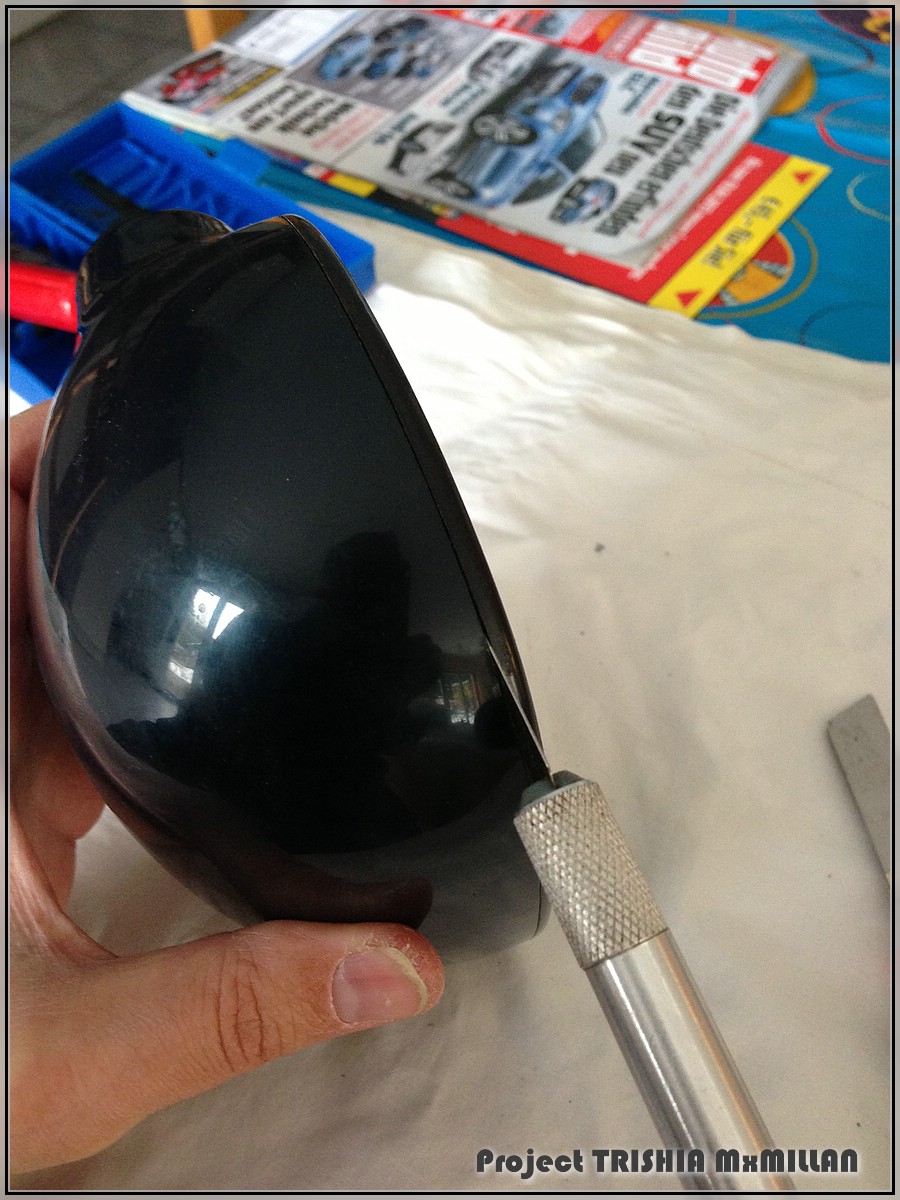
Carefully cut along the line between the front and rear cover, but be carful not to cut your fingers of...!
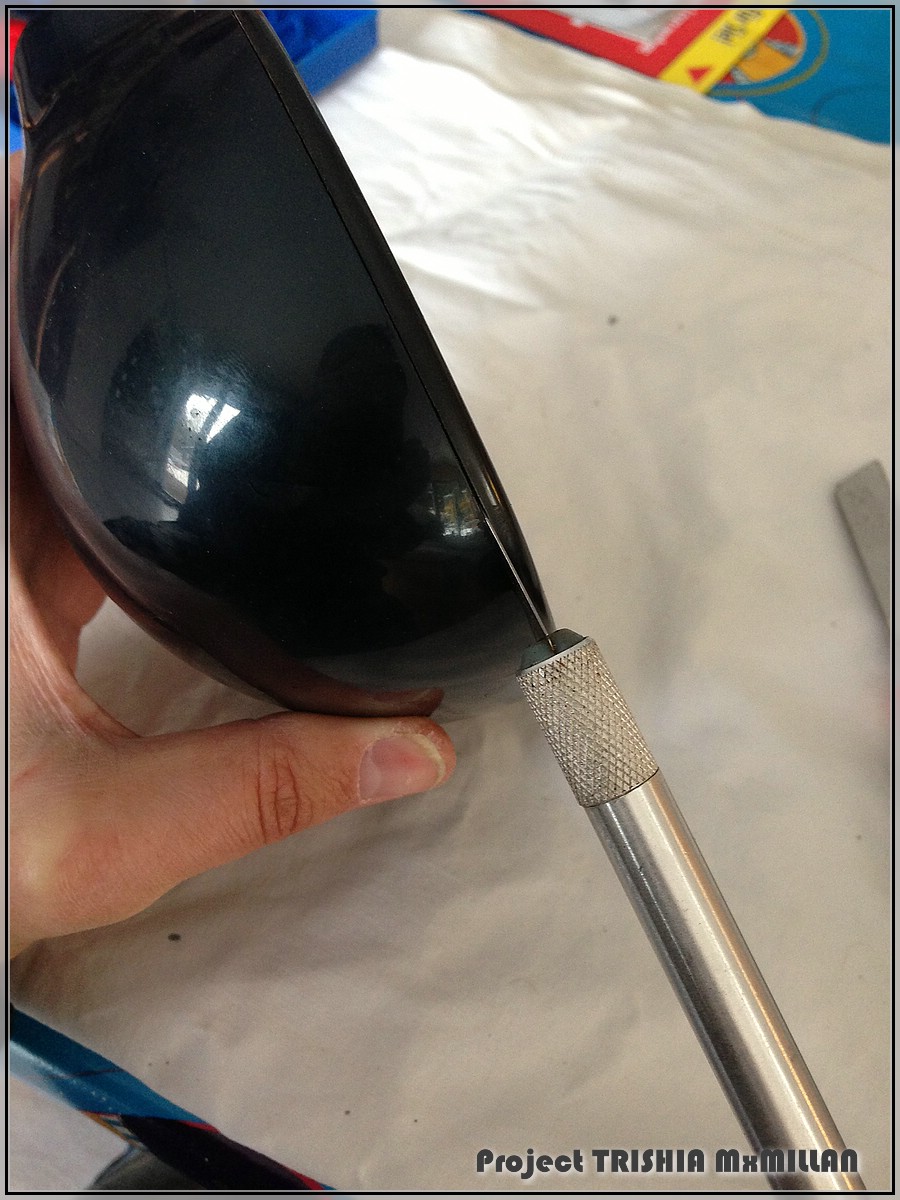

The front cover is held by glue every 1cm or so, so carfully peel the two parts apart - don't hurry or you will crack the front cover
Also be careful that your wife isn't at home, when you use your good cutlery to pry the parts apart...
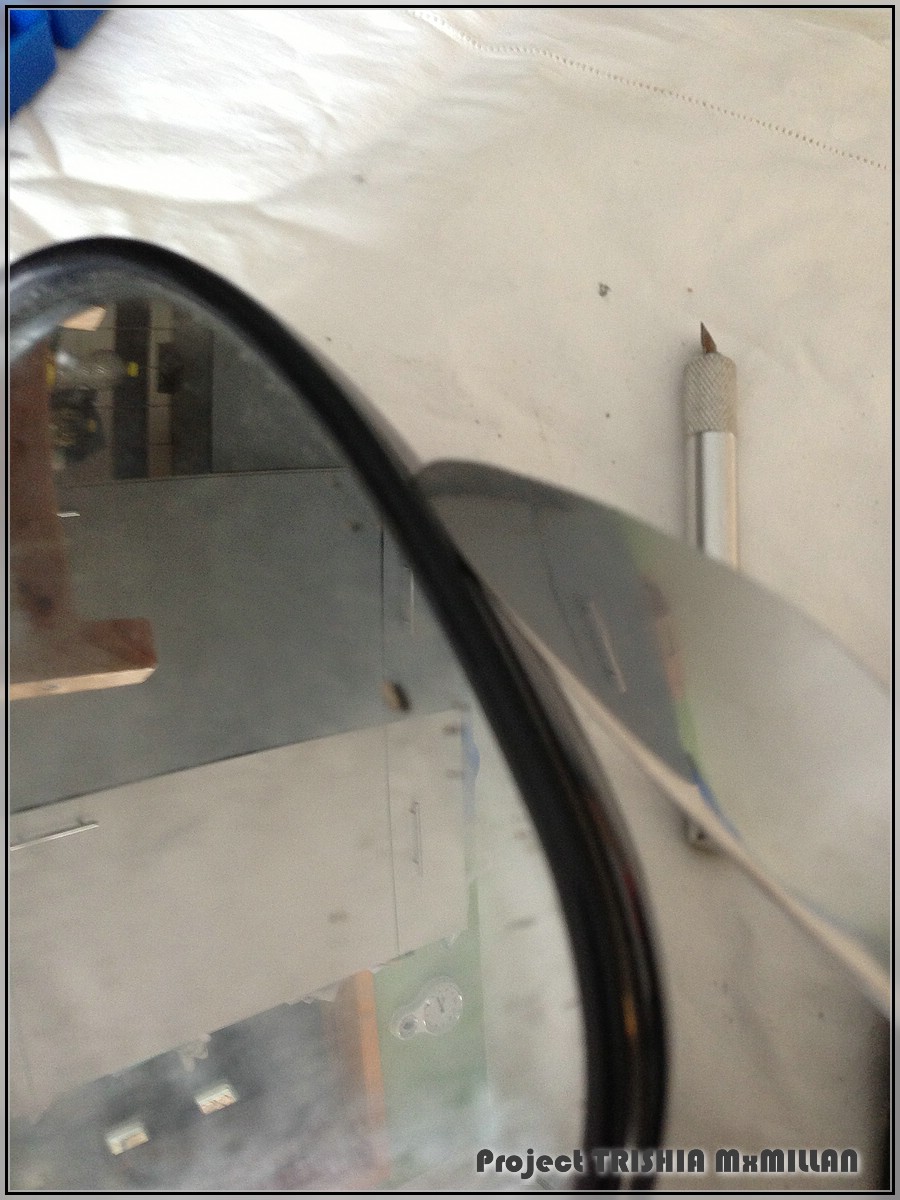
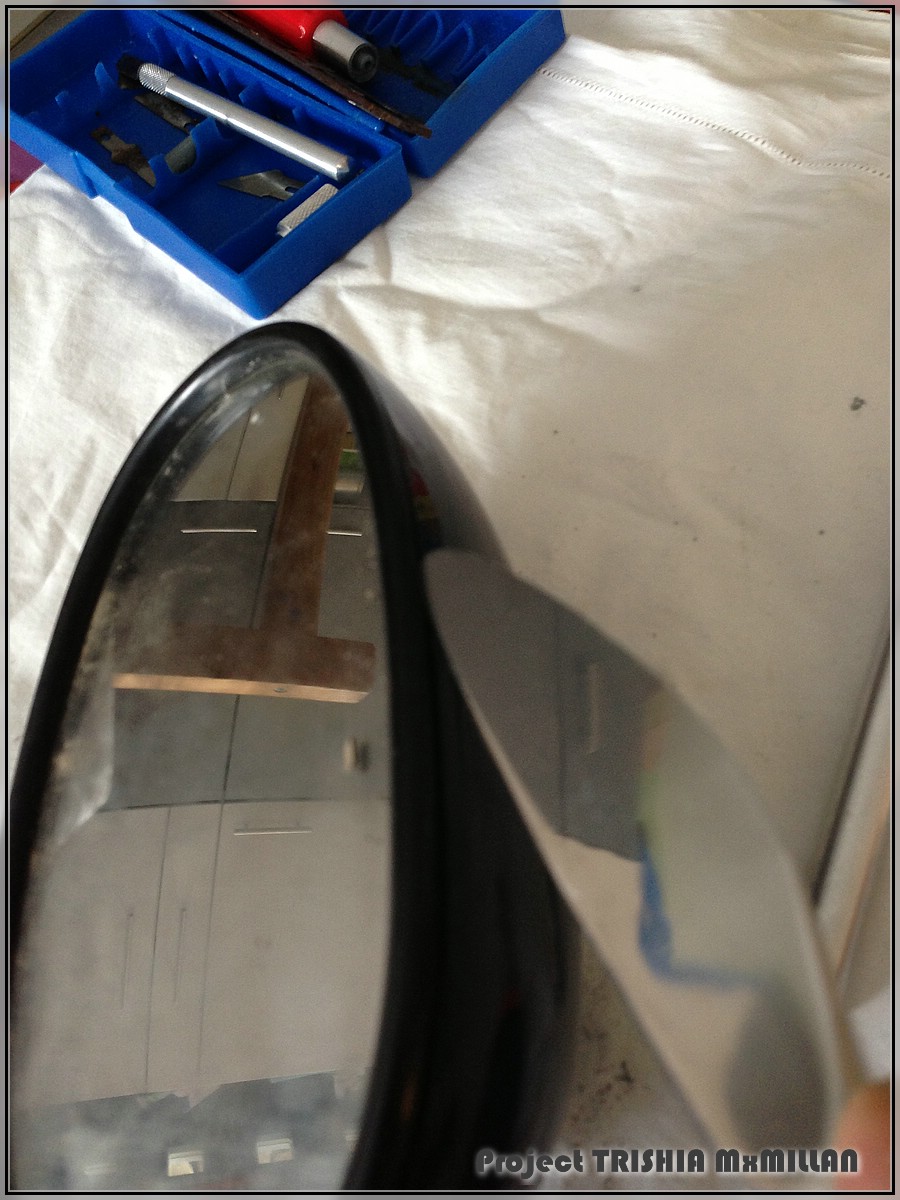
Finally off:
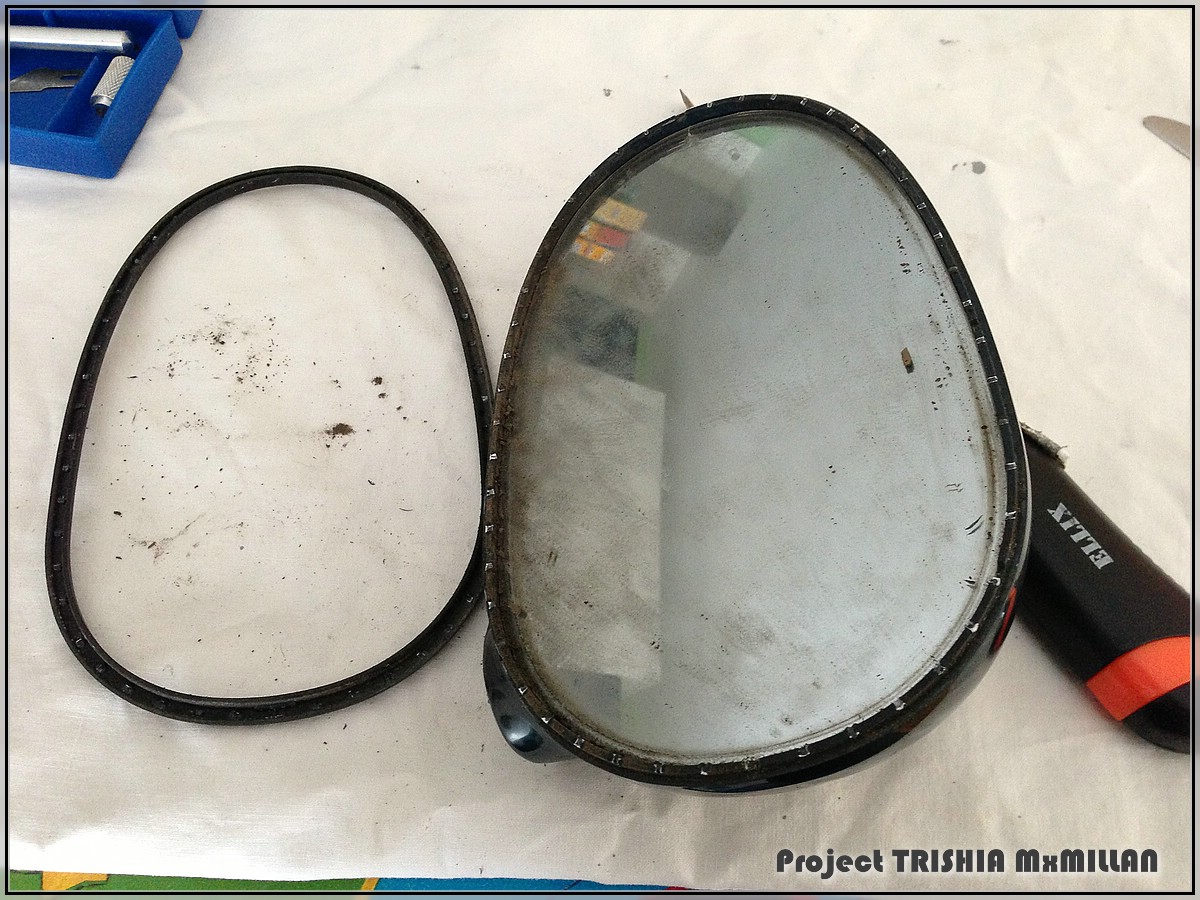
Look at the pile of rust inside the mirror:
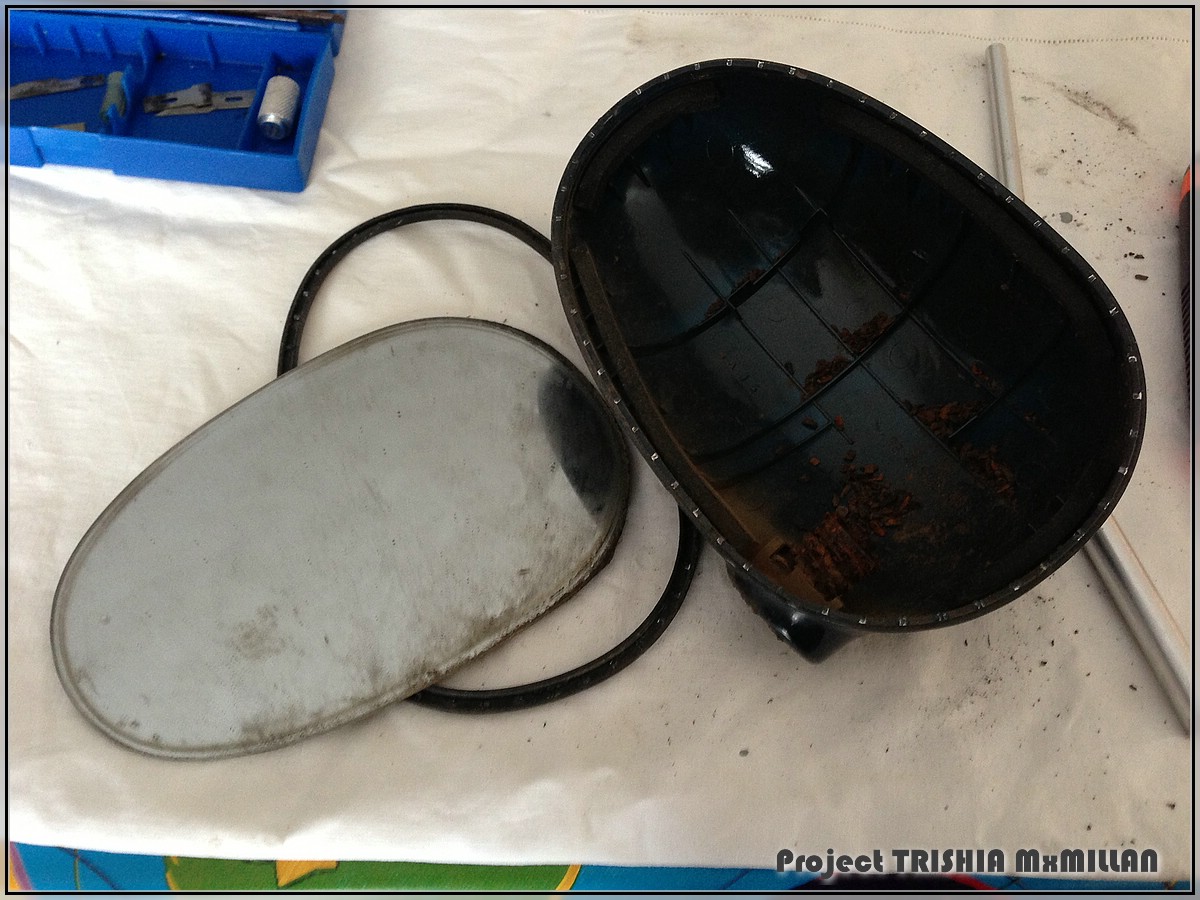
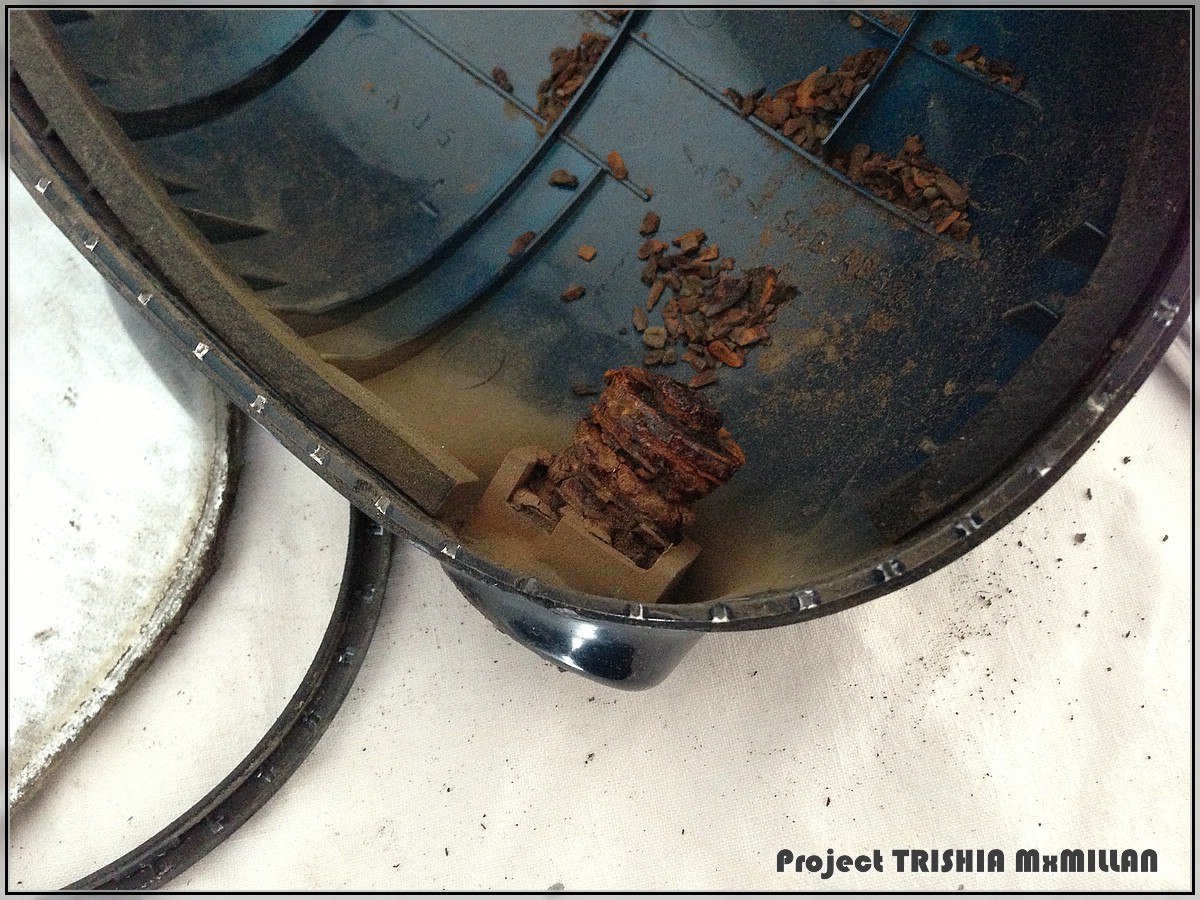
Take the lump of rust apart and save the spring and quadratic metal washer
Clean everything.
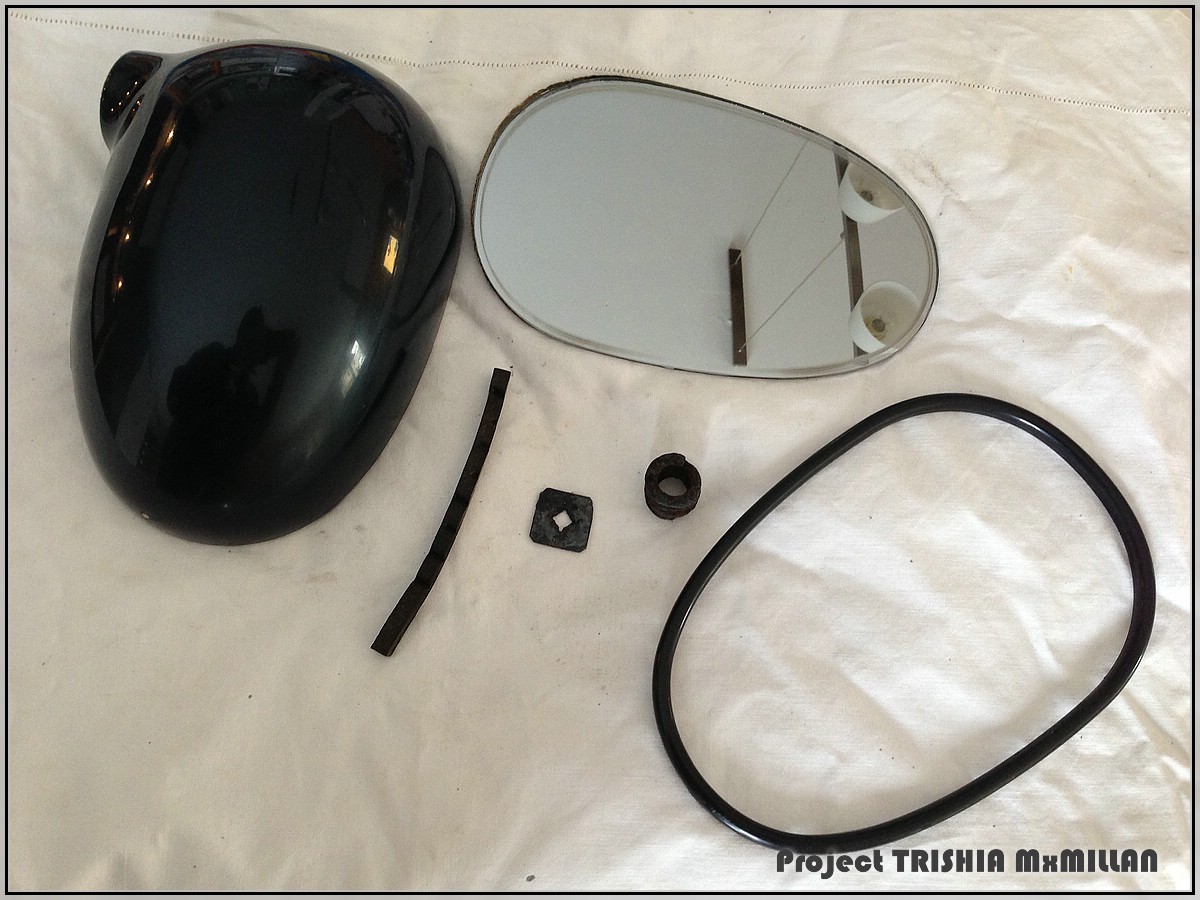
Now go and break the two completely rusted screws that hold the mirror mount to the car (and do some good cursing doing so... )
)
Then take this apart too.
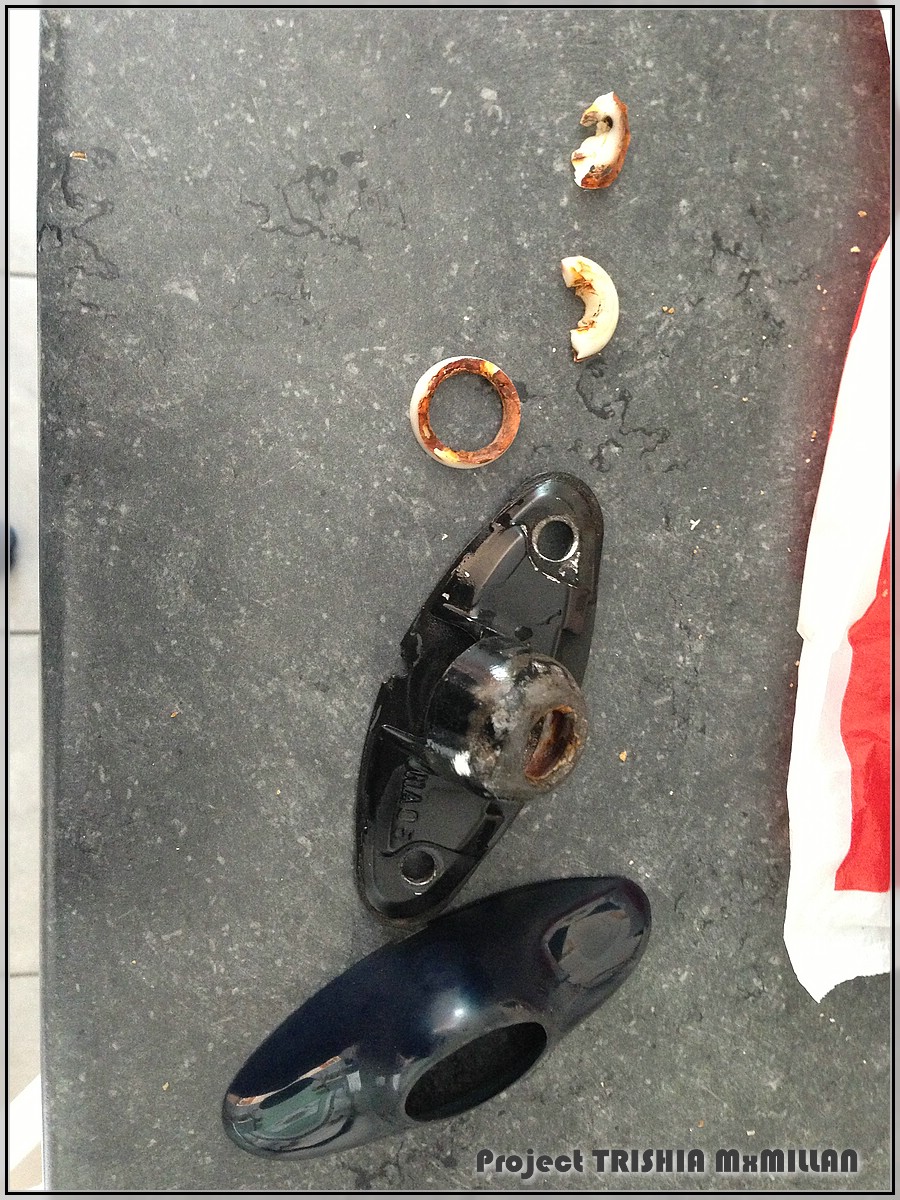
The white/rusty thing is supposed to be half a plastic ball and was in my case totally broken by the rusty screw inside.
I just glued it all back together:
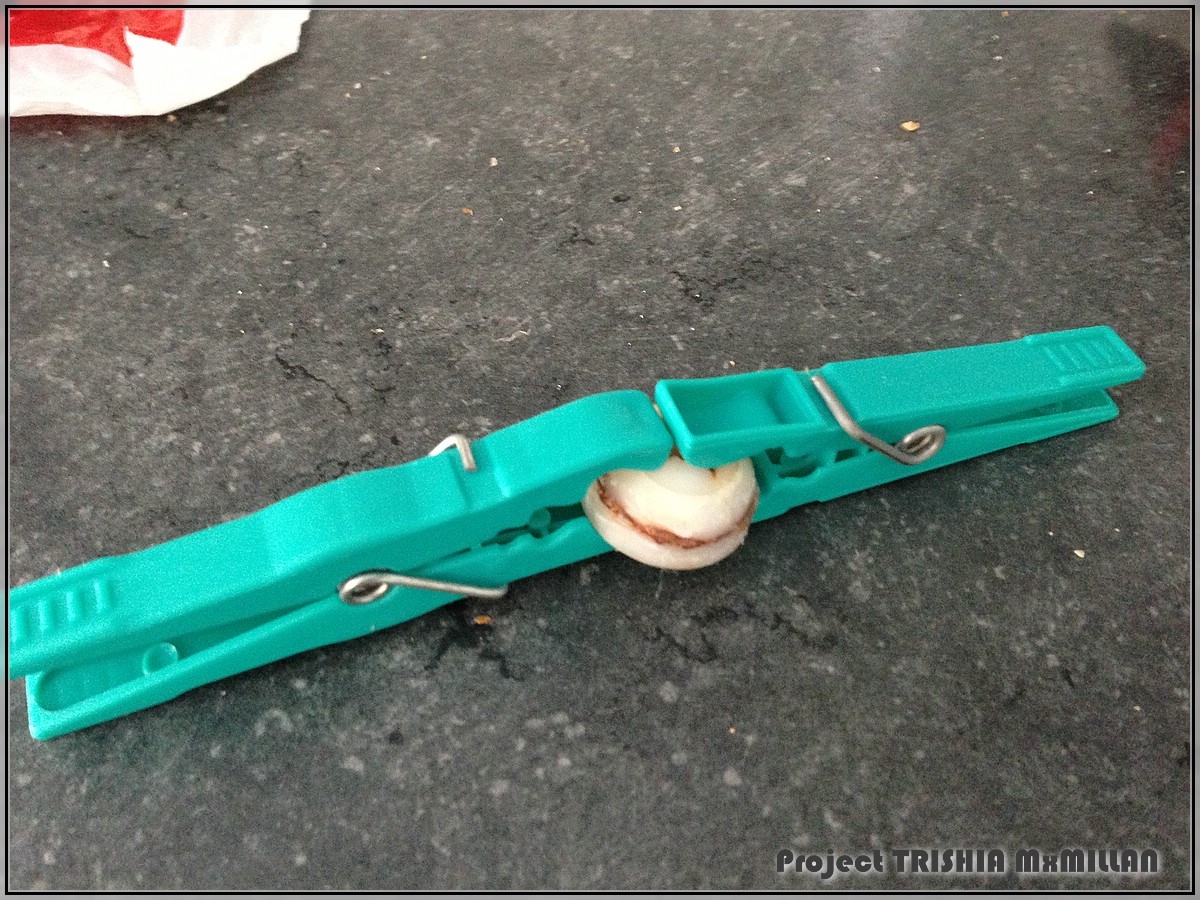
Re-painted the mount and cleaned it inside (this is where the white plastic half-ball goes)

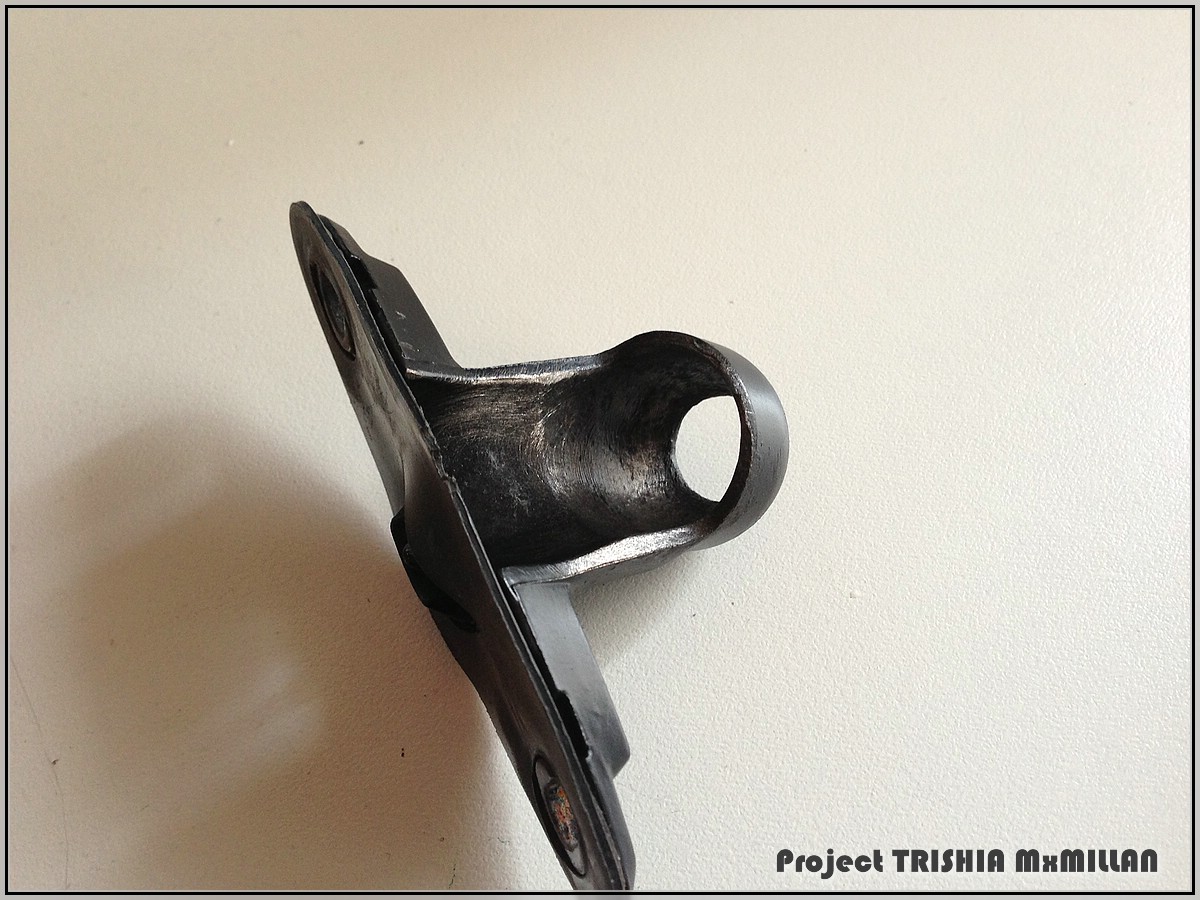
Finished the mirror today:
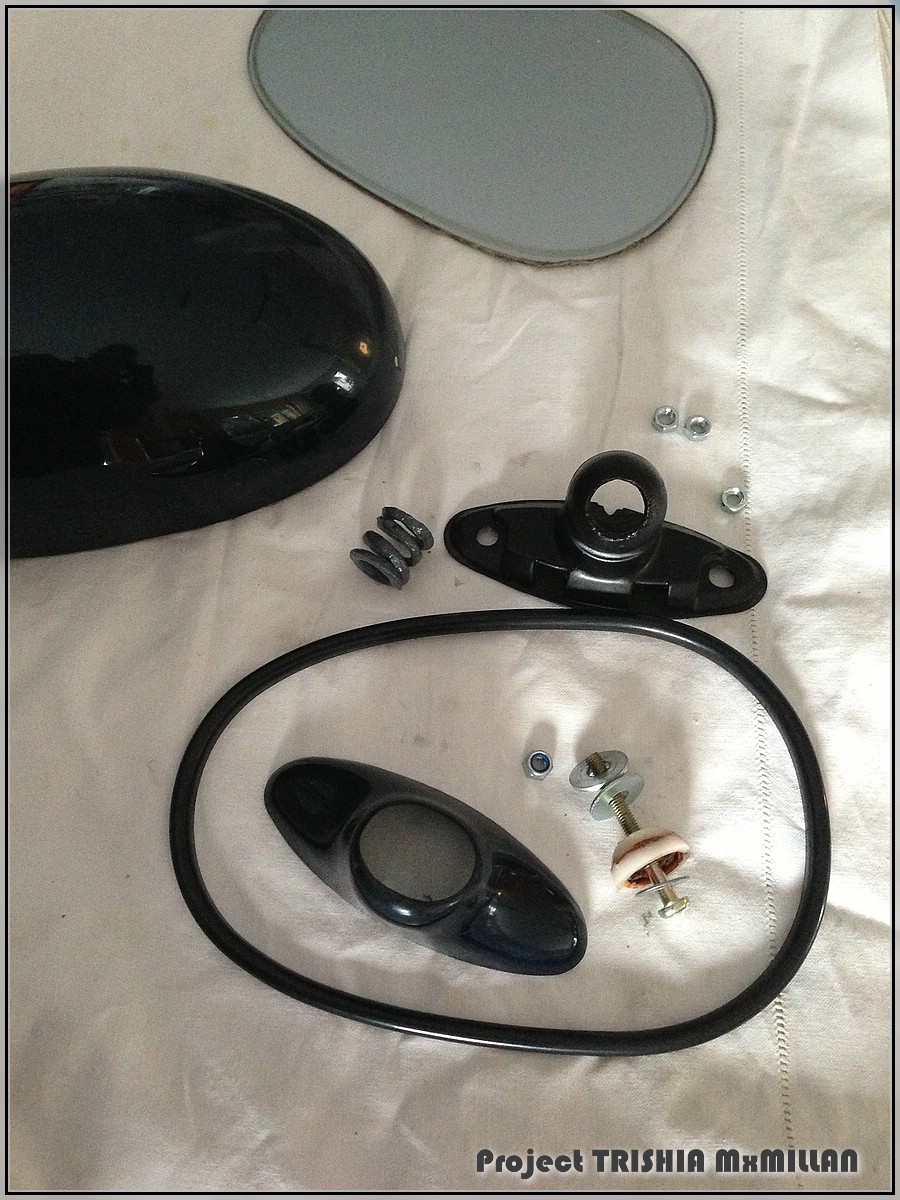
The re-finished parts
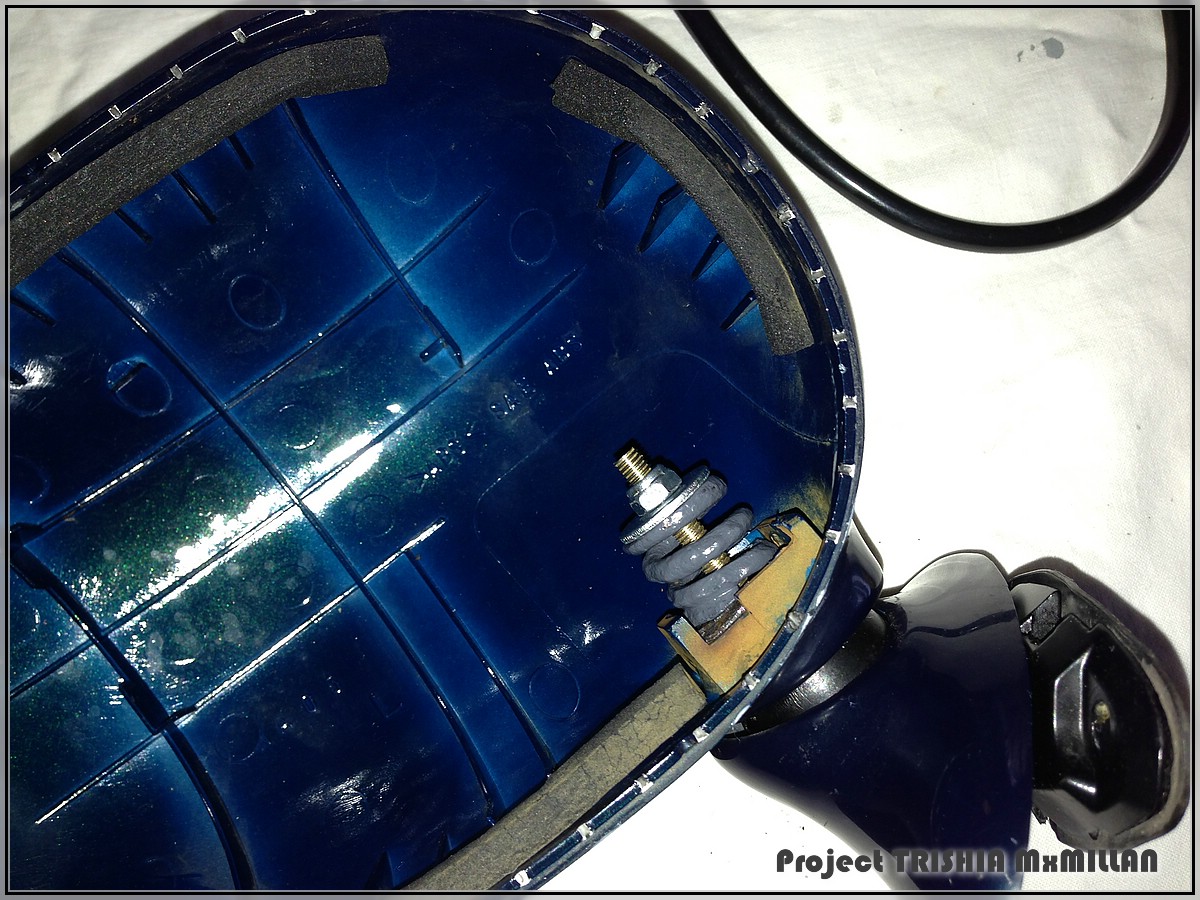
Inside
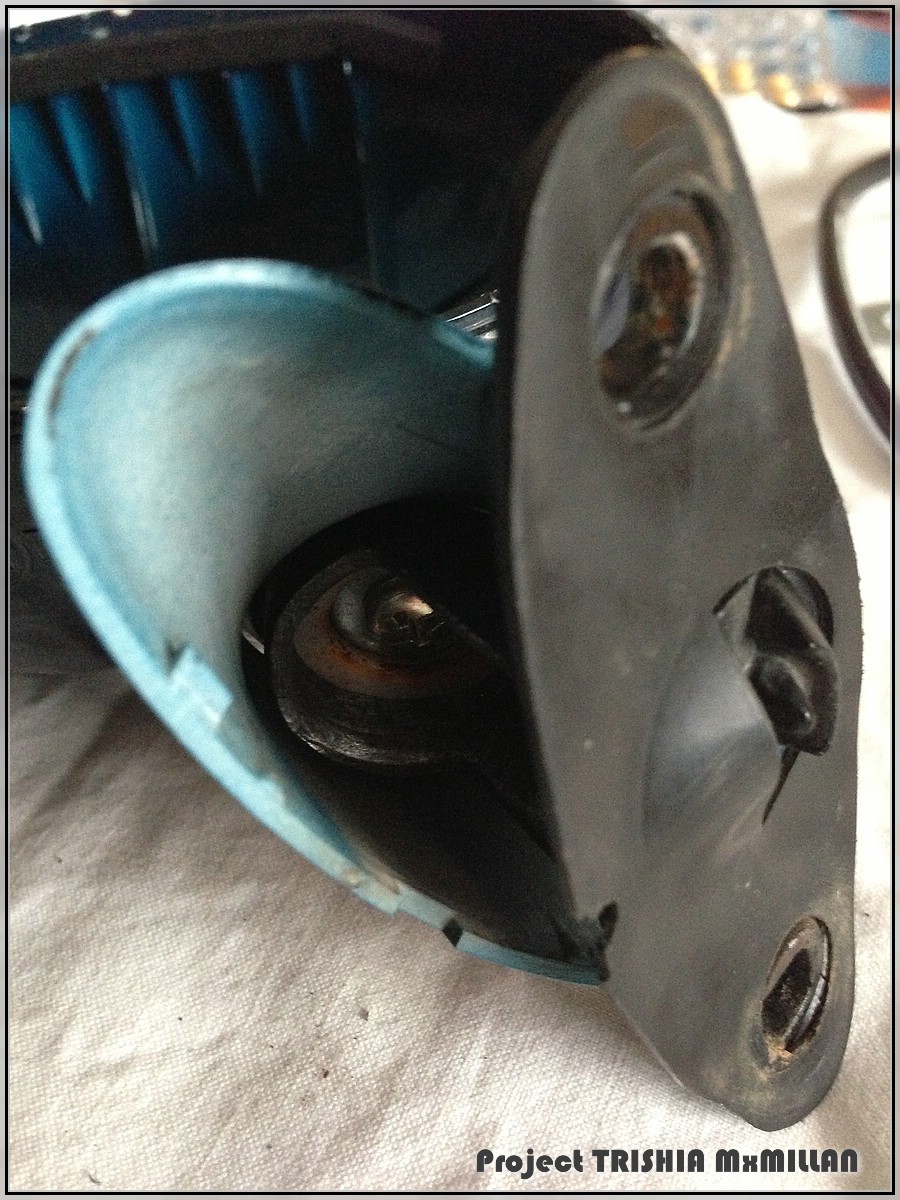
From below:
All done - back in old glory
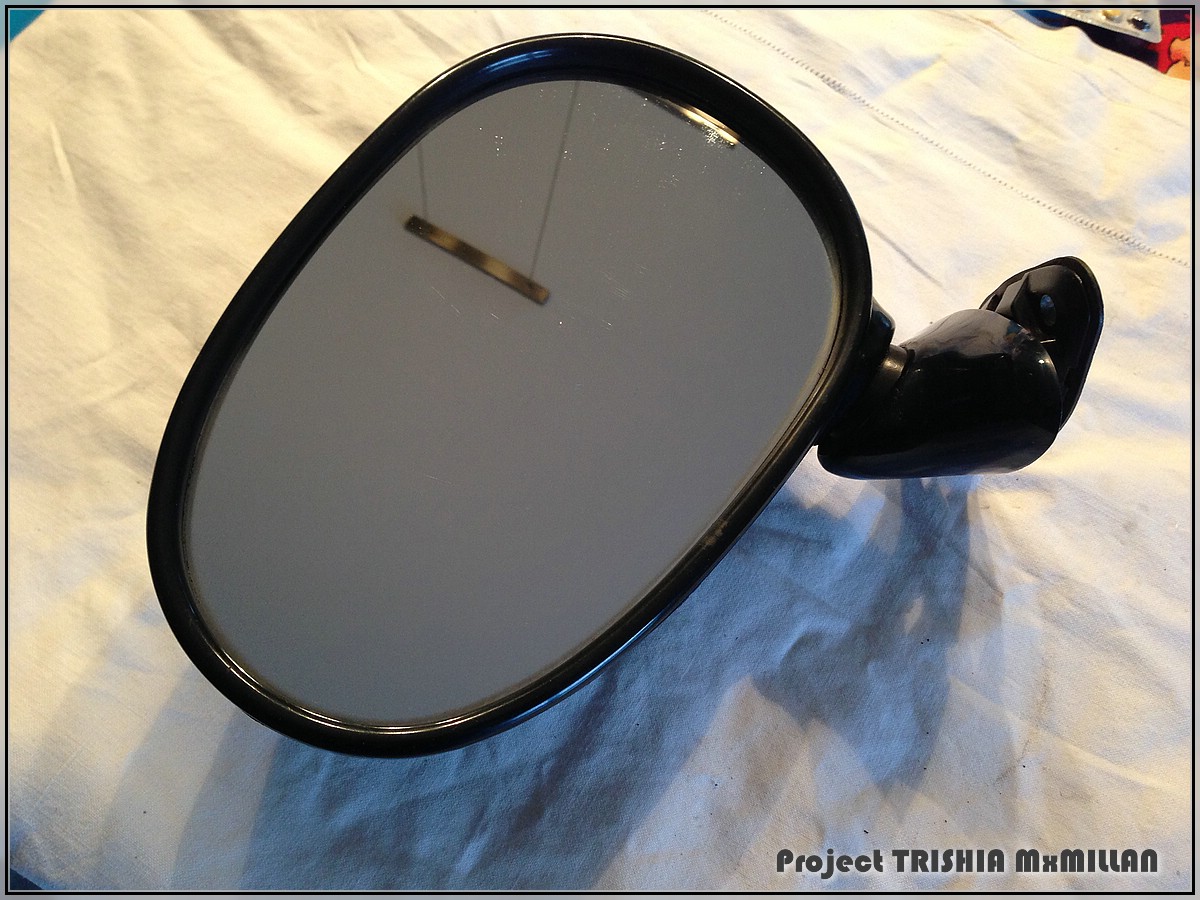
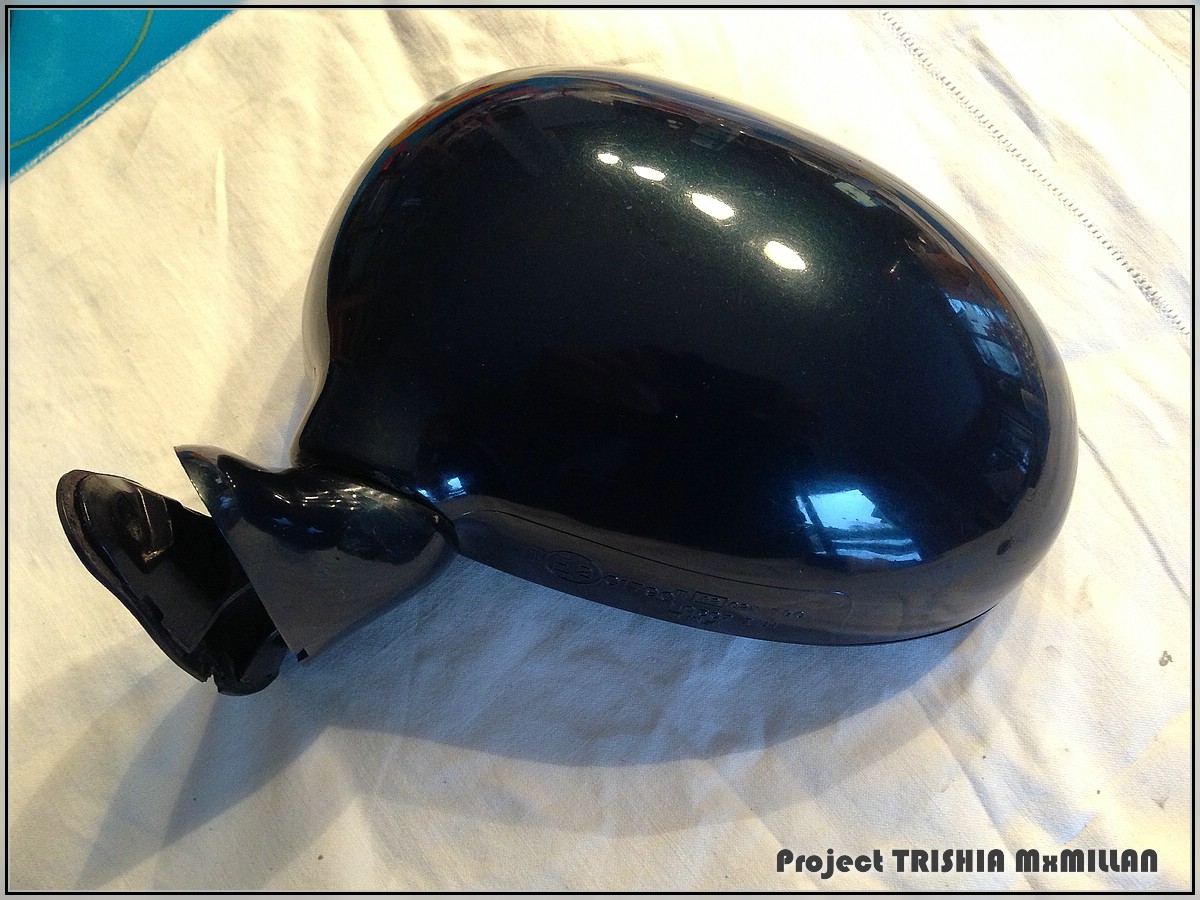
So first little project done...
Greets
1st repair project - broken left rear view mirror
When I got the car the left rearview mirror was missing - fortunately it was in the trunk - looking like this:


At the German mx-5.de there is a nice "How to" about the repair of such broken mirrors... (I don't think you'll need the link, because it's in German anyway ;-) )
So I started with the disassembly of the mirror

Carefully cut along the line between the front and rear cover, but be carful not to cut your fingers of...!


The front cover is held by glue every 1cm or so, so carfully peel the two parts apart - don't hurry or you will crack the front cover
Also be careful that your wife isn't at home, when you use your good cutlery to pry the parts apart...


Finally off:

Look at the pile of rust inside the mirror:


Take the lump of rust apart and save the spring and quadratic metal washer
Clean everything.

Now go and break the two completely rusted screws that hold the mirror mount to the car (and do some good cursing doing so...
 )
)Then take this apart too.

The white/rusty thing is supposed to be half a plastic ball and was in my case totally broken by the rusty screw inside.
I just glued it all back together:

Re-painted the mount and cleaned it inside (this is where the white plastic half-ball goes)


Finished the mirror today:
The re-finished parts

Inside

From below:

All done - back in old glory


So first little project done...
Greets
Last edited by Zaphod; 04-09-2013 at 03:02 AM.
#10
Thread Starter
Elite Member
Joined: Mar 2006
Posts: 1,559
Total Cats: 105
From: Schwarzenberg, Germany
I thought about Heart of Gold but a that time I didn't know that it will get the VVT engine... :-0
Edit: Updated post Nr. 6 with pics of the finished mirror
More interesting news to come - engine should be here soon..
Edit: Updated post Nr. 6 with pics of the finished mirror
More interesting news to come - engine should be here soon..
Last edited by Zaphod; 04-09-2013 at 03:03 AM.
#11
Thread Starter
Elite Member
Joined: Mar 2006
Posts: 1,559
Total Cats: 105
From: Schwarzenberg, Germany
Da fuq... - Christmas again?
Look at what arrived in my humble place today...
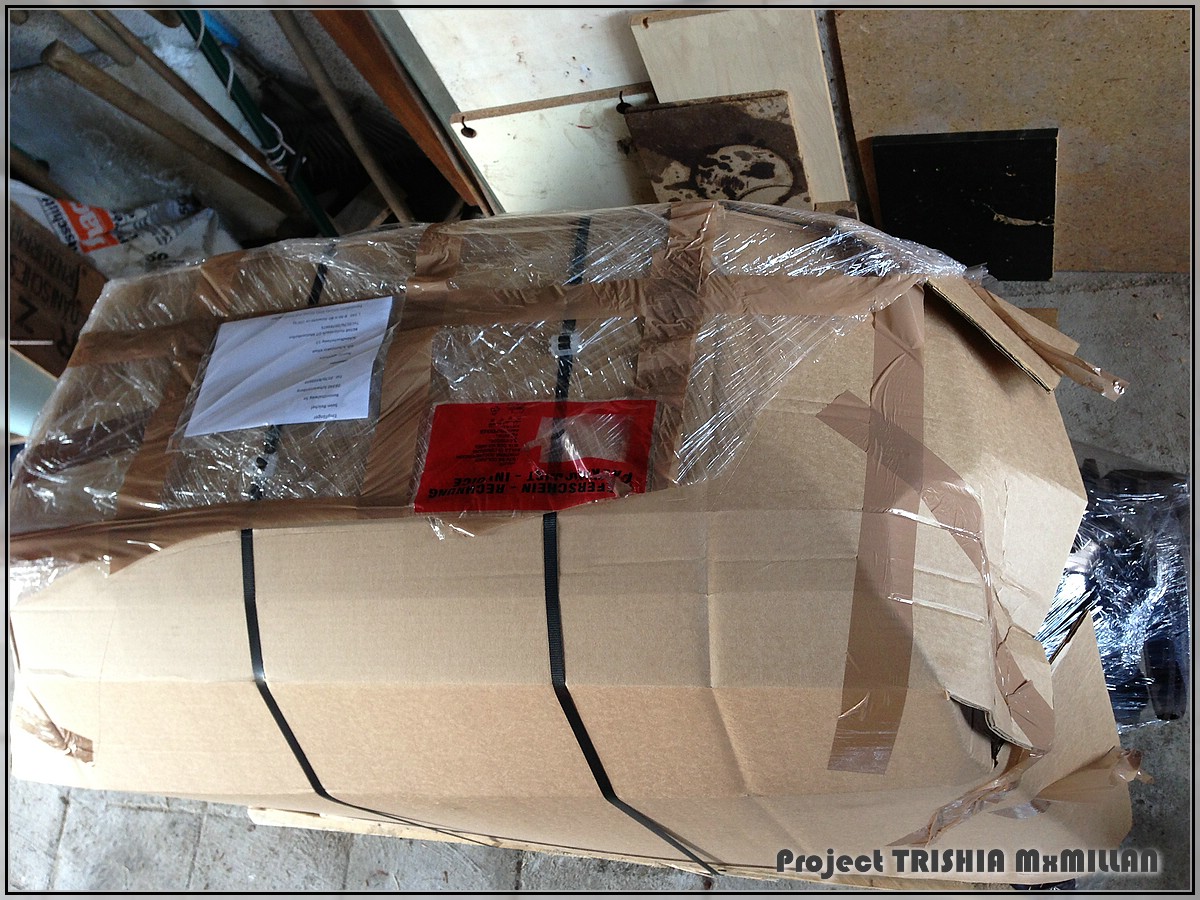

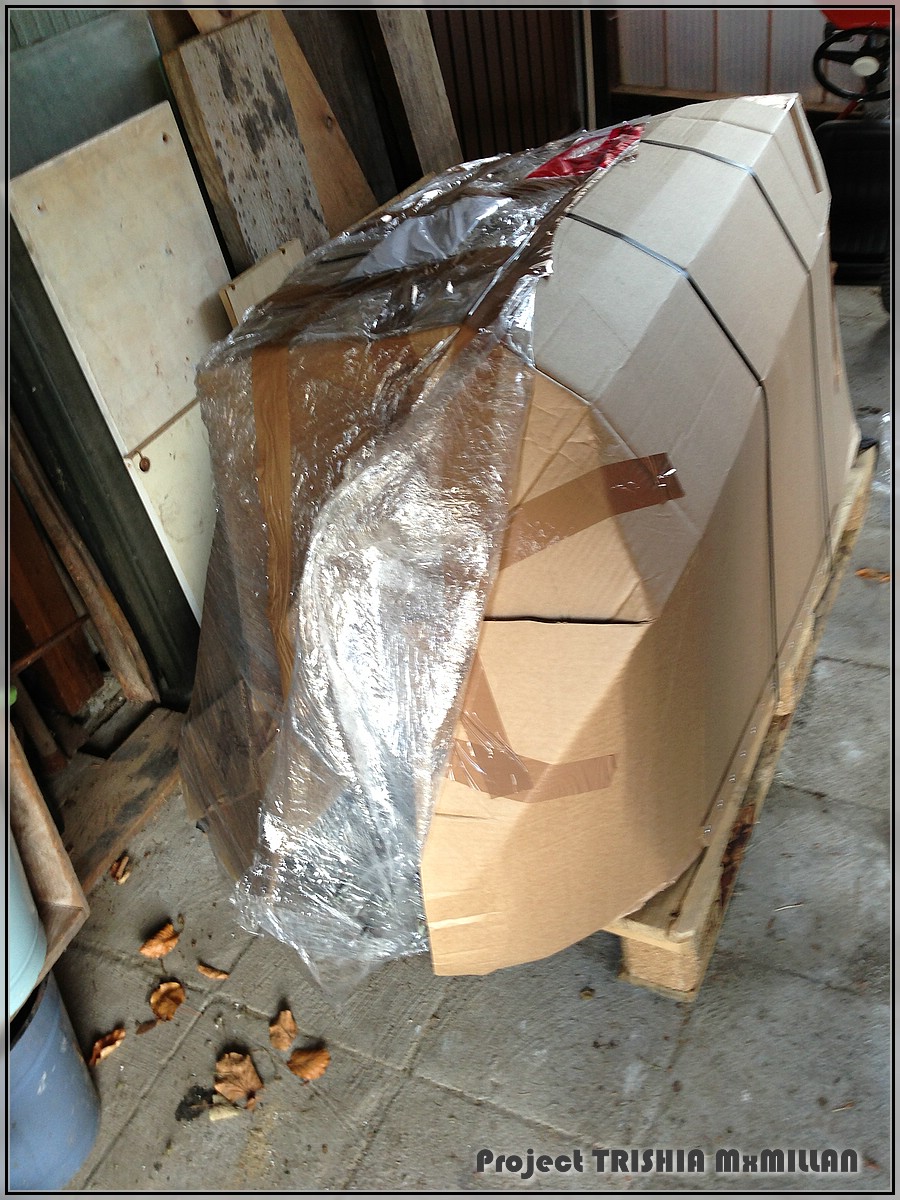
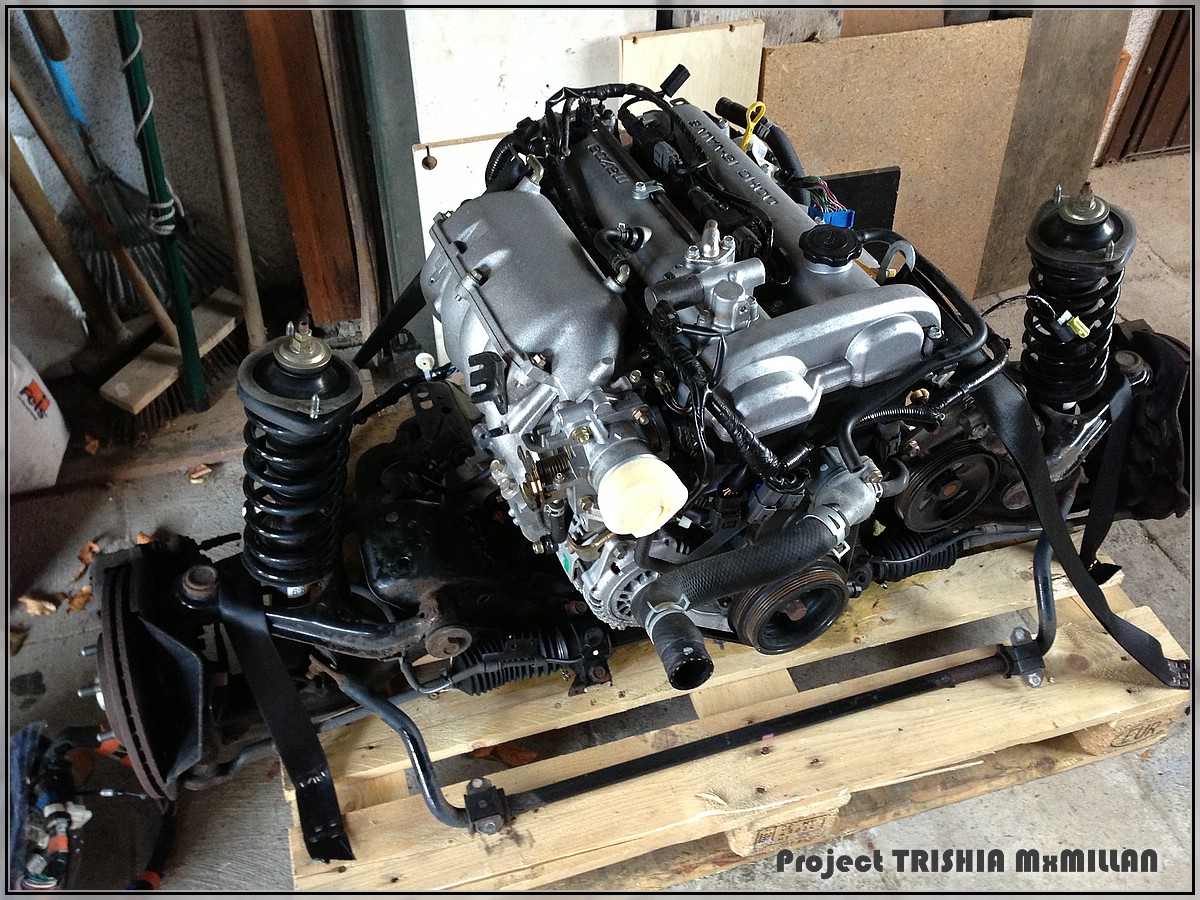


2001 VVT engine, 84.000km, all harnesses, oem ecu, instrument cluster, door locks, keys, immobilizer unit and a lot more...
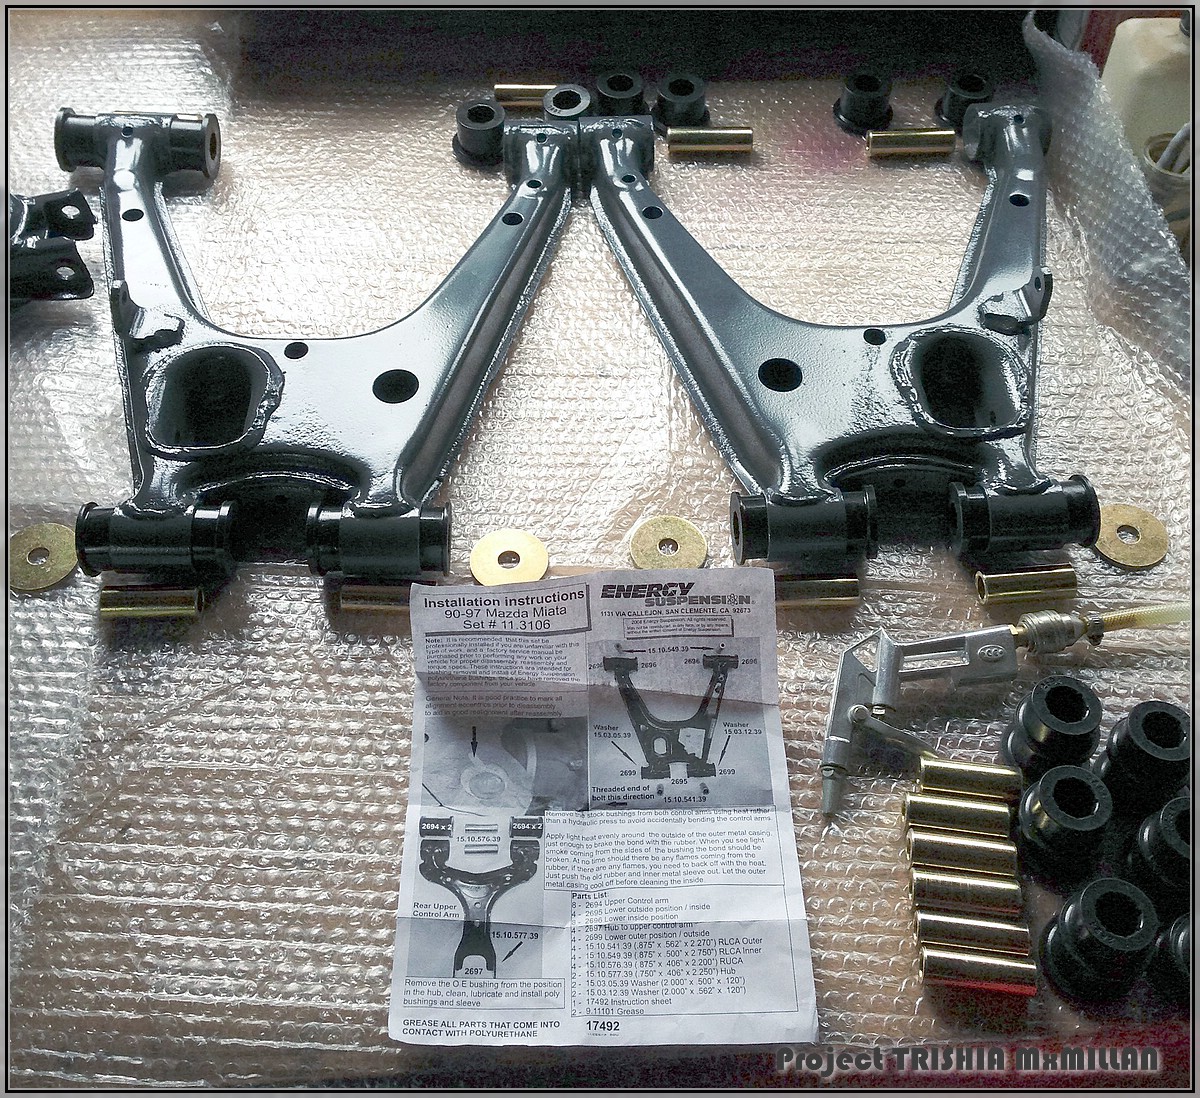
2001 front axle assembly with brakes - going to be rebuild with poly bushings and getting cleaned/painted.
Look at what arrived in my humble place today...


2001 VVT engine, 84.000km, all harnesses, oem ecu, instrument cluster, door locks, keys, immobilizer unit and a lot more...
2001 front axle assembly with brakes - going to be rebuild with poly bushings and getting cleaned/painted.
#12
Thread Starter
Elite Member
Joined: Mar 2006
Posts: 1,559
Total Cats: 105
From: Schwarzenberg, Germany
And to make her even more happy
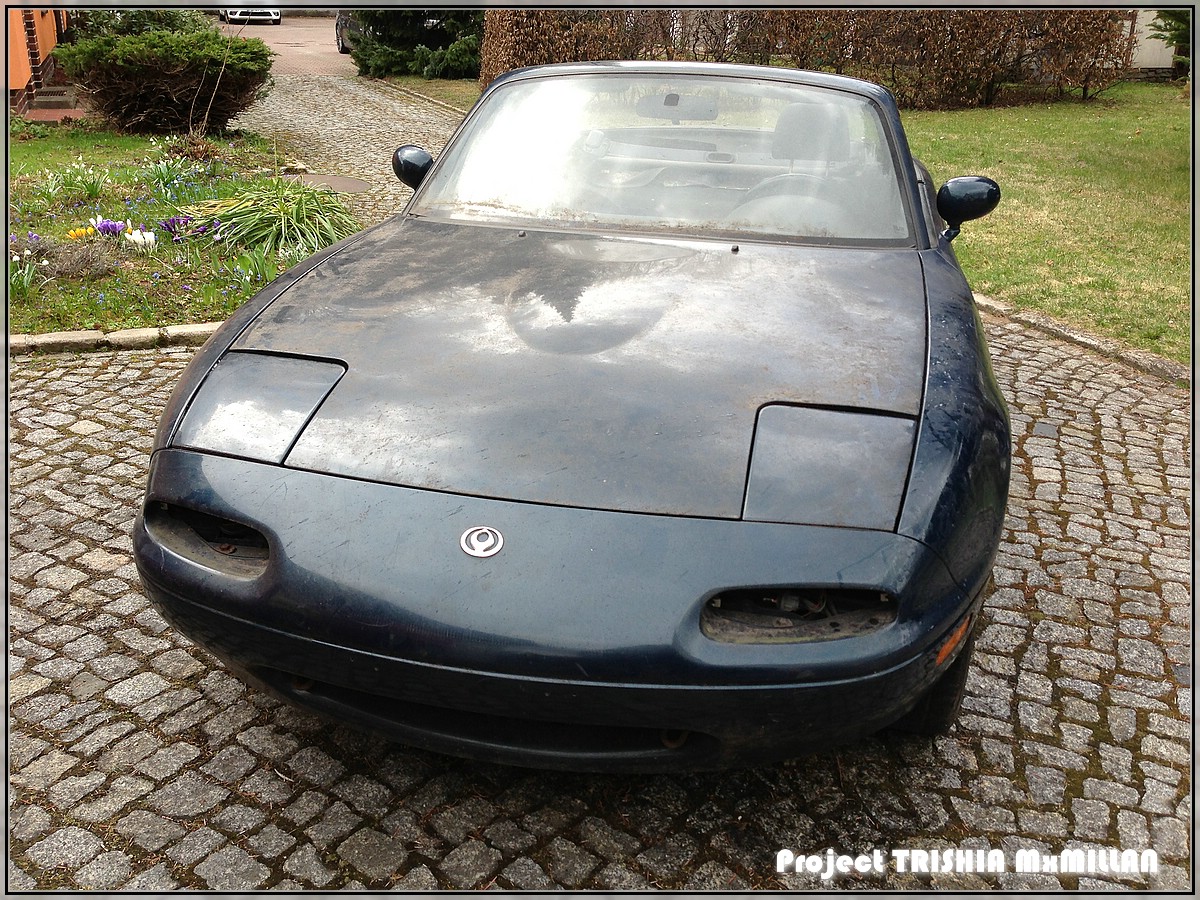
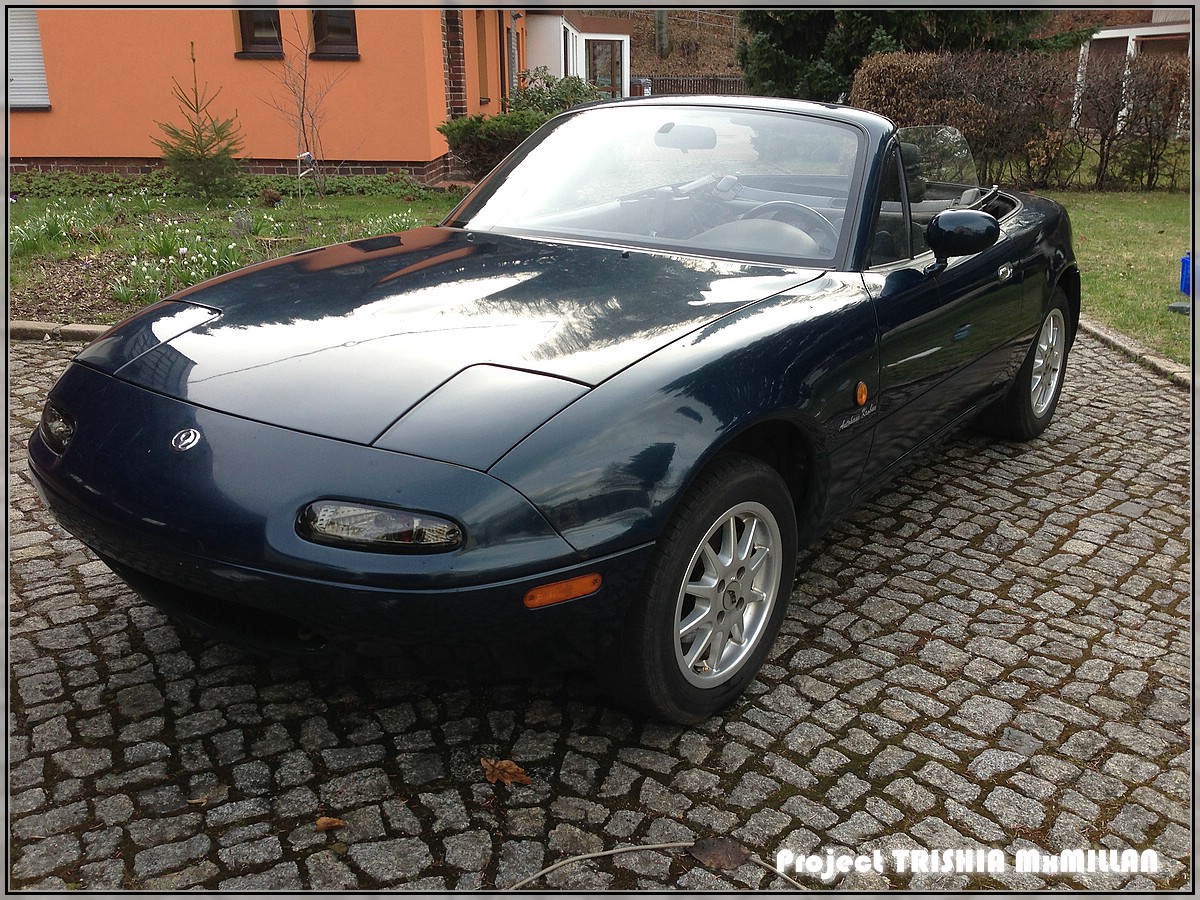
Project Nr. 2 - Cleaning part. 1
I had to have a look under the dirt...
before
after
from the back
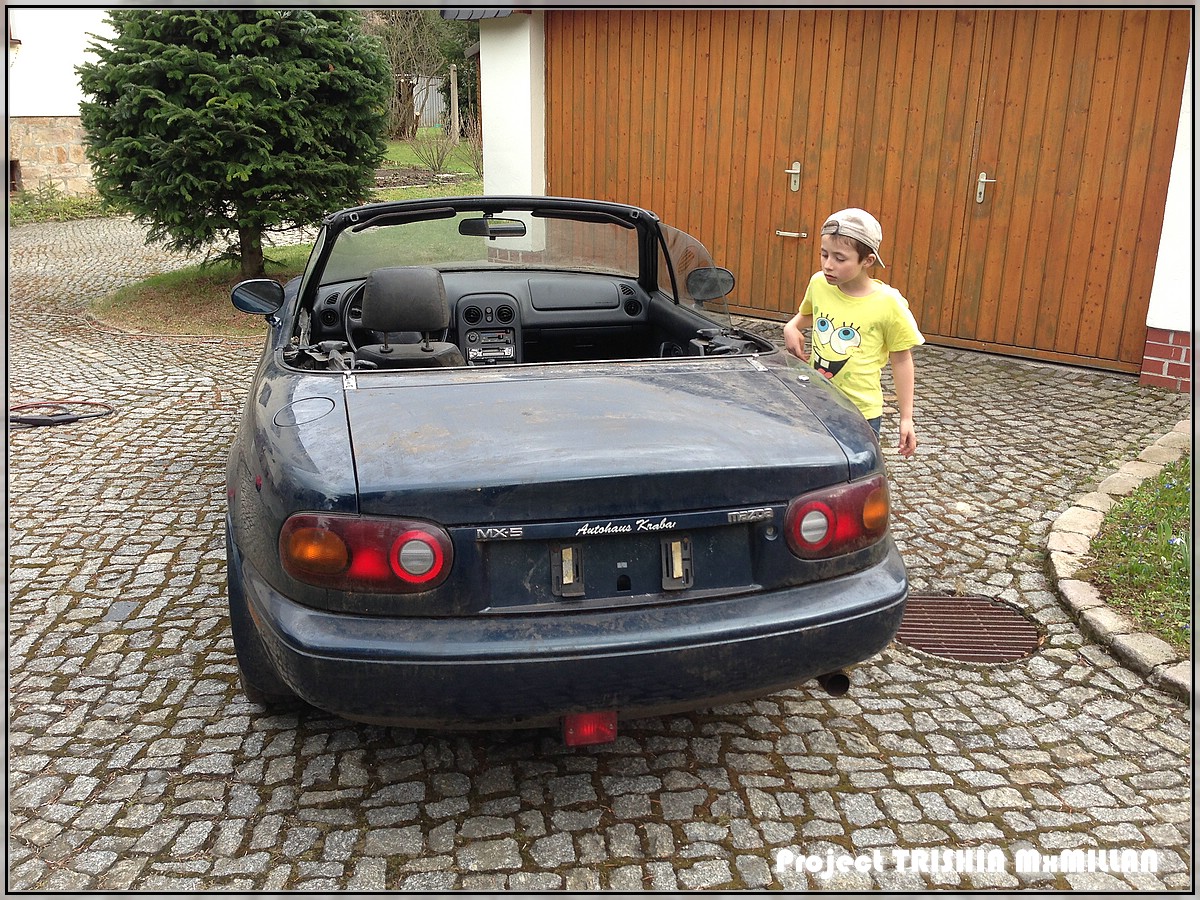
^ my little helper
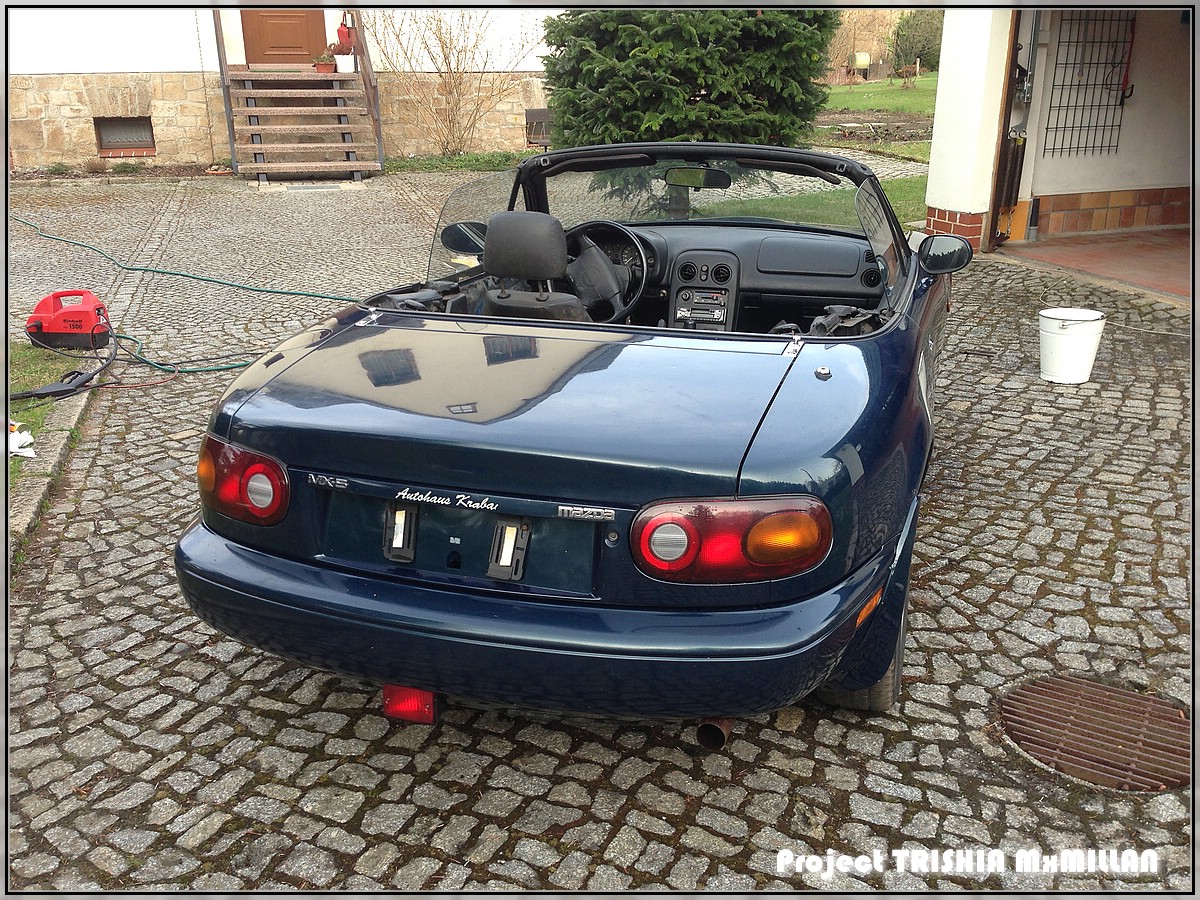
That was just a first cleaning, need to polish her up quite a bit and do a lot of repairwork.
Under all that dirt there was a hidden haildamage of the hood... :-( But not too bad - so I guess it will be repairable via smartrepair...
Project Nr. 2 done.
Greets
Project Nr. 2 - Cleaning part. 1
I had to have a look under the dirt...
before

after

from the back

^ my little helper

That was just a first cleaning, need to polish her up quite a bit and do a lot of repairwork.
Under all that dirt there was a hidden haildamage of the hood... :-( But not too bad - so I guess it will be repairable via smartrepair...
Project Nr. 2 done.
Greets
#13
Thread Starter
Elite Member
Joined: Mar 2006
Posts: 1,559
Total Cats: 105
From: Schwarzenberg, Germany
Update 20.04.2013
Got a good bit ahead (but still only cleaning and such... not very exciting but necessary)
Took out the old torn softtop
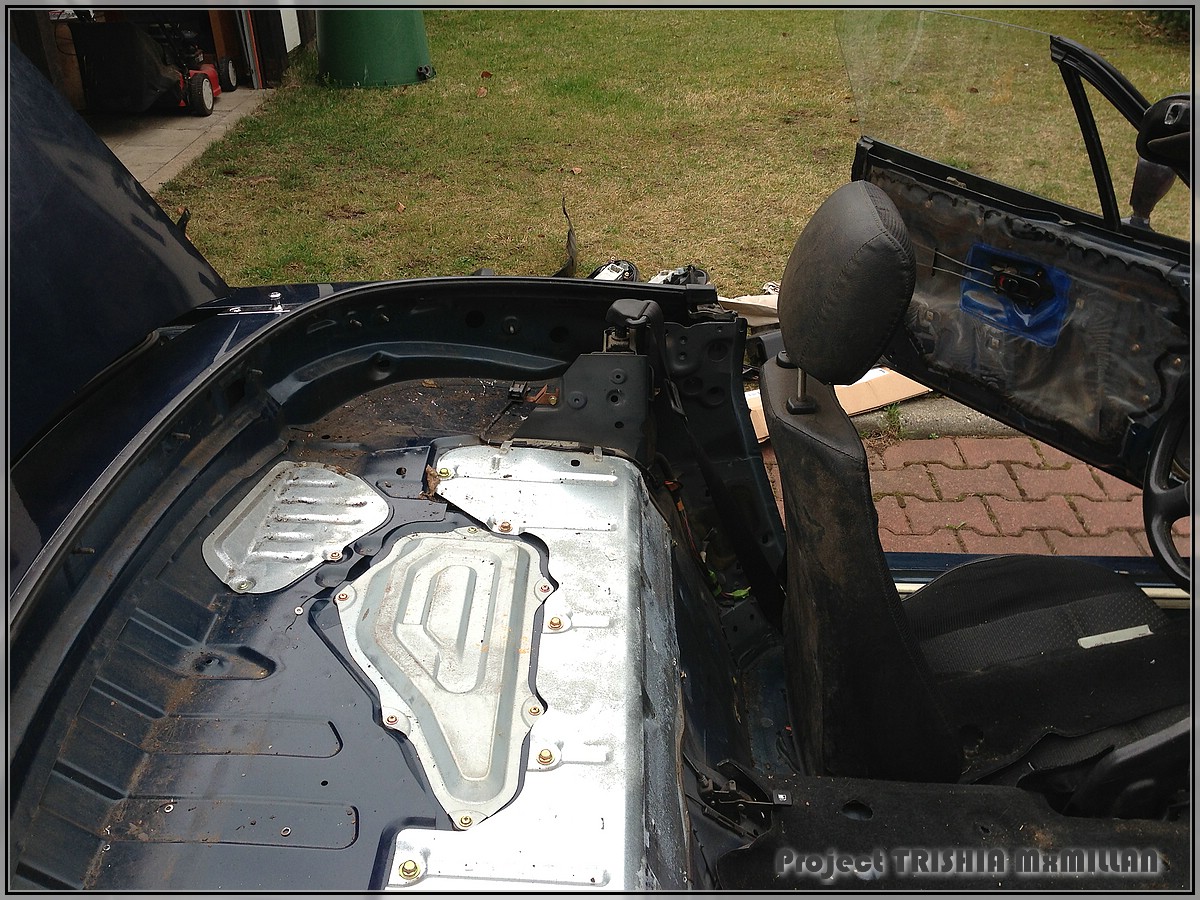
Luckily not rust to find there, only lots of dirt
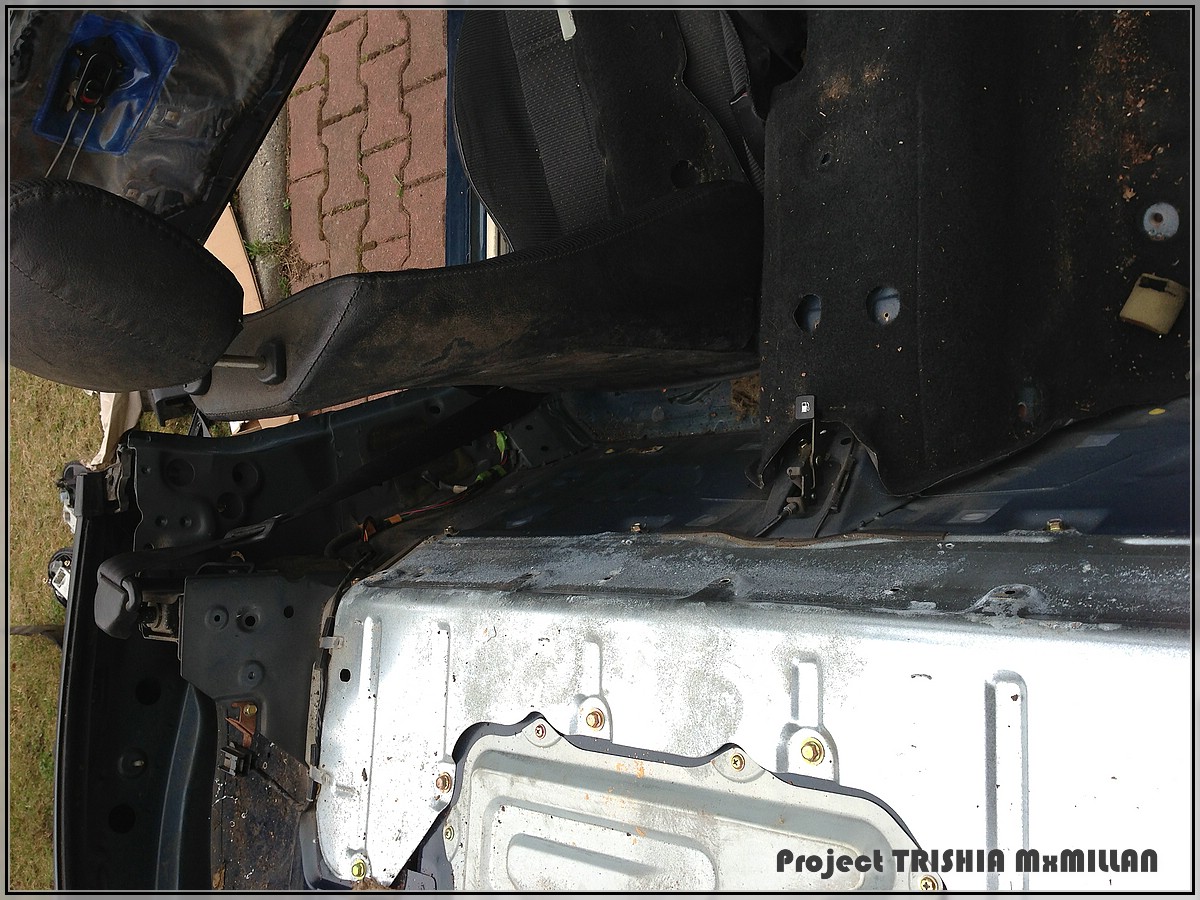
Took out the remaining carpet on the passenger side which felt dry to the touch...
D'ooh!
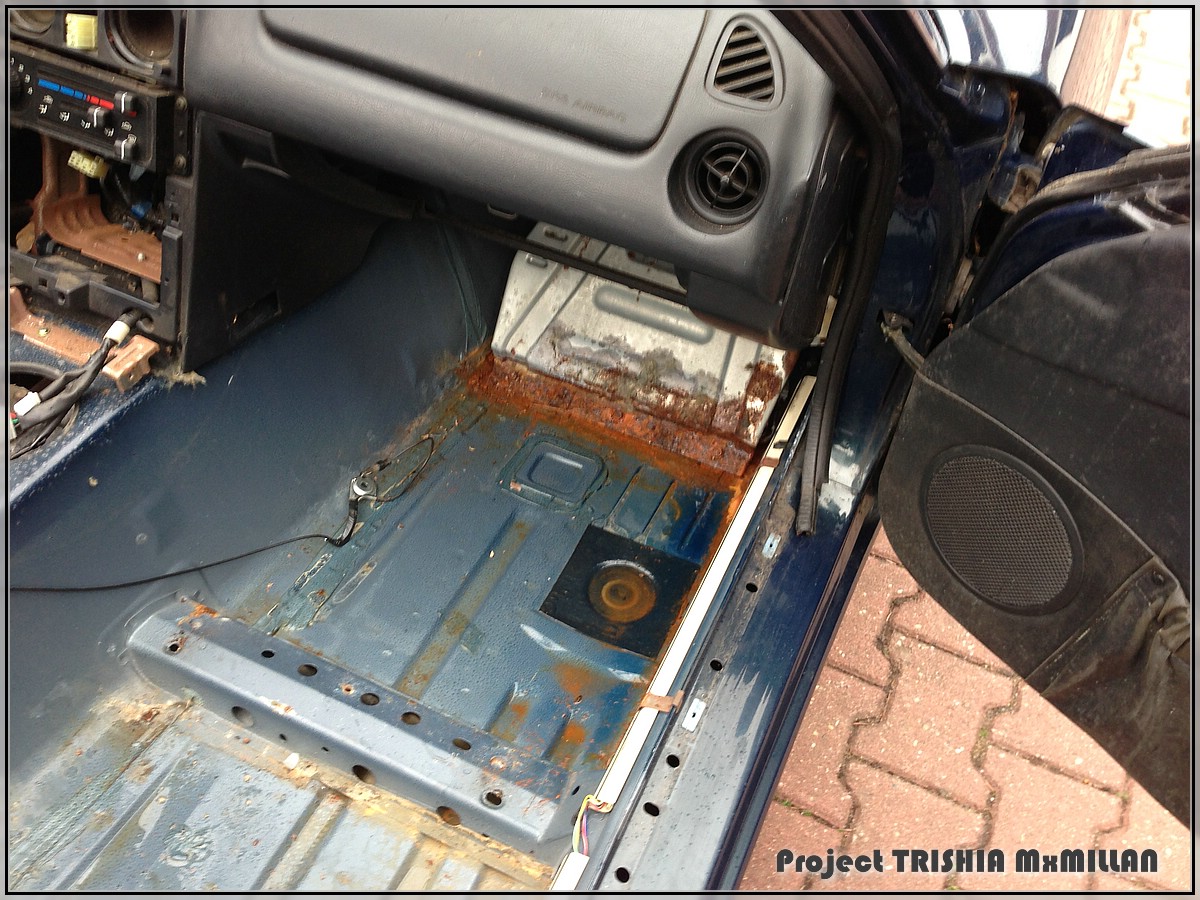
About half a liter of water in the passenger footwell...
So the first thoughts are - even more welding to be done... :-(
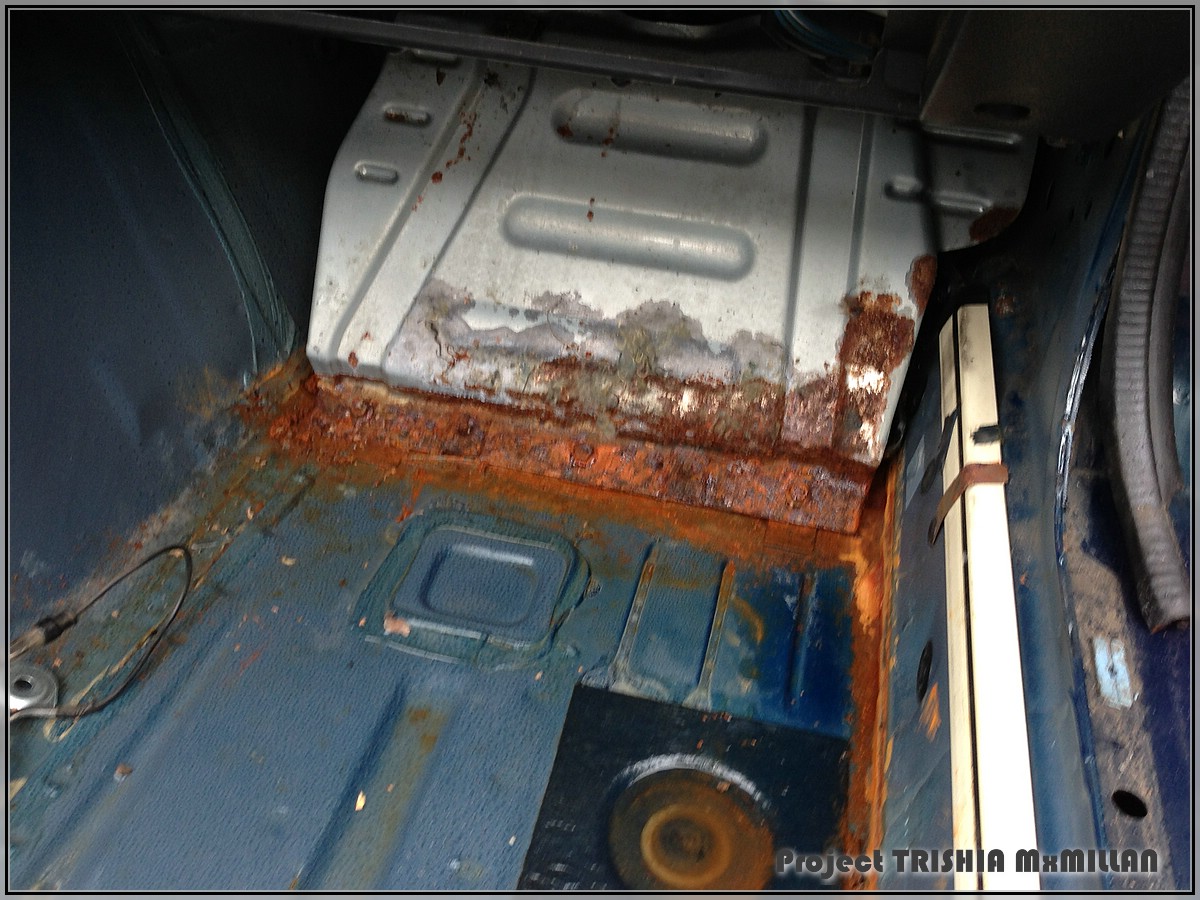
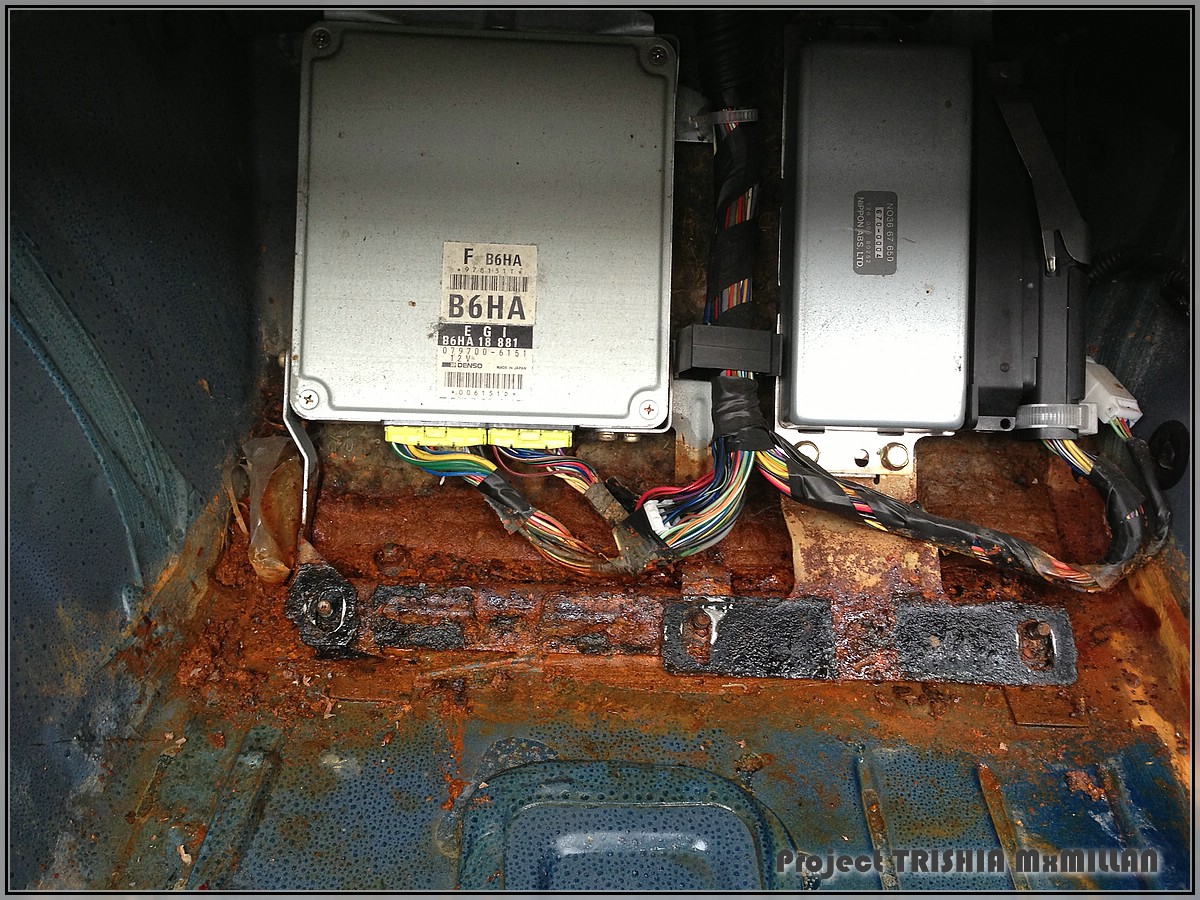
What a nice combination - water and ECU
But now have a look - the exact spot a couple of minutes later...

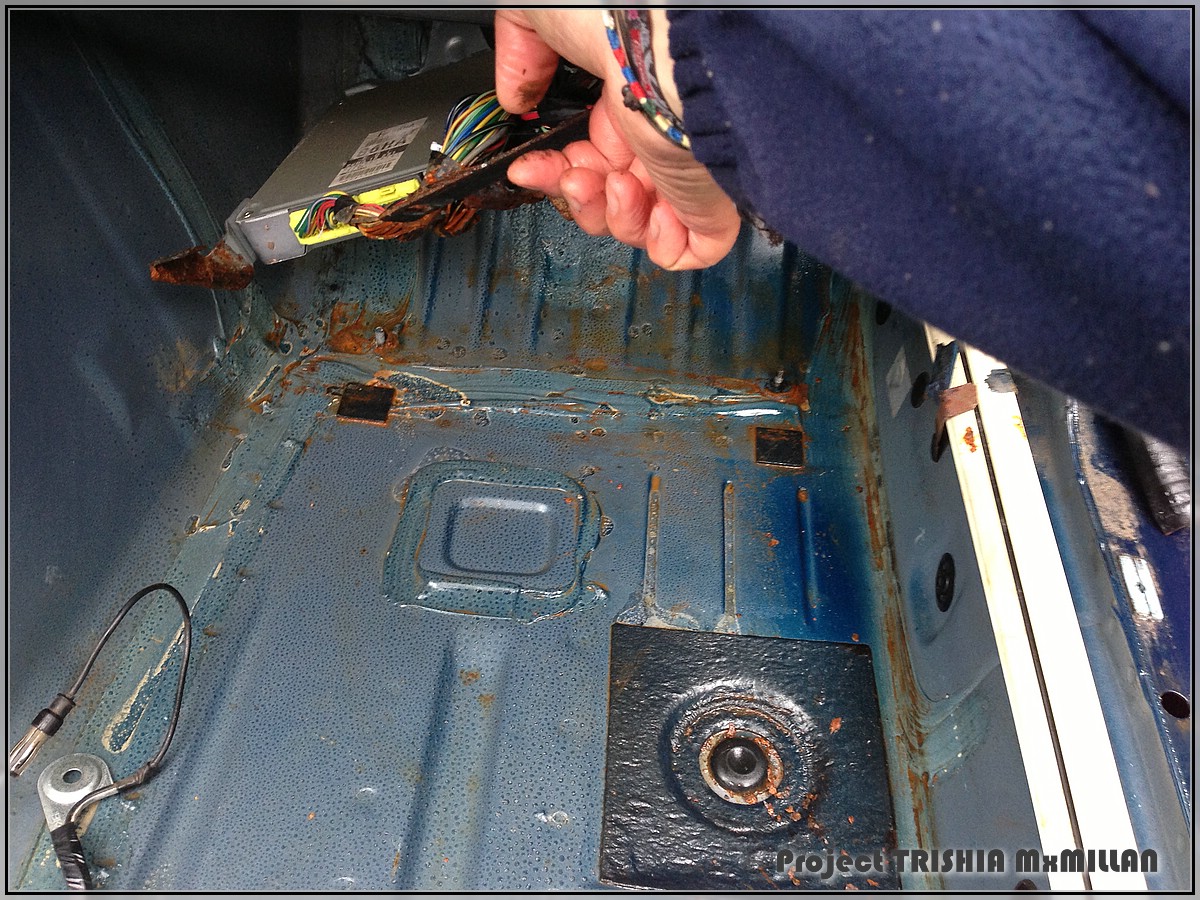
All the nice red rust was just on the ECU holder and on the sound deadening below that. The rest of the rust you can see is also only a question of a little elbow grease and a brush...
Update 21.04.13
More cleaning done
Passenger footwell cleaned, wire brushed and treated with Fertan (rust stopper)
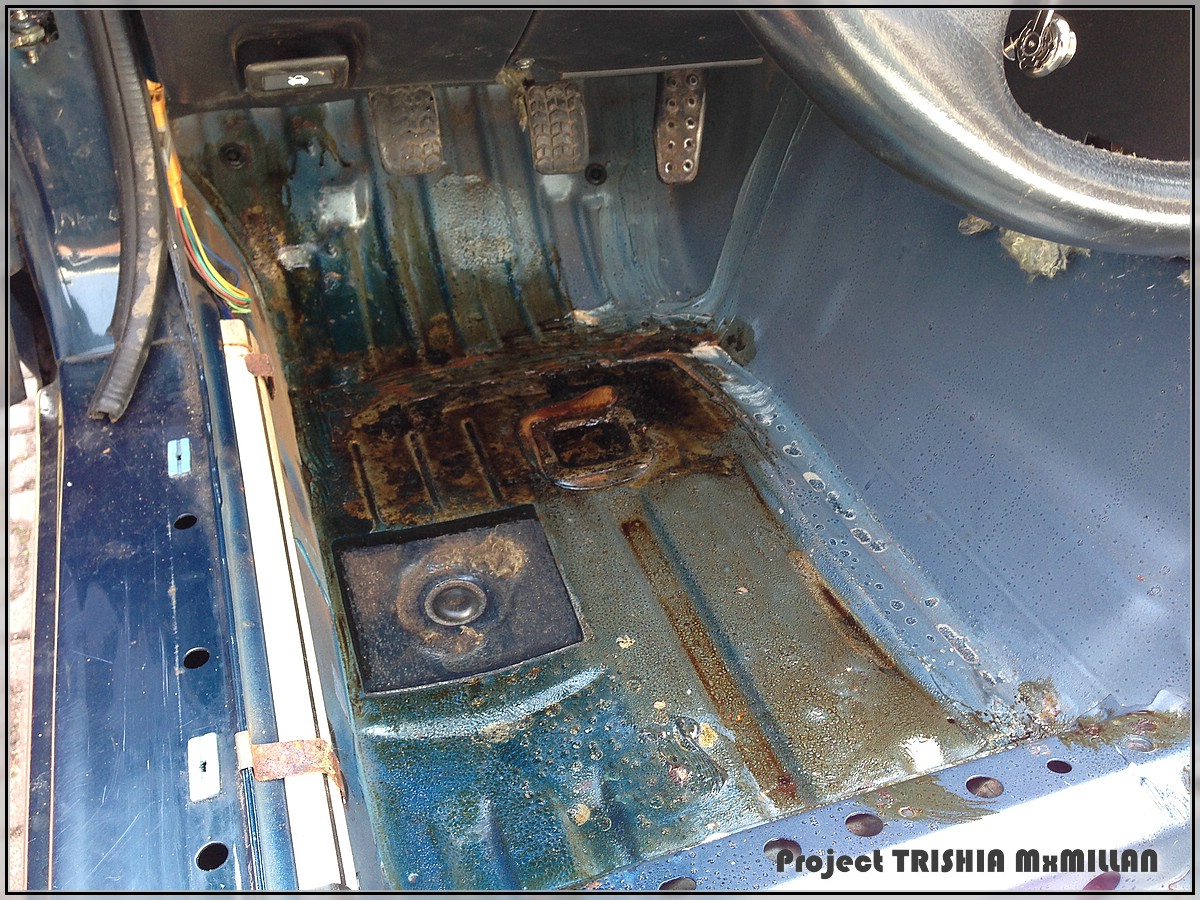
Cleaned rear deck (just like new)
Did I mention that I saved a completely unharmed rain rail when I took out the softtop...?
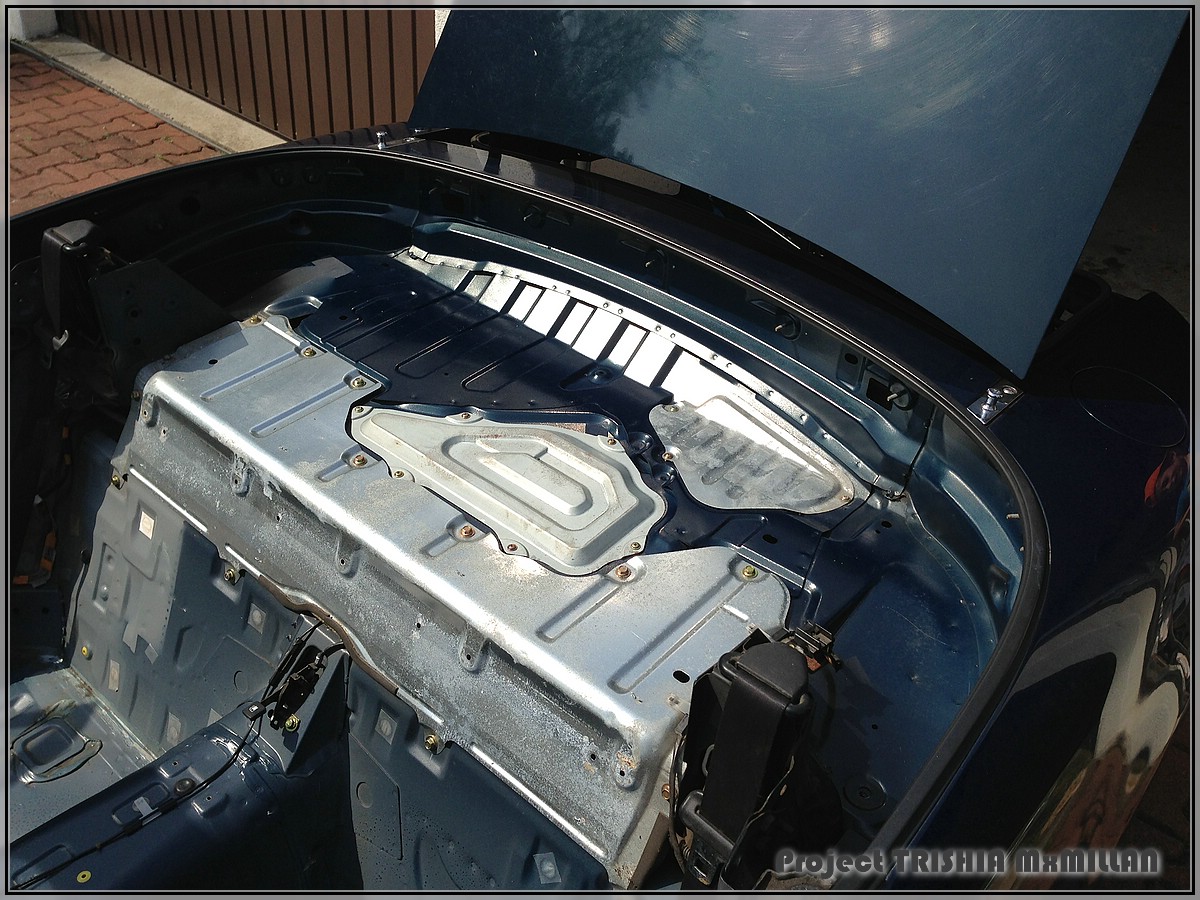
Cleaned trunk - also just like new from the factory (apart from the gas tank panel, which will take 2 minutes with a wire brush)
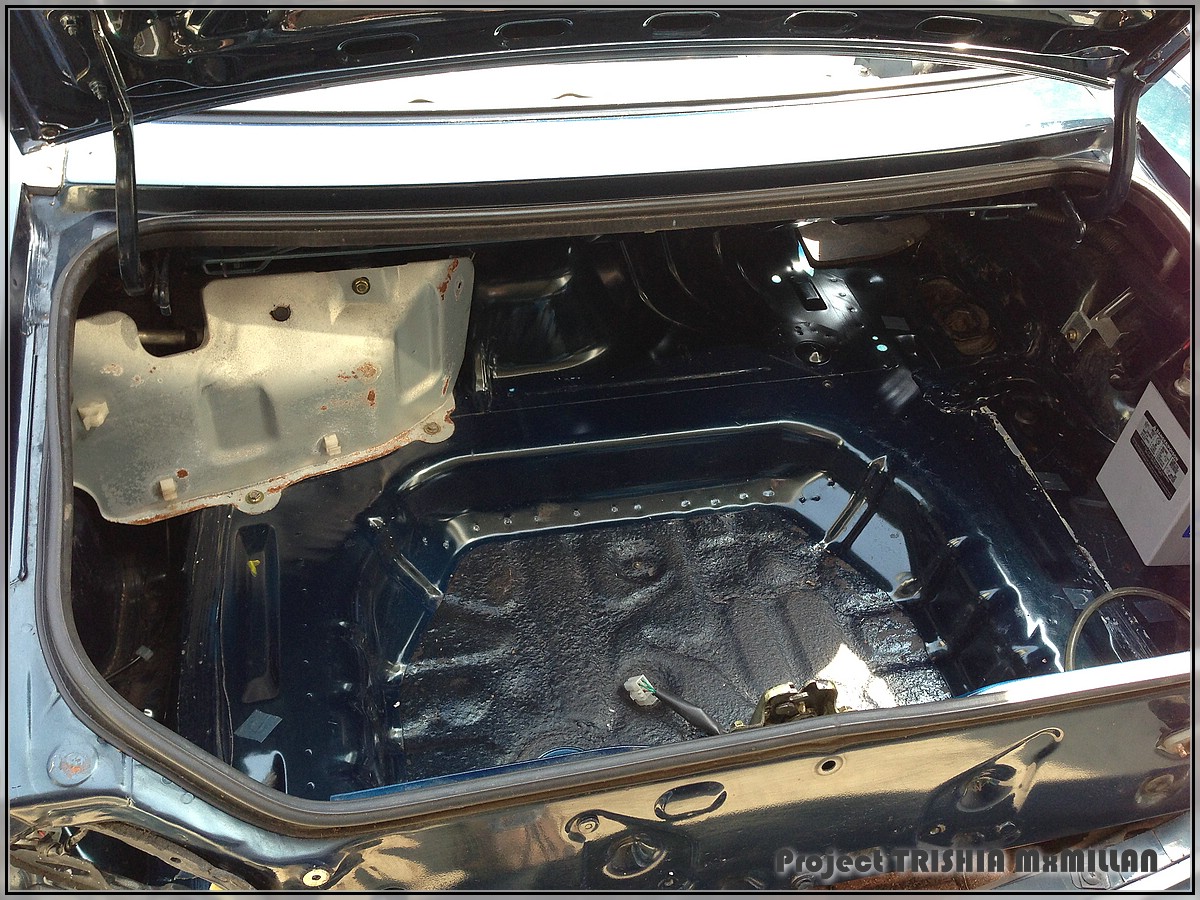
And here again the passender footwell - completely rust cleaned
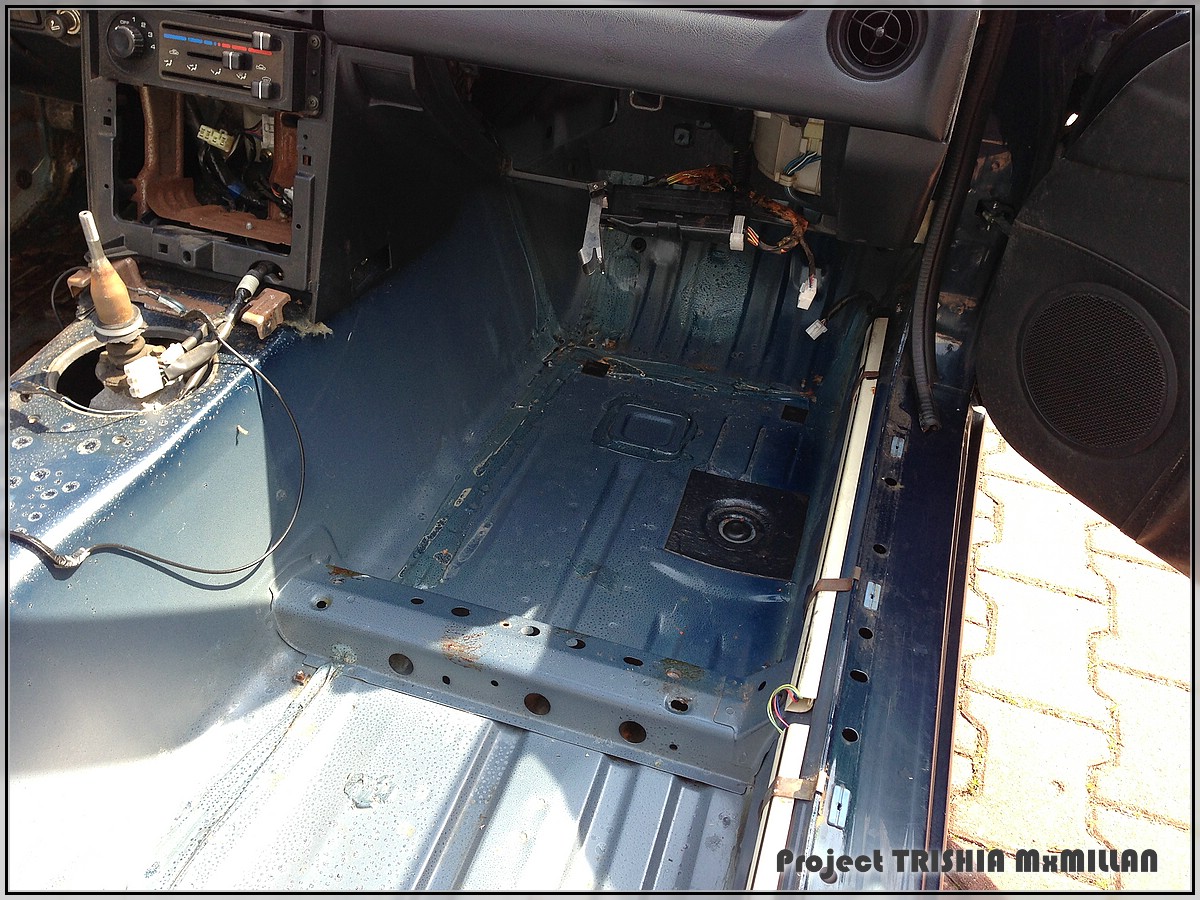
All in all I am quite happy with the achievements...
Now the "bad" things are waiting to be done - rust repair at the rocker panel on both sides and the underside of the car.
Got a good bit ahead (but still only cleaning and such... not very exciting but necessary)
Took out the old torn softtop

Luckily not rust to find there, only lots of dirt

Took out the remaining carpet on the passenger side which felt dry to the touch...
D'ooh!

About half a liter of water in the passenger footwell...
So the first thoughts are - even more welding to be done... :-(

What a nice combination - water and ECU

But now have a look - the exact spot a couple of minutes later...


All the nice red rust was just on the ECU holder and on the sound deadening below that. The rest of the rust you can see is also only a question of a little elbow grease and a brush...
Update 21.04.13
More cleaning done
Passenger footwell cleaned, wire brushed and treated with Fertan (rust stopper)

Cleaned rear deck (just like new)
Did I mention that I saved a completely unharmed rain rail when I took out the softtop...?

Cleaned trunk - also just like new from the factory (apart from the gas tank panel, which will take 2 minutes with a wire brush)

And here again the passender footwell - completely rust cleaned

All in all I am quite happy with the achievements...
Now the "bad" things are waiting to be done - rust repair at the rocker panel on both sides and the underside of the car.

#15
Thread Starter
Elite Member
Joined: Mar 2006
Posts: 1,559
Total Cats: 105
From: Schwarzenberg, Germany
In preparation of the rust removal at the rocker panels I removed the front and rear bumper... What a pita..
Heres the carnage:
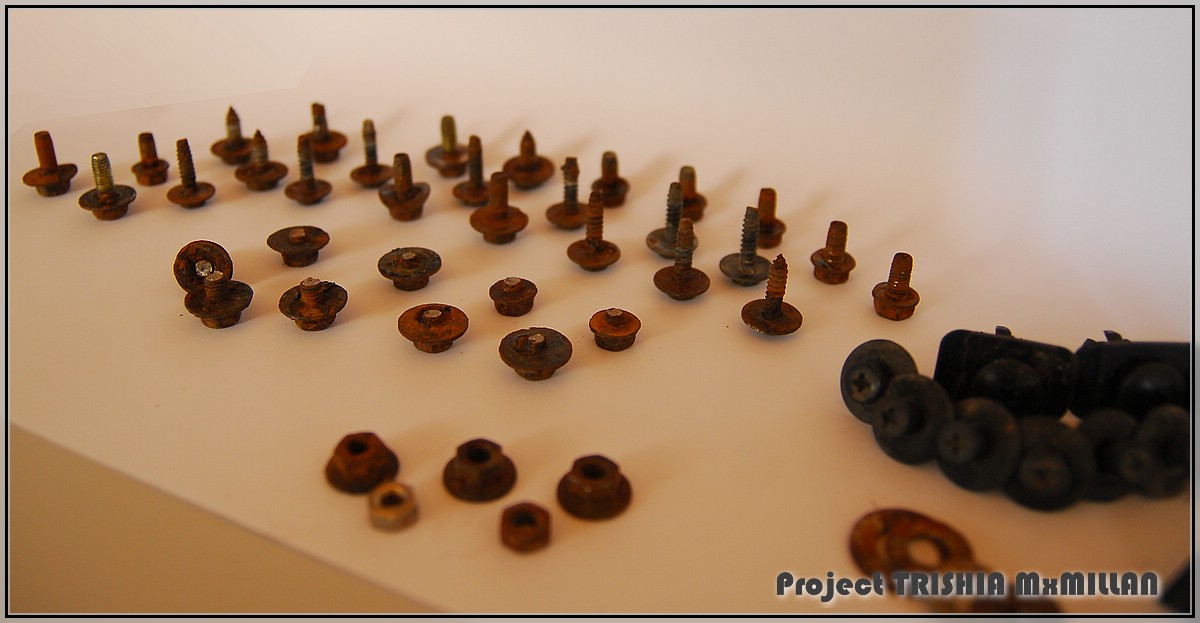
Who told the Mazda engineers to mount the bumpers with a quadrillion screws, about half of them on totally rust exposed points... (NOw I have to drill out all of them stuck screws out of the car...
Heres the carnage:

Who told the Mazda engineers to mount the bumpers with a quadrillion screws, about half of them on totally rust exposed points... (NOw I have to drill out all of them stuck screws out of the car...

#17
Thread Starter
Elite Member
Joined: Mar 2006
Posts: 1,559
Total Cats: 105
From: Schwarzenberg, Germany
Time to update this...
I abandoned the thread a while ago, because posting this in German in my blog
Trisha's Blog (MX-5 Resurrection) | How to resurrect a rotten MX-5
and in English here was a little too much (given the little time, that I have)
So here an update in pictures about how it is atm...
(I know there is no 1000 props to be had, but at least you don't have to read 125 pages to get to the end... )
)
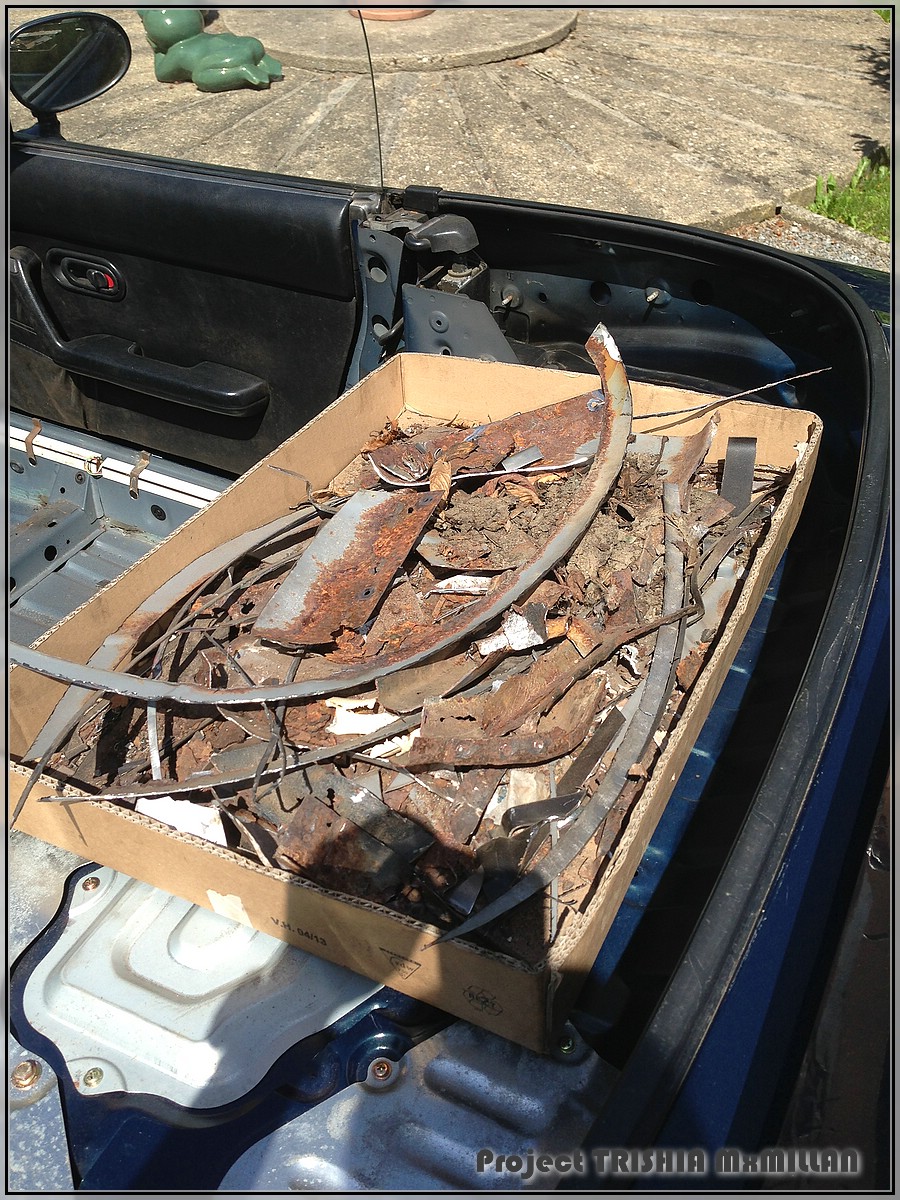
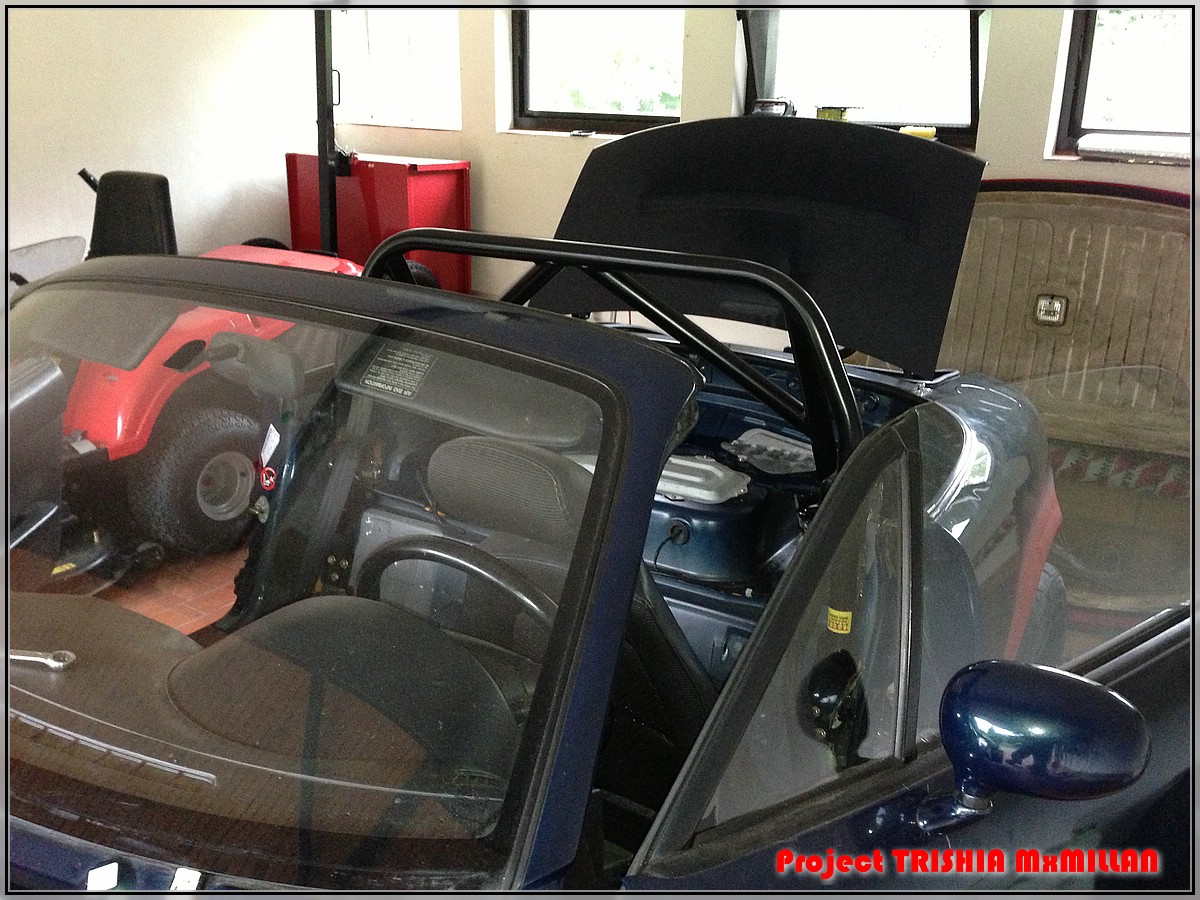
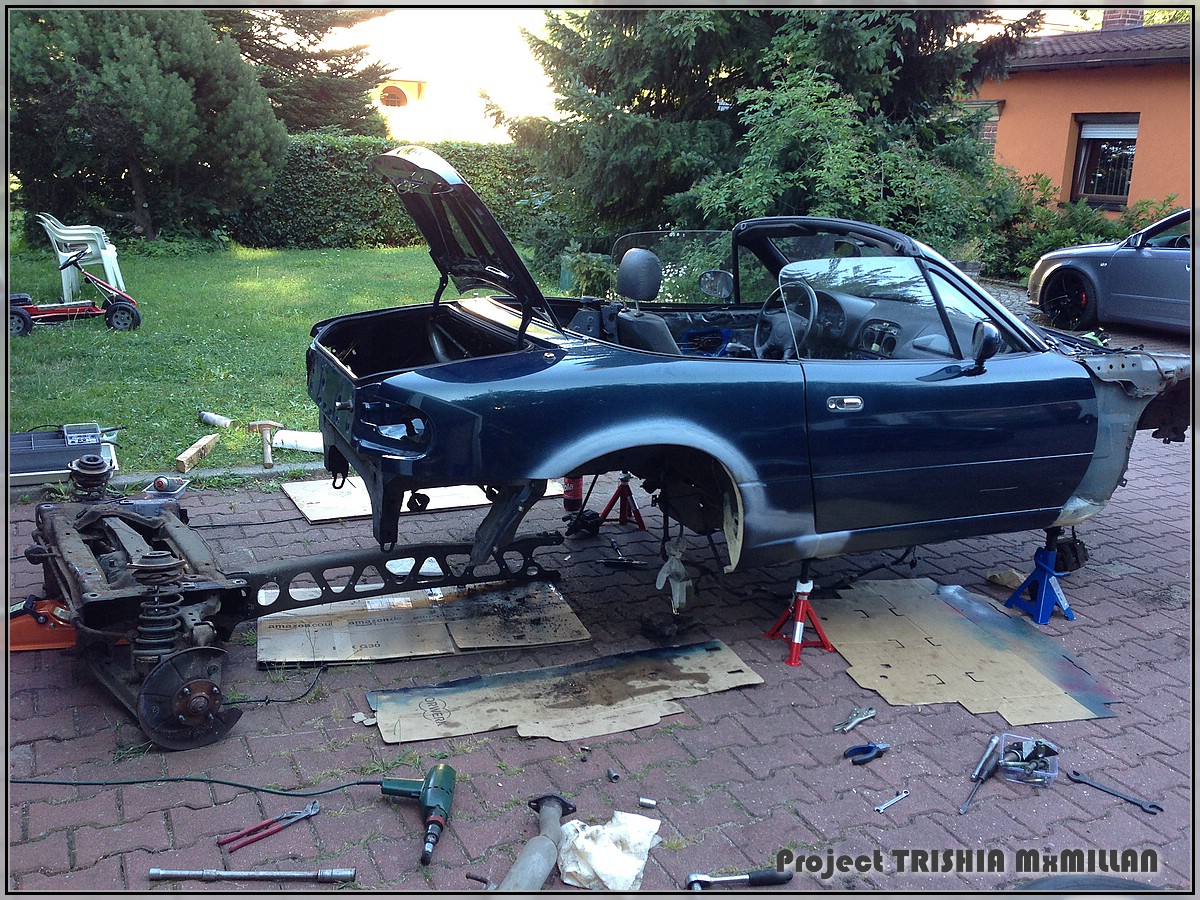
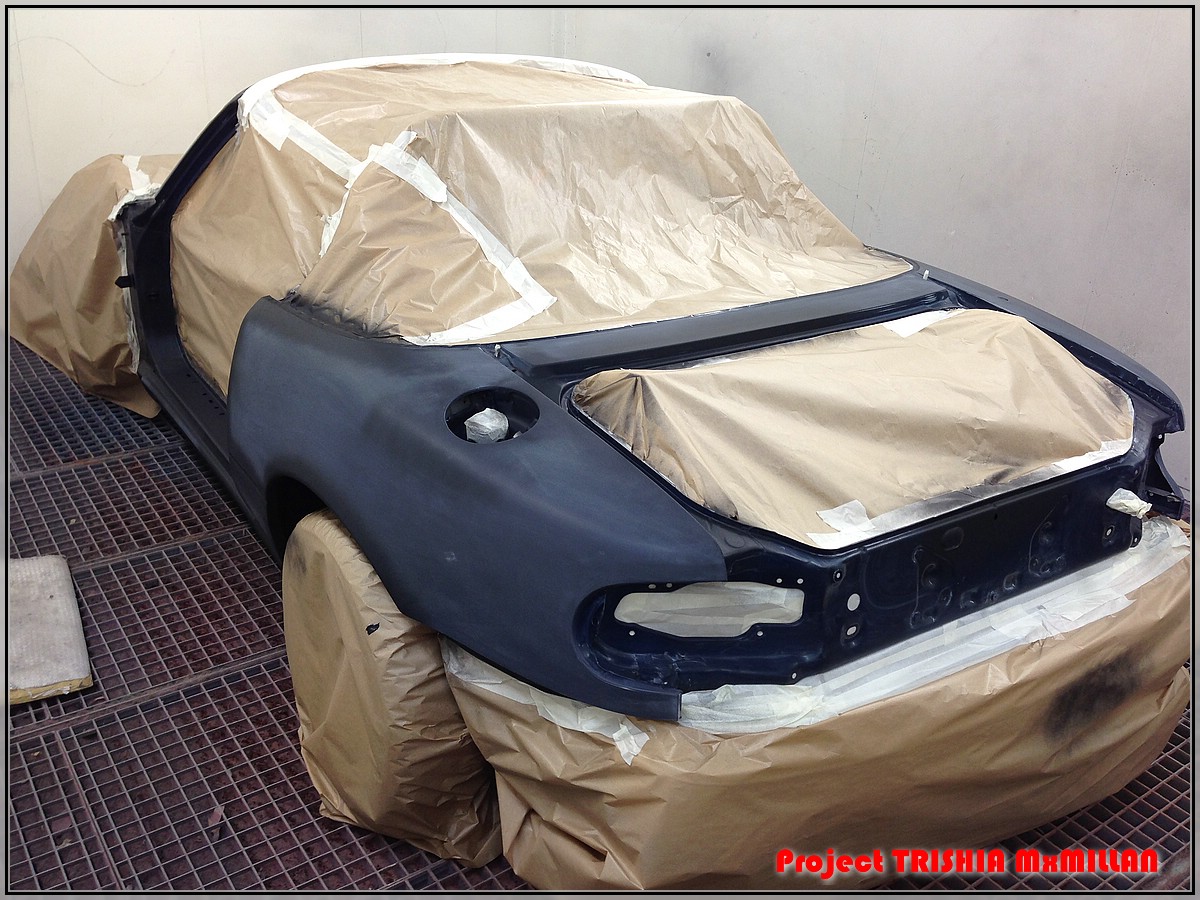
The build involved a lot of de-rusting
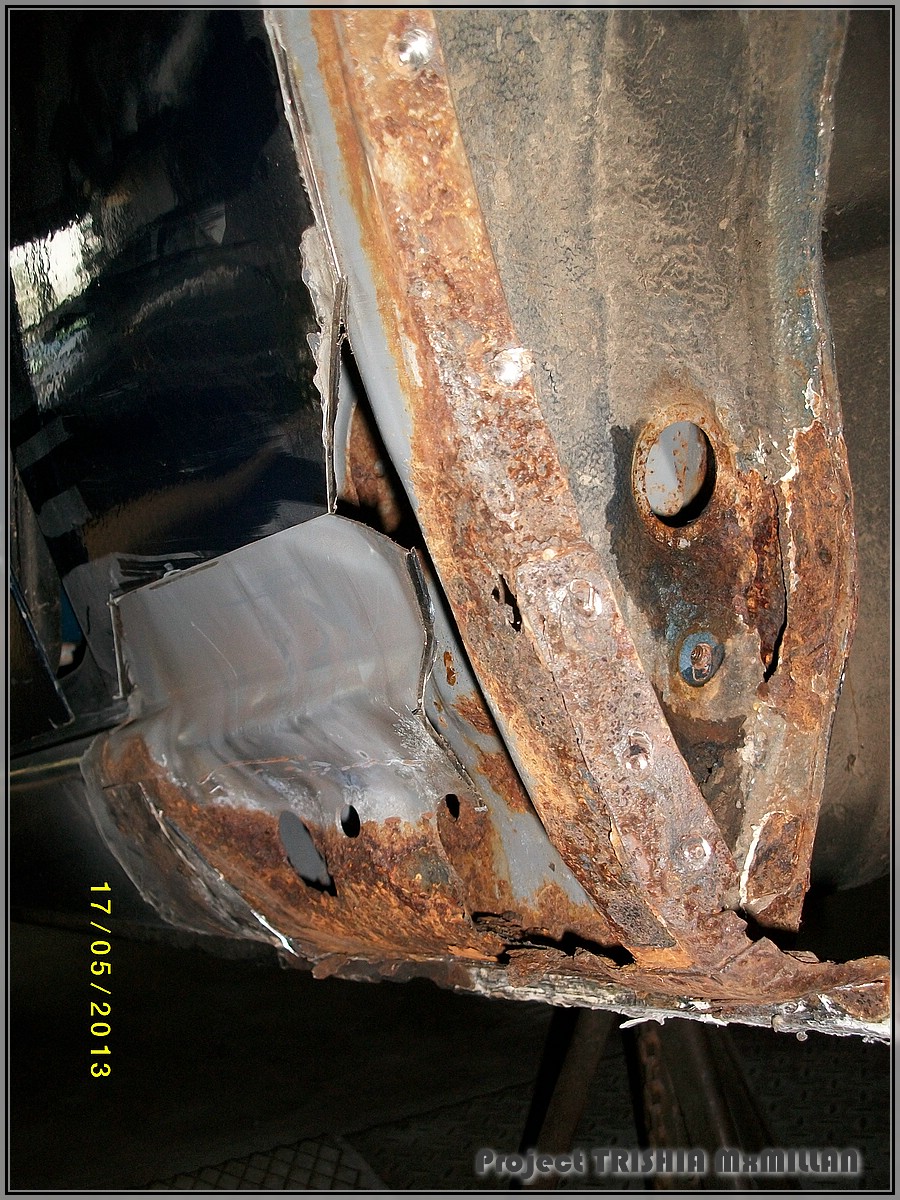
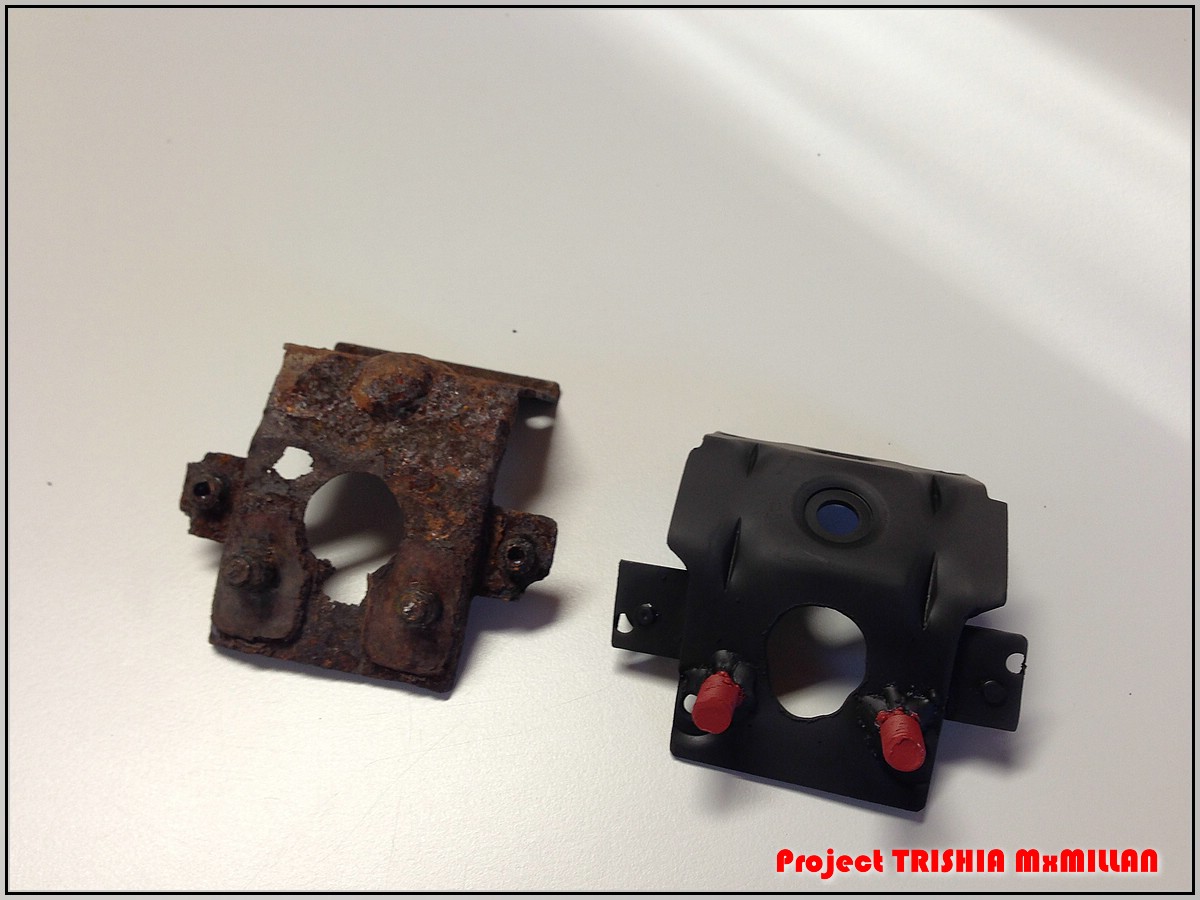
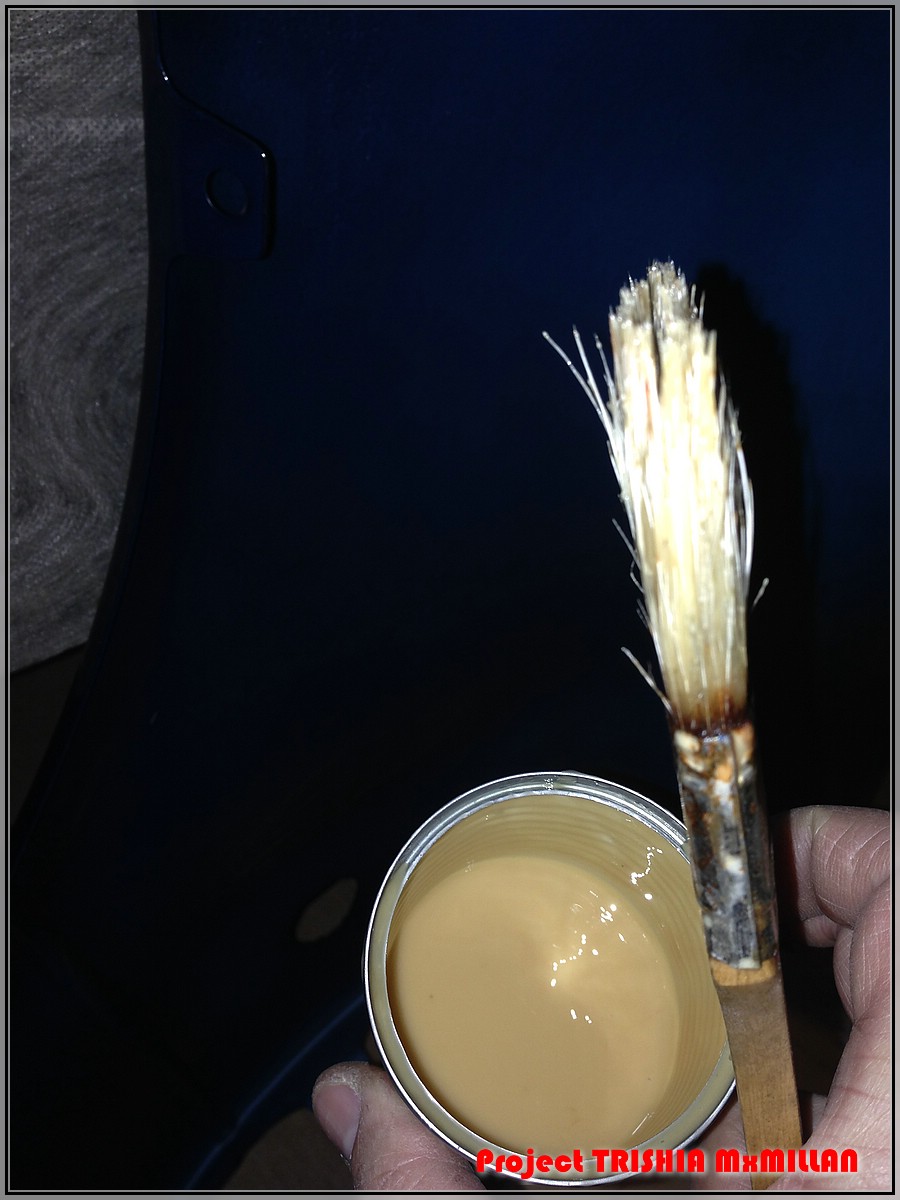
a lot of DIYing

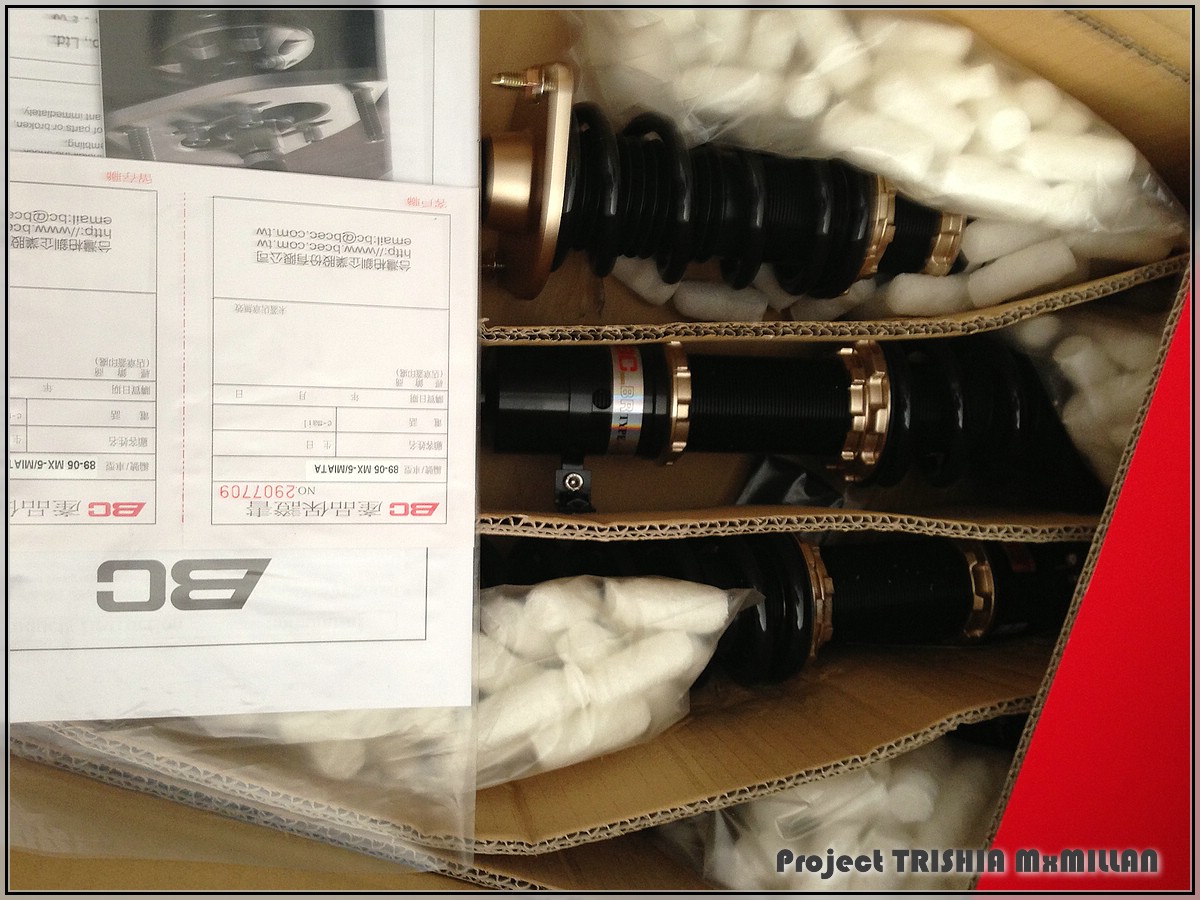
a lot of new goodies
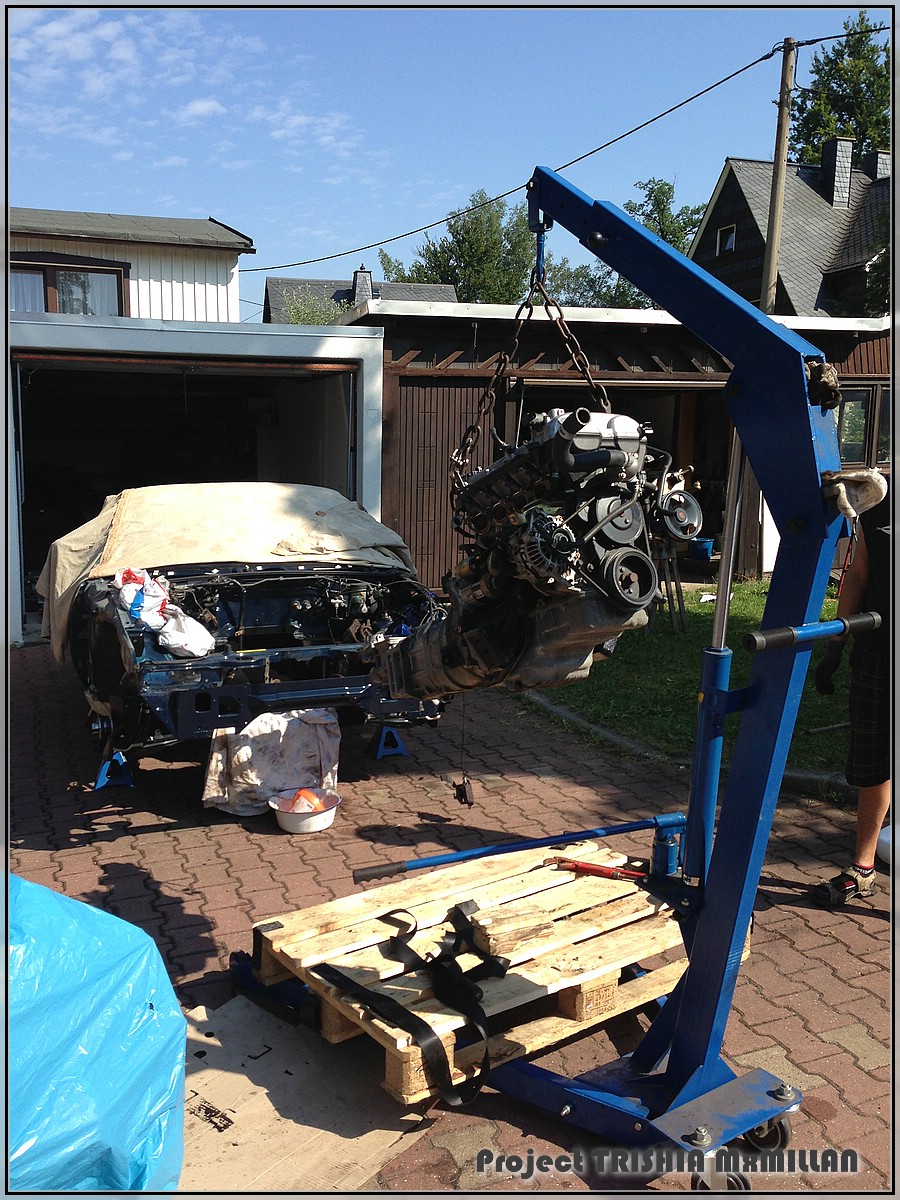
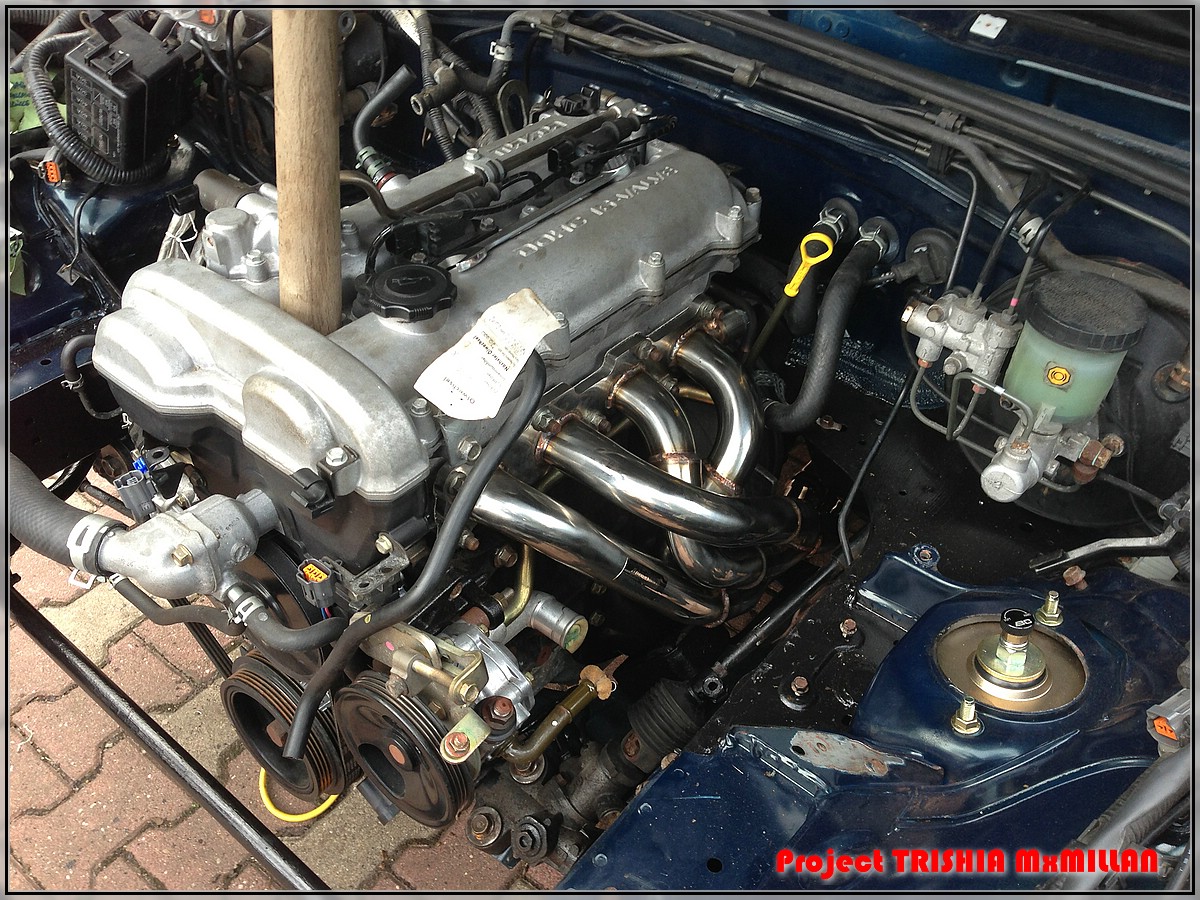
a nice engine swap
a nice torsen swap
some painting
a hell of a lot of cleaning

some undercoating (together with some Jassperformance rails)

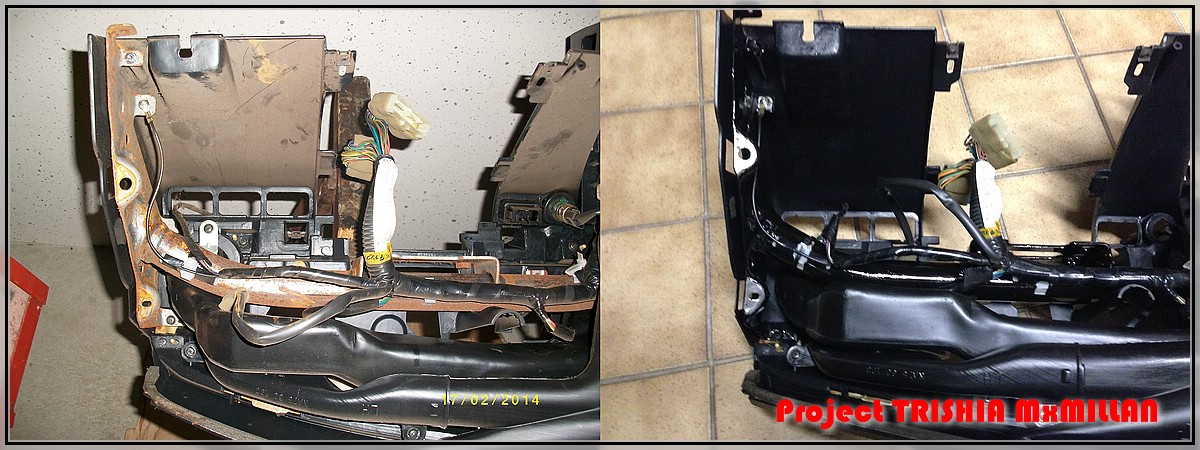
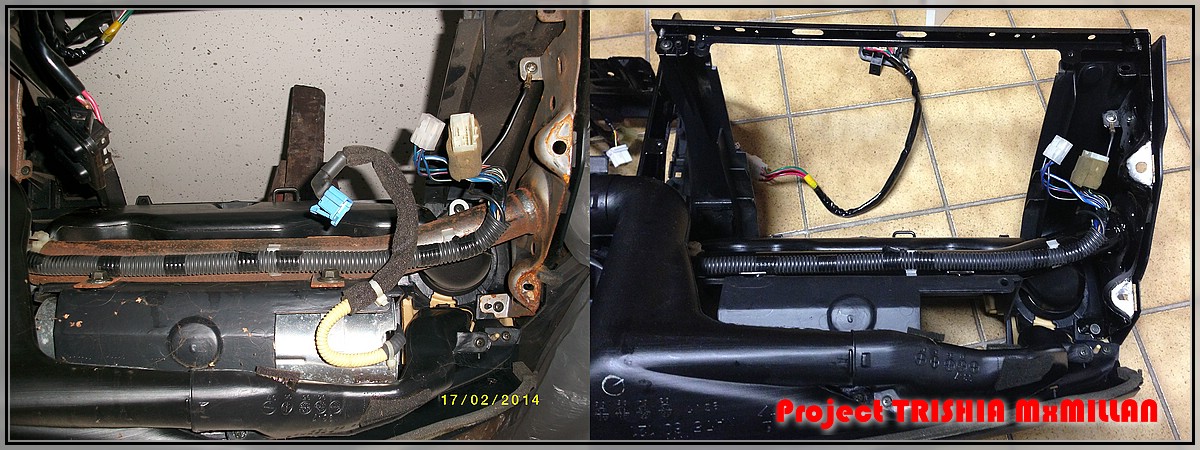
And now some before and after pics:
before
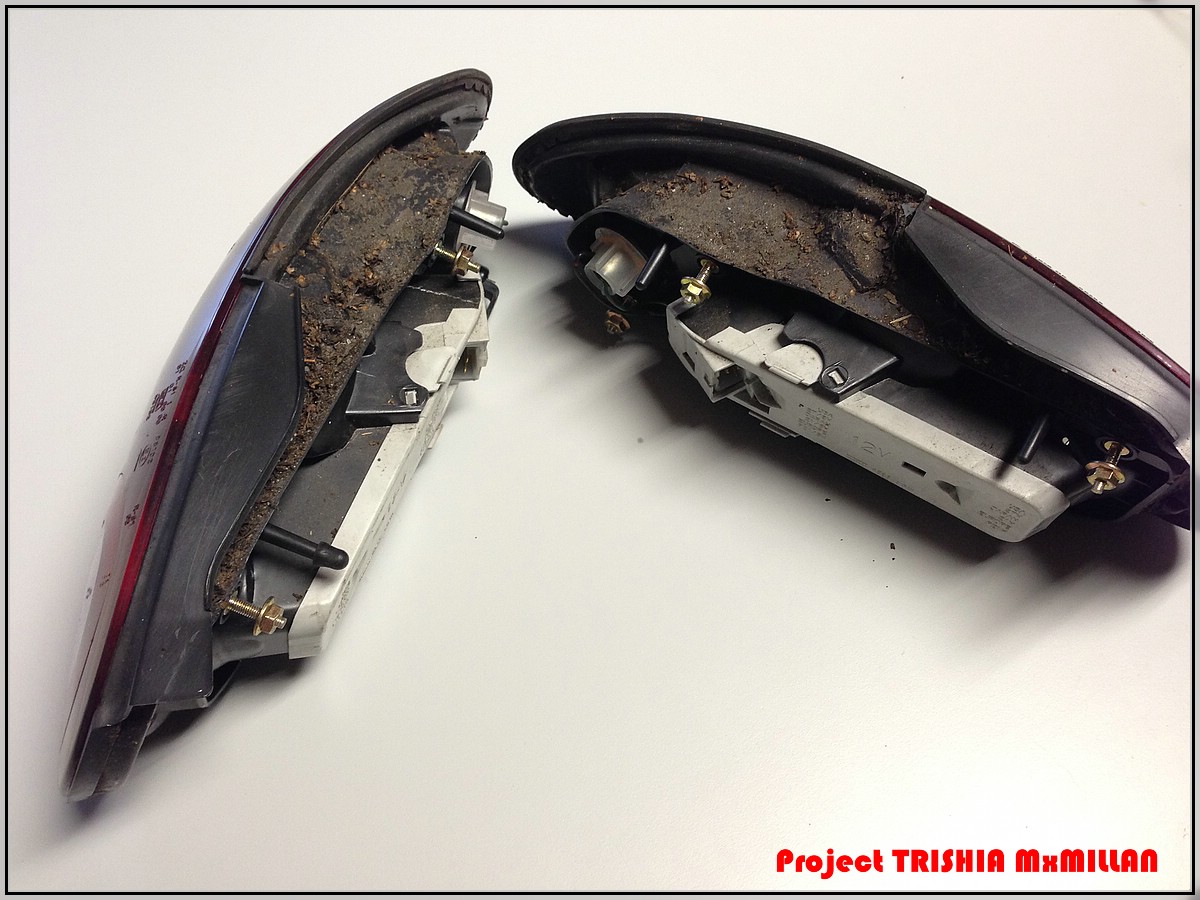
after

before

after


And now it's time to shut up - final before and after...
before
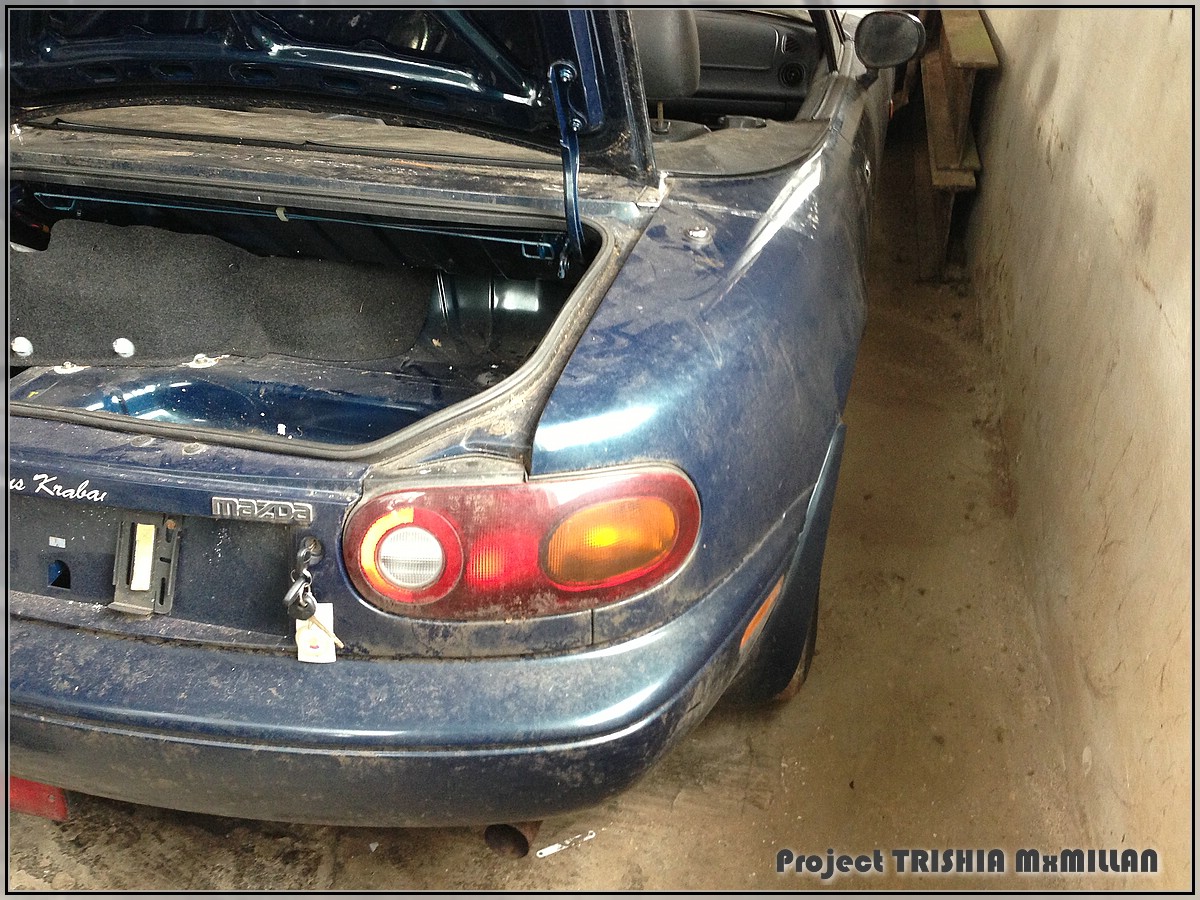
after
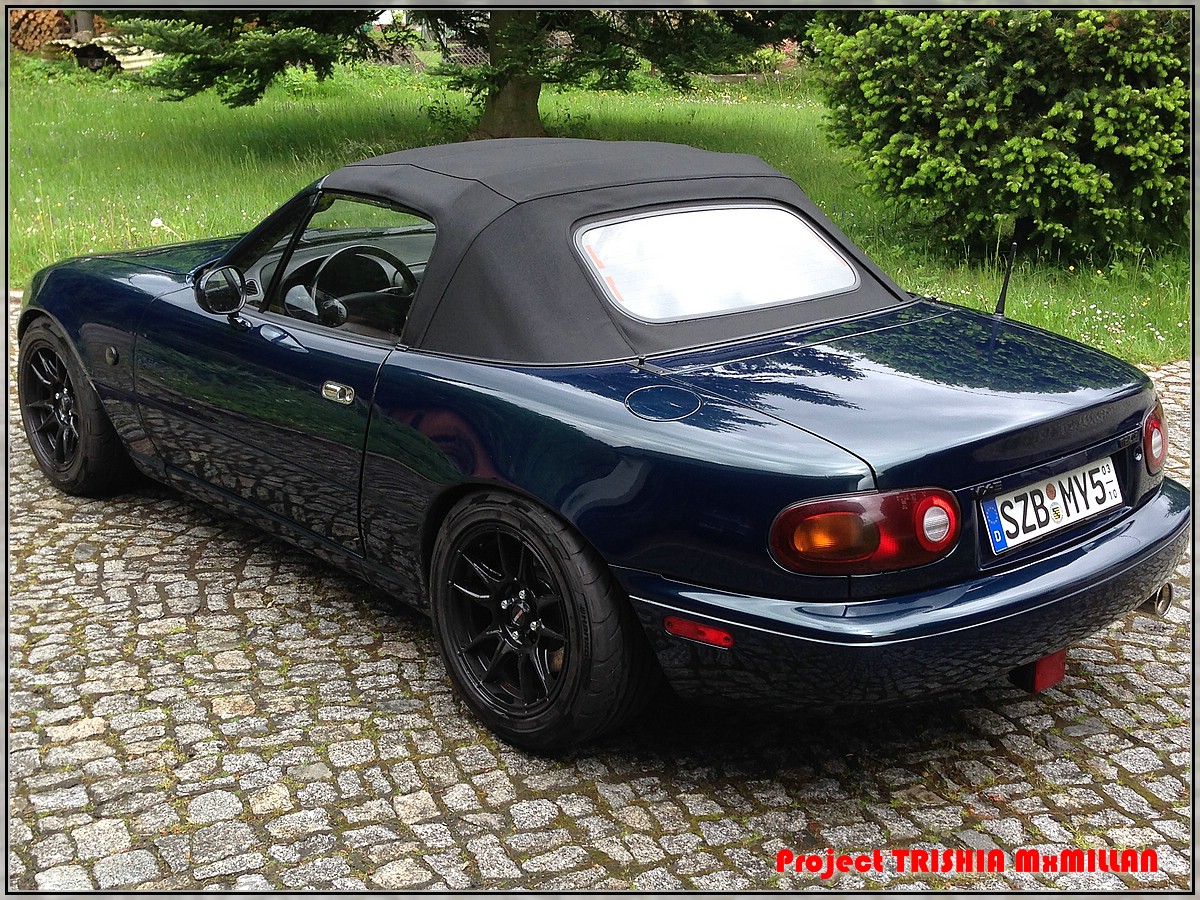
If anyone wants to read and see some more - go to the blog (carefull it is GERMAN ! - Trisha's Blog (MX-5 Resurrection) | How to resurrect a rotten MX-5

About 400 pictures for the ones that do not know a little Deutsch...
BTW, after driving my turbo lately there are some little devils on my back telling me "Go turbo, go turbo, go turbo..." damn little buggers...
I abandoned the thread a while ago, because posting this in German in my blog
Trisha's Blog (MX-5 Resurrection) | How to resurrect a rotten MX-5
and in English here was a little too much (given the little time, that I have)
So here an update in pictures about how it is atm...
(I know there is no 1000 props to be had, but at least you don't have to read 125 pages to get to the end...
 )
)The build involved a lot of de-rusting


a lot of DIYing


a lot of new goodies


a nice engine swap


a nice torsen swap

some painting

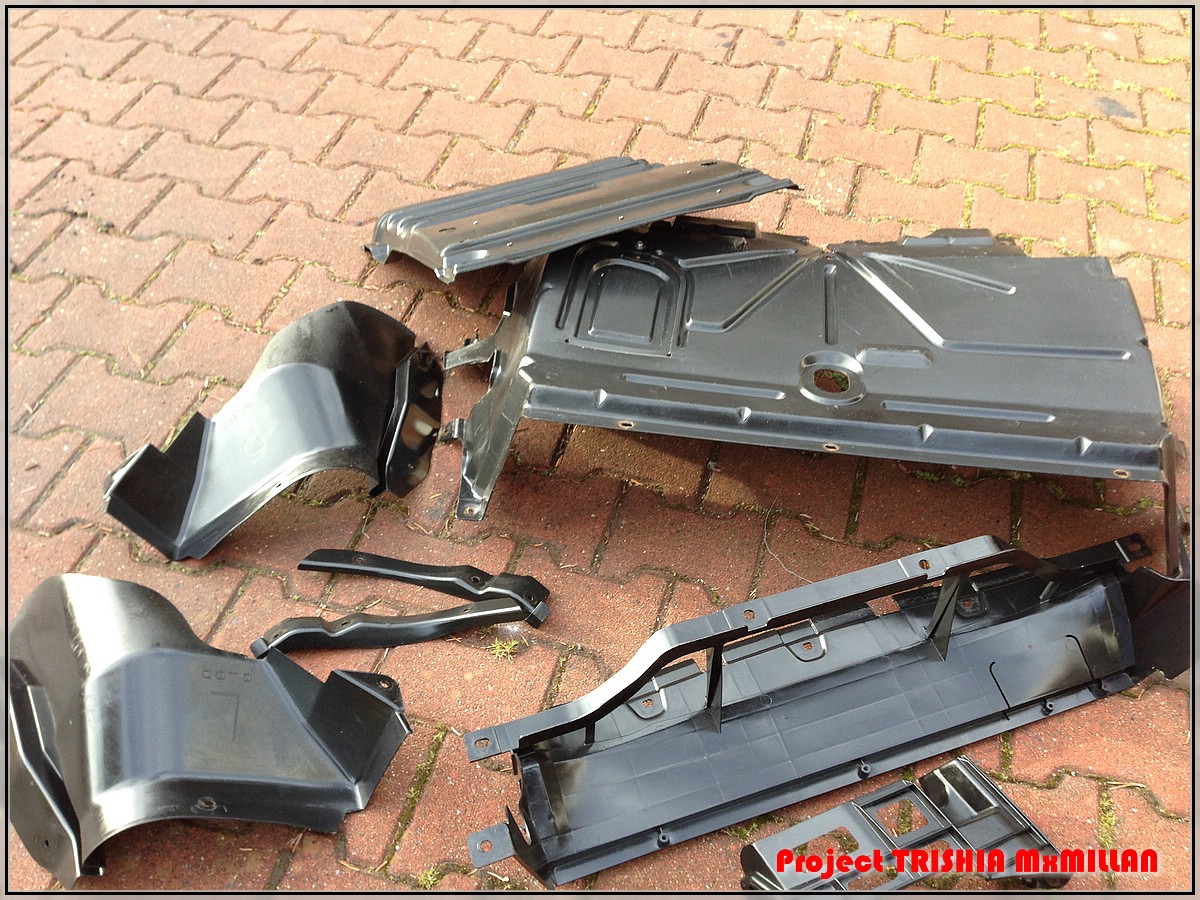
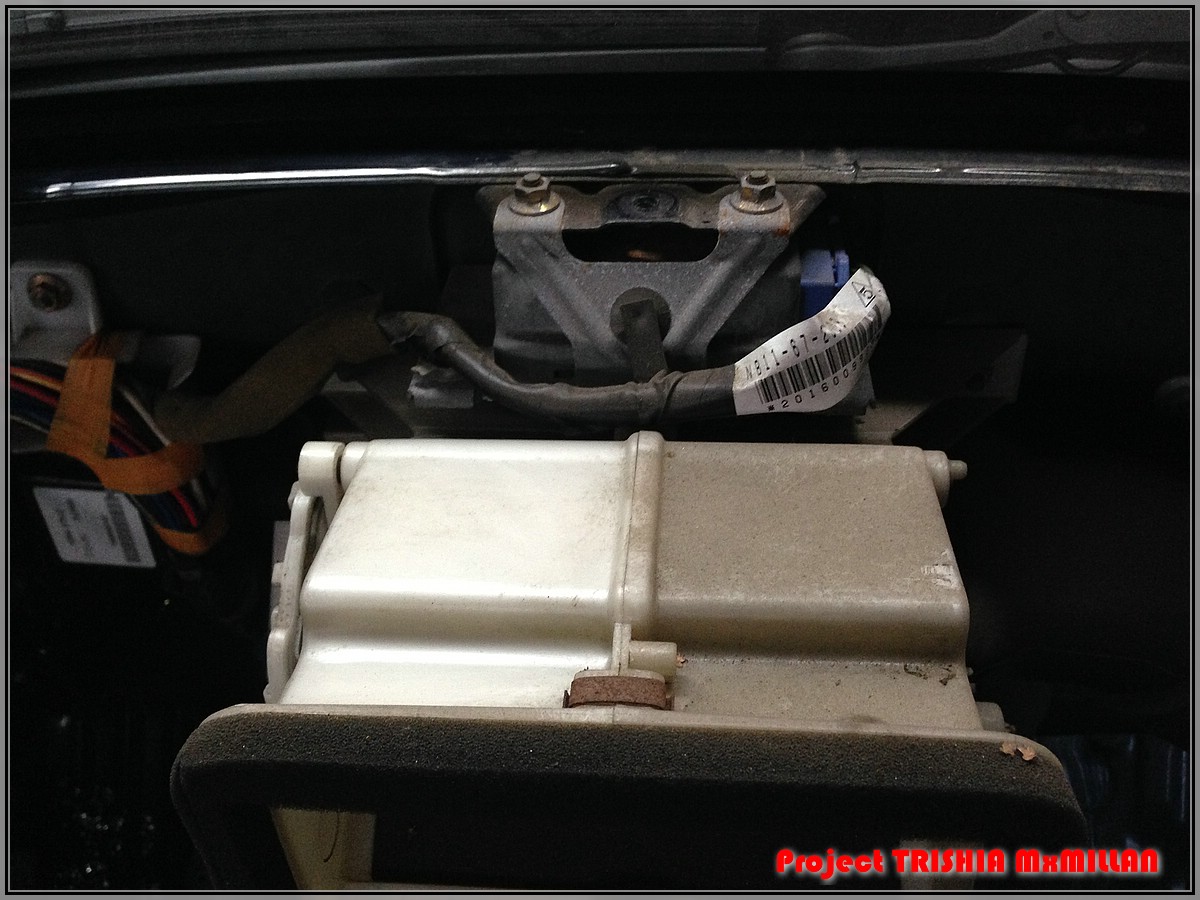
a hell of a lot of cleaning


some undercoating (together with some Jassperformance rails)

And now some before and after pics:
before

after

before

after


And now it's time to shut up - final before and after...
before

after

If anyone wants to read and see some more - go to the blog (carefull it is GERMAN ! - Trisha's Blog (MX-5 Resurrection) | How to resurrect a rotten MX-5

About 400 pictures for the ones that do not know a little Deutsch...

BTW, after driving my turbo lately there are some little devils on my back telling me "Go turbo, go turbo, go turbo..." damn little buggers...

#19
Nice work man! Warms my miata soul to see cars saved from certain doom. Also, thanks for posting that mirror repair. I bought a nice mirror body with broken glass to replace my cracked and faded mirror which has good glass. Will be referencing this when I go to swap the reflecty bits. I <3 Trisha


 I'm looking forward to your build.


