When you click on links to various merchants on this site and make a purchase, this can result in this site earning a commission. Affiliate programs and affiliations include, but are not limited to, the eBay Partner Network.
I would go back to the scrapyard and buy that shell (unless it is in worse shape than your current one, cannot see how that could be :P), then make one car off of the best bits of both.
As the man said, know when to hold 'em, know when to fold 'em ...
As another consideration, what are those welds like? Good enough to trust with your life and that of your passenger? If the bloke who did those welds also aligned the two parts of the chassis, I'd be a bit concerned.
Could dump the normal hardtop and get a thin fiberglass race top that you can flex however you need it.
Could also compromise window gap to seal the back end, and then space out the window seals so they fit against the glass better.
Could just say to hell with it all and rock a Bikini top?
Thought about all those things actually, shimming the window seal is a path I was going to go down if I was motivated enough, depending on how things turn out with the hard top. Racer top seems... ungh. Lots of money and I kinda already have a poor fitting top already
I thought about the bikini top thing, that junkyard NA6 has just enough top left that I could slap something together. Depending on what they want for it it might be worth it. the part that sucks is the Pick N Pull has really stupid pricing system, they might try to charge me for an entire convertible top. But this car is just a ****-around vehicle, its not going to be a DD so top things are tangential.
Originally Posted by HarryB
I would go back to the scrapyard and buy that shell (unless it is in worse shape than your current one, cannot see how that could be :P), then make one car off of the best bits of both.
I applaud your spirit but that would be an enormous pain in the ***. That shell in the junkyard has been de-listed from the DMV database and getting it set up again to be registered would be a monumental pain in the ***. Brake and light inspection, safety inspections, emissions inspections... plus its an NA6 and the black car is an NA8. Now we are talking engine swap and a visit to the state BAR Referee to make sure I swapped all the emissions equipment from the old chassis to the new one, and they'll go through it with a fine tooth comb. Every nut, bolt, screw and hose. I'd have to take a month off work and buy a trailer just to run back and fourth between the DMV, CHP, Smog shop and BAR Ref. Rough estimate of the fees involved runs into 4 figures. No thanks. That's 100% not worth it at all, I'd rather just polish this turd.
BTW, this is literally why nobody in California does engine swaps unless its a trailer dedicated non street registered racecar. I can count on one hand the number of street (read: emissions) legal engine swaps I've seen completed and I wouldn't need all my fingers.
Originally Posted by Gee Emm
This ^^
As the man said, know when to hold 'em, know when to fold 'em ...
As another consideration, what are those welds like? Good enough to trust with your life and that of your passenger? If the bloke who did those welds also aligned the two parts of the chassis, I'd be a bit concerned.
They look fine. Car isn't straight but its not like its a halfassed floppy noodle. If they were going to fail they would have done it a long time ago (****, I know better than to say **** like this...) so I'm not too concerned. My first 1965 Mustang was a salvage title and that car literally broke in half due to poor reconstruction. This thing is fine, its just ...special. Still has more structure than some of the east coast rust buckets I've seen on this forum I do however appreciate your concern.
BTW, this is literally why nobody in California does engine swaps unless its a trailer dedicated non street registered racecar. I can count on one hand the number of street (read: emissions) legal engine swaps I've seen completed and I wouldn't need all my fingers.
The PPF will keep it together, if the ultimate failure comes, I have it in front of my eyes But I don't think it will ever happen
Haha! Good point! At least we know the two halves won't be able to get away from eachother
Originally Posted by sonofthehill
Truer words were rarely spoken
No joke. If I lived literally anywhere else I'd write a check to Kmiata and slap a junkyard K24Z3 in this thing and just drive around like a dumbass making ignorant VTAK braps.
Also, whats up Big C! I need to go check your build thread, it been a while.
Same ol same ol. Enjoying watching your progress G!
Glad I can offer some entertainment in these crazy times I hear someone did an 11.8 just recently?
Probably not going to make a whole lot of Miata progress this weekend other than some light cleaning, unless I do something crazy. Going to push big to get my truck back together, its had no interior in it for well over a month now and the battery is so dead I had to do the jumper cable and second battery trick to get the charger to recognize it last night. Methinks its new battery time, Big oof. Hard to work on a project like that when it looks like someone dumped 100 ashtrays under the hood. Minus the cigarette butts of course. Its a huge demotivator after I spent so much time cleaning it
BTW, this is literally why nobody in California does engine swaps unless its a trailer dedicated non street registered racecar. I can count on one hand the number of street (read: emissions) legal engine swaps I've seen completed and I wouldn't need all my fingers.
I did it on my NA6. 2005 VVT into a 1991. Swapped the wiring harness, emissions stuff, fuel lines, fuel tank (that was fun)... My donor car was missing the immobilizer, so I had to get another PCM. That was a waiting game for a 2005 Federal manual to come up on Ebay. It was not all that hard to get it done. Not knowing the process and a series of dumb mistakes (reset the PCM the night before the test chasing down an unrelated issue) and the virus extended the time to do it. I could get it done in one shot now.
I did it on my NA6. 2005 VVT into a 1991. Swapped the wiring harness, emissions stuff, fuel lines, fuel tank (that was fun)... My donor car was missing the immobilizer, so I had to get another PCM. That was a waiting game for a 2005 Federal manual to come up on Ebay. It was not all that hard to get it done. Not knowing the process and a series of dumb mistakes (reset the PCM the night before the test chasing down an unrelated issue) and the virus extended the time to do it. I could get it done in one shot now.
I was referring to non Mazda drivetrain (LSx, LFX, Ecotec, Honda K, etc) into a Miata shell, but point taken. VVT into an NA6 is not insurmountable provided you have a complete clean donor to start with, space to work and time available. I also hadn't realized Mental started live as a B6.
Also, to be fair, you aren't exactly your average homegamer wrench. Your platform knowledge is pretty extensive
So I did a little sprucing up of the car over the weekend after finishing reassembling my truck.
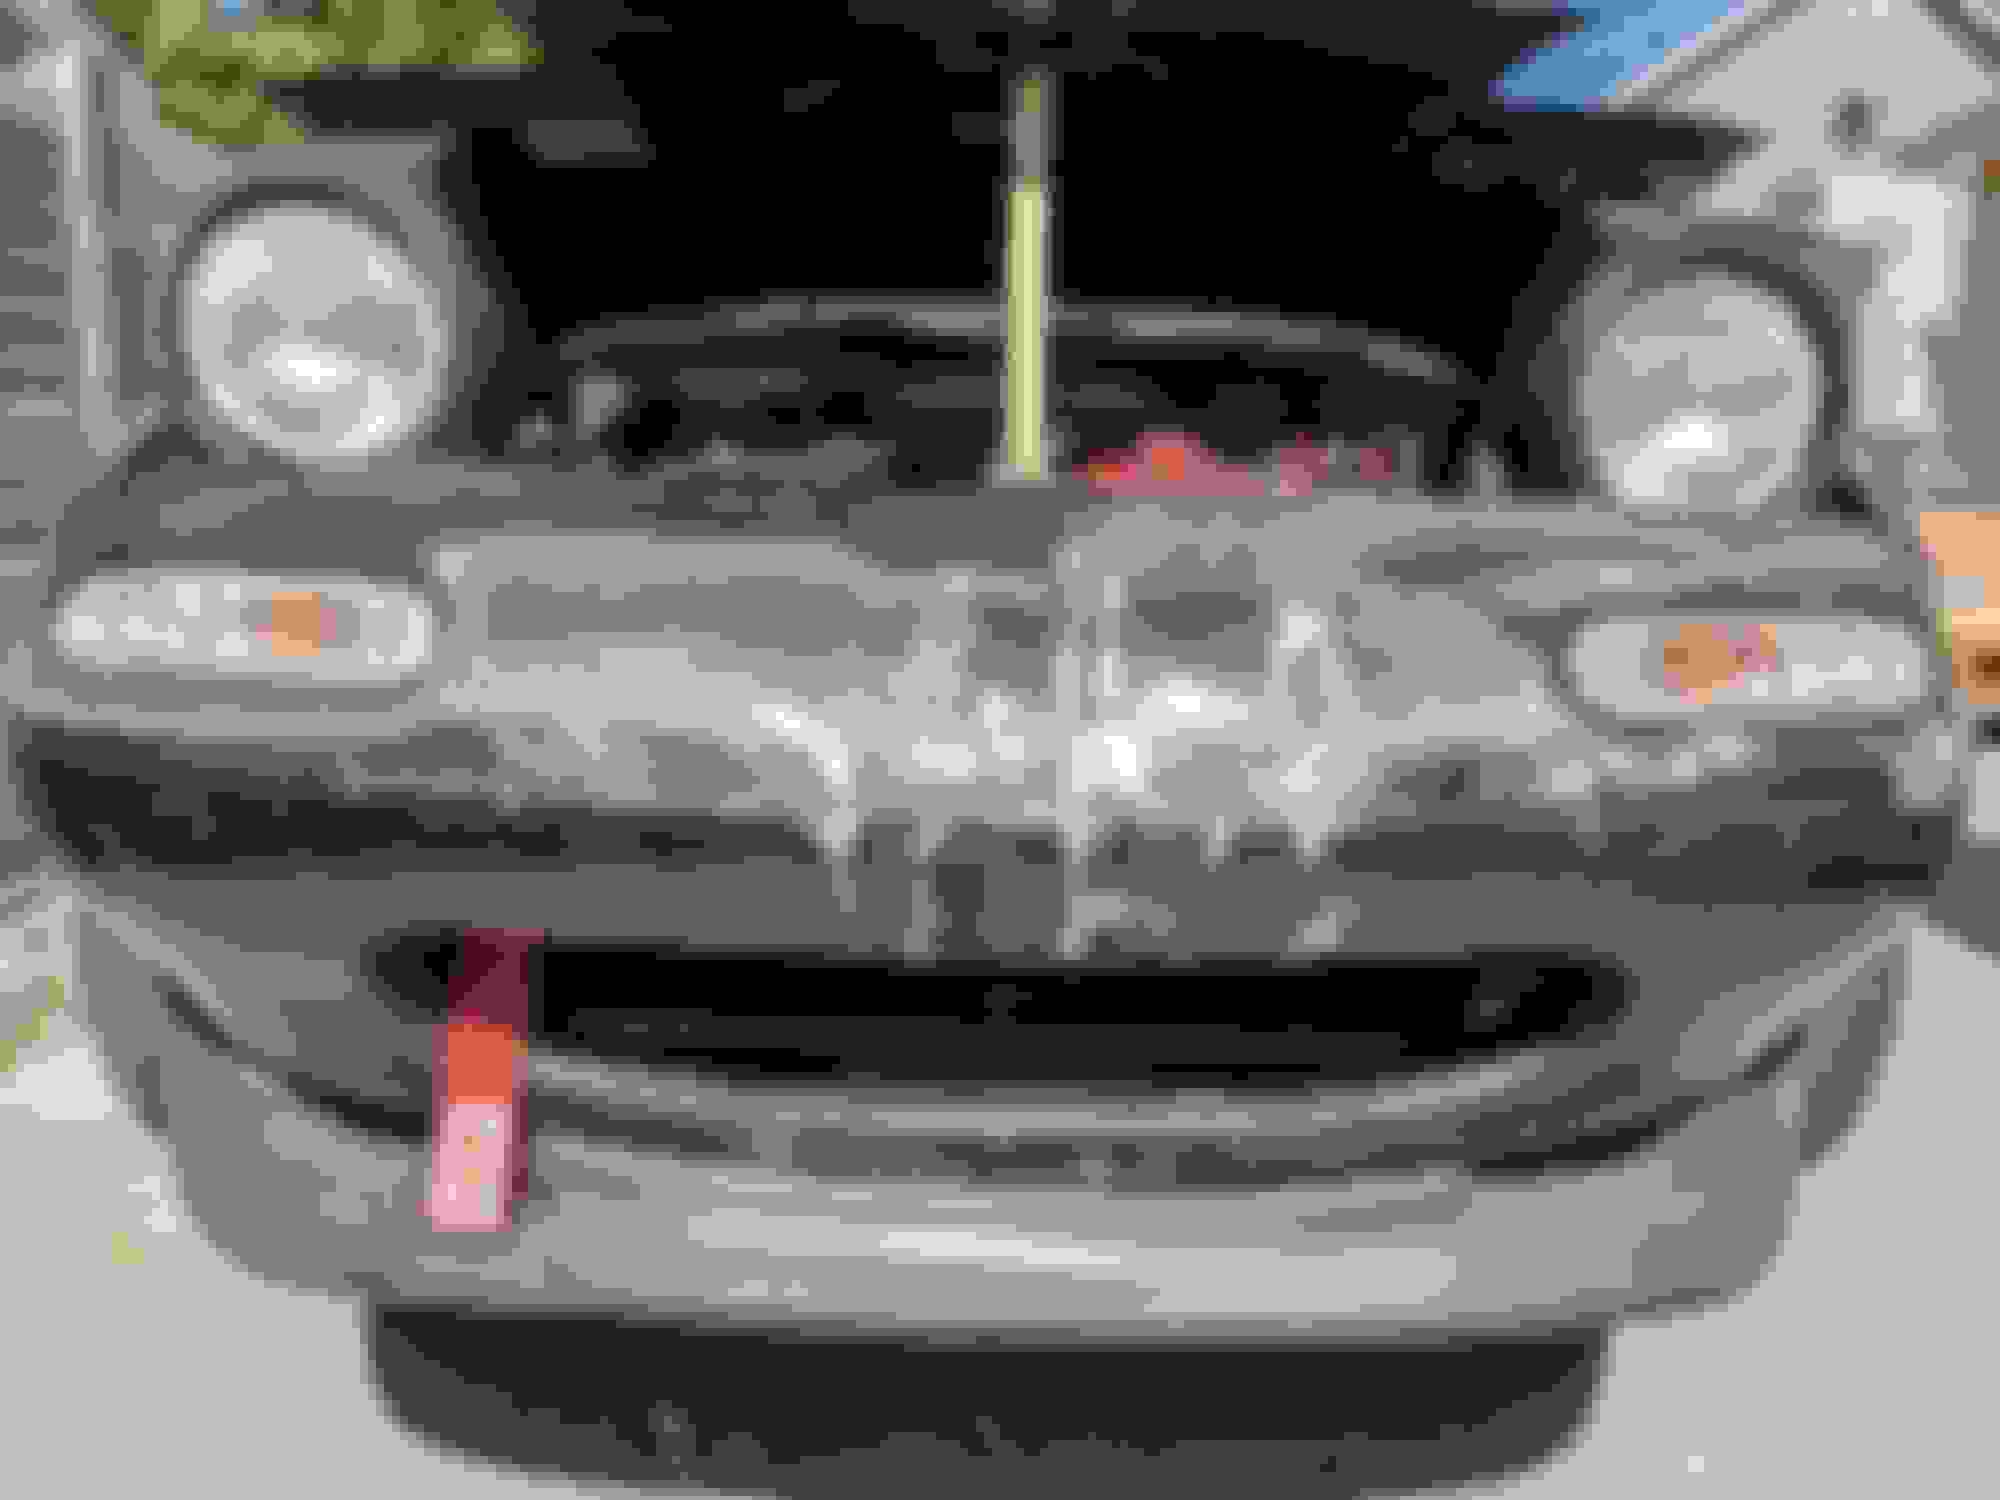
I'm generally not concerned with cosmetics with a project like this, but something that has been bugging me about the car since it came off the truck was this bizarre paint situation on the nose.
And I decided something must be done. First things first, let's get the "aero package" off the front end along with the blinkers, markers and tow strap.
I don't understand why but this car always looks happy to see me (⌒_⌒)
maybe more like this, lol. I'm about 10 seconds away from naming this car Arnie.
Anyway, first thing we need to do is clean. It's still hot as hell so this seems to be a good day for such things. To get it clean, I'm using a bucket full of diluted Simple Green and a blue Scotch-Brite hand pad. I think these are intended for doing dishes or something? Whatever, works ok for car and shouldn't damage paint. The key thing here is to not left the Simple Green solution dry onto the paint, so keep the hose going for proper rinse.
Scrubba scrubba scrubba scrubba...
This is TOO "safe" so we need to step up to something more aggressive.
Scotch-Brite grey Ultra Fine Tampon appears to be the ticket here
Remember to keep it wet! We don't want the sanding swarf to stick to the body lets we need to scrub it off later.
After sanding is complete, let it FULLY dry in the sun. This should take approximately 5 minutes in my experience.
Once it's dry it's time to remove the trim
Be careful with this step because these fasteners probably haven't been moved since the car left the factory 25+ years ago.
They say that paint is 90% prep work and I figured I'd cut out 90% of the hassle, so our last step for surface prep is to thoroughly wipe down everything with mineral spirits and a series of clean, lint free rags. I didn't have either of those things so semi clean blue shop towels and acetone will have to suffice.
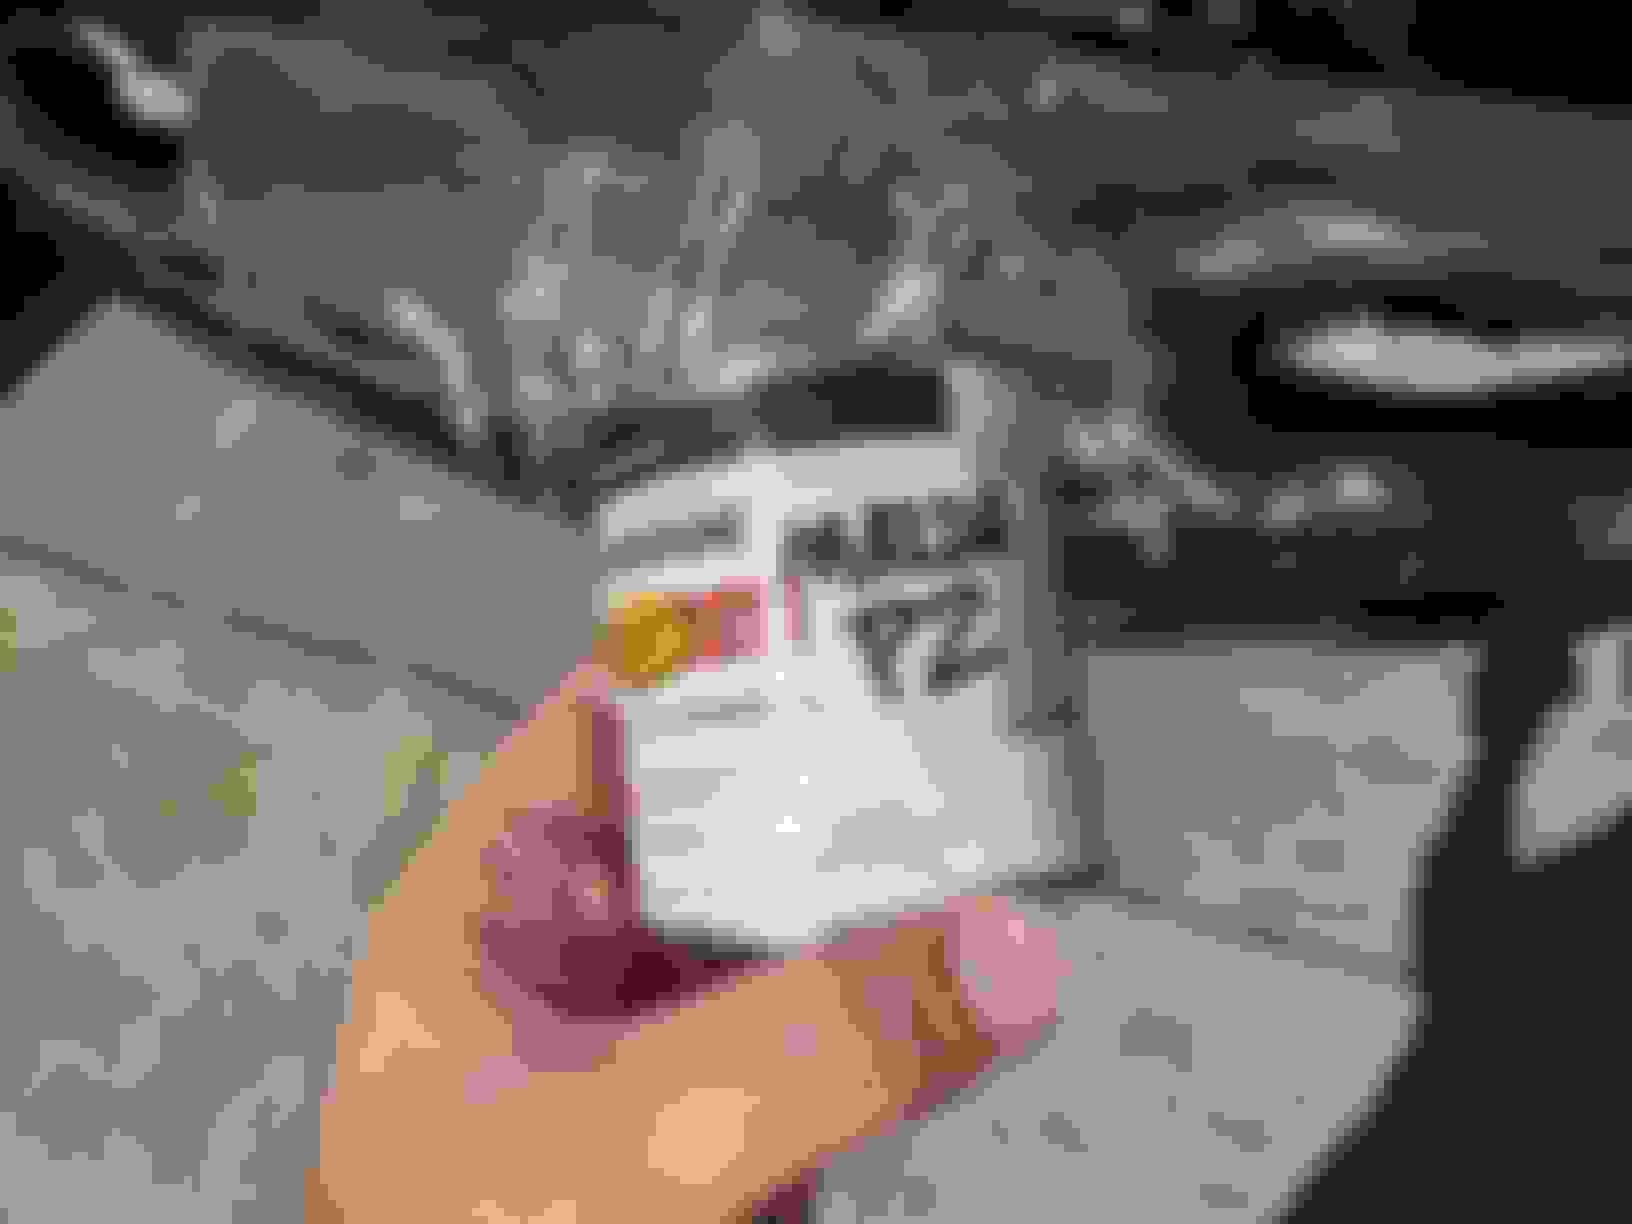
One of the most annoying things about paint is trying to match the original color. Sun damage and fade, oxidization, and prior care and maintenance can all contribute to mismatch and must be accounted for in the paint matching process. Years of experience on the part of professionals and paint match machines can greatly aid in this process, but once again, I have no experience nor machinery to aid me. This car came from the factory in 95 in a color Mazda calls "Brilliant Black" or Mazda paint code PZ, and luckily, this paint is widely available through several aftermarket suppliers.
I'm brilliant and this is black, so essentially a perfect match!
Now that we've selected our paint, we'll move on to application.
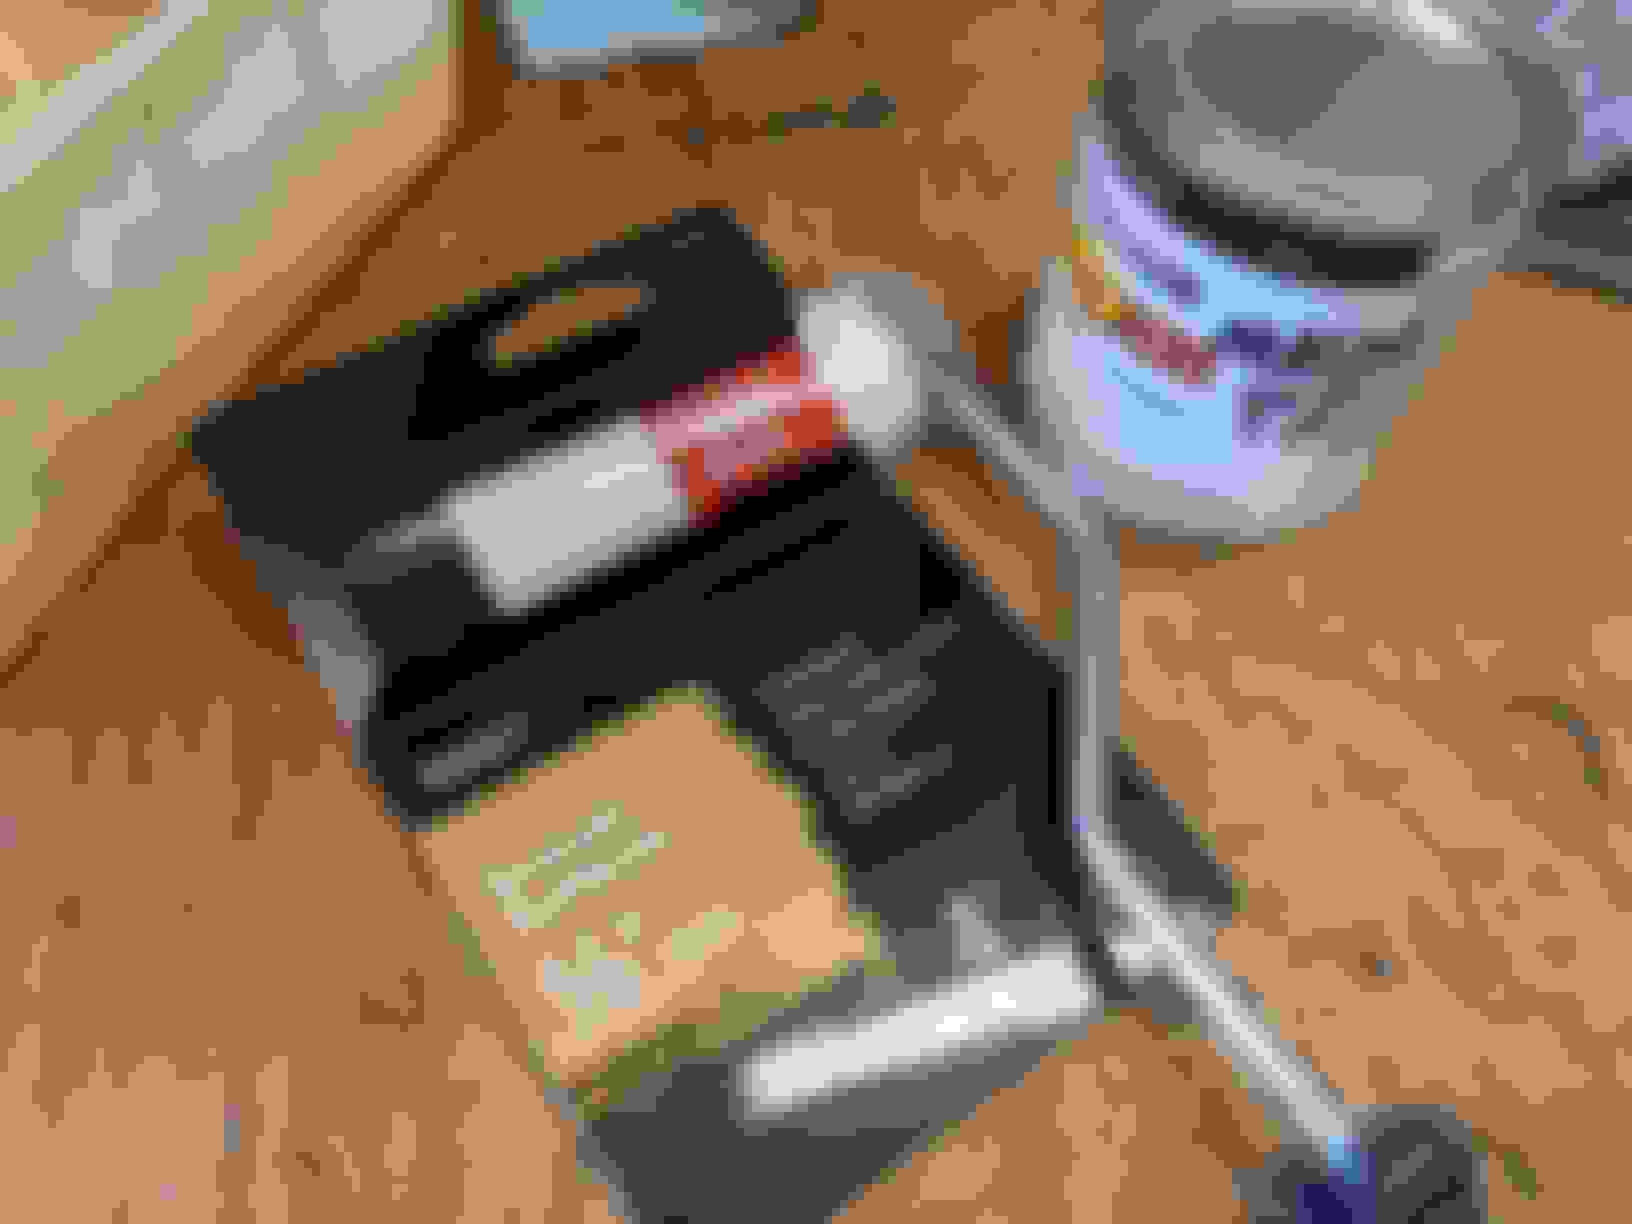
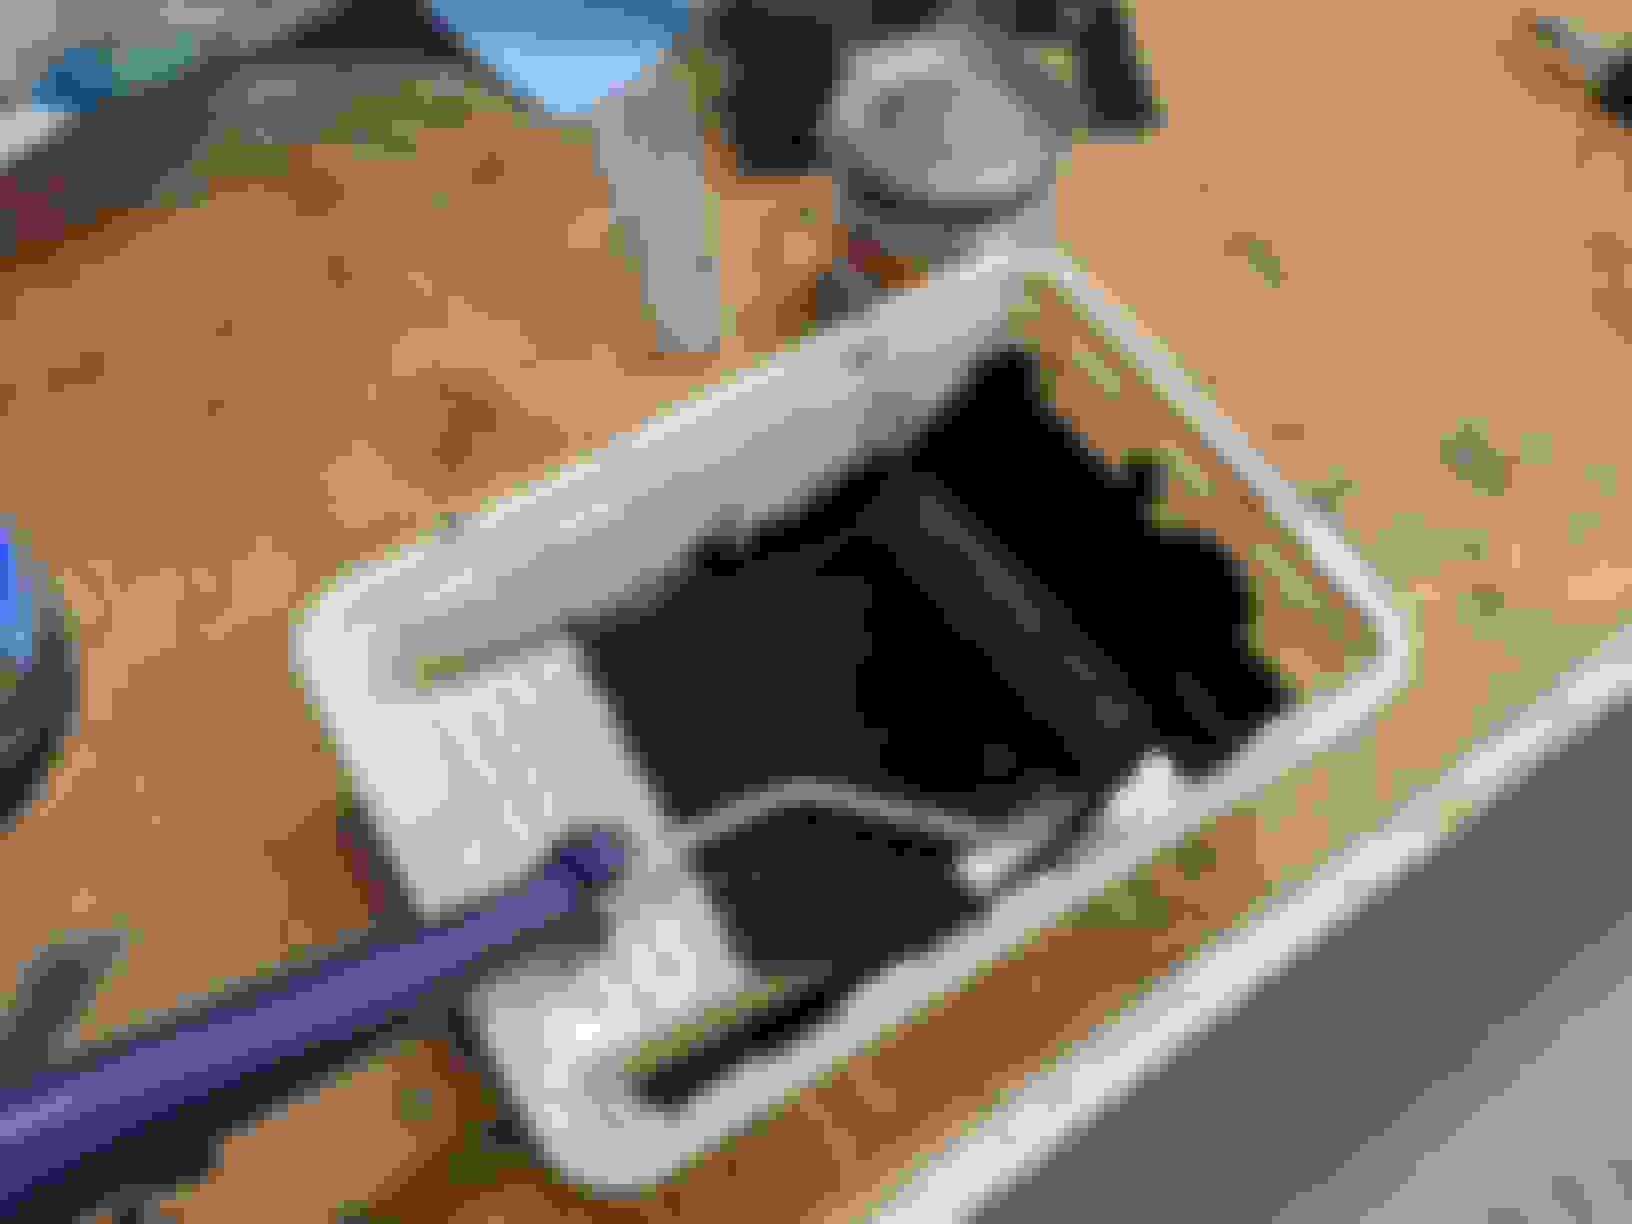
Most will tell you that you can't paint a car at home, and it requires a tremendous air compressor, very large air drier, HVLP spray gun, clean room with air extraction, etc. As you might expect, I don't have access to any of these things, but that generally does not deter me from making progress. A quick trip to the store yields all the equipment we'll need for this task:
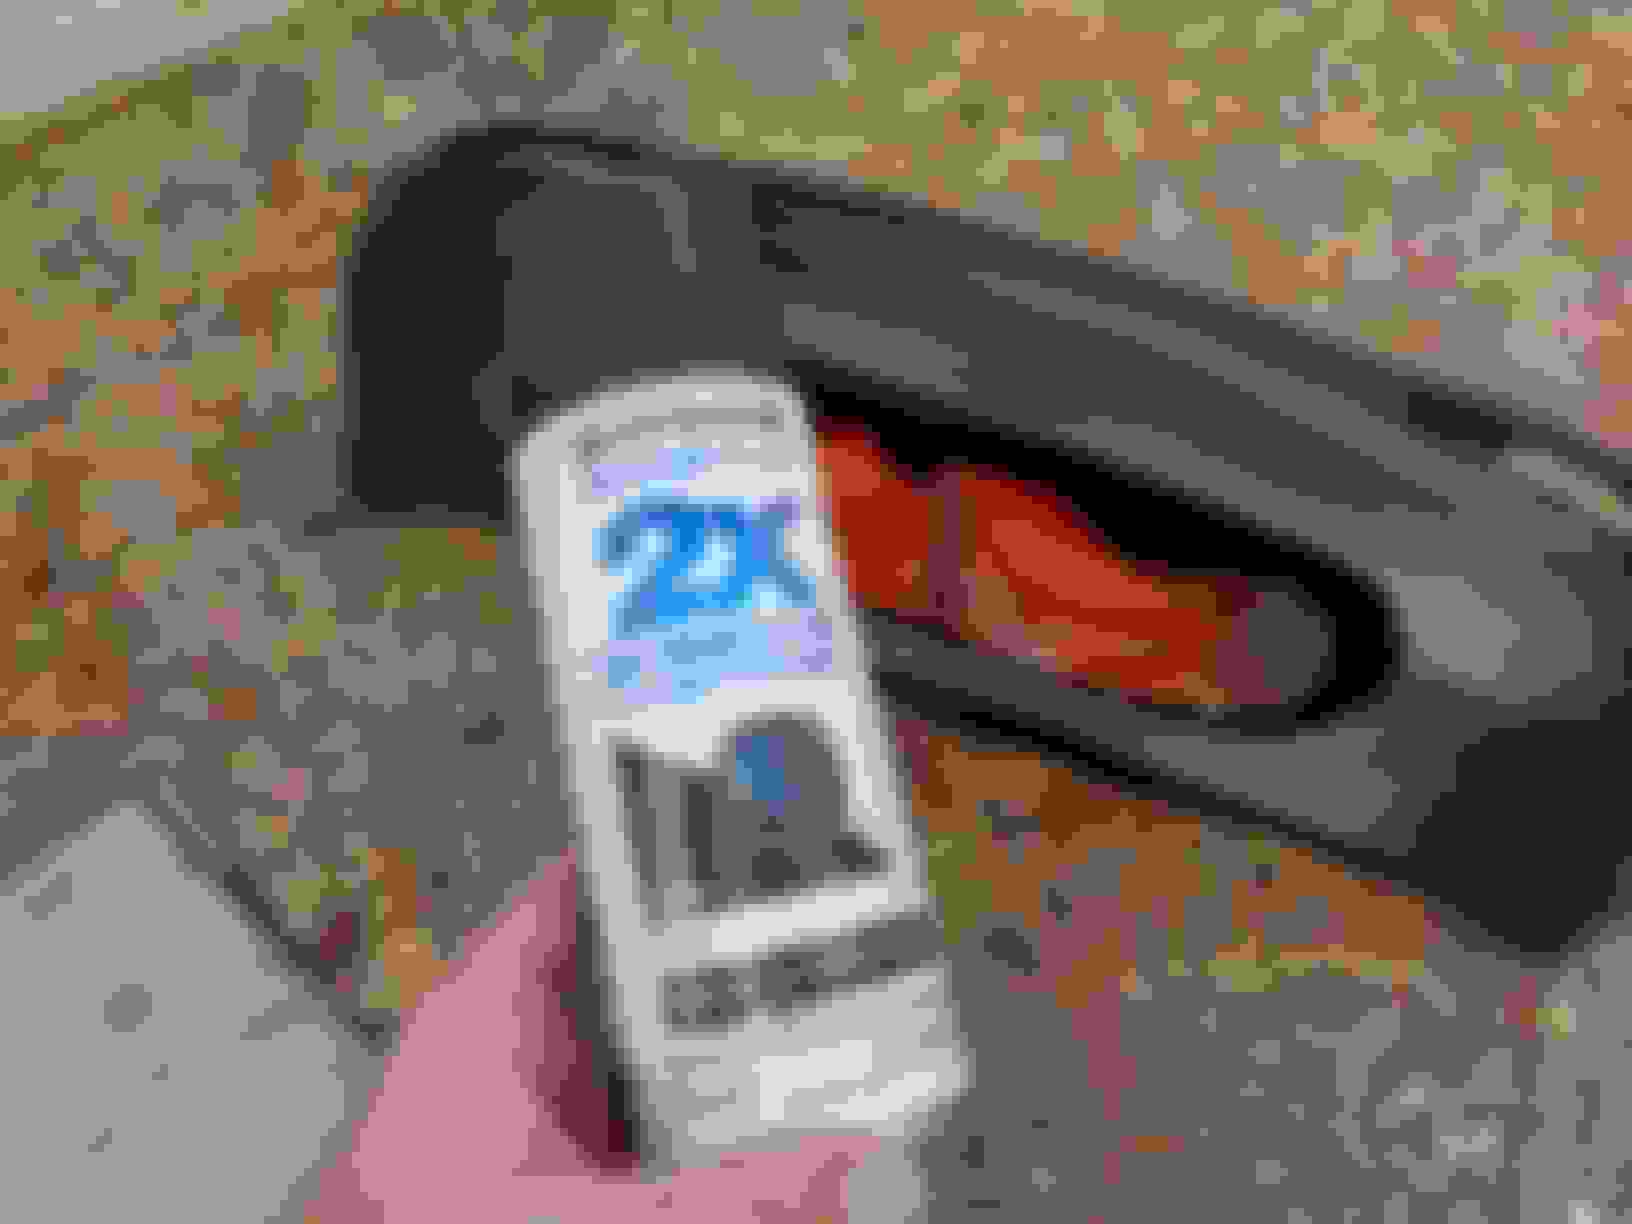
I believe a car qualifies as a "smooth surface" and clearly, this application method is "BEST" it says so right on the package.
The paint comes out of the can incredibly thick so we'll thin it out with a bit of acetone for better coverage. The can says not to add more than 5% and to mix thoroughly, but it doesn't say 5% by weight or 5% by volume. I assumed it had no idea what it was talking about so I splashed some acetone in and ran it around with the applicator. Thoroughly.
HAHA! DARKNESS!
Thus mixed we begin our application process.
This was clearly way too aggressive and I had to put a lot of effort into controlling the runs. Eventually I got it spread out enough to not drip and then I set back to enjoy my handywork.
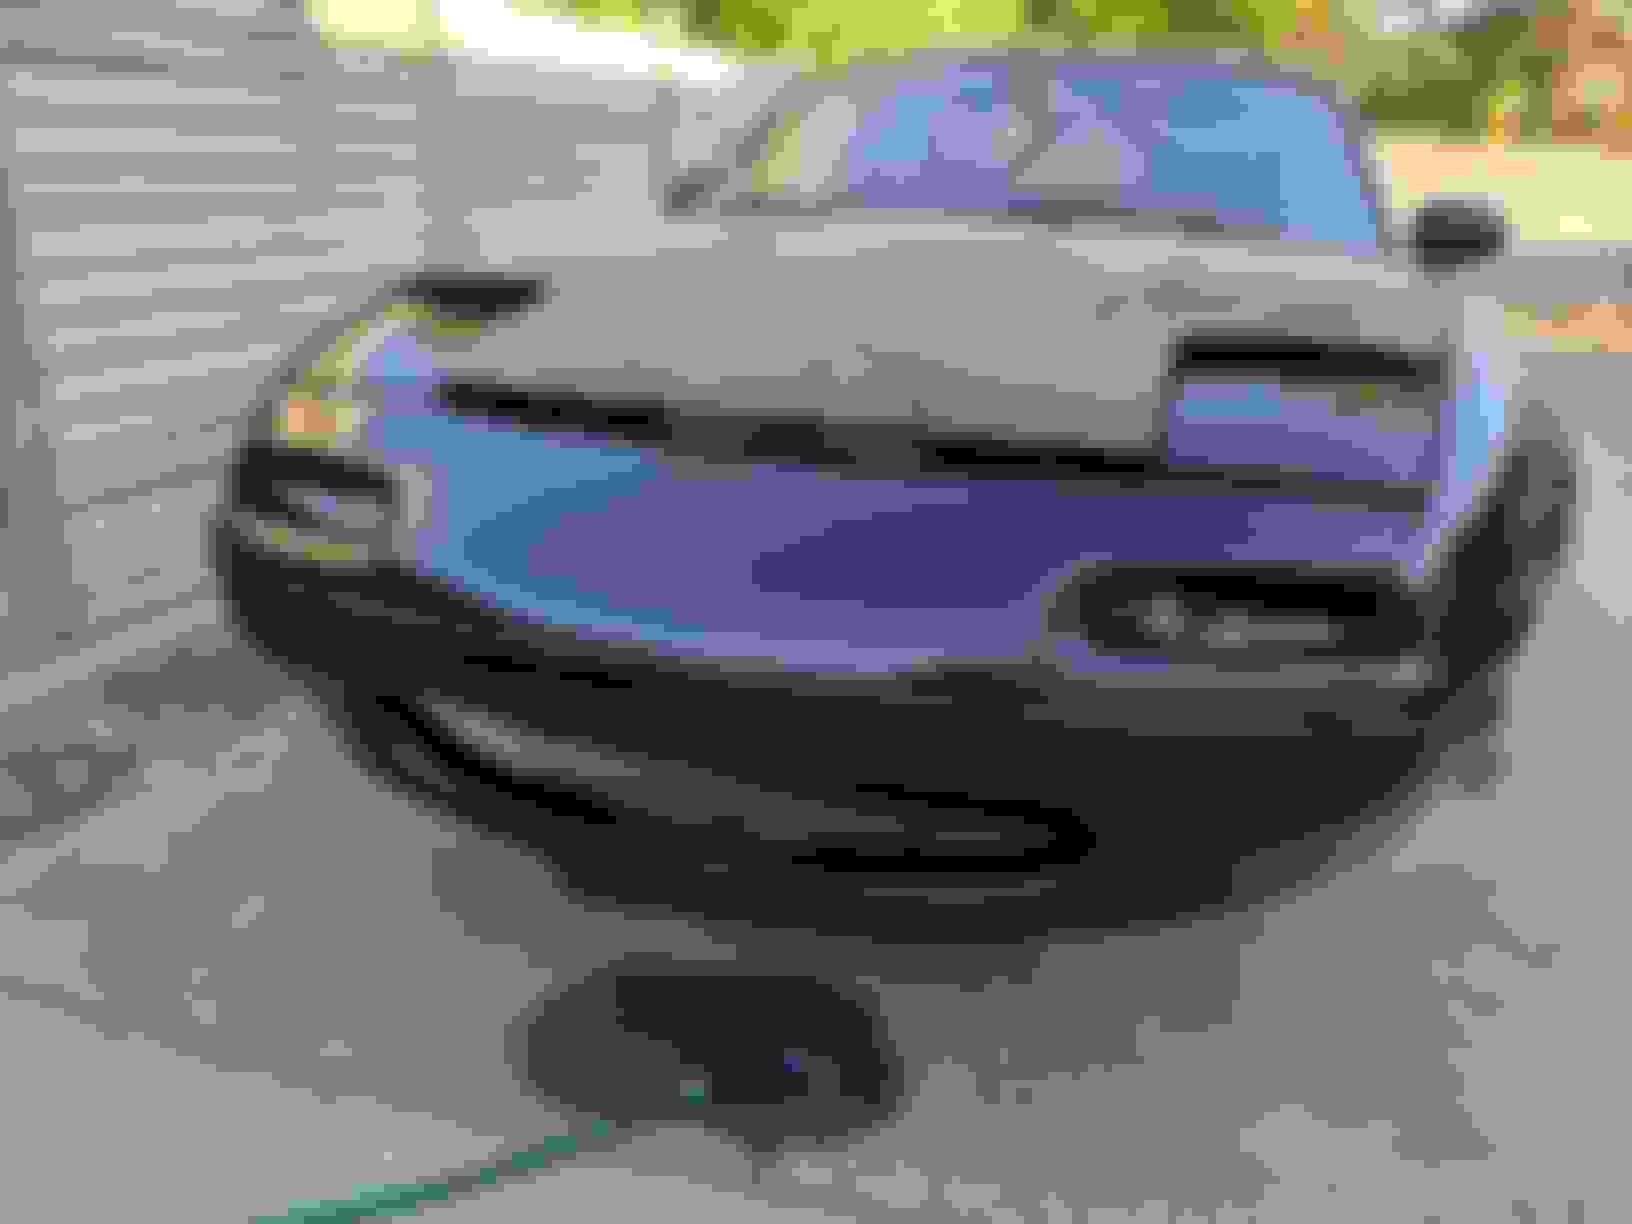
It's certainly black again
But its going to take a whole bunch more coats to smooth out that surface. I waited about an hour to let the first coat dry.
While it was drying I found this kicking around in the garage left over from Baja Bug shenanigans so I gave it a quick spray to see what it looked like in flat black.
I immediately decided that looked like *** so it was back to the garage for another coat of OE Mazda PZ
Ahh, much better. The flat black was just a little too childish.
I decided to do 2 more full coats after this, waiting approximately 1.5h between applications then left it in the garage overnight.
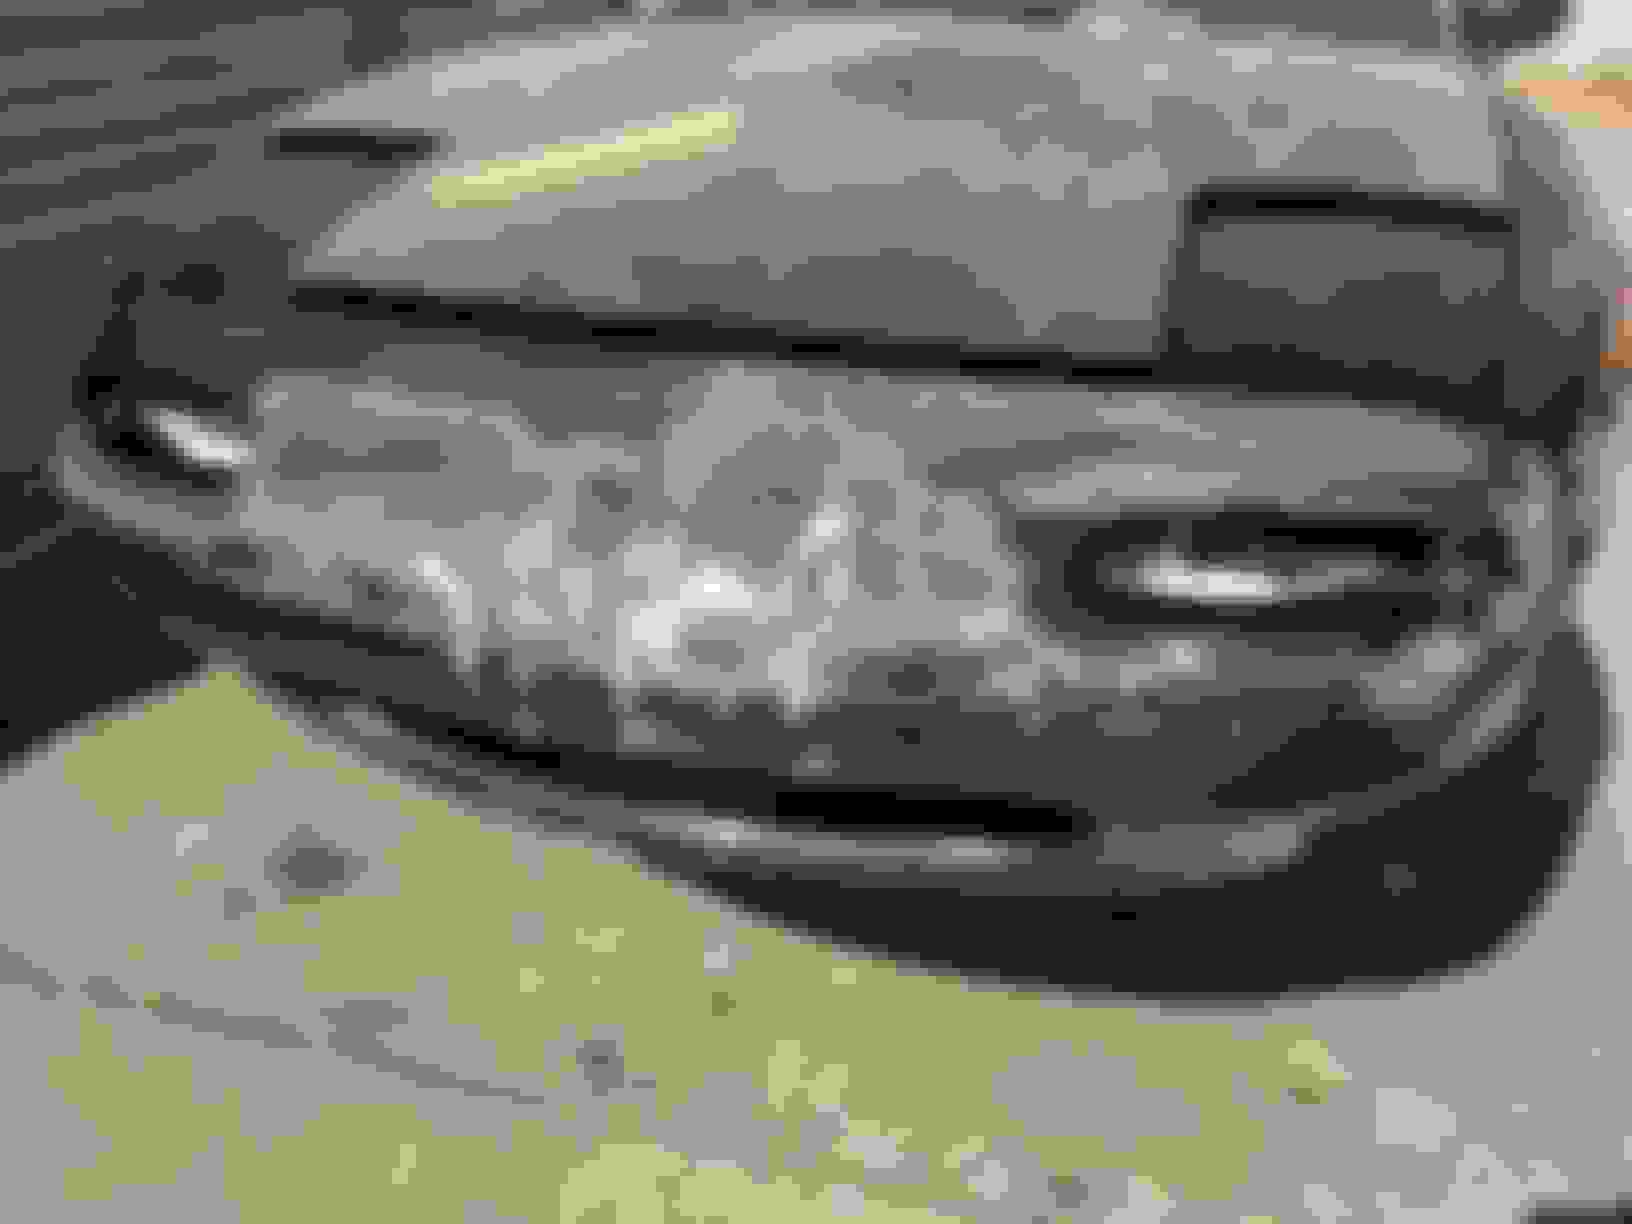
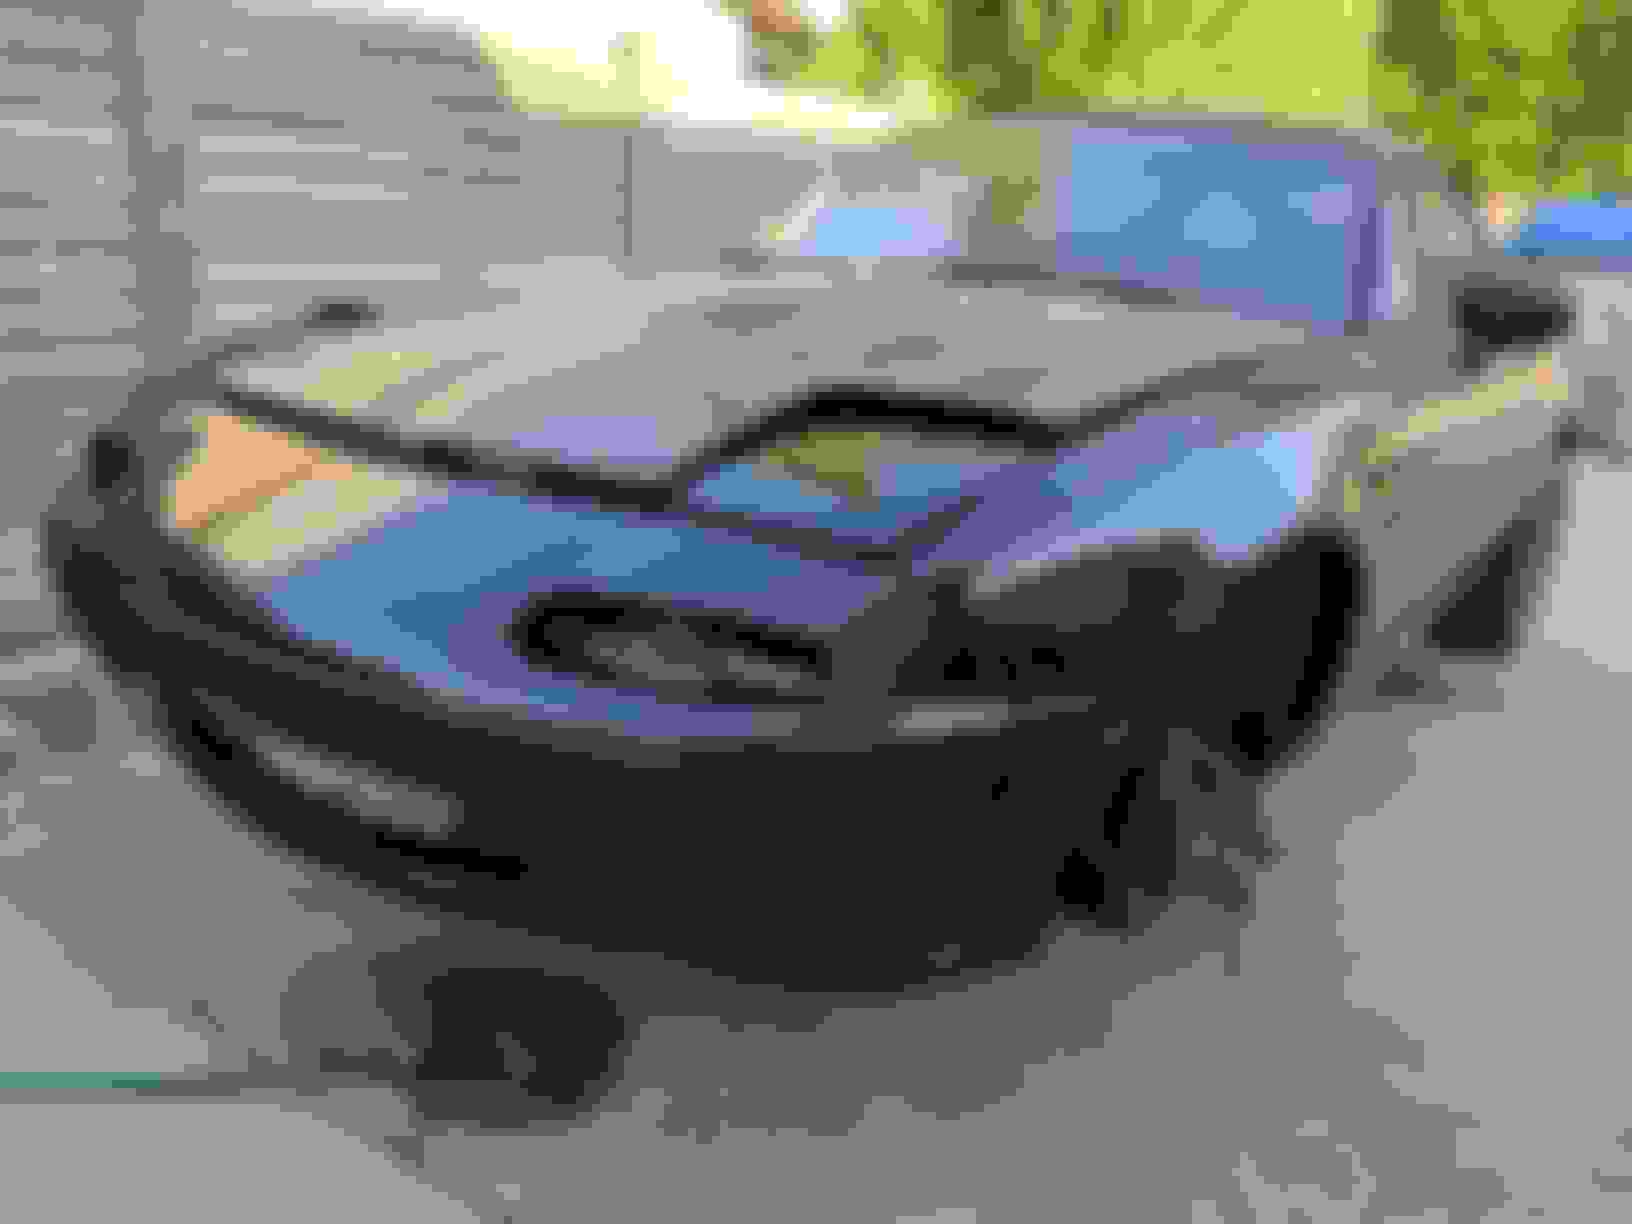
This morning I tossed it back on the car, and she is TRANSFORMED!
The color match is shockingly good. Those guys at Mazda sure knew what they were doing back in the day.
I must say I am thoroughly impressed with the results. I'd call that a perfect 5/7


 09-25-2020, 04:30 AM


 1
1


 I do however appreciate your concern.


 I hear someone did an 11.8 just recently?