When you click on links to various merchants on this site and make a purchase, this can result in this site earning a commission. Affiliate programs and affiliations include, but are not limited to, the eBay Partner Network.
I don't even remember what the hell I was doing with the car last time I touched it
I pulled the duct tape off the windows and climbed in yesterday only to realize that I removed the top cover from the fuel tank and didn't screw it back down... because I was going to replace the fuel pump... with the DW100 I hadn't ordered yet. Yaaaaay.
Windows are at least cracked now.
I done did order a buttload of parts that are completely asinine in the context of this car, also got some other objectives moved forward. I'll try to get in a real update in shortly.
@gesso did some welding things!!! And let me tell you, he does fantastic work.
Boxed in angled ends and bottom pins for bushing mounts, upper mount taps, along with changing the tubes out for 1.25" to better match the Mazda OE hoses. YES!
Crazy carbide cutter worked FANTASTICALLY for the bushing mount holes. I'll be finding these needle-like shards of metal probably forever.
She's THICC
and just like that, we are radiator'd again!
I've got a big gap to fill between the core support and the edge of the radiator, but that's not insurmountable.
The radiator cap coolant recovery thing is a solid "meh" but I'll figure out a way to work around it. Hilariously enough, Trackspeed Engineering radiator cap (as installed on my NB) is the same as this Griffin radiator. Source vehicle is a 2004 Dodge 2500 CUMMINS. Stant 10230 will get you started on cross reference, the ASP 16lb cap with the fancy anode is PN Z17700. You can get it at Northern Radiator or of course
. I'm not about to pay $30 for a radiator cap so I got a Motorad from the FLAPS for like $7 or whatever.
Next order of business, we'll need a fan.
I have the Main fan from the NA, but I also have both the NA & NB AC fans, because I never throw anything away apparently. I can't fit a main and an AC, but I might be able to fit a single main (like the TSE rad) -OR- I can complicate my life and try to mount a pair of AC fans running in parallel.
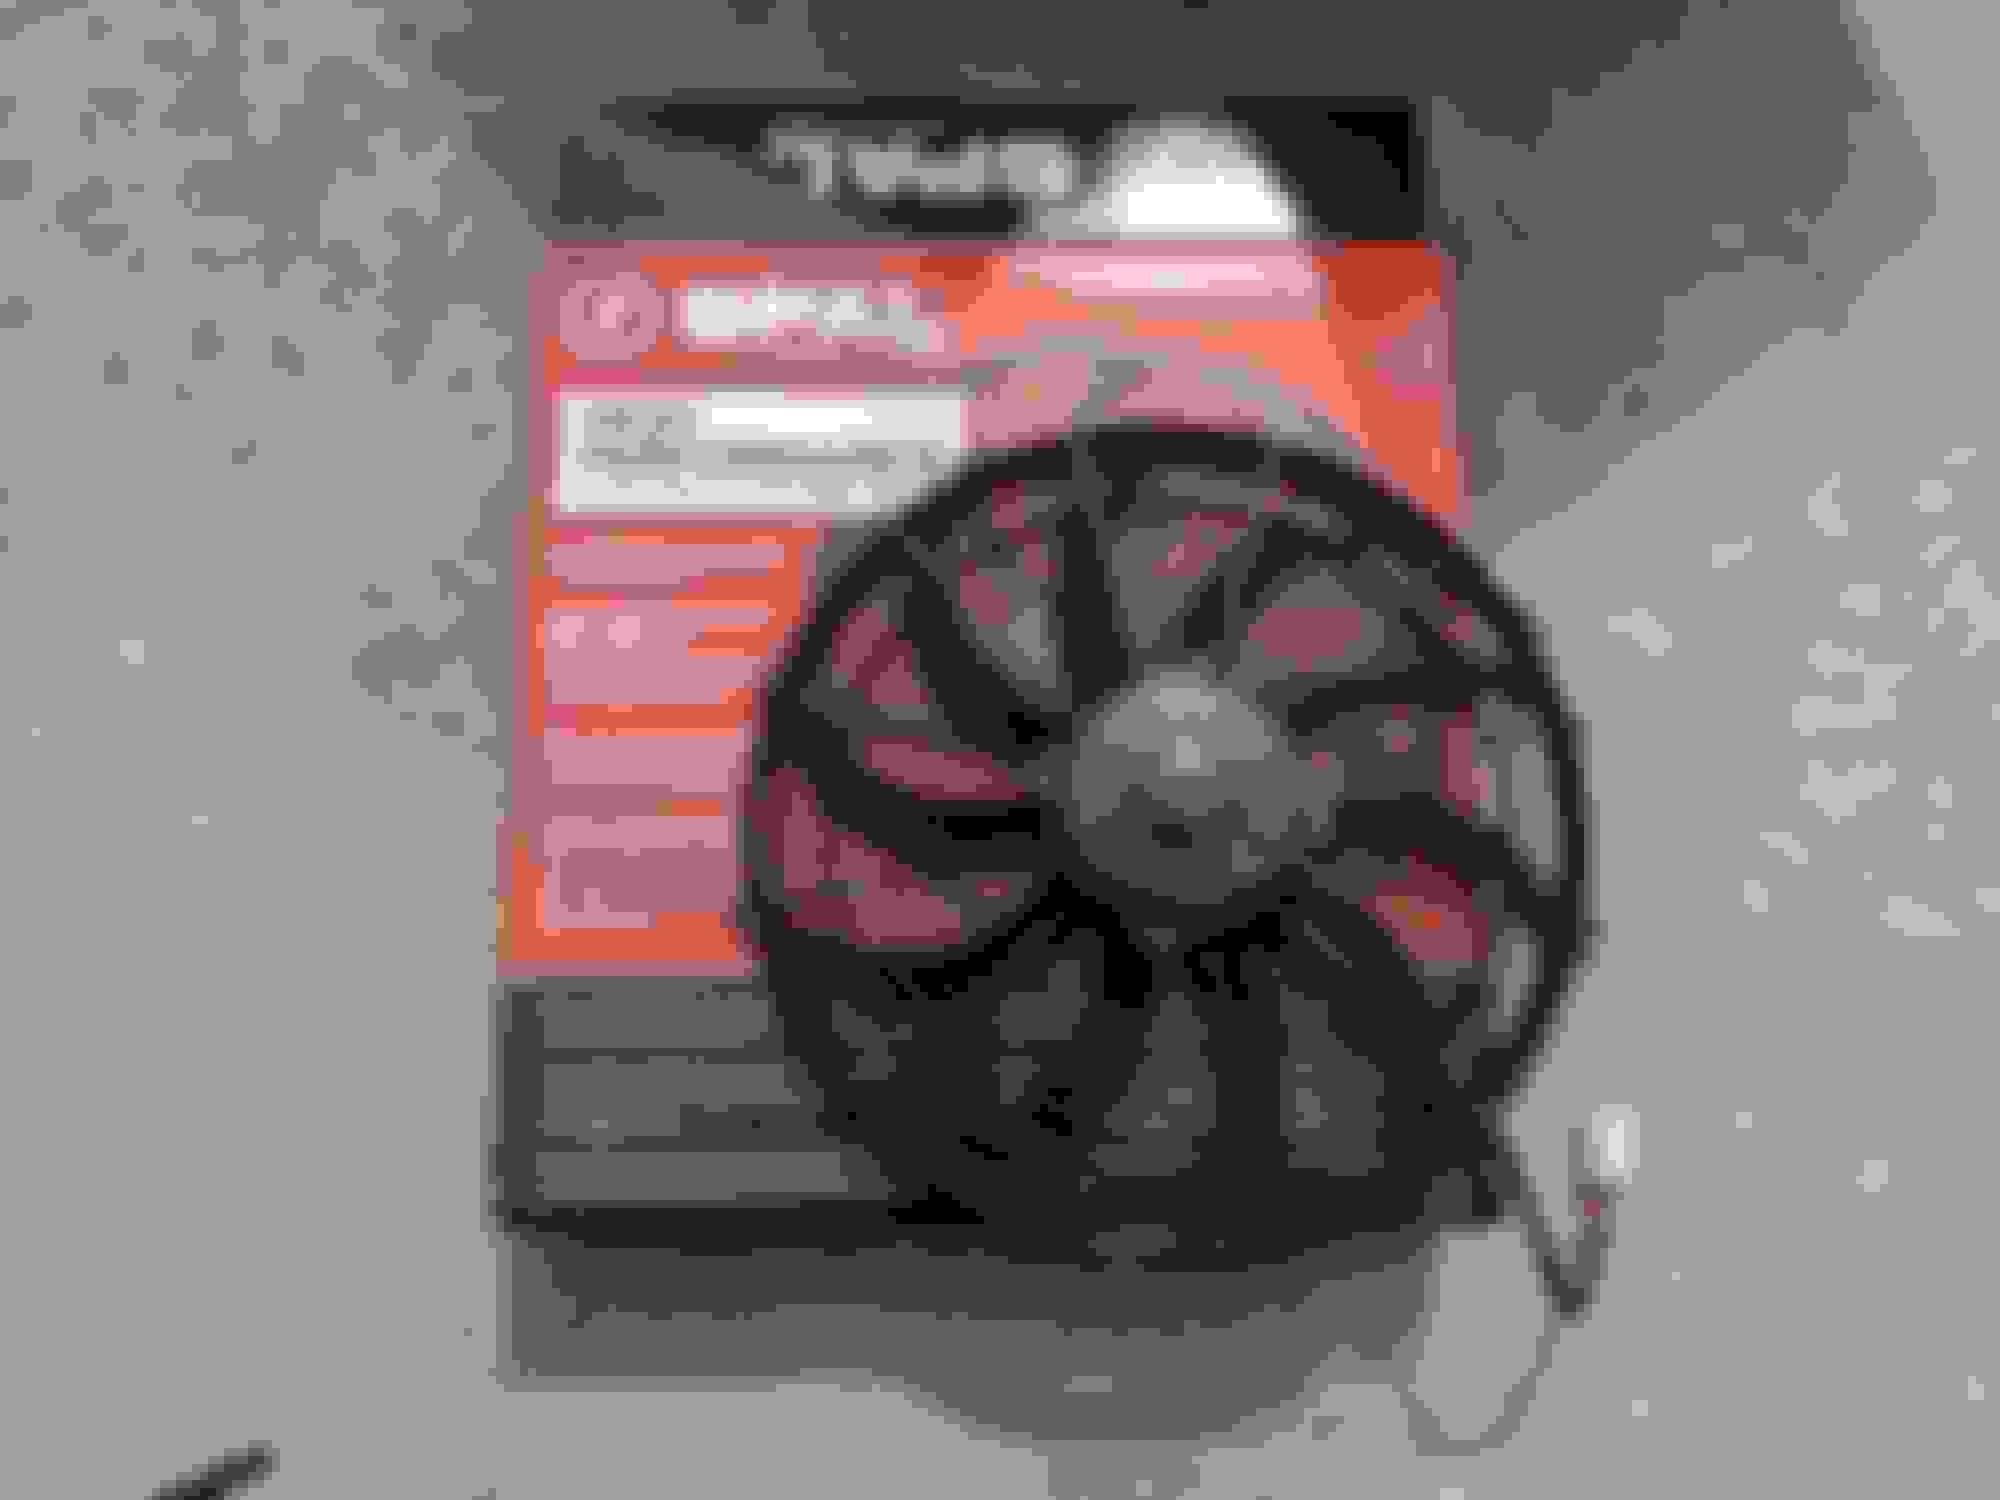
After stressing over a mounting solution for more days that I care to admit, I finally gave up and bought a dirty great SPAL fan.
She's a 14" 30102042 that kicks something like 1864 CFM. The autists over at m.net seem to think the stock main fan is about 1400 so this should be fine. I also bought the fancy SPAL "through the radiator core" mounts. For $7 goddamn each. Jezus.
Here is where things get dumb. Ok, dumb-er.
I checked both the Summit and Holley websites looking for power info on this fan, and all I could find was specs on the Holley page that said this thing runs 19.5 amps. I'm a dummy but I'm not stupid and I know inrush current is a thing, and I also know the factory fuse is 30 amps. Seems ok, right? Well, it turns out SPAL recommends a 40a (!!!) fuse for this fan, and the ONLY place that information seems to be available is on the back of the goddamn box!!!
So... crap. The absolute last thing I wanted to do was rewire the car. I'm willing to cheat a 35a fuse in place of the stock 30, but I'm reading online that the stock relay is only rated for 20 or 25 amps. Bleh. Options are now:
1. Keep this fan, source power from lug at underhood fuse box, add a beefy relay and 40A thermal breaker fuse thing, trigger off the stock wiring
2. Use the "through the radiator" mounts to attach stock main fan, modify the fan so it doesn't leak air around the edges, move on with life. (For reference, the enormous TSE rad on my NB uses single stock main fan)
3. Return this fan, buy a SPAL 30101509. 1274 CFM, same size (which is important because I know it fits) 10.4a nominal, 25a fuse recommended. This should allow reuse of the stock relay & fuse.
4. Return this fan, buy a SPAL 30100385. 1038 CFM, same size, 7.2a nominal and 15a fuse recommended. Again, no relays or shenanigans required.
I'll think it over for a while and make a decision.
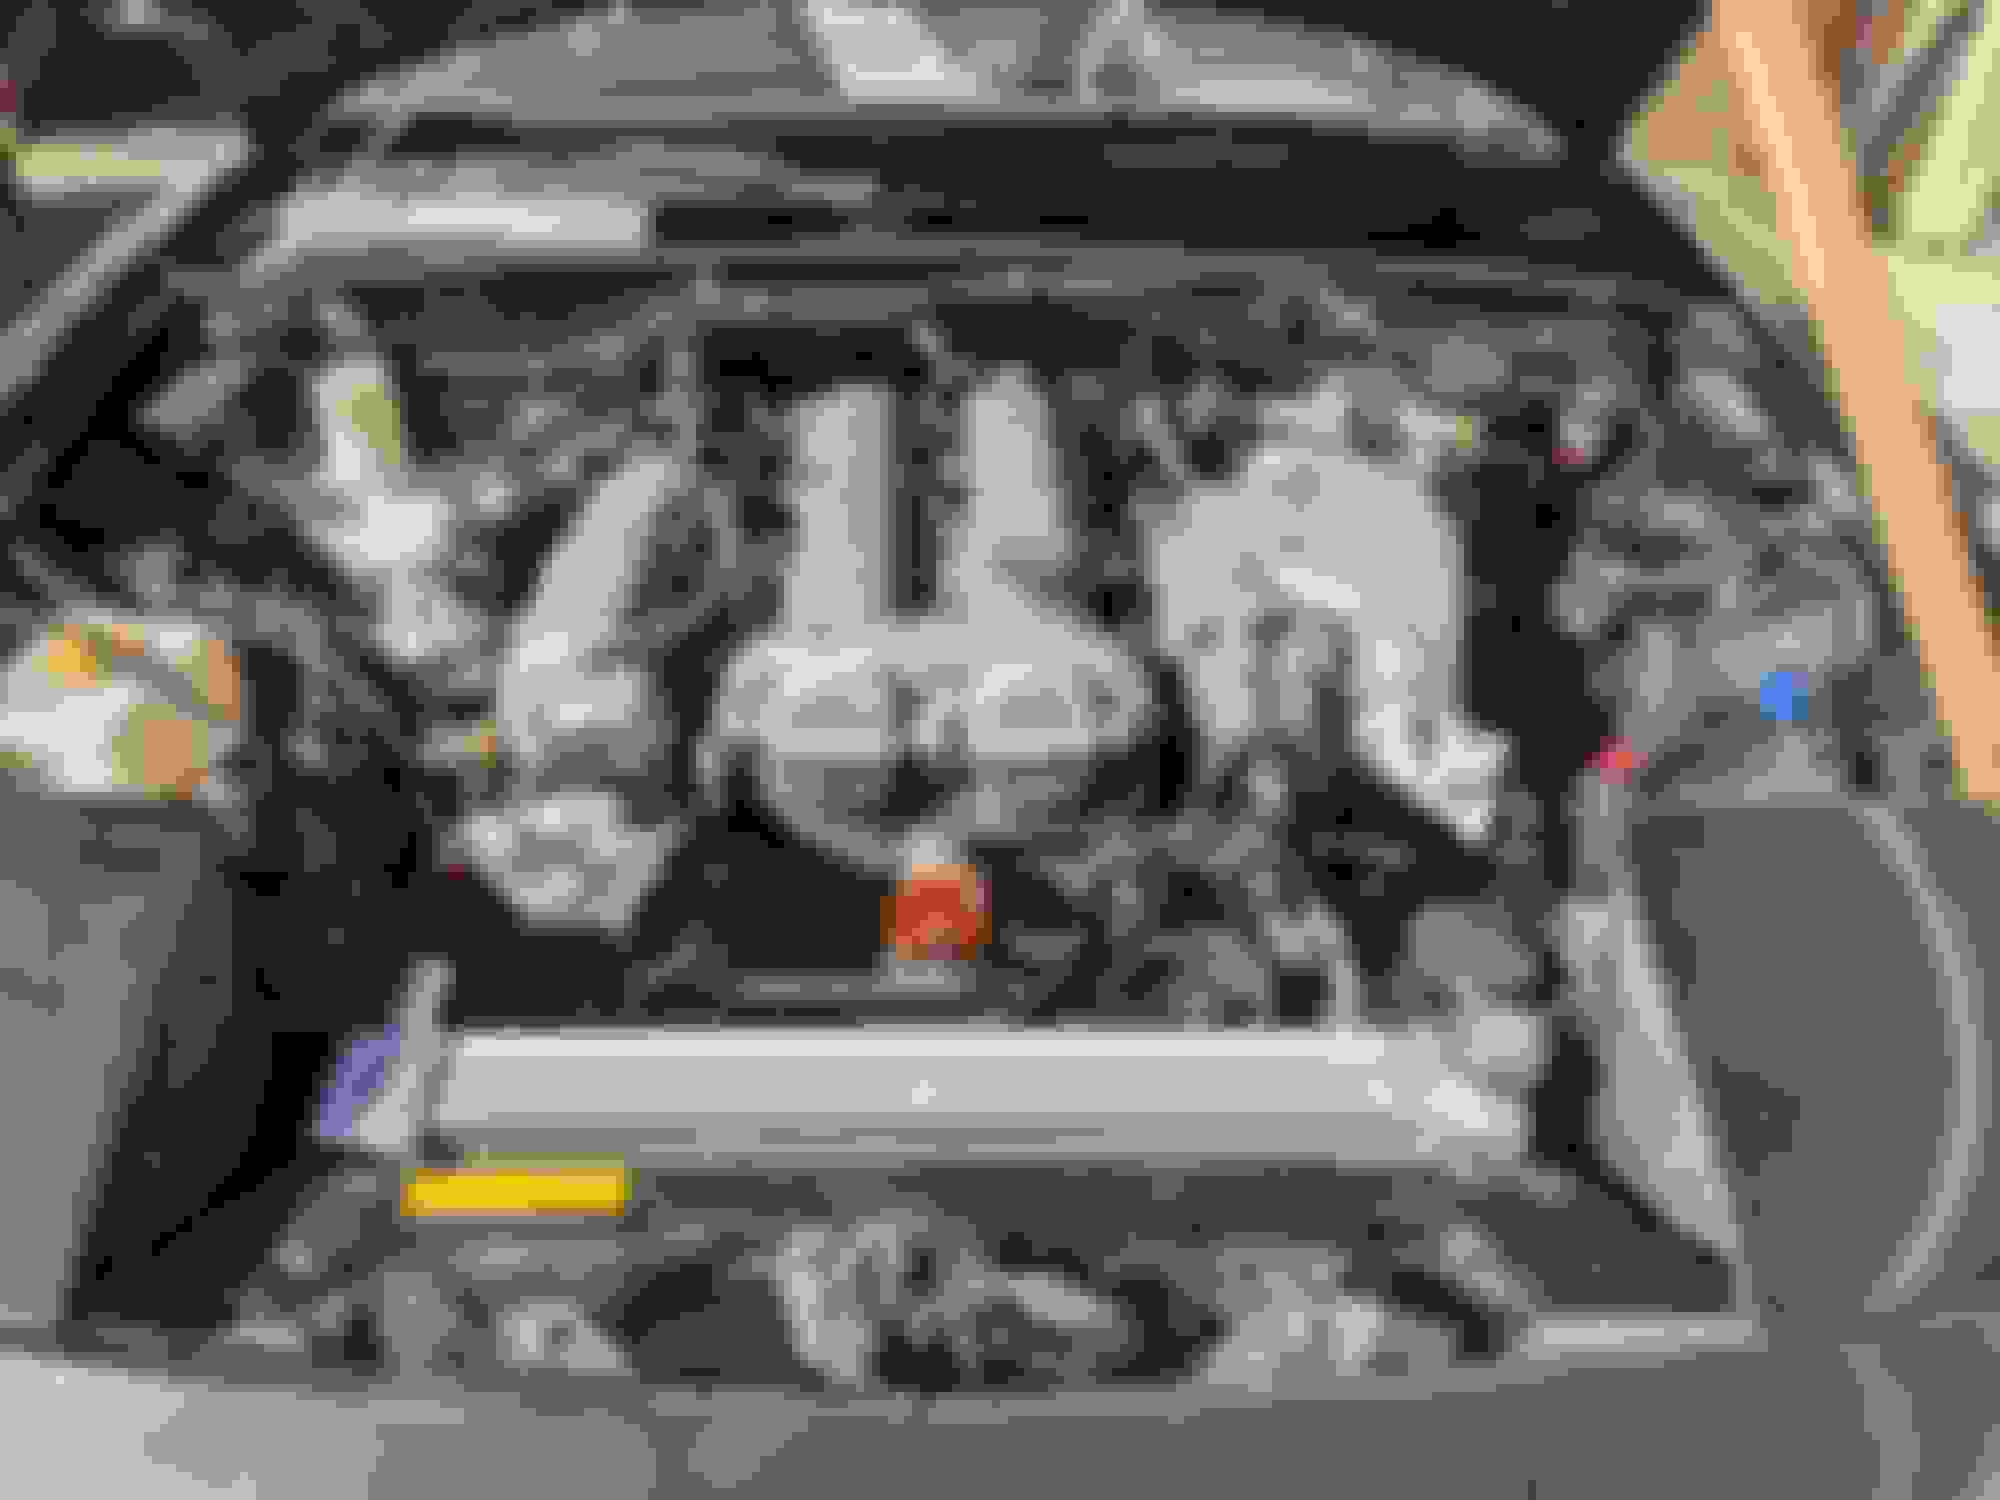
Anyway, this is what it was all about:
Absolute FURLONGS of clearance between the throttle body and the upper radiator hose! This is what makes it all worth it IMO
Now that the radiator is ostensibly in, I think we all know what time it is...
My whoring of the 949Racing Supermiata Qmax Coolant Reroute is somewhat legendary at this point. It's something I should have installed 6 months ago when I started working on the cooling system, but I was waiting for a used one to come up for sale.
I didn't take a lot of pics because installing a reroute with the engine in the car on an NA8 with a CAS and a speedo cable is an exercise in masochism and frustration and I didn't need to throw my phone across the yard.
Good to see the inside of my cooling system matches the Team Orange reroute
After cleaning up the flanges I retired to the garage to locate the two SHCS fasteners that the PO included with the reroute. One of them was on my workbench next to the Optima Red Top that was serving as a benchtop 12v power supply....
Anyway, this starts a whole cascade of battery stupidity that I'll cover in a future post.
I ended up so enraged that I pulled the CAS, and then, of course, couldn't get the bastard back in. Blind rage caused me to pull the valve cover and the CAS cap so I could get the bastard back in there. Eventually, after borderline heat exhaustion I managed to get the reroute housing installed. I pray to Budda, Satan and Jesus that I got the back of the head clean enough because I don't want to ever have to get back in there.
The engine is cleaning up really well. The Seafoam and O'RLY house bottle High Mileage Synthetic has been doing work. I'll probably do one more short change on it once I get it back up and running again. I was also glad to see the ol' Goodyear Gatorback timing belt. It's an older belt as Continental discontinued the Gatorback series after buying out Goodyear prior to around 2015~ish, but its not a STOCK timing belt, which was my big concern. The front and rear main seals are leaking on this motor, probably the cam seals as well, but I just don't have the motivation to futz with it at the moment. I'm more than happy to leave it all alone for now.
But for now I'm still waiting on a new Fel-Pro vs50569 valve cover gasket before I can call this done. I also need to figure out the lower radiator hose and I suspect I'll end up using one of those "ribbed for her pleasure" universal ones because the single piece NB hose I bought isn't going to work This and many other things still need to be sorted out so NBD. This should definitely keep me busy for a while.
I had this same PN gasket on it previously. It never seemed to complete seal, there was always some slight weeping and wetness but I wouldn't call it an outright leak. YMMV obvs.
The only reason I used this one as opposed to an OE or a Mahle was availability. Seeing as I'm still waiting for it this was clearly yet another mistake on my part
CAUTION: This post contains battery related rage and autism
Originally Posted by EO2K on 10-17-2020
Whenever setting up a custom battery solution in your vehicle I always recommend customizing it for a discontinued niche product that has grossly exceeded its life expectancy. It makes life more exciting!
Oh, how prophetic these words seem now.
That Optima Red Top came out of the car and was deposited on my workbench back in February, right before the welding was done on the fenders. Shortly thereafter it was plugged into an Optima Digital 400 Charger/Maintainer because, well, it was a nearly 10 year old battery and I figured maybe if I was nice to it, it would hold up for another year. That battery started out strong in 2011 but after about the first 3 years it dropped down to less than 50% of its rated cranking amps. While this sounds terrible, and make no mistake it is terrible, remember that it was massively oversized for a Miata and it was turning over a tiny little BP so it was able to keep on truckin' for quite a while as its capacity slowly diminished. About 2017~2018 it started to slowly self-discharge if left for more than a week so clearly it had developed internal issues. The acid leaking out of it was the last straw. I'm still unsure exactly where the acid was coming from, there didn't seem to be any damage to the bottom of the case.
Anyway, RIP Optima Red Top. 3/2011 - 3/2021
You were a cripplingly expensive piece of ****, the only reason you lasted this long was my instance on riding your corpse into the future. Rest In China.
While I'm raging about trash Optima products, the D51R Yellow Top I bought back in 2017 for the NB is, surprise surprise, self-discharging and dropping capacity like a rock. I can pull the Yellow off the Digital 400 float charger at 100% or 13.8 VDC and it'll make around 350 CCA, according to my load tester. Rated capacity is 450 CCA. If I pull it off the float charger and let it sit for a week in the garage at no load and THEN test it, it farts out a pathetic <200 CCA. These "ultra premium" Optima AGMs sure are worth the ultra premium $250 price tag.
So the Red Top in the NA is dead and the Yellow Top in the NB is on life support. What's a girl to do?
Right now I'm eeking both cars along with an Odyssey EXTREME! PC680 of unknown provenance that came (dead) with the NA. I say "unknown" because nobody marked the date tag on the unit, and I'm pretty sure it saw some frozen East Coast winter conditions. It's rated for 170 CCA but you know what? It turns over both cars just fine. I can let it sit for a month and it still makes 170 CCA without issue. I know a lot of people like the Odyssey EXTREME! series of batteries, so I think I'm going to give a slightly larger one a try.
I'm not interested in a lawn tractor battery or some sort of bizarre repackaged hobby LiPo pretending to be a car battery. This is the perfect level of battery fuckery for my tastes.
I figured this PC925 was a good intermediate step between the tiny PC680 and another full size/oversize battery. I think these PC925s are intended for motorcycles or powersports applications, but it should be just fine in the Miata. The "T" variant of this battery comes with automotive terminals, the "L" variant has the terminal locations reversed, more on this in a bit. This battery is intended for the NB, but for now I'm going to use it in the NA. I opted to go with the larger PC925 over another PC680 purely for the additional reserve capacity.
Unfortunately it doesn't work with my existing fancy steel battery mount, so I had to buy another fancy mount specific to the PC925. I opted to buy the cheaper, steel mount for the PC925 and purchased it through the vendor where I got my battery (and, of course, overpaid) but you can also find the
My other big complaint about this mount is the use of degenerate SAE hardware for the clamping action. I have zero desire to worry about SAE allen keys so I'm going to change over to M6 fasteners on those 4 locations. The threaded inserts are super easy to remove as they are just press fit
Insert SHCS, back with socket, tap with hammer. Done!
A quick kiss with the appropriate diameter drill bit and then M6x1 riv-nuts were installed.
and because when you have a hammer everything looks like a nail, I decided to hit them with a little tack weld to make sure they didn't rotate. It was at this point I came to the realization that I shouldn't try to weld things that a magnet doesn't stick to, but the damage was done and I doubt those things are going anywhere at this point.
I wasted an inordinate amount of time cleaning the fish oil off of it, roughing up the surface with sandpaper, hitting it with self-etching automotive primer and then flat black paint. Of course the paint stripped right off as soon as I dropped the battery in, but you know what? I don't care. An effort was made.
Another thing that bugs me about this mount is that its not quite the right height for the battery.
With the top strap in place there is a HUGE gap in the mount so you can't get the bolts fully seated and torqued. If you try to torque it down to seat the fasteners it crushes the plastic on the top of the battery I would imagine this is even worse with the metal jacketed version of this battery. This is painfully stupid so I'll need to make a spacer to fix it. I wish I had noticed this prior to painting the damn thing because I'd have made it out of steel, welded it on and tapped it, but I guess you live and learn. I've got some sheets of ABS plastic so I made a couple spacers that I'll glue to the mount. Its not ideal, but its better than the air gap.
I've come to find out the mount is made by a company called "Latest Rage" which appears to be a VW supplier specific to dune buggies. A little more digging and, lo and behold, they appear to be owned by EMPI. **** my life, will I never escape these shitty VW vendors?
After all this work it's fairly robust mount but I take issue with how they expect you to mount it to the chassis. It's got dimples for Flat Head Cap Screw which, of course, don't exist in metric locally. I opted to mount it with stainless 1/4-20 Flat Socket Head cap Screws from HD Racing. Stupid SAE. Its clear the taper dimples were intended for this size as they fit perfectly. You literally cannot fit a larger fastener in the little taper dimple without it rubbing on the bottom of the battery case. Which is bad.
Stainless washers and stainless nylocks round out the mount.
As far as the NB fitment goes...
If you buy the PC925L version of this battery with the reversed terminals, it can be used with the stock battery hold-down. Some modifications appear to be necessary.
At $166 it costs nearly as much as the battery, but holy **** that's clean.
The point here is that the battery will fit down in the hole on an NB, I just need to invent a mount. Now that I have a welder I'll probably give this a try, I'll post updates over in my NB build thread when I get around to it.
Ok, so back to NA things.
This battery almost looks like it belongs here. I had to do some re-looming and securing of the OE cables but everything seems to fit pretty darn well now. I can't wait to get the cooling system and motor back together so I can give it a whirl
I spent time last night reading the whole thread (except for some parts where you were rambling on about math and such) and agree with previous comments, very entertaining. I did not see your wanted posts for the crossover pipe (I was at work on a ship with limited Internet so wasn't inclined to surf a lot), however I still have the original metal crossover pipe that was on mine when I bought the car. I pulled it to replace it with a Moss rotomolded piece, and being a packrat I still have the original. Let me know if you might be interested. Not sure if it is exactly the same since it came off an NB so your call. I'm doing some training this week so couldn't lay hands on it before next week.
I spent time last night reading the whole thread (except for some parts where you were rambling on about math and such)
I'm sorry for your loss
Originally Posted by chiefmg
and agree with previous comments, very entertaining.
Thanks! I enjoy this long format kind of stuff, and I tend to include information that I wish I had found while doing "research" on whatever it is I am working on at the time. I'm glad it comes off entertaining as opposed to tedious
Originally Posted by chiefmg
I still have the original metal crossover pipe that was on mine when I bought the car. I pulled it to replace it with a Moss rotomolded piece, and being a packrat I still have the original. Let me know if you might be interested. Not sure if it is exactly the same since it came off an NB so your call. I'm doing some training this week so couldn't lay hands on it before next week.
Yes, absolutely! Shoot me a PM and some pics whenever is convenient and we'll see if we can make something happen. I don't know if it'll fit but I'm willing to try! Thanks for thinking of me on this one!
If the ABS for your battery spacers doesn't work, try some thick pieces of rubber. That will have some give and the friction will keep the battery in place.
Yesss! Perfect! Order placed, thanks for the heads up!
Originally Posted by chiefmg
If the ABS for your battery spacers doesn't work, try some thick pieces of rubber. That will have some give and the friction will keep the battery in place.
I think it'll be OK with the ABS, but at this point only time will tell. Good call on the rubber, I'll keep an eye on it once its back up and running.
Neat! How about returning one and getting an "L" version?
Ehh... this one is going to end up in the NB. The "non-L" standard version is a better fit for that application. In this one, I'm not sure the positive cable is long enough for anything else. I could easily push this battery further in towards the fender, maybe as much as another 5", but there just isn't enough battery cable slack to make it happen.
Originally Posted by rleete
When your radiator turns brown like that, it's time to replace it. .
PERFECT! Thanks for the recommendation! This looks like it'll juuuust fit, and if not I think I can bend that lip out on the core support for a little more closure. Thanks mang!
Nice one! I would look at using some sort of baking pan/tray that roughly fits. I would also try and integrate some radiator flaps, to allow airflow through the core while at speed, without reducing the fan efficiency. Something like this: https://www.championradiators.com/rubber_shroud_flaps
Nice one! I would look at using some sort of baking pan/tray that roughly fits.
Hah! I like this idea! Unfortunately the core on the radiator is 15.5" x 21" which doesn't really match up to "standard" baking pan sizes. The closest I could find was 13" x 18" which is a commercial "half" size sheet pan. That would leave at least a 1" gap around the outside and I'd have to figure out how to mount it. I don't know if that gap would really matter? Along these same lines a "full" sheet pan is 18" x 26" but a 3/4 pan is 15.8125" x 21.8125" or
. Which is ALMOST perfect for this radiator. At under $20 its probably worth trying, and if it doesn't work, its some nice aluminum sheet metal I'll think on this though...
Mounting the fan to the pan is cake (/rimshot) but getting the pan secured to the radiator becomes the new challenge.
Originally Posted by HarryB
I would also try and integrate some radiator flaps, to allow airflow through the core while at speed, without reducing the fan efficiency. Something like this: https://www.championradiators.com/rubber_shroud_flaps
Oh for sure, the little flappy guys have been around for a while. I had those on the electric fan and shroud that was on my '65 Mustang I don't know if they actually do anything but I like them in theory.

 04-02-2021, 04:26 PM


 0
0


 This and many other things still need to be sorted out so NBD. This should definitely keep me busy for a while.


 These "ultra premium" Optima AGMs sure are worth the ultra premium $250 price tag.


