When you click on links to various merchants on this site and make a purchase, this can result in this site earning a commission. Affiliate programs and affiliations include, but are not limited to, the eBay Partner Network.
Doubtful that you're qualified for that. You seem like the sort of person who shows up for work every day, on time, and sober.
I can usually manage 2 out of 3, not willing to commit beyond that
Originally Posted by sonofthehill
Yeah, those kinda jobs, you won't last too long making everyone look bad.
Nice weld for a first flux core pass A tank of some gas and some solid wire and I will be bugging you to weld my crap.
Thanks man! I'm a rank amateur but I can definitely burn **** with the best of them! Gas has occurred to me as a first upgrade. One of the small 20cu/ft tanks of C-25 and a basic regulator are fairly inexpensive, and we've got a couple different industrial gas suppliers around here where I could do a bottle swap or get a refill so its readily available. This flux core is messy but probably something decent to learn on, and oh boy do I have a lot to learn. It's something I'll explore in the future but for now I'm just having fun gluing random bits of scrap together and trying not to light myself on fire. Me attempting to do mission critical stuff for other people is going to be WAAAY down the line.
I think the first thing I'm going to work on, once I'm a little more comfortable, is modifying this welding cart. You can't actually open the side cover of the welder while its on the cart, and I'd like some storage under the welder for helmet, gloves, spools, spare parts, etc. That's like, Beginning Welding Project #1, right?
Originally Posted by x_25
Get yourself a set of tig gloves (I like the tillman cuff top ones). So much better than the heavy leather ones, you just have to remember that you aren't quite as protected so don't touch things that are freshly welded.
My first real welding project has been putting in new frame rails on my NB. 14awg and going well so far. Gonna be moving to the quarters after that.
Also, go watch Fitzee's video on mig welding sheet metal. That guy is a master and you will be doing body work in no time.
Thanks for the recommendations! I've been watching enough of the youtube videos put out by the weld.com guys that my wife has started rolling her eyes and finding something else to do when I fire off the chromecast. But I'll dig up Fitzee and add it to the list. You've certainly taken a big bite if you are starting with frame rails! Good luck and godspeed sir!
It's attached to that plastic end cover, and the plastic around the screw that secured the cover to the body of the motor appears to have broken away, you can see the broken part in the "gutter" at the top, center inside edge. When it fell away inside the case it just unplugged the terminal. So while my ultimate diagnosis was incorrect, I did positively identify the failure mode. Good to know I'm still good for something!
Plug is also missing the ground pin, but that's an easy fix.
You want this thing back or did you already buy a new compressor? I can run this thing over to Thunderhill next time you come north.
Lol. No, I don't want it back. I bought a new one which is quiet enough that I don't need hearing protection while it's running, that's a huge win.
Interesting that the connector came off -- it had been getting progressively worse in terms of blowing the breaker with inrush current over time until ultimately it would just pop it every time. I wonder if the connector came off while bumping down the road in my truck and your breakers are just more forgiving than mine?
Lol. No, I don't want it back. I bought a new one which is quiet enough that I don't need hearing protection while it's running, that's a huge win.
I must be losing my hearing, its not that loud to me!
Originally Posted by codrus
Interesting that the connector came off -- it had been getting progressively worse in terms of blowing the breaker with inrush current over time until ultimately it would just pop it every time. I wonder if the connector came off while bumping down the road in my truck and your breakers are just more forgiving than mine?
I honestly couldn't say, it certainly seems to start up just fine now though I haven't tried to "hot start" it with significant pressure in the tank, that may change things. IME when the start cap dies on on a motor it slowly tapers off over time as it loses capacitance and causes start issues like you've described, or it blows the **** up and then won't start at all and pops breakers, as you also described. It certainly popped my breakers without the cap connected, heh. I'll futz with it some more after finding a beefy NEMA 5-15P that doesn't feel like its made out of recycled G.I. Joes. I also need to break down and buy a cheap meter that does capacitance. Its hard to justify a Fluke 87 with as infrequently as I need capacitance.
Originally Posted by x_25
Boy have I ever! It's a rust bucket that has cost me negative money to own though, so what better to learn on. If I screw it up, no big loss.
The bites were fairly large... And this was the better side.
Haha! But seriously, that looks like good work to me!
Some day I hope to do this with my NB. It's got FM rail caps on it due to the frame rail being smashed flat into the tub by the retarded exhaust or transmission shop that serviced it right after I bought it nearly 10 years ago. We hammered it kinda sorta straight and then put the FM cap over it, but I know its going to rust eventually.
A precedent has been set. I am waiting for a janky *** Nawz setup to go in, running off powercards or something,
I'd like to think I have better sense than that, but only time will tell. lol.
So the welder came with a cart that really sucks. It drops into the base and prevents you from opening the side door, and the verticals for the little push cart arm has a stupid radius bent in it that prevents the door from going past its tip point, so you can't hold it open. It's all kinds of stupid. But I have we welder now, so I can fix it.
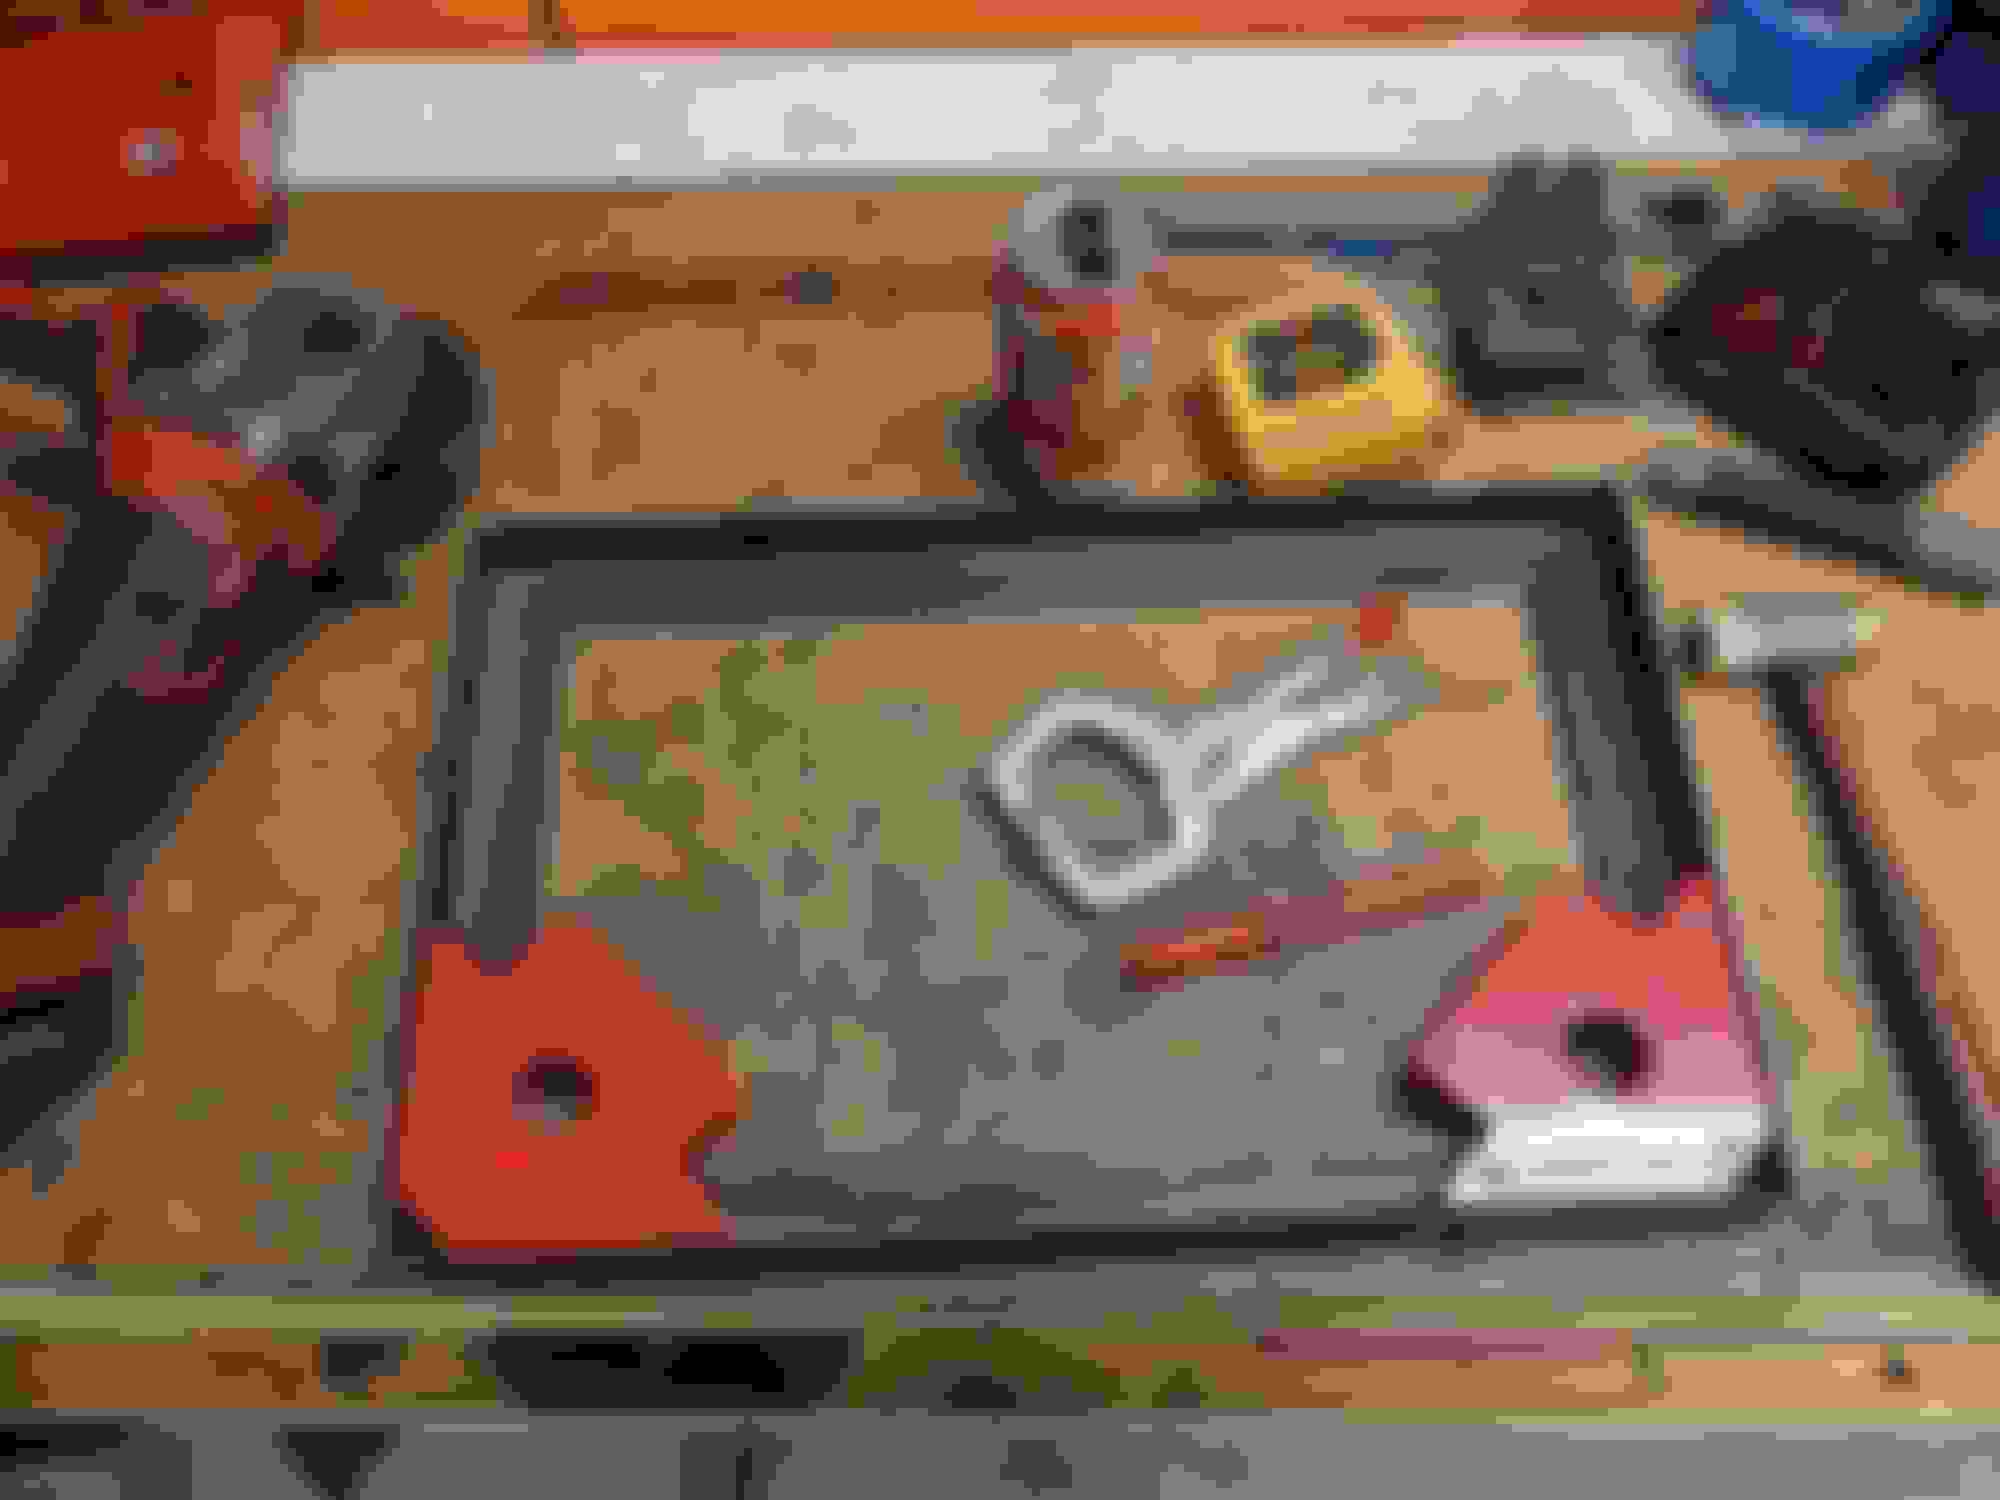
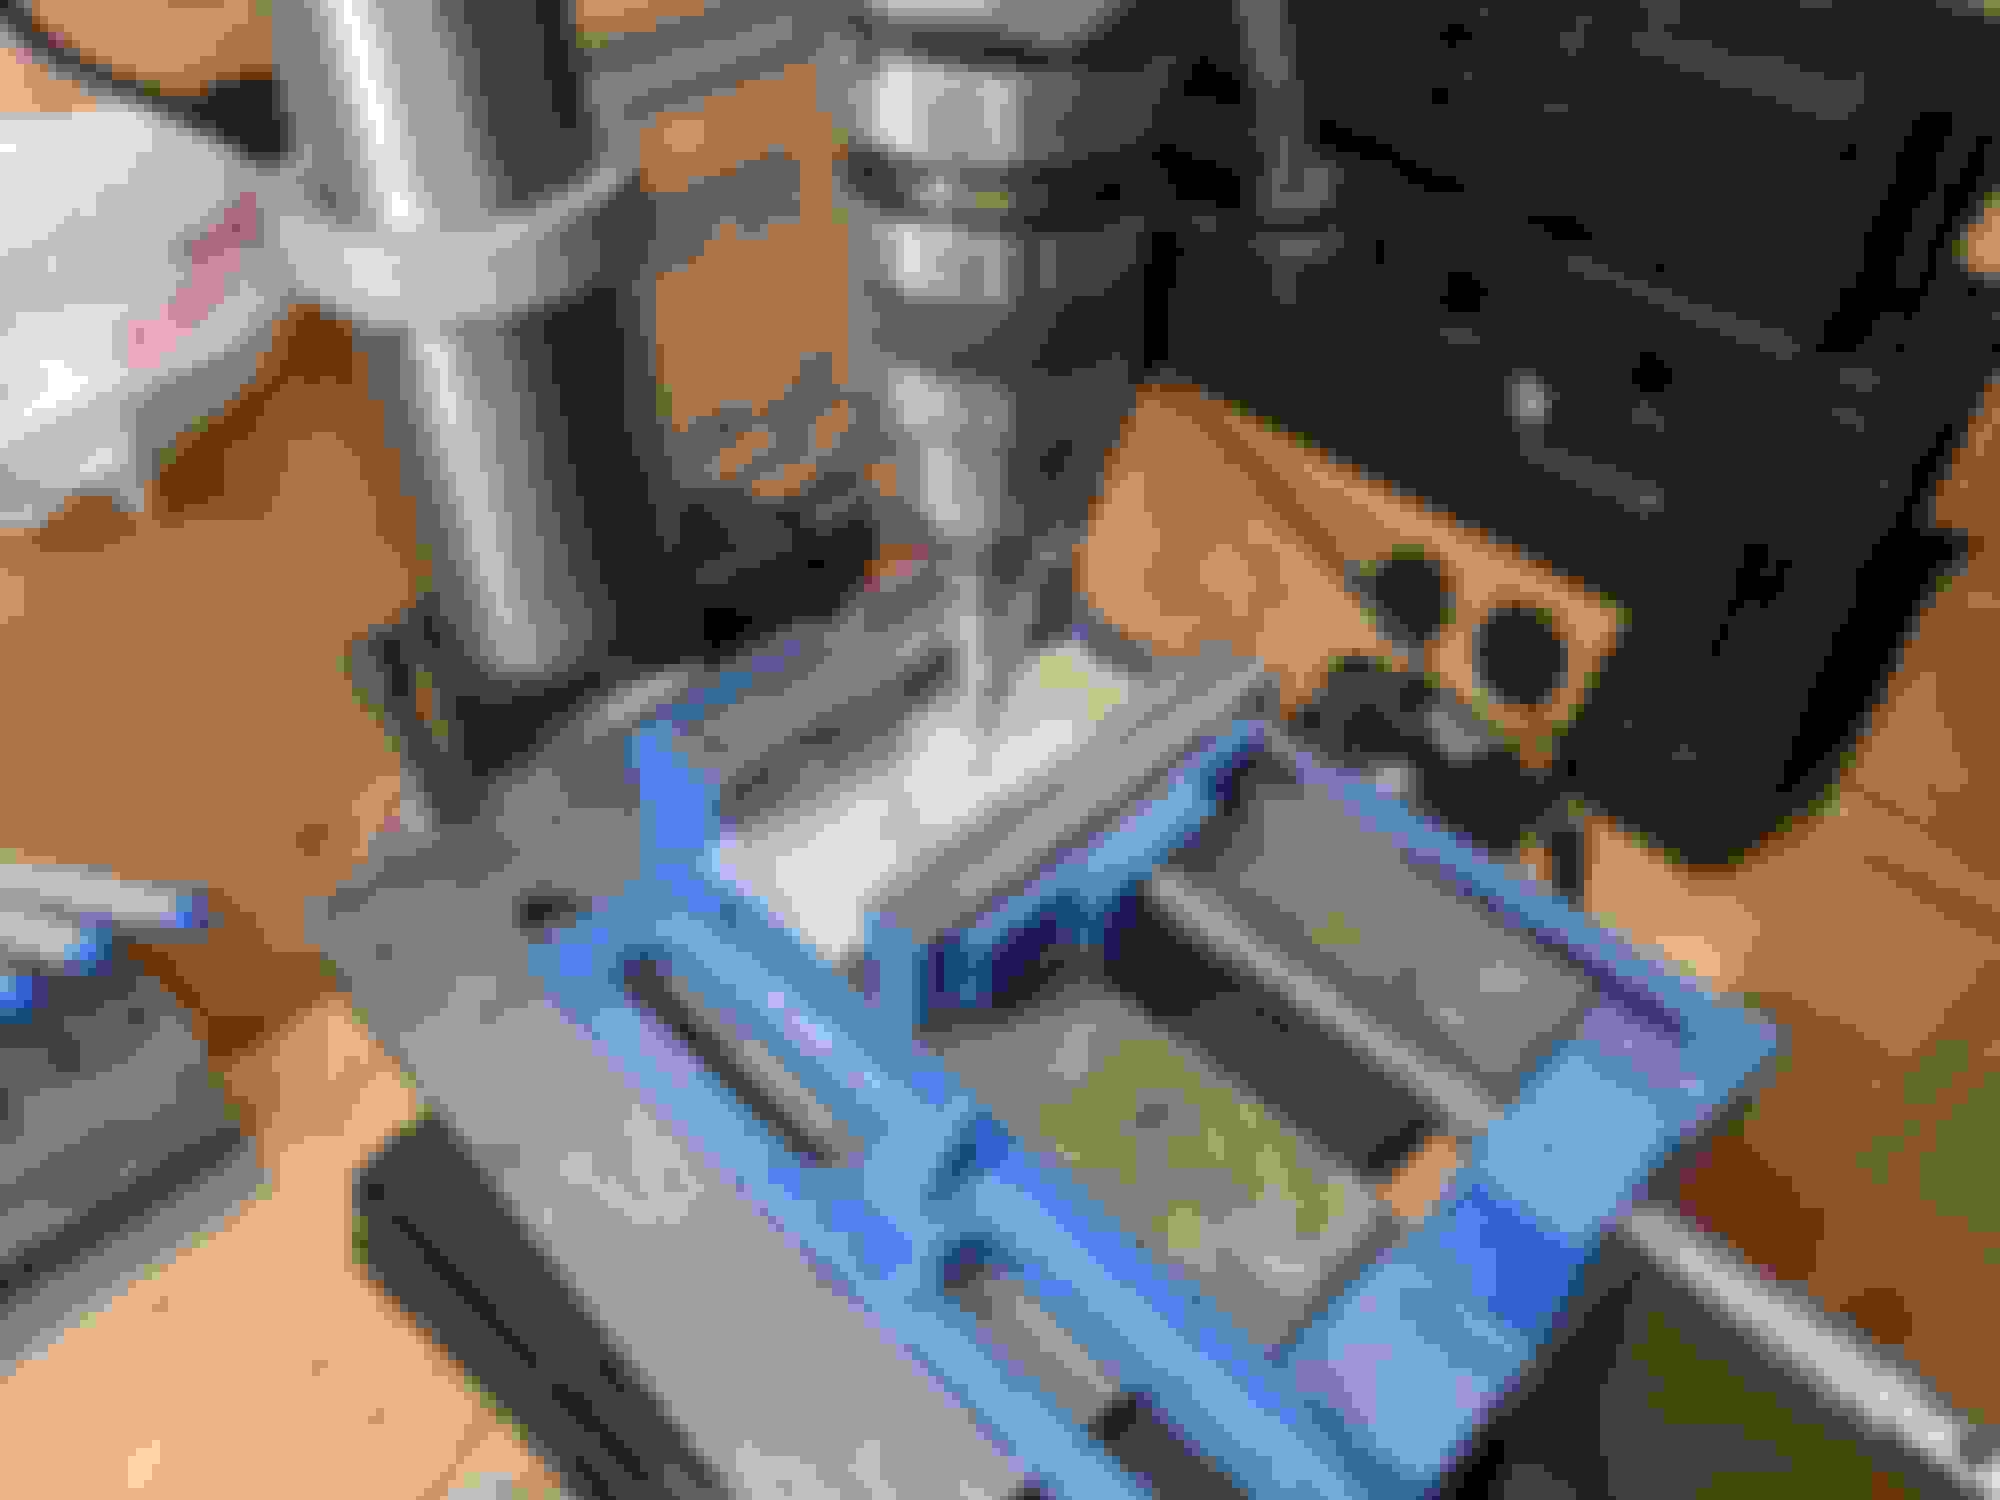
First order of business was to acquire some horrifically overpriced steel from the Rona Depot, which I cut up some steel on the porta-band with the DIY table.
Had to get a little creative because I don't have a guide for it, but with enough clamps anything is possible!
Porta-band is only tangentially aware of concepts like "parallel" and "square" so this turned out to be an exercise in frustration and stupidity. But I have a M18 Fuel Grinder, and through #teamred all things are possible.
I did a couple test welds and tacks and proved that the machine worked.
It seems to throw wire and make smoke. LOTS of smoke. Flux core MIG is dirty as ****.
Test pieces did OK. Minimal cleaning on a 45� butt joint with no undercut bevel is kinda lol. This is clearly not Instagram material.
The machine did this a couple of times, which was highly annoying. It did come with some .035 tips so I swapped that out, but it still seemed like it was struggling. The liner might have a pinch in it or it might be dirty, or the wire might not be super inconsistent. After RTFM and checking the settings, I realized that the PO had the drive roller installed backwards so it was set for .024 wire instead of the .035 that is loaded in the machine. I cleaned the roller and flipped it around to the .035 groove and this helped a bit. On top of that, the drive roller in the machine smooth V for solid wire and the manual calls out a knurled V drive roller for flux core. I'll have to order that, I suspect it'll also help.
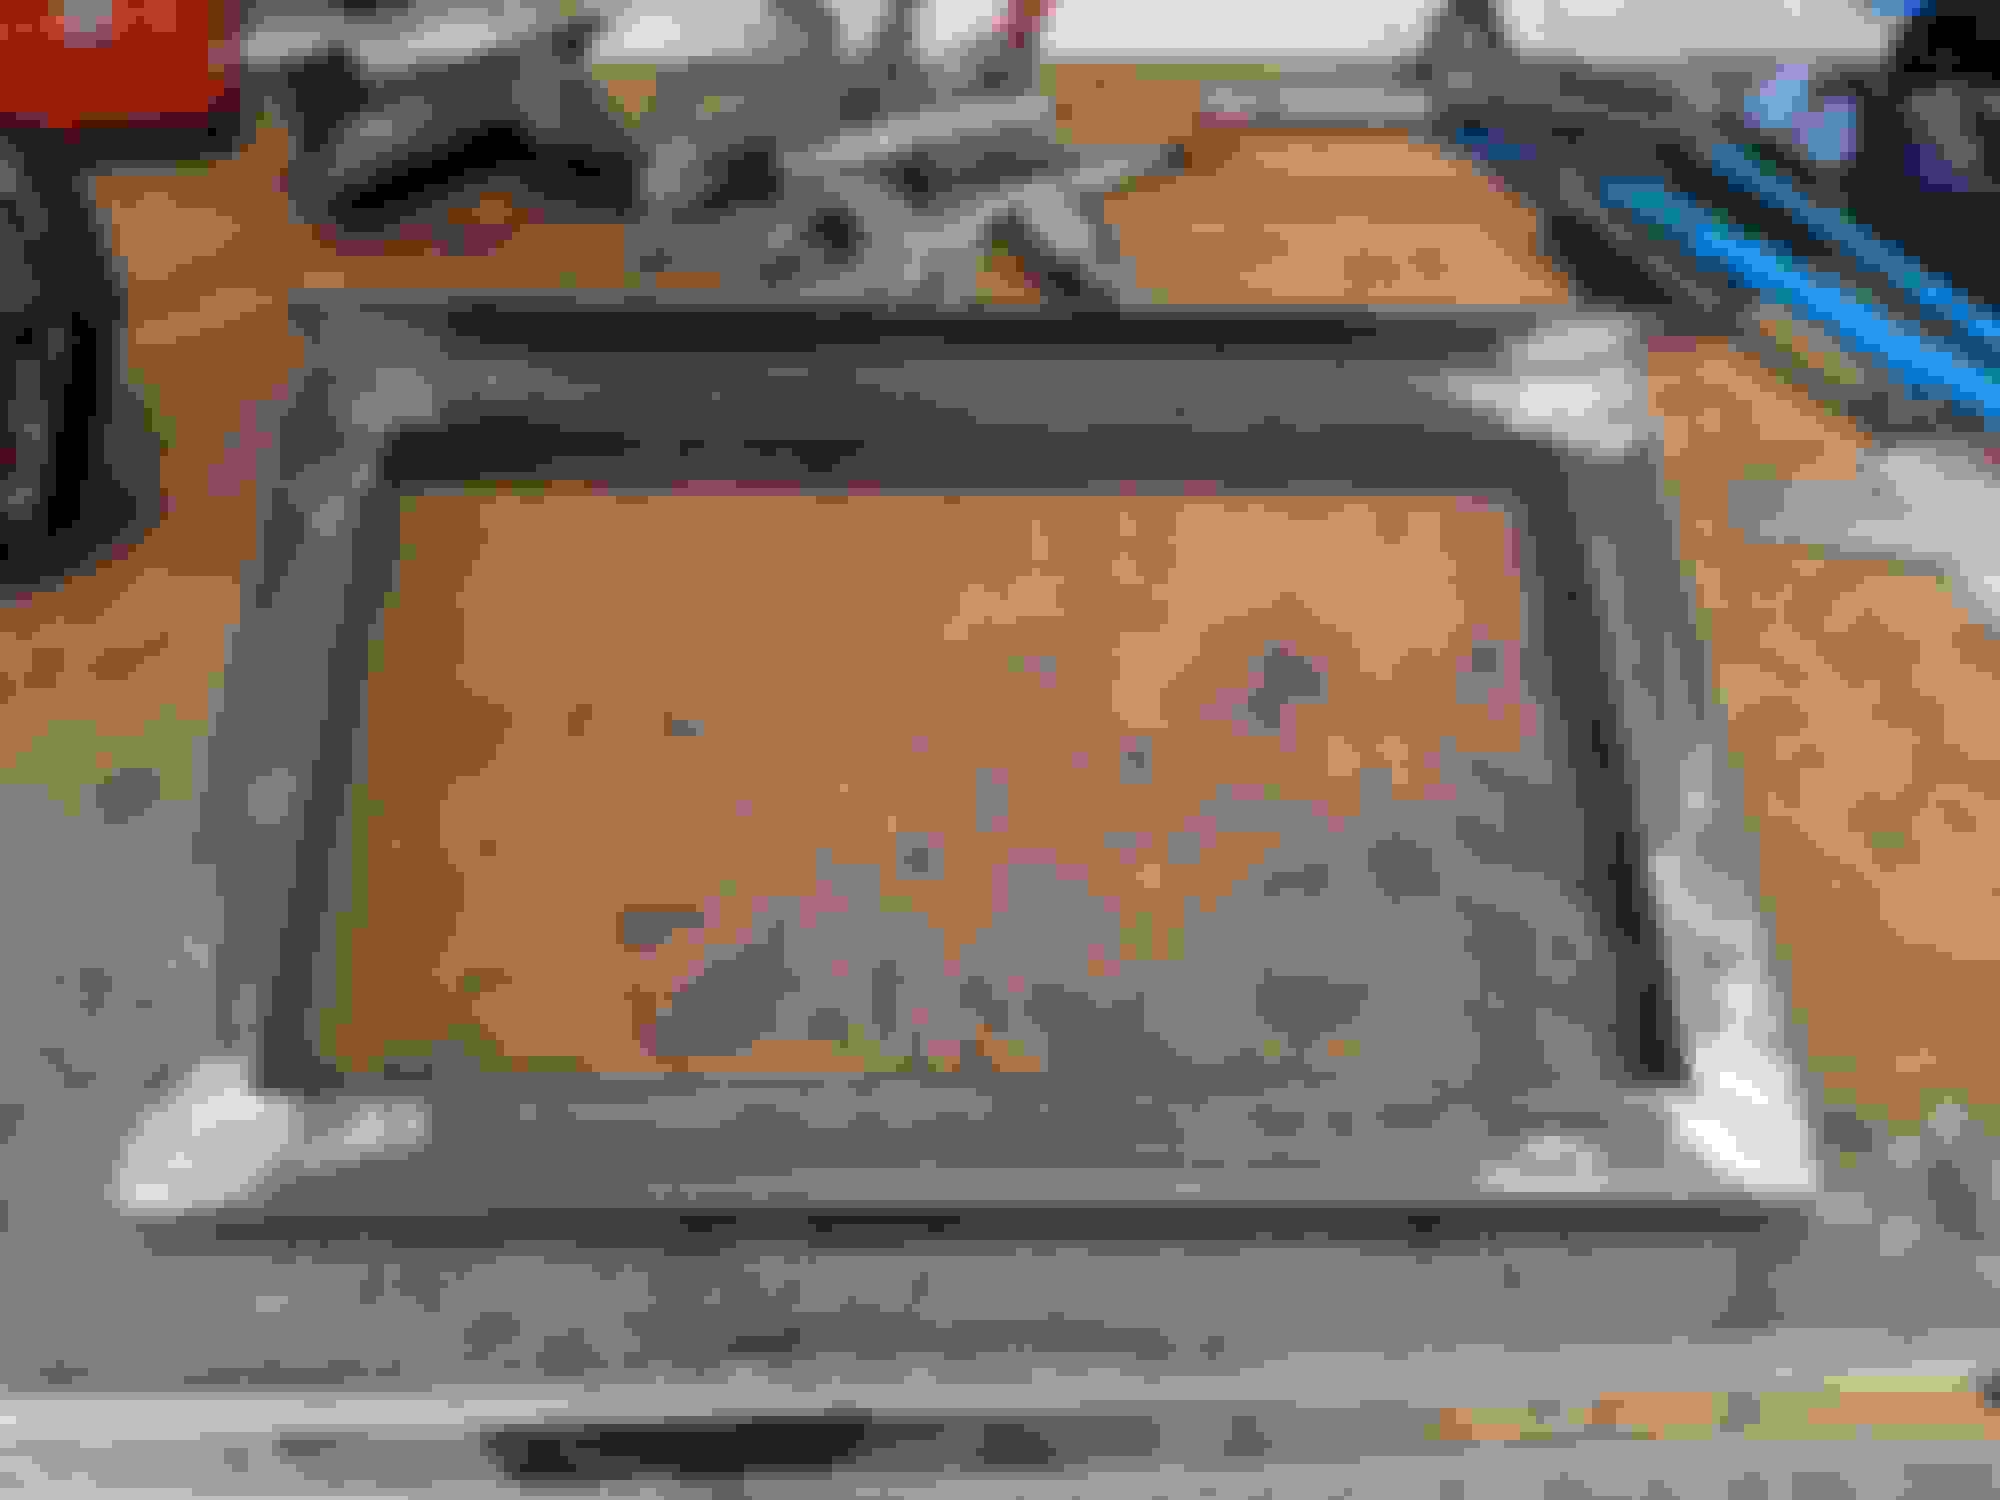
Anyway, I made a square. It was actually square and didn't teeter-totter, so that was cool. Grinder is great for removing evidence of my lack of skill, lol.
Of course all my efforts to get things square and level were a complete waste of time as the base of the cart that I was reusing was some sort of irregular quadrilateral bullshit. My measurements were correct but I forgot to add generous tolerances for Chinese manufacturing, so things had to be adjusted on the fly with the legs. But whatever, its a welding cart. I'm not going to the Moon here.
Grinder, wire wheel, acetone, and then I used up the last of the self-etching primer I bought for the car. As the man says, "Grinder and paint make me the welder I ain't." I didn't bother to take down all the welds because I want to be able to look back at this and laugh at myself. Plus I need to give my father-in-law and the various internet commenters something to criticize
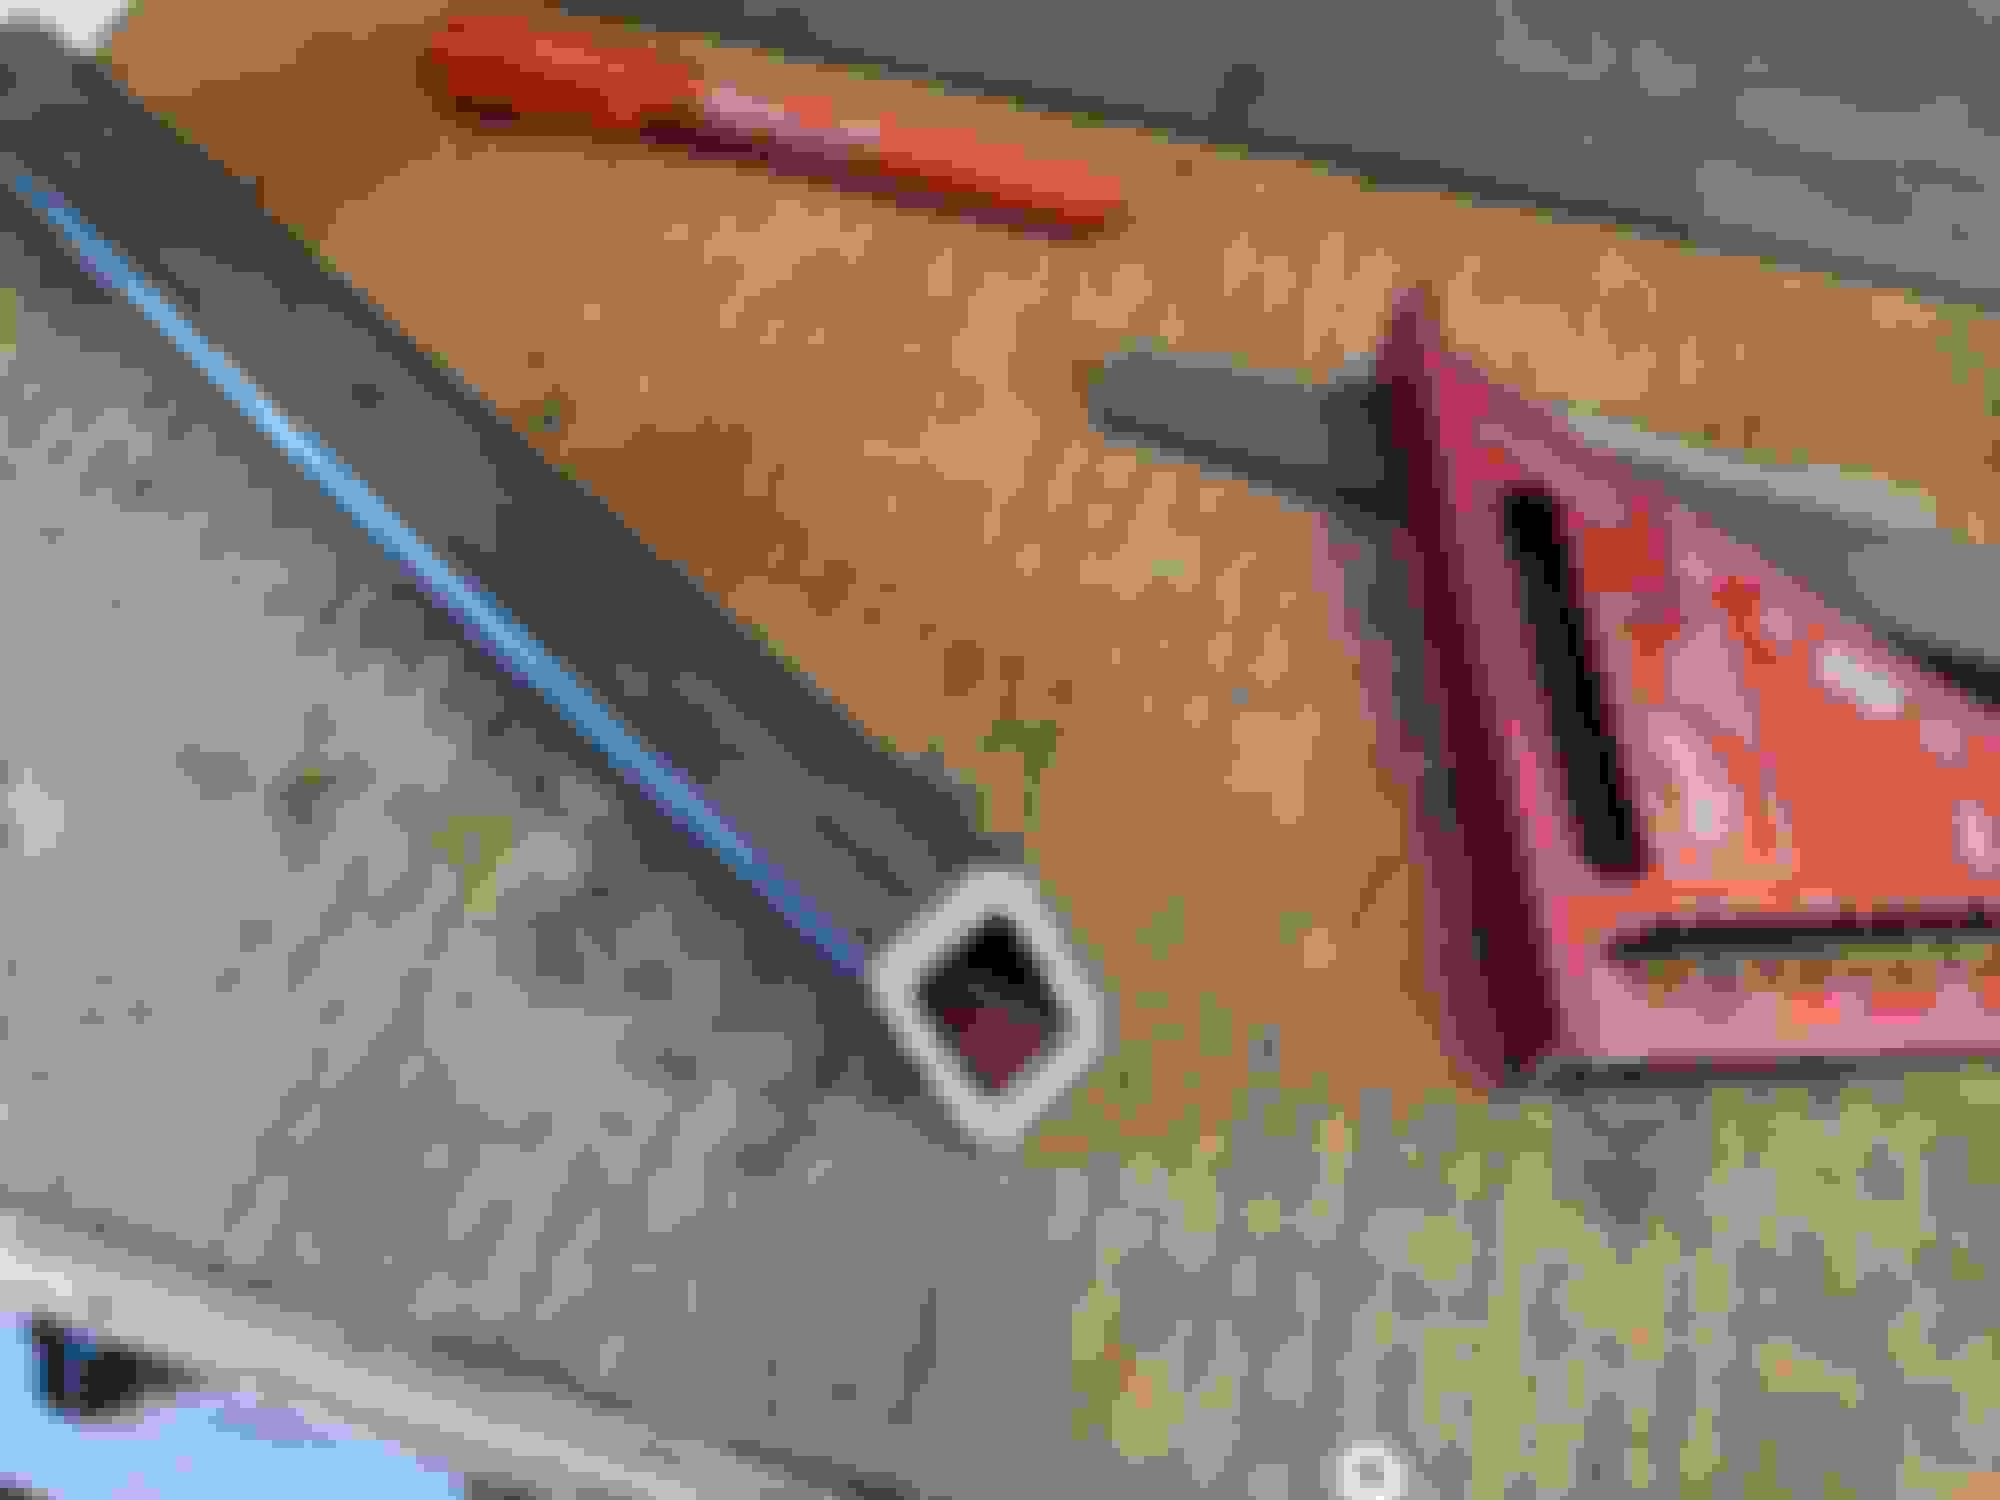
A little bit of matte black paint, some leftover "Old Ford Blue" engine enamel on the mesh and it should be good to go! I don't have a grinder small enough to get in and remove all the spatter from the butt welds in the corners, but whatever. It's a welding cart. I left the casters the original red because I was lazy and didn't want to pull the wheels off or get paint in the bearings. Its cold and gross here right now so I'll give the paint a couple days to dry before I throw the welder on top. Its been 24h and my garage still reeks of drying spray paint.
The welder goes on top and door opens to the side. Shelf below will be a good catch-all for hood, clamps, cutter, gloves, spare parts, etc. I'll probably glue some 1/8" rubber on top of those top rails to give it some "grip" but this thing is heavy enough that its not going to fall off on purpose. I'm going to add a couple stays on the opposite side of the door to hold the gun and ground, but those won't be welded on.
I know I suck out loud but as with most things in life, watching a handful of youtube videos is not a shortcut for years of experience when developing a skill. I learned a lot and had fun, and being that those were my only real goals I'd call it a success. It certainly gives me a lot more respect for the welding work that guys like @Scaxx and @gesso do on the regular.
Thanks! Enough lipstick and any pig can make you say ...humm
But I'm sure what you degenerates actually wanted was updates on the car
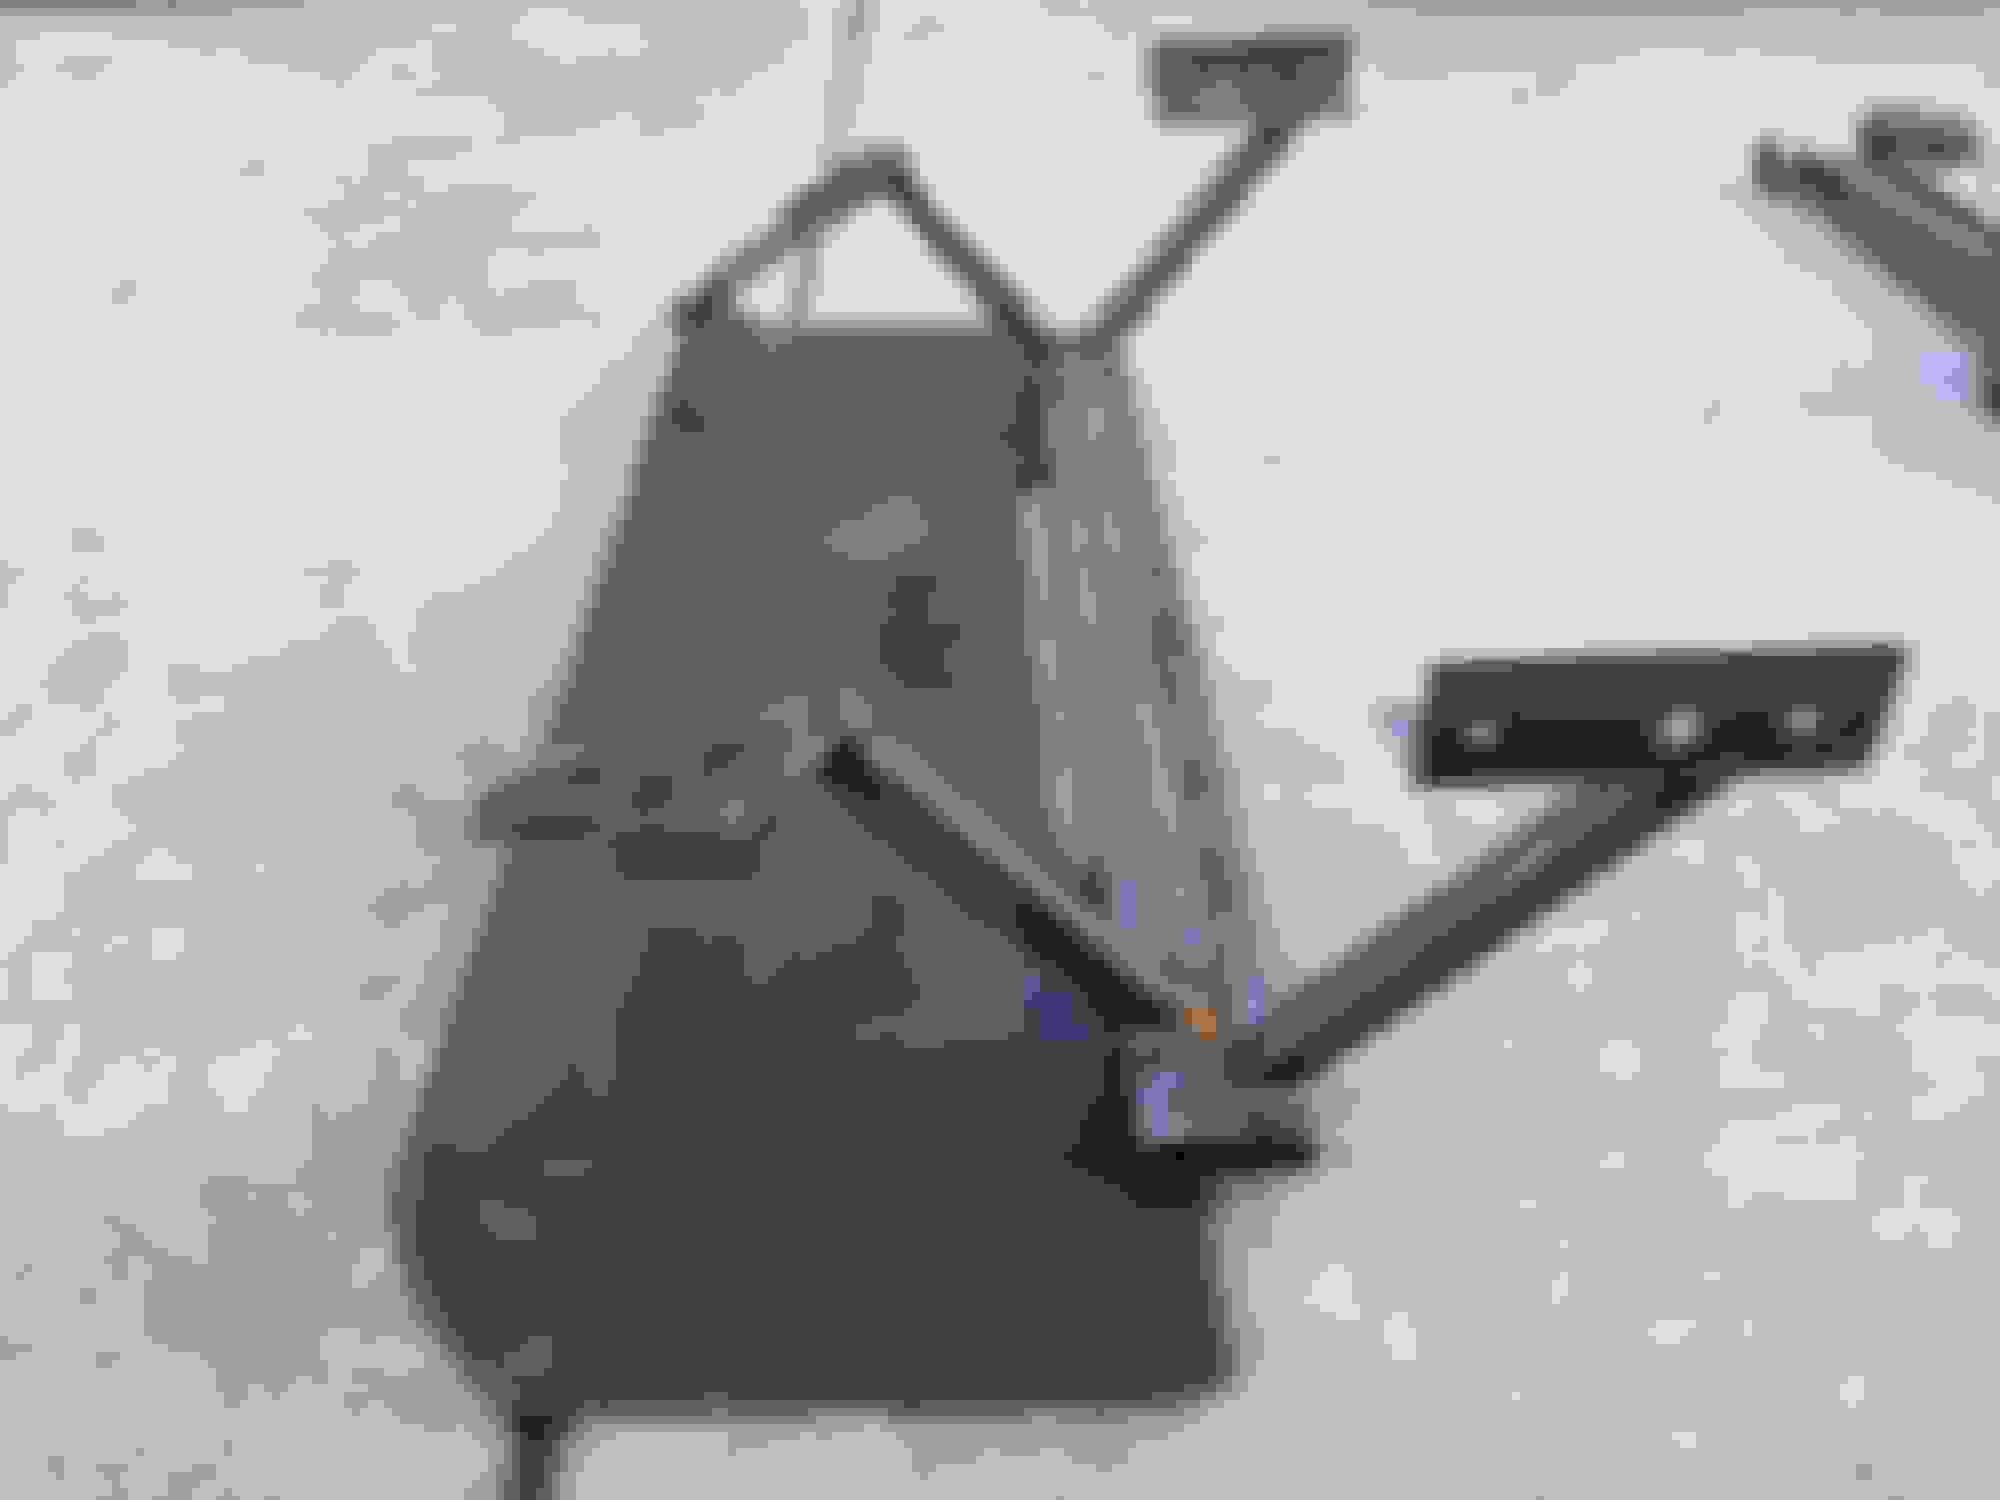
I've actually been holding off on some other welding work @gesso did for my when he stopped by, which was the combination lower radiator and skid plate mount. Waaaaaaay back in post #480 I shared this picture of a piece of steel that I got off Craigslist.
After braining it around for quite a while, I think I've figured out how I'm going to make it happen.
This, my friends, is a 1" x 3" x 3/16" wall steel tube. It is a ridiculous amount of beef and we'll be using it to support not only the radiator, but also some of the other things that are going on the front of the car.
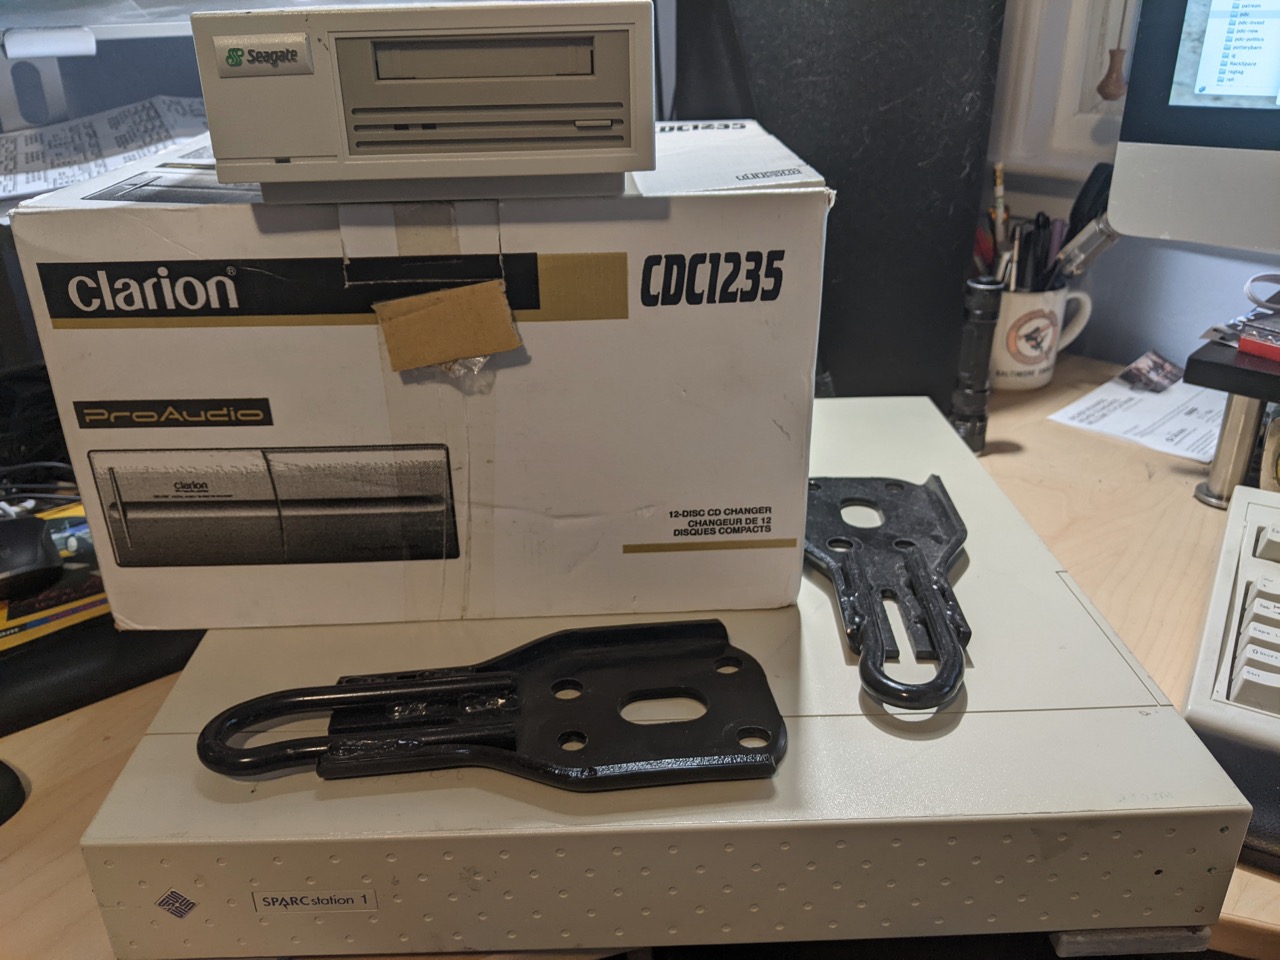
Some of you may have noticed that the front sway bar mounts are missing. This is because I removed them. They were already pretty well cracked so no big loss. Where we're going, we won't be needing a swaybar and the mount points in the frame rail are a fantastic location to pick up a couple fasteners for mounting.
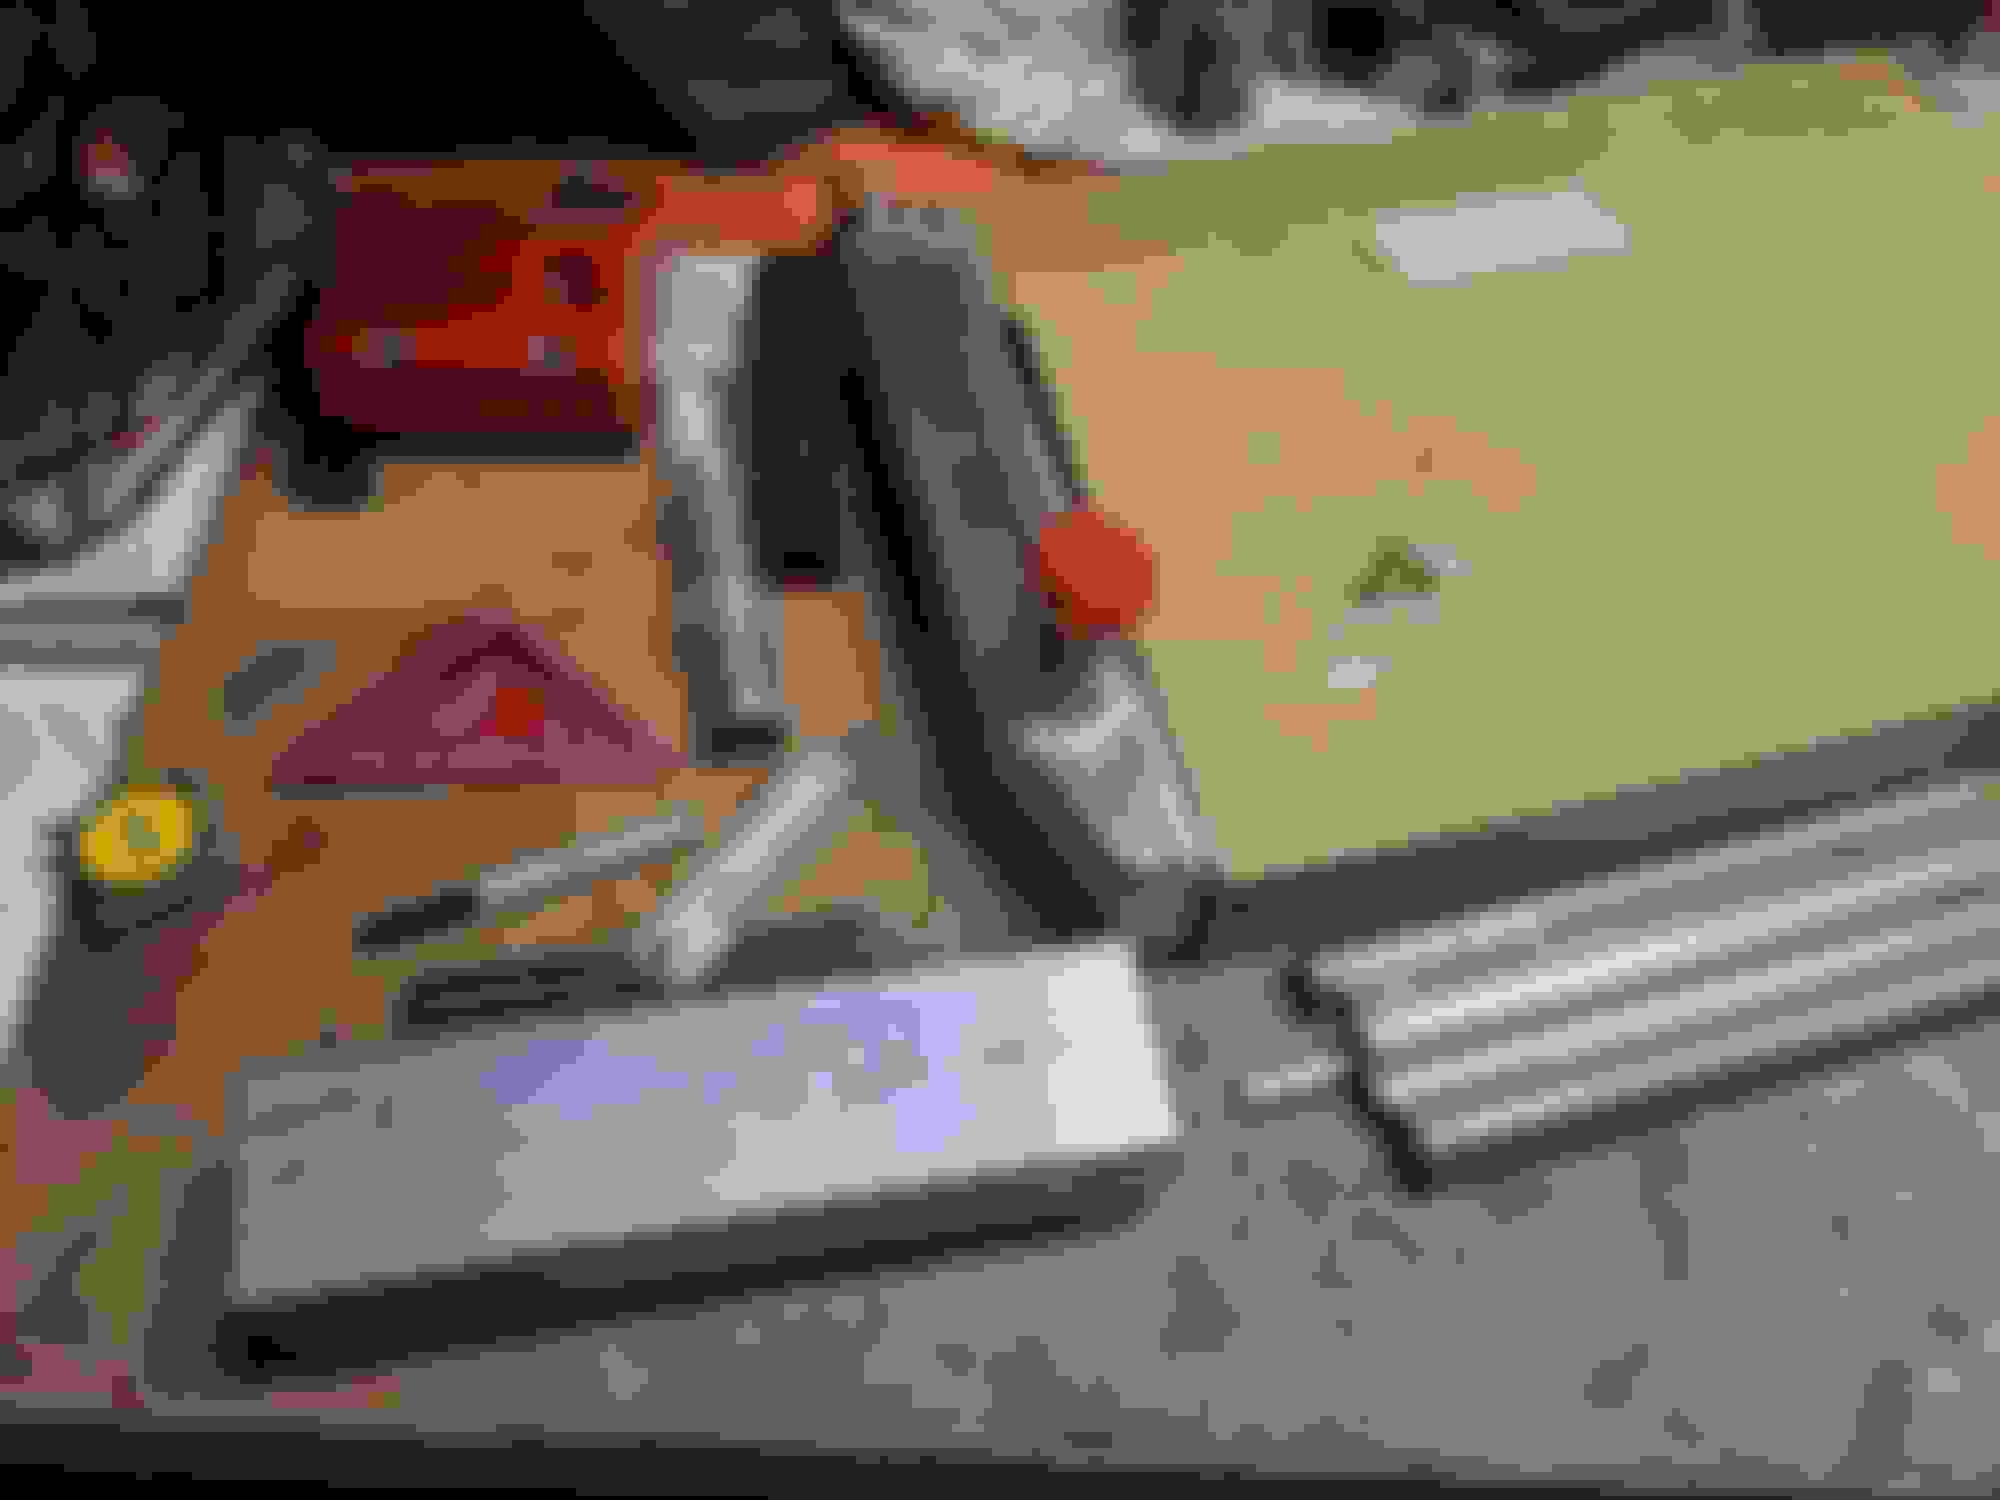
More action shots of @gesso doing real work while I try to maintain a SARS-CoV-2 friendly distance.
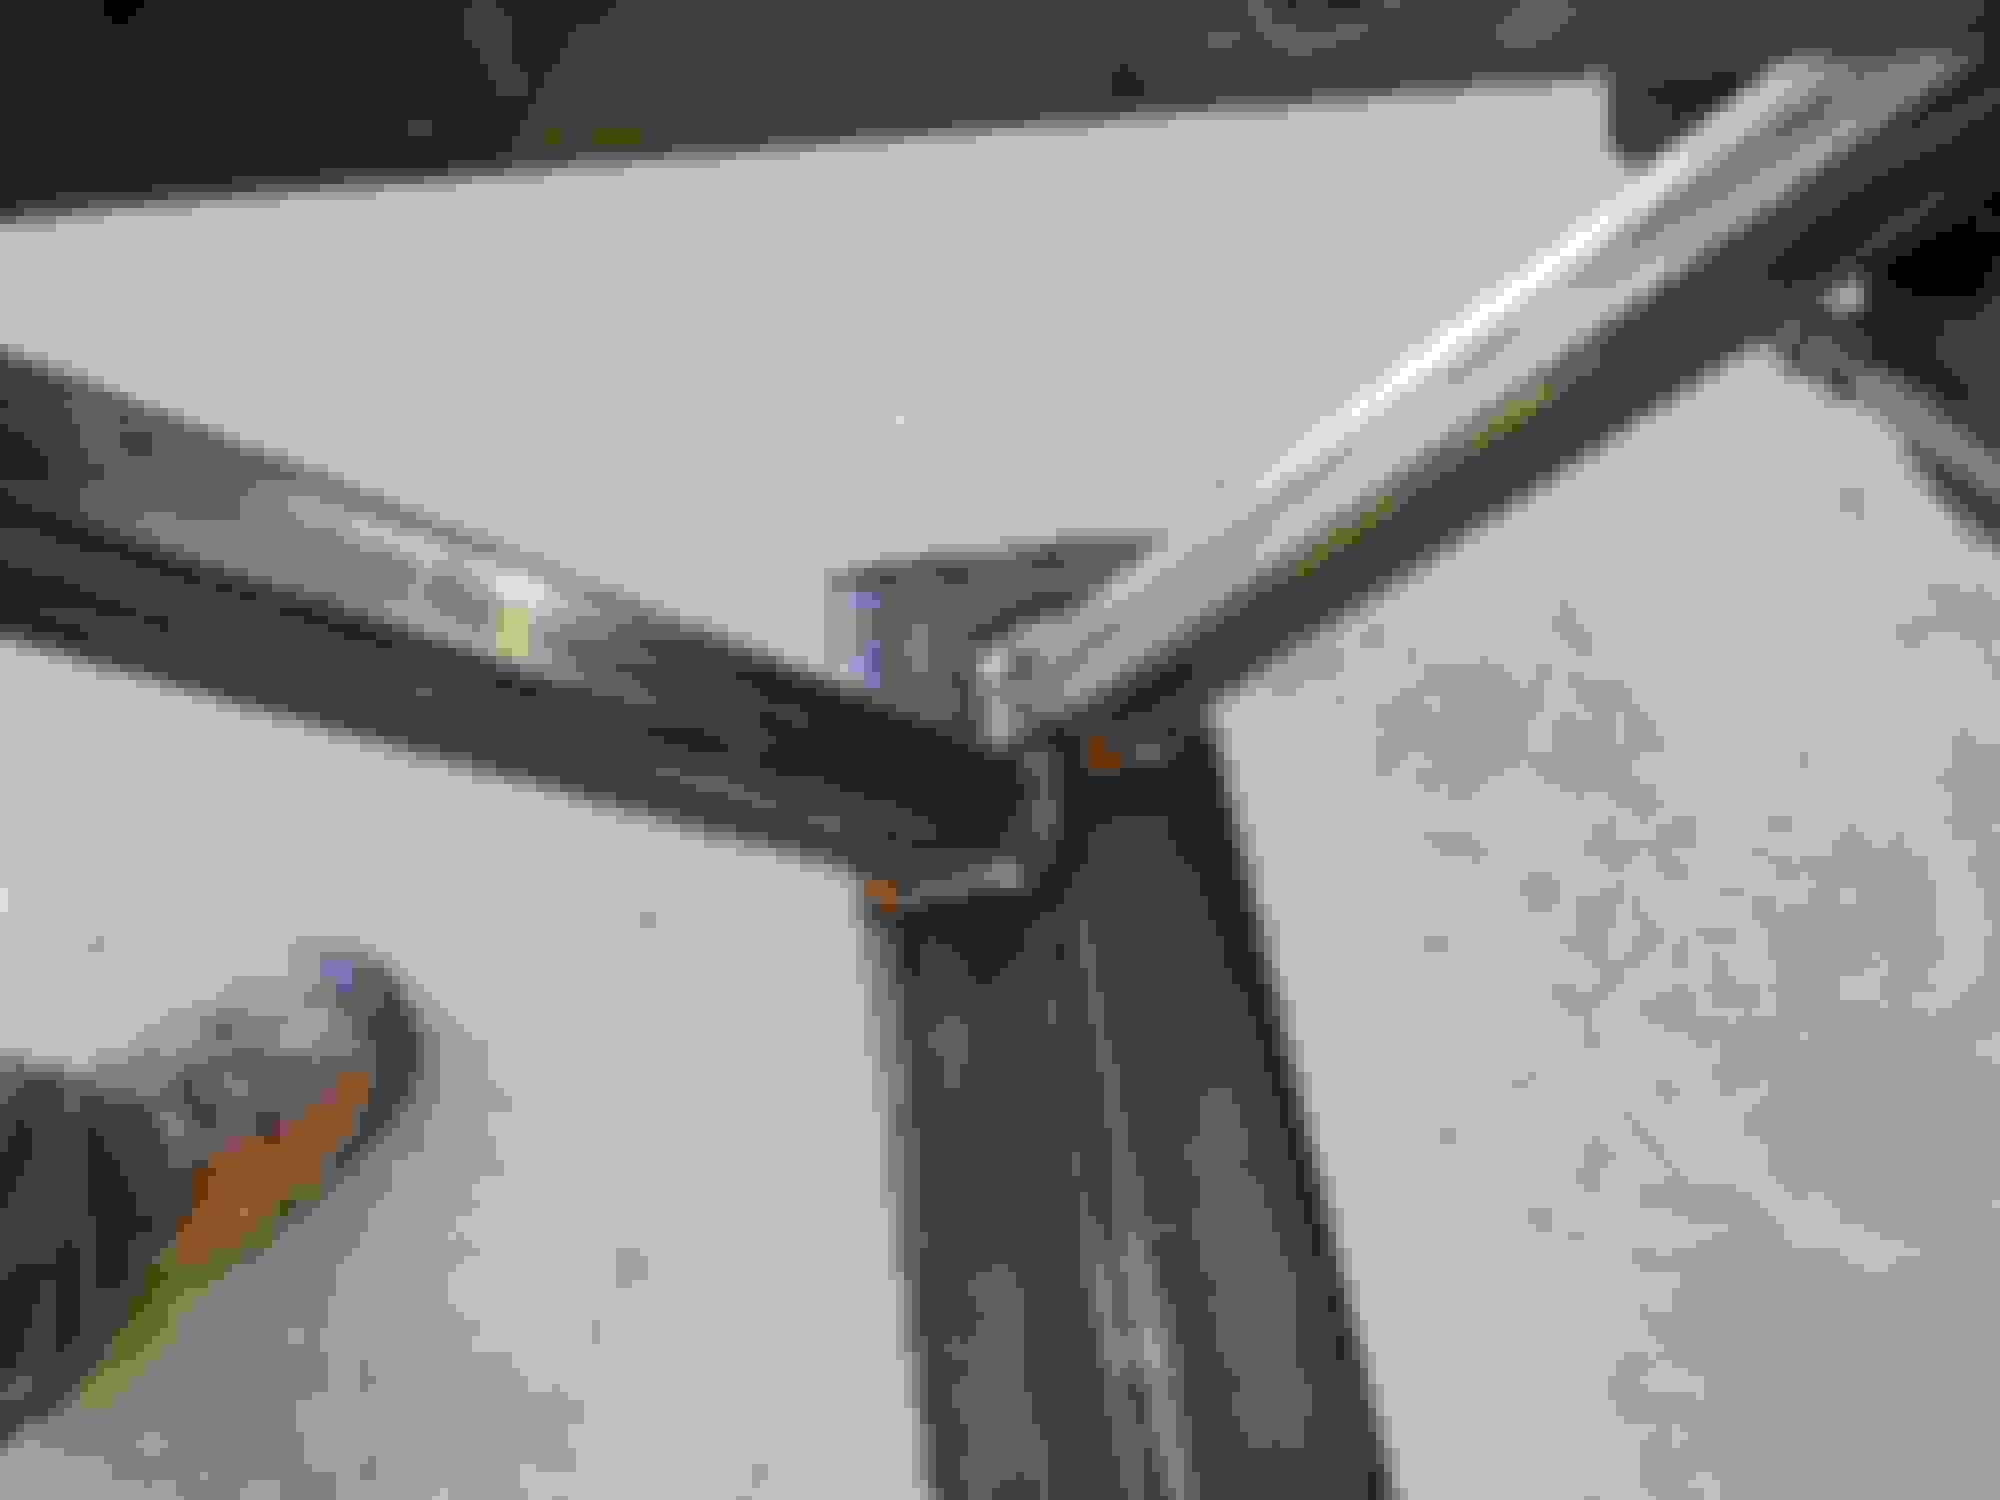
The diagonal supports are made from 1" x 1" x 3/16" wall steel t00b. It's also friggin' beef.
To try to tie it in to something structural on the car, we chose the baby teeth mounts. I'm pretty sure this car hasn't had baby teeth since I purchased it the first time in the early 00's, but luckily I'm a hoarder and not only do I still have the baby teeth and hardware from the NB, it fits perfectly fine on the NA.
So that's where things got mounted!
This is pretty much JFM as far as I'm concerned.
Bonus Nachos: All this steel makes an EXCELLENT jack point for the front end of the car. There is a bit of a weight penalty, but the convenience far outweighs that minor niggle. Besides, I has stupidcharger.
Le Fancy! Full disclosure, this is all gesso's welding and the machine is very much at its limit. His skill FAR outstrips mine and I can't thank him enough for the assistance.
It kinda-sorta barely doesn't work with the stock radiator side mounts. Which is... whatever. If I really feel the need to put the stock radiator back in, this whole structure drops out after removing ~12 bolts.
The next step was to install the skid. I decided I wanted to attach it with M8x1.25 bolts, because I have a whole bunch of those running around and I also have a tap. I started by putting it in position, clamping it down and then pre-drilling though both the 3/16" skid and the 3/16" wall tube, which went just fine. I then busted out the one 17/64 drill in my China drill index to use as a tap drill. It's not exactly the right size but I don't have metric OR number drills, so it would have to do. I figured I'd just drill straight through again...
First hole. Lol.
Oh well, I managed to find another index and another 17/64 drill (this time it was GOLD coated!) and blasted out the rest of the holes. My shitty, dull M8x1.25 tap followed.
I think that came out pretty OK! The bolts aren't spaced evenly because when I did the first layout, I had things spaced a bit differently. I ended up changing my mind at the last minute and decided not to bother re-drilling the holes. I'm sure it'll be fine.
And here is the assembly flipped over. She's no lightweight, that's for sure.
This is probably the best use of factory baby teeth that I've ever seen, lol
It's not done yet, but the idea here is to install another diagonal from the front edge of the skid back to the mount. More triangles, more steel, more better. Square dowel is approximate location. I need to wrap my brain around this for a bit to make sure it'll actually do what I want it to and not block the fastners.
It's like, the splitter from hell or something.
As I said it's not done yet. I'm toying with the idea of trying to find a shop that can put a 10�~15� bend at the back end of this thing to get that front lip that much further up. Not sure how reasonable that is, so we'll see. I also plan on building a bumper for this thing and another forum member who has some experience bending things has offered to help out. Which is ******* AWESOME! It's going to take a while to get all the pieces in place, but I suspect that part of the project to be well under way some time mid next month. I've got plenty other things to keep me occupied before then anyway.
Distracted by other things, but did make some progress on NA radiator stuff.
Unsure if I made myself clear on this one, but the ridiculously beefy crossbar is also going to serve as the lower support for the radiator.
Here you can see it hanging in space while we were in the middle of mocking things up.
Of course one of the problems with this particular radiator is the stupid angle at the bottom of the tanks. This gives us very little real-estate for a lower mount. I didn't want to put a bushing on the core itself and the tank doesn't have enough surface area on the bottom to make me comfortable. So, let's add some more horizontal space.
The "easy" button here was a 3x3x1/8 6061 tube from onlinemetals cut at an angle.
Again, my inability to cut anything square on the portaband is annoying. lol. Anyway, here's how she mocks up.
Cap it with a piece of 1/8" and we're good to go. Plenty of room for activities.
The lower mount bushings I'll be using are 40d rubber equipment isolator bushings from McMaster Carr.
They mount on a center pin which I'll turn up on the lathe
I'll continue on this once MT decides to unfuck itself, I can't seem to load more images at the moment
I'm a firm believer in not hard-mounting things like this, and if you do a google search for guys who have used this radiator for other applications, they'll just weld a tab to the tank and send it. While I'm sure that works for a while, any flex in the mounting locations is going to tear something, and that something is generally the tab out of the tank. As we all know, the Miata is not exactly a rigid platform. Even the factory mounts on the NA used a rubber sleeve on the lower mount. Anyway, that's my justification for this level of complexity.
That bushing is going to require a dirty big hole, but I've got that covered with this badass mammajamma.
Before we can set the locations for the upper mounts, we need to approximate the locations for the lower mounts. To do that, I need to cut holes in that beefy piece of steel for the bushings, but I don't want to do THAT until I've got the pins in place ...which requires welding.
So we are going to fake it.
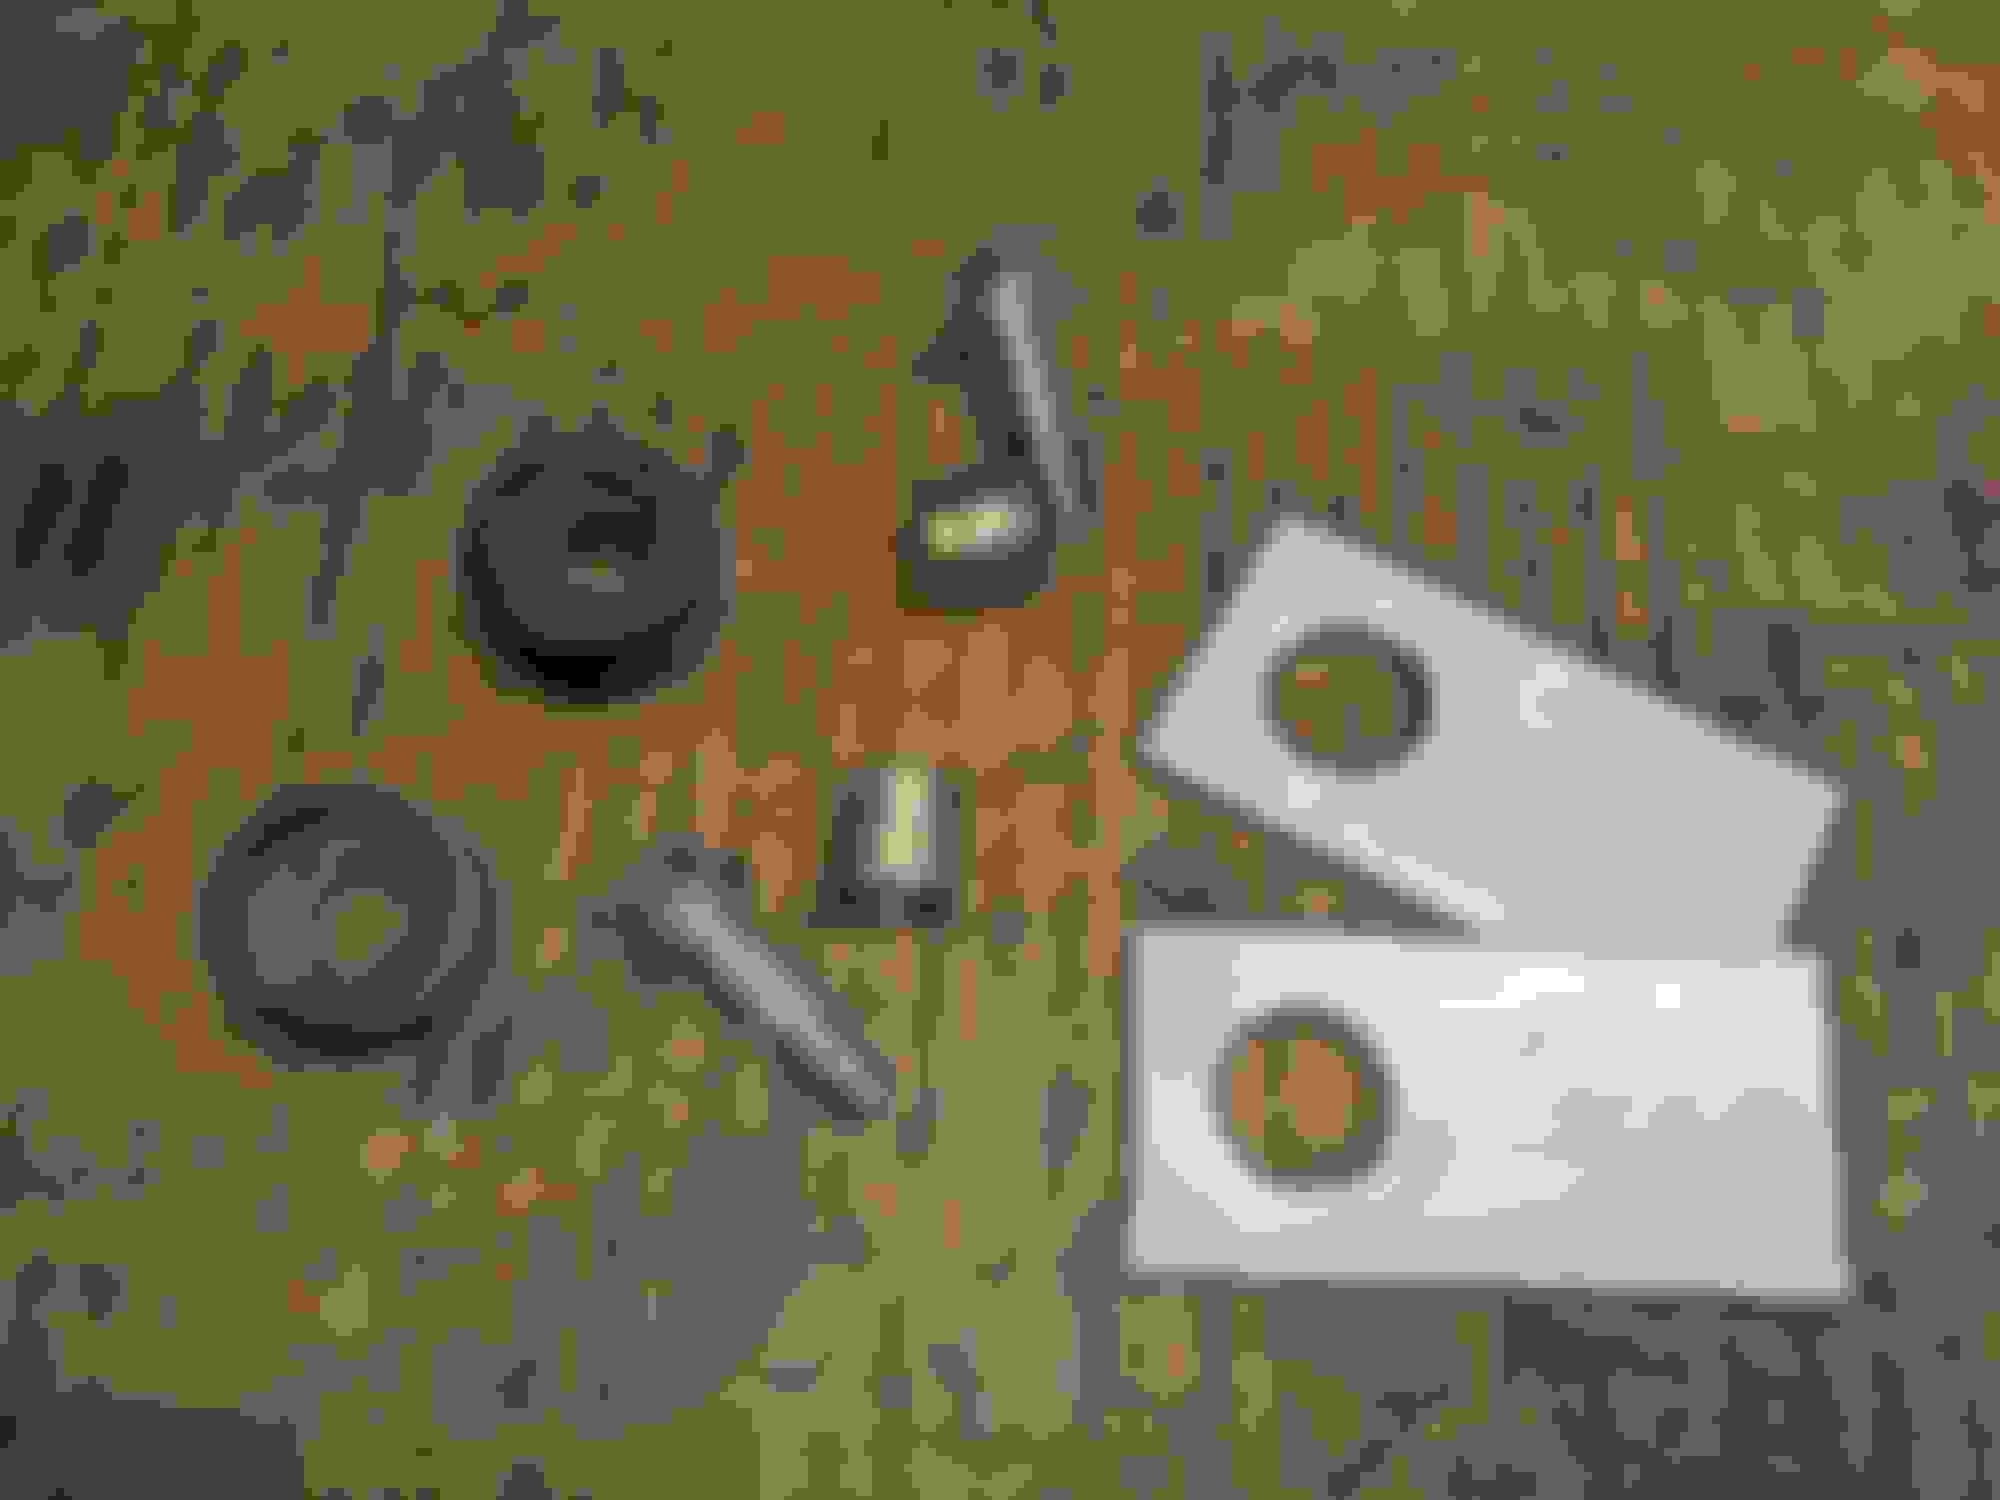
The bushings came in a 5 pack and I'm only going to use 2 of them, so out came the razor blade.
And now I have 2 spacers! Add some tape and we've approximated the thickness of the lower mount. Taa-daa!
Now that we have the lower mounts, time to move to the uppers.
I plan on reusing the stock M8 weld-nut mount tabs for the top, but I'll be incorporating a bushing there as well. Again, I want this mounting to have just a little bit of give. I like OEM solutions, so its off to the pile of parts in my garage.
Enter: a pair of MSM intercooler mount bushings!
These are leftover from a MSM intercooler I modified to work with the rotrex on my NB about a million years and 2 build threads ago. They mount into as close as doesn't matter a 3/4" hole and the plastic is about 1/8" thick. I'll be making a set of tabs out of 2x1/8 6160 and they will be welded directly to the tank.
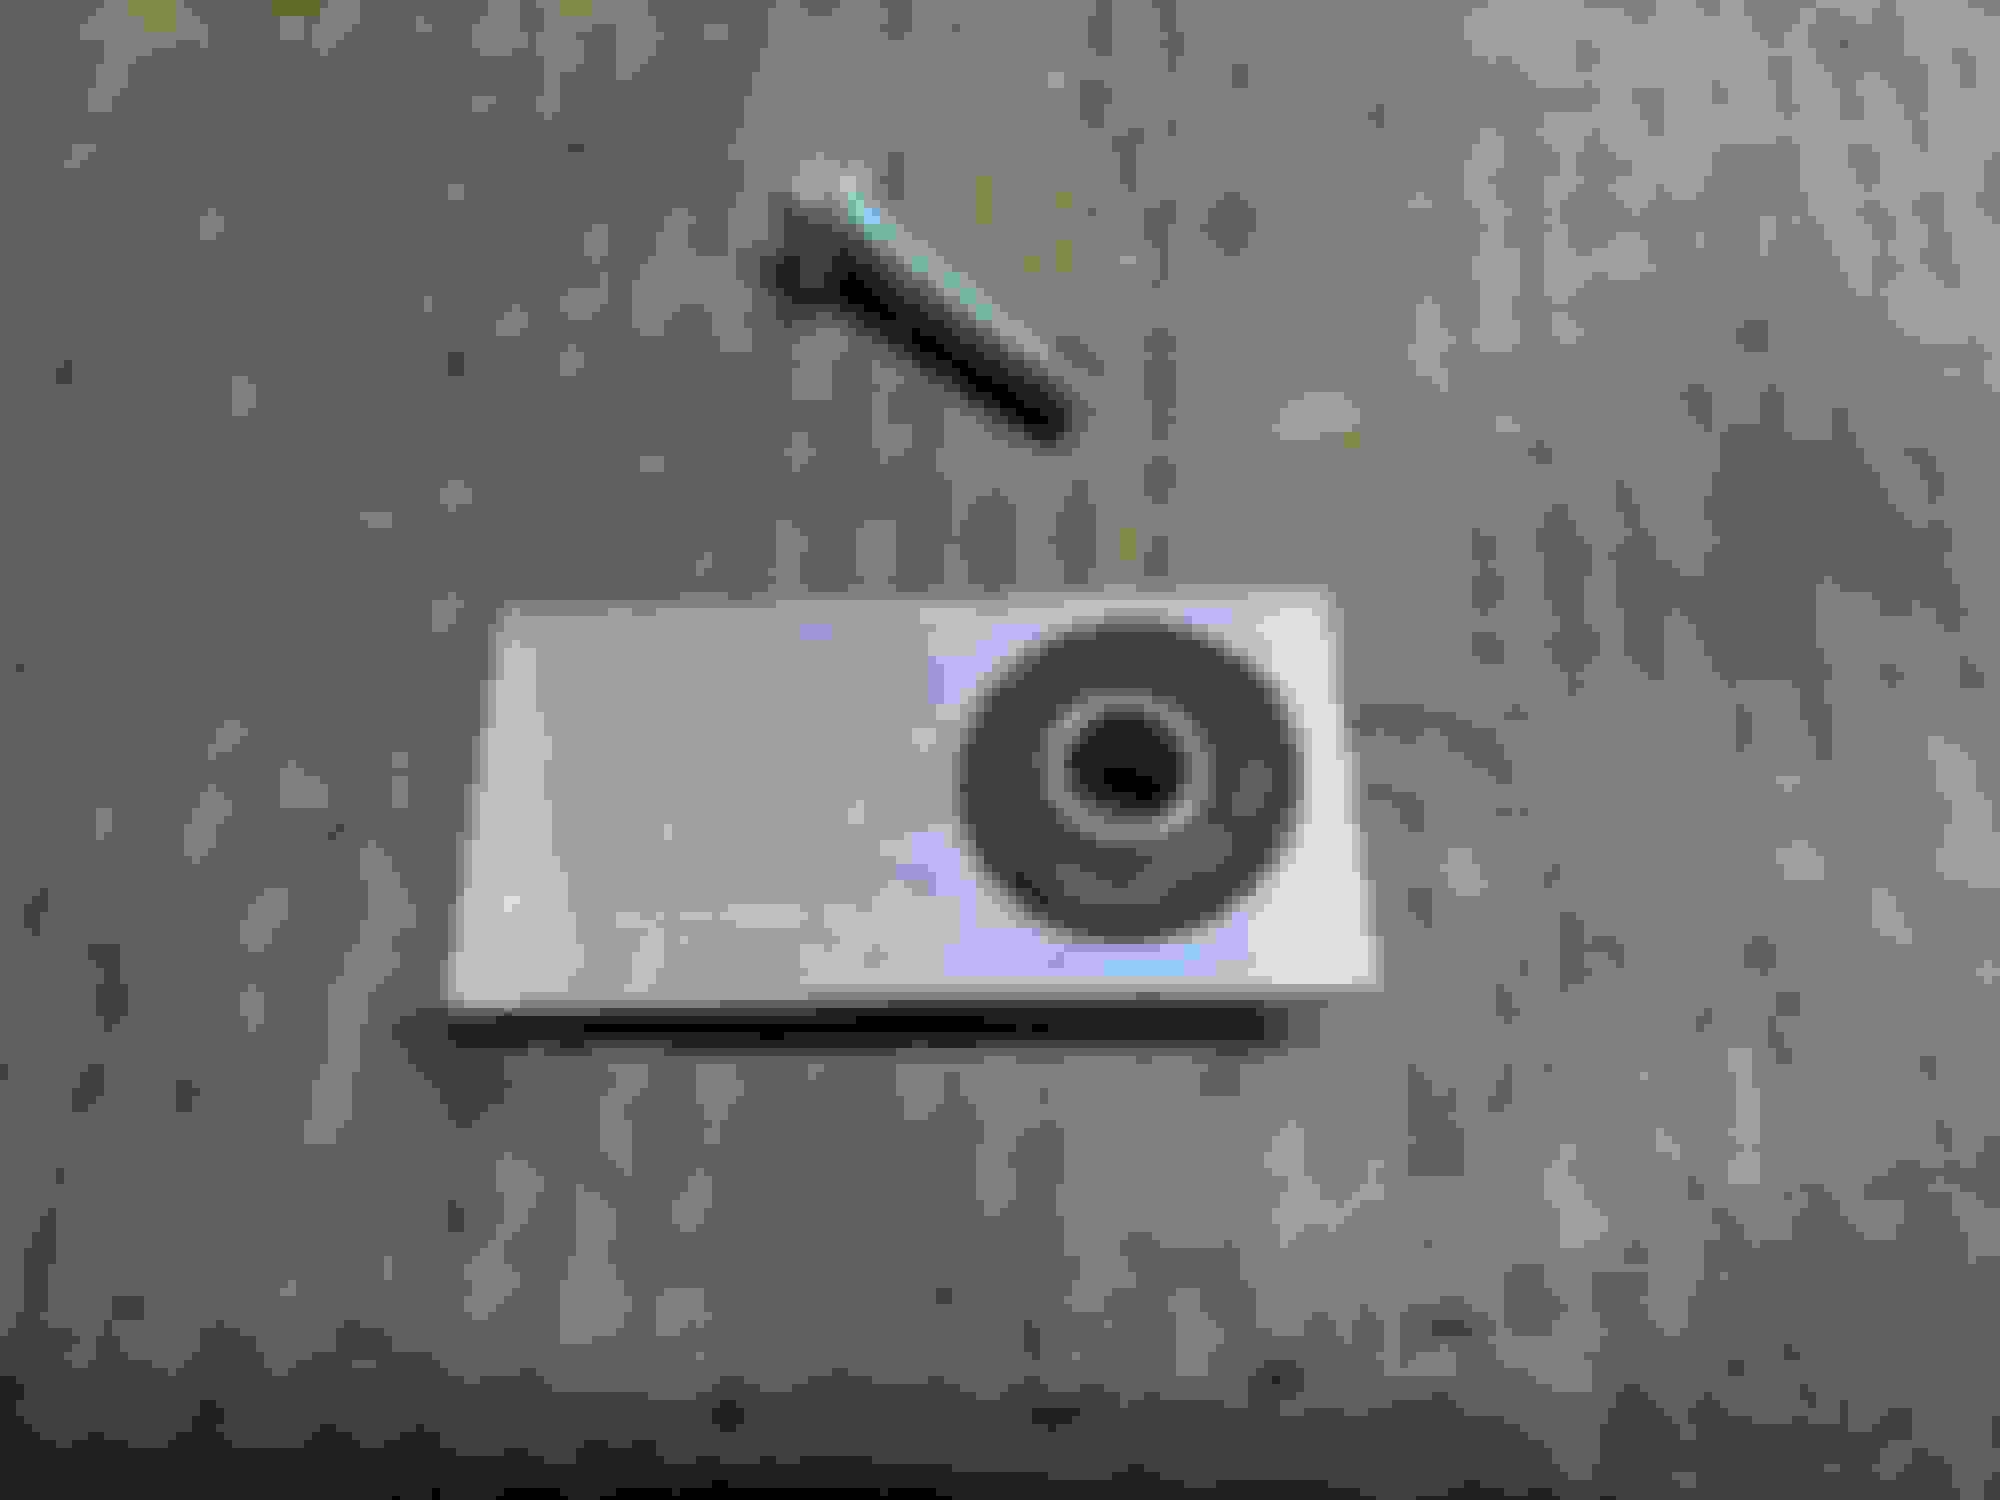
Magical step drill comes in handy for this as I don't actually own drills larger than 1/2"
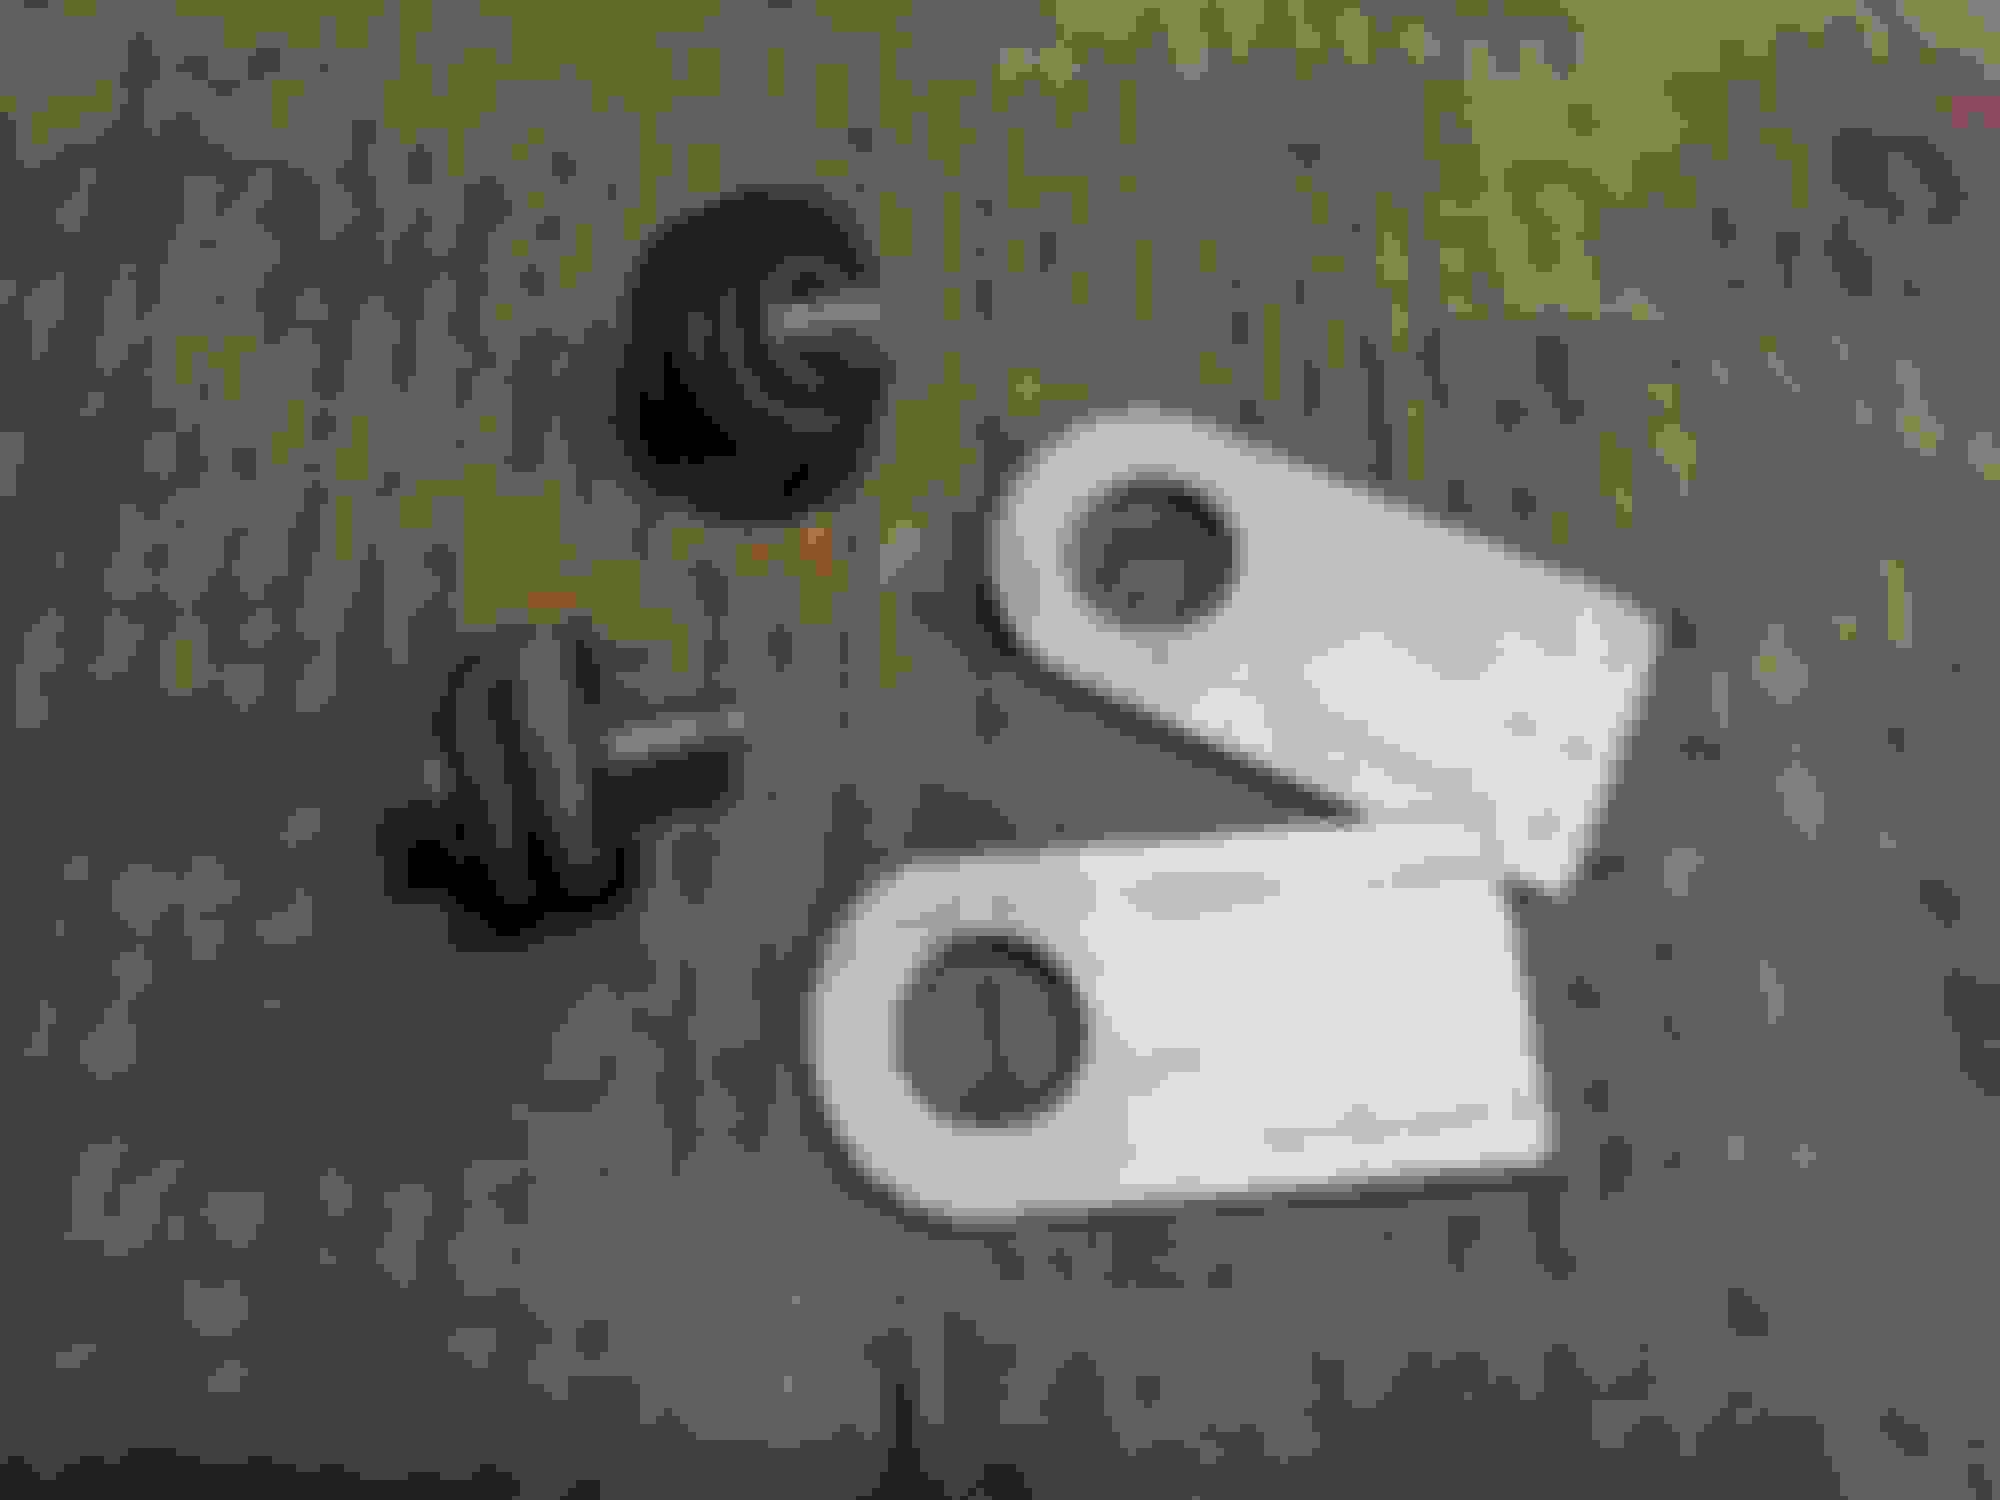
Add some obscenely long JIS M8 bolts and we've almost got a set of mounts!
As you can see they drop right in. The bolt clamps on the steel sleeve which prevents over tightening and crushing the rubber bushing.
It makes for a rather tidy package, if I do say so myself. It's almost like those engineers at Mazda knew what they were doing, and I'm more than happy to cheat off their homework.
So with the holes drilled, we can bolt the mount tabs into the car and drop in the radiator. View from the top looks good.
You can see how the stack-up will work nicely.
Because I can't leave well enough alone, we are not leaving those corners square. A handy roll of electrical tape provides a template for a radius
And the bulk of the material removal is done with the portaband.
I've been married for a few years now so its not like I'm afraid of a bit of a hand finish.
I'd say that was worth the effort, almost looks like I was trying.
With the radiator in the car here's how it lines up with the factory mount in the core support. Now to mark it...
And we're done! All thats left now is to get it to @gesso for some welding.
I'll probably want to find a not JIS bolt for these top bushings, or maybe put a washer in there. The OD of the steel sleeve, ID of the rubber bush and the OD of the built in flange head on the JIS bolt is a little too close for comfort, the last thing I want is this thing falling off the upper mount bushing. I think for my next trick, I'll be installing the used 949Racing SuperMiata reroute that I picked up used from the classifieds a few weeks ago, though I'm not looking forward to fighting the coil pack and speedo cable again.
I kinda like how this has all came together so far, I'm definitely looking forward to getting it back in the car and having the cooling system FINALLY buttoned up. Once the radiator is in I can start trying to figure out how to get some fans on this thing. I think I can reuse the stockers, but we'll see. Ducting will also need to be address.
Also, if someone has a set of ugly, used hood vents they are tired of looking at, please consider to be holla-ing atcha boi.
Is the radiator in your car not a stressed / load-bearing member of the chassis?
Have I been doing this all wrong the whole time?
If it is/becomes a stressed/load-bearing structure within the vehicle... I'd become very worried.
I appreciate everyone who has been following along with this "build" but I'm not going to make a ton of progress for about the next ...month or so. Most of my free time is going to be taken up with a bit of family stuff and related travel so the car is going to have to sit for a bit. I ain't giving up, I'm just slow.
 02-17-2021, 02:07 PM


 I'm a rank amateur but I can definitely burn **** with the best of them! Gas has occurred to me as a first upgrade. One of the small 20cu/ft tanks of C-25 and a basic regulator are fairly inexpensive, and we've got a couple different industrial gas suppliers around here where I could do a bottle swap or get a refill so its readily available. This flux core is messy but probably something decent to learn on, and oh boy do I have a lot to learn. It's something I'll explore in the future but for now I'm just having fun gluing random bits of scrap together and trying not to light myself on fire. Me attempting to do mission critical stuff for other people is going to be WAAAY down the line.
 But I'll dig up Fitzee and add it to the list. You've certainly taken a big bite if you are starting with frame rails! Good luck and godspeed sir!

 0
0